


MortarThePoint
-
Posts
2294 -
Joined
-
Last visited
Everything posted by MortarThePoint
-
Thanks. It's holding steady at around 3.3bar so I'm going to give it a few hours before I do anything.
-
A little bit I guess. I didn't read it, I should check. Maybe 5C lower temperature.
-
This is a concern. Pressure vs time 0 5.2bar 1hour 5.4bar 2hours 5.2bar 3hours 5.0bar 14hours 3.3bar That feels like too much pressure drop for it to be 'stabilisation'. I've run my fingers over all the manifold connections and they are dry. I guess my next step is repressurise and to start closing loops. Does anyone know if the flow and actuator valves are pressure tight? If not that approach won't work. I haven't used any PTFE tape anywhere.
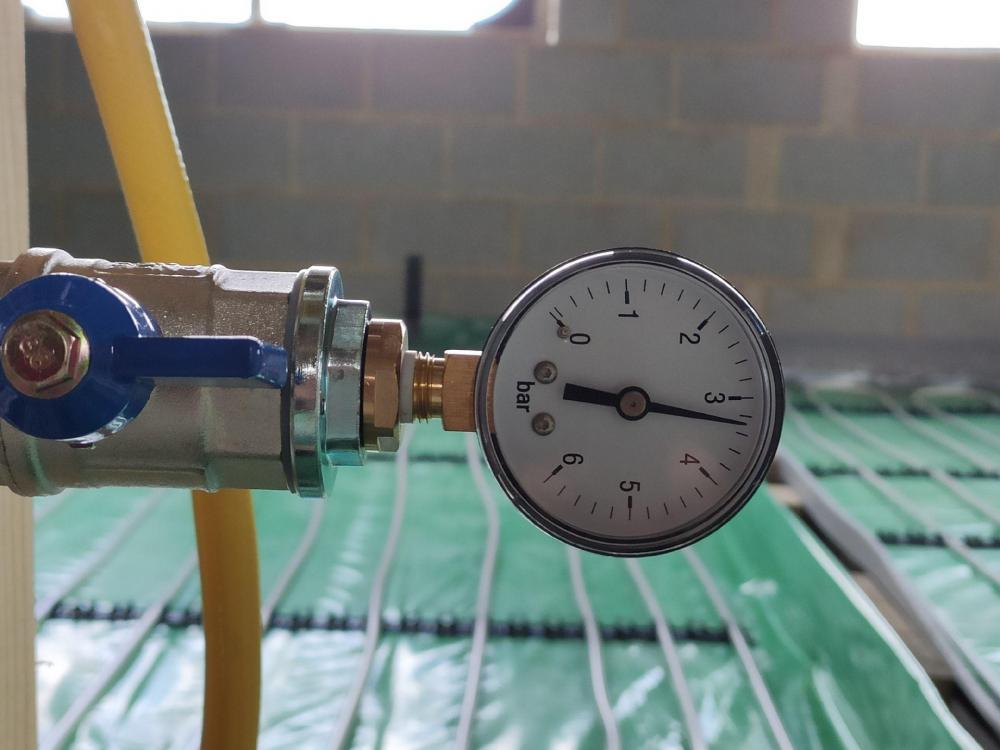
-
Feels like it sometimes ? Pressure still holding after 1 hour. Cold beer opened. It's been a long week (>80 hours) PS: don't ask why that loop looks so drunk. I had to cram in an extra pass at the edge of the room.
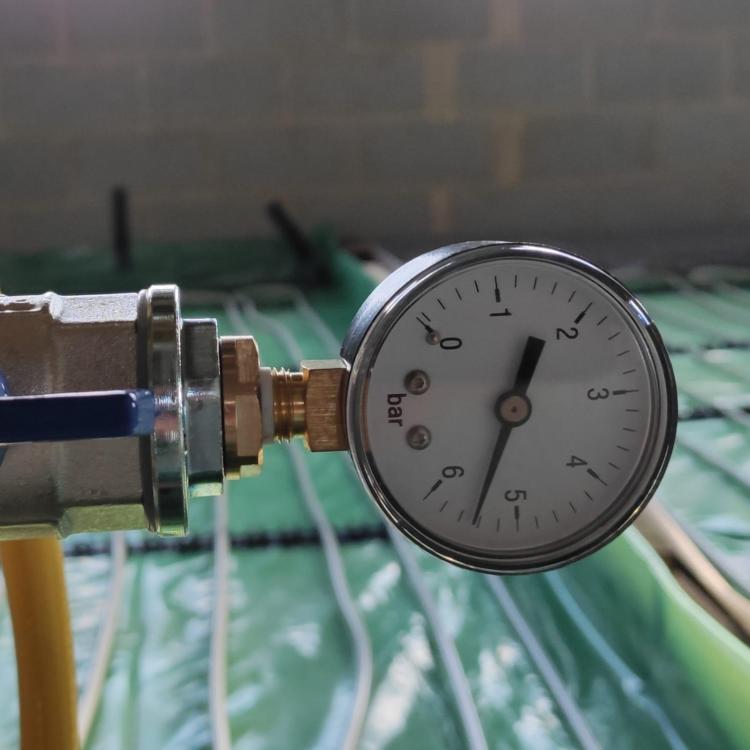
-
Two holes drilled, one exciting moment Pressure holding so far Beer chilling ?
-
Just started my pressure test. Fingers crossed! I'm off to drill some holes near the UFH pipes now
-
Do you mean on a different floor (GF Vs FF)? If so, no each manifold serves one floor only
-
Excellent, Amazon order going in and I'll see if they have some ratchet mole grips for my UFH manifold work.
-
Thanks Nick. It's always difficult to know what's important good practice and what's good practice according to people who sit in an office and write documents. There are various sources that say to use expansion sleeves (e.g. LABC, Underfloor Heating Trade Supplies) but on site practice is a more useful guide in many cases. The main downsides of having them are the installation faff and the increased depth of screed to cover a thicker item. I sent the image to the installer and he said fine as long as has the minimum cover. I've decided I'll leave them in as they are where the screed needs to be thicker due to hollowcore camber anyway. There is one place where this isn't true, and I'll remove them from there. I was assuming the screed would be too porridge like to flow in. Pure water would, but will the screed really flow into a 300mm long 3mm wide channel? I've no zones which are particularly far from the manifold. The furthest is probably about 4m upstairs so hopefully that will be fine.
-
Just spotted the bum bags in the video. The Rock would approve:

-
@Nickfromwales and @Russell griffiths Sorry to tap you up on this but you've normally got a good view on all this. I'm about to attach my eurocones so removing these after that would be tricky.
-
Are these good? Looks like I'd need two lots of 2pc to have the four required: https://www.amazon.co.uk/gp/product/B07RVJ1LF3 They don't make videos like this anymore:


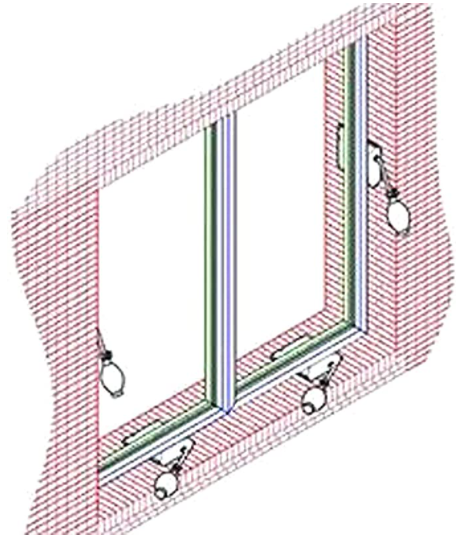
-
Has anyone tried this: https://www.expandingfoamtape.co.uk/ It's around £2.24/m for 20mm wide, 5-12 thick
-
In this installation video from Cemfloor about expansion joints, they haven't added any sleeves at the joints, but I do notice that what I presume is the Flow pipe has conduit around it for a long distance. Insulation I guess. https://cemfloor.co.uk/training/ STEP 3
-
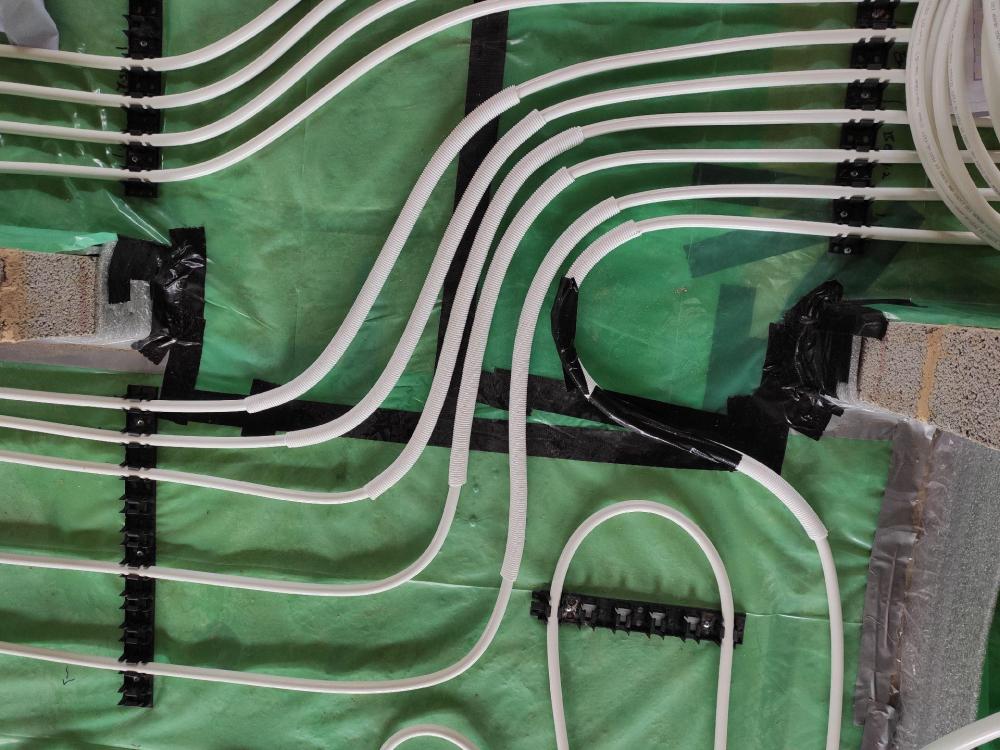
I'm going for Cemfloor Therm and the installer said he puts pieces of plywood in the doorways to encourage localised crack. I had already started installing 'pipe expansion sleeves' aka 25mm flexible conduit in the doorways and he said not to bother. Magnus Magnuson, I did it in all doorways. You can see an example below, a bit difficult as it's white. I put them on the pipe as laid, so unless I forgot and added later, they don't have skits along their length making removal difficult. Is this a mistake, should I remove them all? Screed is going in at 50mm nominal and needs 25mm over pipes which it would achieve over these unless the float up slightly.
-
What NHBC call Serpentine achieves the same by meandering out at twice the spacing and the returning in the gap left.
-
According to NHBC it's linear pattern not serpentine. Anyway, one continuous meandering from one side of an area to the other.
-
As we are using 150mm pipe spacing (ASHP) most rooms end up as two loops. Typically theses are laid at right angles to the wall with a window. Serpentine pattern. How should the two loops have their flow and return chosen. Options: 1. Both loops flow to middle of room, return from edge of room. Cosiest in middle of room, but does it concentrate too much heat there? 2. Both loops flow to outside of room 3. Keep same flow direction, one loop flows to outside first, second to middle first. I think I've seen this in some Google search results. 4. Doesn't matter a jot About to cut my loops onto the manifold so want to get it right.
-
Not in yet so it's an option to reinforce if I can get some in time
-
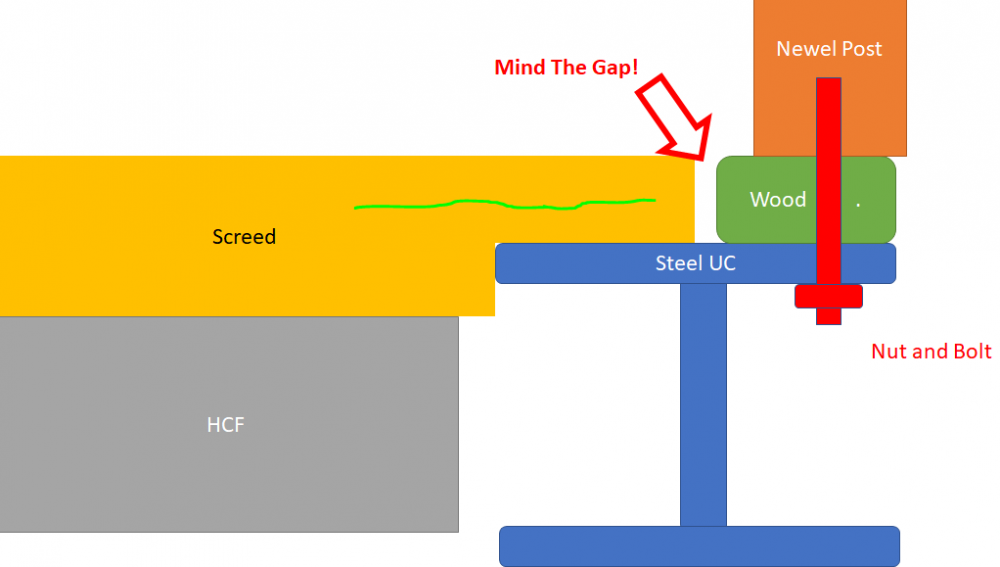
This is what it would end up looking like The gap highlighted would probably be around 5mm, but could end up being more. I'd be surprised if it's an issue for carpet or timber flooring even at 20mm. Tiles may be more of an issue, but perhaps that needs to be. @Nickfromwales and @Russell griffiths you're talking about reinforcing with mesh where I have shown the green squiggle. I can't see it cracking there unless the HCF and UC beam move differentially and if that occurs do I want the screed to fight it? It would be worse for the screed to crack somewhere else.
-
If not using chicken wire, what's the best bet. Anything available from Toolstation/Screwfix?
-
It's looking like my best bet is to hold the screed back a bit further to allow options. I can then cast a continuation of the screed or bolt timer to the steel beam. Ideally this would all be done already and I'd just be screeding to the edge of the steel. I'll leave the screed 100mm back from the edge of the beam as I can't imagine us having posts larger than that.
-
I'm only asking the ~40mm screed to bridge a gap of around 20mm so it should be stiff enough for that even without reinforcement. Looks wider in some places do to vertical difference. If there is differential movement between the beam and the hollowcore, then even reinforced I'd expect it would crack.
-
We haven't chosen one yet. Something like the links below. The recommend a maximum of 2.4m between posts. That probably means we'll have to have 4 posts (top of stair, 1.6m from stair, 1.6m from end wall and on end wall). https://www.blueprintjoinery.com/timber-stair-parts/classic-rolling-pin/ https://www.blueprintjoinery.com/timber-stair-parts/square-twist/square-twist-stair-&-landing-balustrade-kit/ They have a fastening system for timber or concrete (link below) but I'd ultimately need to anchor to the steel beam as the screed (40mm) isn't thick enough to anchor to. https://www.blueprintjoinery.com/timber-stair-parts/fixings-and-accessories/slip-fix-newel-post-to-floor-ut-post-fastener/ If I am going to have to drill holes in the beam, I want to be sure I have enough space so that would suggest holding the screed back more.
-
I'm a bit concerned that the length of the landing means that I'll have to have additional newl posts along its length, not just at the two ends (top of stair and wall). The balustrade is about 5m long. I can't readily see a building regulation or guidance for this.





