Onoff
-
Posts
21127 -
Joined
-
Last visited
-
Days Won
206
Everything posted by Onoff
-
Looks good but needs a guard: http://www.landscapejuice.com/2009/10/make-this-simple-garden-seive-for-45.html
-
Maybe, reminds me I need new blades for mine!
-
All down to sussexlogs place with a tape measure I reckon! .....old lawnmower engine, bit of box etc. I reckon a towable one would be the ticket made just the right size to sit over a jumbo bag.
-
That would be the easy option! Just think that a radius on the corners front and possibly back would look and feel a bit more "organic" and be more in keeping with the spiral shape. I'm also maybe going to put a bit of stainless builder's band on to limit the splitting.
-
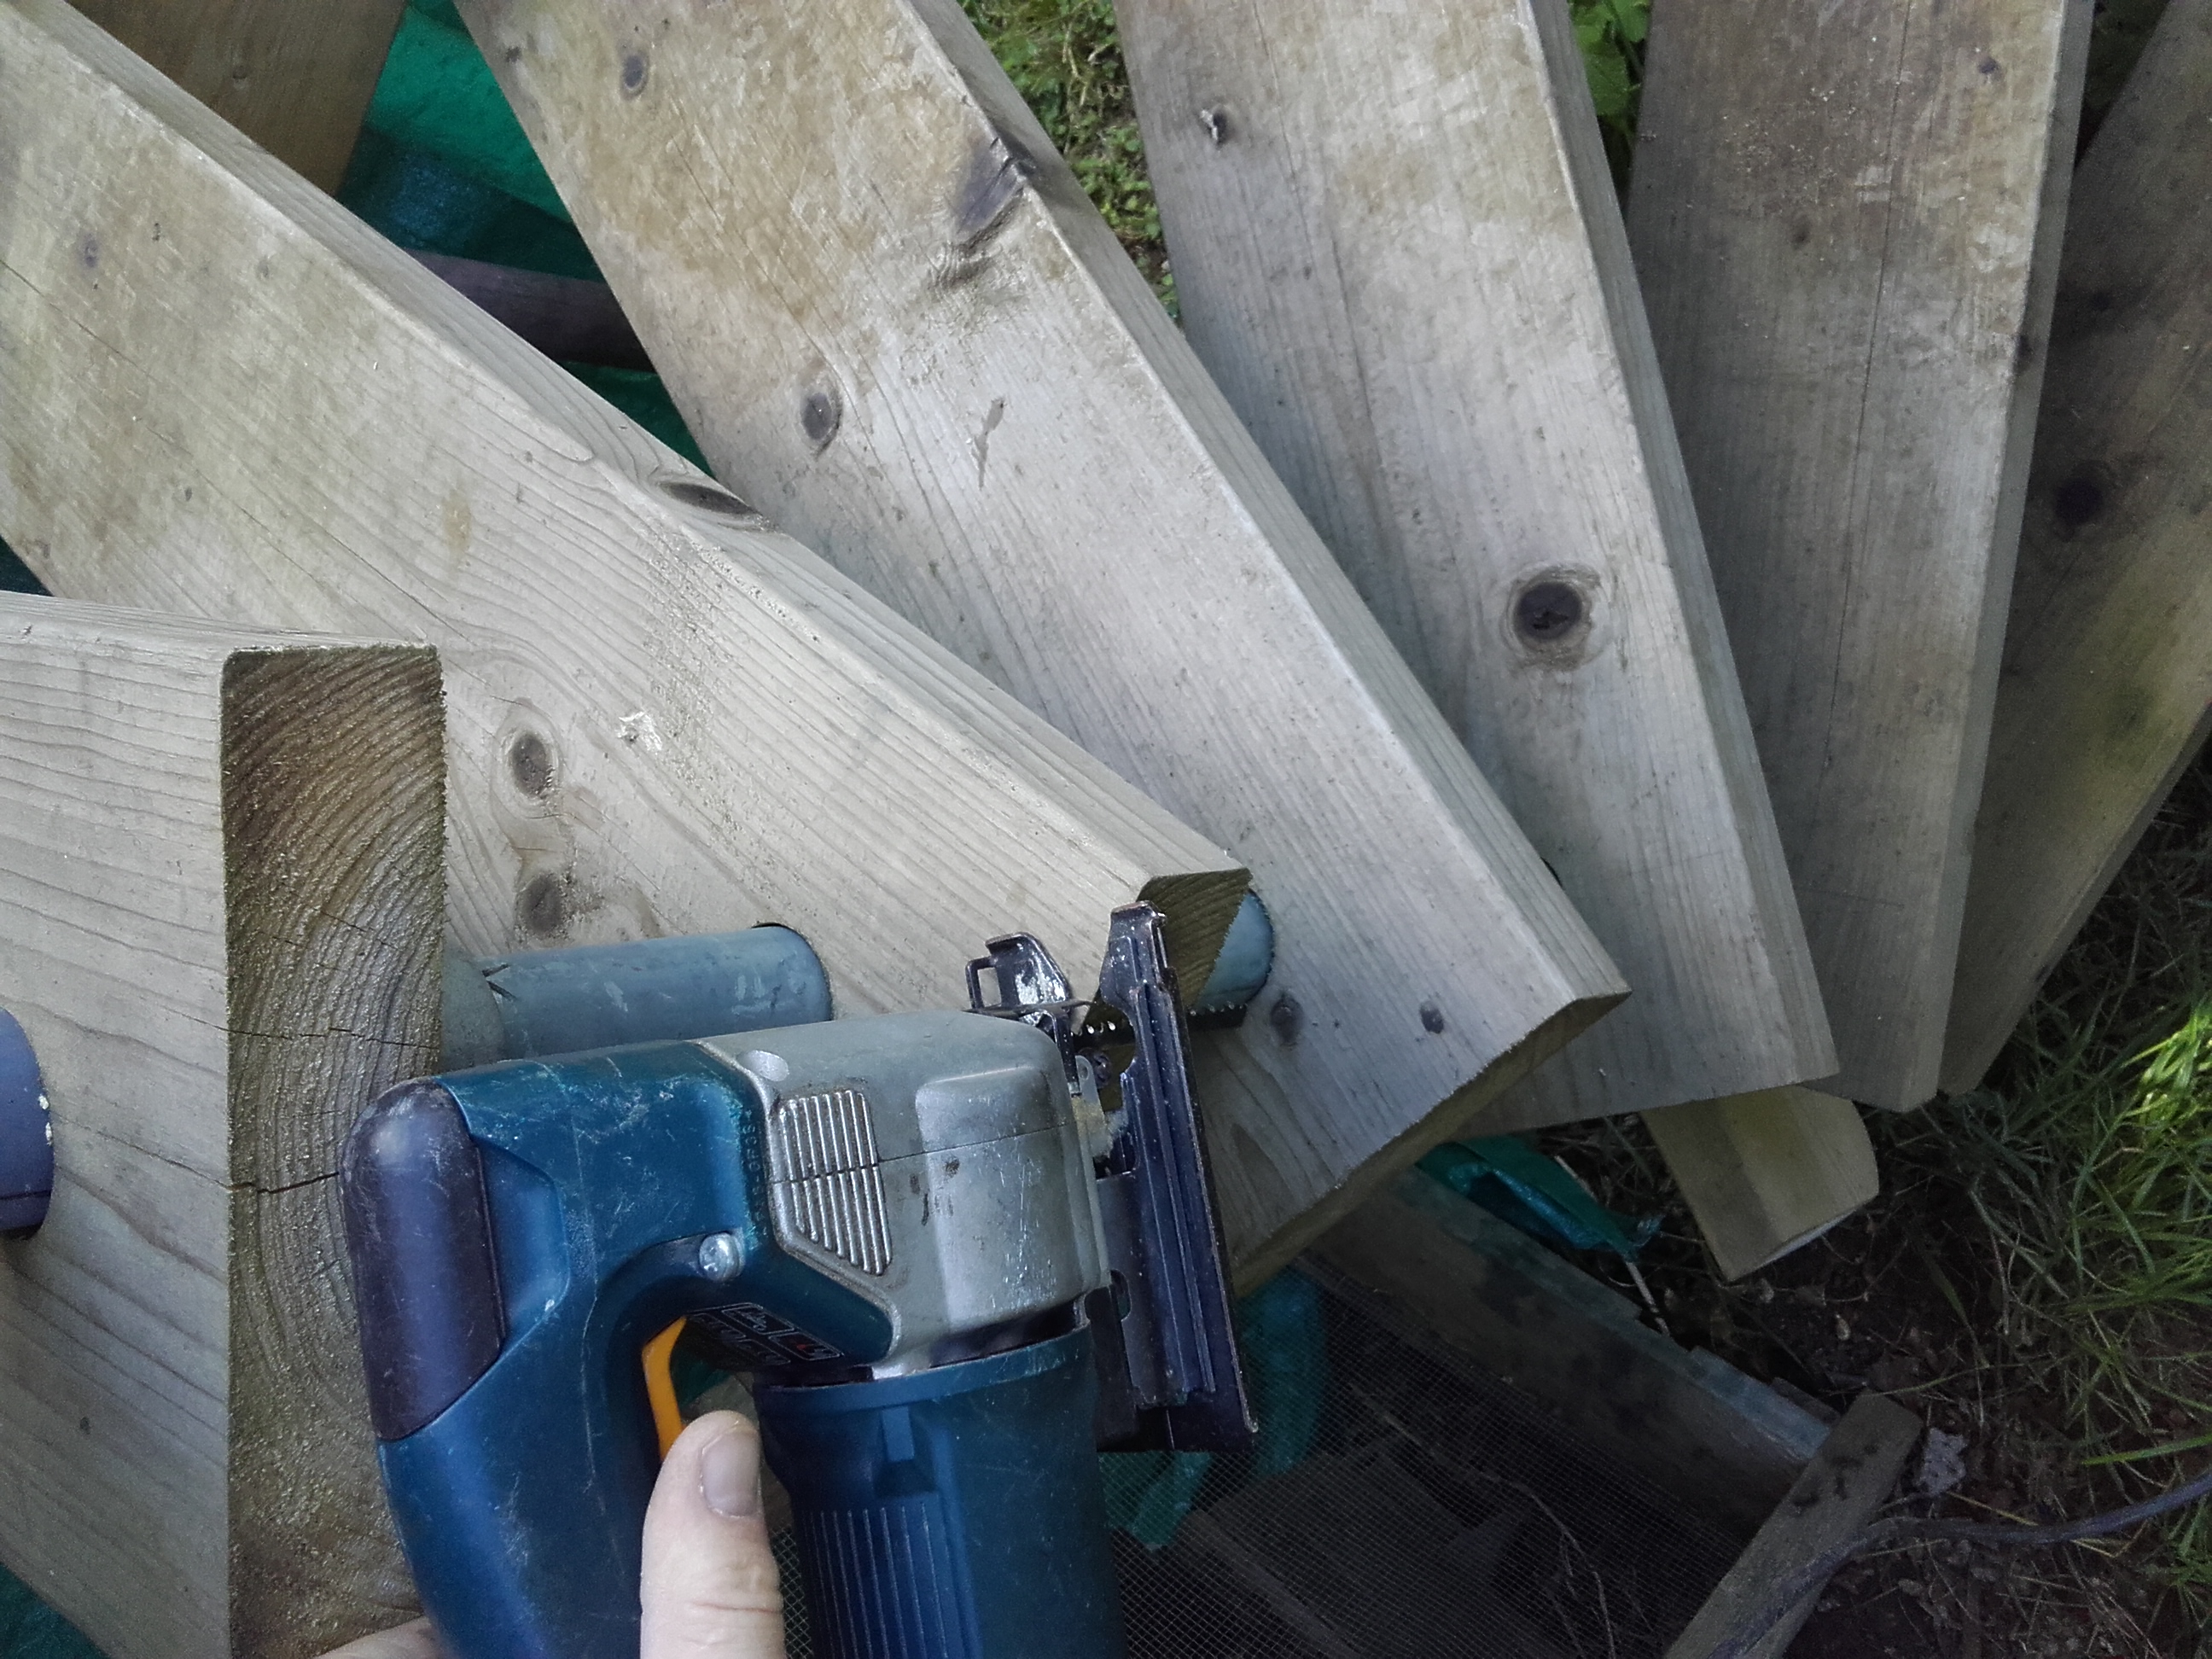
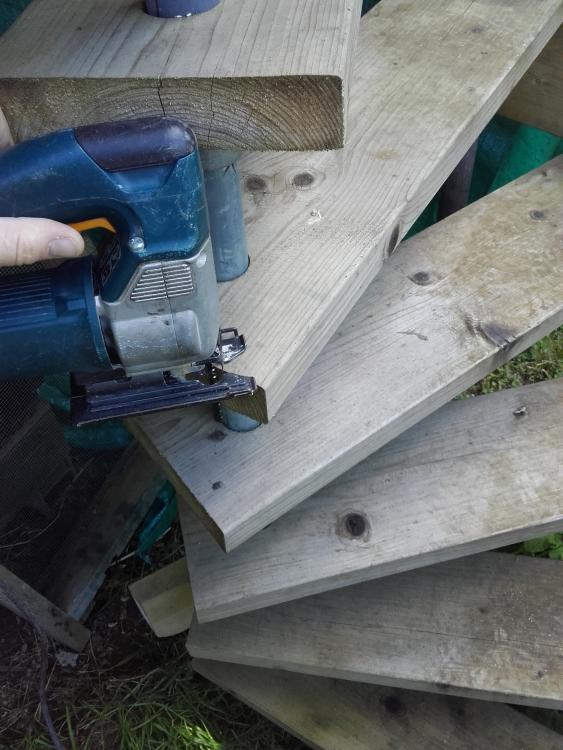
Going back in the garage to look for that B&D old school jig saw attachment. Can't modify the Bosch jigsaw as the blade tightening device comes all the way up to the curved black bit that swings out as a handle. Popped my head up in the (garage) loft briefly yesterday and judging by the smell I've got whatever I had in the house loft a while back up there where I couldn't identify the poo. My money's on squirrels now as outside the garage the other day I disturbed something that legged it along the soffit . Neighbours conifers are so close I think it provides easy access. As daft as it sounds I wonder if using the jigsaw upside down might work?
-
Finishing the evening with a Fullers Honeydew. Now there's a poser; Cornetto Classico or Flake ice cream?
-
Shpelling mishtakes?
-
Best answer yet methinks!
-
I was drinking Hophead from the Darkstar Brewing Co. earlier at the local fete and very nice it was too (£3/pint). Just debating a Hobgoblin (5.2%) or maybe a King Goblin (6.6%).....haven't touched a drop of glue all day tbh.
-
Even my little, no name 18V cordless jig is too tall to go in there. Somewhere I think I have the old B&D attachment that attaches to their old electric drill. So far I've found the sander and circular saw but can't find the jig saw for love nor money! I've never actually used them but got given all 3 still in their boxes. Not sure tbh if I've still got an old B&D metal drill anywhere. Other than that then it'll either be a very small, sanded radius or cut chamfers and sand as said.
-
Just read the Gorilla glue label and that says it's D3!
-
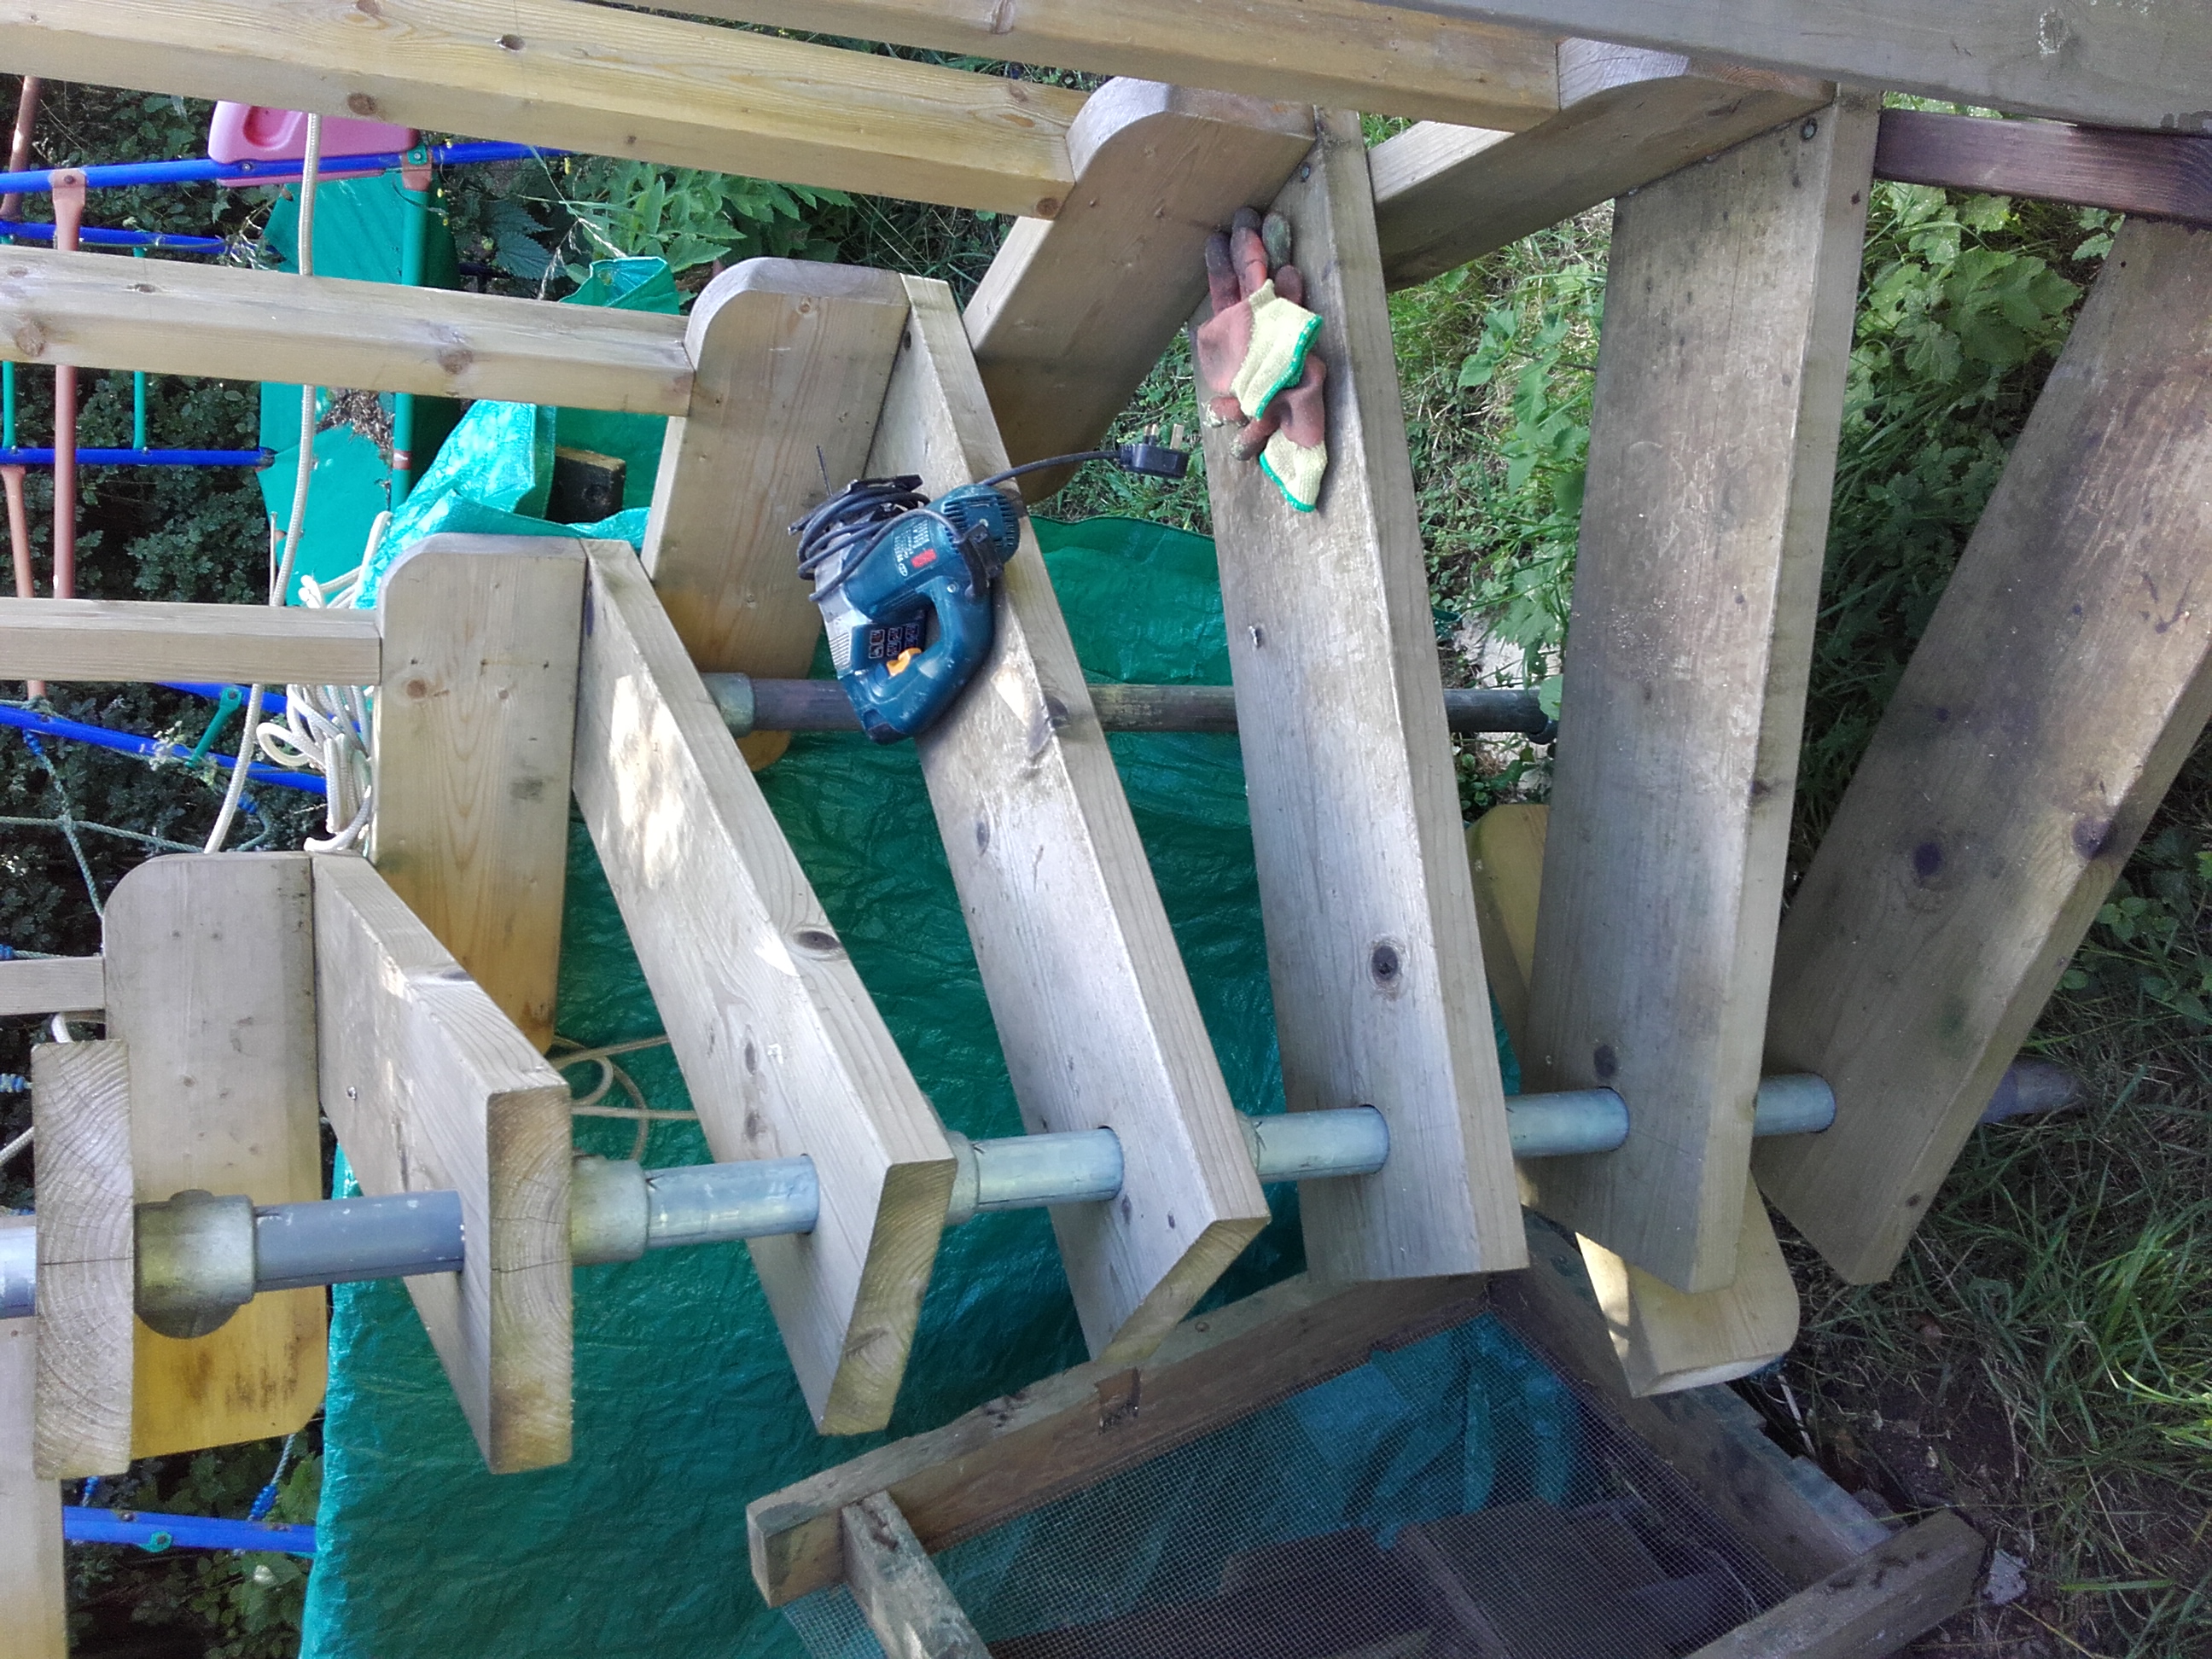
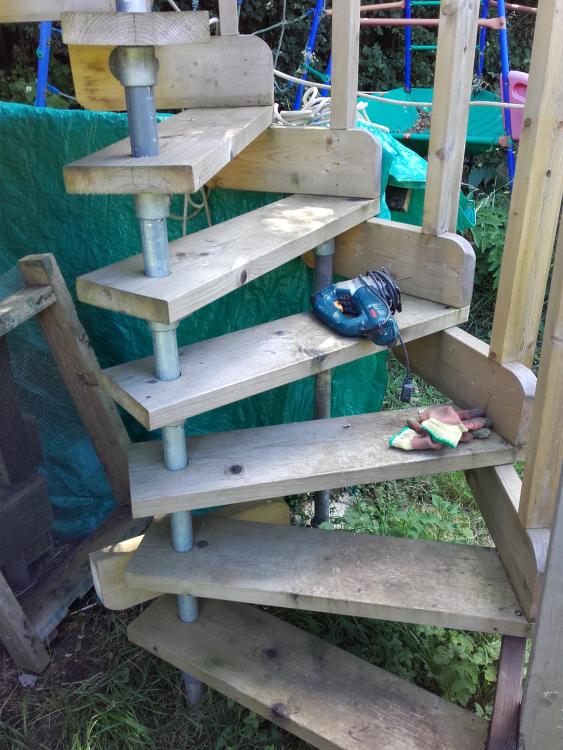
Any suggestions how I can radius the corners of the treads WITHOUT dismantling the spiral staircase? I know, I should have done it beforehand! Jigsaw won't fit under from either direction!I
-
Well I wipe off D4 (yellow bottle from T'ststion) with a wet rag no problem at all?
-
As said I've gone from D4 to Gorilla glue, just for a change really as I know a couple of people who rave about Gorilla. I see some boat builders don't like the idea of the "foaming" action of Gorilla apparently and that they've had failures, maybe Jeremy can comment. This from the D4 site: "D4 Wood Adhesive is a solvent free industrial grade D4 wood adhesive based on the latest hybrid resin technology. The result of several years work, D4 Wood Adhesive provides the user with a waterproof D4 grade wood adhesive with none of the safety issues associated with conventional isocyanate containing (polyurethane) D4 grades." I wonder then is Gorilla a " conventional isocyanate containing (polyurethane) D4 grade". Using Gorilla at the mo and tbh I'm "unsure" whether I like it / prefer it to D4. Tbh EVERY product to date I've had from EVERBUILD (who make D4) has been pretty good, from preservers to additives and roof repair compounds.
-
D4 - £6.16/ 1L @ T'station Gorilla - £8.00 / 532ml @ Screwfix I've got both.....maybe I'll do a taste test!
-
I'm using Gorilla Glue (for the first time) doing the boxing in around my bath with marine ply. I've used D4 elsewhere on wall battens etc.
-
You have to be very careful that the gloss levels match for a start and even then it's hit and miss. I had industrial equipment come over from NZ apparently 30% gloss. I ordered 30% gloss touch up aerosols from HMG Paints in the UK and it appeared duller on application. I went back and got 60% gloss which matched better the NZ 30%. Go figure! I just lived with it but on a house I understand how it could be a bother.
-
It was I think a suggestion over on eBuild that I use SBR rather than PVA to seal the concrete floor in the bathroom. Glad I did. If ever there was evidence of how "tough" the product is it was proved to me last night. I'd left probably half a litre of the stuff diluted at 5:1 in a plastic jug in the corner of the room. Me being me and the time it takes for me to do anything it had evaporated. Was was left in the base of the jug was akin to armour I kid you not. With PVA I could have peeled it off and re-used the jug. I tried levering the SBR coating off with a flat blade screwdriver and it was a bitch. It was so well adhered to the inside of the jug & I could hardly even dig into it. In the end I put the screwdriver thru the jug wall as that gave up.
-

Bath Surround / Boxing In, and concealed pipework
Onoff replied to Onoff's topic in Bathrooms, Ensuites & Wetrooms
Tell her it's less floor to clean and more shelves for ornaments..... Tbh, my headache continues! By turning the bath through 180deg I'm having to re-think the pipe run to the taps as the feeds now have to come across/under where the pump motor will sit. Lucky I like a challenge! Still need to source some quality tap hole blanks in chrome or decide if I'm fitting mood lights there..... -
Might be of interest to anyone who likes comprehensive plumbing catalogues: http://www.richmondsoflondon.com/products
-
Data Cat5 and other wiring
Onoff replied to Auchlossen's topic in Networks, AV, Security & Automation
Jeremy, can you please post that Bluetooth ceiling speaker link here when you get a mo. I remember it was over on eBuild. Cheers. -
How to find a correctly sized microwave?
Onoff replied to Ferdinand's topic in Kitchen Units & Worktops
You could also consider buying a "standard" microwave and then get a purely aesthetic front plate laser or water jet cut to cover the surrounding hole incorporating fixing points, vent slots etc. The finish on the stainless plate is usually bang on and you just peel off the protective film. -
How to find a correctly sized microwave?
Onoff replied to Ferdinand's topic in Kitchen Units & Worktops
A bit late but TLC do Baumatic: https://www.tlc-direct.co.uk/Main_Index/Domestic_Index/Baumatic_Microwaves/index.html -
Bath Surround / Boxing In, and concealed pipework
Onoff replied to Onoff's topic in Bathrooms, Ensuites & Wetrooms
Decided to try the bath rotated through 180deg..... BUT that means putting a short trench in the floor slab for the pump motor support bracket and some modding of the boxing in: I'll tidy the trench up a bit later. -
I know the site pavingexpert.com was much recommended over on eBuild. With my boy driving soon (hopefully) need to think about extending the parking area. Just been looking at it and thinking what a cracking site it is. Posting here for the benefit of new members: http://www.pavingexpert.com/