
Bozza
-
Posts
825 -
Joined
-
Last visited
-
Days Won
2
Everything posted by Bozza
-
ok so if you provide a list of issues at your meeting (effectively a community impact assessment) that you’ve already identified to the attendees, like the sewage pipe & school drop, plus your mitigating measures planned, then that will send a positive message to those attending in terms of your considerate approach. Have blank spaces on your assessment so you can note specific concerns and indicate you are looking to address them Effectively what you’re doing is flushing out any concerns and potentially resolving them prior to your PP. This reduces the chances of objections and increase chances of support. if your plot perhaps borders any public communal areas or open space you may with to consider perhaps donating some planting or a bench that kind of thing. Or a donation to the community council to put some thing in to the community. Nominal gesture, but as a thank you for your support and apology for the disruption. hearts and minds and all that.
-
I’ve never bought the argument of “it’s my land, my house and sod the neighbours”. I think you’re doing the right thing. Architecture is an art form and as such everyone has a subjective view. The best way to get the neighbours on side in that respect is to try to make the design as sympathetic as possible eg nod to local architecture, materials, roof lines etc - like you say sensitive to the area. It doesn’t surprise me when someone has problems trying to build a German box amongst village cottages. try to avoid the question “do you like it”. Maybes “do you think we’re trying to be sympathetic in terms of size, material etc” or “do you like the fact we’re using local stone” etc. The second issue to flush out and potential technical issues eg road access, drainage etc. things that could scupper your plans. Locals may highlight legitimate things you weren’t aware of that could scupper planning approval. Building up a relationship with your neighbours in a new small community is vital. When speaking to individuals ask them “how does this build impact on you personally”. That gives them an opportunity to speak up any hidden concerns and allows you effectively assess that risk and implement mitigation measures. eg next door neighbour tells you they are a night shift worker and worried about noise disturbance. Though that wouldn’t impact on PP that person could object on more substantive factors as a means to an end. Lastly having a good relationship can have advantages. My new neighbours helped me out with diggers, and disposal of many tonnage of spoil. One neighbour was happy to chop down an unwanted tree and take the firewood. You are right about the perceptions of certain communities being suspicious about incomers. It’s not about accent so much or where you’re coming from it’s more about they just don’t want loud obnoxious arrogant d#cks coming into their community and spoiling it. There are substantial differences between living in big cities and the rural communities, in terms of relationship with neighbours.
-
Smart meter external aerial last ditch attempt?
Bozza replied to SuperJohnG's topic in Consumer Units, RCDs, MCBOs
I’m in Scotland too and in some parts of rural Scotland smart meter communicate via radio signals. In England via mobile network signals. In Scotland they are currently trialling extender systems to allow more smart meters to communicate as they should be. I know this because my smart meter doesn’t communicate and I had an Engineer around explaining this a couple of weeks ago and I’m now on a waiting list for roll out once the trial ends. Allegedly. -
Because your neighbours are nutters I’d definitely run it past your local planners. And ideally incorporate barbed wire & a machine gun post in your design. But surely as you are elevated above them would you need to go as high as 2m?
-
…and if your struggling to find a plot have you considered buying something to demo…that’s how we did it as couldn’t find a suitable plot in the right location.
-
Ok….so if this is more about learning how to design a house yourself, for your needs…..and doing so as an interim source of pleasure until you get your plot (which is exactly what I did),… what I’d advise you to do is design houses based upon actual real plots that you see in your area, or even further afield. As such you’ll learn about how to incorporate your needs into specific plots. I think that would be more helpful as a learning opportunity. Inevitably you’ll get the best advice here based upon actual plot as it’s so incredibly relevant to the house design. but a word of caution….if your house design is your “baby”, as it can sometime be for most of us, be prepared for folk to tell you they think you’ve got an ugly baby Nobody want to do that of course but creative criticism can drive your forward to a better design.
-
Honestly, don’t waste anymore time on this. Wait until you get a plot. That design & layout may be totally unsuitable for the plot you buy. You have some nice ideas, the rear overhang is nice and having the main living / kitchen area are strong. But your interior layout has some obvious problems including basic things like interior hallways with zero natural light, insufficient entrance hallway space, and walking through a room to get to another room. I had my ideas and designs prior to finding a plot. This impacted negatively on my final design as I had a mindset of what I thought we wanted and tried to force that into our design. With hindsight I should have approached my plot with a far more open mind. Keep a portfolio of images, rooms, like the one in your post by all means. When you get the plot either get an architect, get some inspiration from other house designs online, or seek advice here in particular from the likes of those with expertise like @ETC That would be my best and honest advice, but would caveat this by saying it’s your house / your money etc….
-
A picture would explain thing better :)
-
Convert UK driveway to garage?
Bozza replied to Benjamin Whitehouse's topic in House Extensions & Conservatories
Really struggling to see how you’d get any light into the front of the living room, which appears to be the length of the house. Only thing might be to section off that dark section and perhaps have a utility, or downstairs loo there, which doesn’t need light, and push the living area back to the rear of the house where there would be light, perhaps with a glazed addition there if you need more room. But a lot would depend on the layout downstairs. I assume staircase is to left and doorway leads to livingroom which acts as a thoroughfare to rear of house? Or do you have a hallway downstairs. I doubt you could successfully add a garage to the front and not reconfigure the house downstairs. I think you’d struggle to get a pitched roof on the garage due to the upstairs bedroom so you’d likely be looking at a flat roof. with a big budget and a good architect (if allowed by planners) I think it could be done well, but the time you do all that you might be better off simply moving to a suitable house with a garage. -
We went for Rationel, and have been happy with them in terms of price -v- quality etc. didn’t shop around that much TBH. Pretty sure other members will have experience of the other brands.
-
We're featuring on Grand Designs next week 🎥
Bozza replied to thefoxesmaltings's topic in Property TV Programmes
Congratulations guys you’ve done an amazing job. So sorry about your Mum Zara. A trauma in our family also motivated us to self build, so I get it. She’d be very proud of what you’ve achieved. -
We're featuring on Grand Designs next week 🎥
Bozza replied to thefoxesmaltings's topic in Property TV Programmes
Oh and BTW you’ll be asked a lot about your GD experience so suggest you write an essay about it -
We're featuring on Grand Designs next week 🎥
Bozza replied to thefoxesmaltings's topic in Property TV Programmes
Was there something unusual about your build? Why were they interested in you guys, other than the Hollywood smiles? GD usually don’t feature run of the mill builds. -
Ooenreach are appalling.
-
We're featuring on Grand Designs next week 🎥
Bozza replied to thefoxesmaltings's topic in Property TV Programmes
I trust you inserted the words “Buildhub” into every recorded interview. If not, expect abuse from members. -
…..but I should add if you take @joe90’s recommendation and it goes south, you can blame him :)
-
Ah…..so you’re asking if you install what will be a tall domestic timber fence will it be sufficient for security and site protection.. Near us is a partially completed housing estate. Some of the building site areas are definitely sectioned off from the occupied areas by what is clearly domestic fencing that will be left as such once completed. So basically can a little kid get in through your proposed timber fence is your litmus test. So the answer is yes, but obviously in a plant equipment -v- timber fence WWF clash, new timber fence will lose, but your heras fence would be seeking a rematch.
-
Costco (oddly) are doing installed garage doors by Cardale. Products via Costco are usually good quality and they offer excellent customer service, but I cannot comment on Cardale specifically. They’re on the Costco website if interested. But I would add a condiderable weighting to any supplier personal recommendation by a regular BH contributor, especially from the likes of @joe90. (Not for a moment suggesting other BH member’s recommendations are not sound of course).
-
Welcome. 1. hold off on house design until you’ve got a plot. Though good that you know what you want at this stage. The house design should come after the plot. 2. What @ETC has presented / suggested is significantly better design & architecture. 3. The good news is that contemporary Scottish rural builds are very simple in their form - agricultural - and thus can be less expensive to build. Per 2. Above good luck !
-
Though I designed my house without an architect, and saved quite a bit of money, I do feel if I’d had input from a good architect my house would have been better and I may have avoided some mistakes. I think their knowledge of light, space, materials etc can be very valuable. I think you’re right that a good architect is more likely to push design boundaries and if you want to build something a bit more special a good architect would do that. Key is getting the right architect.
-
Self Build Mortgage - Conveyancing Solicitor
Bozza replied to SarahHutch's topic in Party Wall & Property Legal Issues
Do you have a lender identified, if so can they recommend someone? -
……..er……you need to reread my comment Gus as it was intended, that Etc is deserving of an award from BH for the work they do. You’ve entirely misinterpreted my comment and thus flaming someone who agrees with you. Not cool.
-
We put coving in the lounge, TV room, and downstairs hallway. Its nice in the lounge and tv room as they are both quite large square rooms, but less good in the hallway. what I do regret not doing is incorporating led into it, I think that can look high end. I think coving can look good in a big grand house (or room), but perhaps less so in a more modest house. As you’re selling it on if I were you I’d not put it in. I doubt a potential buyer isn’t going to buy a house because it doesn’t have coving, but if someone doesn’t like it it’s a PITA to remove it.
-
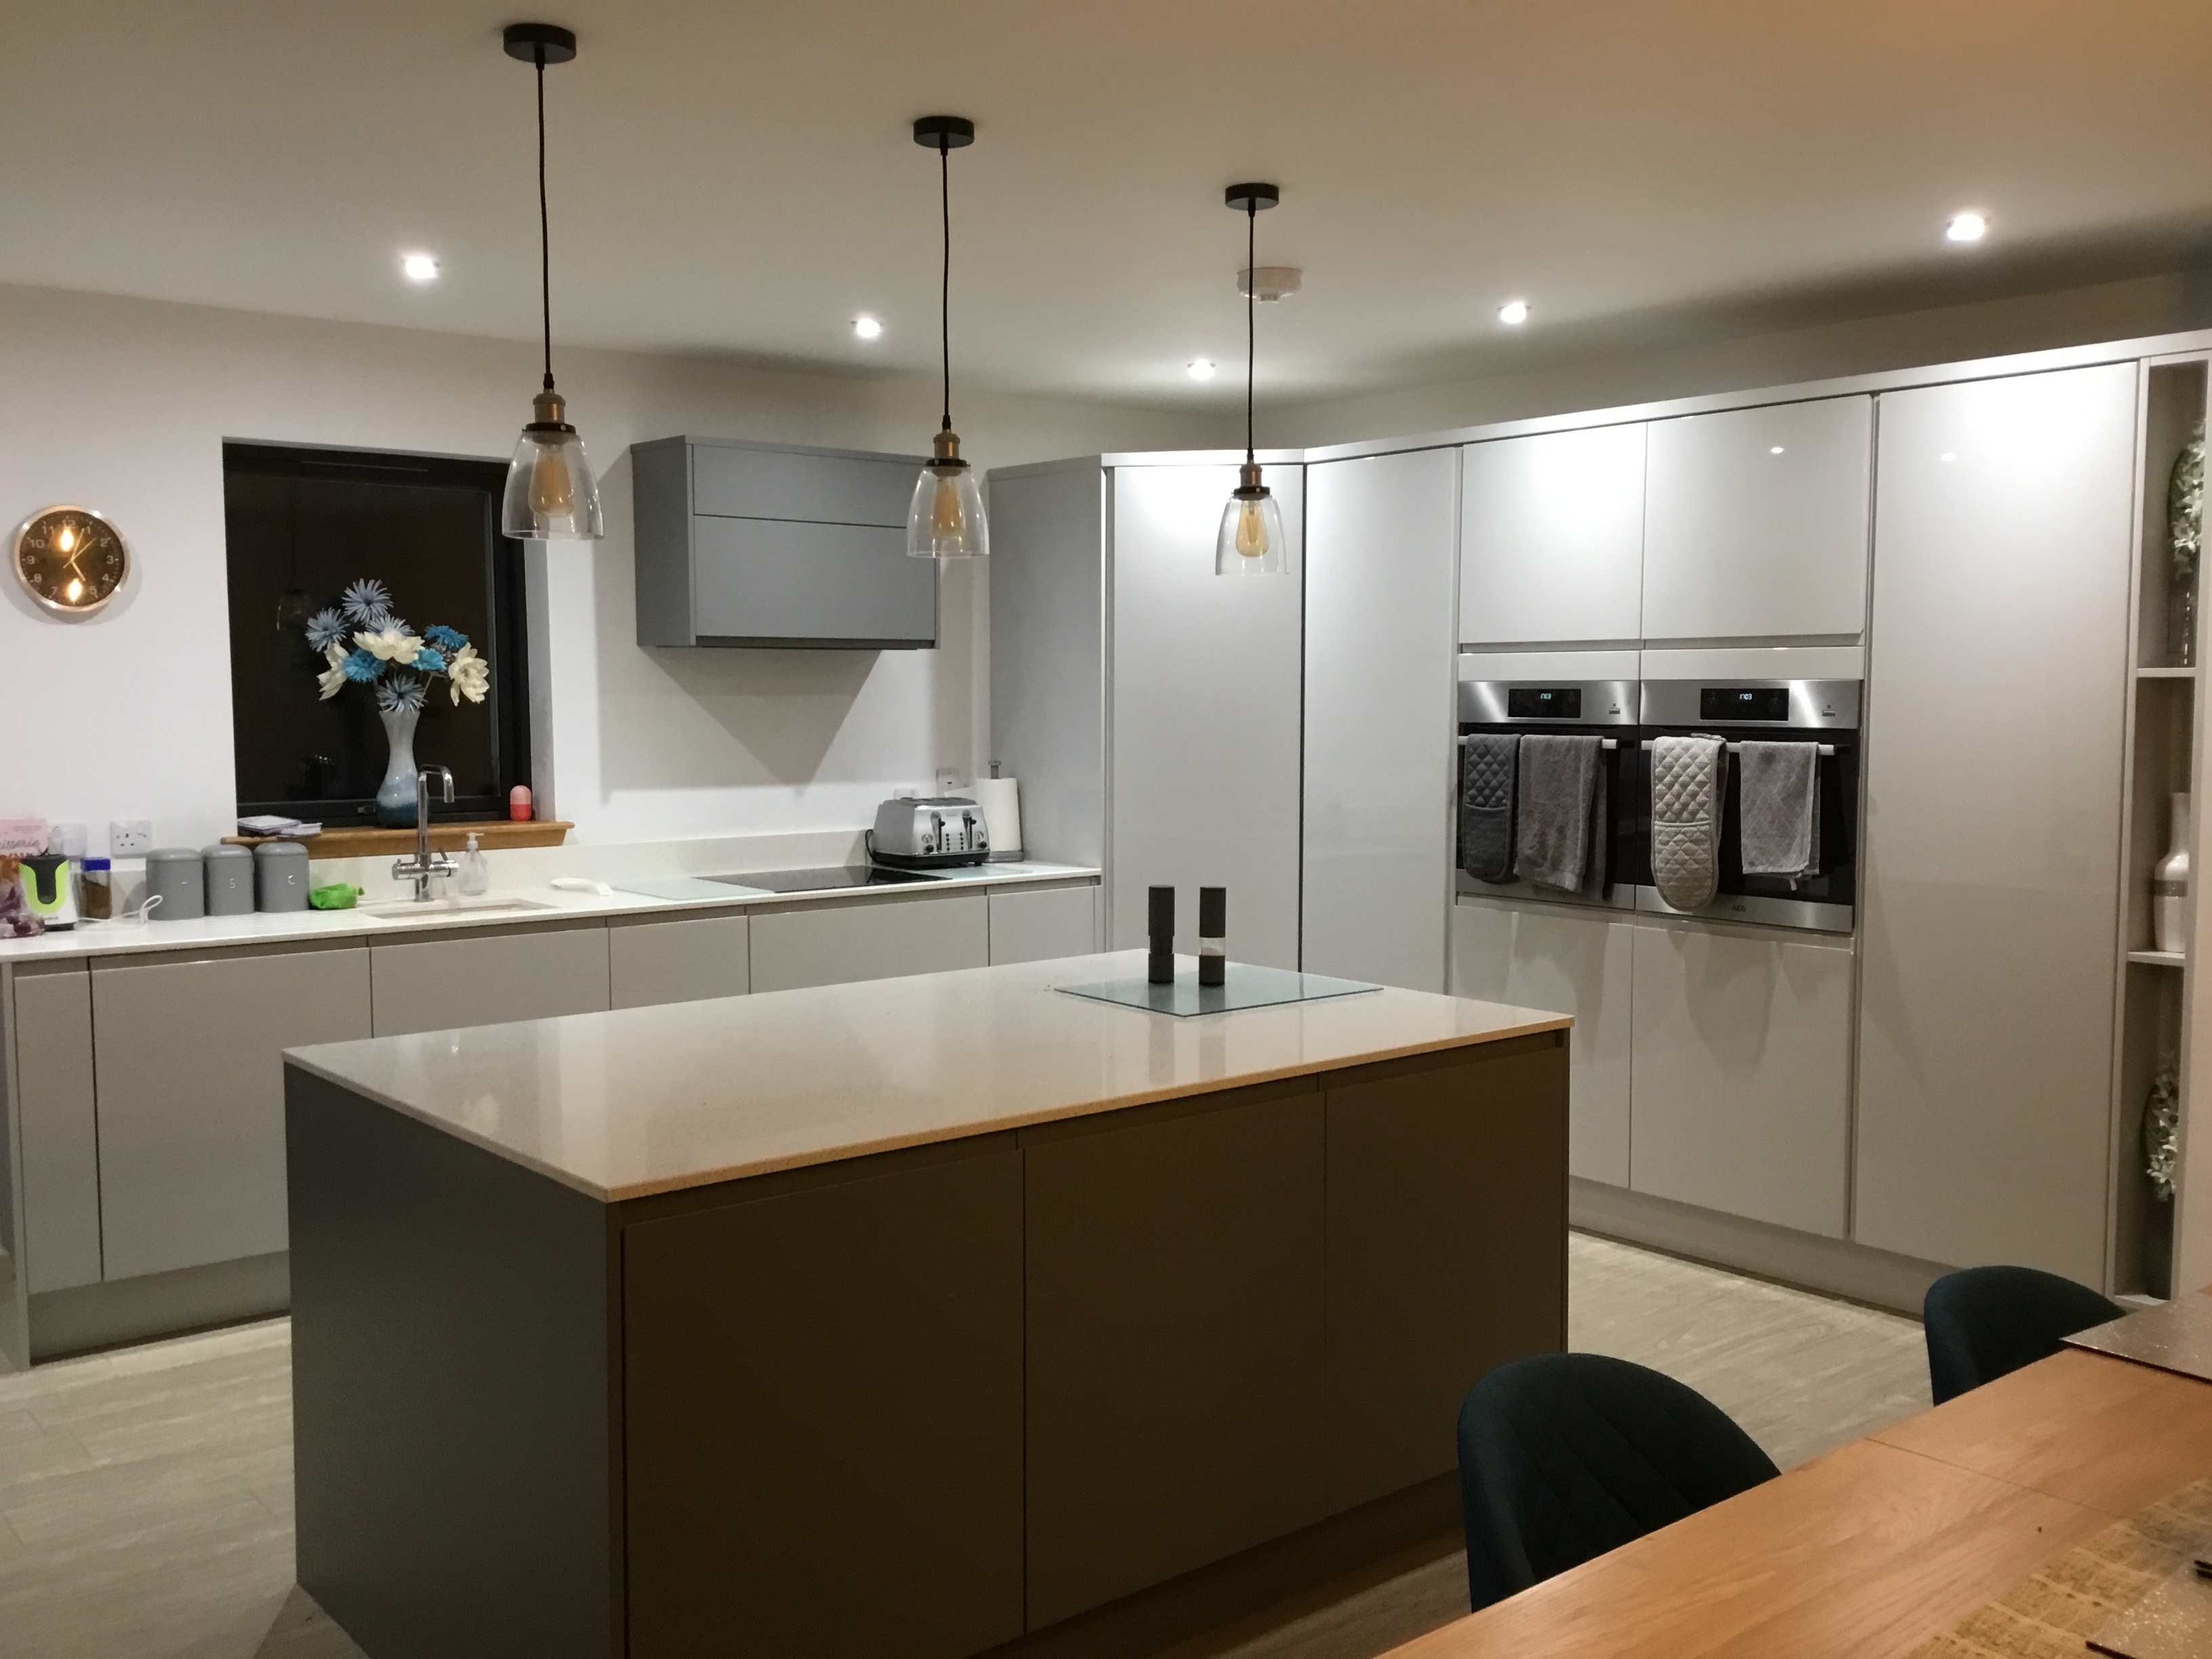
Agree about wall unit height above sink. we have a similar size island (1800x1200) island without sink / hob. It’s great for food prep etc but it aesthetically inevitable looks plain and difficult to “dress”. I’ve attached a pic. with hindsight would have put the hob on the island.

-
If within budget can recommend Rationel 3G from ADW at Sauchen.