zoothorn
-
Posts
4747 -
Joined
-
Last visited
-
Days Won
3
Everything posted by zoothorn
-
Ah ok. But I think we're back at loggerheads over who the supplier is, I say it's vaillant whose hardware they've agreed isn't up to par & paying to replace ( not govt or public ST ), but I think here you're suggesting it's the installers.
-
But I only mean if it costs vaillant to remove it, it might suit both to leave it. Furthermore if it's govt putting it in, & public & govt fkn up my whole income with brexit ST....... then in my view it's a reasonable idea.
-
Update. Vaillant agreed to cover all costs to replace with a monoblock, finally got certainty: no costs to me for the swap. I would have a bloomin hole though in my 1st floor bedroom exterior wall left.. would you think I should just accept/ fix, or part of the installers swap job? Anyway my orig installers are to come & survey the job, then swap ( when.. well I need alot more patience, but hey-ho can cope now). If I can keep the old 'split' 2 units (a big IF but would cost Vaillant alot to remove surely, & store) would you think they'd be worth something? I wonder whether I could 'recoup some of the stress' should I be allowed to keep them, if I sold them. Idea just occured to me. zoot
-
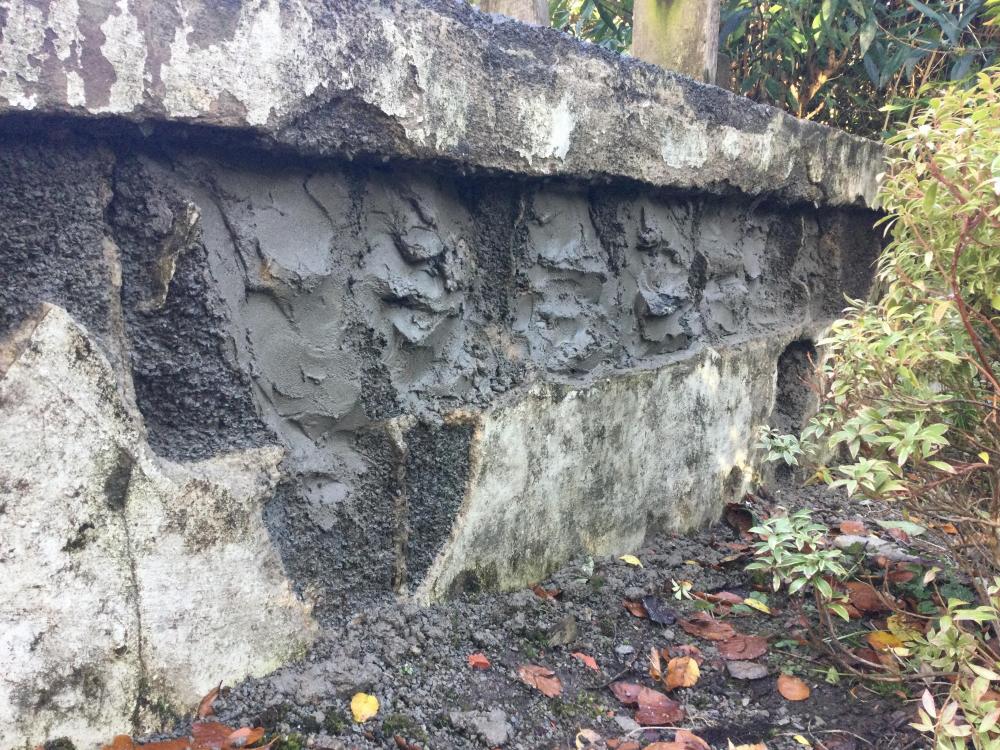
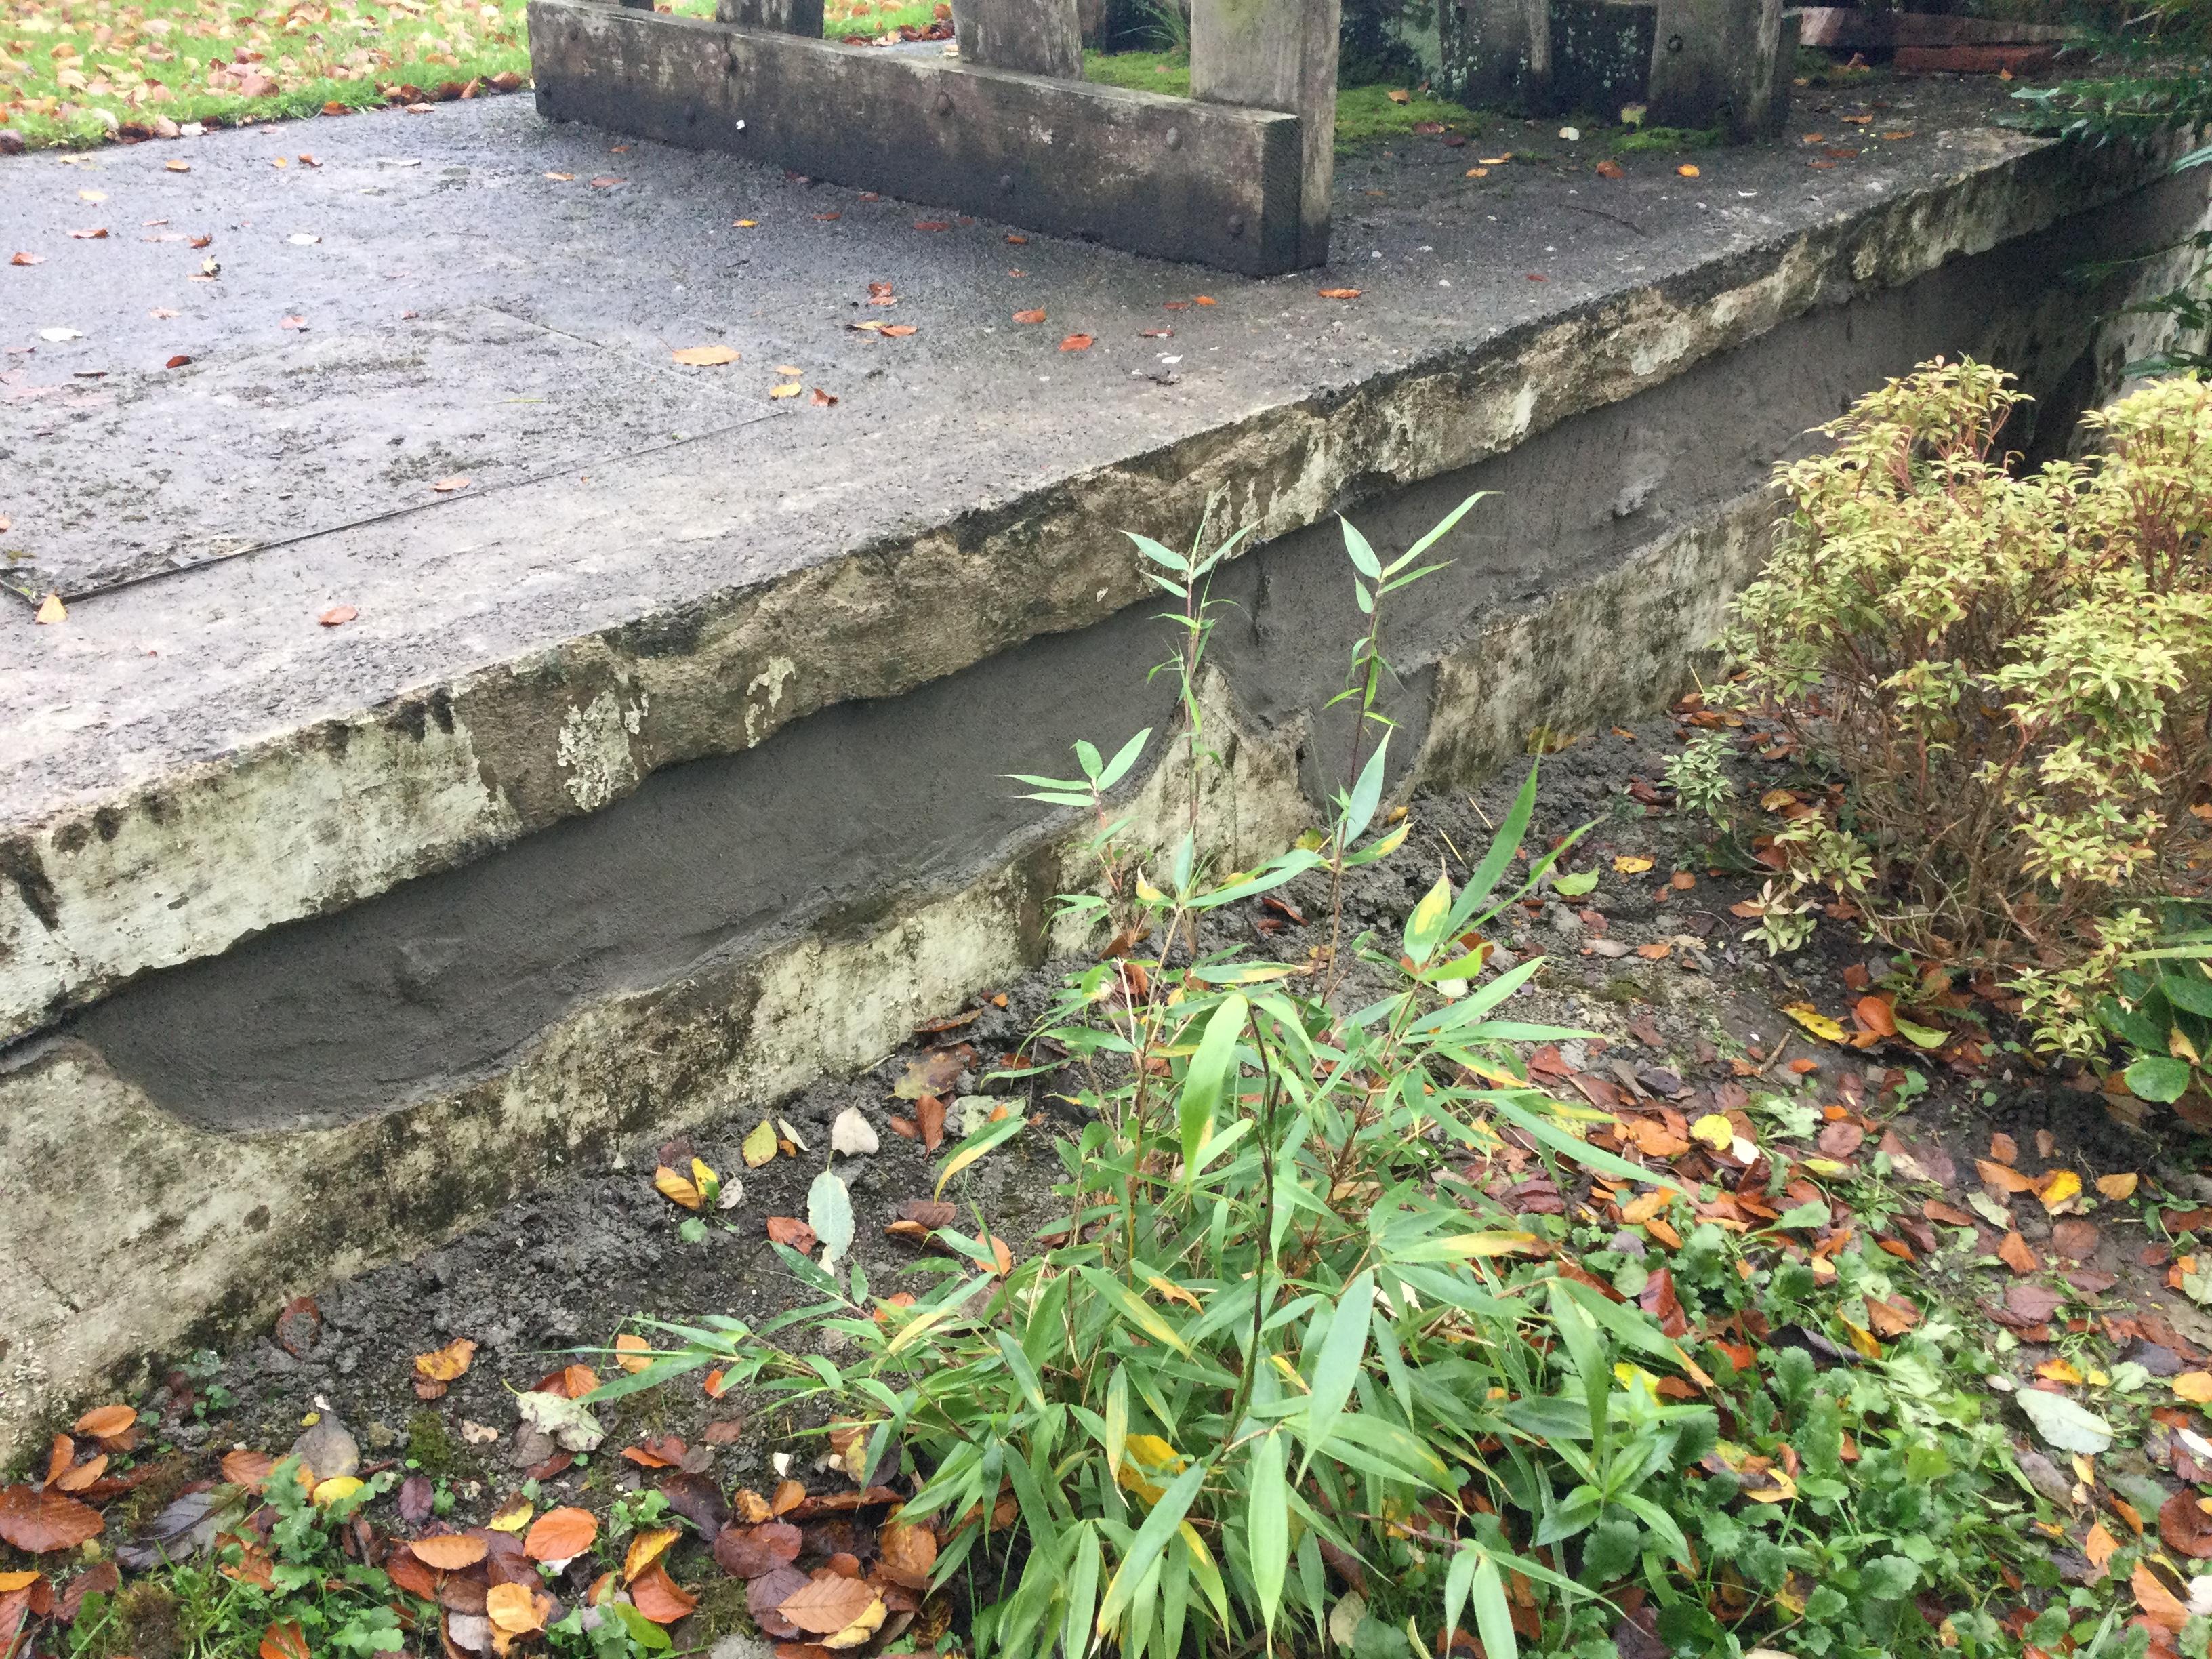
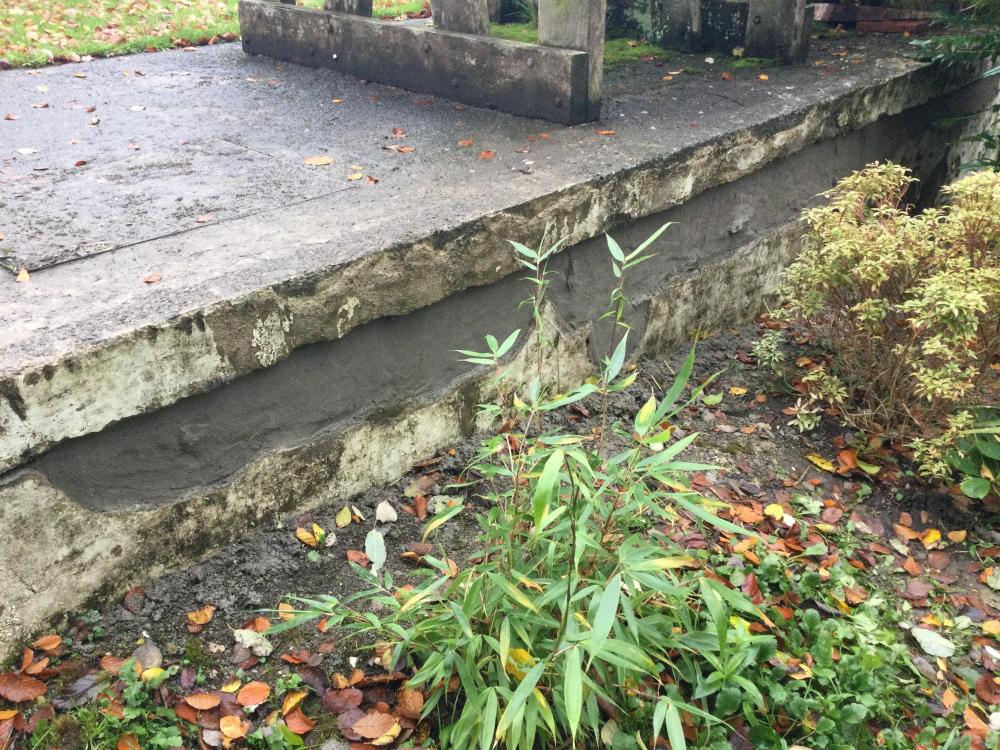
Yes, no more pongy pooper.. 5 years of whiff from those holes/ will be a serious improvement. I put the idea of repairing aside as I had no idea it wouldn't be anything but remove lots of crumbling blocks, & rebuild a whole section of blockwork & then render/ daunting for me. Fantastic I've got this done at last. Was thinking paint green to blend in. Then maybe astroturf the top.. but v.costly stuff (£150 ish just for this area ).
-
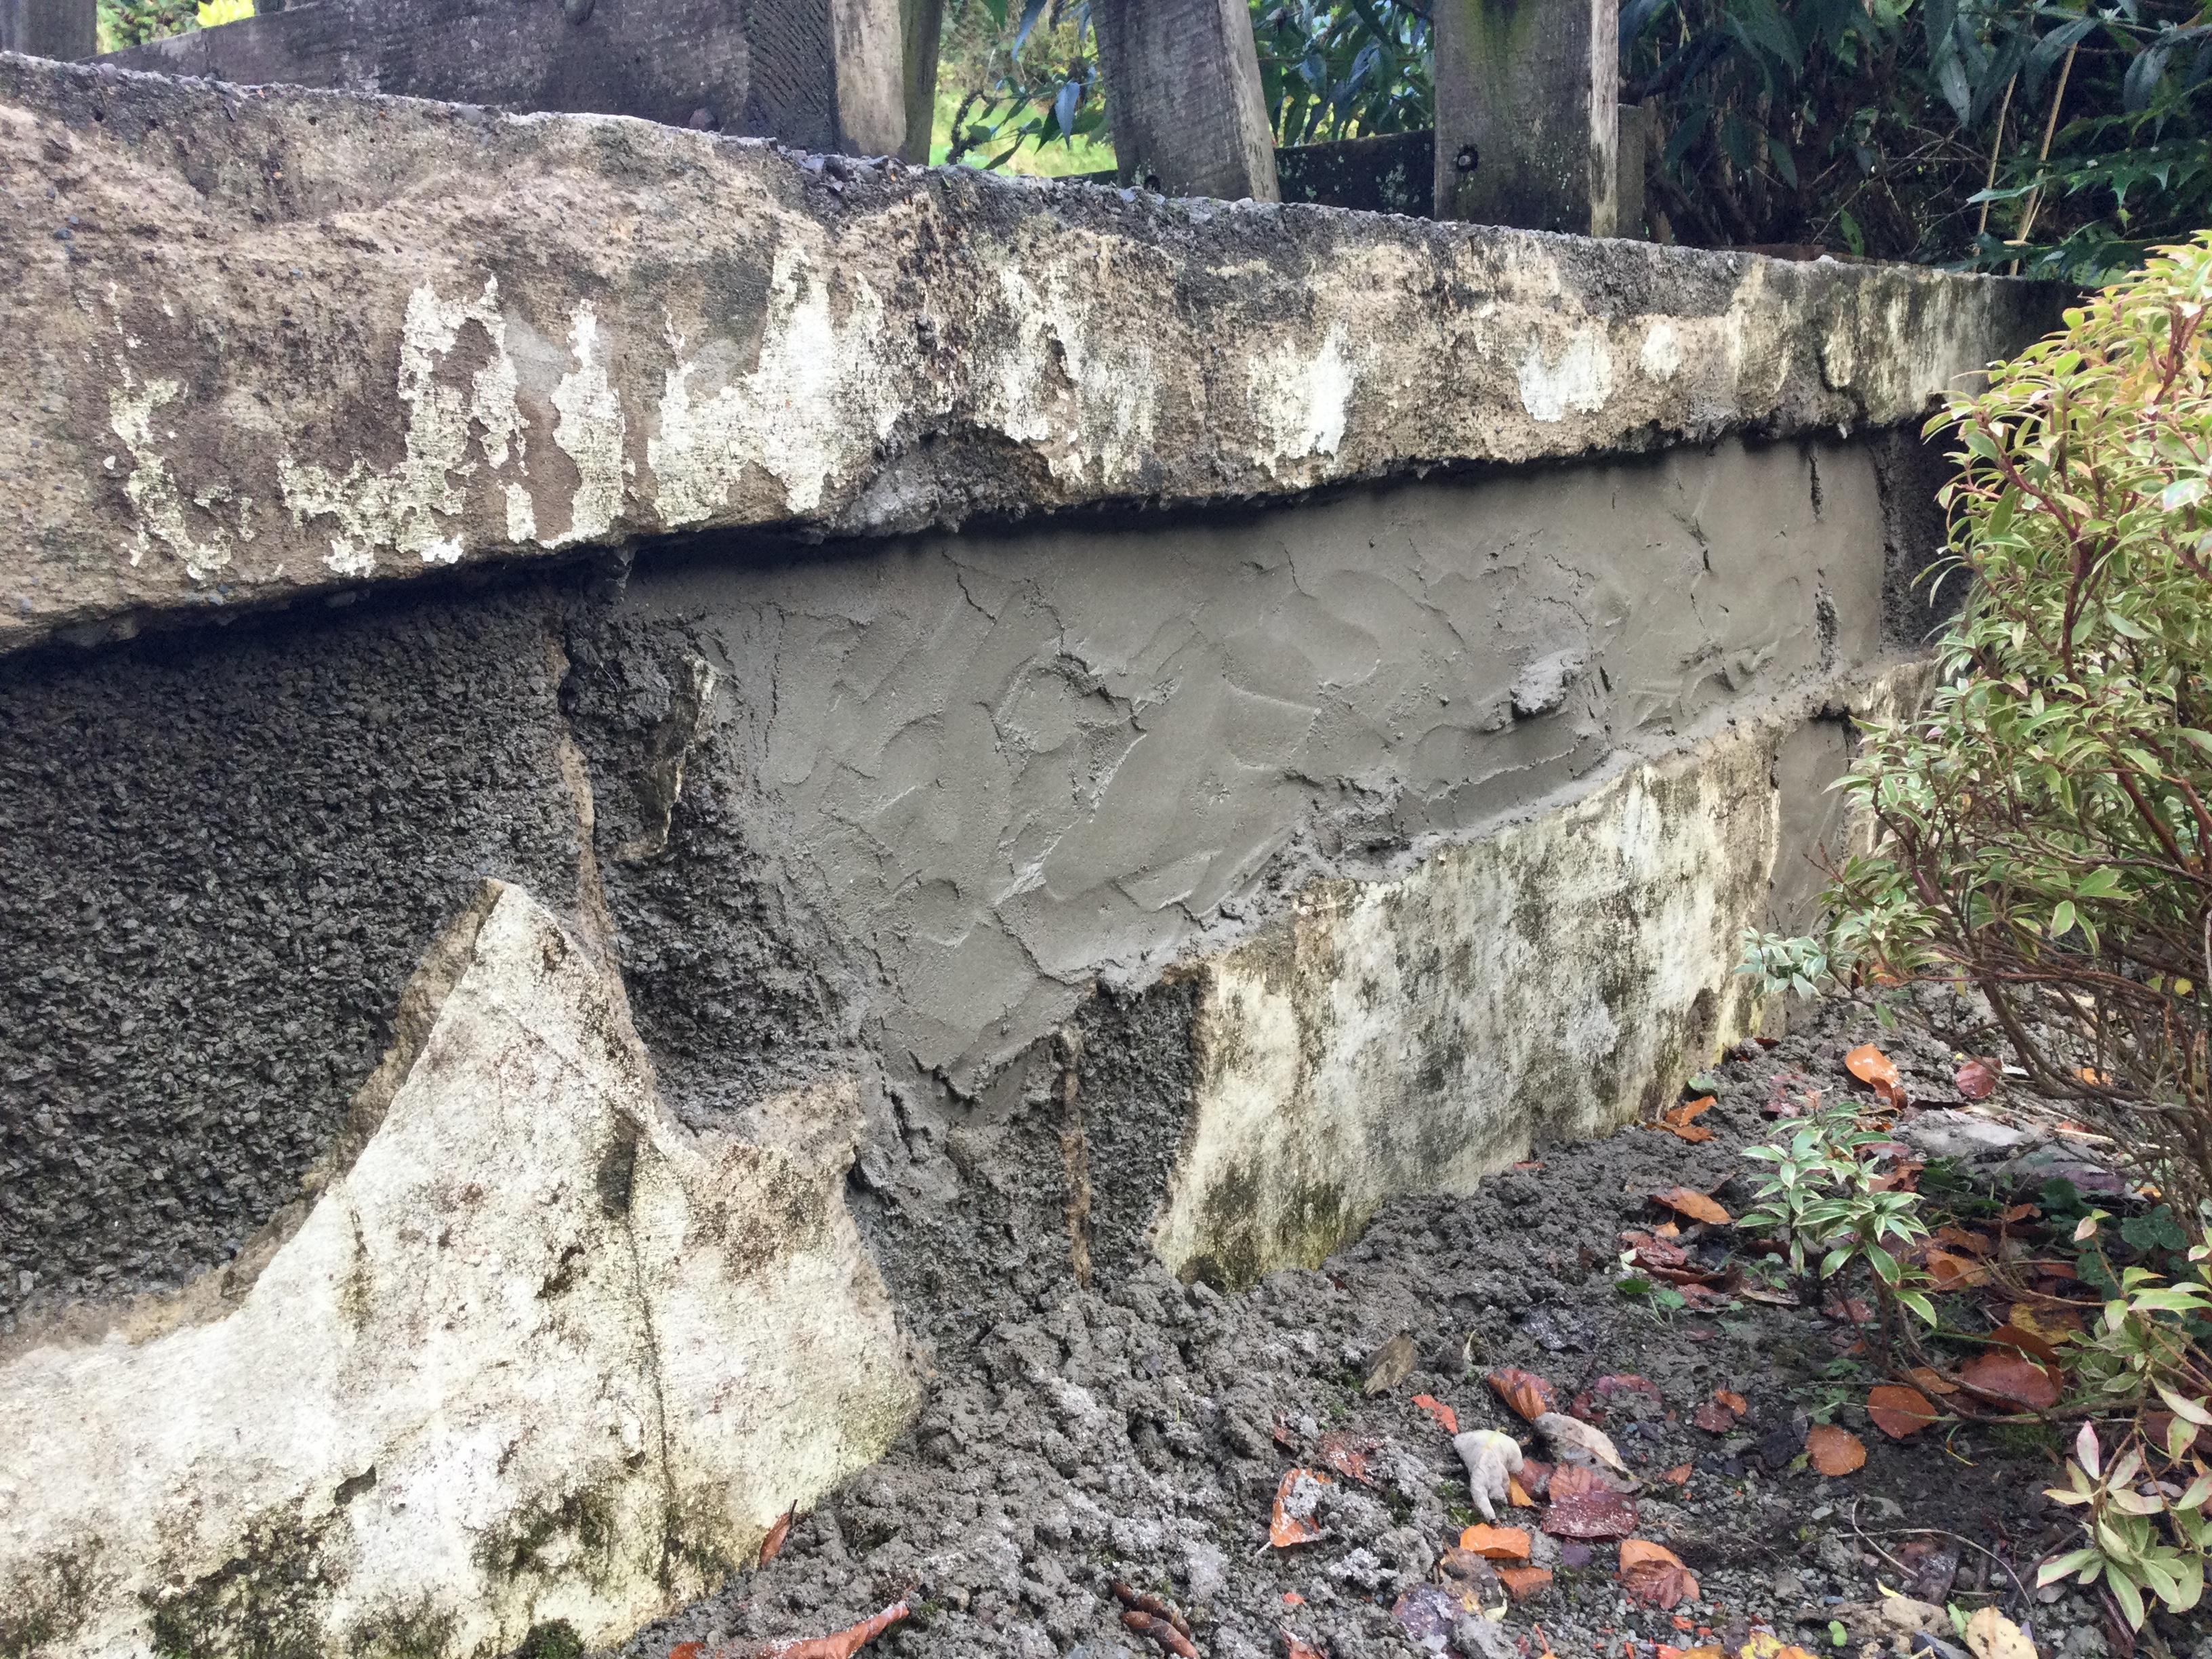
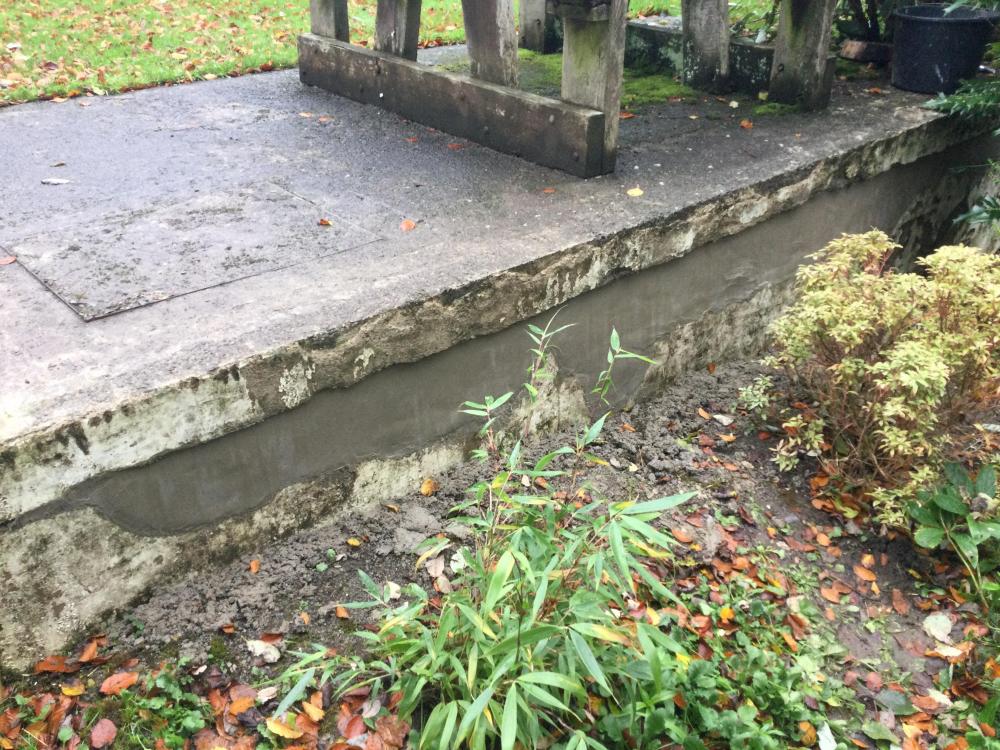
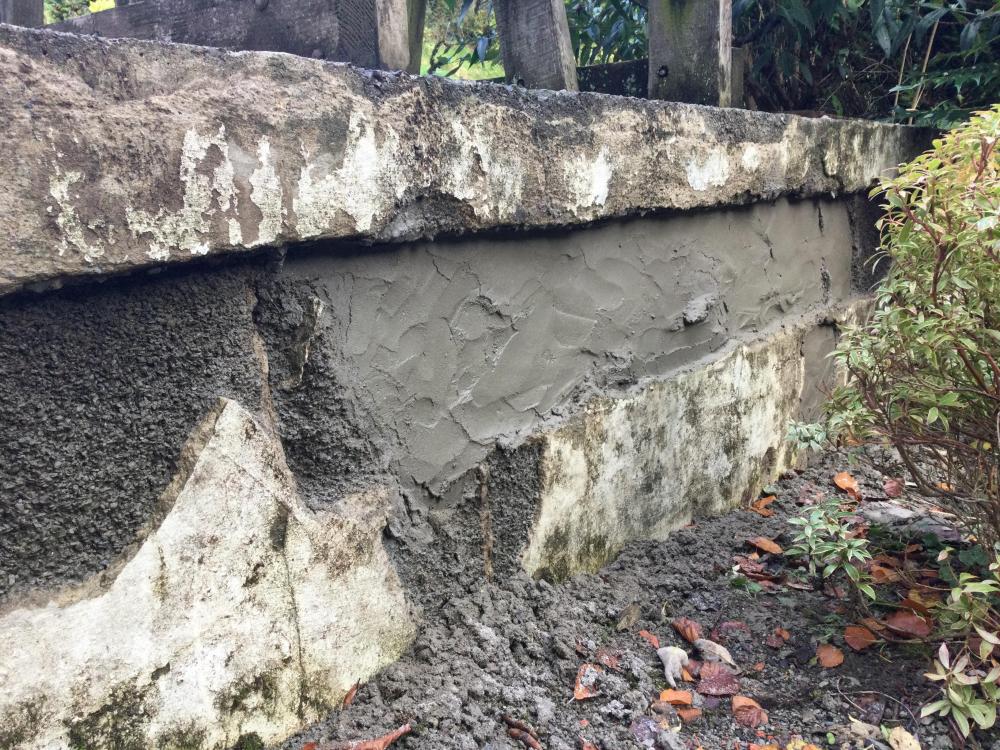
Rescued my flab a bit last evening pushed the render up & scraped some off. Bit more to do but job done really. An average job I think but hopefully all it needs. Thanks for the help markc especially on this. Onto the next job next week. Zoot.
-
Urgh.. rendering not nearly so easy.. hard to stick, a third falling off, & it's sagging down too so i got a saggy flab layer & a gap along the top. I might just be able to wing a very average job out of this now.. bit disa pointing ( clever pun).
-
All prepped for render, krispies seen to..
-
@Onoff great idea as per usual thx. But just seen this reply. In fact yesterday I just grabbed a big handful of cocktail sticks! Did a job. So onto my render today to finish (me, a job in 4pgs?!). I wish they sold 5 kg of hydrated lime.. urgh I cant use 80% of a 25 kg bag assuming it wont keep in a v. moist climate. So just sand: cement alas, anyway no need for the perfect job for here.
-
Hi jfb. Understood: Im lucky here it takes a day longer for anything to dry, clothes or mortar.. so will scratch today/ render tmrw. Thx zh
-
As early as that? Great ok markc. So my final render mix ratio would be what-? (Im hoping to goodness lime isn't mentioned!). Terrific.. job onto last stage now.
-
How long to cure for the 3:1 approx 1cm krispies seal layer ( just done ) before I can I render over the whole lot? I guess as the 3rd mortar layer is thicker it's dependent on this. A week or so? Getting more confident with mortar, a lovely material to work with! But I will cry if the word 'lime' is mentioned re. my final rendering. Thanks zoot
-
Update on patchin' up zoot's pooper.. 3rd mortar layer just done, ready to seal my krispies with a 3:1 mix today. Then I guess its a layer of render ontop of the lot.
-
@ProDave I still can't understand the inevitable holes in the grate waggler thing, & at the horizontal bar use use to open close the throat plate thing back of stove. Both would be bigger than your small glass crack. But never taken into account. My air thing into the top of fire, i assume you mean the front slidy control knob sbove the glass, for me if i open it.. the temp drops. I can understand this only by way of cold air coming in & heading for the flue, lowering the temp. Actually i dont understand this control at all.. because its said in general that if you open it, its meant to - increase- the temp. Mine does the total opposite, so I never use it.
-
Understood entirely dpm. Its been the same with new rope fitted before, now Im changing it it won't be different. Air seems to be getting in but where is a mystery really. The design does have some strange hole and pan thing, on the far back at bottom, like a plate that opens/ shuts onto a round 3" hole.. with an up/ down lever. But the design so hopeless often it doesn't close perfectly flat, so, Ive dispensed with this air intake by keeping closed& a weight keeping it shut/ never use the lever. Ruling this out. Instead of this strange hole, I just open the ash pan door ( only ever on my innitial start burn, to get it up to my 300*F fig.. then shut it). Plus the sliding 5" or so plate open back of firebox: i think everyone one has this, plus the ash door, plus some slidy front button ( i can see only pushes coldair onto the fire... so seems nothing but useless to me/ kept closed). I hate the thing!
-
Still seems very uncured, i did it fairly wet, & here everthing remains wet especially in this showery weather. Needs another day i reckon..
-
Hi Conor, heatproof silicone seems the best next try.. i assume the main idea is being flexible? Thx zoot
-
Im pretty sure Onoff that is herpes. And if you caught it off pocaster, well... Im up a gumtree understanding these stoves' airtight aspect tbh. Here I am faffing with small cracks, alot of time & trick jobs to locate & fill contorting myself around it... then I see this stupid design grate waggler nonsense, arm up the back etc.. & a bloody gap obviously for the stupid thing's protrusion section to slide L to R within. As big as my bloody crack. And similarly there has to be a gap, for the back door plate slide thing's handle shaft, albeit small its nevertheless a gap, which air will rocket into. But these are never nentioned. Tbh so stupid a design the grate waggler seems to me to be, ive removed the two arms of it (so I don't inadvertently use it) & stuffed the protruding iron piece's gap with wads of foil. This gap, was as big if not bigger than my front crack + mini crack gaps. So in essence, Im on a parity in terms of airthightness, having done my foil wad, as a new stove without a front crack. But mine runs away out of control, & has this guard warp thing going on ( a new stove, I must assume, just wouldn't).
-
Thanks might be he ticket. But wouldn't stoves run at much higher temps than car exhausts though?
-
Car exhaust putty? Well I never.. that's an idea. I didnt know about existance of either of these tbh. Good ideas thanks dpm.
-
Hi there thanks for this. I dad try fire cement in my front accessible crack now I recall.. but kept falling out because i think of the slight expanding/ contracting thing of the main casing. So the typical KOS black stuff, which seems to work fine on my flue/ redoing the plate etc.. will just crack & fall out should I strip it down & use this to squeeze into any slight gaps. It seems like there's a sort of fire "funnelling" towards the midfront of this guard, & I can only see something along these lines happening when I get the fire going: I stock it well, kindling & smaller split stuff, open both lower door & the plate thing back twds R, & get it going all guns until 300*F = my mark to then close both, & put on my 1st 2 logs ( on a nice glowing bed), it then ups & will run happily 330*F to 350*F.. which on my dial corresponds perfectly-aligned ( it seems suggesting Ive got my temp right ) with the midpoint of the " best operation" straight midday up: & I get decent heat from it, I think. Possibly losing a bit due to the air innevitably seeping in the wee gaps tho. So my technique.. would you say is ok? I mean nothing Im doing, is there(?) to cause this guard warping myself-? My 1st stove you see hence explaining my method. Thx zh
-
AS Im loathed to start another thread out of embarrassment ( for all my threads mounting up!), if I can ask a few general stove woes questions to you knowledgeable folks-? In my photo, my guard is warped/ bowed inwards. This suggests excessive heat, & I bought this guard to replace the one before ( ebay used stove.. not my best buy) similarly warped. Now having never run it excessively hot, it's a mystery why it's gone like this. But one clue perhaps is thus: once bought i noticed a small casing crack, on front left leg, meaning a small air intake innevitable via here. Also if it had been dropped on this corner ( i think likely reason ), then possible other small gaps in casing underneath too. Yes I shoulda returned it/ refund etc.. but didn't know significance of a small crack, thought I could just fill it & fine ( not possible). Running, it's unable to be 'shut down to minimum' properly via its two controls (it still gallops away with both closed): Im only able to tame it with a flue damper.. even so it still wants to go at a clip tbh. I cant turn it upside down/ airtest it, to find the wee gaps & weld, as it's just too massive a job to do. Could I fill this crack somehow though? Any other ideas about my warped guard? Thanks zh.
-
Hi markc .. yup getting to know all about pita jobs. Cottage full of them. This mortaring today actually fine/ 1 hr done.. spot on with your flingathon. How long before I can put layer 2 on? Leave the whole wknd maybe? Next is a stronger 3:1 'sealer' mix onto the big krispies areas. Tomorrow.
-
Yes everbuild admix a Mini splash plus 1/2 teaspoon frost stuff. 4:1 bit wetter mix to wing it in.. just staying put.
-
Hi Onoff. Should i scour the surfaces sometime/ once its going off whenever that is? I think so my next layer has a key is it..
-
Fired in a test/ seemed poss ok/ whacked it in.. far more mortar than anticipated, but shored up the stones ok w'out foam. Mortar's a good 1.5" deep in places tho. Will need maybe two more goes to get the surfaces out enough to do final render layer. How long for this 1st fairly thick layer to set? Thanks, zoot