zoothorn
-
Posts
4752 -
Joined
-
Last visited
-
Days Won
3
Everything posted by zoothorn
-

Help with kitchen renovation/ 1st house.
zoothorn replied to zoothorn's topic in Bathrooms, Ensuites & Wetrooms
Made a major c*ck up on the cupboards' painting: hours spent priming, painting (cream) 3 drawer fronts.. turned out a distaster: horrid plasticy shiny thick gloop. Wrong. Then 4x as many hours, over 3 days, paint-removing!! £12 on paint, £8 on remover & godawful job to get back as was! Cupboards shall remain oak/ as is then. Last 2 things to do. 1) fit two nice 'floating' wood shelves, or something nice like so.. any ideas? & 2) a corner cupboard last. Then job DONE. Close! -
Help with kitchen renovation/ 1st house.
zoothorn replied to zoothorn's topic in Bathrooms, Ensuites & Wetrooms
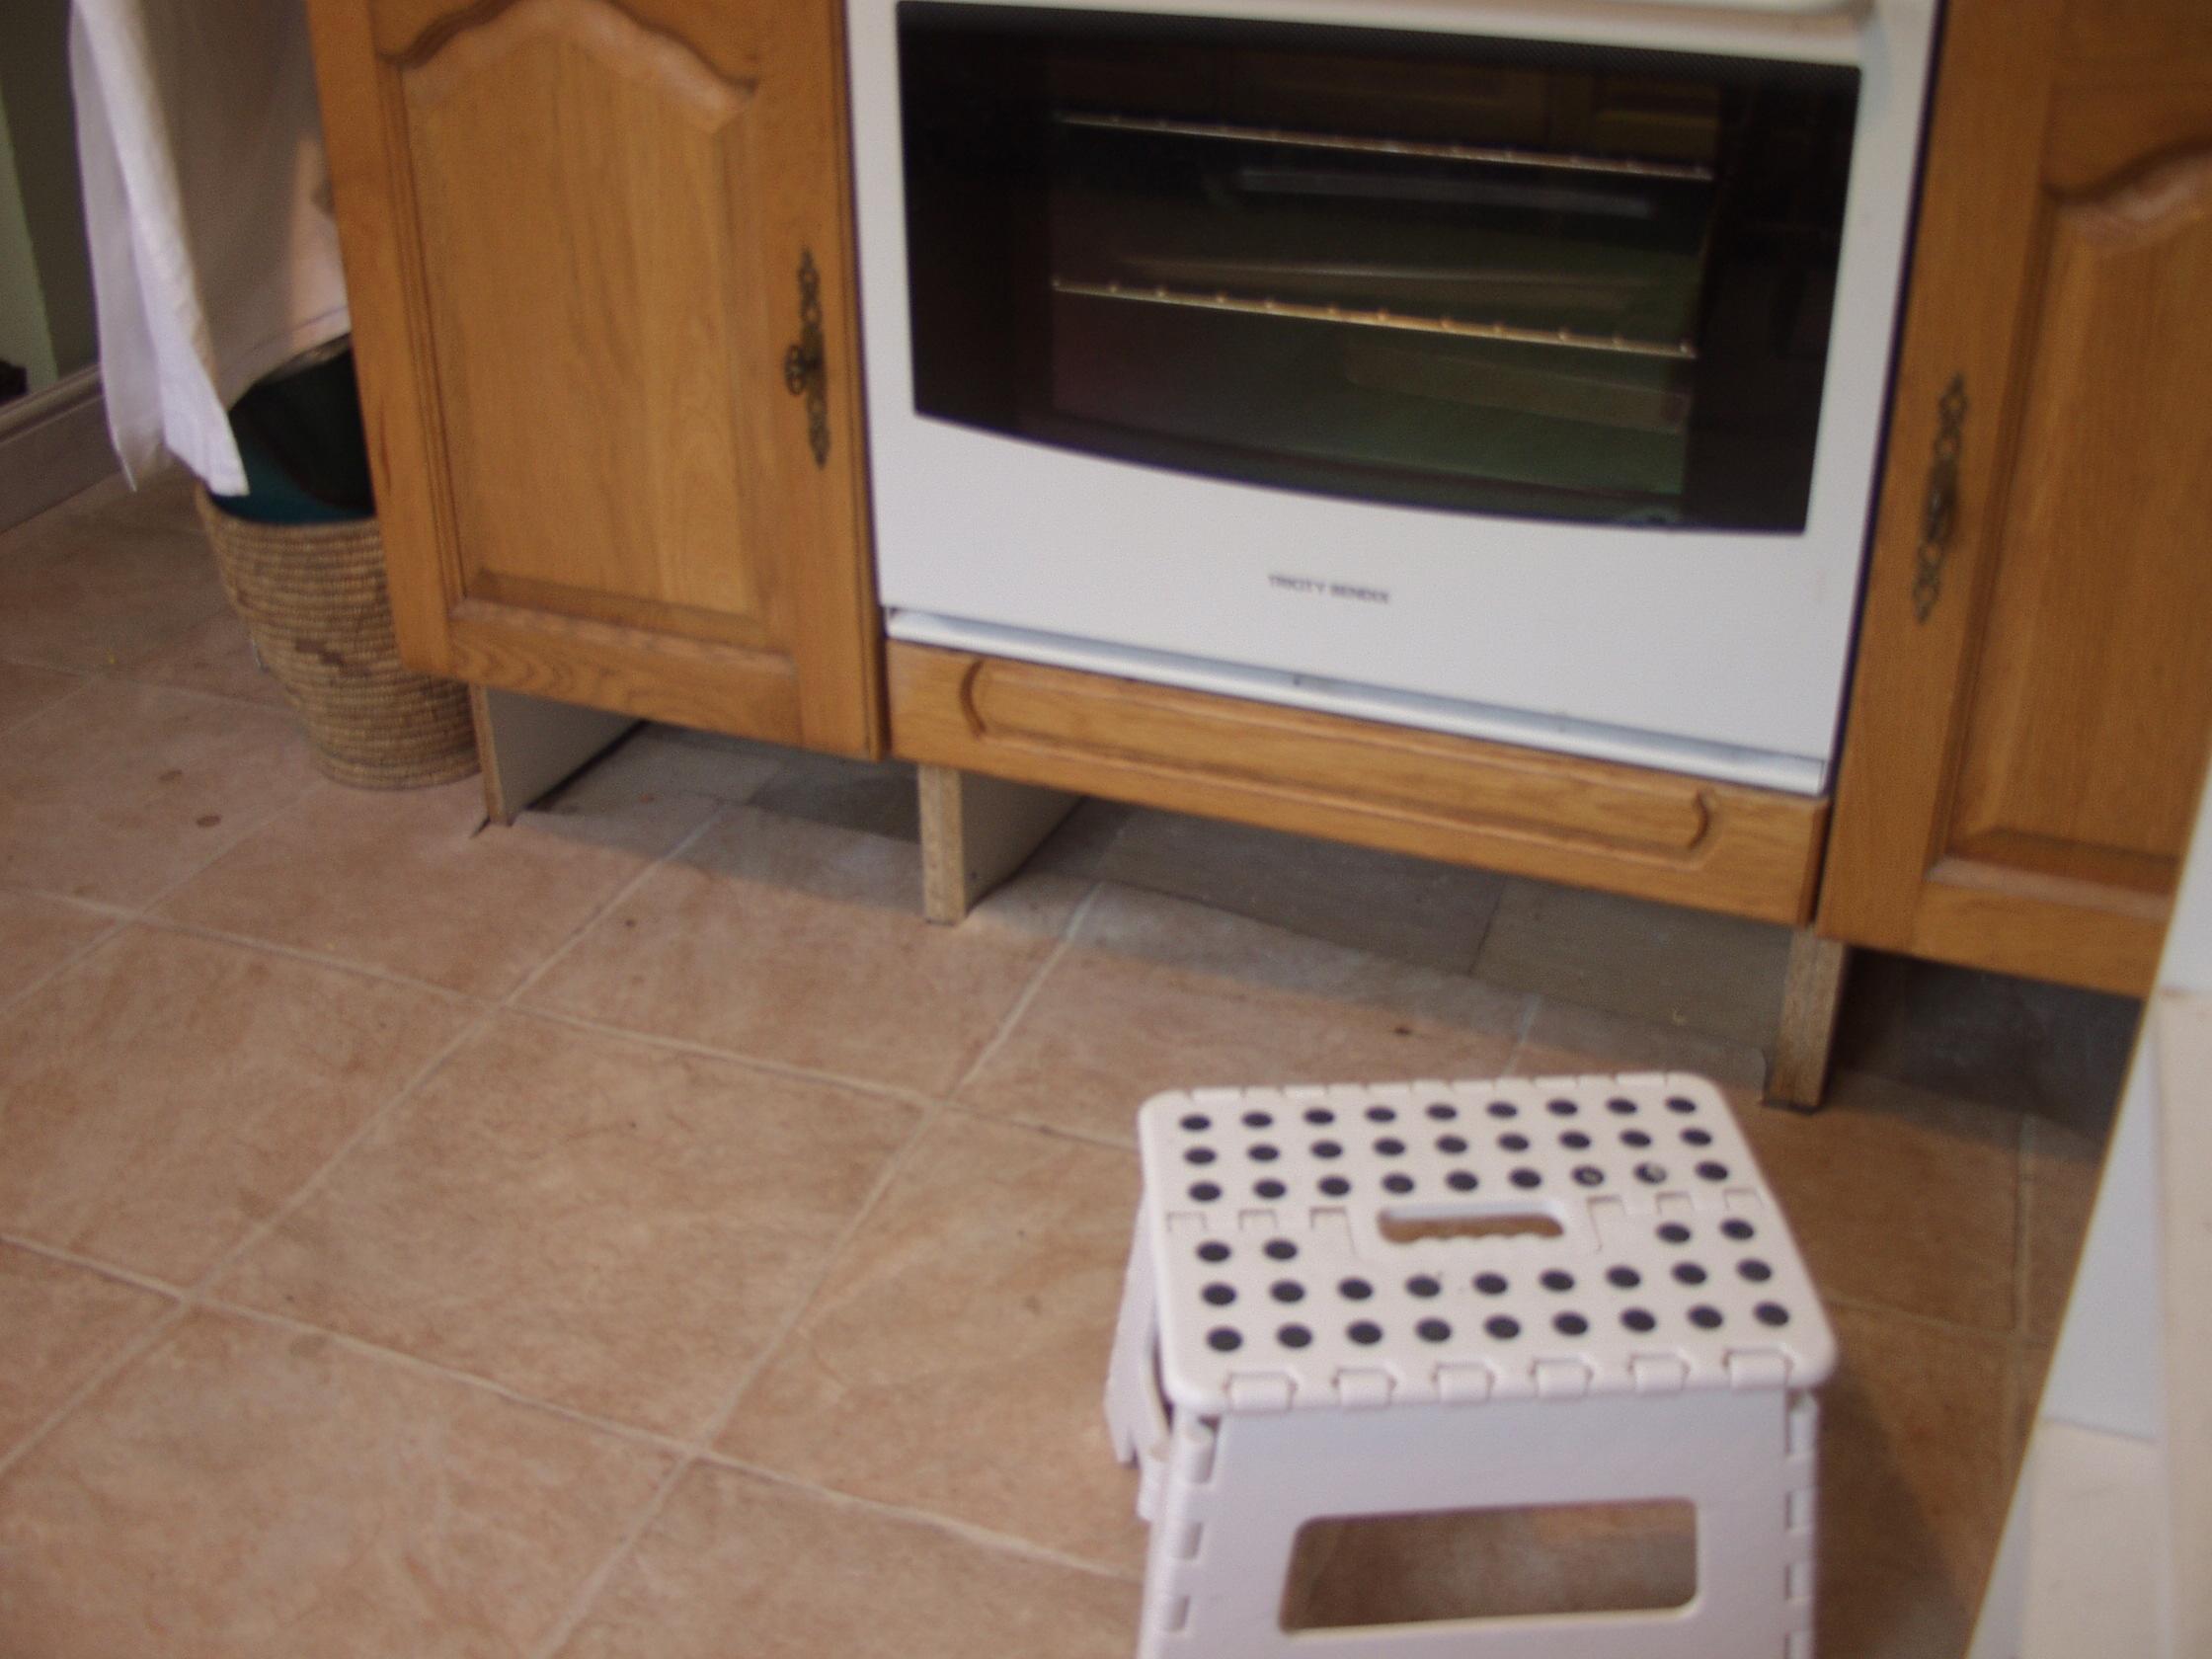
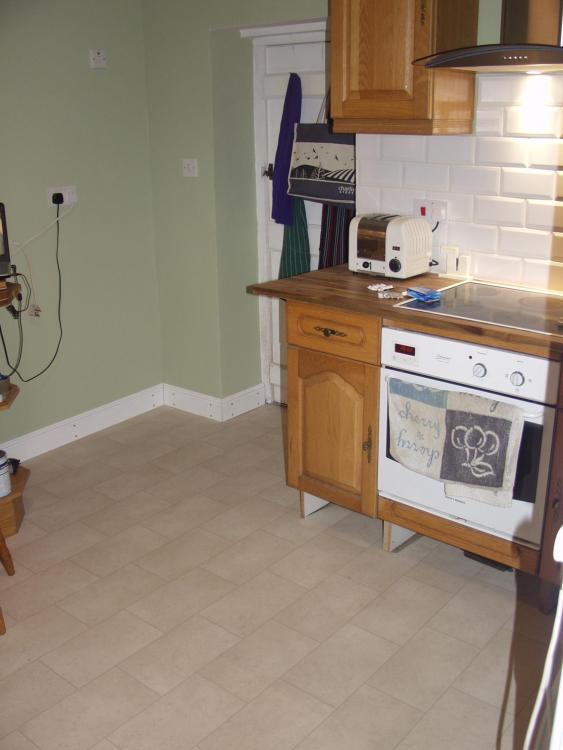
Hiatus/ I ran out of motivation (skirting.. low down, back grumbles etc).. but pulled my finger out & skirting caulked/ done! & plinths sort of done too (MFC recommended by jewson's & to be honest, seems firm enough just wedged in for now).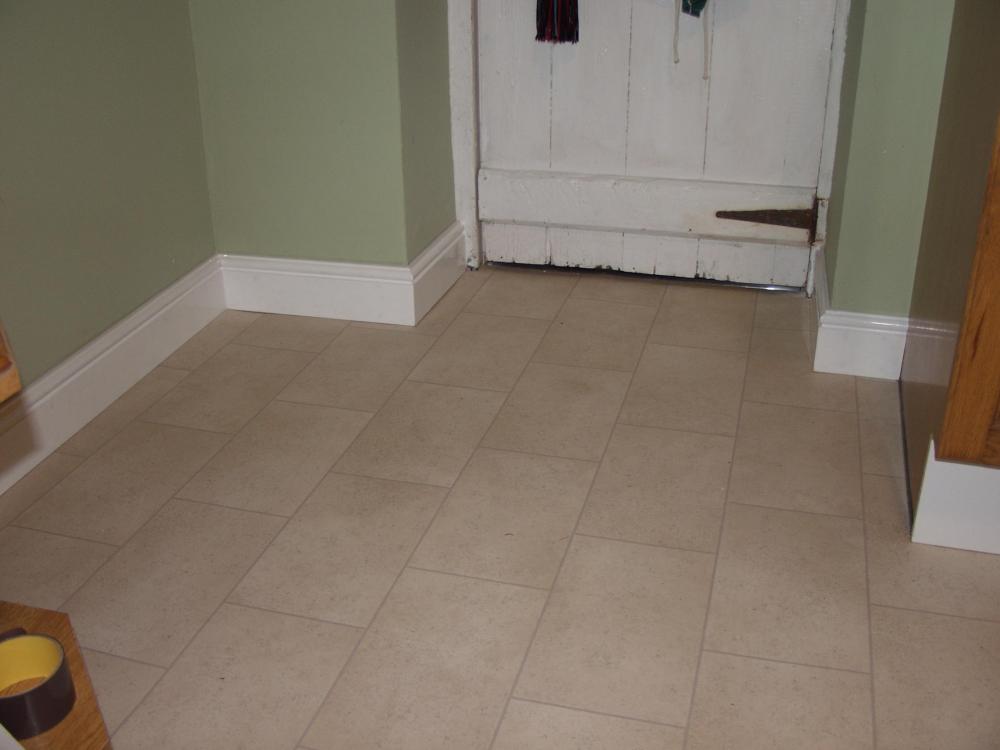
-
Help with kitchen renovation/ 1st house.
zoothorn replied to zoothorn's topic in Bathrooms, Ensuites & Wetrooms
Anything else Onoff?! Nope actually yr totally wrong (for once). It cuts 5" dia logs like so with ease in 3 secs/ no strain. I never rotate/ I bowsaw any last wee bit if a tad over 5". I never cut wet wood/ & lumping logs on (placing on I do) & its true still as its damn solid. Cutting this A+seasoned pine.. I think its -the- most ideal tool for any job I've used. Its certainly the best tool I've had with UK dewalts, skilsaws, japan makitas all needing some maintenance or a bit breaking or falling off: this hasn't even had 2 new brushes or 1 screw loose in 10+ yrs/ 100% reliable. plus I use it the most, & I bought it used so its ~15 yrs old too min? thats saying a helluvalot. I bet my btm dollar your Rage won't last half as long as this. If it were hardwood- sure it might strain to cut 5". so I just not collect & cut over 3"/ whatever. no sense to. Assumptions assumptions.. it says something if my builder of 40yrs experience keeps his eye out for this exact one I'd suggest! hugely recommended (by a pro woodworker too- me!) if not by your chippy mate! -
Help with kitchen renovation/ 1st house.
zoothorn replied to zoothorn's topic in Bathrooms, Ensuites & Wetrooms
Here's mine. It stays in 'missionary' position straight up 90* (no more reversecowgirl funny angle bllx it doesn't like that), & as such its great. -
Help with kitchen renovation/ 1st house.
zoothorn replied to zoothorn's topic in Bathrooms, Ensuites & Wetrooms
It is low down relative to a dewalt yes.. but by god its good (even my builder had his eye on the one Ive got), for doing standard stuff that is.. I mostly use it to chop up my fallen/ gathered forest wood. id highly recommend it tbh/ damn relaible for 7 yrs (bought used) a far cry from the modern flimsy things i see. -
Help with kitchen renovation/ 1st house.
zoothorn replied to zoothorn's topic in Bathrooms, Ensuites & Wetrooms
@Onoff by the way what options to fill my c'sunk screws? -
Help with kitchen renovation/ 1st house.
zoothorn replied to zoothorn's topic in Bathrooms, Ensuites & Wetrooms
I have to agree: my chopsaw's quite a big'un & not deWalt quality (erbauer) so once 45* set, the weight of it hangs a bit & so an innevitable slight curve happens cutting though: so I could never get a perfect mitre joint of 2 faces. I can't believe how long this job has taken me.. hateful indeed. But never use MDF. Dust, expensive extra glue needed for mitre joints (if you can cut good enough to glue), seems dearer too maybe & not so water friendly so I have another job to silicone a bead all round the perimeter to stop cleaning water getting under to the fallible edge. Major mistake. Just use pine & woodglue you already have. Wasted maybe £15-£20 on this option. -
Help with kitchen renovation/ 1st house.
zoothorn replied to zoothorn's topic in Bathrooms, Ensuites & Wetrooms
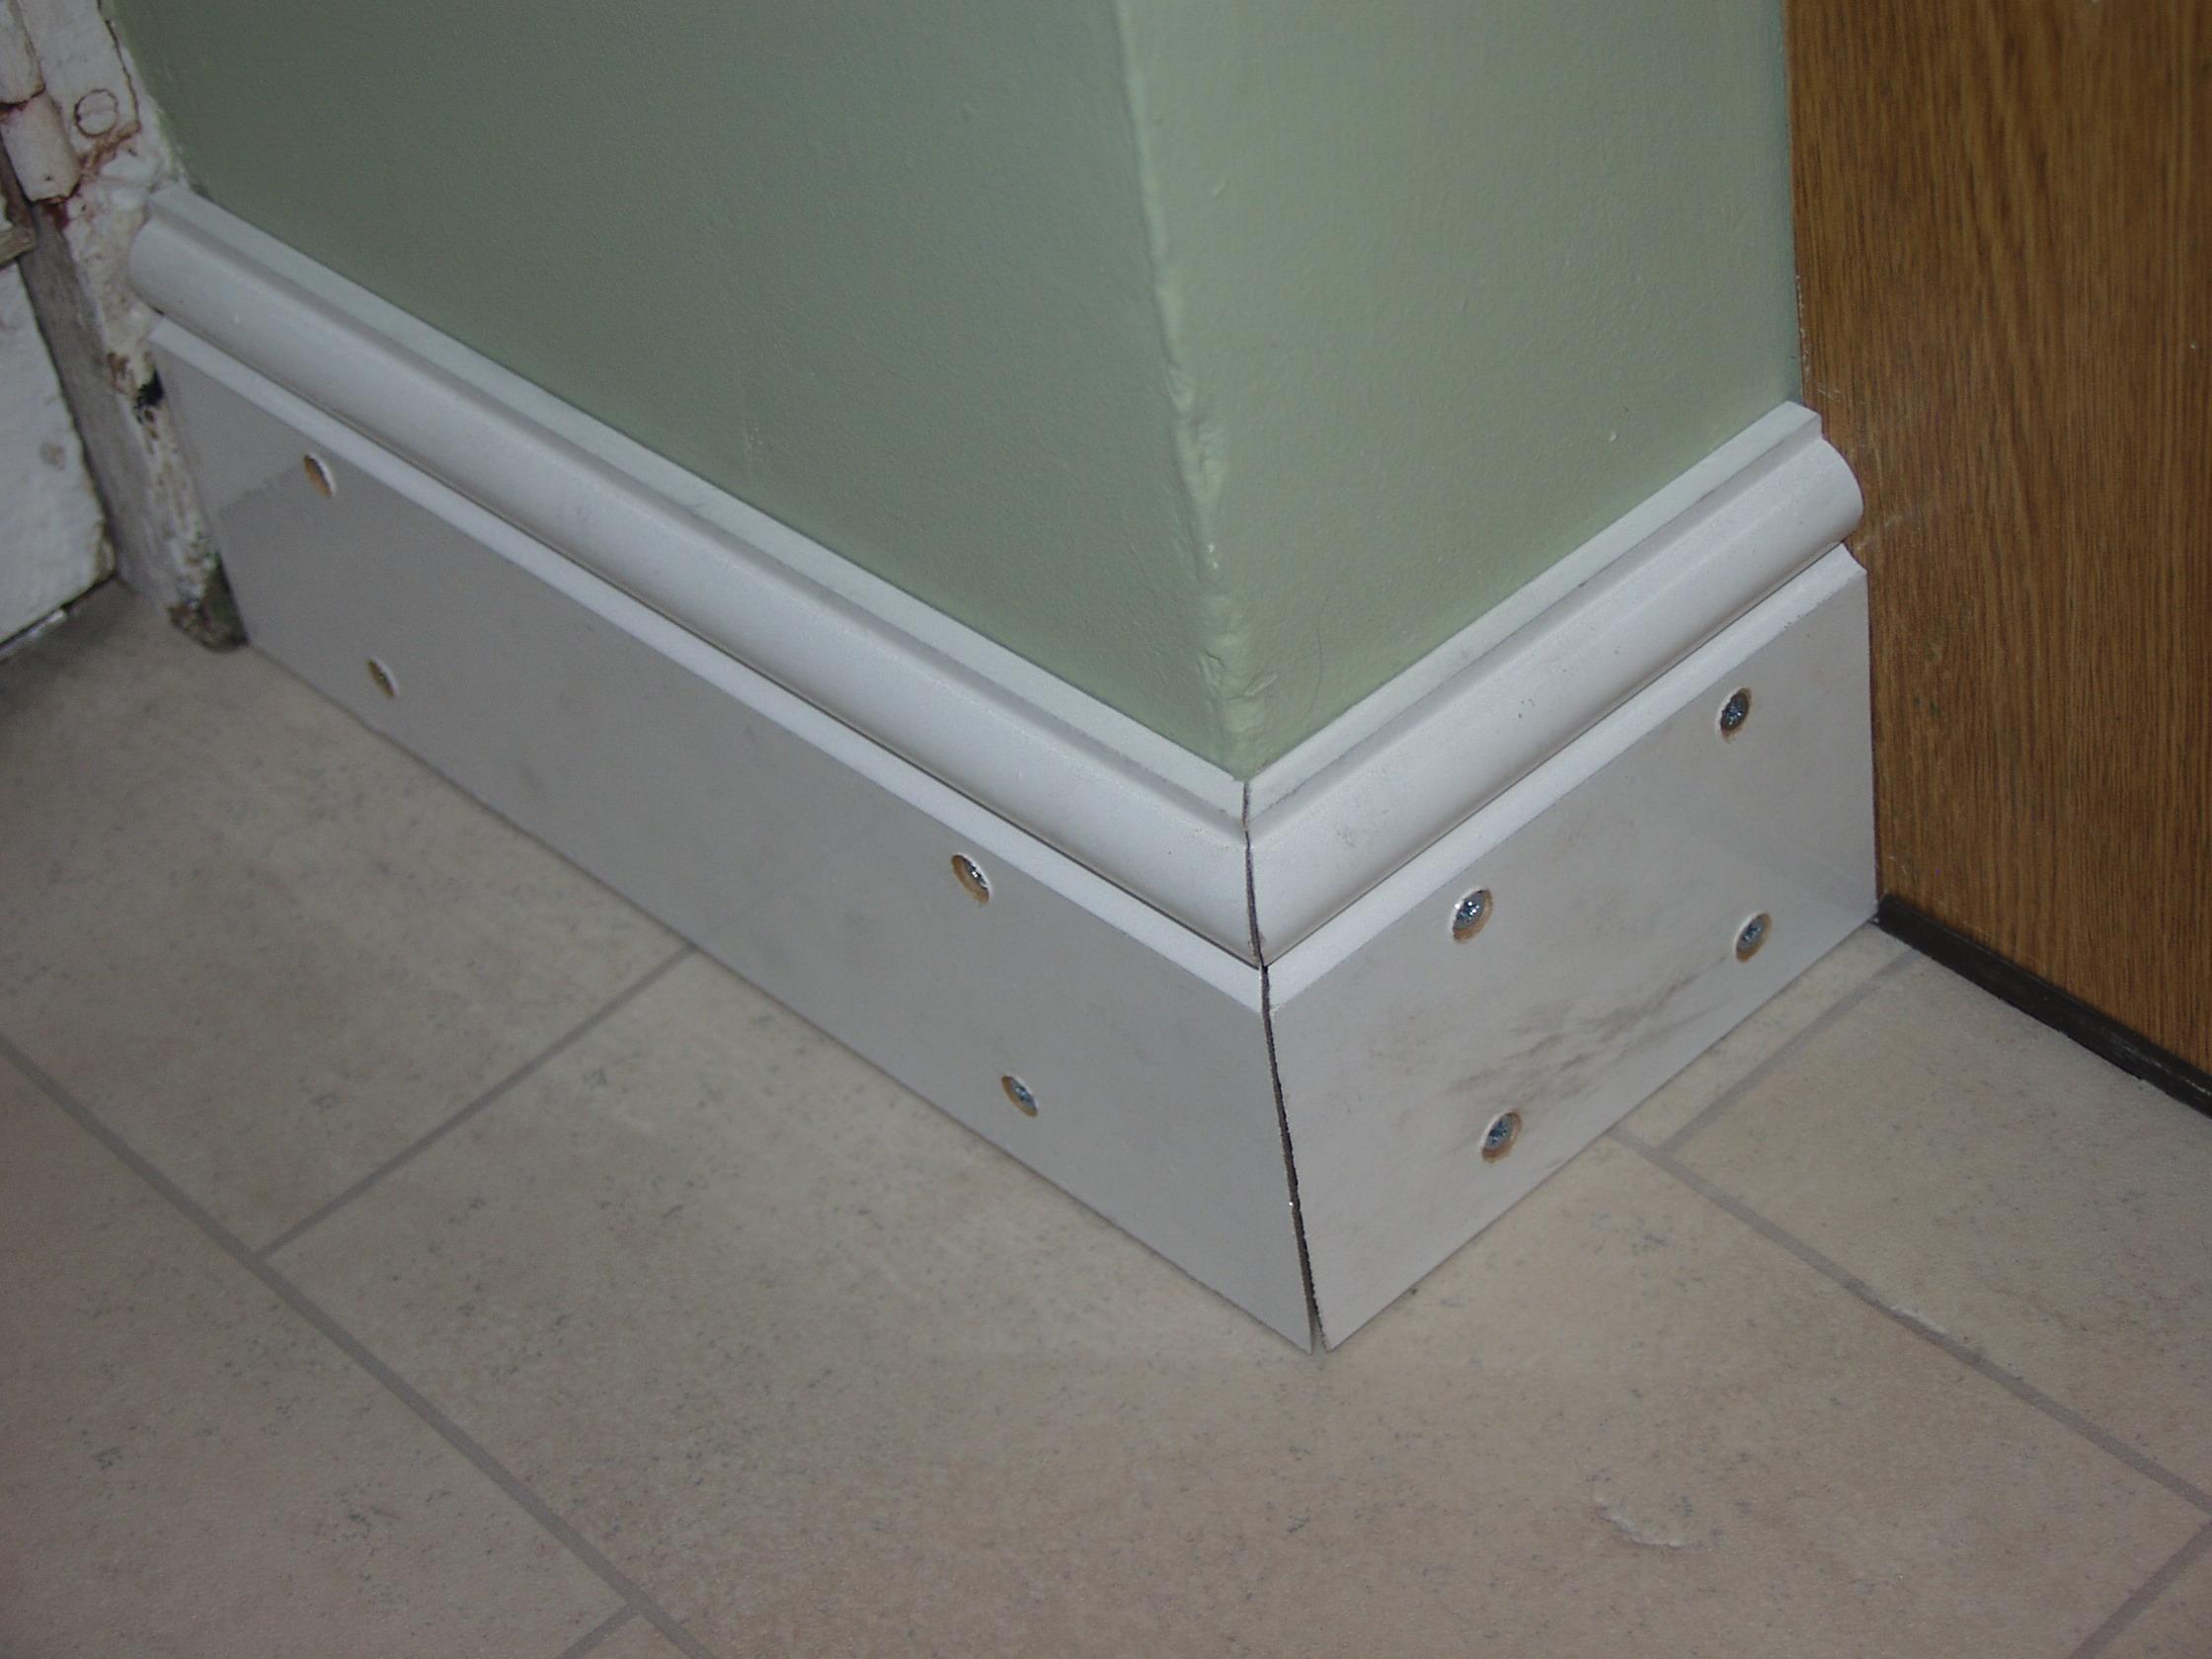
[Edited pic 3 above, more smart n tarty this shot] Looks better in photos tbh Onoff. Point is I can't get the mitred faces to close better than this.. at the top they only just meet on 1 of the 3 mitre joins, otherwise its clear 1-2mm gaps, which can't be closed by glue can it? -
Help with kitchen renovation/ 1st house.
zoothorn replied to zoothorn's topic in Bathrooms, Ensuites & Wetrooms
Aha ok I understand the clips now.. & the magnetic catches sound useful Onoff thanks indeed for the kind offer/ will PM. I think that grade floorboard idea might let the side down a little.. altho cheap for sure. I think something a step up: any other ideas bar MDF then? pine will cup, & plastic-wood covered chipboard (stuff on before) placcy top will chip when cutting/ look bad. Progress (lino/ skirting).. but cannot get the skirting to meet bar gaps, so glueing is n/a (need help how to remedy!)..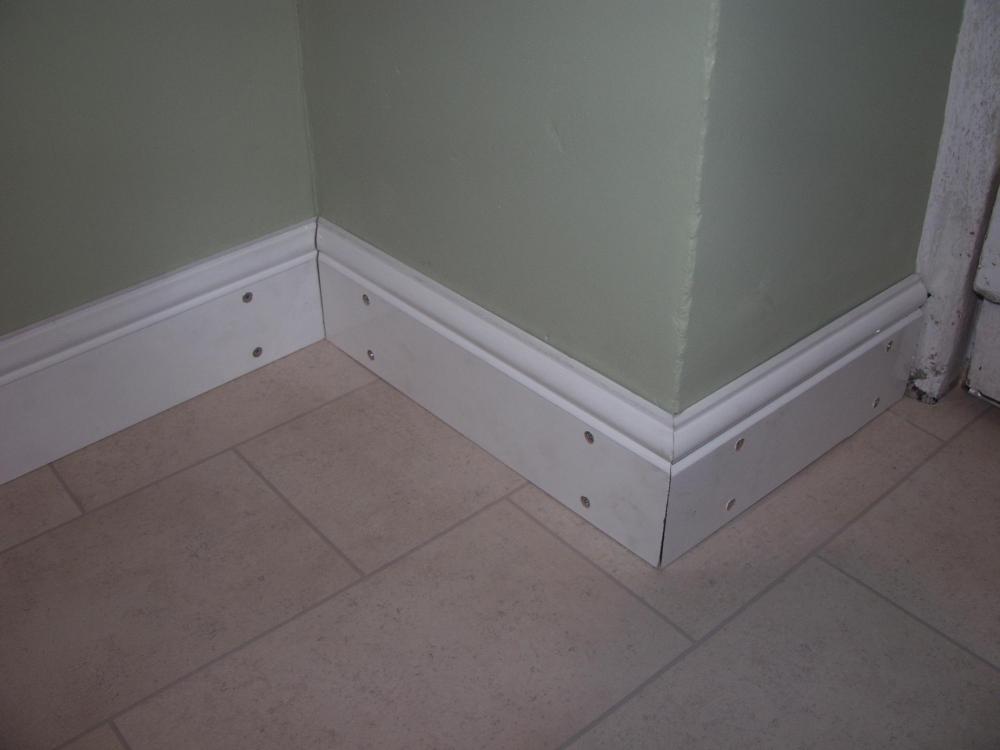

-
Help with kitchen renovation/ 1st house.
zoothorn replied to zoothorn's topic in Bathrooms, Ensuites & Wetrooms
So the clips: are they just a spring then, that squashes the plinth between floor & cab above-? And do I have to use specific plinth-stuff, bc of the thickness to use the clips maybe, or what can be used? -
Help with kitchen renovation/ 1st house.
zoothorn replied to zoothorn's topic in Bathrooms, Ensuites & Wetrooms
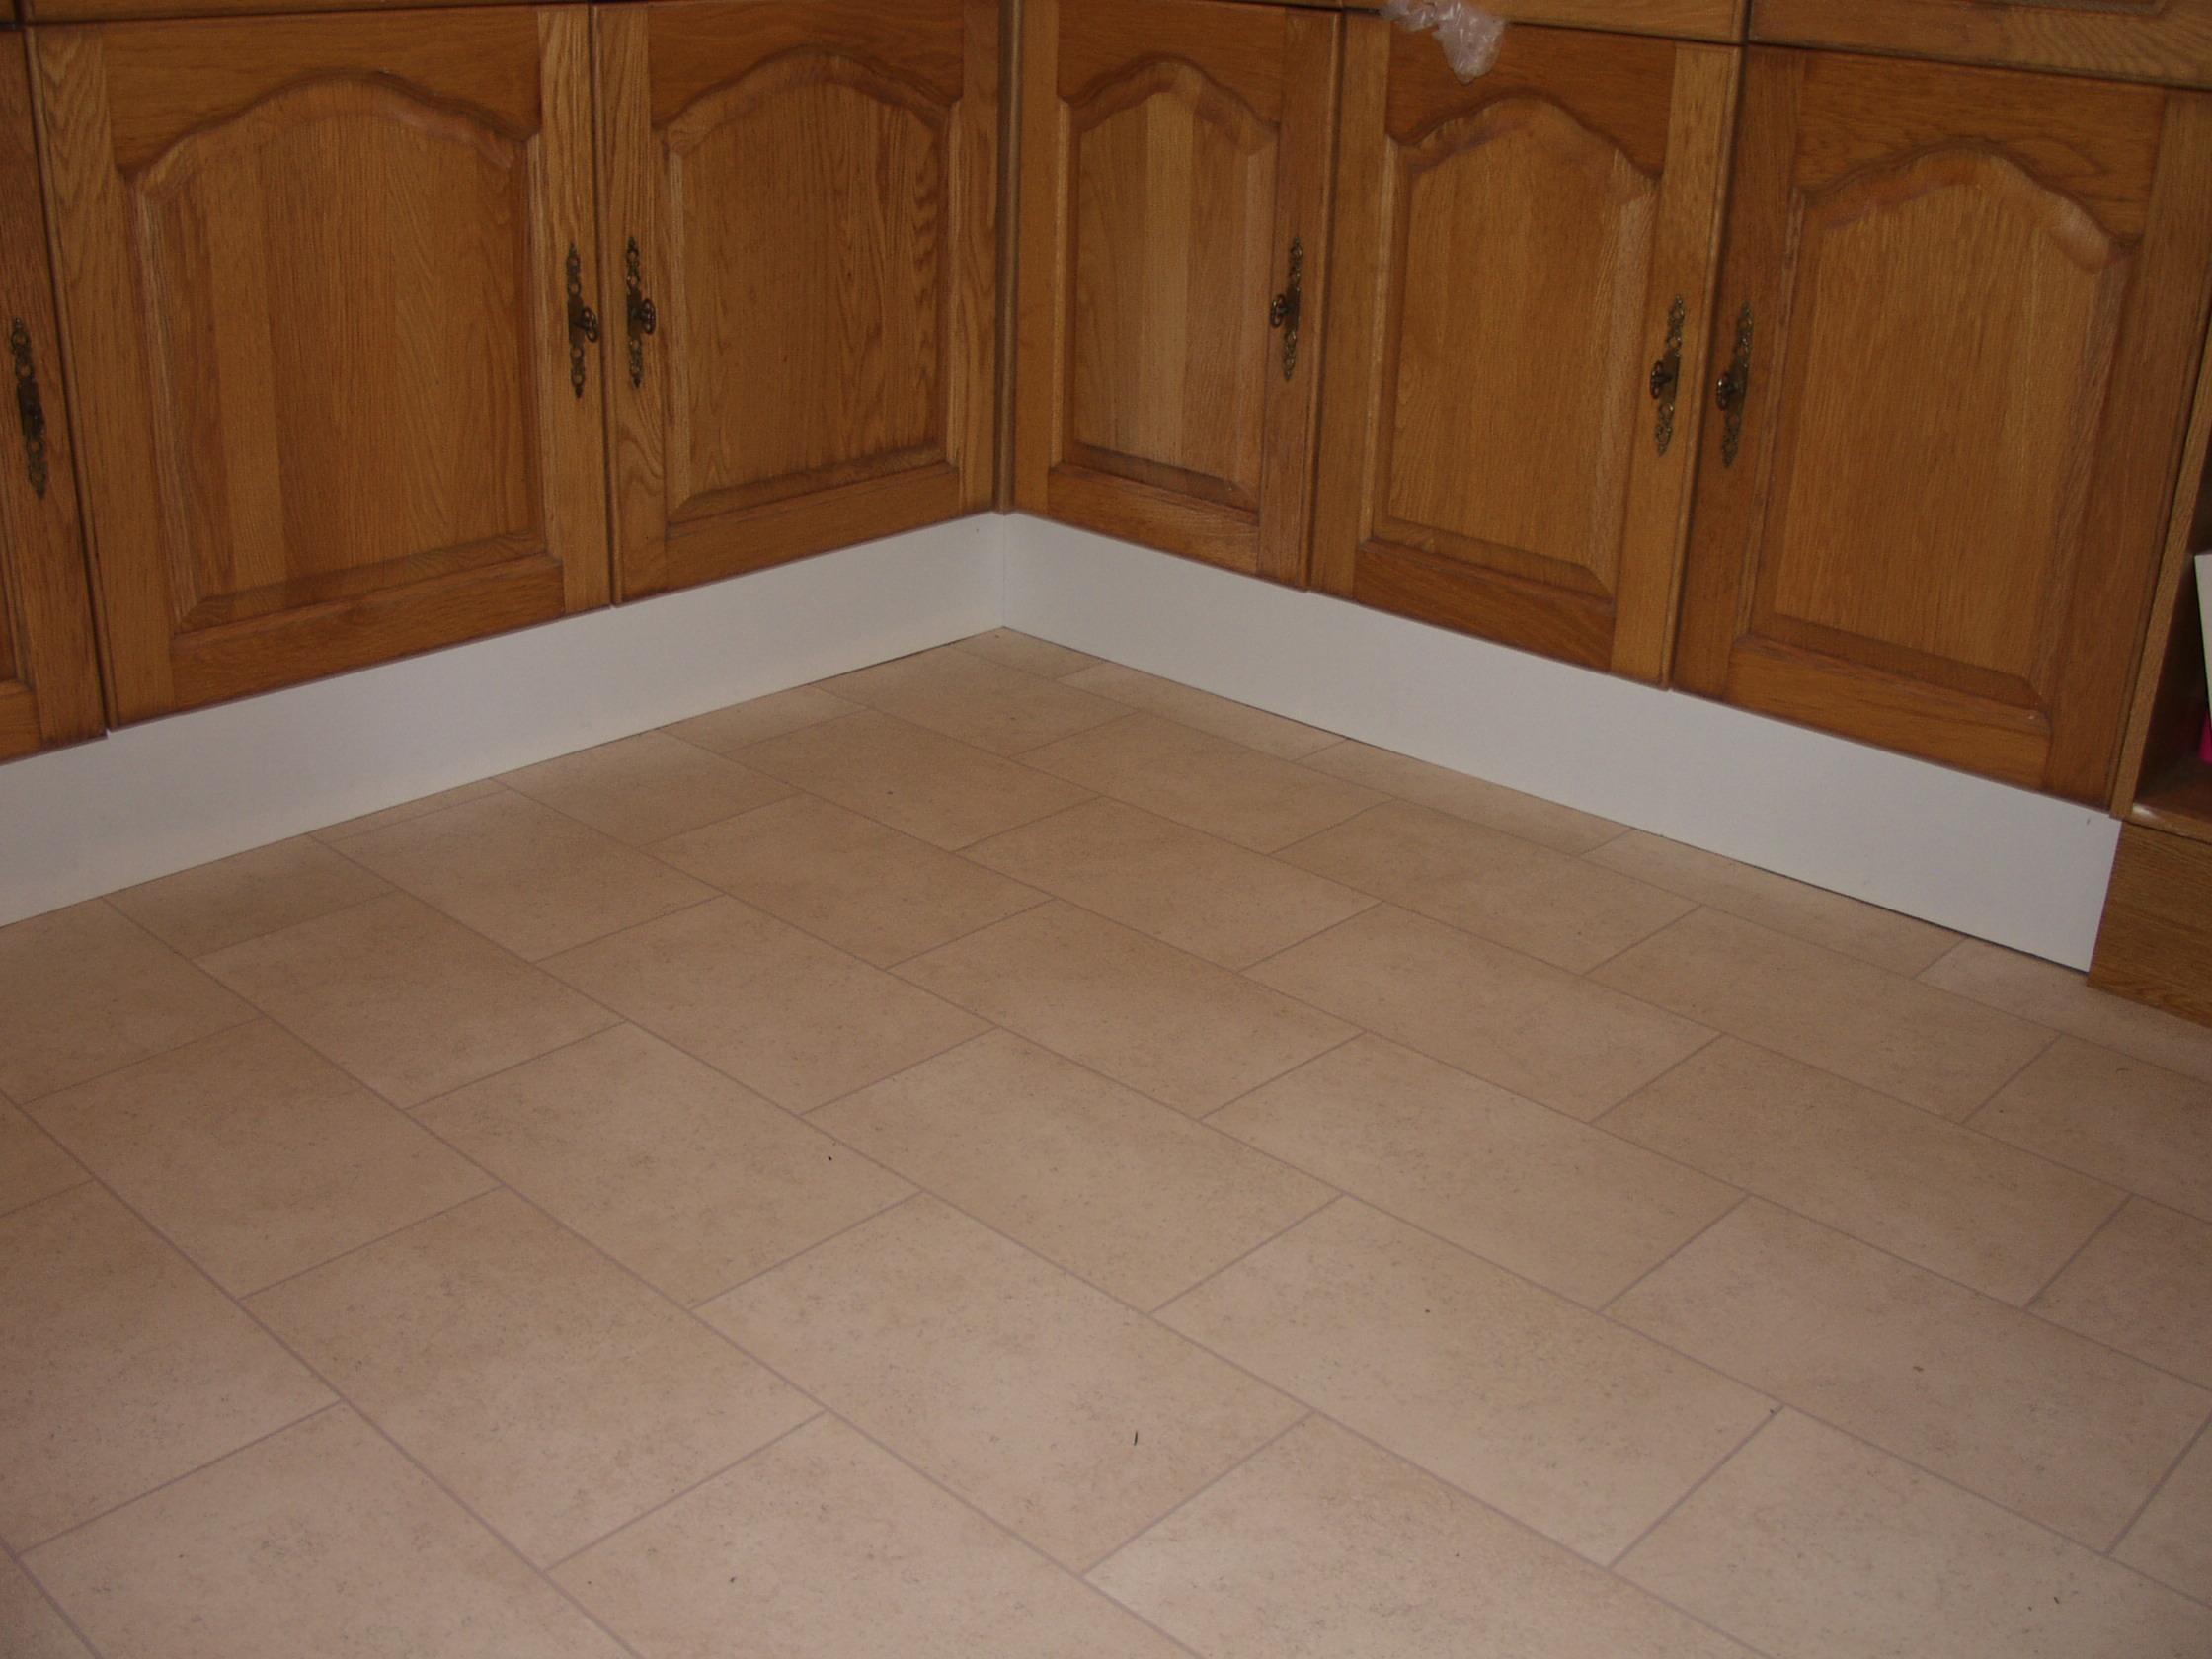
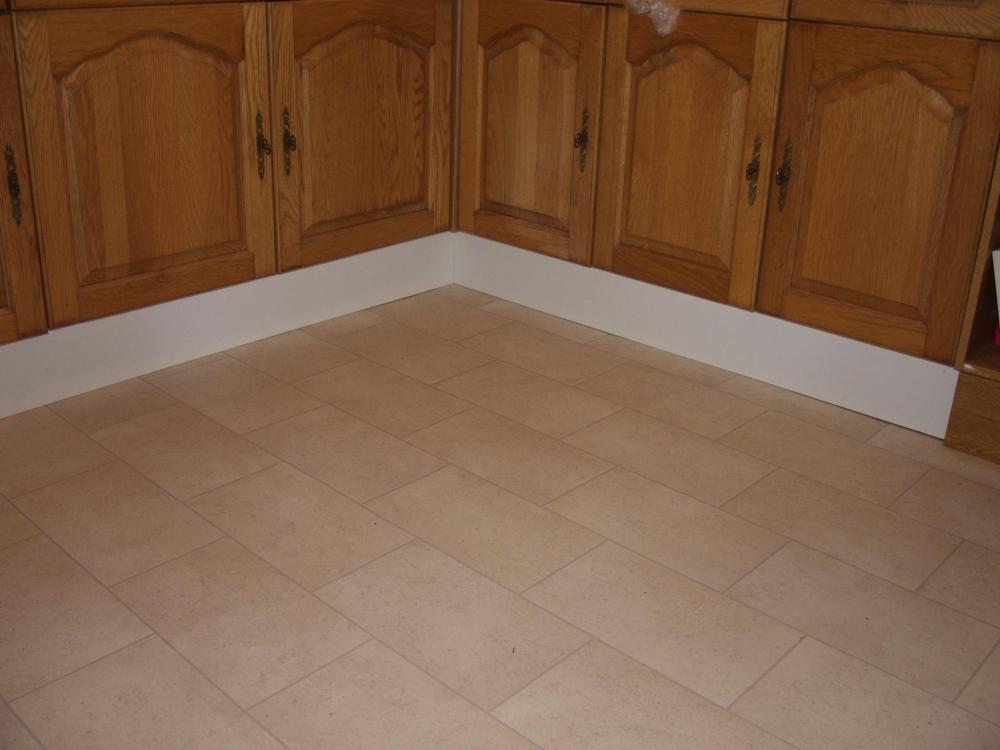
@Onoff can you explain those plinth turbo clip things? New lino & skirting done (pics to follow) Im onto the plinths/ one of my final stages. So its what stuff to buy, & how to fix them onto cabinet chipboard 'edges'. A reminder of what I have to go with (older pic)..
-
Help with kitchen renovation/ 1st house.
zoothorn replied to zoothorn's topic in Bathrooms, Ensuites & Wetrooms
Can someone help me out on my skirting? taken me most of a week to fit 5 pieces!! I have my (MDF) skirting sections on, fixed by recessed screws. What do I fill my c'sunk screws with? I need something that'll work on metal (presumably) as well as mdf, that'll set hard to sand & paint. As as best I tried including accurate mitre angle cuts, there's no way I can get each mitre joints to meet well enough to glue. It was nigh on impossible to chopsaw at a 45* angle without a slight curve to the cut edge.. let alone getting each piece mm perfect length relative to each other. So the mitre joint special 2x glue stuff is redundent. I was thinking of whacking wood glue into the gaps.. but worried about the mdf 'raw' edges expanding. What do i do with these gaps? I'm forgetting joining perfectly, it was never going to happen.. so I just now want to seal these fragile edges to stop them expanding with my damp atmosphere over time. I'm stupid buying mdf.. totally wrong material for the job, clearly -only- pine it should ever be. Ive no idea why profiled MDF is FS for skirting at all. -
The few other old cottages- exactly same issues. Thats why they're left alone by locals/ cheap for engrish mugs. Seriously, once I get the main room 'managed' in terms of insulation: I just mean a MAJOR step fwd as I'm realistically aiming to achieve with the floor job, rather than any optimal superfloor + PIR wall nirvana, & by stopping the cold flood down stairs by my upstairs rockwool job (next)... my stove should just suffice to heat the main room & 2 beds above (heat contained WAY better upstairs should be achievable). I'm not aiming for perfection, the morning cold & day are still to put up with esp upstairs.. but I should be just about fine! I just don't agree with CH in a small'ish 2 small up / 1 big down cottage anywhere: its overkill. A good stove should suffice for these 3 rooms -plus- pushing decent-enough heat (once more contained in main room) into the kitchen from a stove fan.. with free wood means effectively my heating costs are 1 small leccy rad to run in the WC (the weak point/ freezing/ needs a ton of heat) & 1 in kitchen just AM. That's Super-Econo living. That's my aim.
-
Is the Q aimed at muggins here.. or meant for others' opinion Onoff? If 160 min, & I guess 25mm eps is the min below (& I need eps as its good for/ if contact with any damp below.. & there -will- be some significant patches), then dpc, & 100mm concrete ontop.. again is that the sort of min figure for the top of my floor sandwich?
-
Help with kitchen renovation/ 1st house.
zoothorn replied to zoothorn's topic in Bathrooms, Ensuites & Wetrooms
Not quite sure what you mean by 'onto the scale' Ferdinand. Ive been mulling this over.. & just can't figure it out. It seems for a wall corner angle of 80* (so just less than square) I need two corner skiting sections to mitre-meet cut @ 40*. P'easy right? But regular mitre saws go from 90* to 45*, in either blade config: tilted or swivelled (90* being in regular up-down & squared off L to R mode). But I need it to go further to 40* both swivelled for my test old batten cut, & actual cut blade tilted. So it can't be done. Unless Im being thick. Any carpenters out there? this has got to be a page 1 connundrum. Ive googled anything relative, no results. -
Help with kitchen renovation/ 1st house.
zoothorn replied to zoothorn's topic in Bathrooms, Ensuites & Wetrooms
I like the idea of paint on.. they run cool enough to touch easily, just glary & white-cold even 'warm white'. Can someone help re. skirting. I went to measure up for my internal mitre (1st Ive ever tried).. & my corner measures -less- than 45*. Say 40*. So with my bevel I push into corner > find the midpoint > go to my chopsaw.. & of course it doesn't seem to go past 45* (in order for me to get the blade over, past the 45* to achieve the cut angle).. so I cant think how to cut these 2 "less-than-45*" sections to meet. Am I p*ssing in the wind here.. or being an ape? -
No CH. No back boiler (cannot surely entertain the idea of installing one, if it means a new stove + this system, so £2k min or so.. no idea if mine can have one added to/ whether it has room to, what this addition entails logistically if I could.. or what the general idea is either: rads off some sort of lump behind the stove?? another £2k in building work to create room & add if so, inc extensive plumbing work, rads? Ive no idea). I got 1 electric rad total, in the kitchen (does little as so much cold it has to contend with). No heating upstairs bar a small £5 leccy fan heater.
-
Ok nevermind. Im not getting anywhere here. I'll try & ask another way. 1) can someone please tell the basics of how a UFH system works for a single room situation. Anyone? 2) with regard to my possible plan to remove old floor & add: new base/ 25mm eps/ dpc/ PIR/ concrete slab. Considering I have no C.Heating: do you think UFH is a sensible &/ or feasable proposition to consider adding? 3) If anyone has any idea on what the -minimum- ammount of PIR I should be thinking of, Id appreciate their thoughts. Any advice/ opinions/ anything at all appreciated, thanks. zoot.
-
Ok, but you know the plan prior to installing it surely? Ive no idea how they work bar heated water being pumped around a 1/2" pipe set into the floor. In your (anyone's) opinion- am I thinking wrong re. UFH for my one large room, if I have no Central Heating, or is it still a reasonable idea even so?
-
How does your UFH work @Onoff.. I can guage the white coiled piping has hot water, but from what source: your C.heating, or a separate dedicated system? can you explain your UFH set up for me for this room you did? thanks zoot
-
Ok thanks newhome. There's an area near the front door I could do this. Is a metal bar not the right tool for the job, rather than a spade hole? @Onoff we don't have any gas lines around here, which type of dpc is a huge way off/ but I'll try & remember. For the moment I just want to acertain what the basic steps might be, for me, for this room. What would be the minimum thickness of EPS to consider? I mean as much as Id like to put in 300mm, its not feasable for me/ for this room A) financially, B) workload-wise including deeper + more likely to hit rock, C) it might be overkill if walls still leeching cold anyway. I 1st need to establish the minimum depth to excavate, to include a decent-enough layer of (sand 1st?) + EPS + decent-enough layer of concrete.. to make the job worthwhile/ good results. Then I can go from there > see how much deeper I can consider, if its feasable to.
-
Hi Onoff- what sort of holes are we talking about outside or in? I mean are we talking camerass probe.. or JCB > stick me noggin in it innit?
-
Can someone tell me what the 'test hole' might actually be approximately/ size/ depth? thanks Zoot
-
Help with kitchen renovation/ 1st house.
zoothorn replied to zoothorn's topic in Bathrooms, Ensuites & Wetrooms
What am I meant to put between worktop & tiles, the gap here? I put in white silicone but maybe wrong as all crumbs, bits etc are getting stuck to it. -
If I did a hole & did hit stone, assuming slate (nowt else around here/ mining area too), wouldn't that tho be ok to jack-hammer up into bits? and how deep & wide this test hole?