Jump to content
  • entries
    23
  • comments
    166
  • views
    7271

Side Extension moving along, slowly but surely


MikeGrahamT21

1262 views

Just a few progress photos of the inside and how its been moving along since the builders left after completing their work:


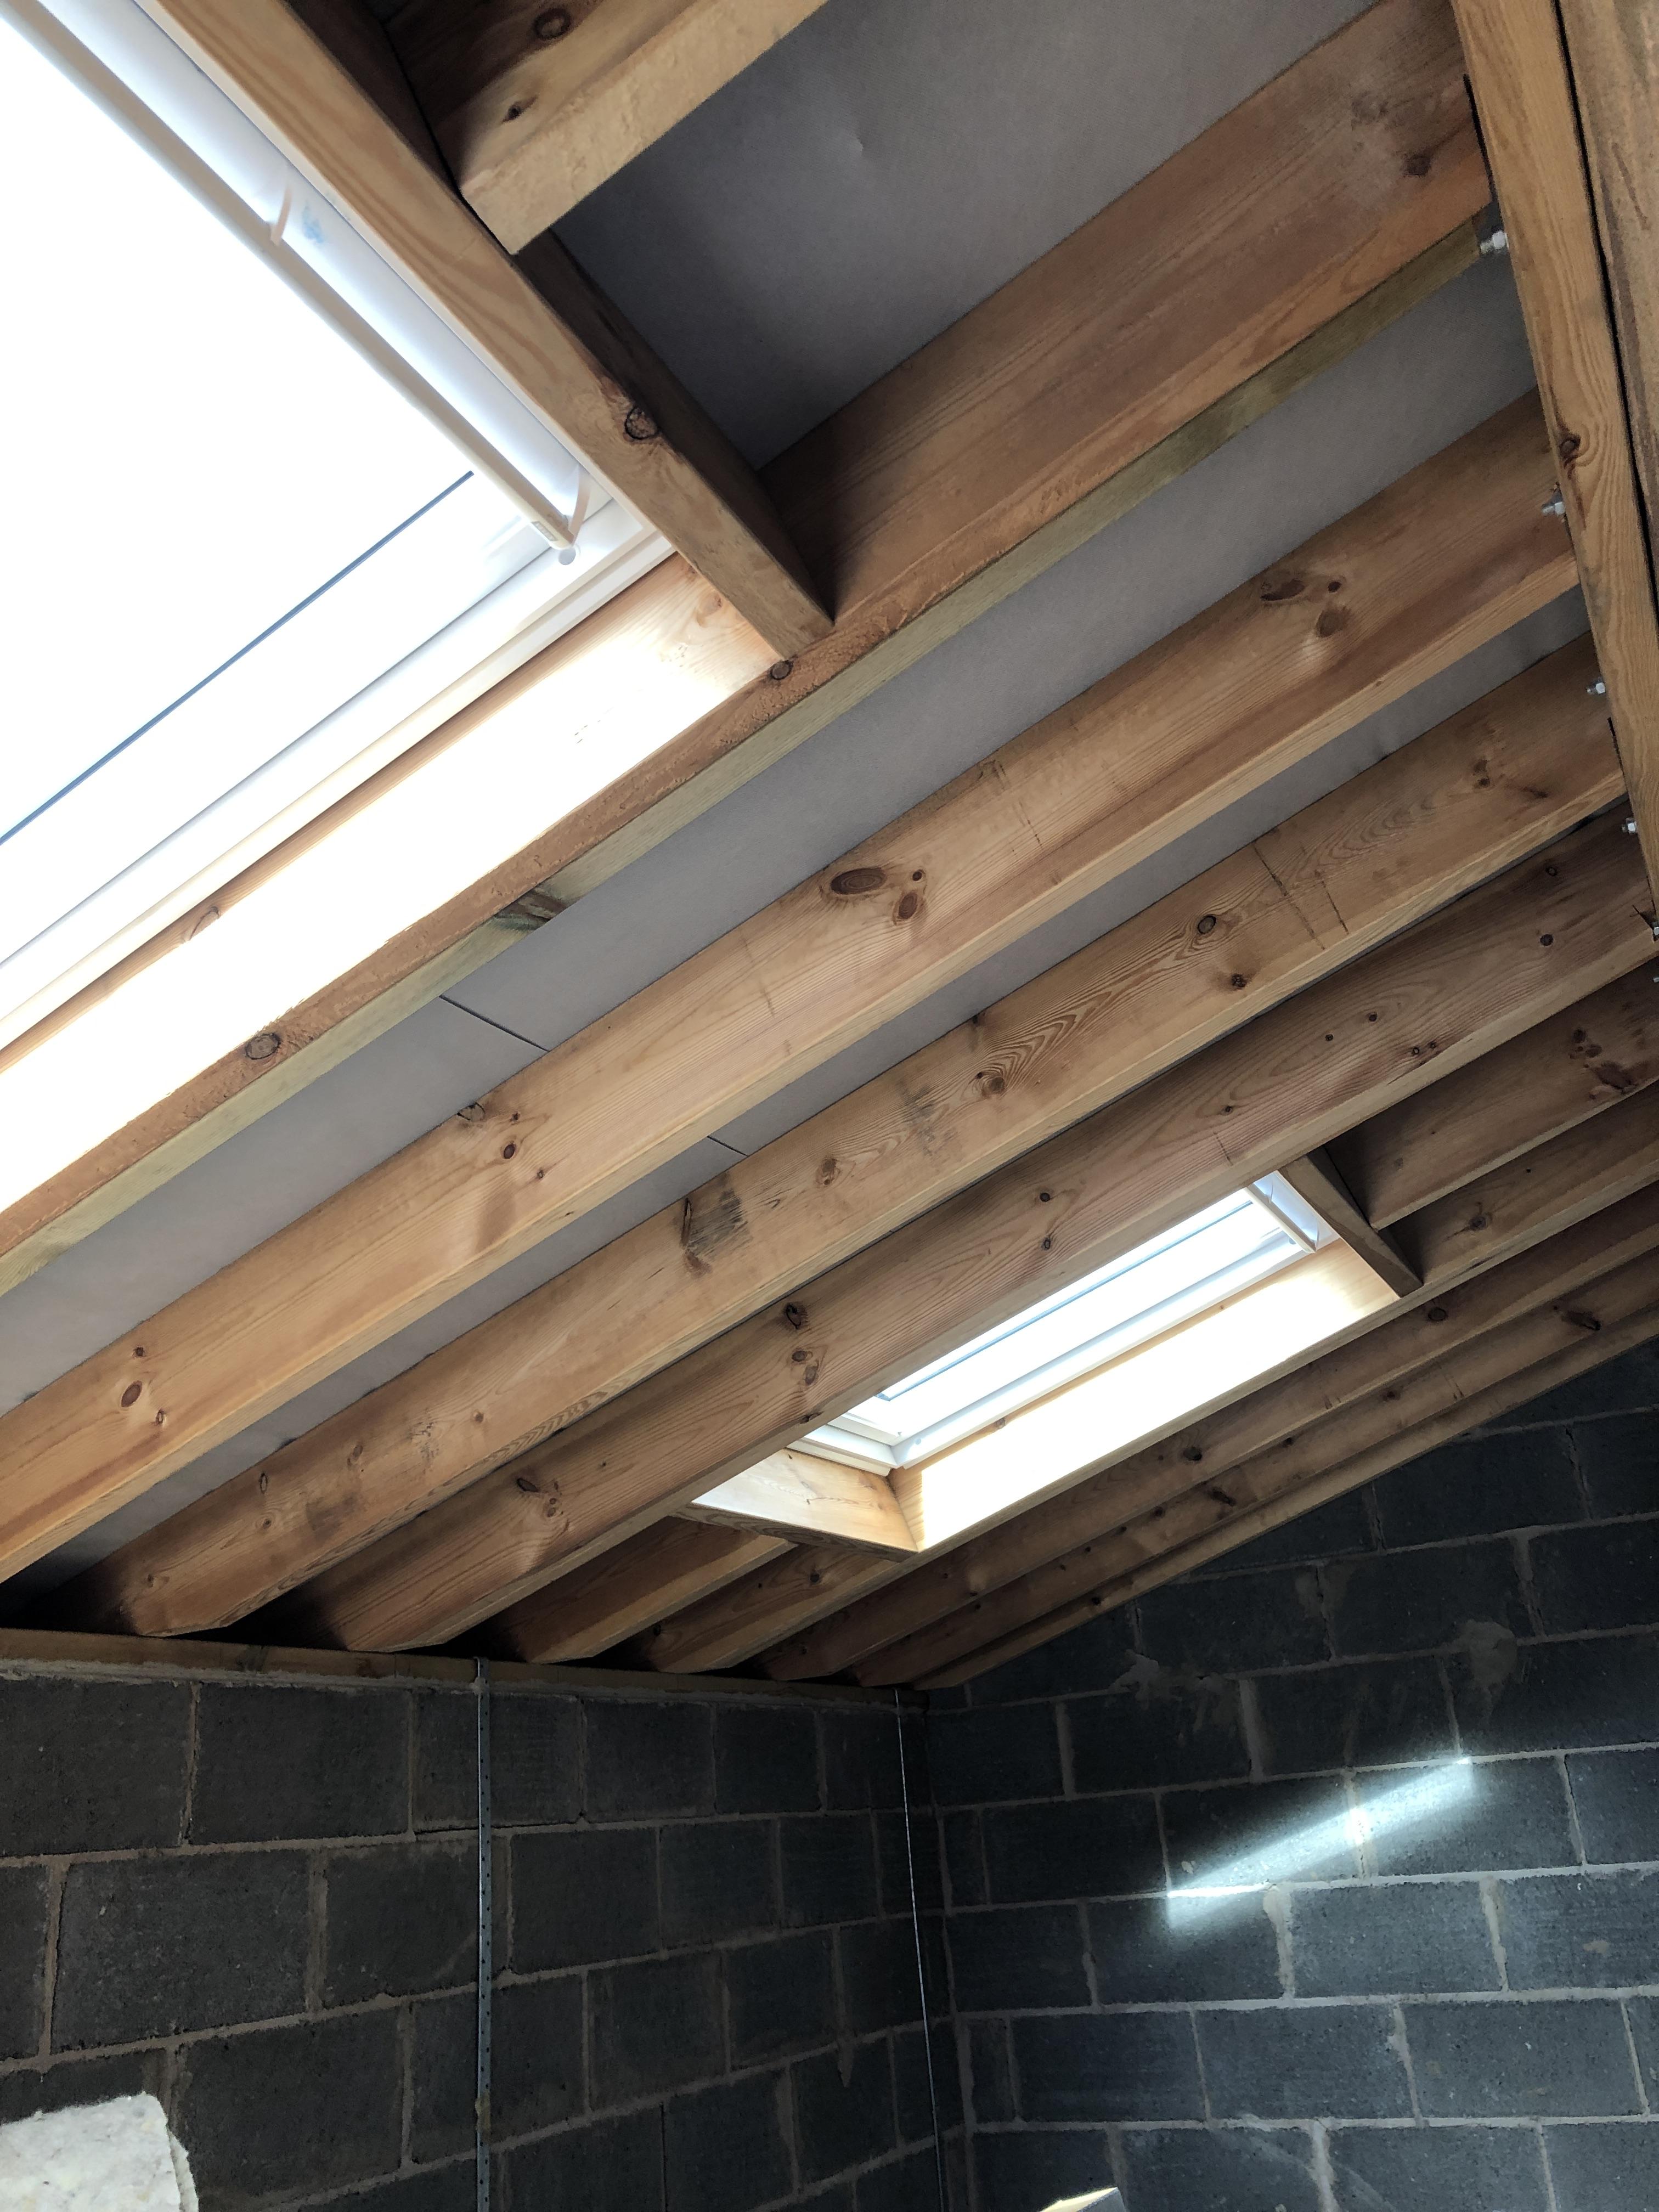
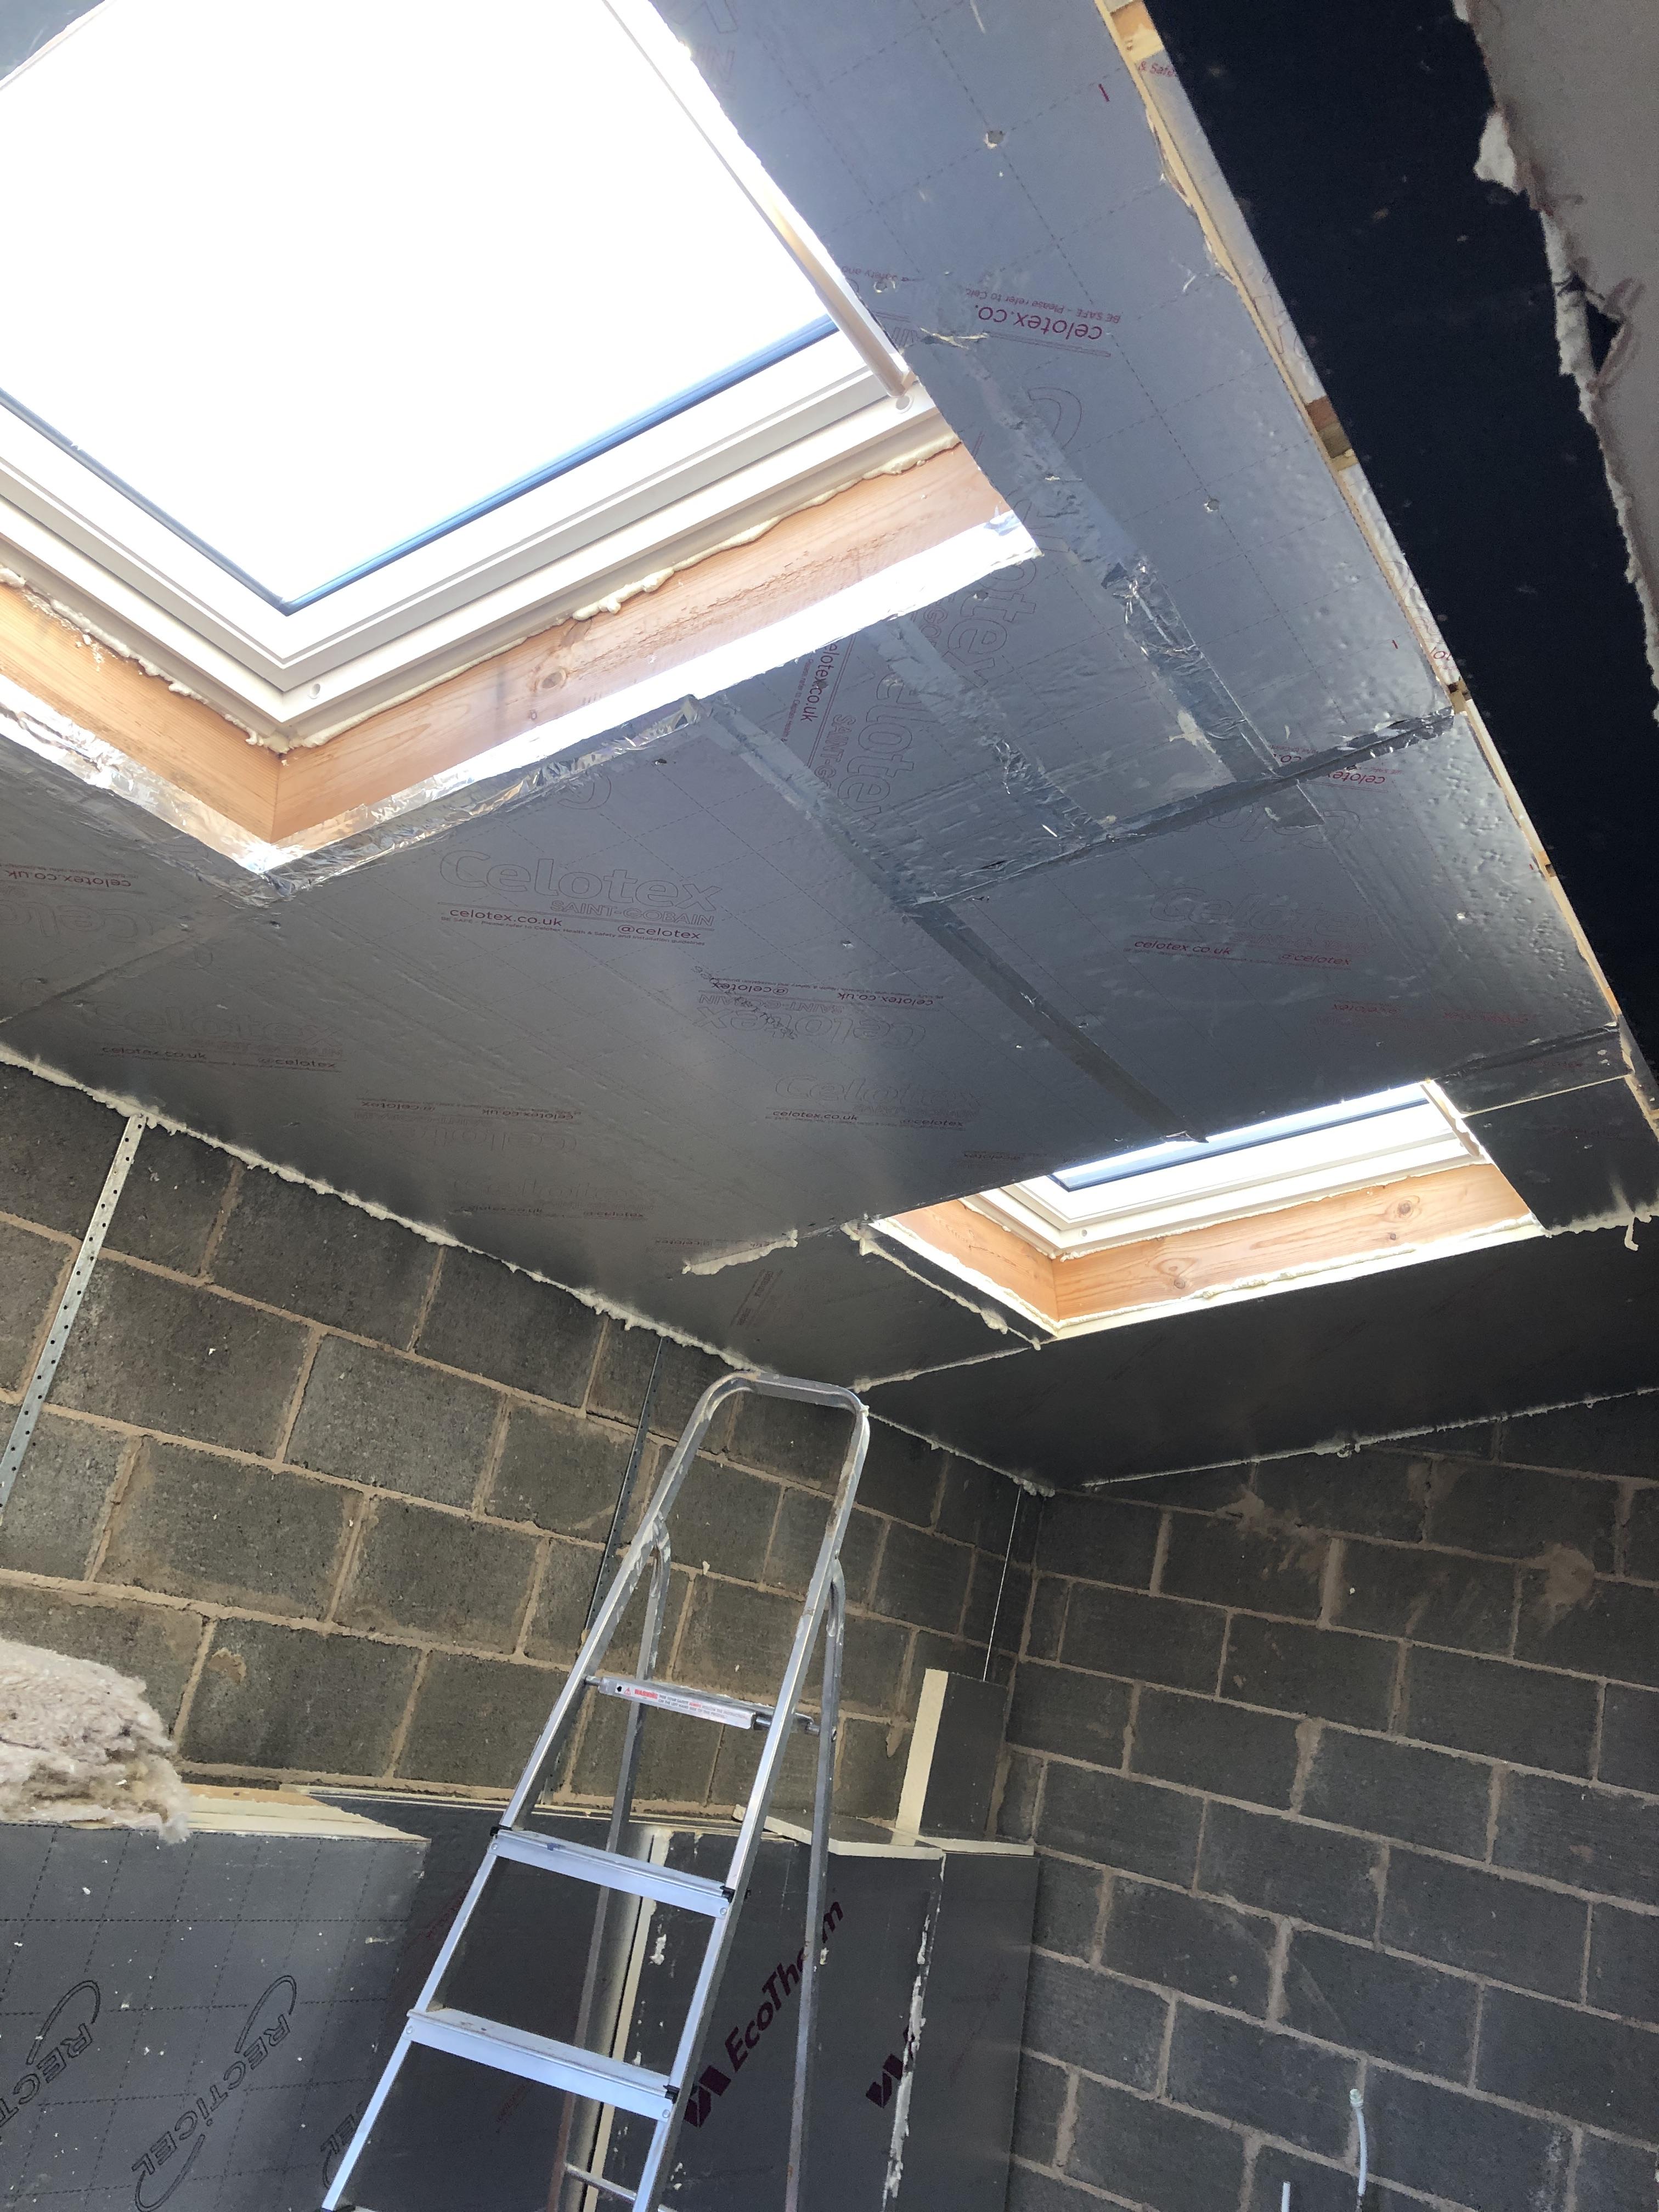
First job was the warm roof, literally just to get some of the 100mm boards used up as i had no where else to put them

IMG_2499.thumb.JPG.028bee653ec8d600a1913832bfcb579c.JPG 

IMG_2500.thumb.JPG.62218a4dd6217bd46d32bcf0882202f5.JPG


IMG_2501.thumb.JPG.c0f640870092a9f135eda865a8df4826.JPG


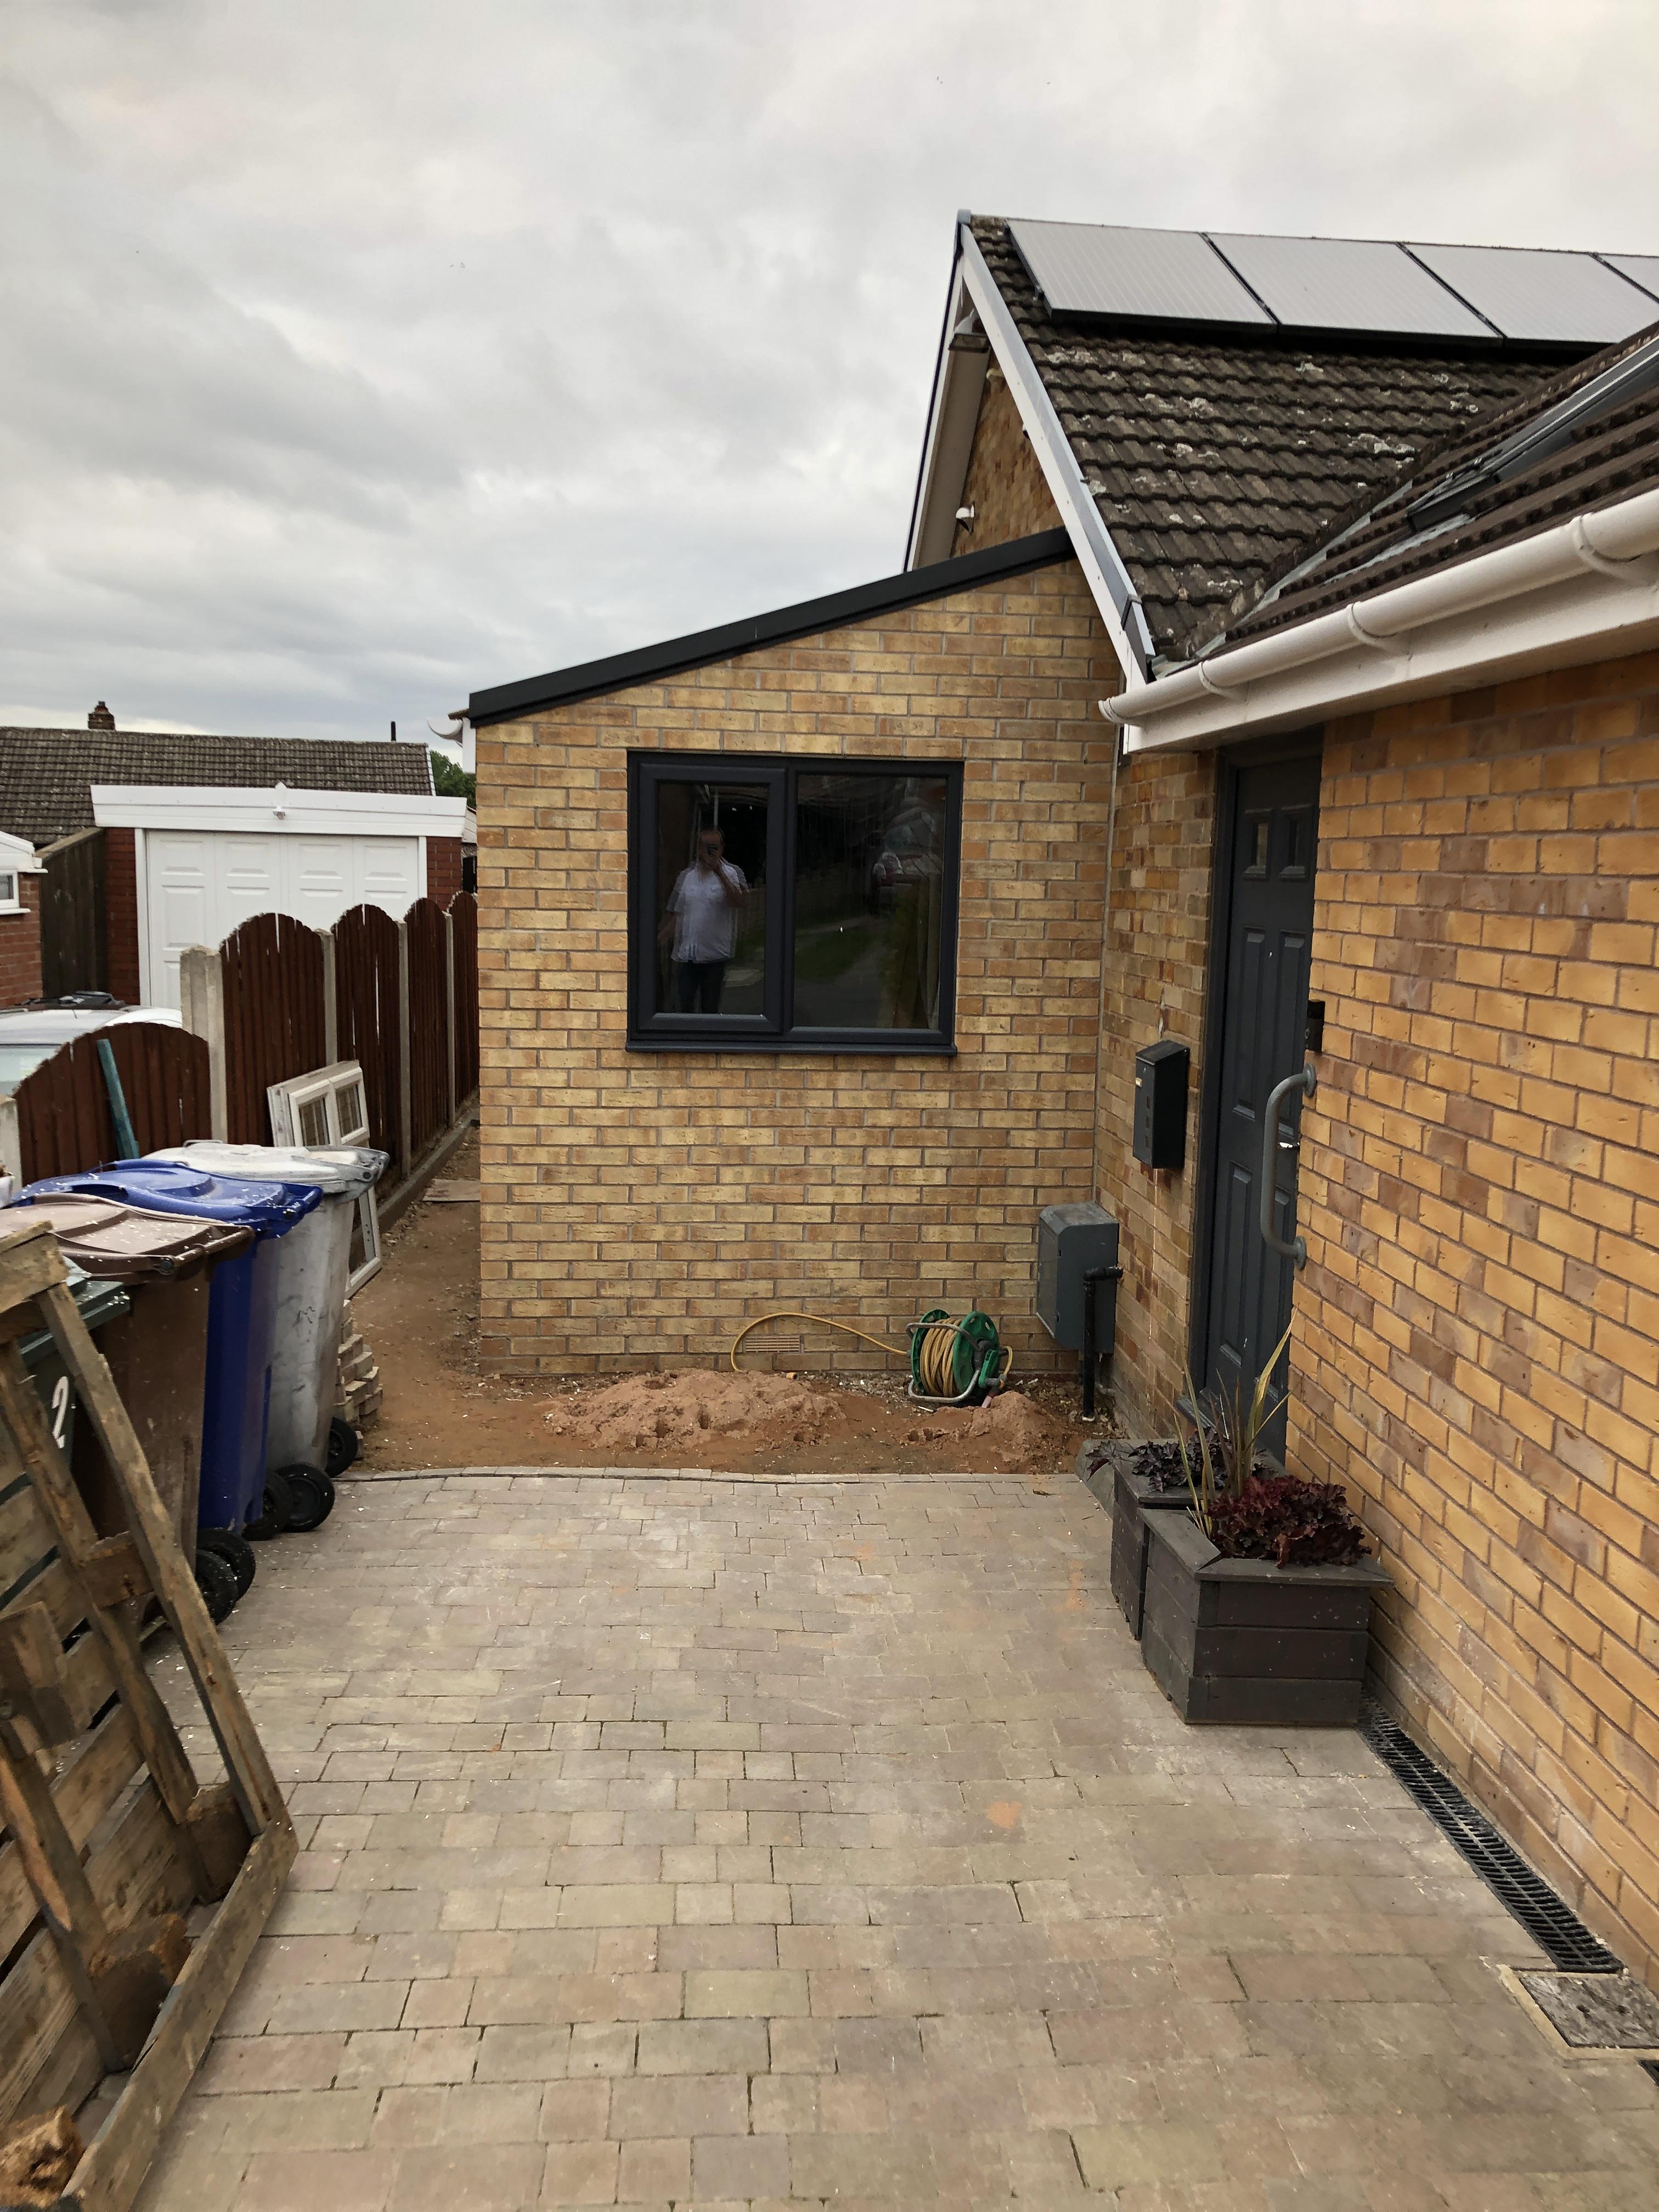
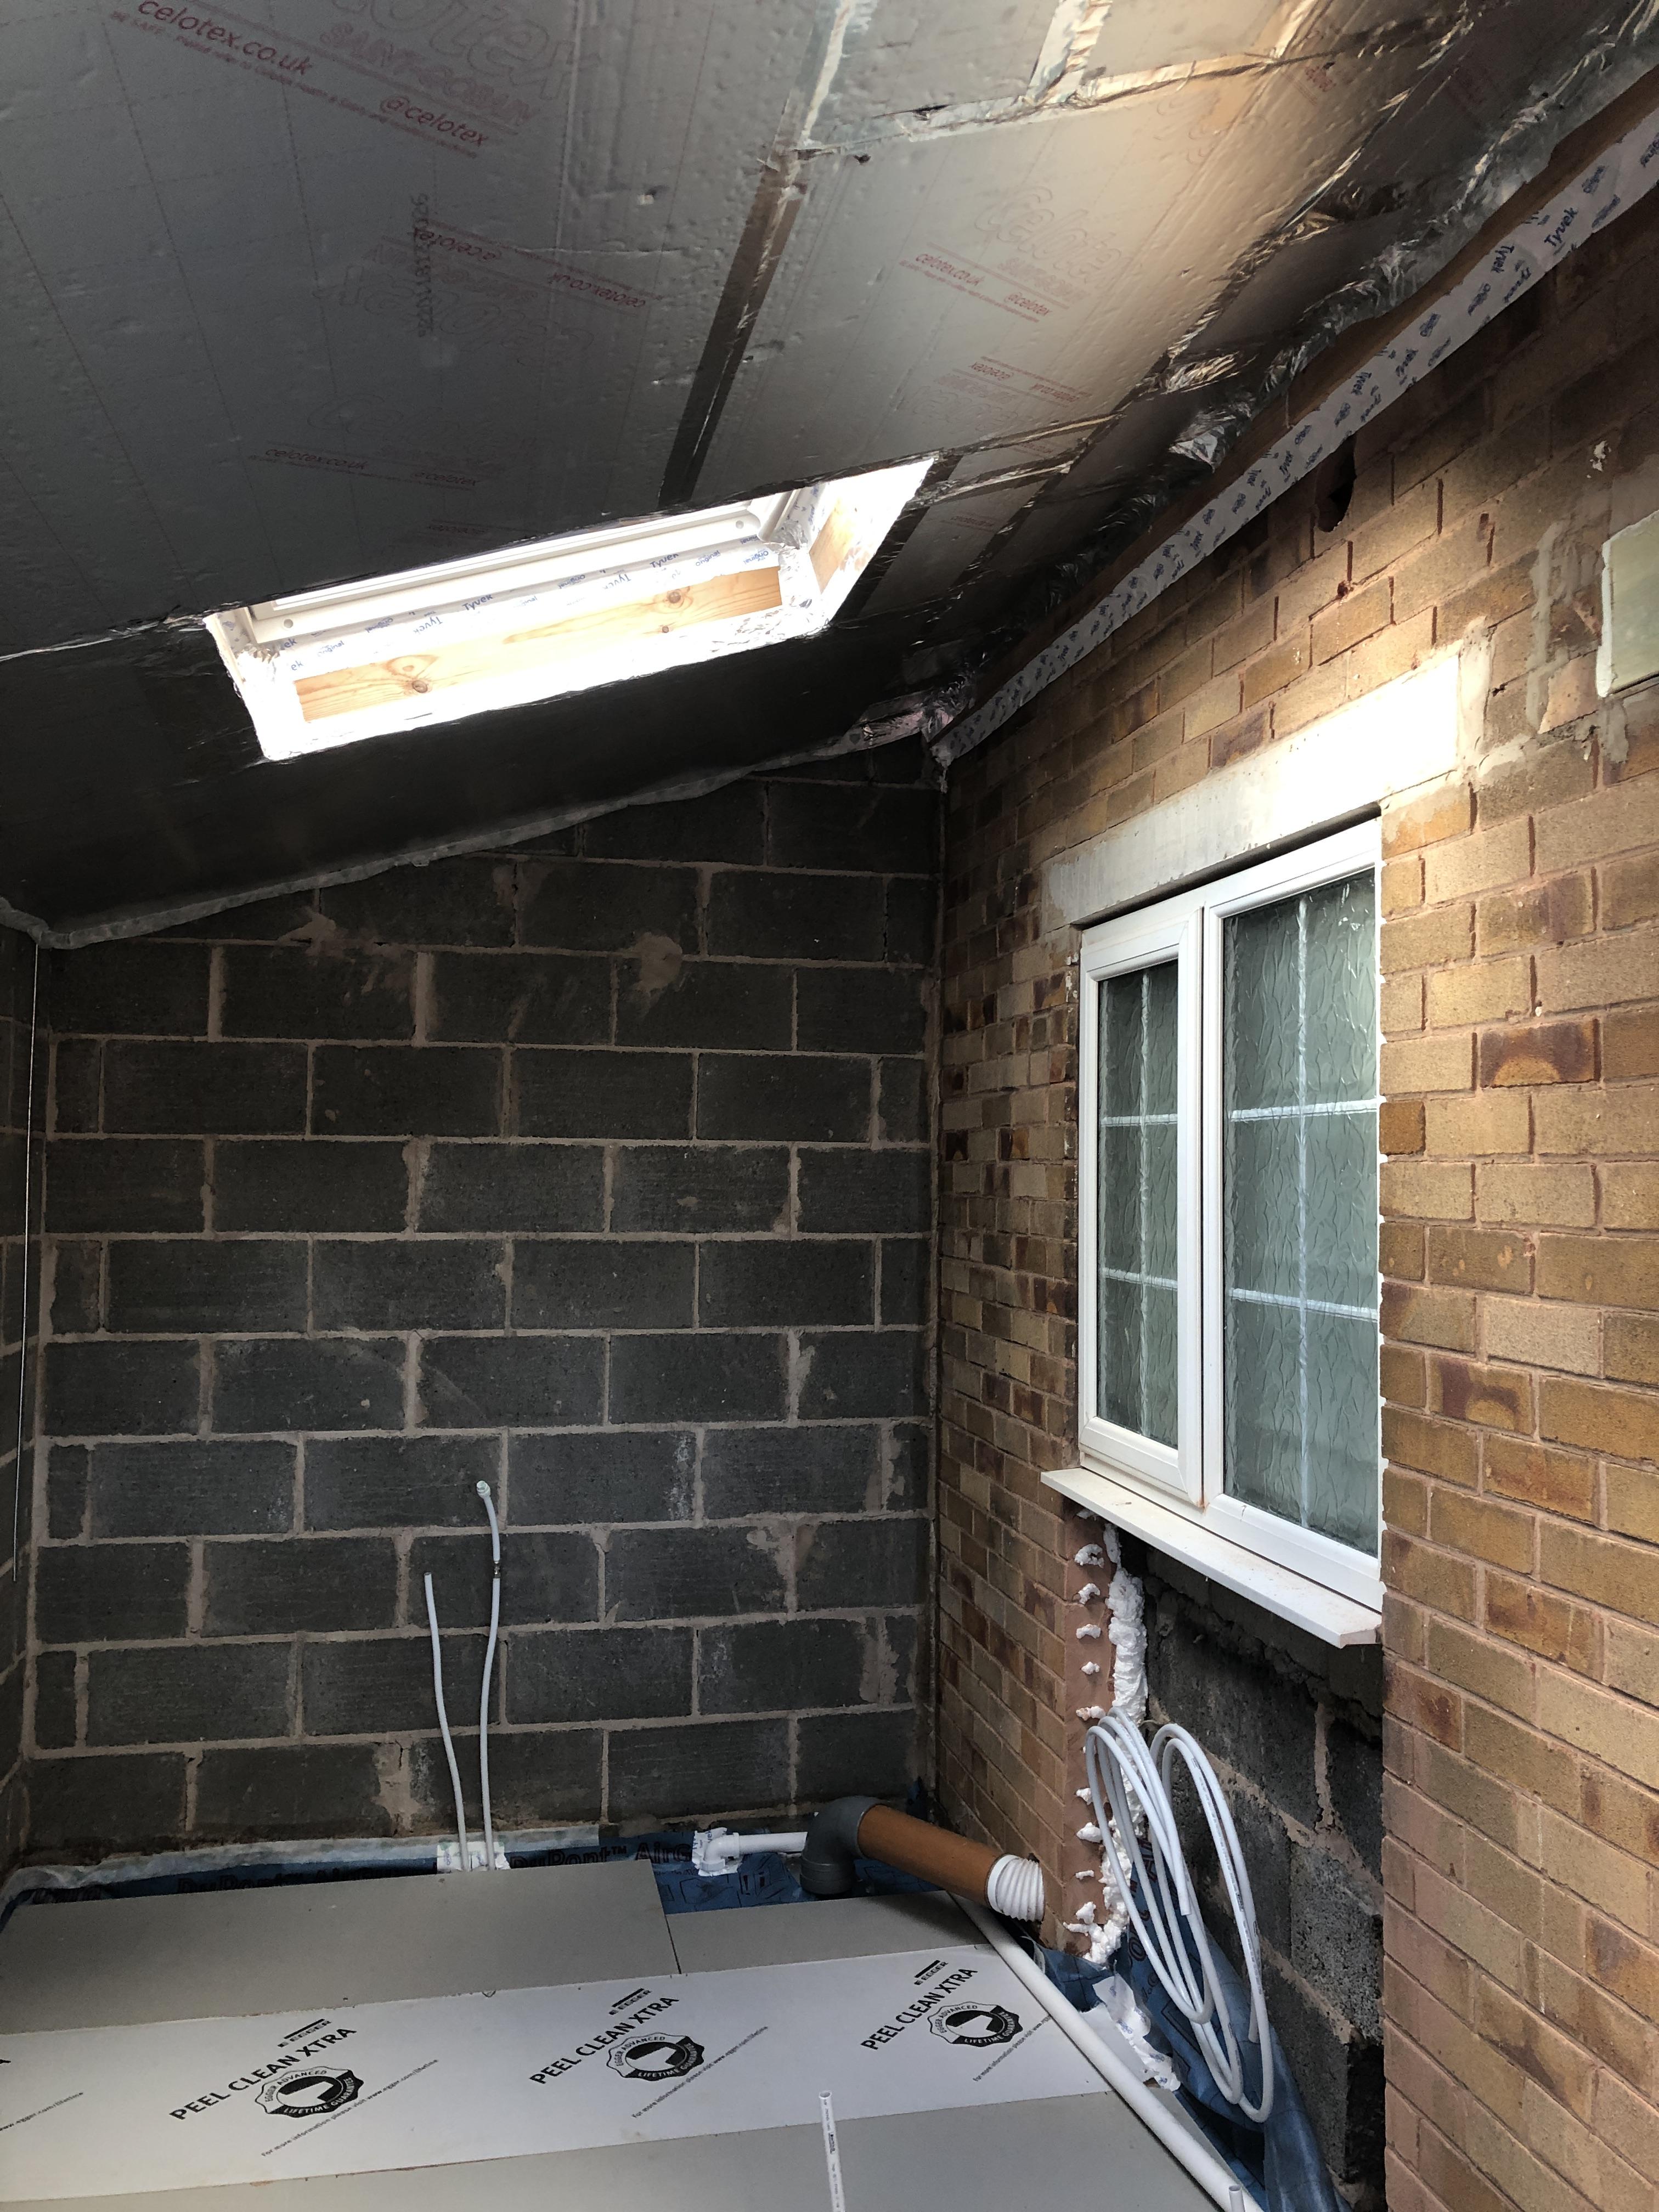
I was also trying to get as much of the dusty bits out of the way before opening this room up to the rest of the bungalow, so removed the outer bricks from under the bathroom window (the blocks will be done later down the line, as the new bathroom needs creating first so i'm not without showering and toilet facilities).

IMG_2525.thumb.JPG.54c7d444acdab5648b22be8ee7af8de7.JPG


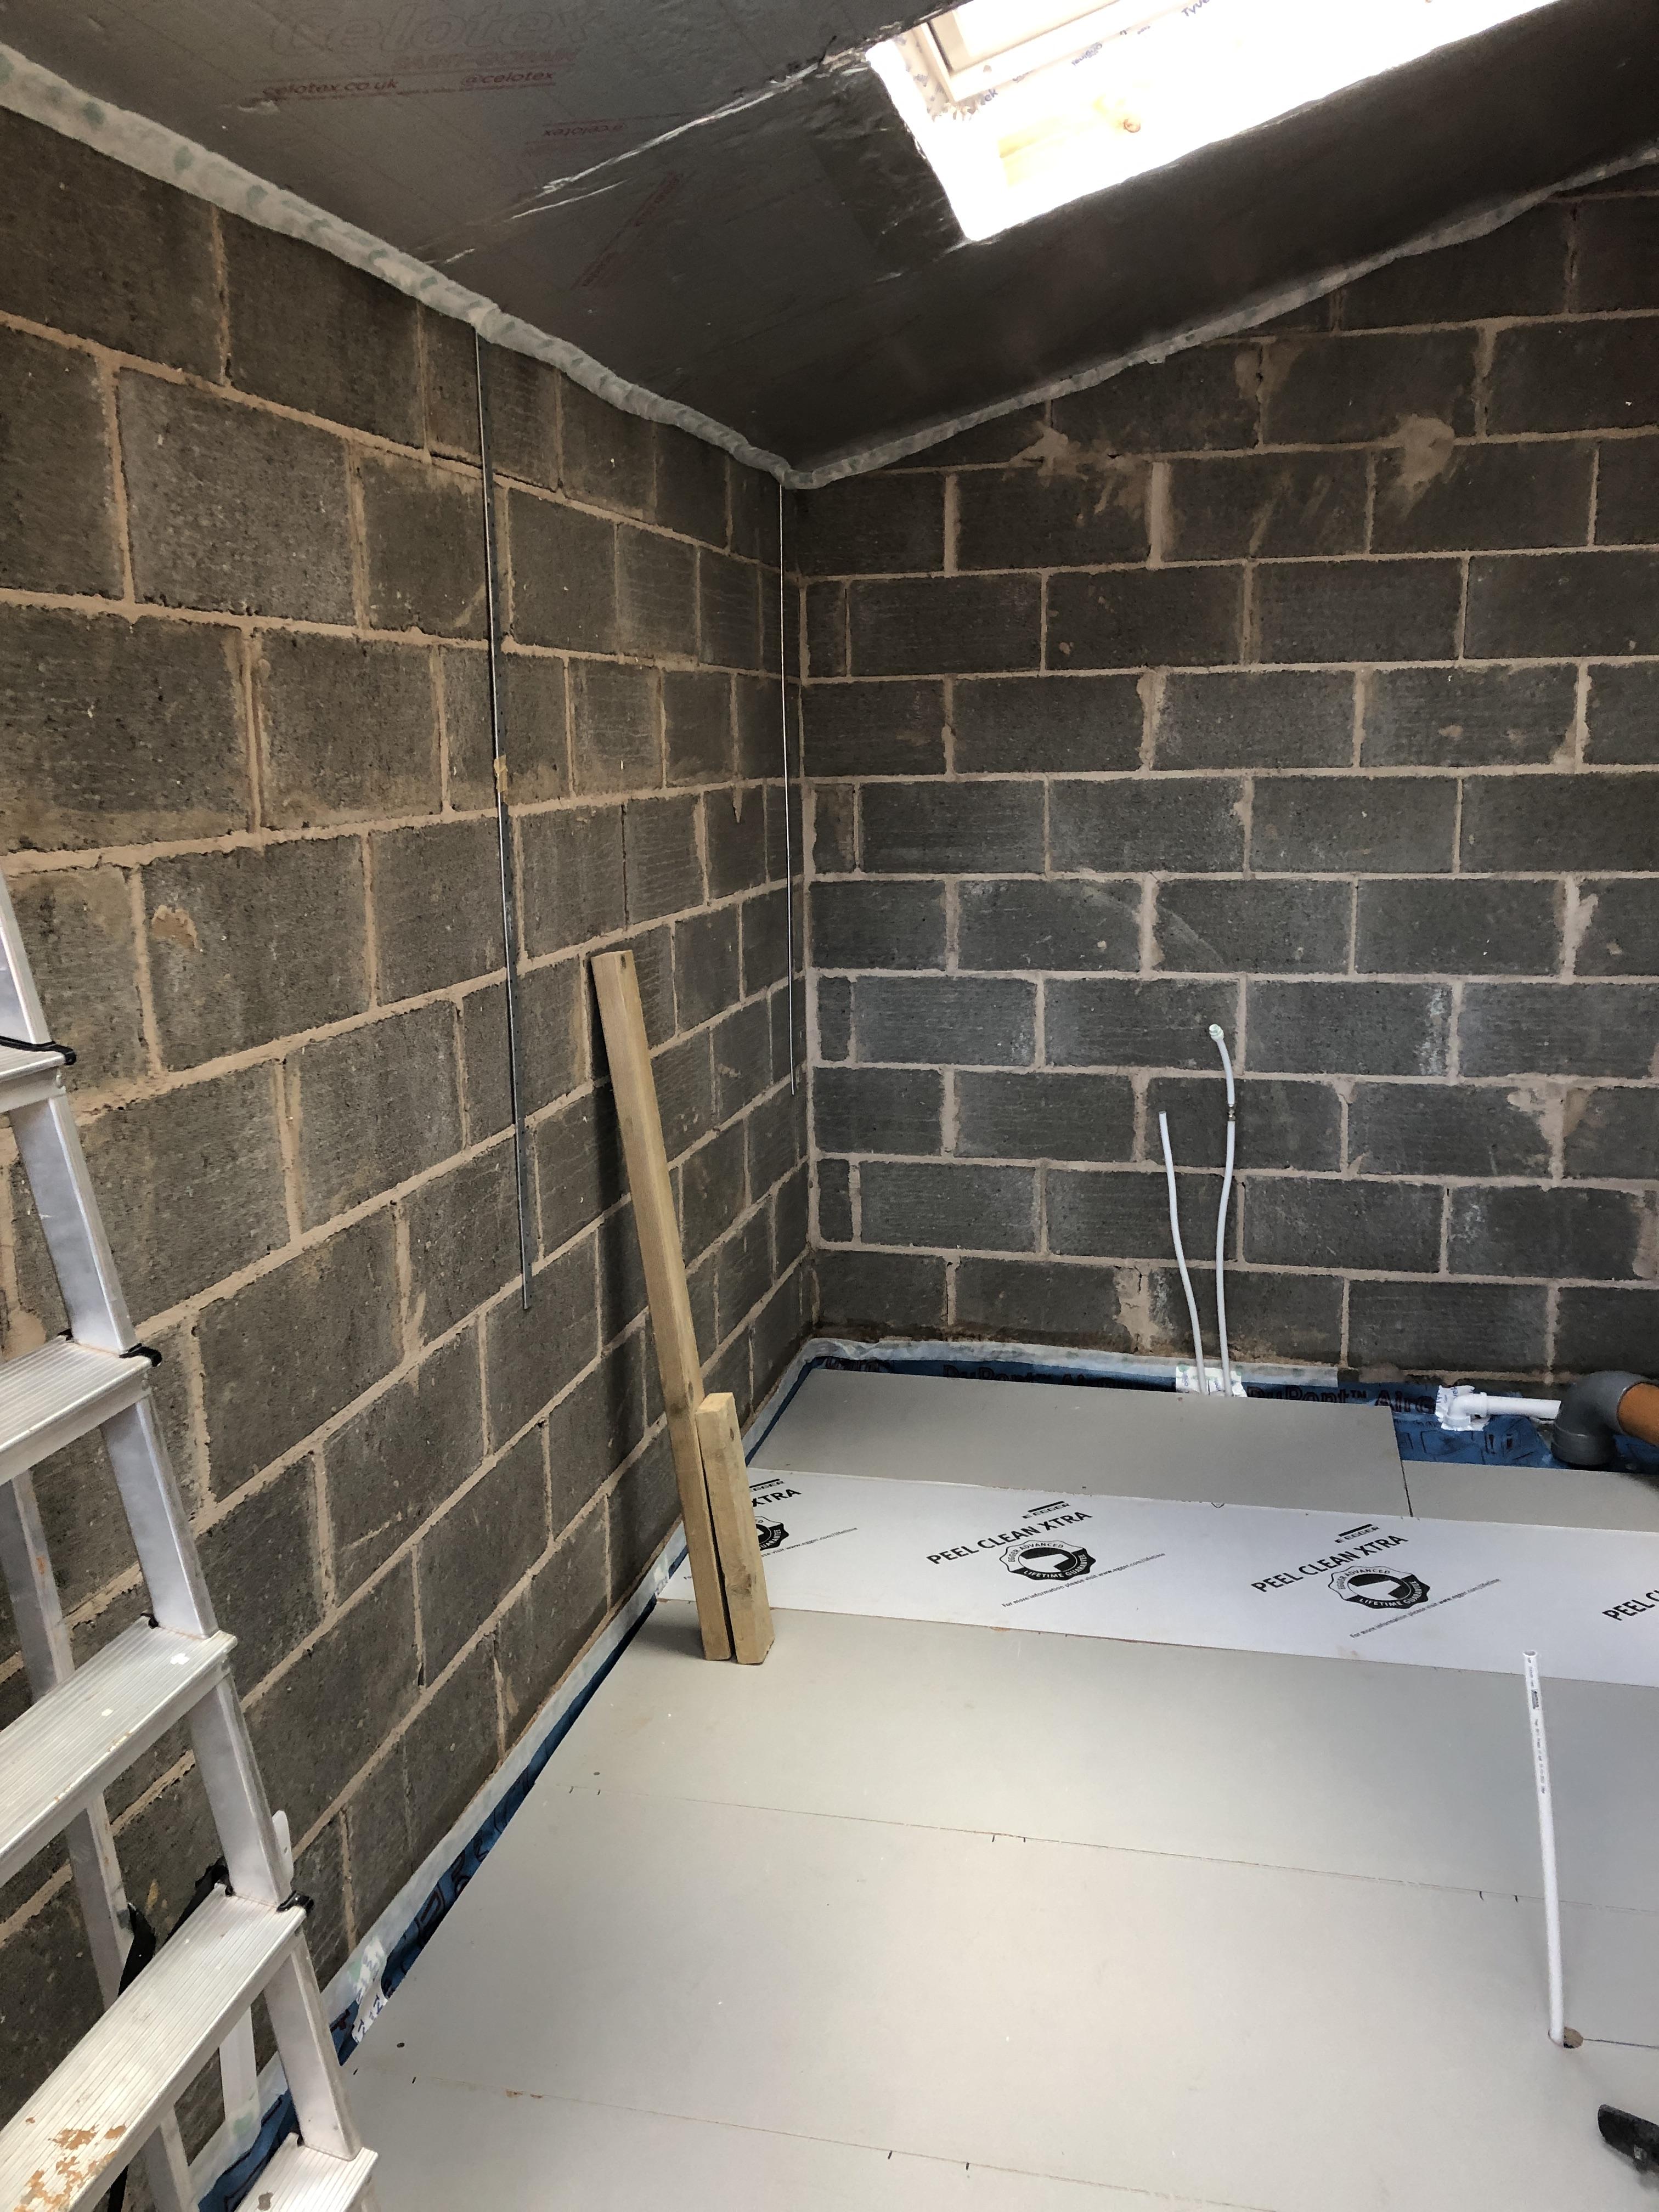
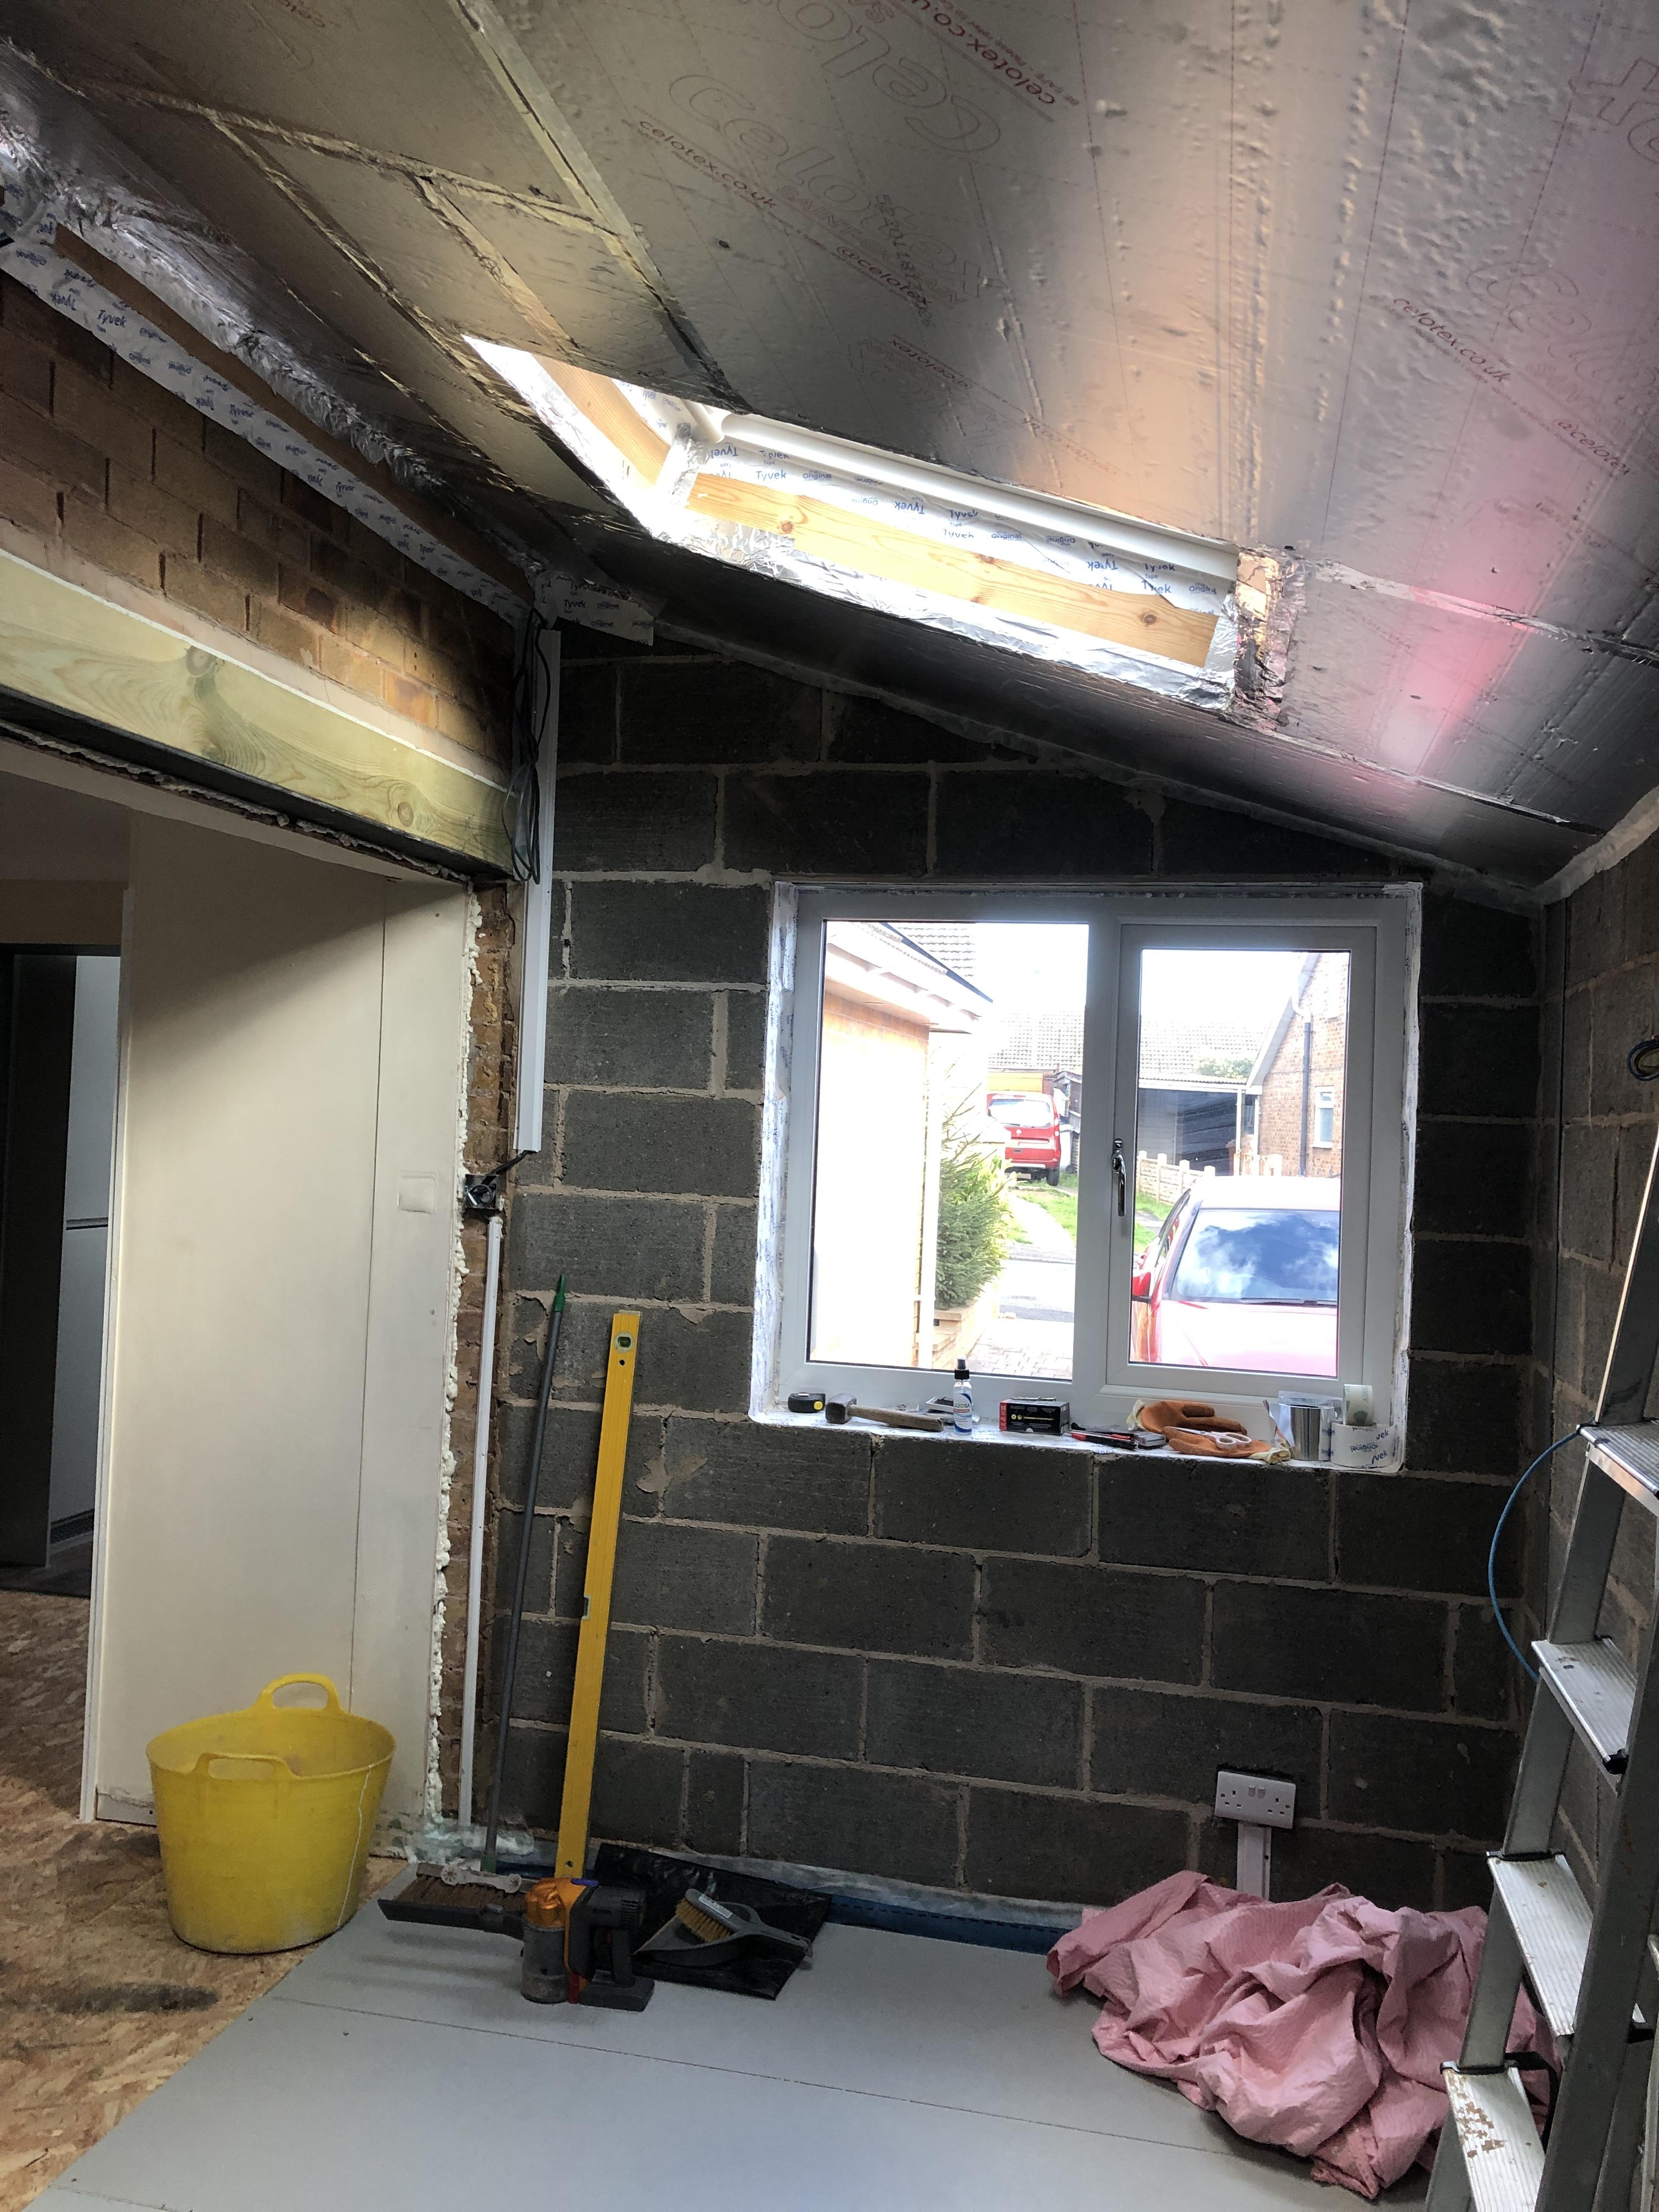
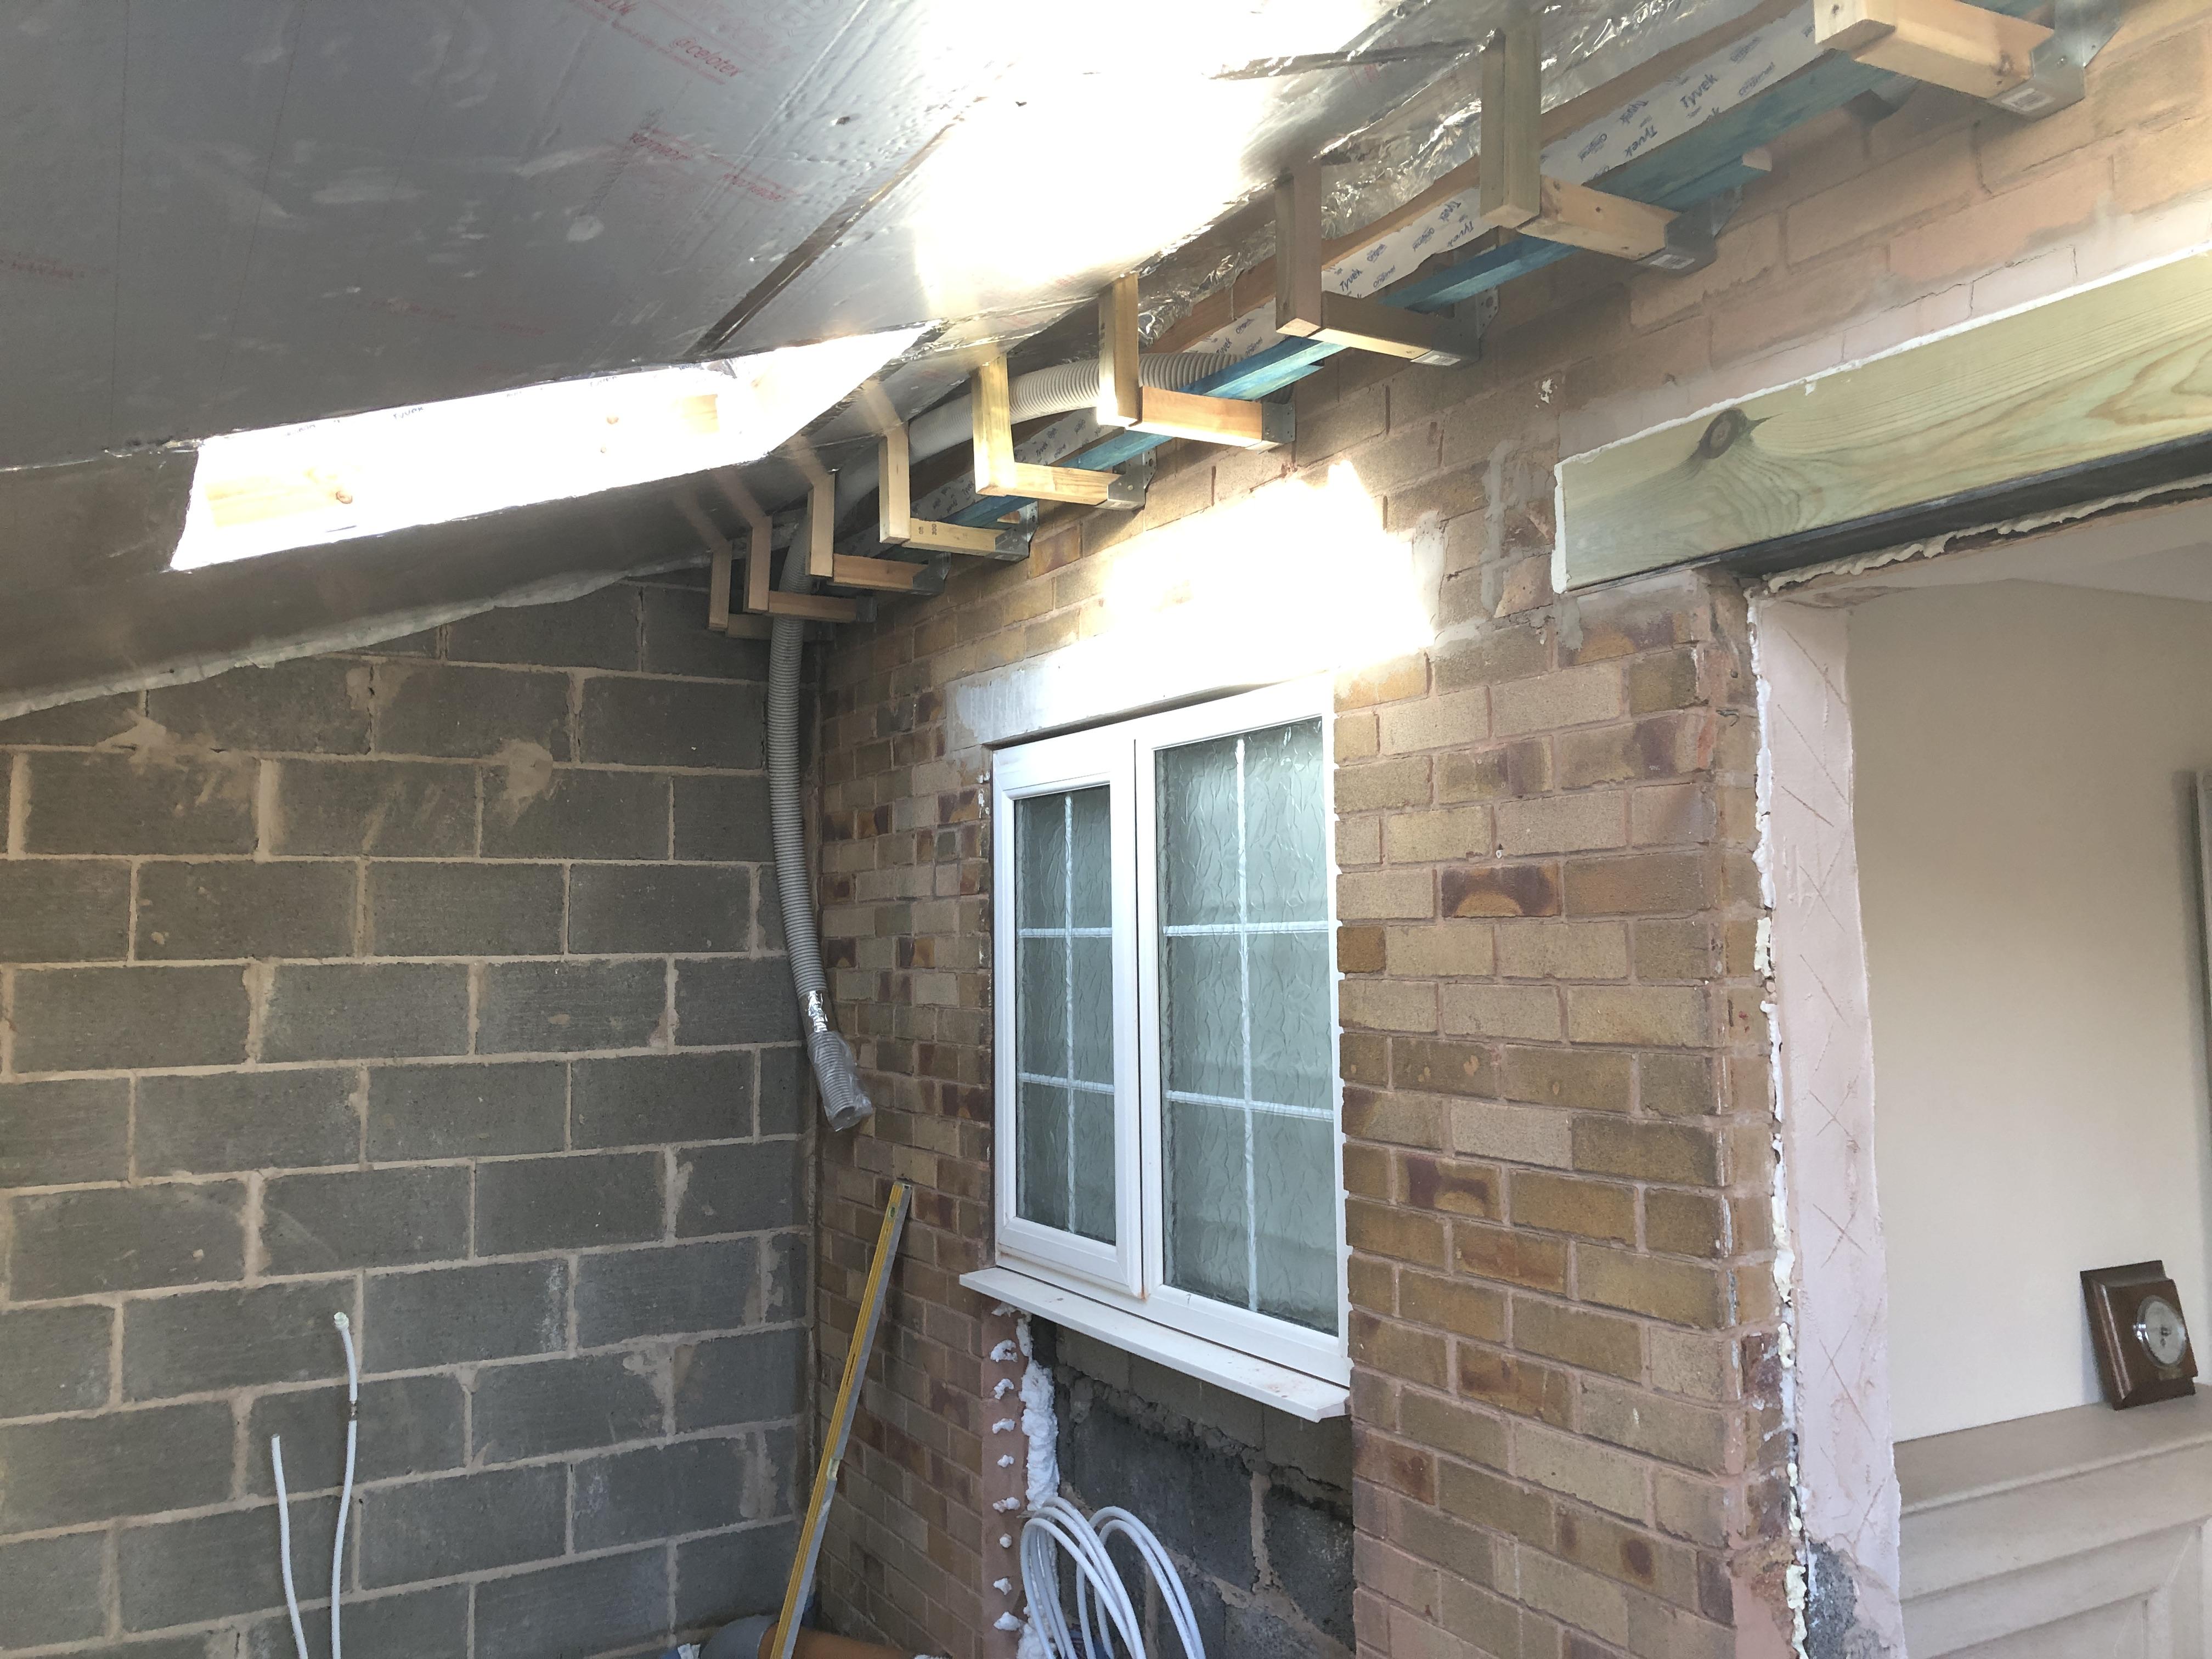
Cleaned up under the floor and removed the old kitchen window, door and brickwork.


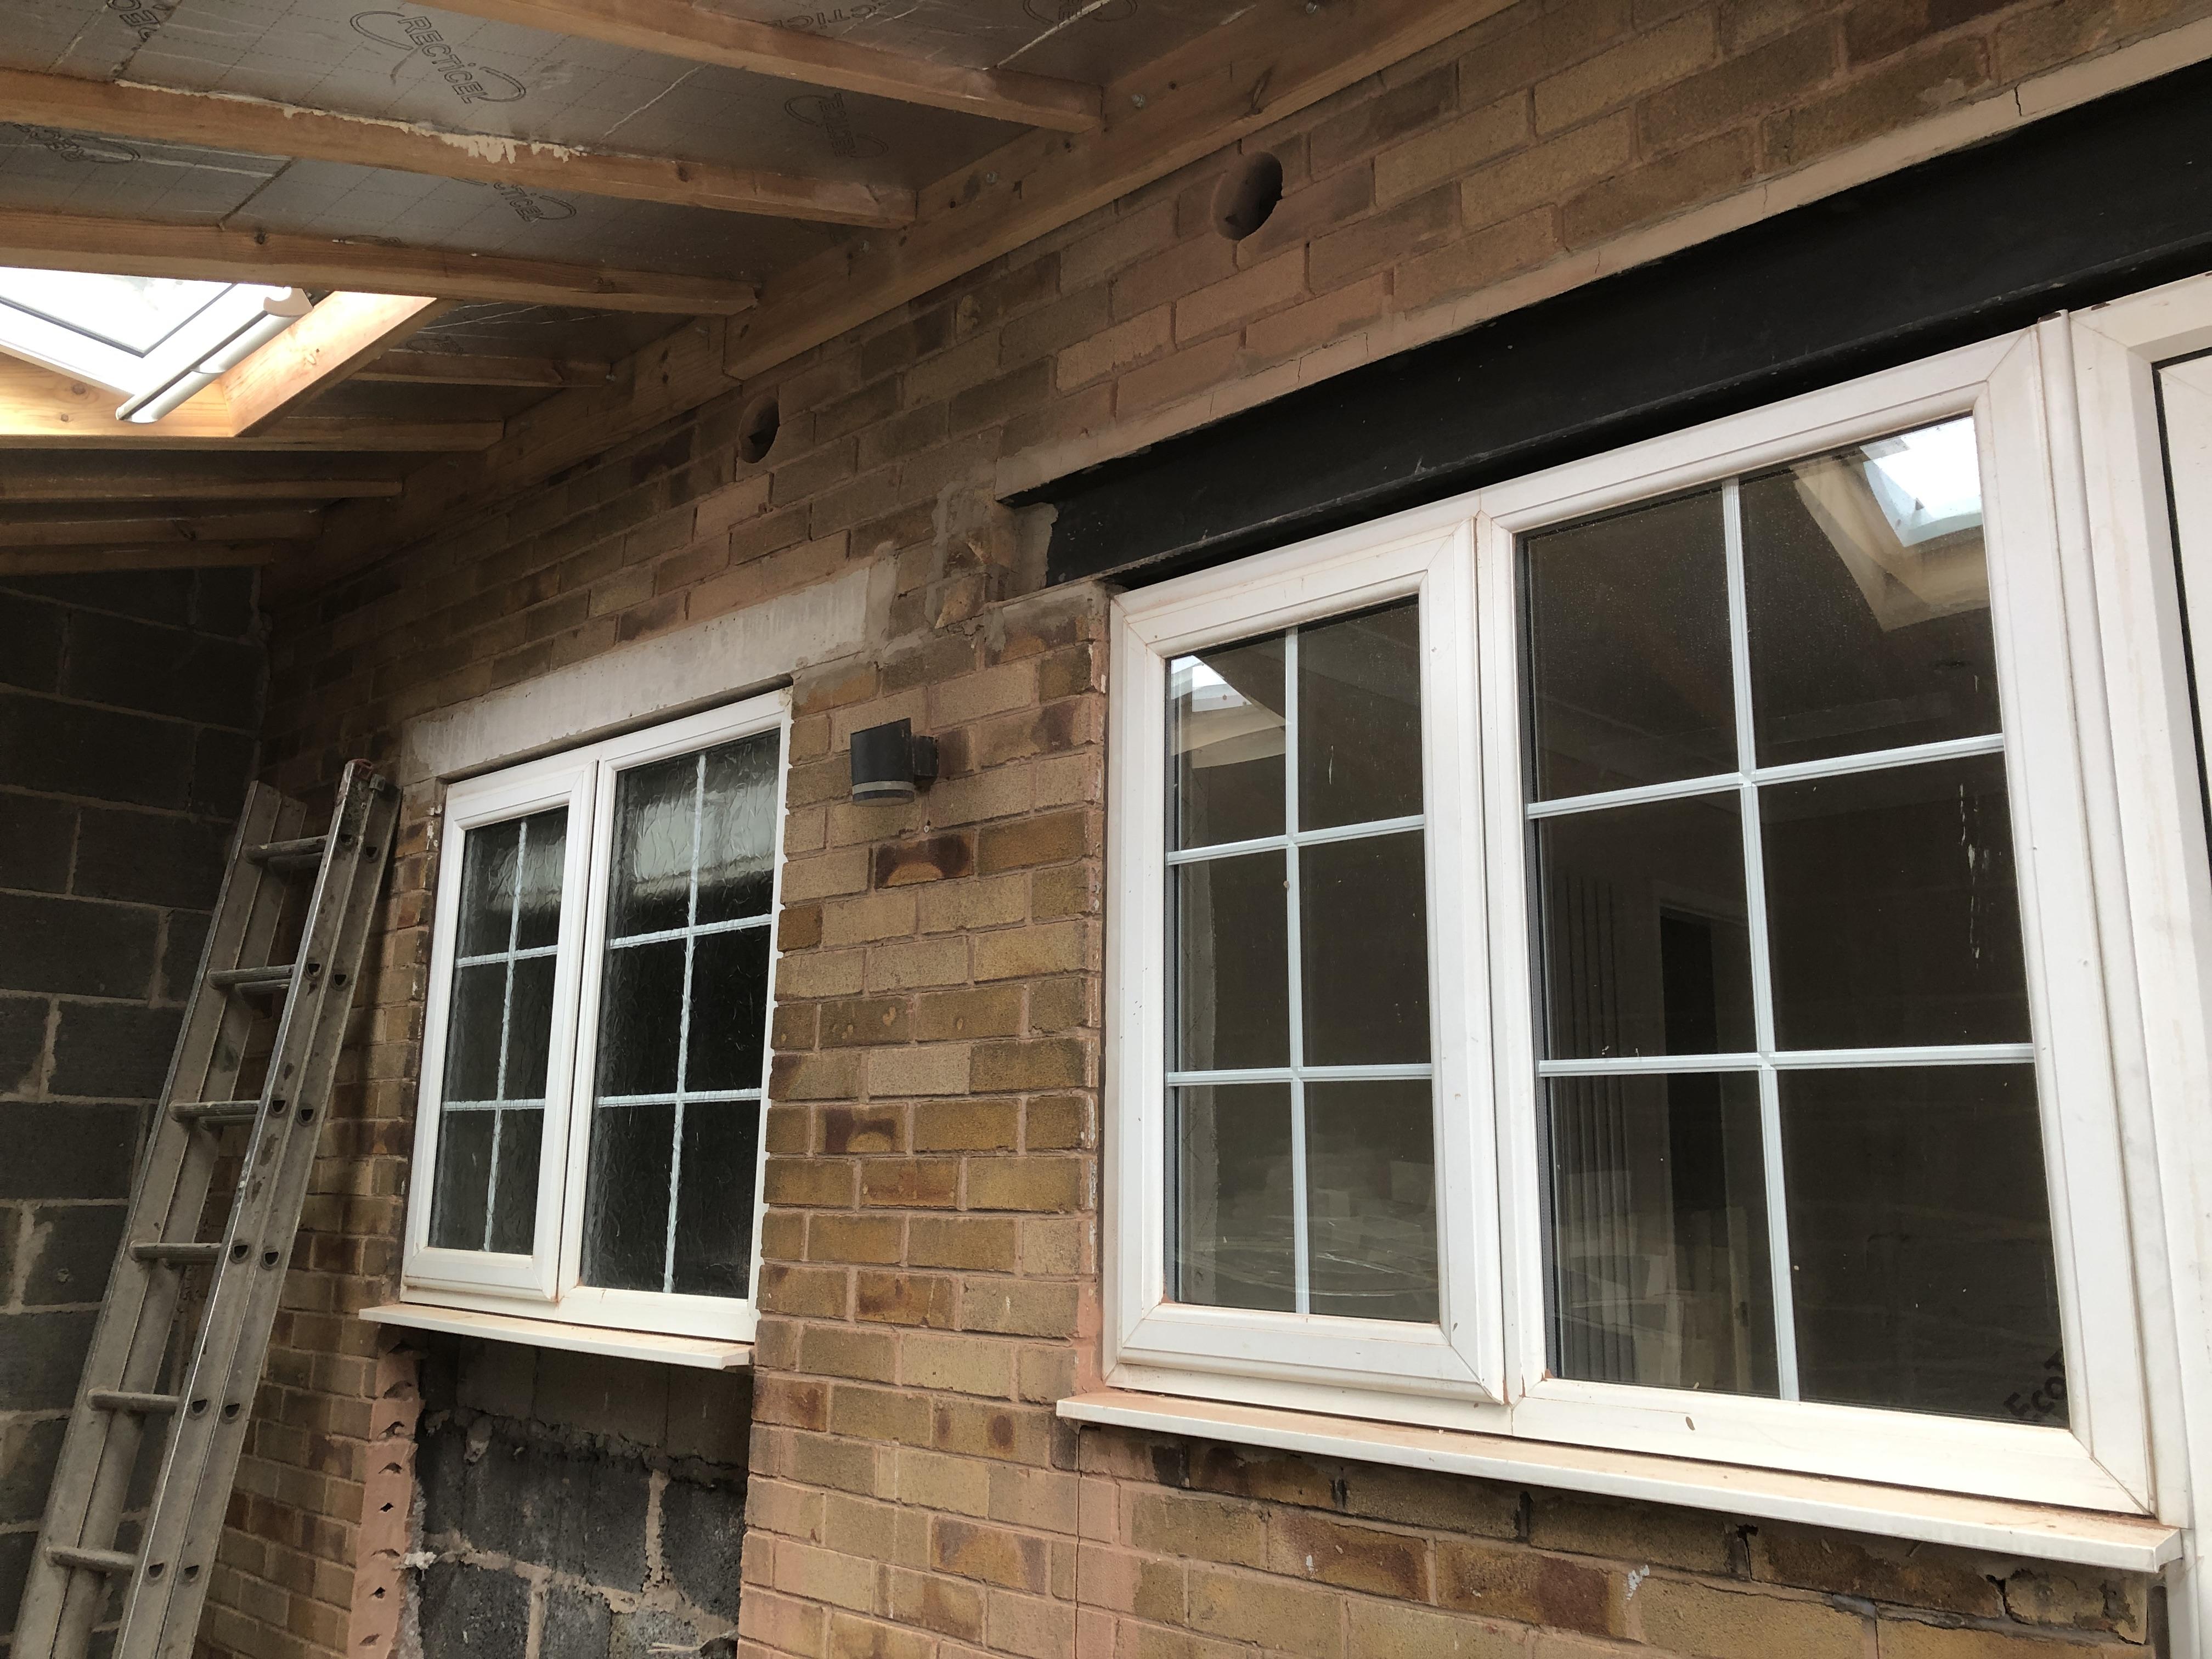
2 new windows went in, triple glazed, with just the bow window to swap out for a standard casement window later down the line.

IMG_2517.thumb.JPG.f2284354fe7bebd1d4f50f2bf7c8bdcd.JPG

IMG_2518.thumb.JPG.9b61d2f22e911479364ff61c451d7278.JPG


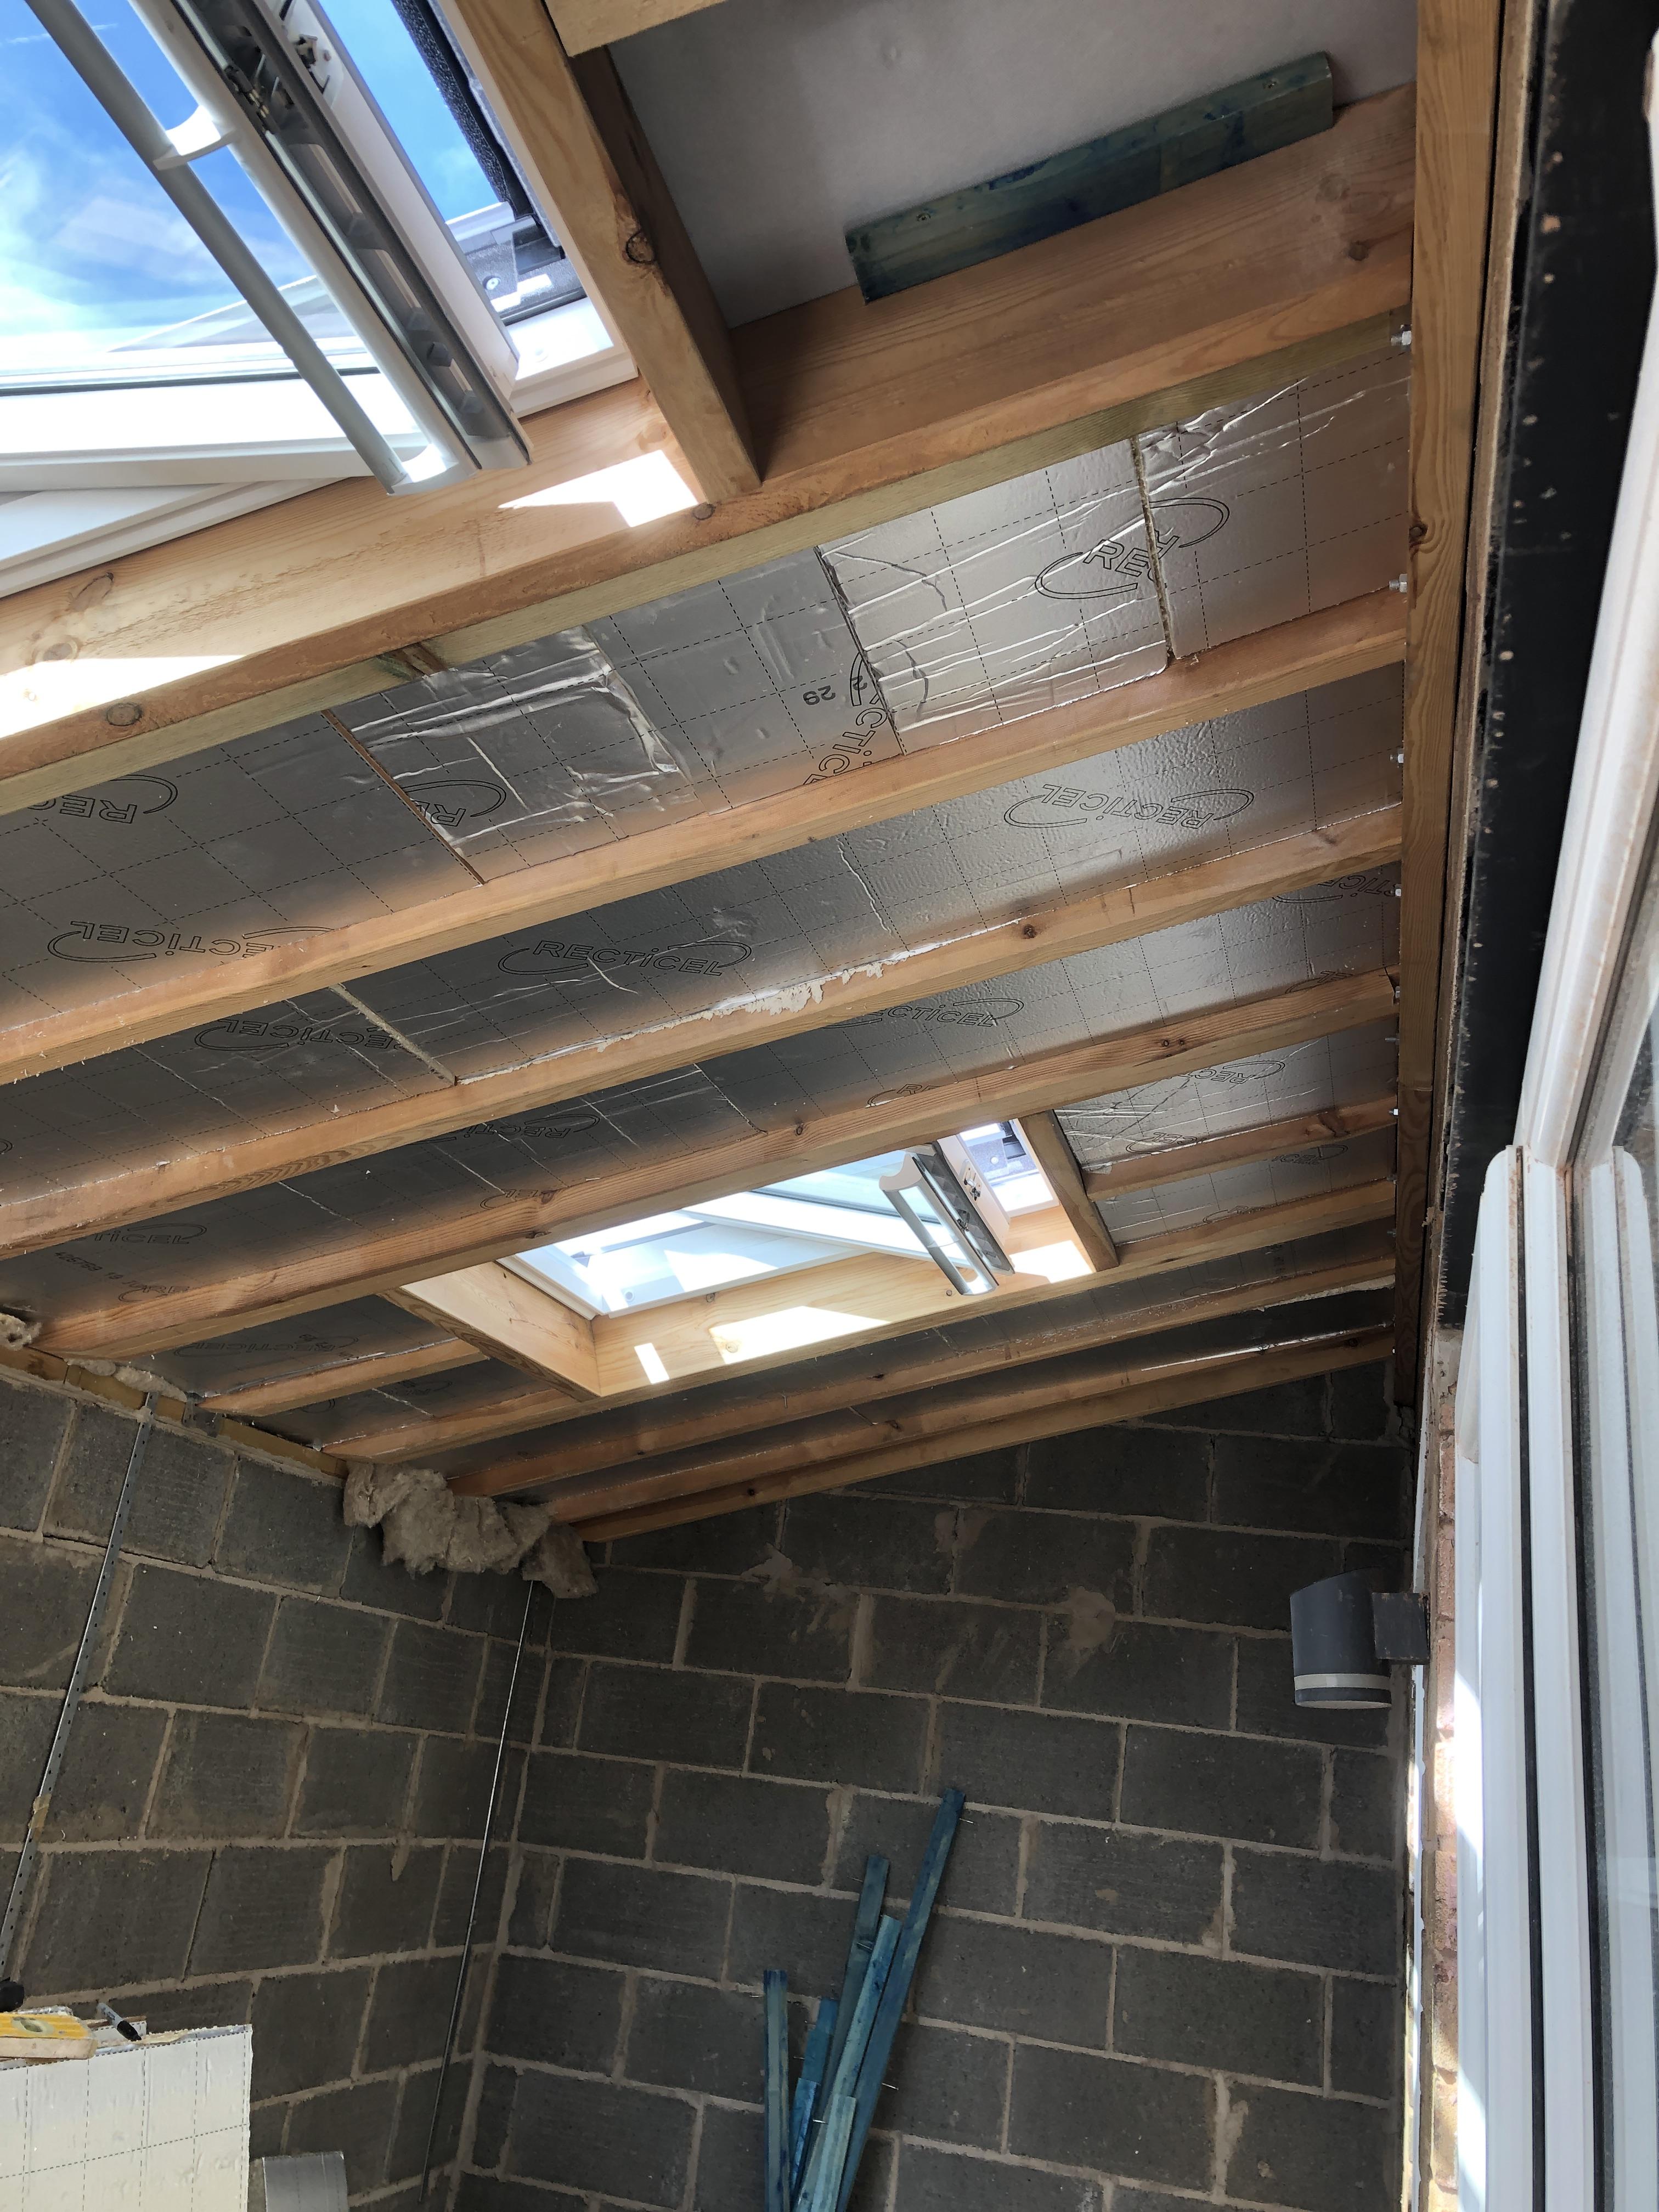
Next task was to get a firm floor to work off, so I set about getting all necessary pipes in, and also got the electrician in to sort the sockets out, and finally another load of insulation, trying my best to use up all my bits rather than skipping them


IMG_2545.thumb.JPG.1fc751f66339f7b52919241dd85fb021.JPG


IMG_2567.thumb.JPG.b210d027044d1608cefa19cf990df34b.JPG


IMG_2577.thumb.JPG.ccd522c22191fb46faaa2a20627d68fa.JPG


A further 50mm to the roof and 20mm under it:

IMG_2582.thumb.JPG.a1d43a8c48523fd210cb8fda9b8e7462.JPG


IMG_2589.thumb.JPG.cc7cf3568035072d694aa43a236a3e79.JPG


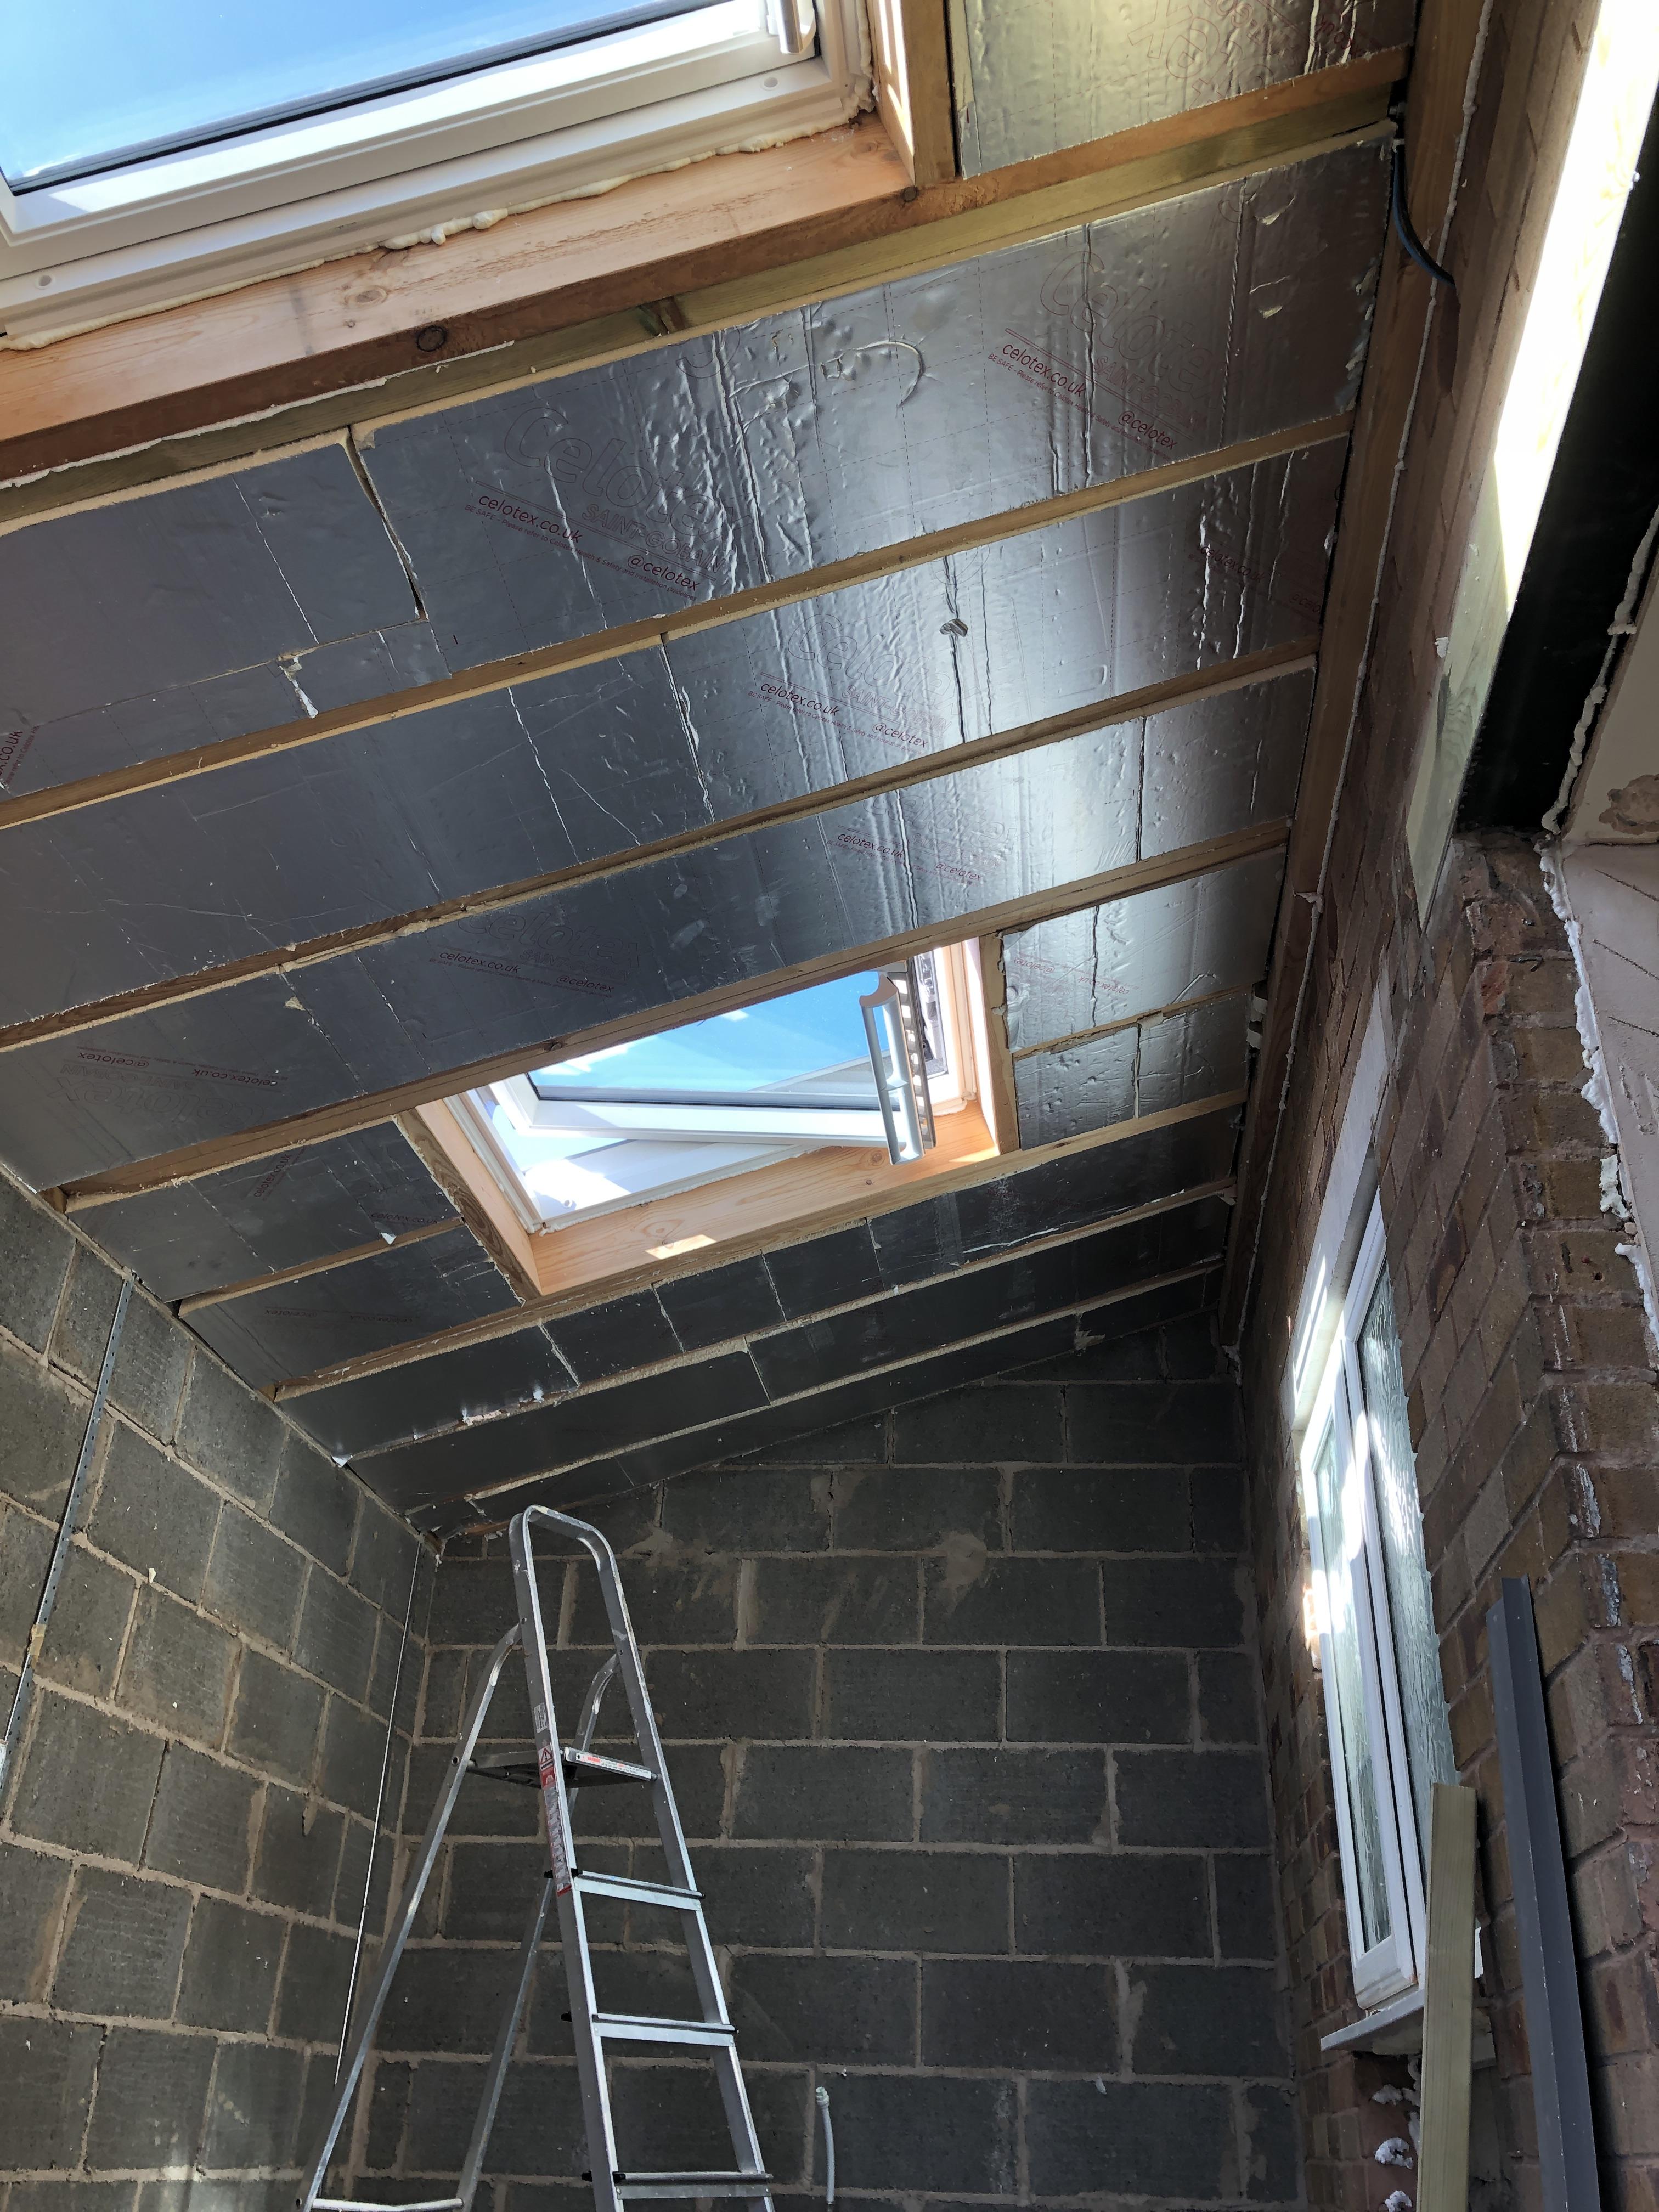
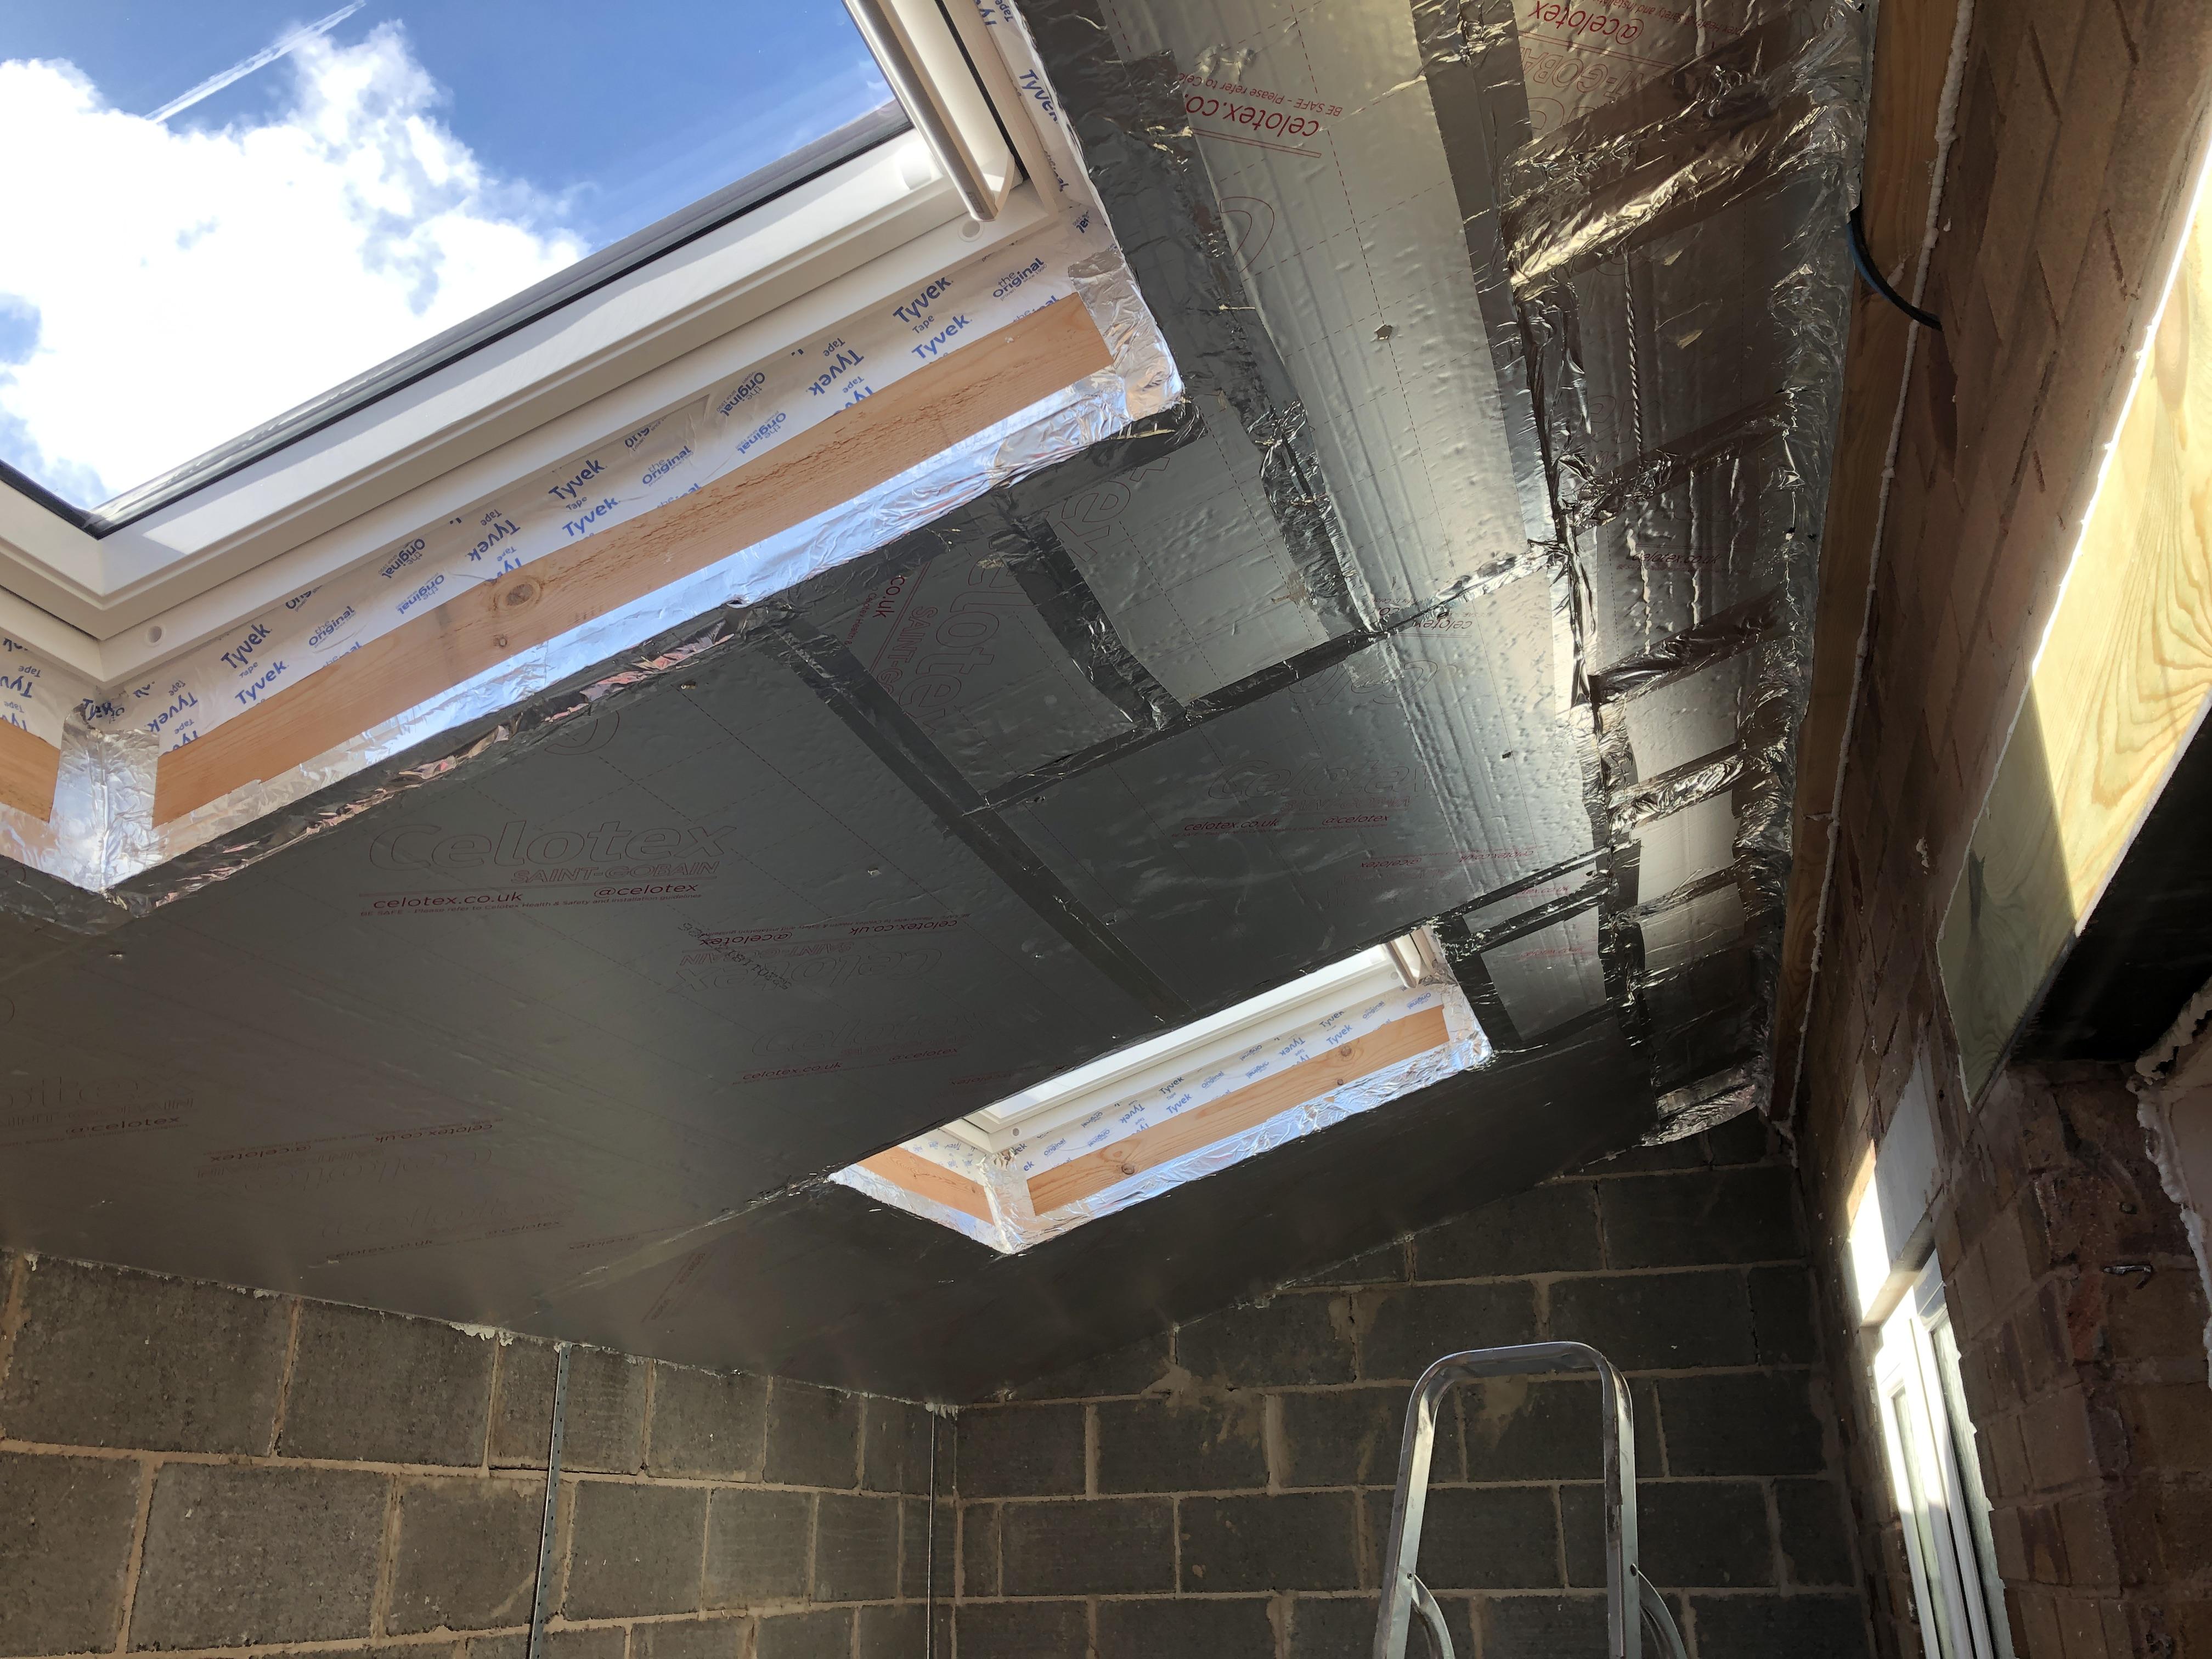
Followed by airtight primer and tape round all of the edges

IMG_2591.thumb.JPG.2bad9627af96cf95f4d72f279153f838.JPG


IMG_2592.thumb.JPG.a149506f0c549651315711b53aeb0894.JPG


IMG_2593.thumb.JPG.5bdfde7abf02b8cc80f08f1fce43a215.JPG


Started working on the box section at the top of the roof which will house the ventilation pipes and cover up any thermal bridges from the timber wall header


IMG_2595.thumb.JPG.fbc41054e89513a9614ccf5cc8b41fec.JPG


IMG_2594.thumb.JPG.58d34c9936ab06b6c041e7135a97a6c6.JPG


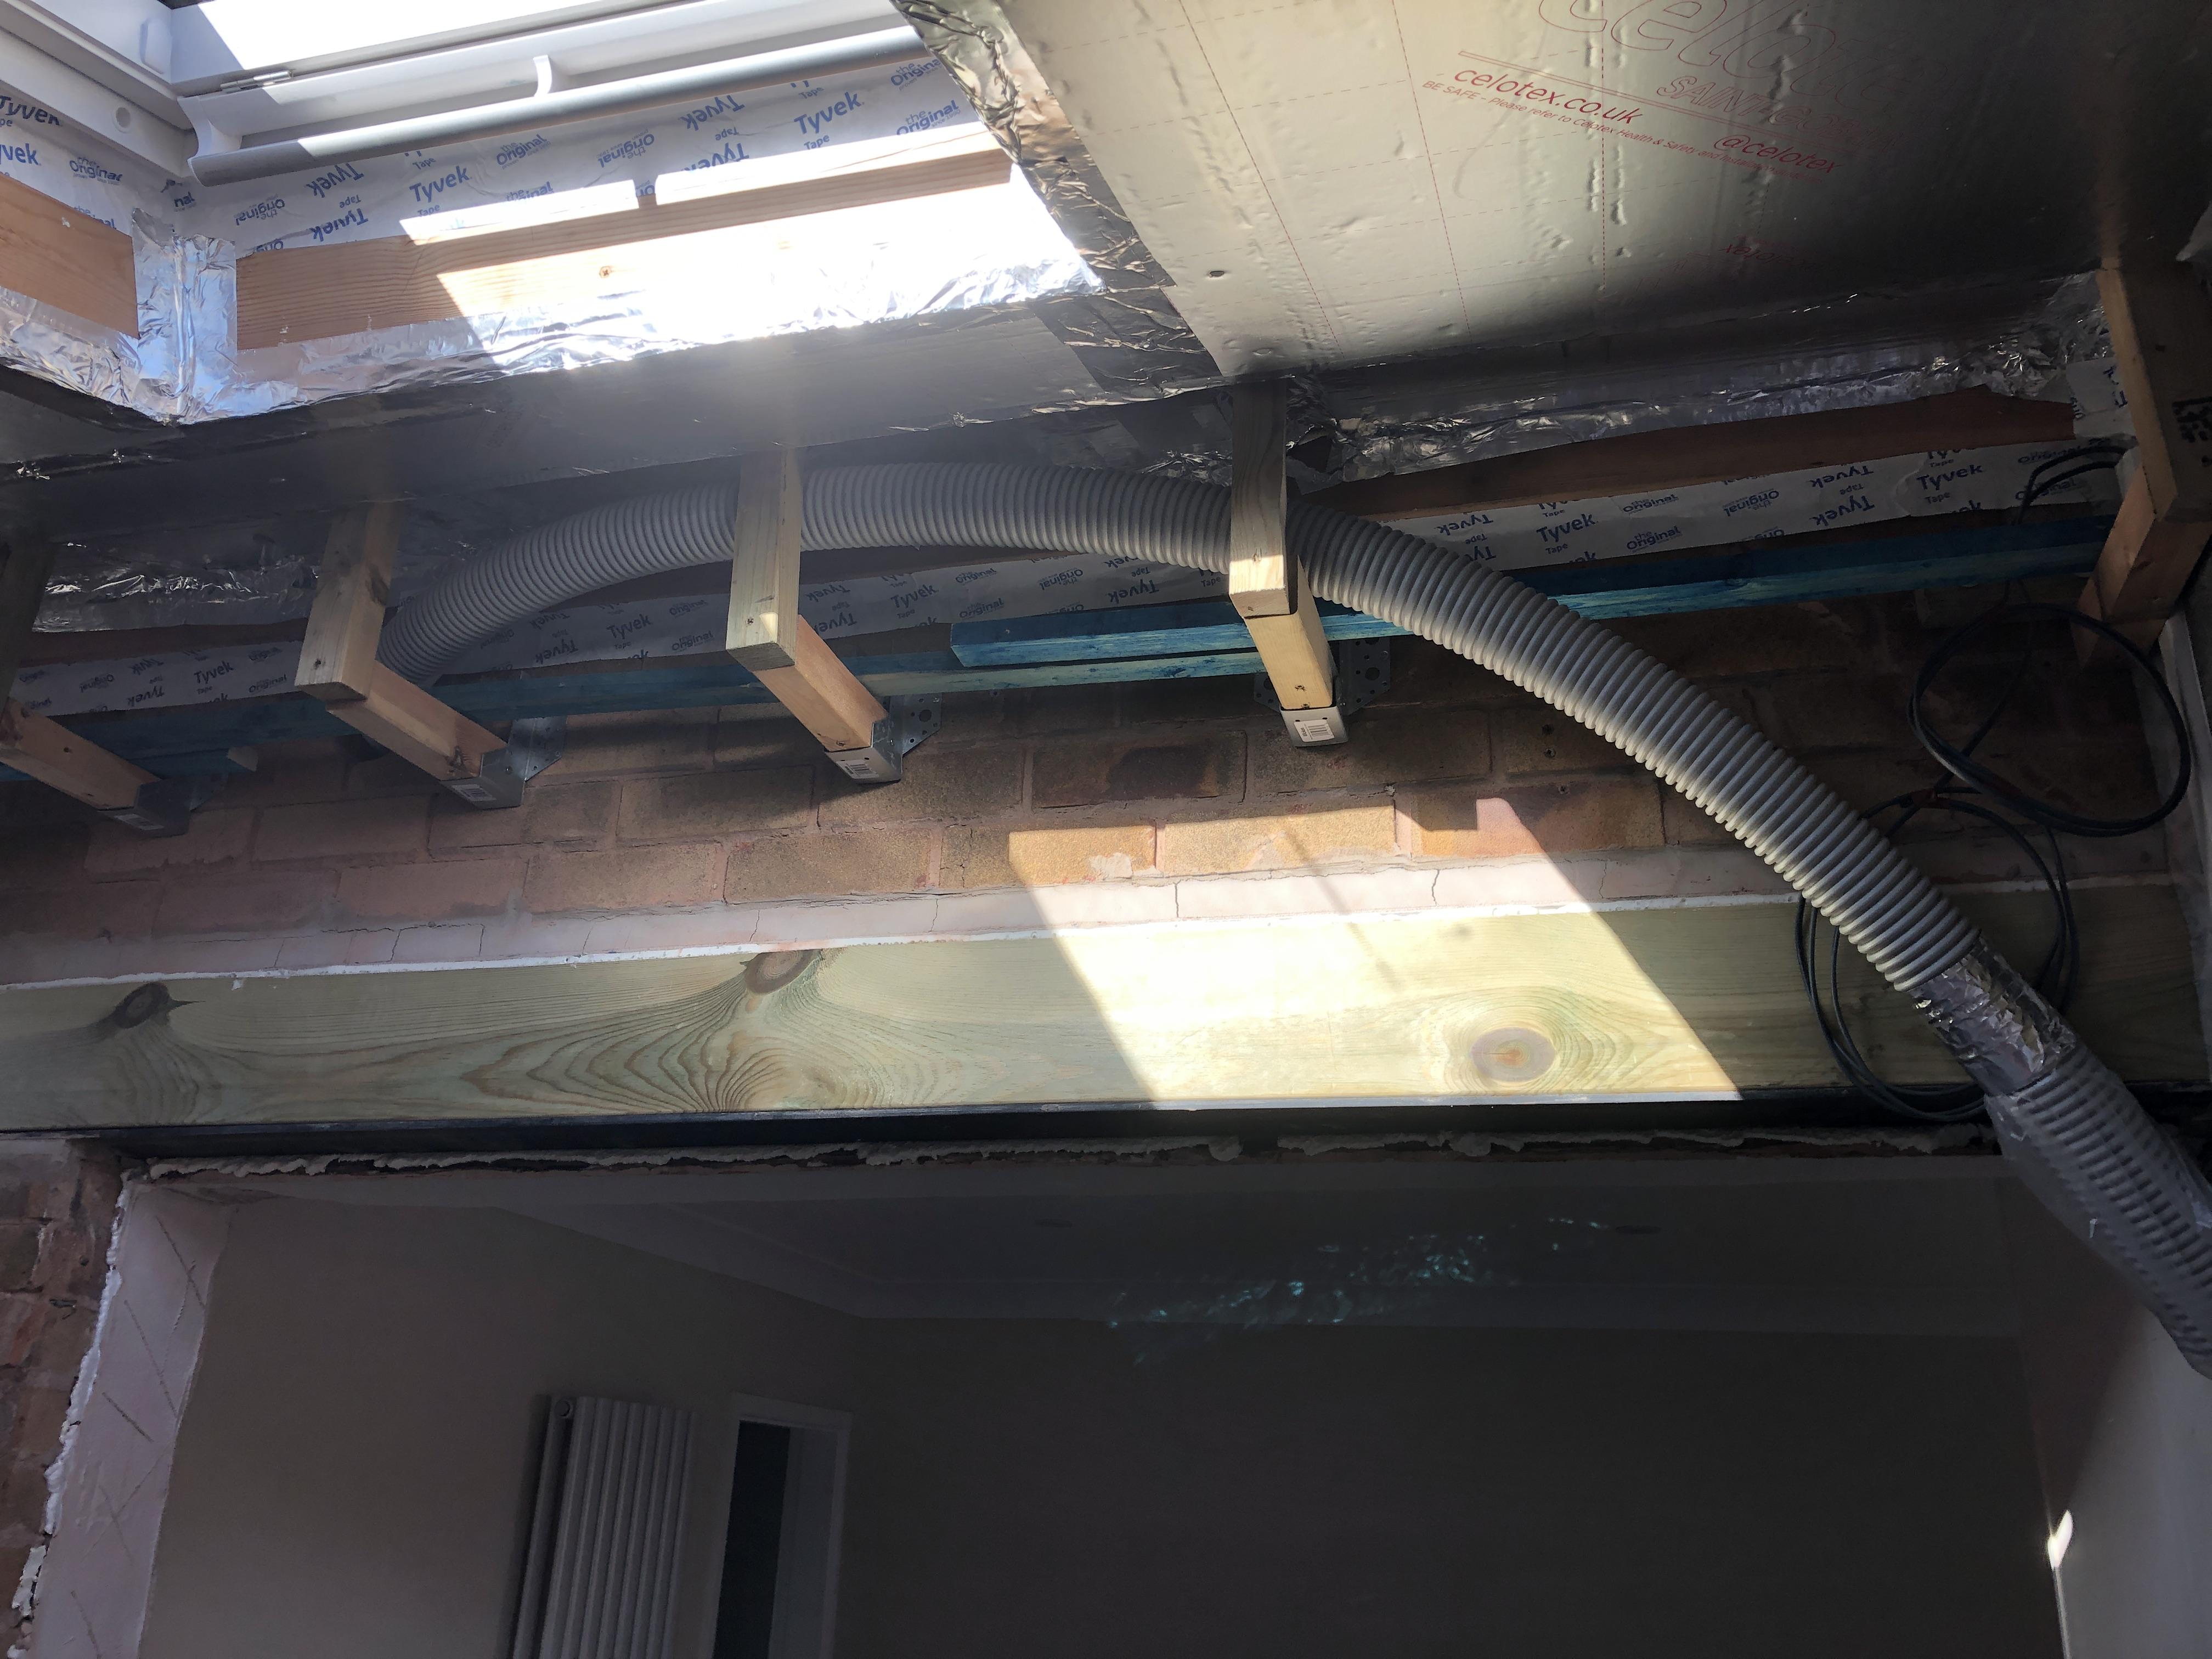
At this point the building inspector came, and asked me what on earth the pipes were for?! Told him they were for the mechanical ventilation and he looked nonethewiser, but otherwise was happy for me to carry on


IMG_2598.thumb.JPG.91d659513ffca152caaa9bd8af2bf0a6.JPG


IMG_2599.thumb.JPG.2351a3d0773ec4a0bd428e03acdb0dc5.JPG


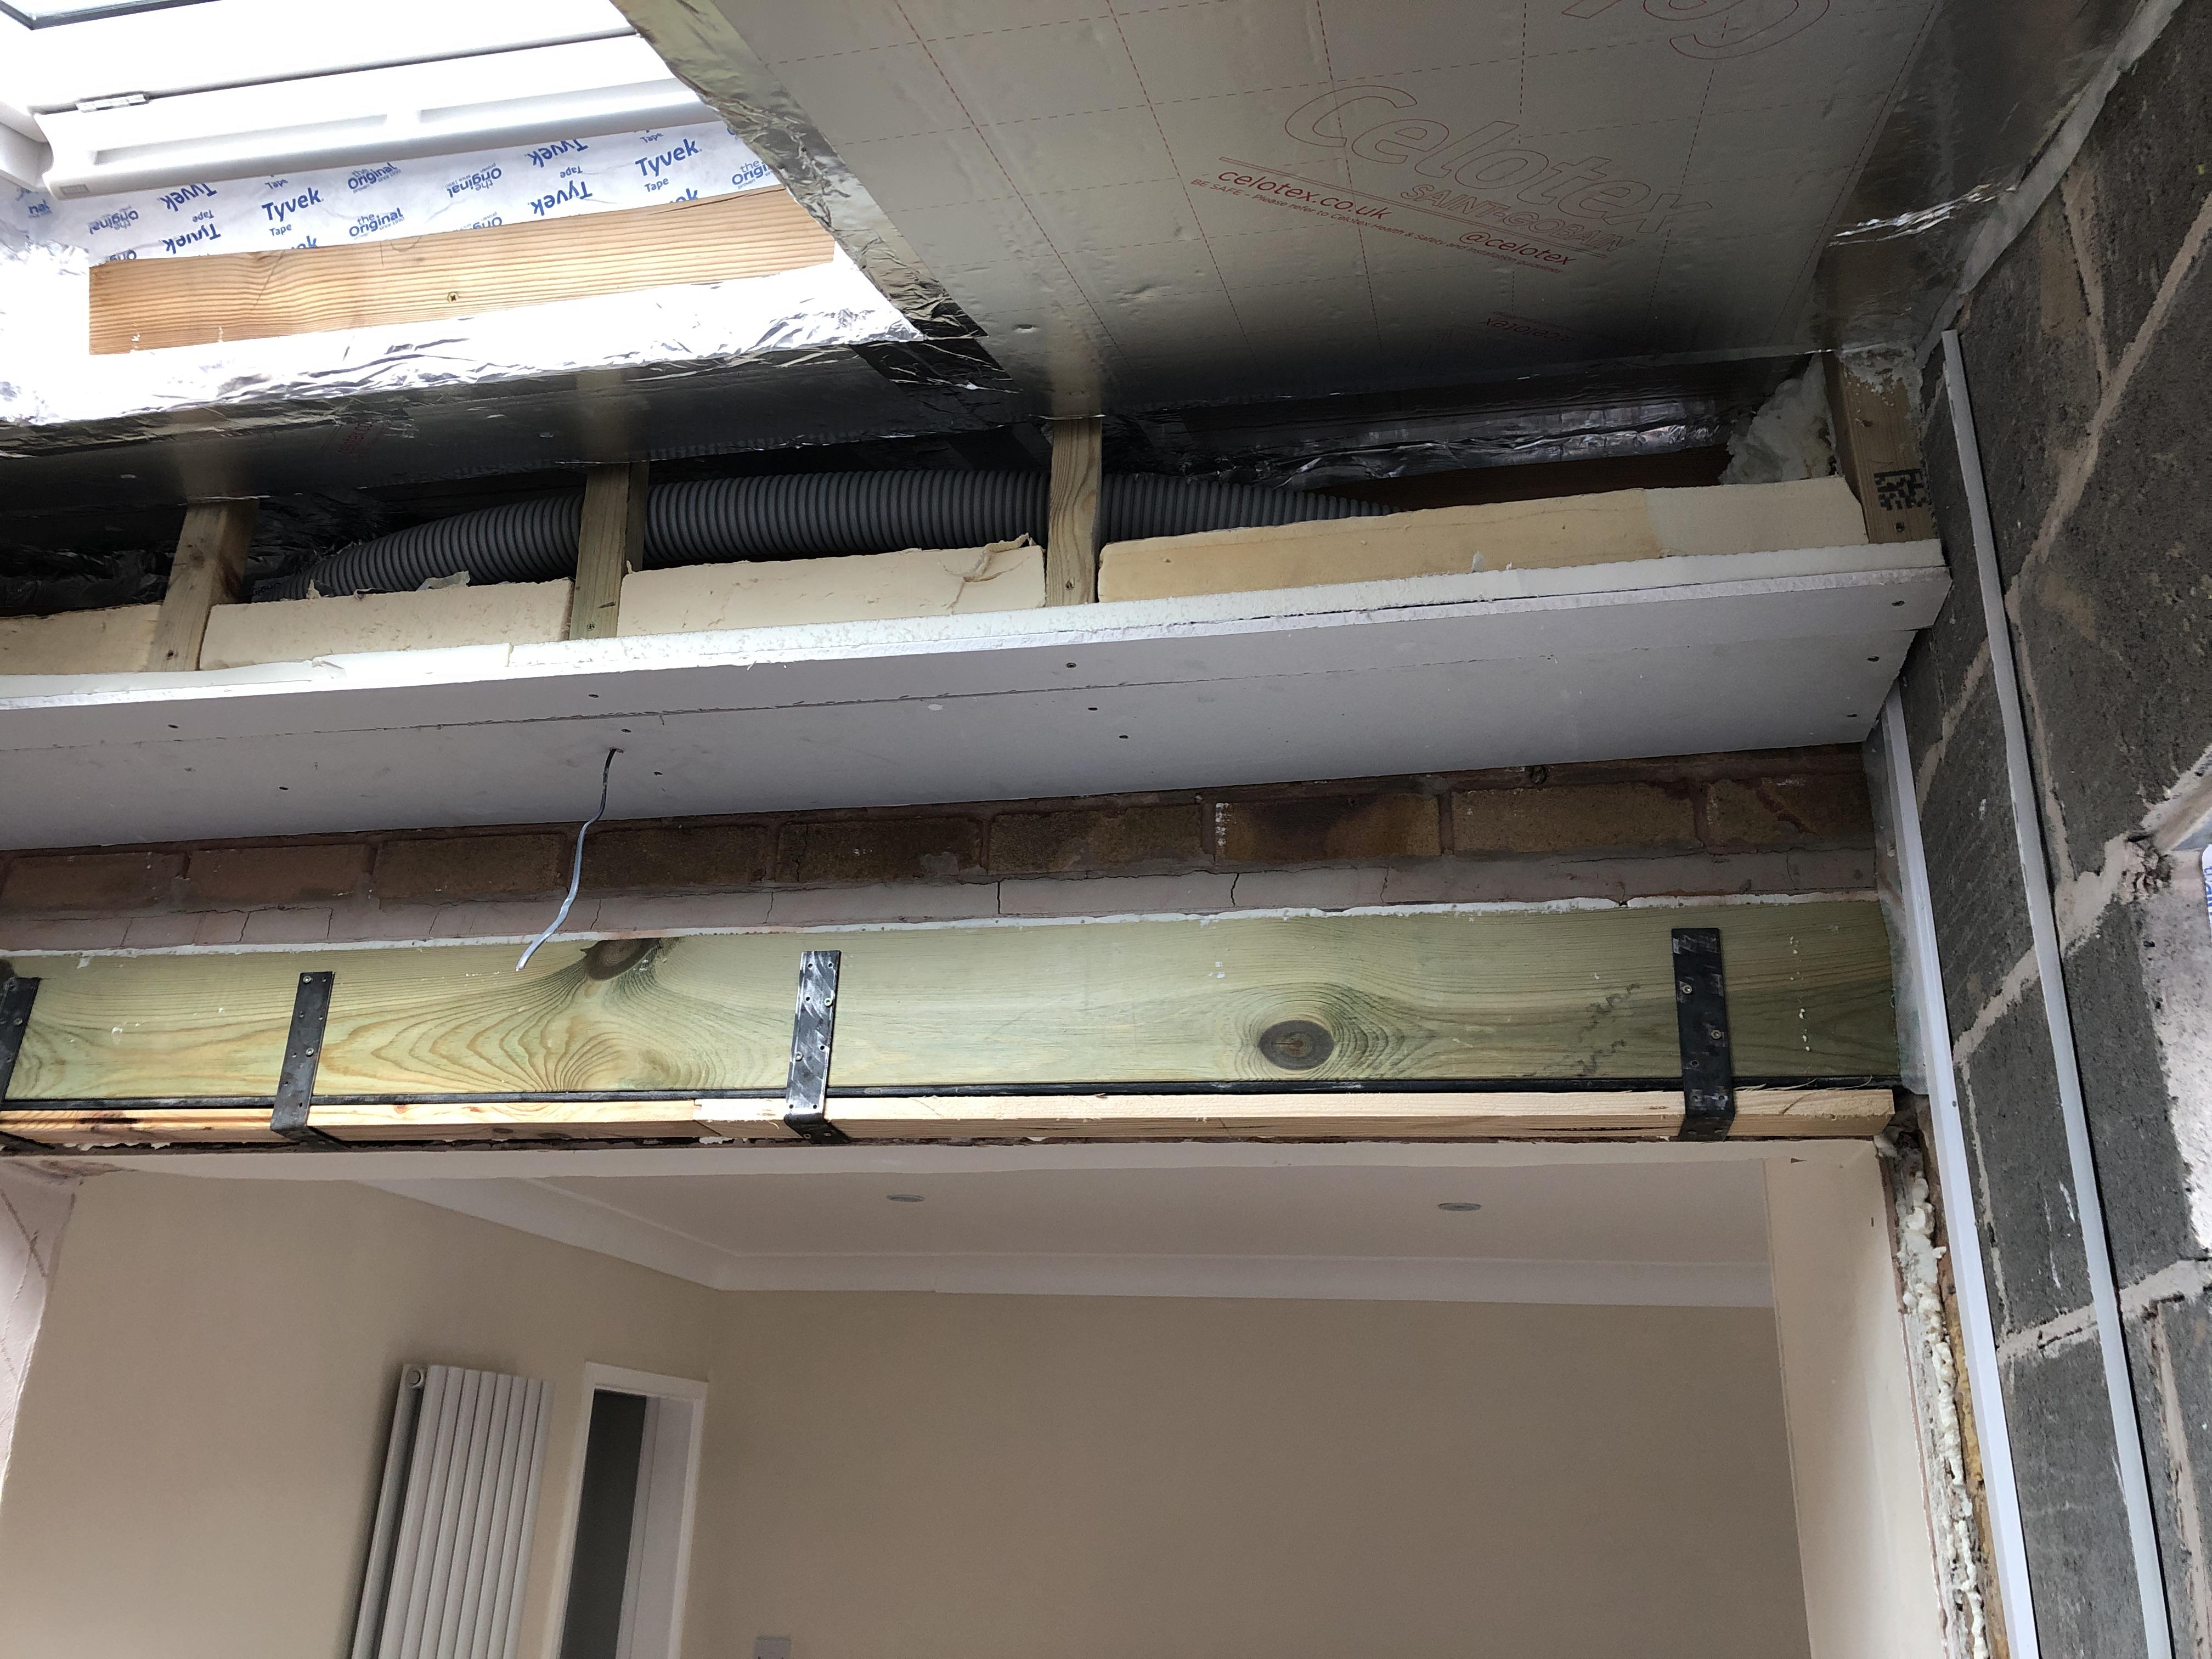
Another satisfying job using up all my odds and ends of plasterboard this time! Before the front of the box goes on, i need to cut out the 125mm holes for the vent pipe to come through, and install the plenum at each end.


Also found a use for the spare render beads i had from doing the dining room (part 1), trimmed them down with the planer to 11mm, which will give me a perfect level base to work from when i put the bonding coat on.


Fingers crossed the next time i post, it'll be more or less done, minus the bathroom end.

IMG_2498.JPG

IMG_2524.JPG

IMG_2584.JPG

  • Like 3

11 Comments


Recommended Comments

Few more up to date photos, 18 bags of plaster later. Aside from installing the blind, fireplace and TV on the wall where all the sockets and aerial point is, i won't be doing any more this year, drying the plaster out became a huge problem, i ended up sat around for hours while the basecoat pulled in, and moisture was getting in places id rather it not be, like the loft. Pretty much all dried out now after the cold dry weather arrived and had dehumidifier on to top up the MVHR's effort.


IMG_2631.thumb.JPG.7dff867922947838dc45843d20d7216b.JPG


IMG_2635.thumb.JPG.5dcfcc037d706e027341e957e805dbfb.JPG


IMG_2636.thumb.JPG.524af7ed8135a0ac31959d2f18832022.JPG


IMG_2637.thumb.JPG.61da7705187de01eae0206fd3a51b6ce.JPG


IMG_2638.thumb.JPG.101062a5c9980e3d01fc0d3ec988729a.JPG


IMG_2648.thumb.JPG.2a87b339541f0526bd782cbd59253a96.JPG


Link to comment

I was under the impression that a warm roof was one where the insulation was totally above the roof not between the rafters. Is this incorrect?

Link to comment

Warm roof is above and between the rafters. Hybrid is between and under rafters. Both give a warm loft space. A warm roof doesn’t need the air ventilation that a hybrid roof needs. 
 

Link to comment

You are spot on, I personally just divide the roof construction into warm/cold and its definitely not cold. You'll start to run into more questions with BCO when you start using phrases like 'Hybrid', as long as you are using a BBA approved build up, then its already pre-approved with BCO.

Link to comment
11 hours ago, Susie said:

Warm roof is above and between the rafters. Hybrid is between and under rafters. Both give a warm loft space. A warm roof doesn’t need the air ventilation that a hybrid roof needs. 


no such thing as a hybrid roof.


warm roof requires a real VCL layer brought down onto the walls and not punctured by downlighters etc. Taping insulation IS NOT a VCL and wont work especially in high moisture areas like  kitchens. 

Link to comment
1 hour ago, Dave Jones said:


no such thing as a hybrid roof.


warm roof requires a real VCL layer brought down onto the walls and not punctured by downlighters etc. Taping insulation IS NOT a VCL and wont work especially in high moisture areas like  kitchens. 


This isn't correct, you can use foil tape to form a VCL, and since i've done this myself i know its done right.


https://www.kingspan.com/gb/en/knowledge-articles/what-is-the-purpose-of-a-vapour-control-layer/


Quote

Foil-faced insulation – foil-faced insulations may be used as a VCL provided all joints are properly taped with a suitable foil tape. Standard duct tape will not do the job


Link to comment
43 minutes ago, MikeGrahamT21 said:


This isn't correct, you can use foil tape to form a VCL, and since i've done this myself i know its done right.


https://www.kingspan.com/gb/en/knowledge-articles/what-is-the-purpose-of-a-vapour-control-layer/


how are you using that tape to seal against the wall junction ?


It's not an approved method its a bodge.


Use a real VCL and seal the roof properly, that means no cuts and sealed onto the internal walls.

Link to comment
Just now, Dave Jones said:


how are you using that tape to seal against the wall junction ?


It's not an approved method its a bodge.


Use a real VCL and seal the roof properly, that means no cuts and sealed onto the internal walls.


You wouldn't use foil tape to make the join to the masonry, it wouldn't stick properly for a start. The masonry is pre-primed with airtight primer, and then in this case I used Tyvek Airtight Tape to make the seal. At the top of the roof, the insulation butted up to the timber wall plate, so I used the foil tape here to make the join as it adhered fine.

Link to comment

Create an account or sign in to comment

You need to be a member in order to leave a comment

Create an account

Sign up for a new account in our community. It's easy!

Register a new account

Sign in

Already have an account? Sign in here.

Sign In Now
×
×
  • Create New...