

More jobs getting completed now the weather is warming and drying up

Entry posted by MikeGrahamT21 in External Wall Insulation
3387 views
After the worst of the cold weather was out of the way, i decided to start chipping away at my huge jobs list this year, some is finishing off, and others additional bits.
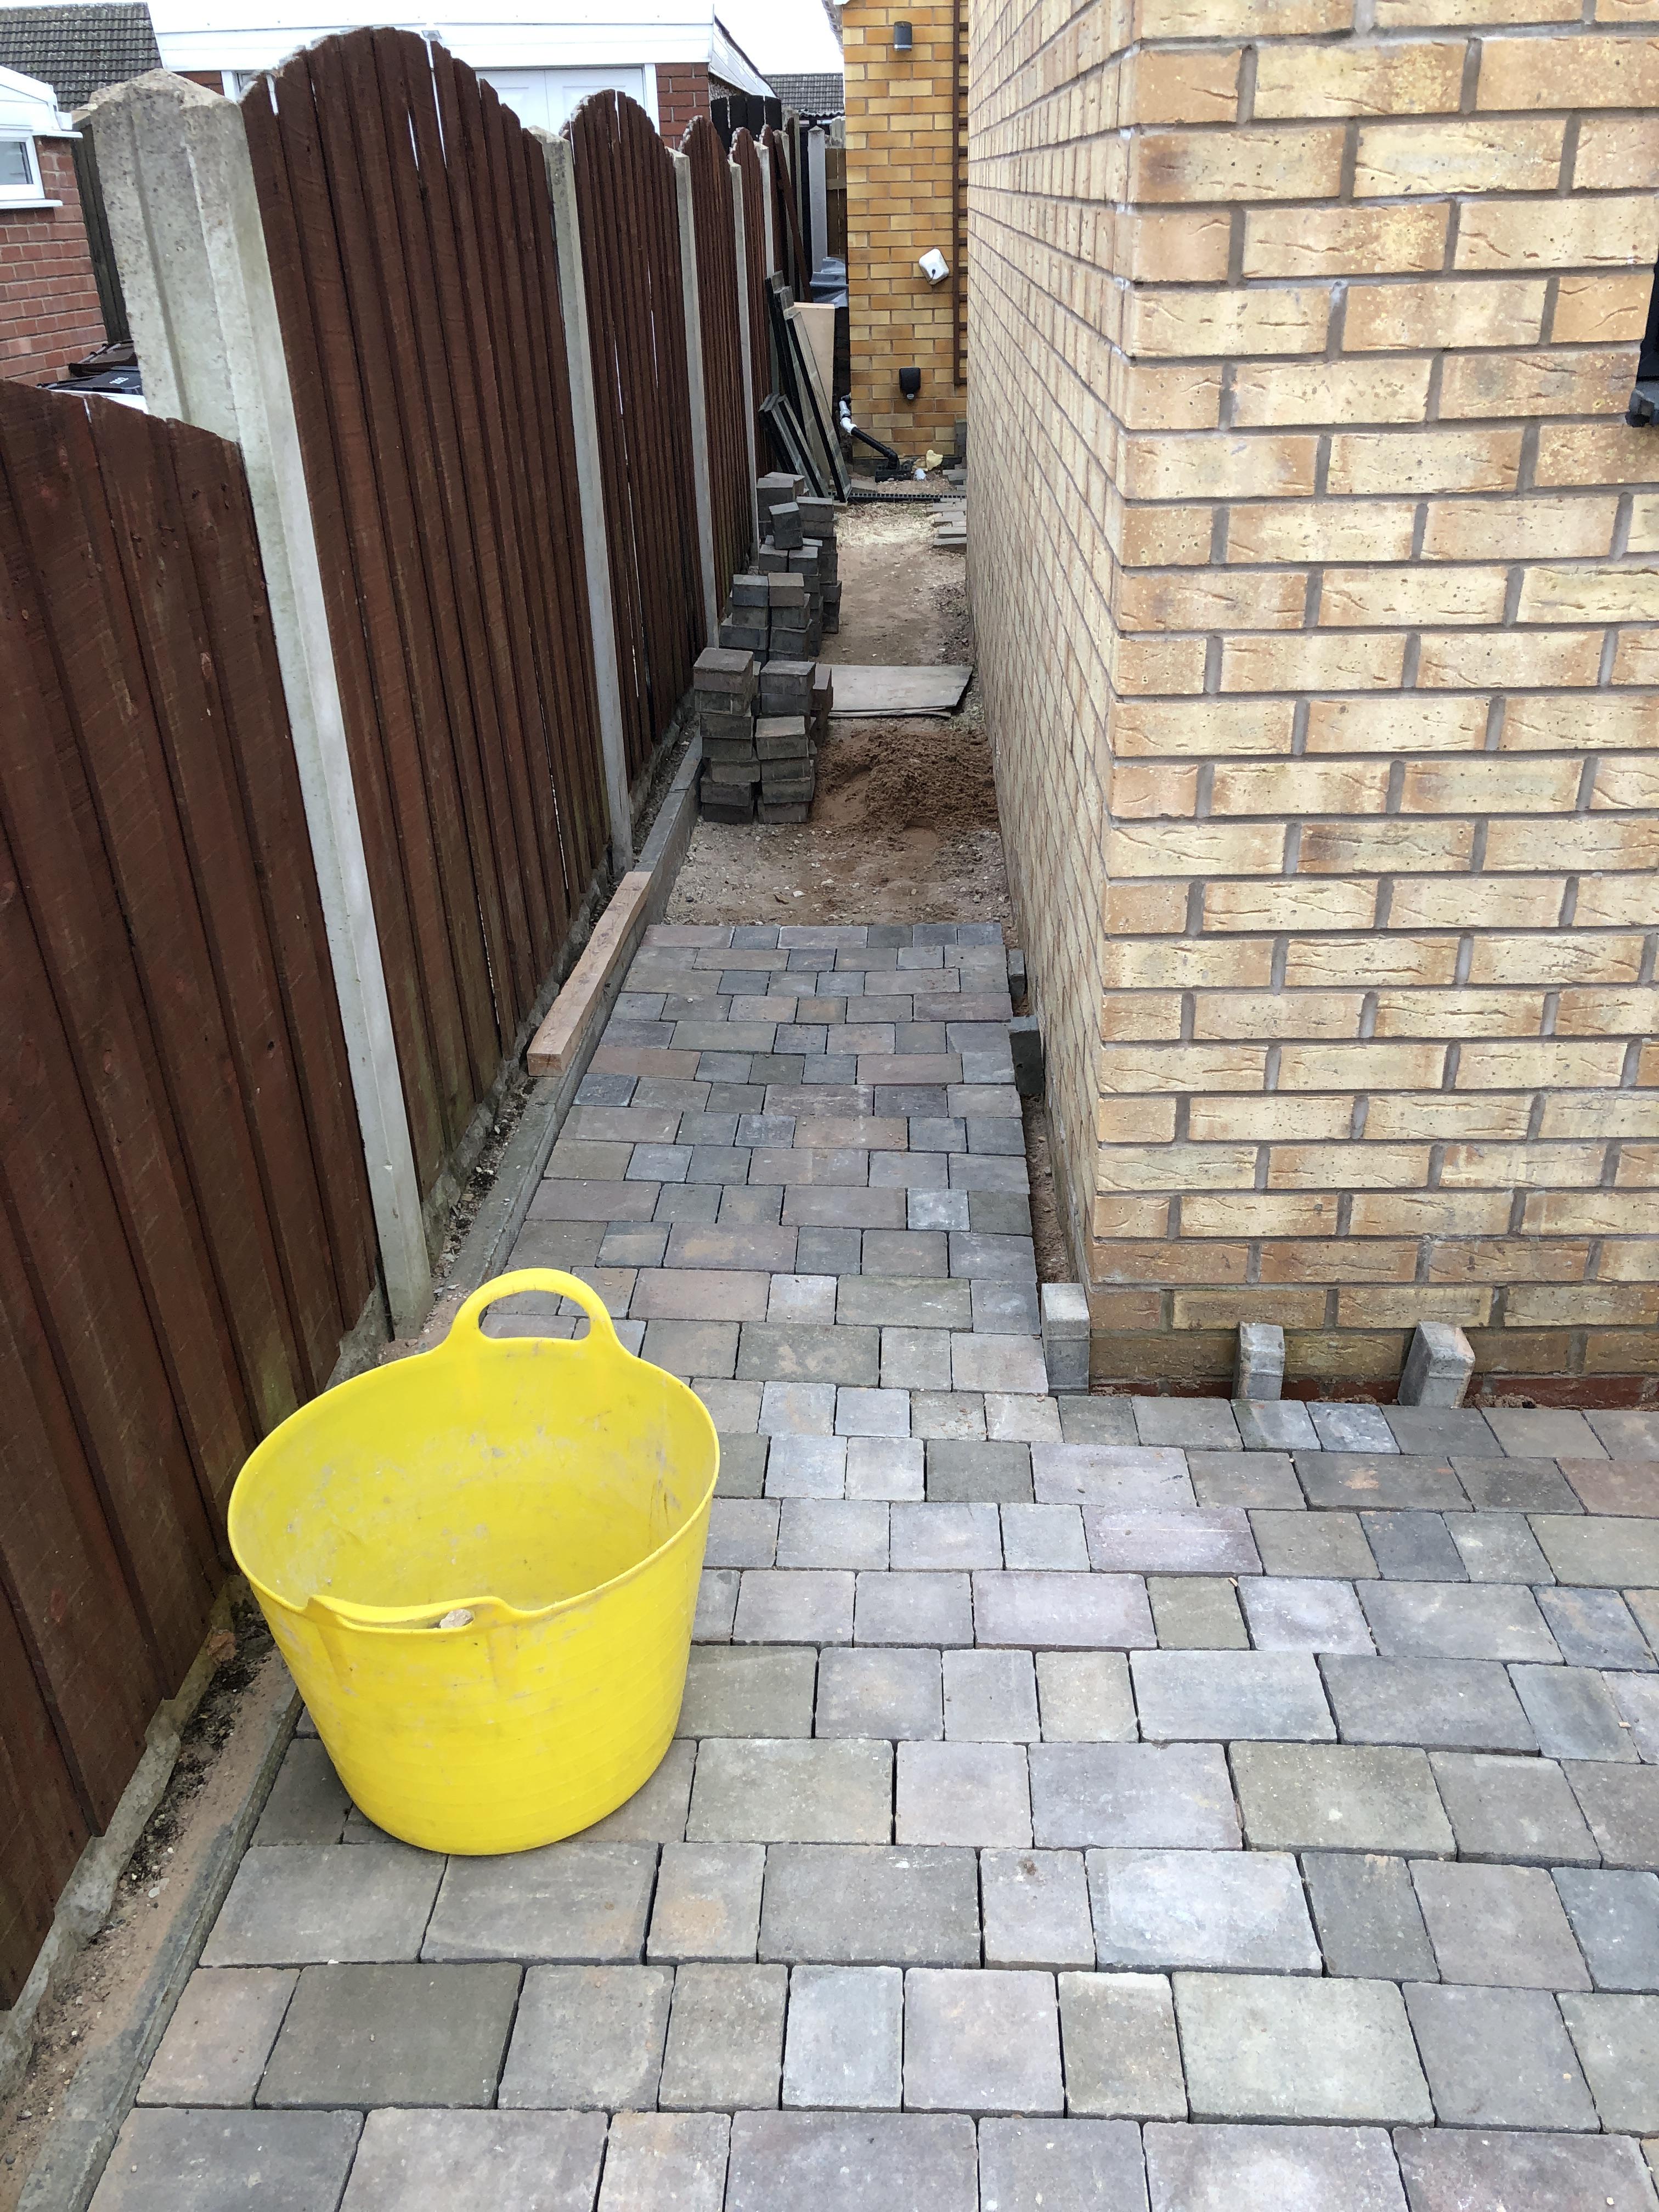
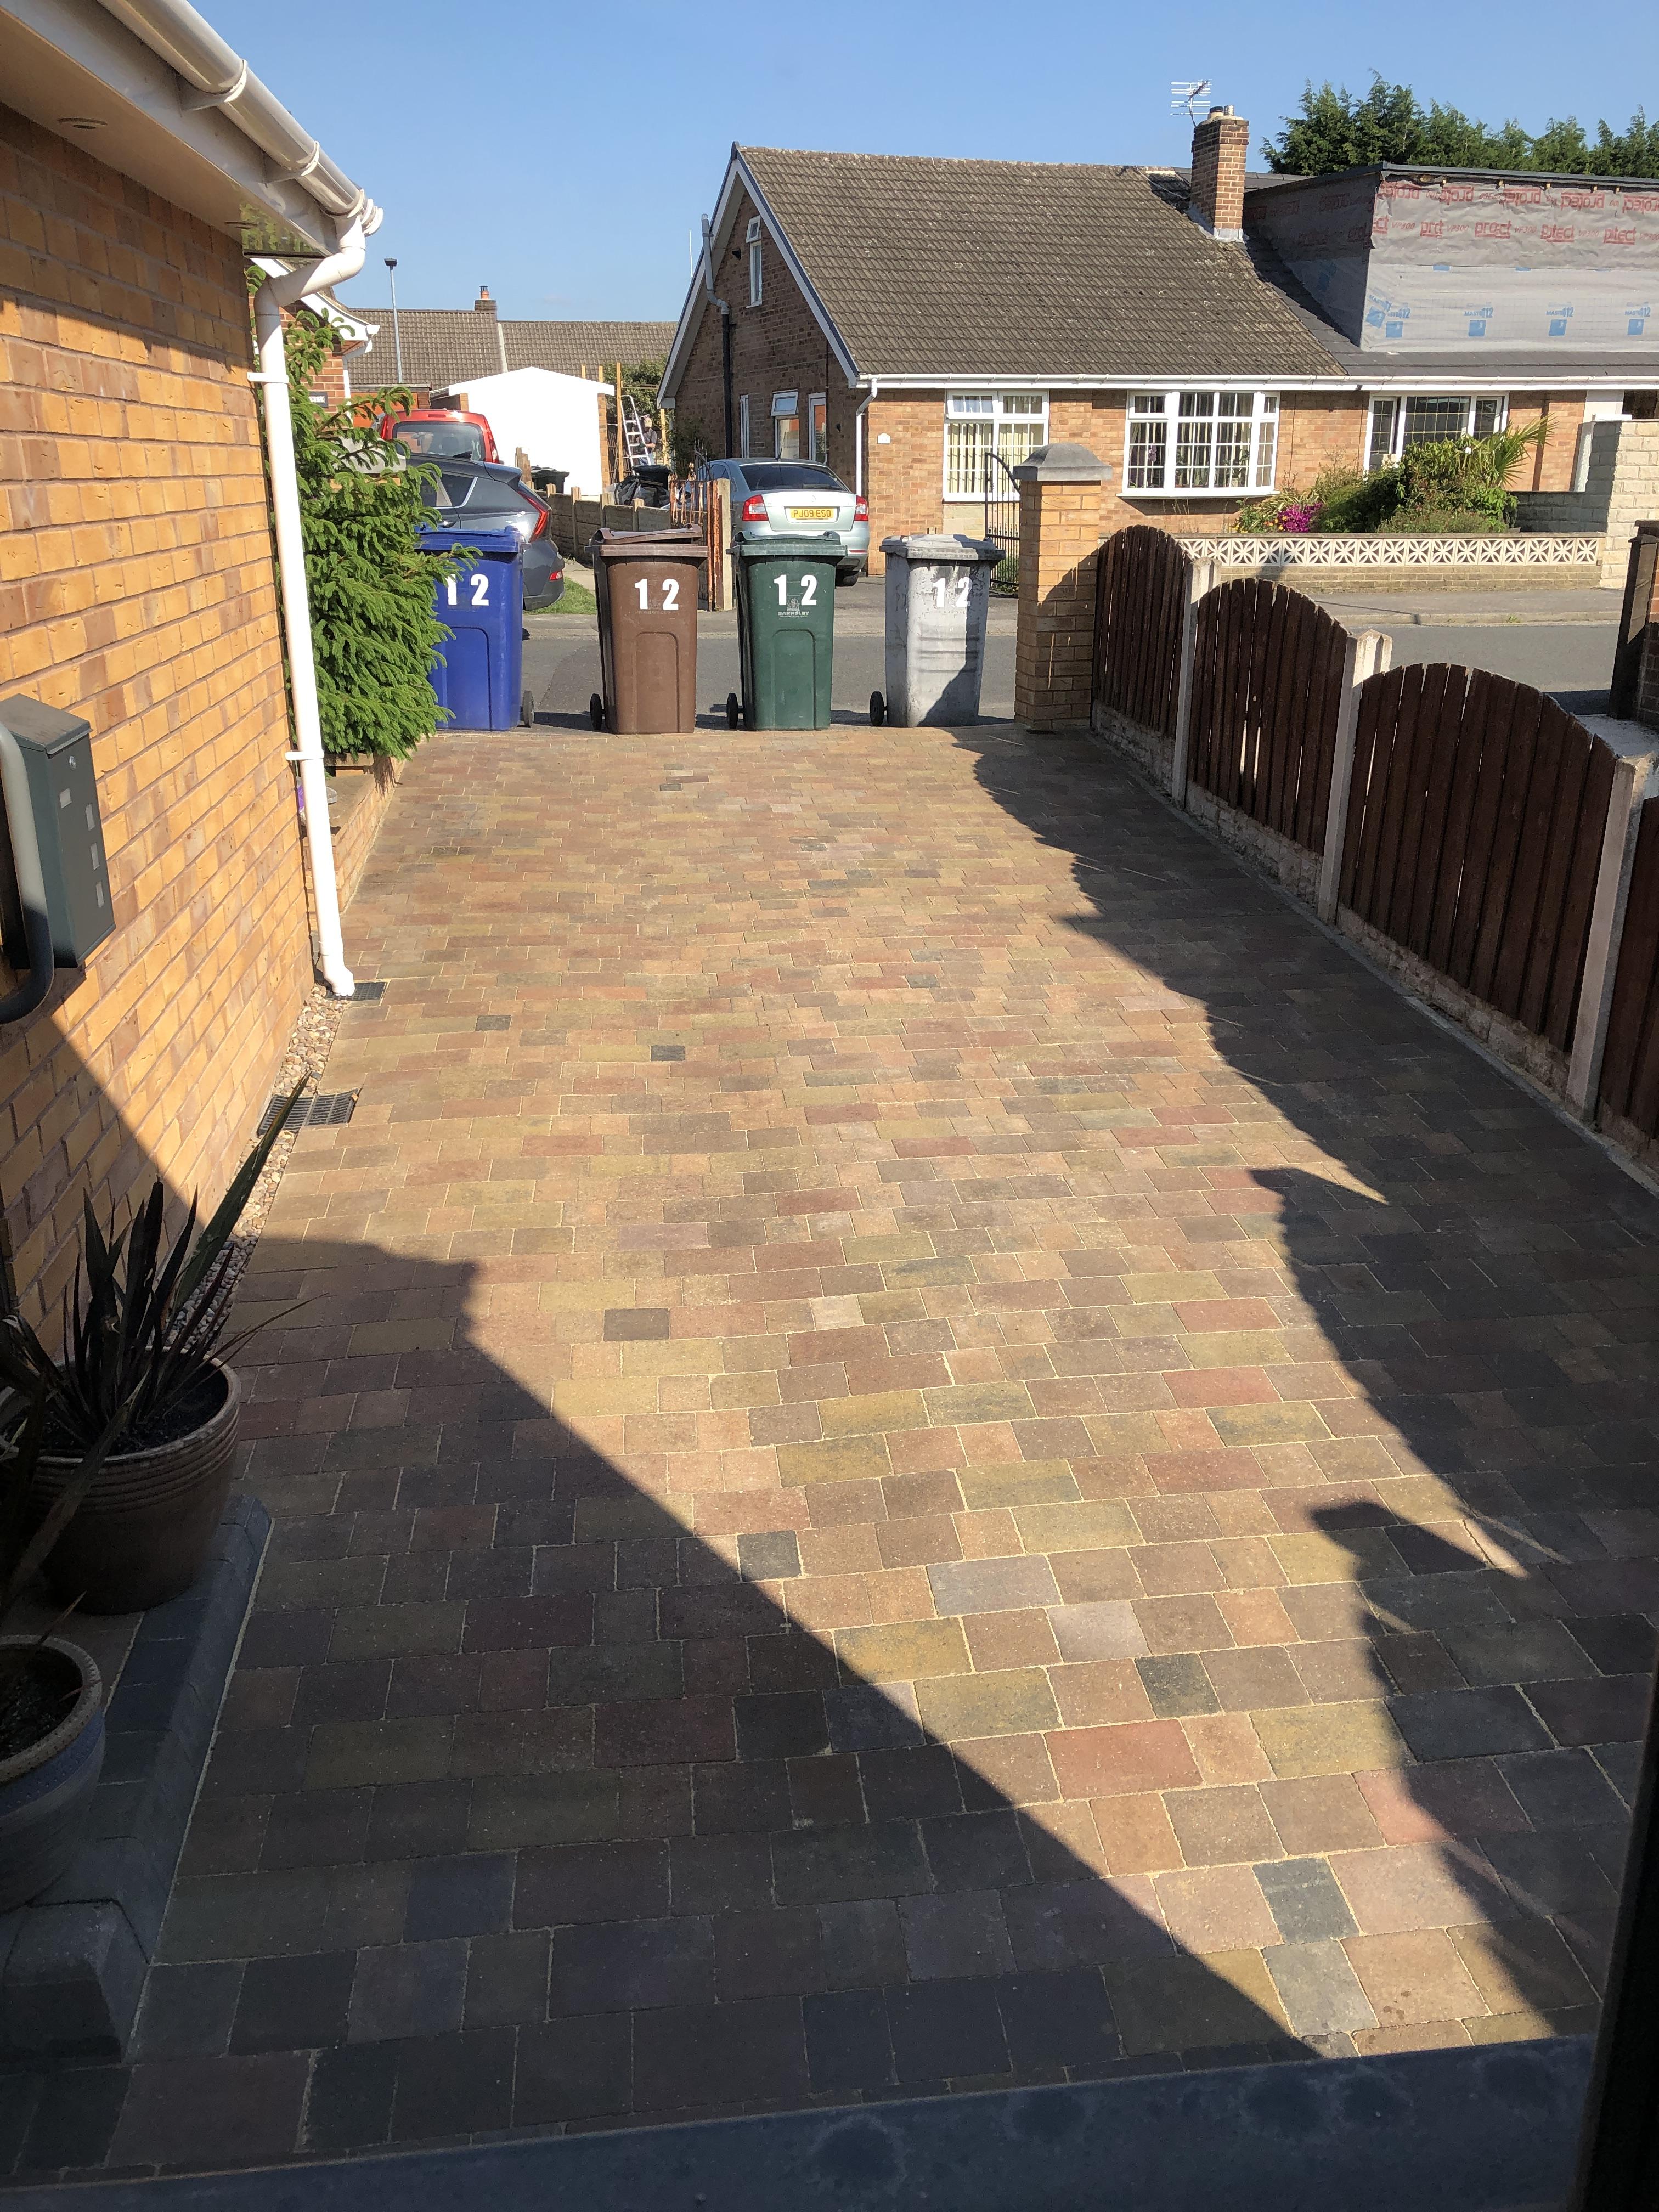
Started getting the block paving back down again, as i was fed up of bringing sand in on my feet all the time, was very time consuming as each block needed individually inspecting for chips, and cleaning of its old sand and sealer around the edges, but kept doing a bit every other day.
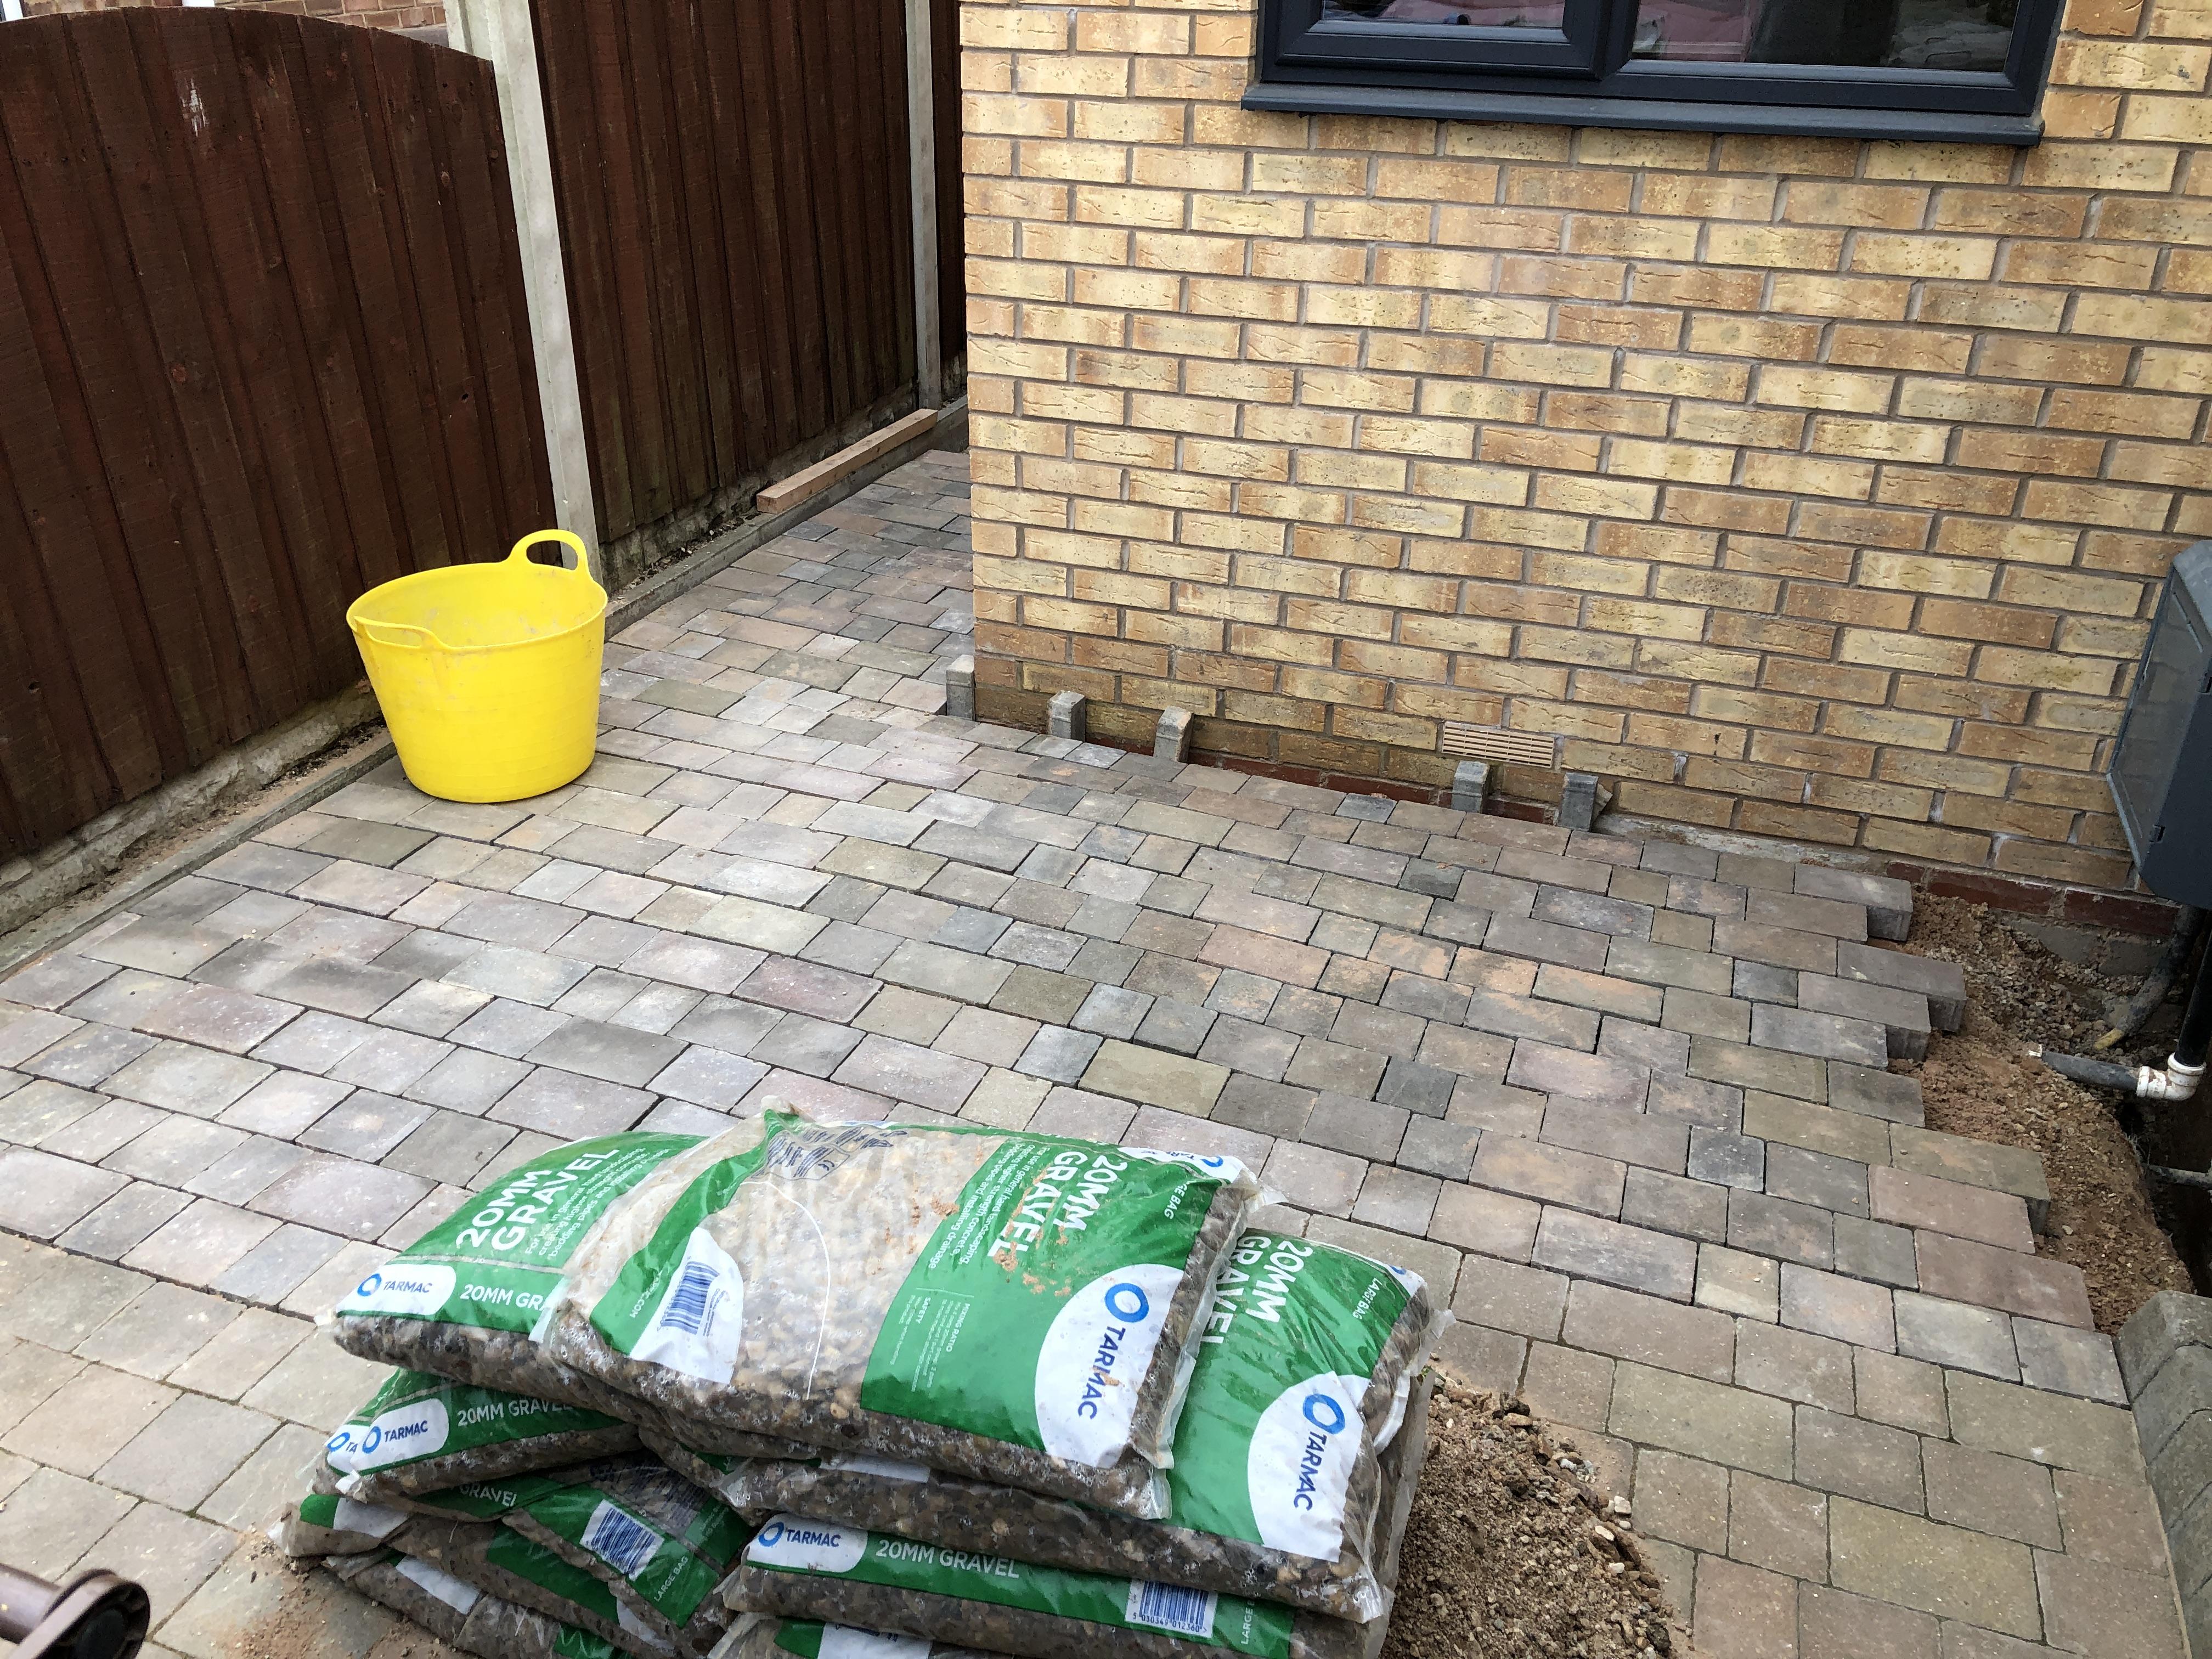
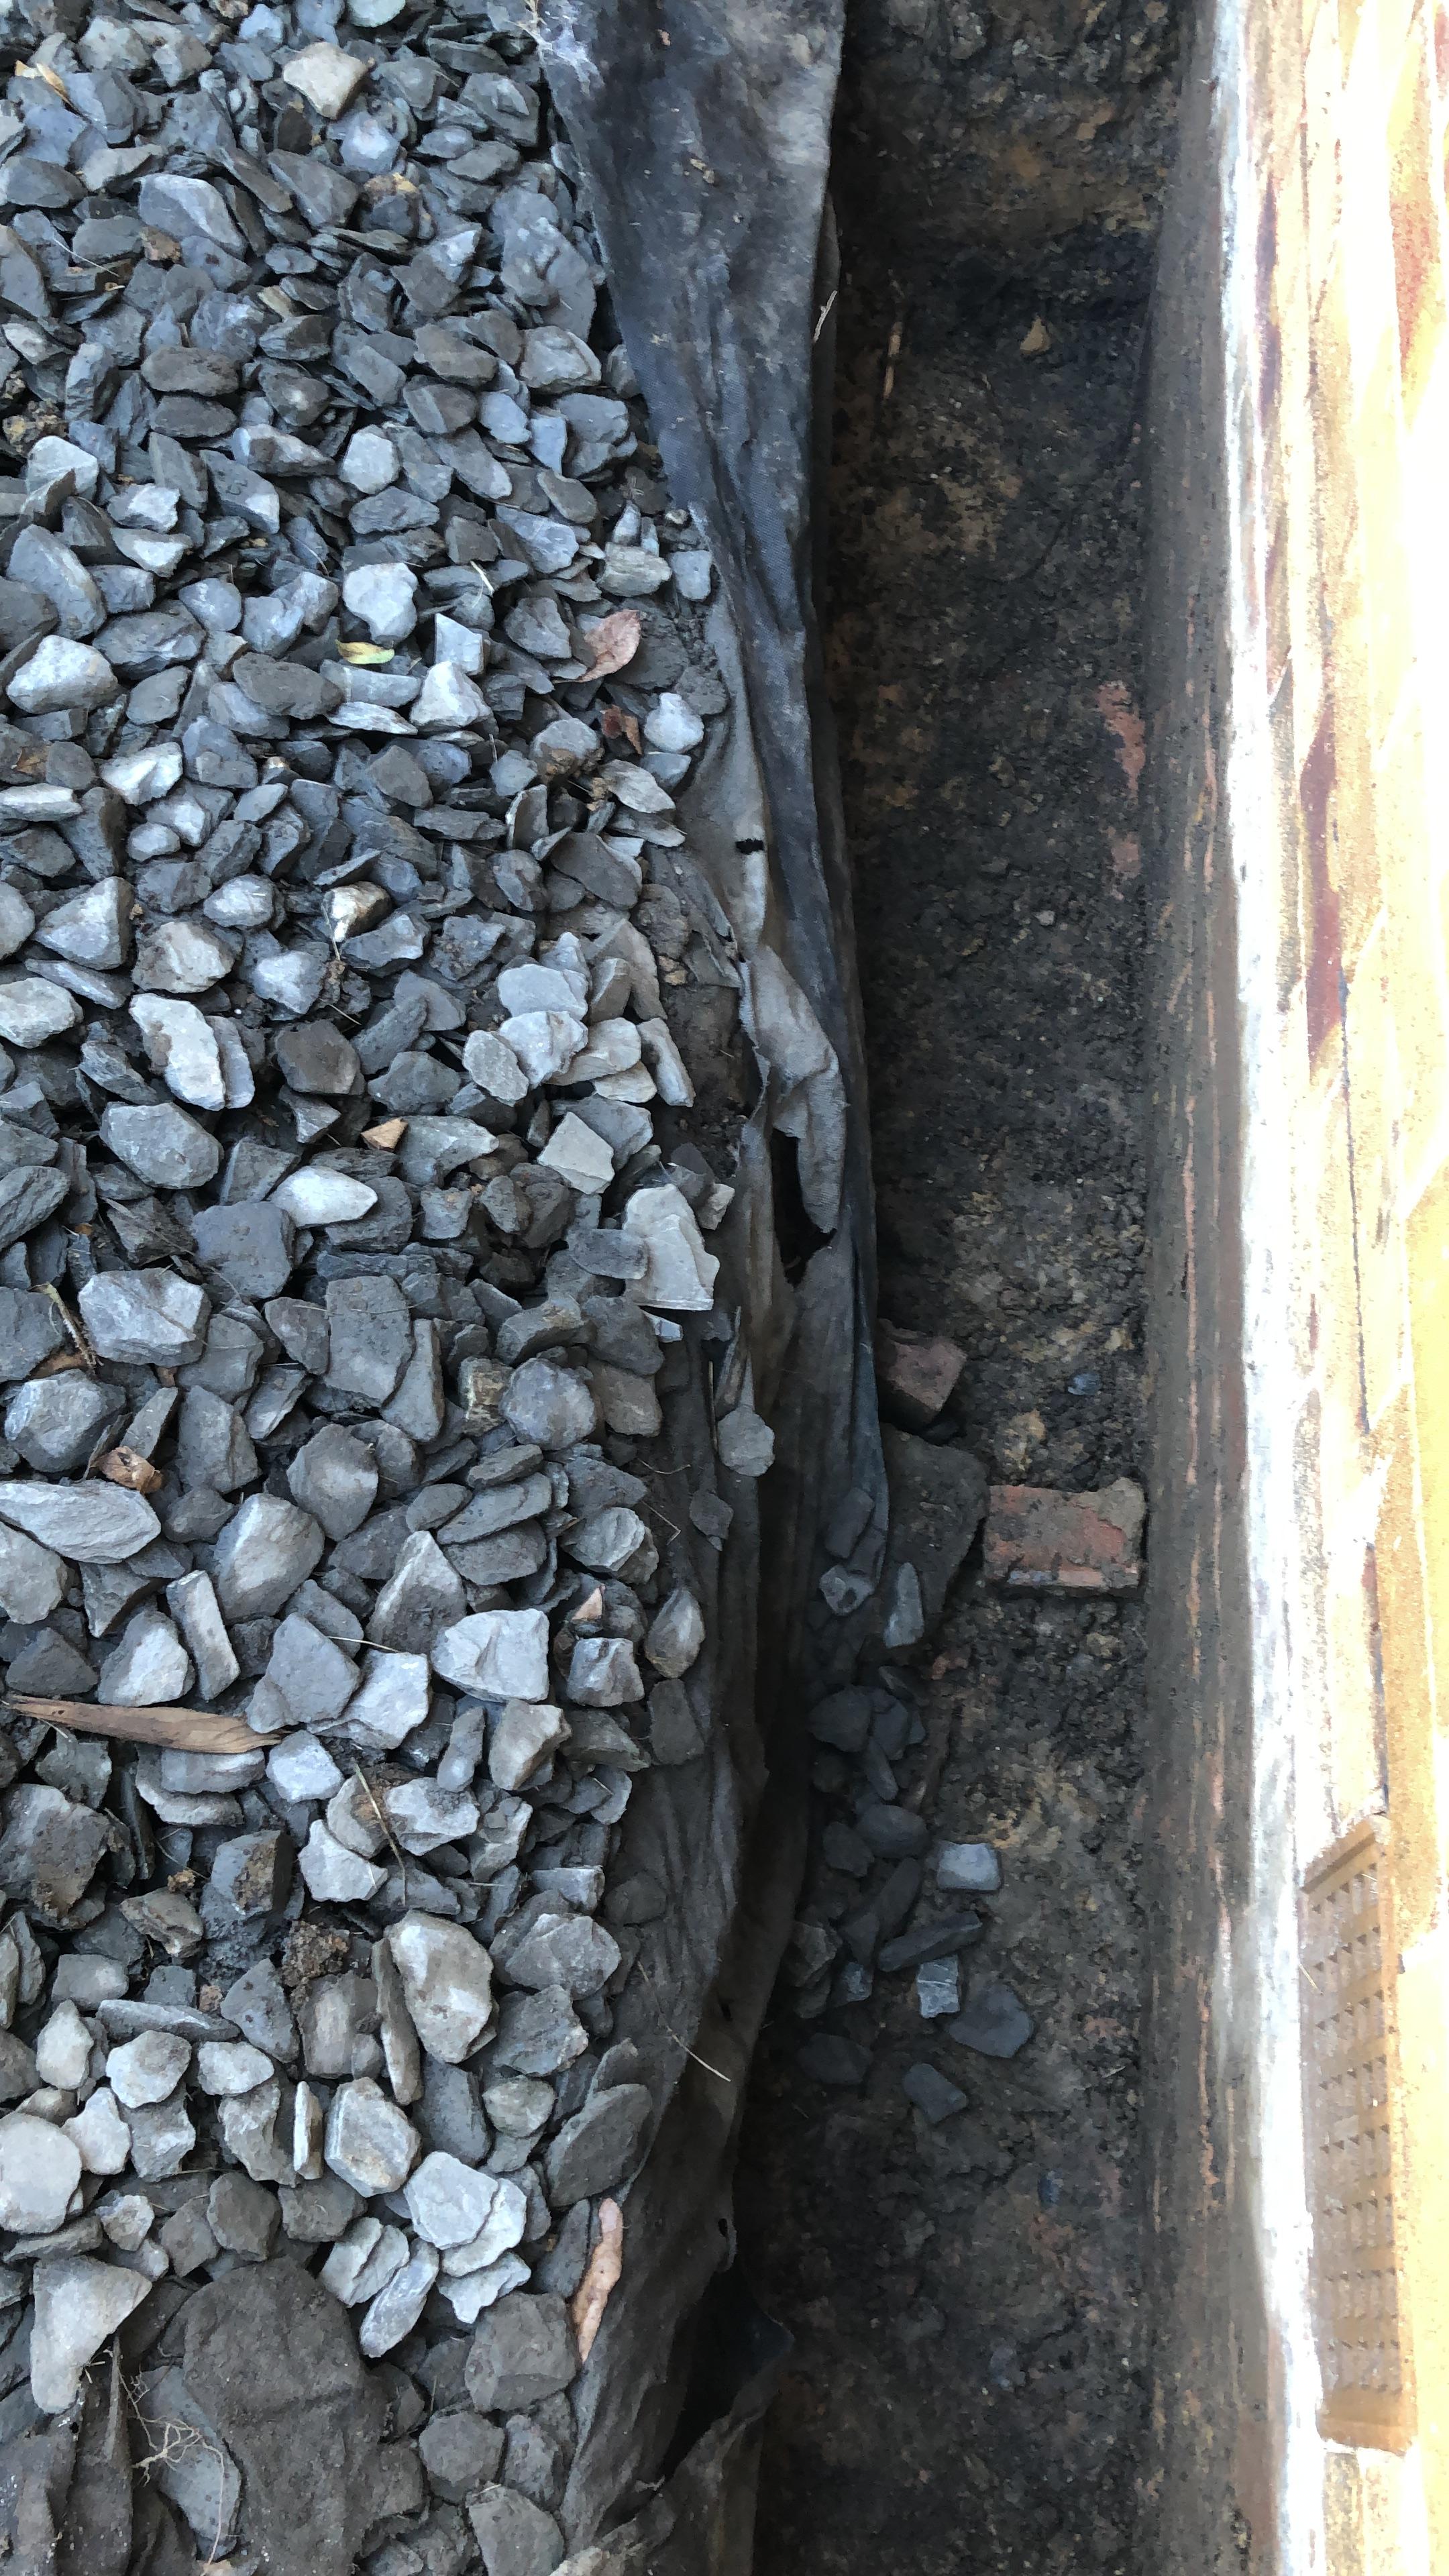
Level is a little higher than i would have liked, but i was down to a lot of concrete, so couldn't really go much lower whilst being able to put a bed of sand down, decided to seal the walls with Nano Drex Protect in order to mitigate any splashback, and I have since filled the gap with geotex and 20mm gravel.
Eventually many months later, i've removed any damaged blocks and replaced them, jetwashed it all and re-sanded with Dan Sand then sealed.
I've not finished it all yet, still got behind the extension to finish, sand and seal which is one of my next jobs.
3 external wall insulation areas to complete, around living room window including swapping the bow window out for a flat window with 40mm triple glazing, around the boiler and gas box, and behind the extension off of the small bedroom.
Beginning with the horrible bit, digging down to the foundations:
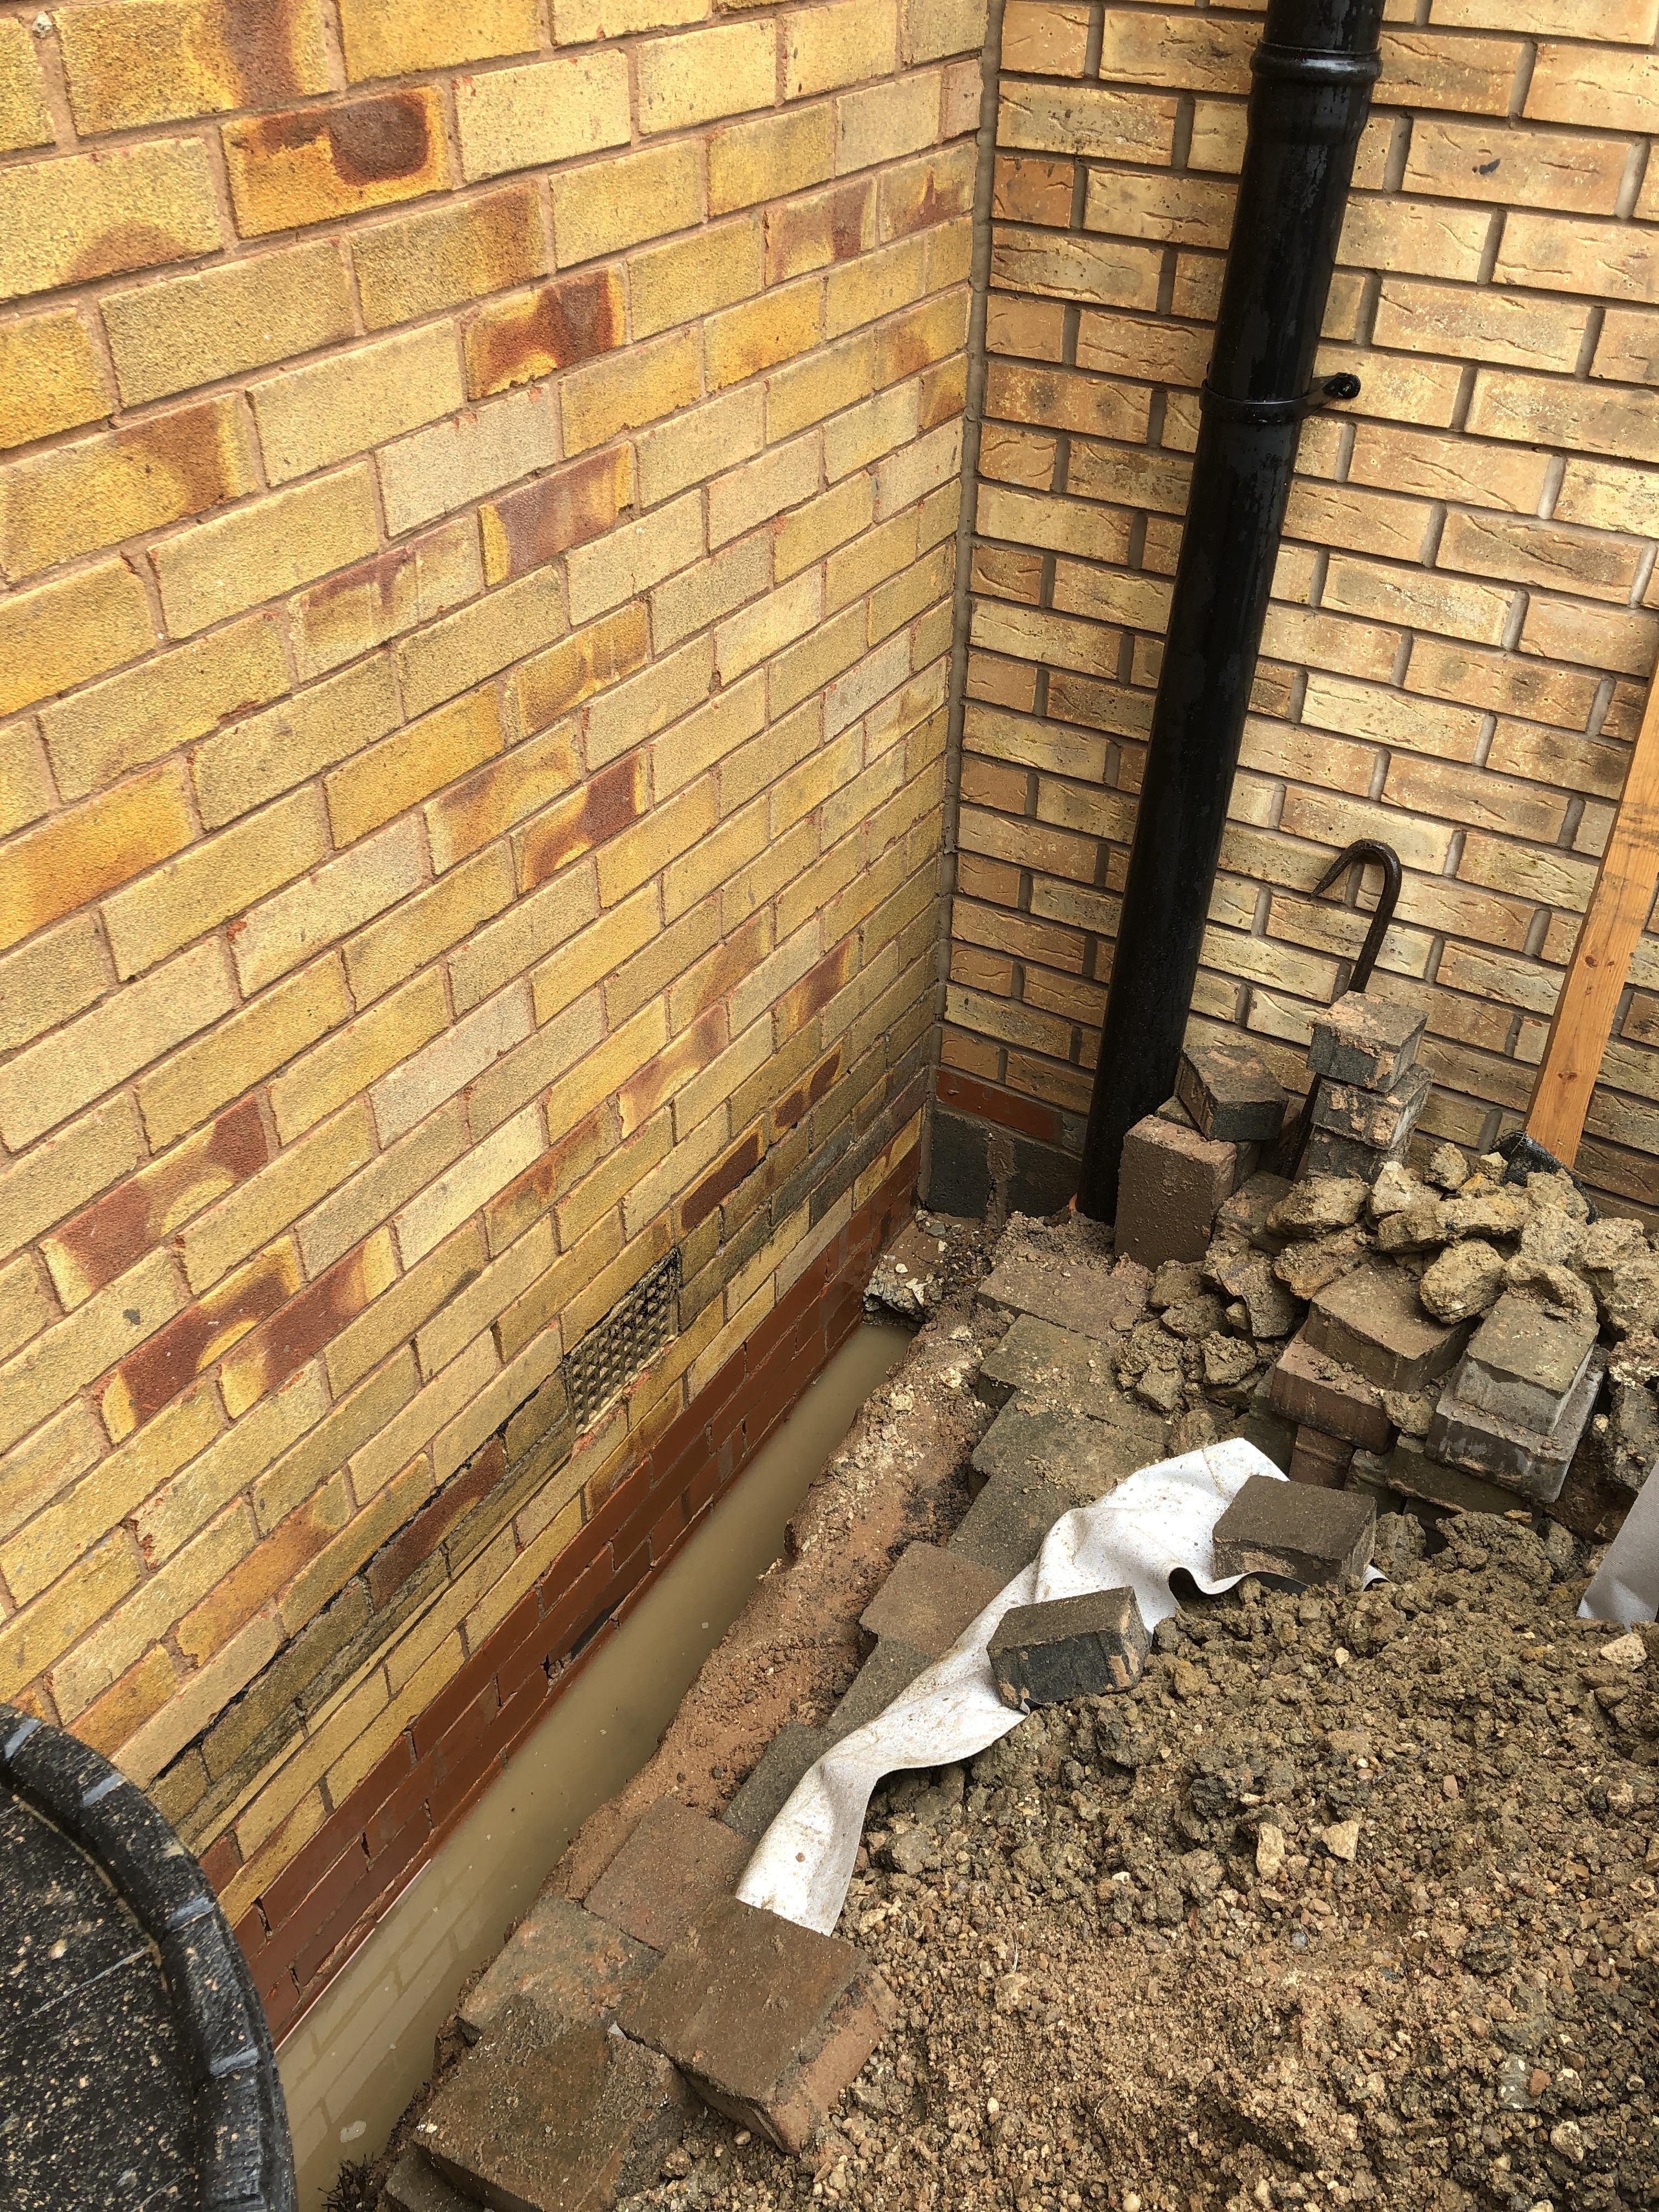
Followed by leaving them for around 2months to fully dry out, which took longer than expected with the rain we kept having, but got there eventually.
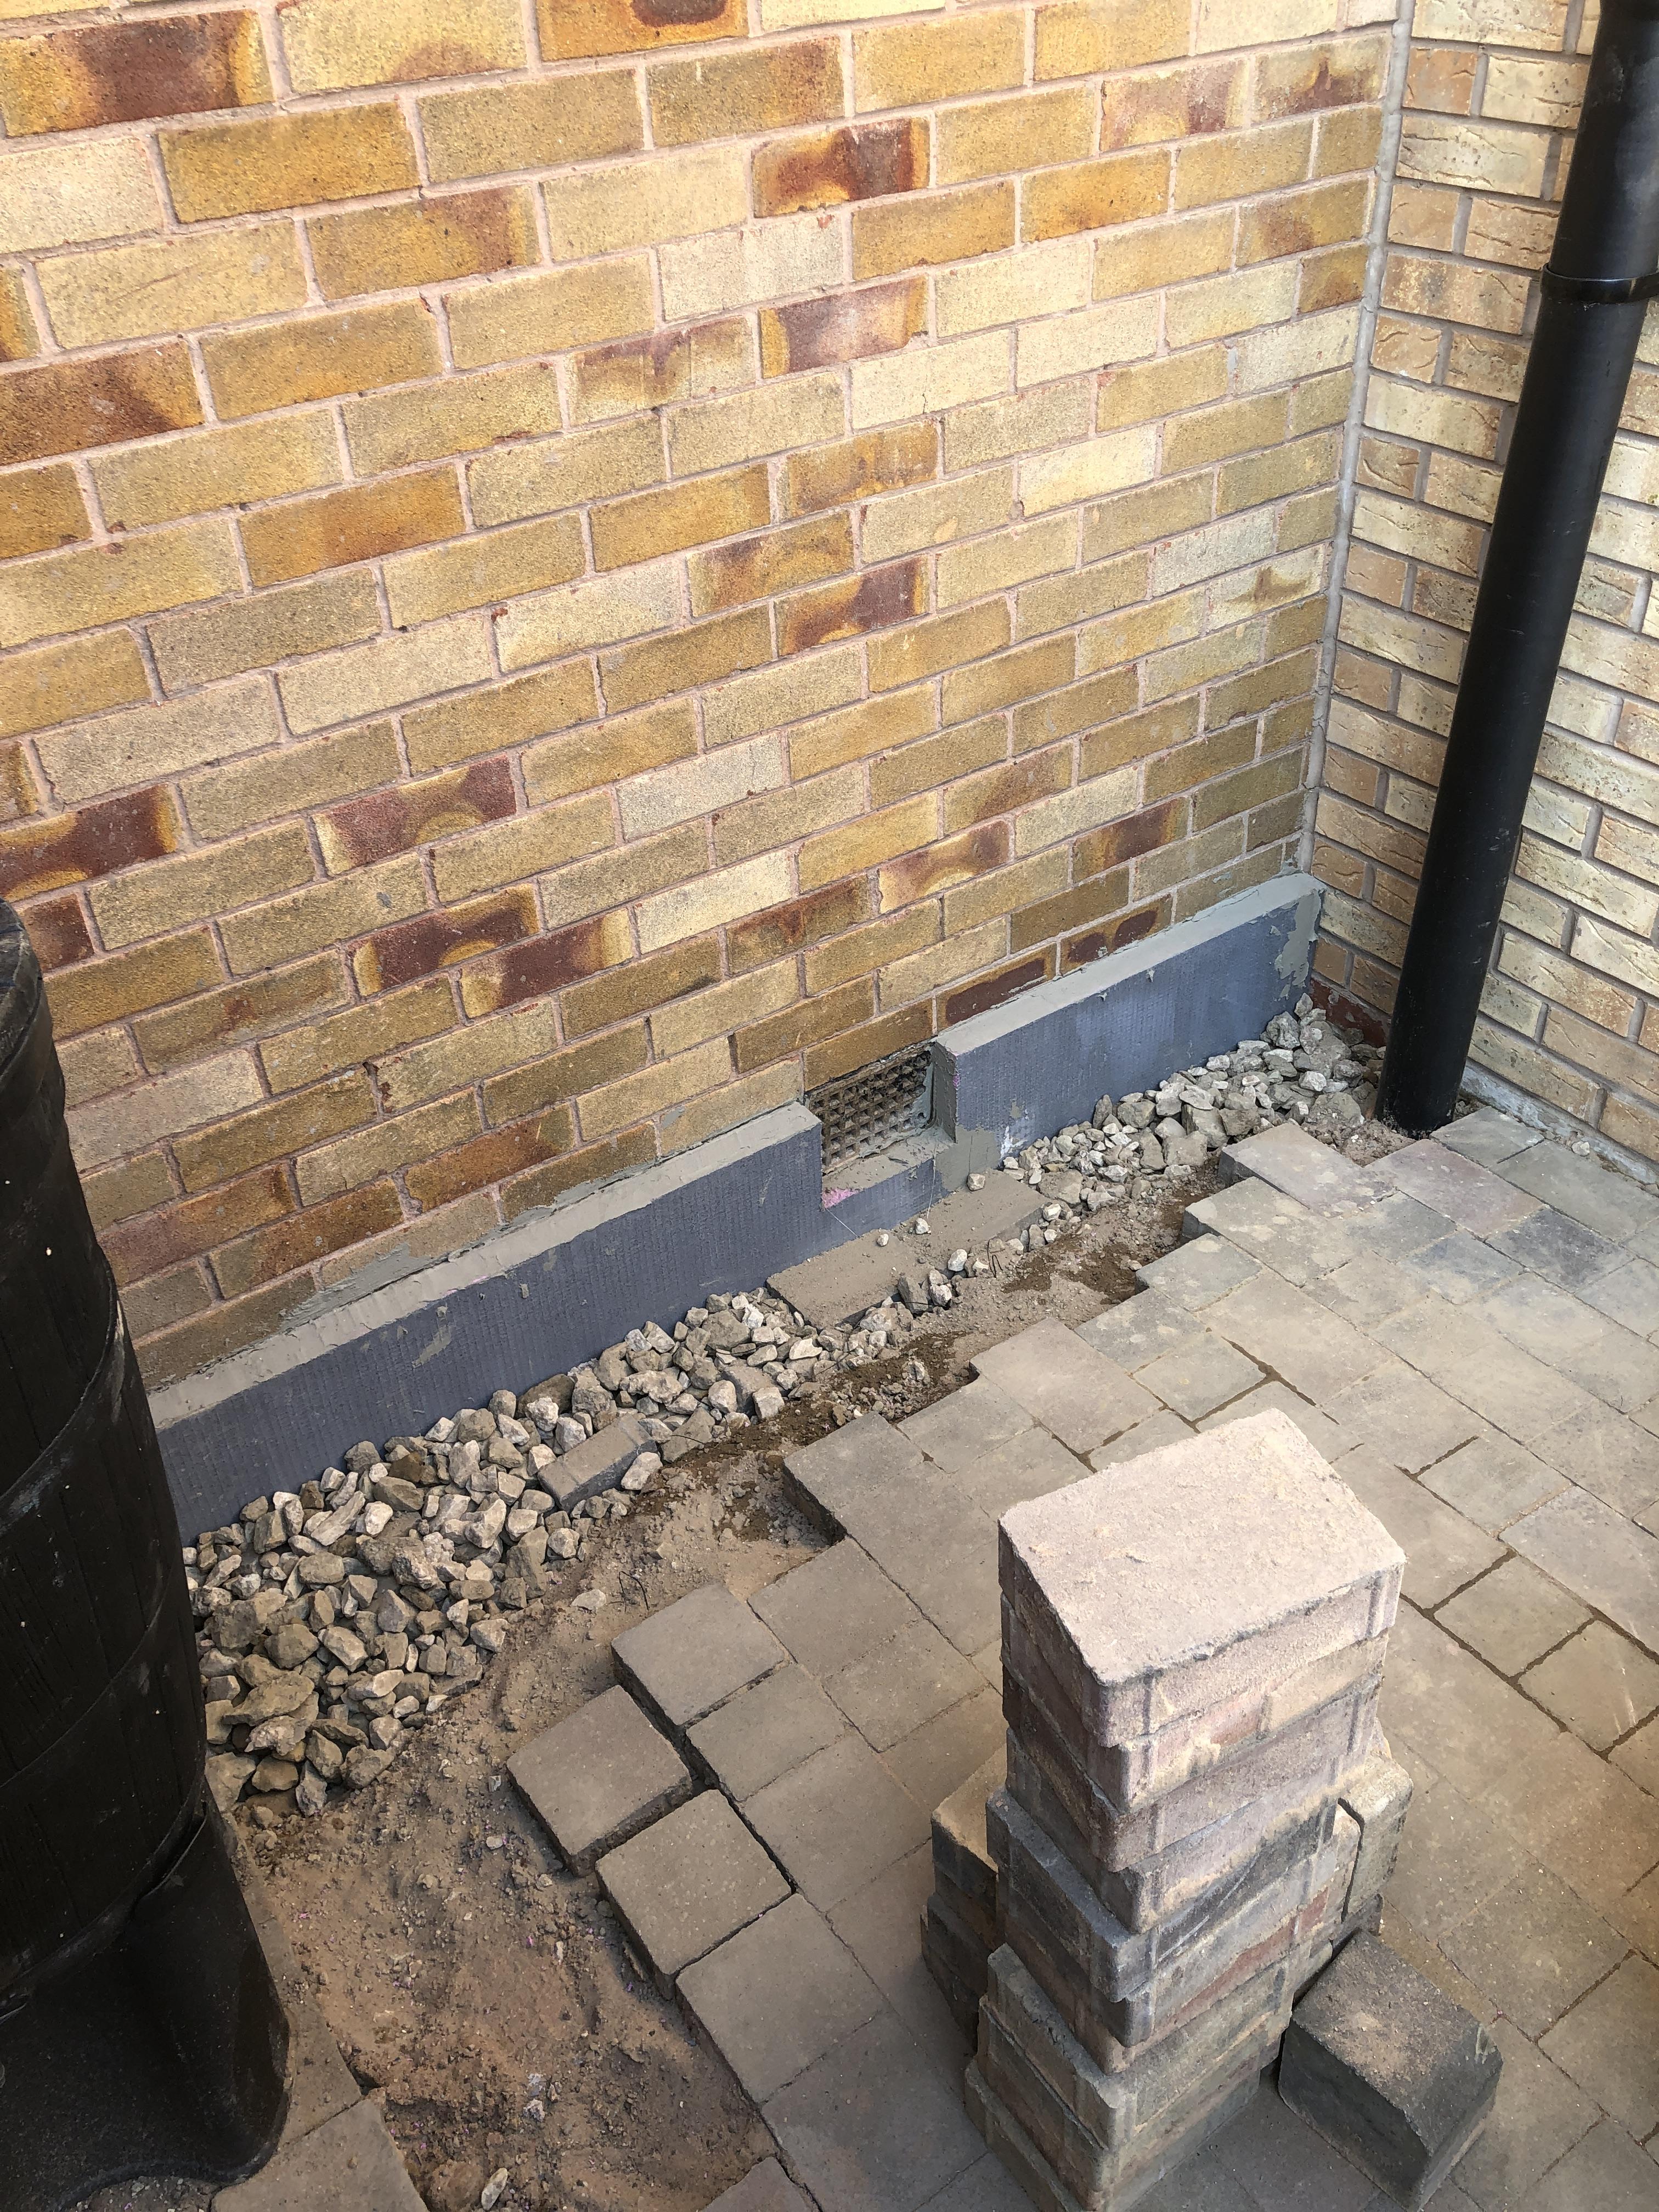
Plinth insulation installed, trench filled with loose fill and all of the damaged block pavers.
Living room window also had timber glued and screwed to the wall and starter tracks installed on this photo
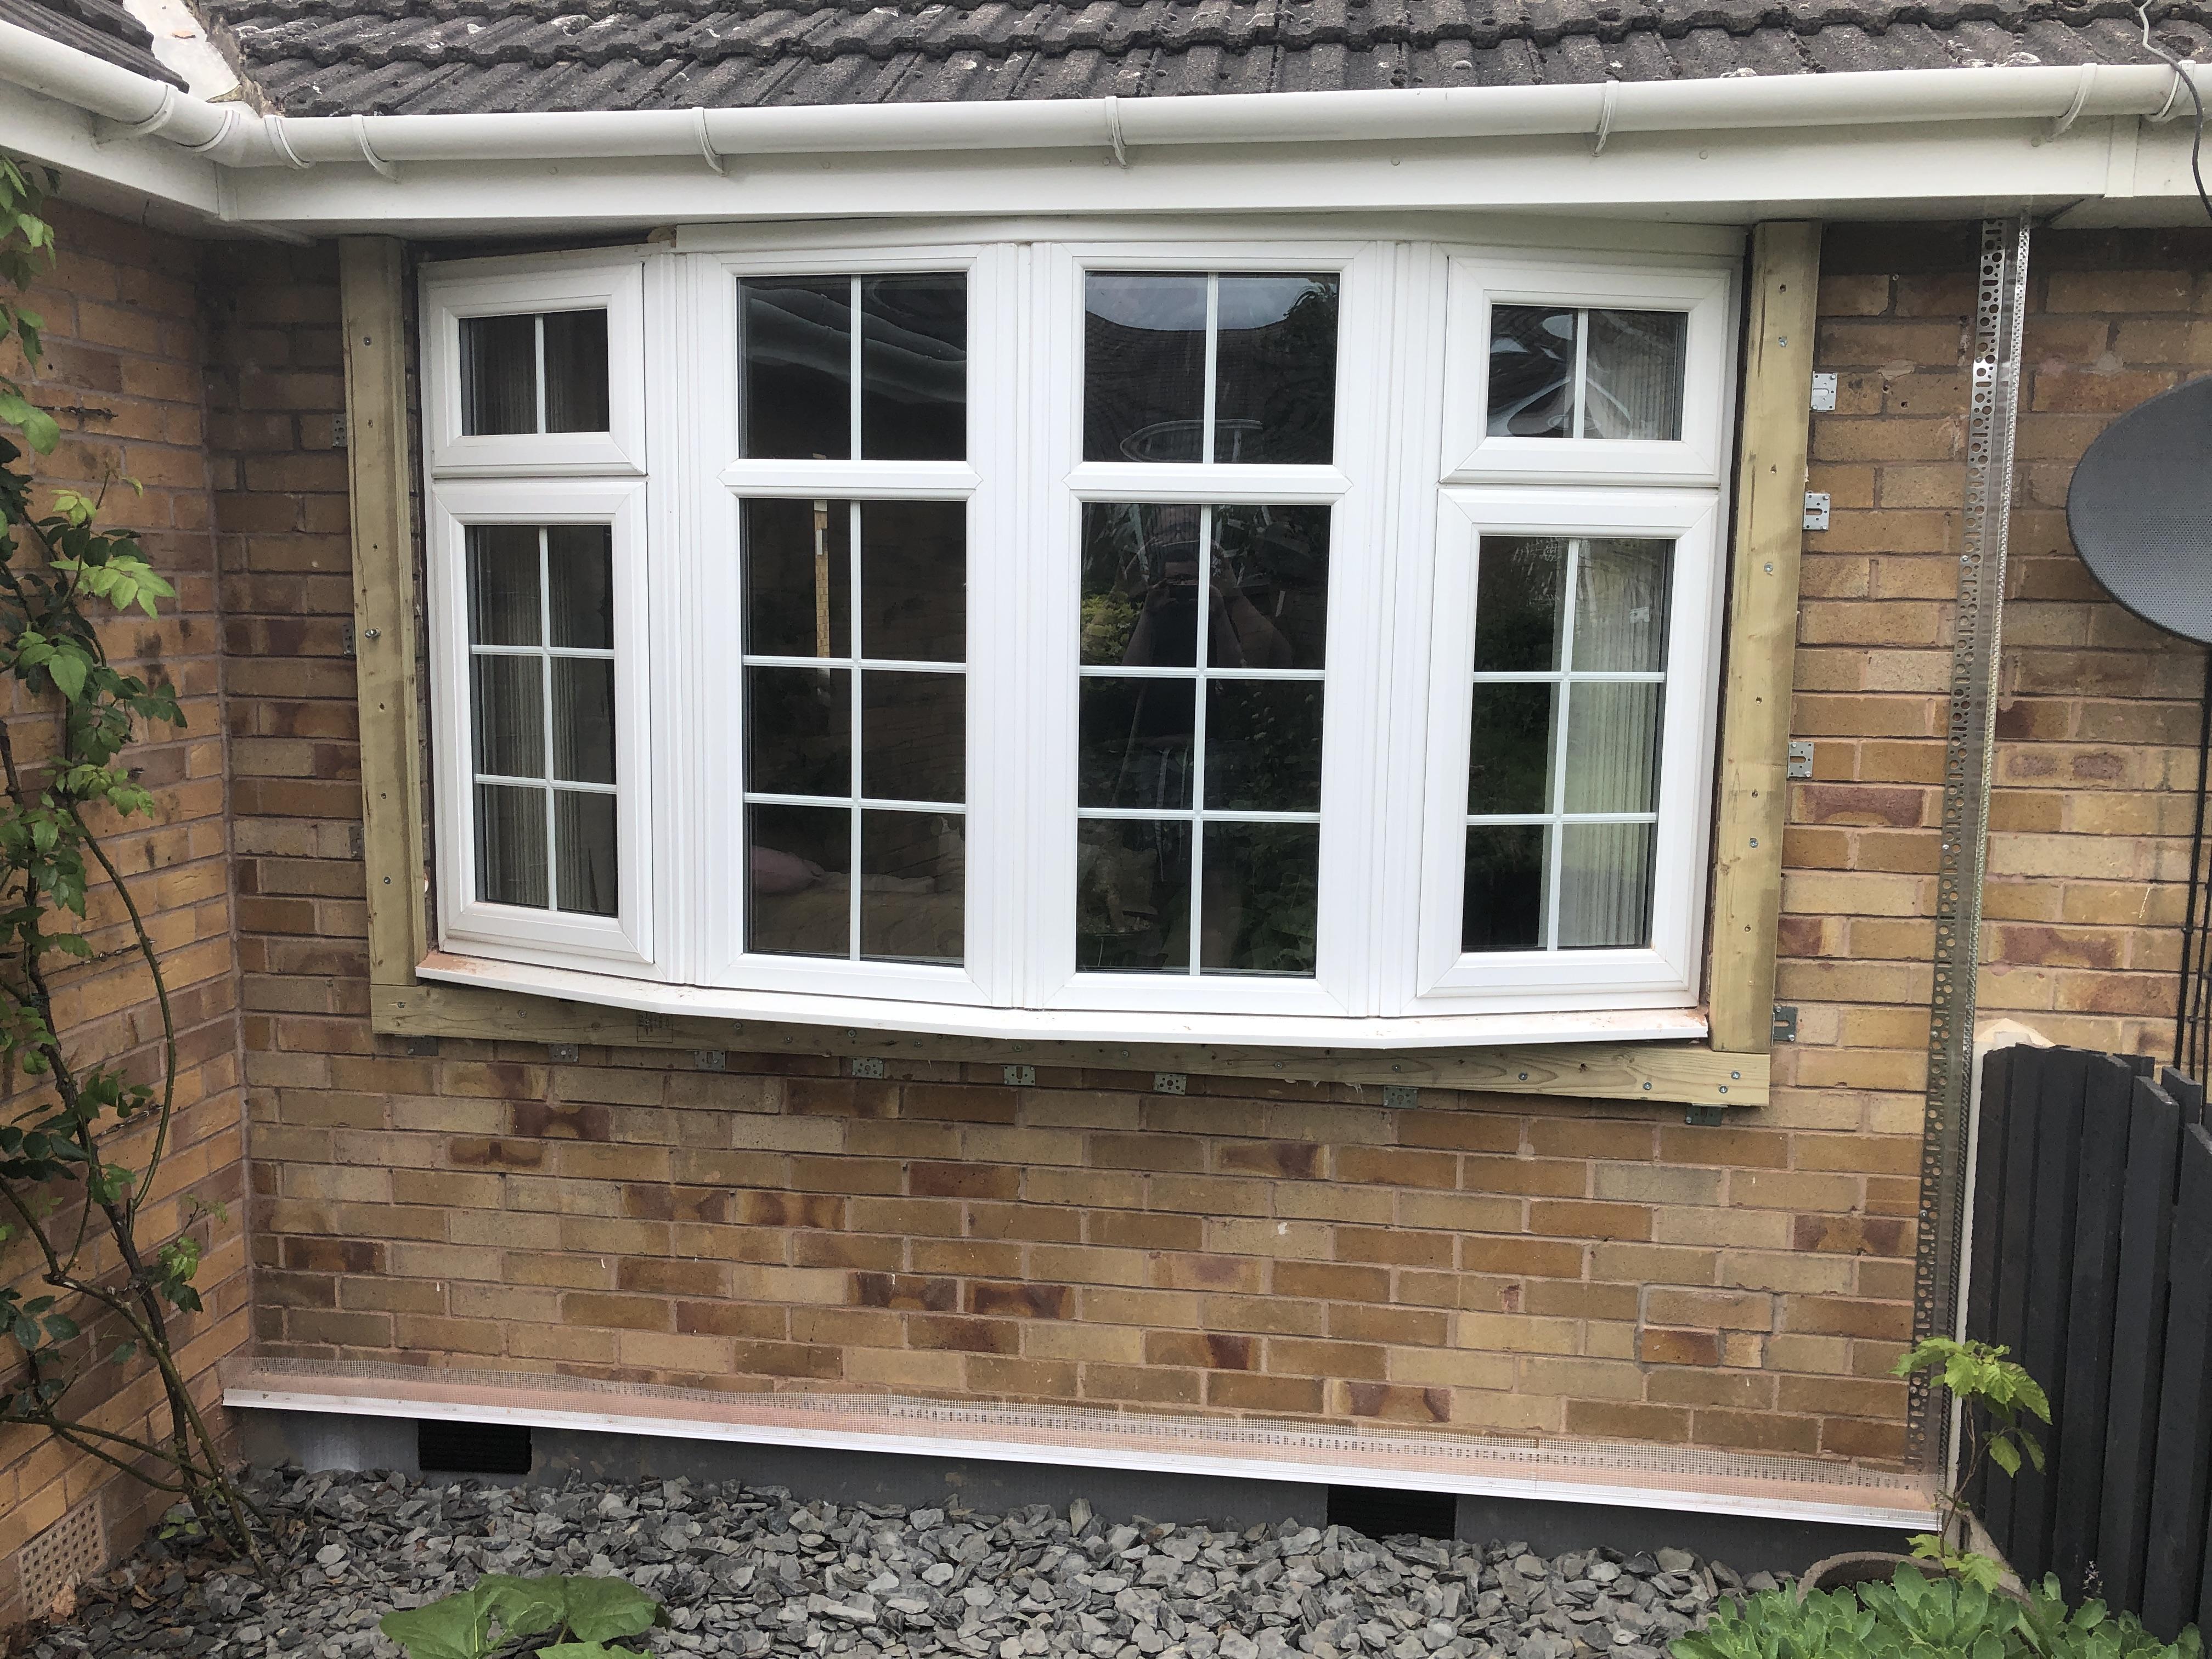
plus a myriad of heavy duty angle brackets, and i had 5 spare so I added those too before i insulated it. Also added another piece of 4x2 above the window, which sits half on the brickwork, and half on the wall timber, screwed to it, which i'll screw the window to, along with the side fixings, and some window straps to fix to brickwork inside.
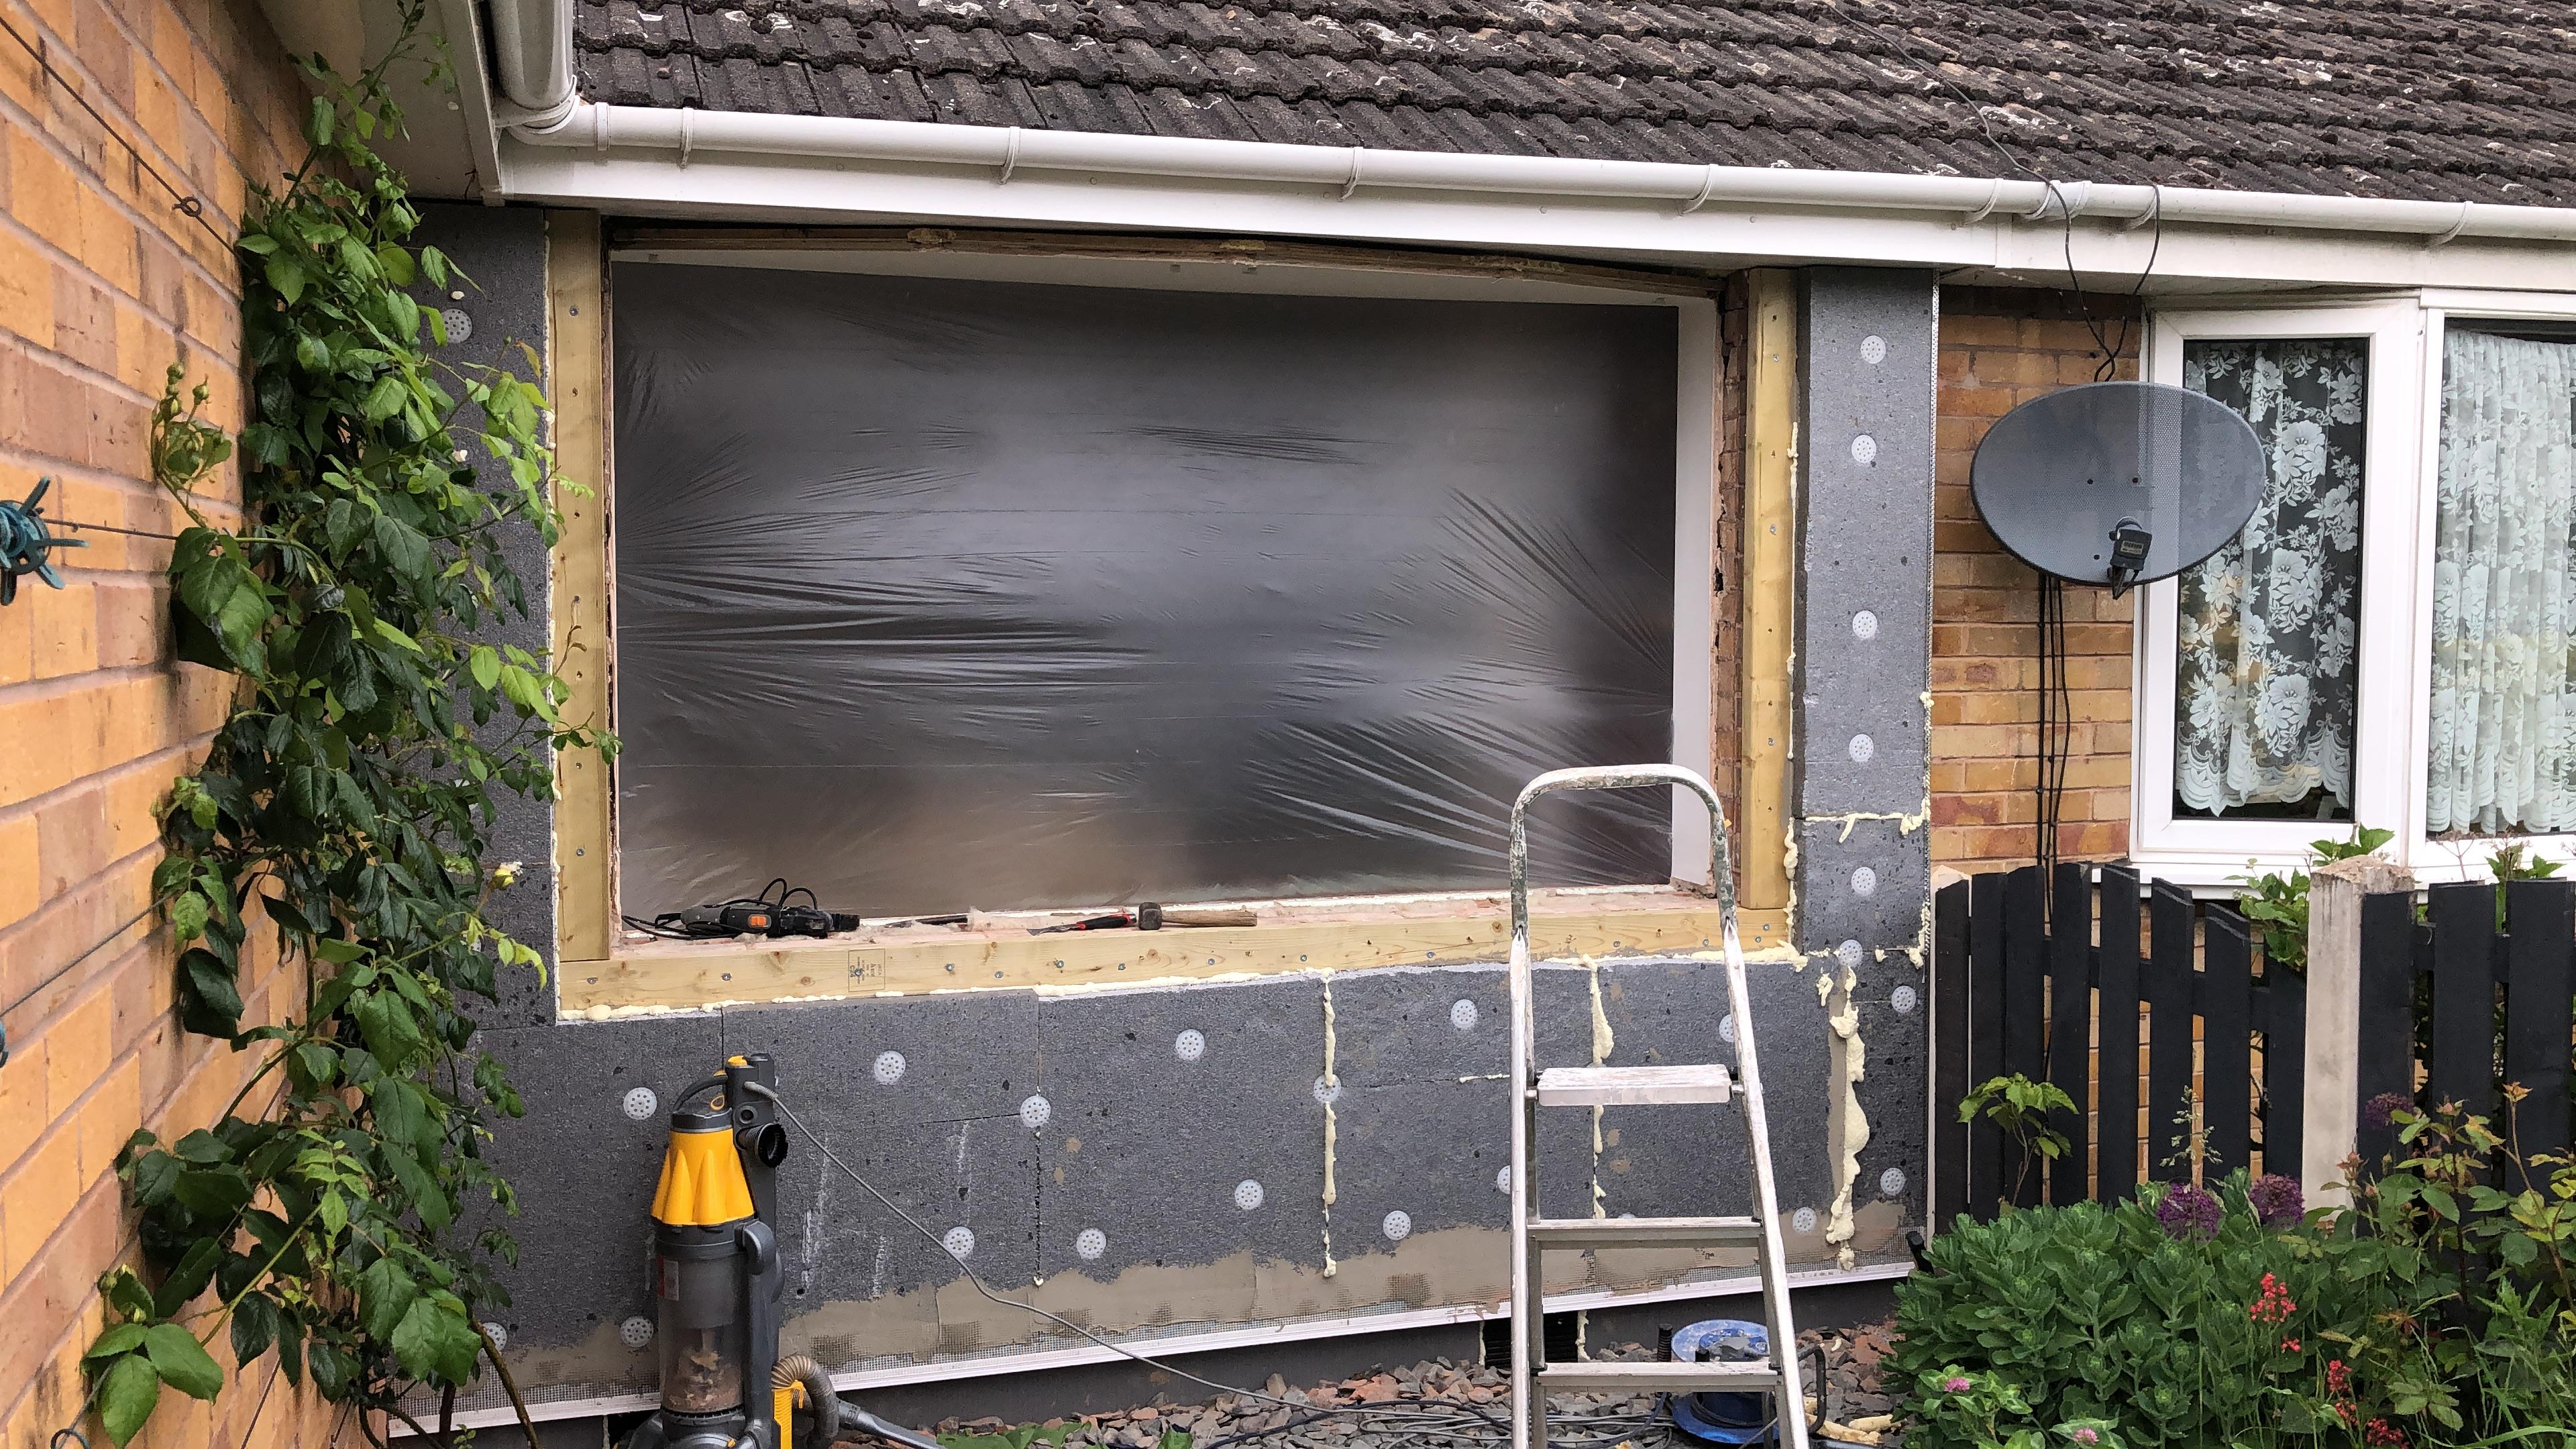
Wall insulated and old bow window removed...

New window in, and insulation added to top the timber, and wrap the edges of the window.
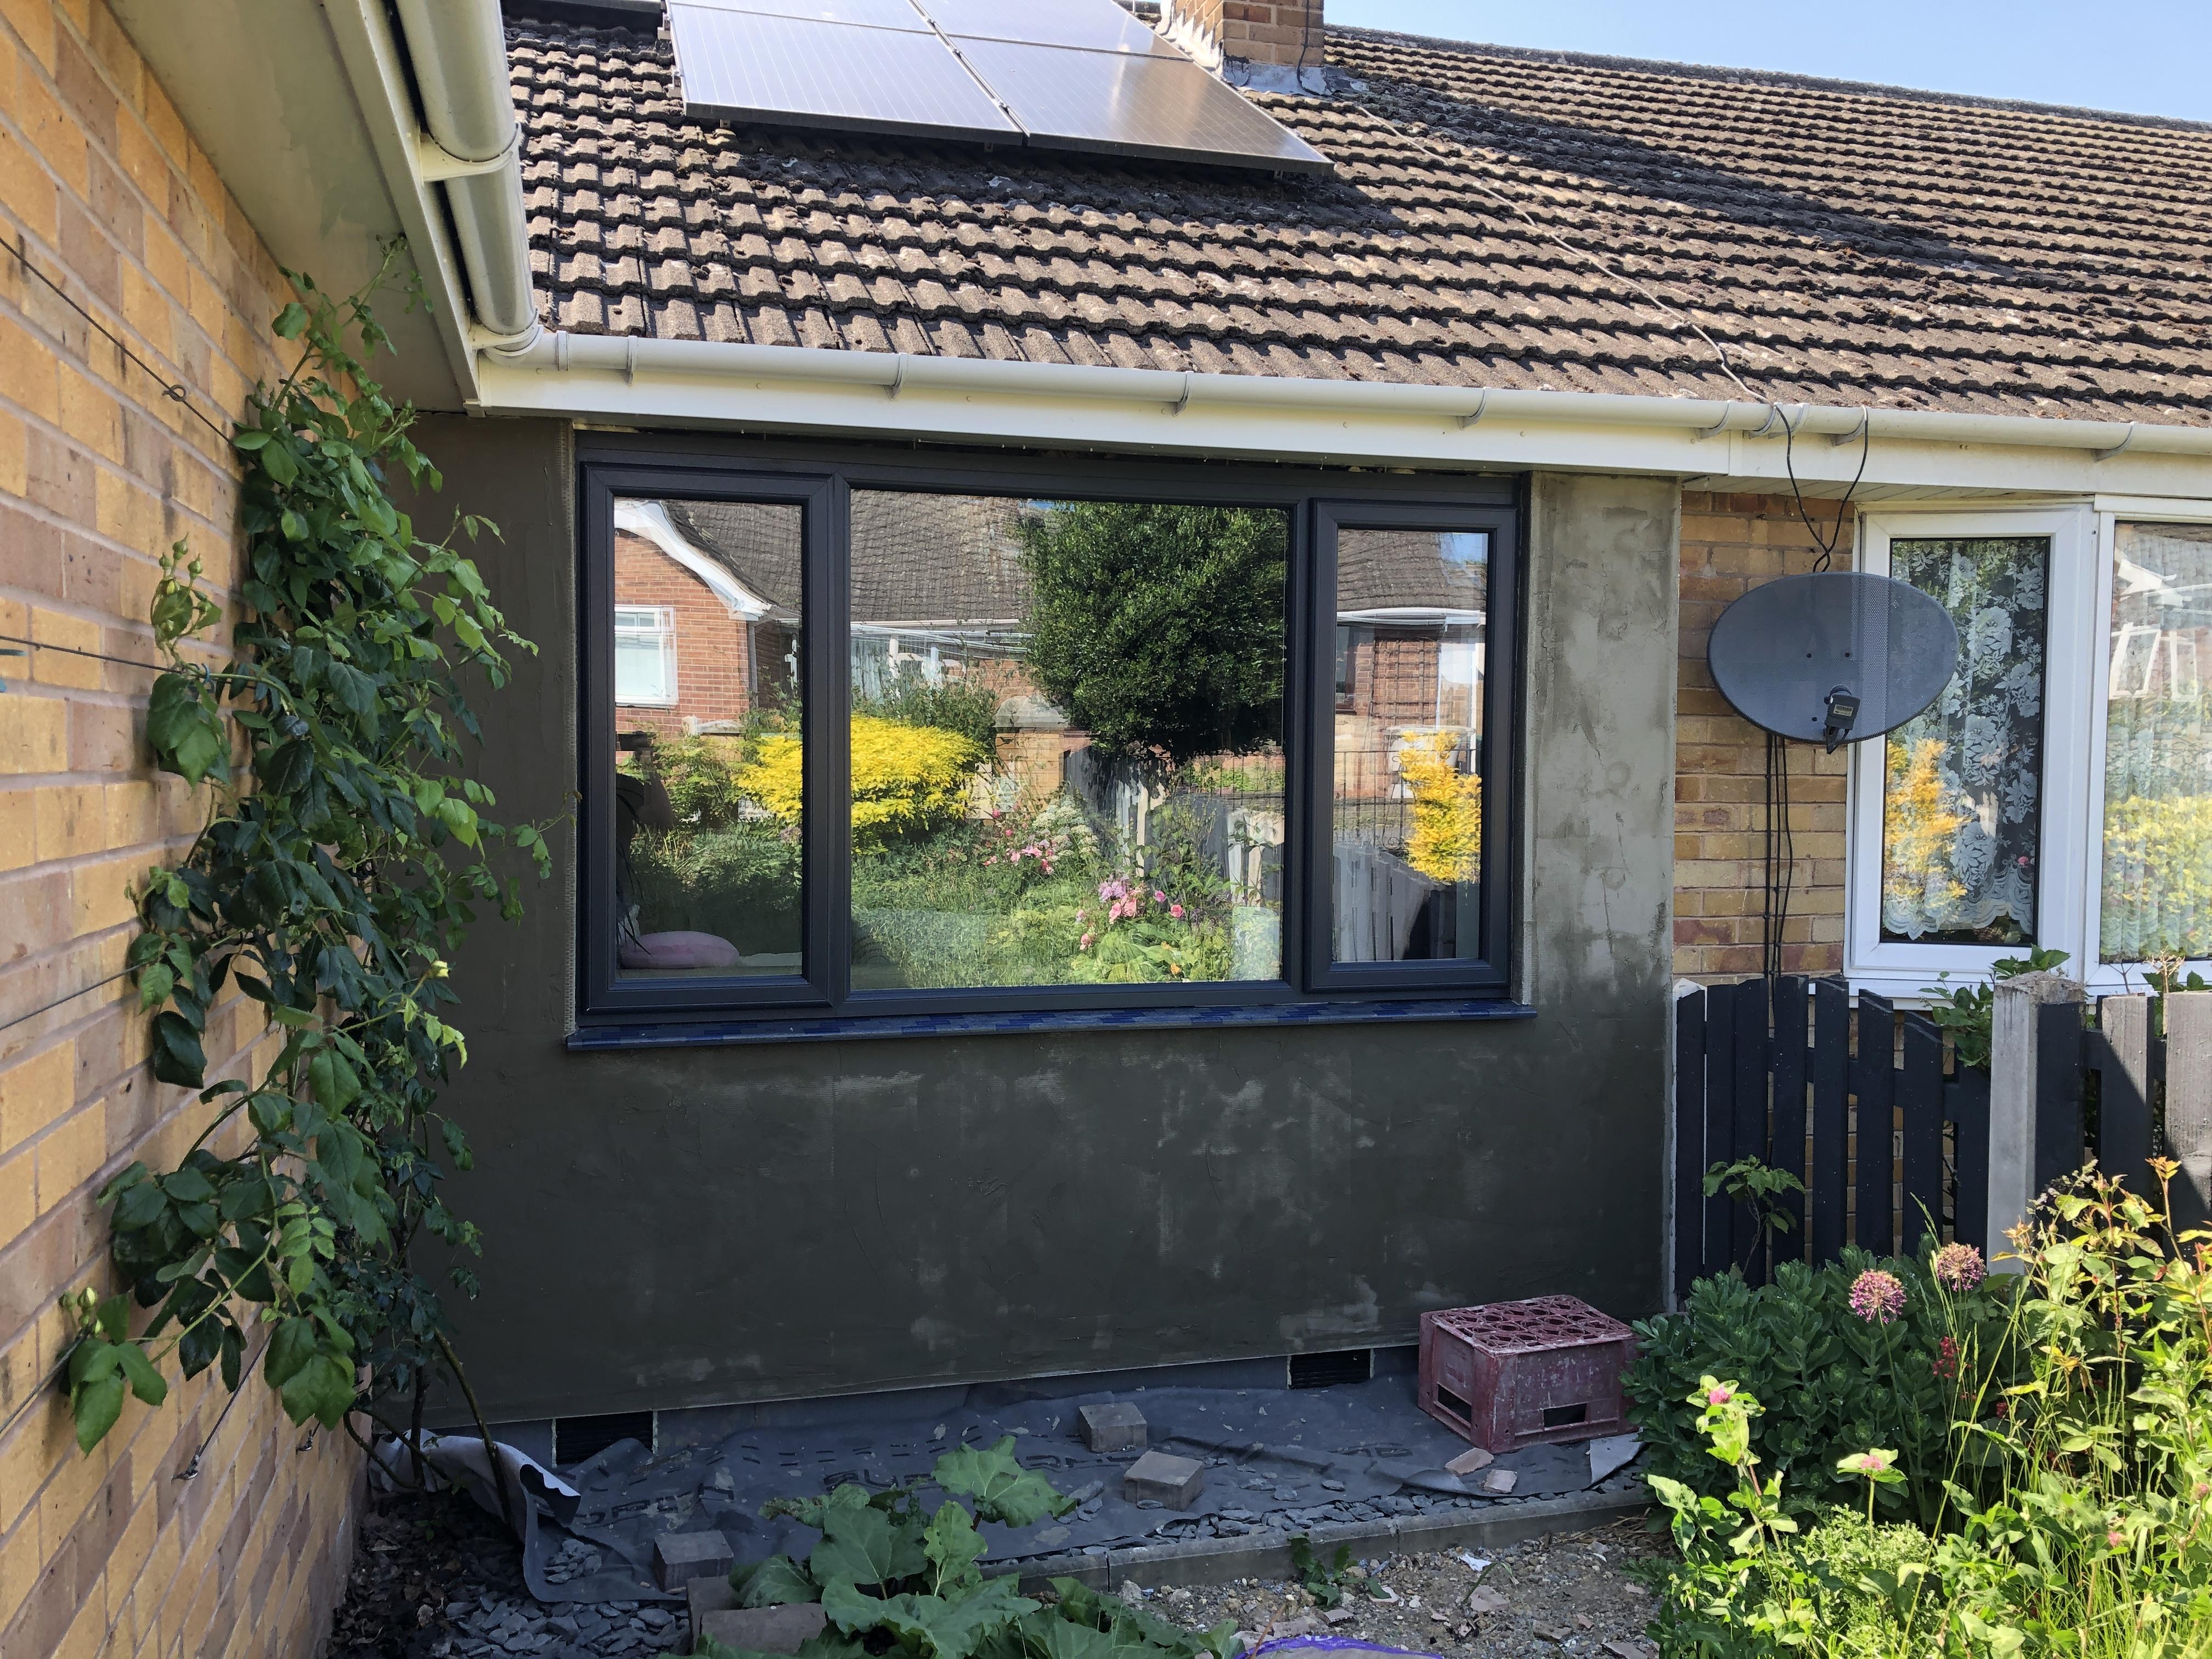
basecoat render completed. Next step is adding the brick slips. Above the window also needs expanding foam, and a trim to close the gap, I ran out of foam!
Really happy with the look of the new window, from both outside and in...
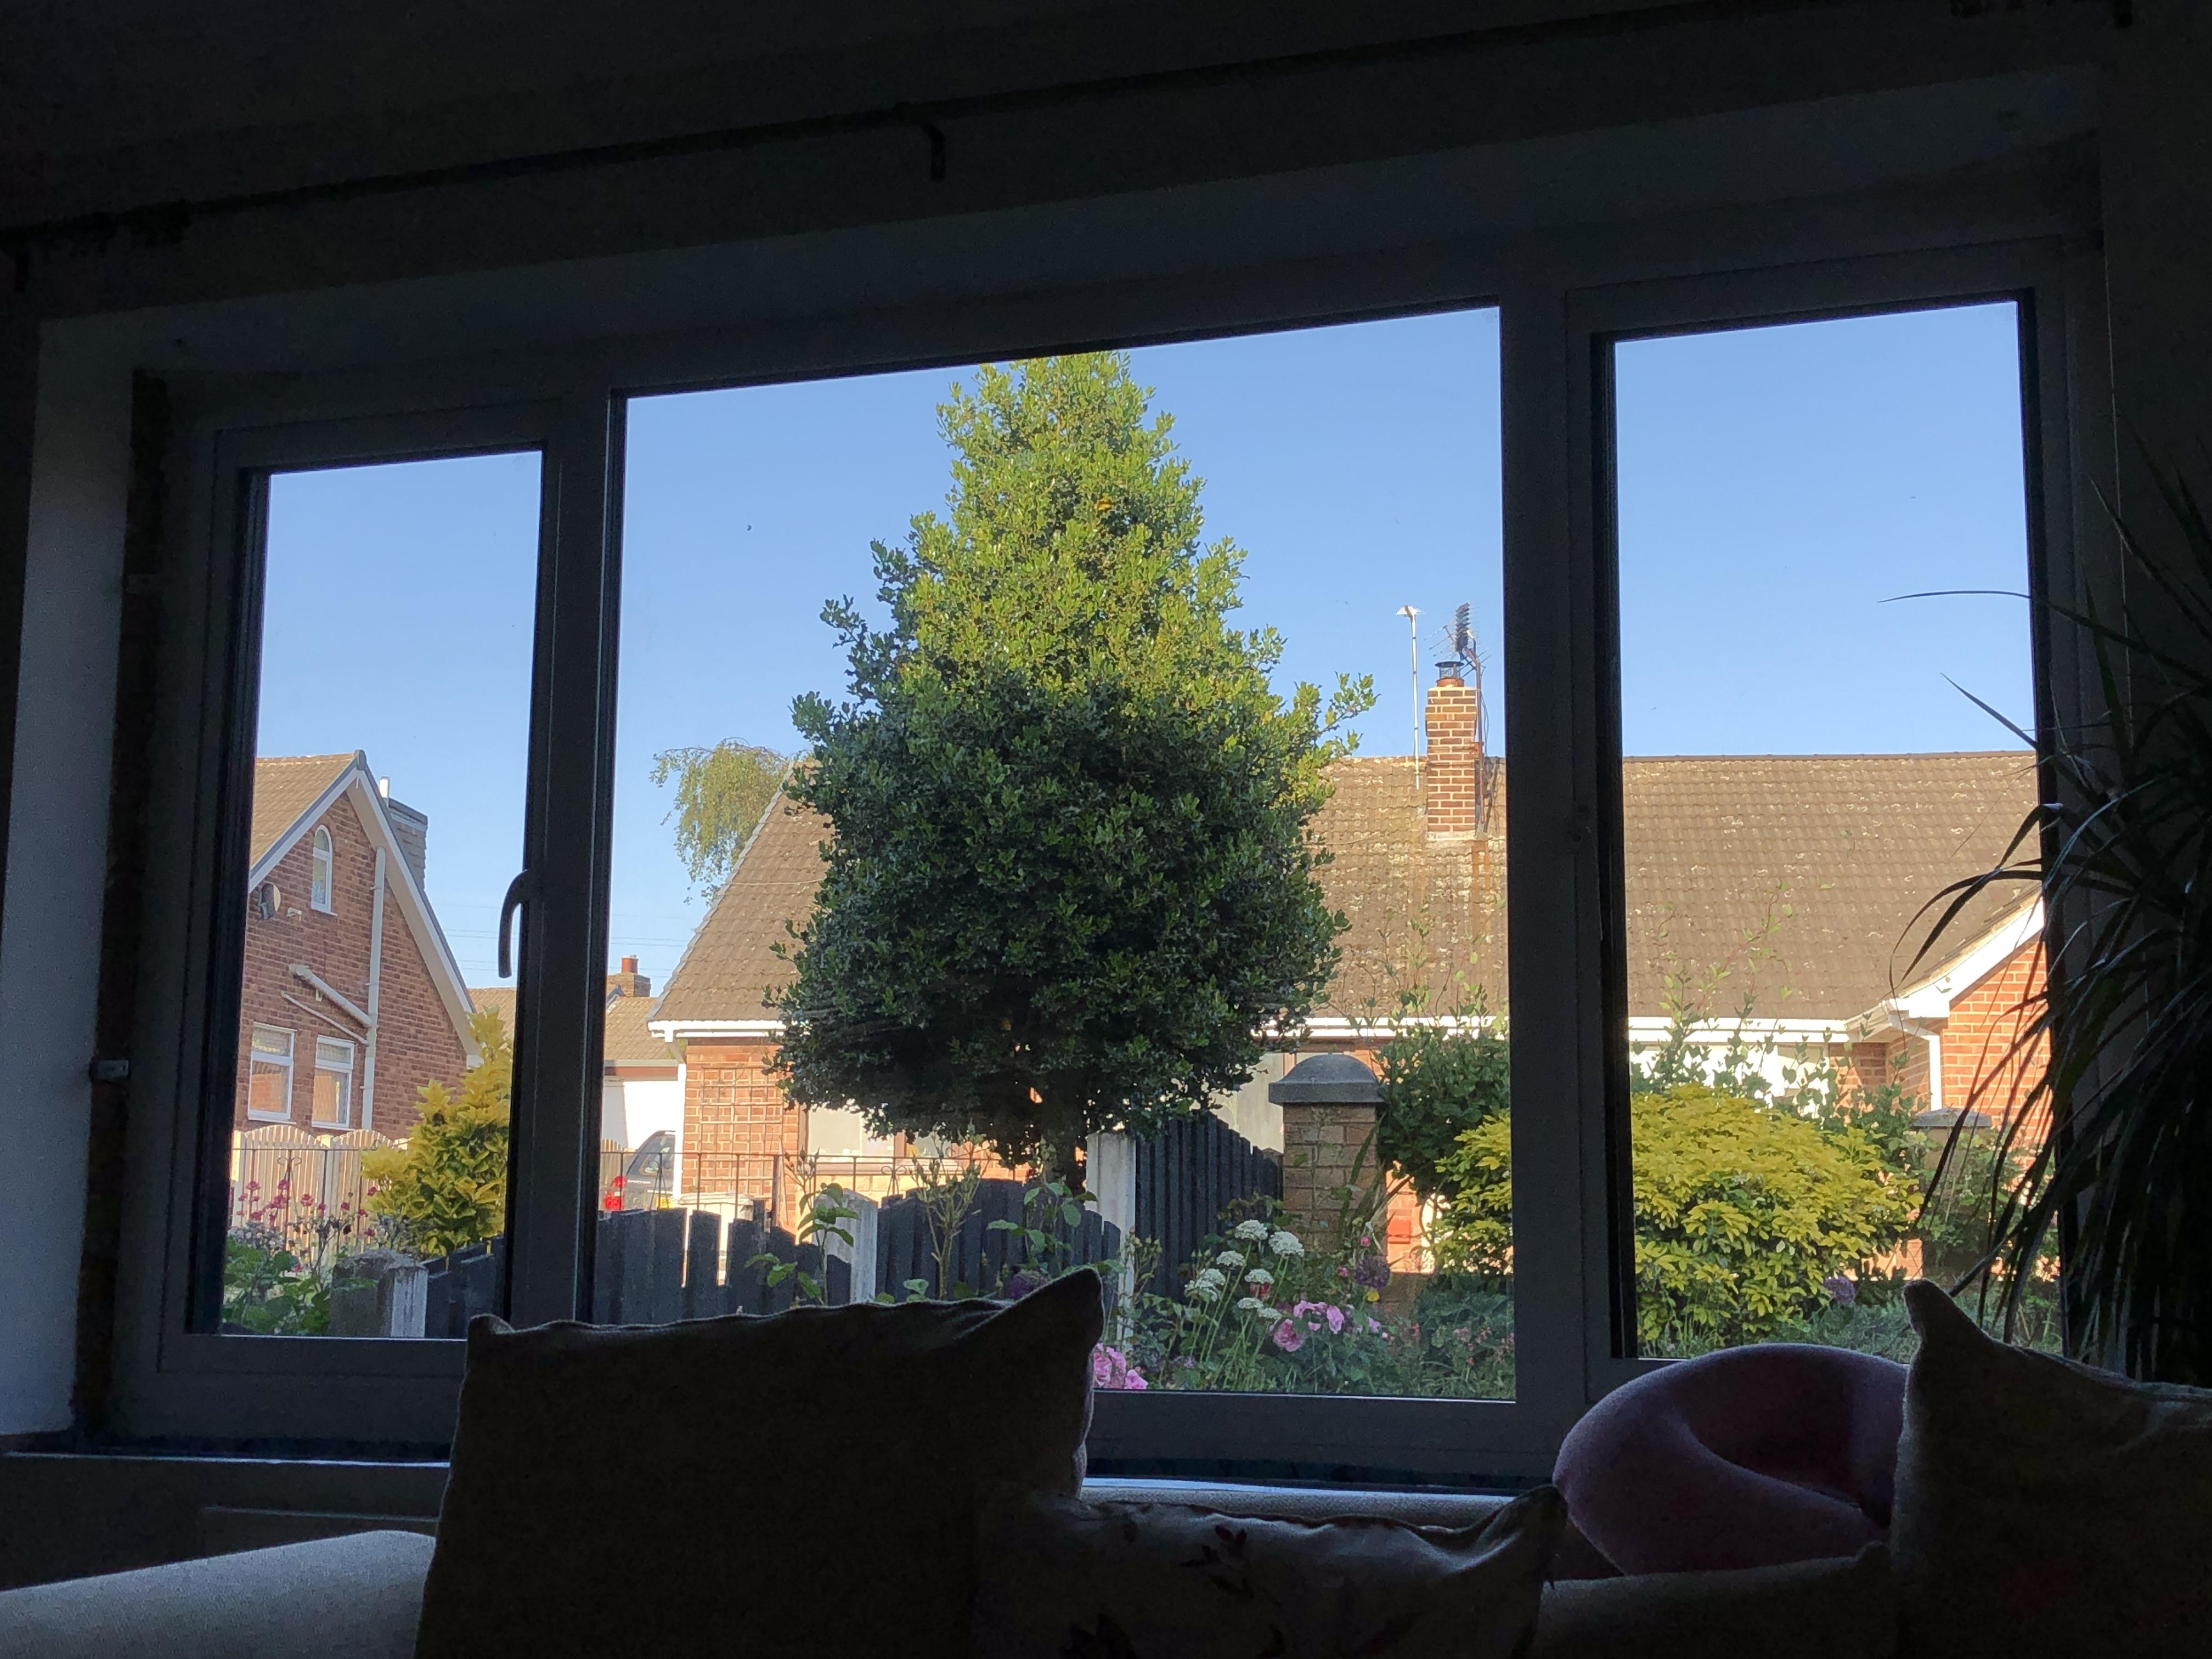
Inside has since been taped to the wall with Tescon tape, cavity closer to the top of the cavity, also taped down, and the exposed brick needs plastering at some point, before a new window board.
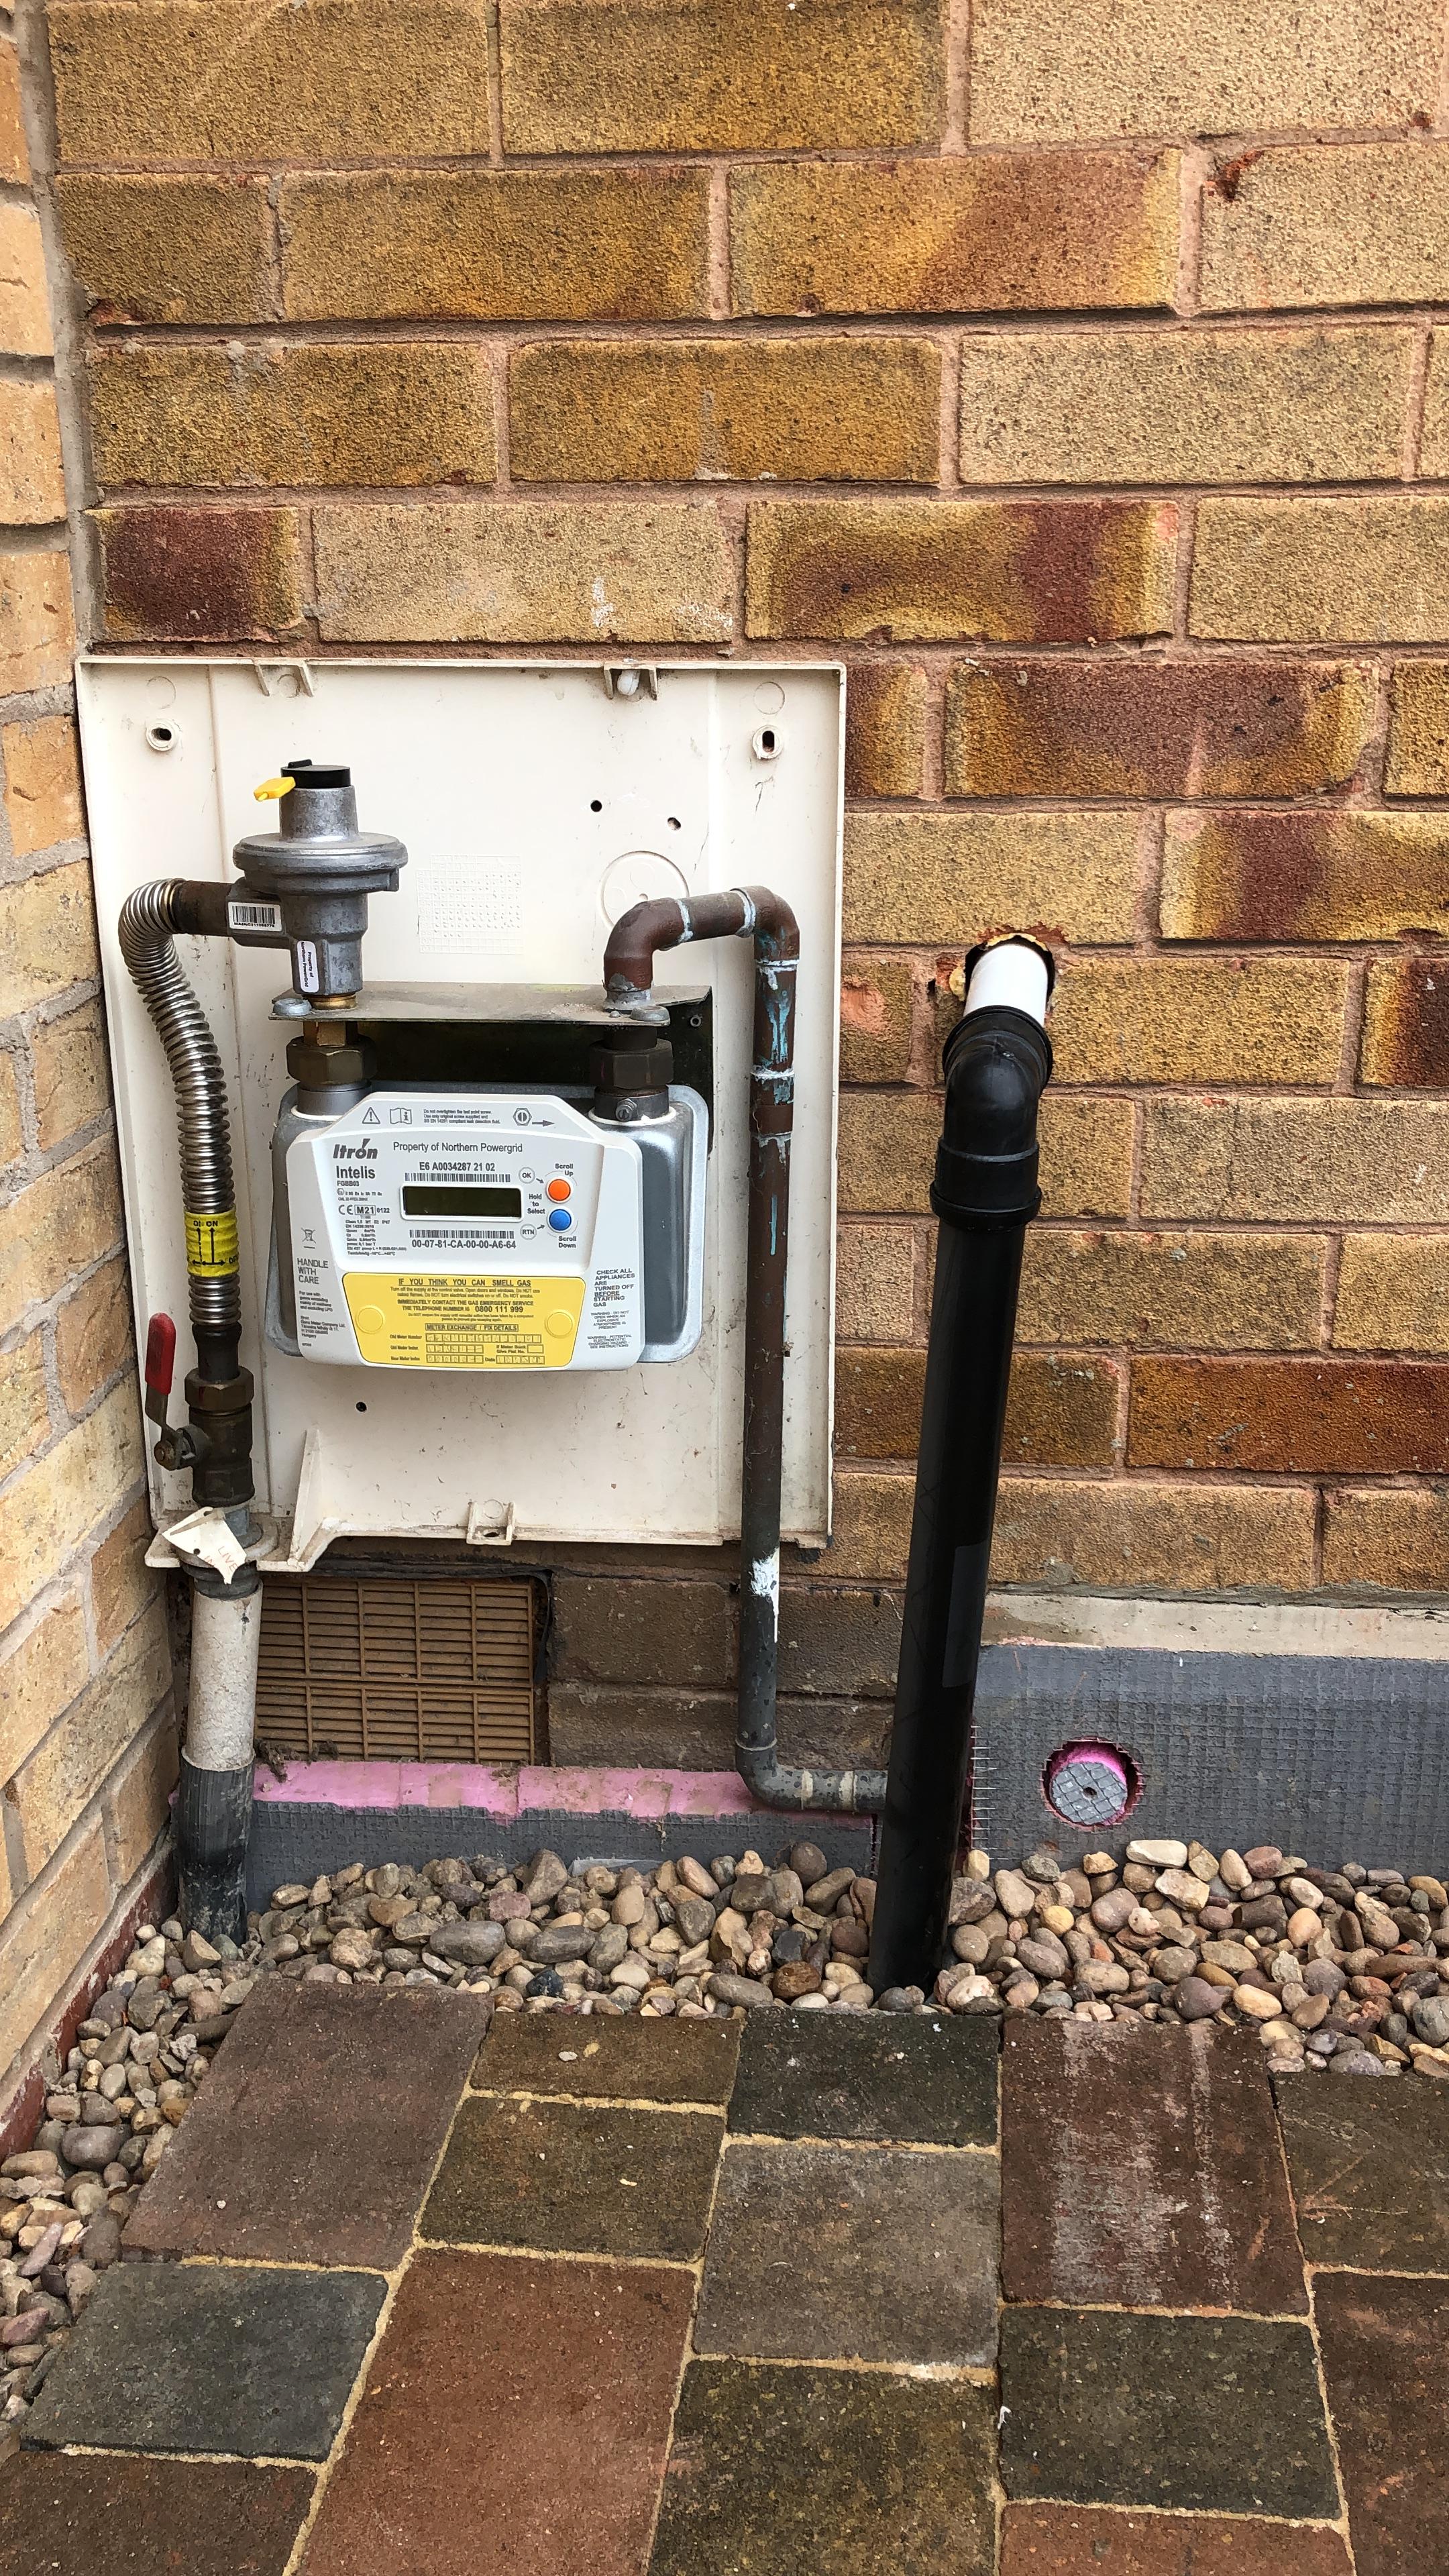
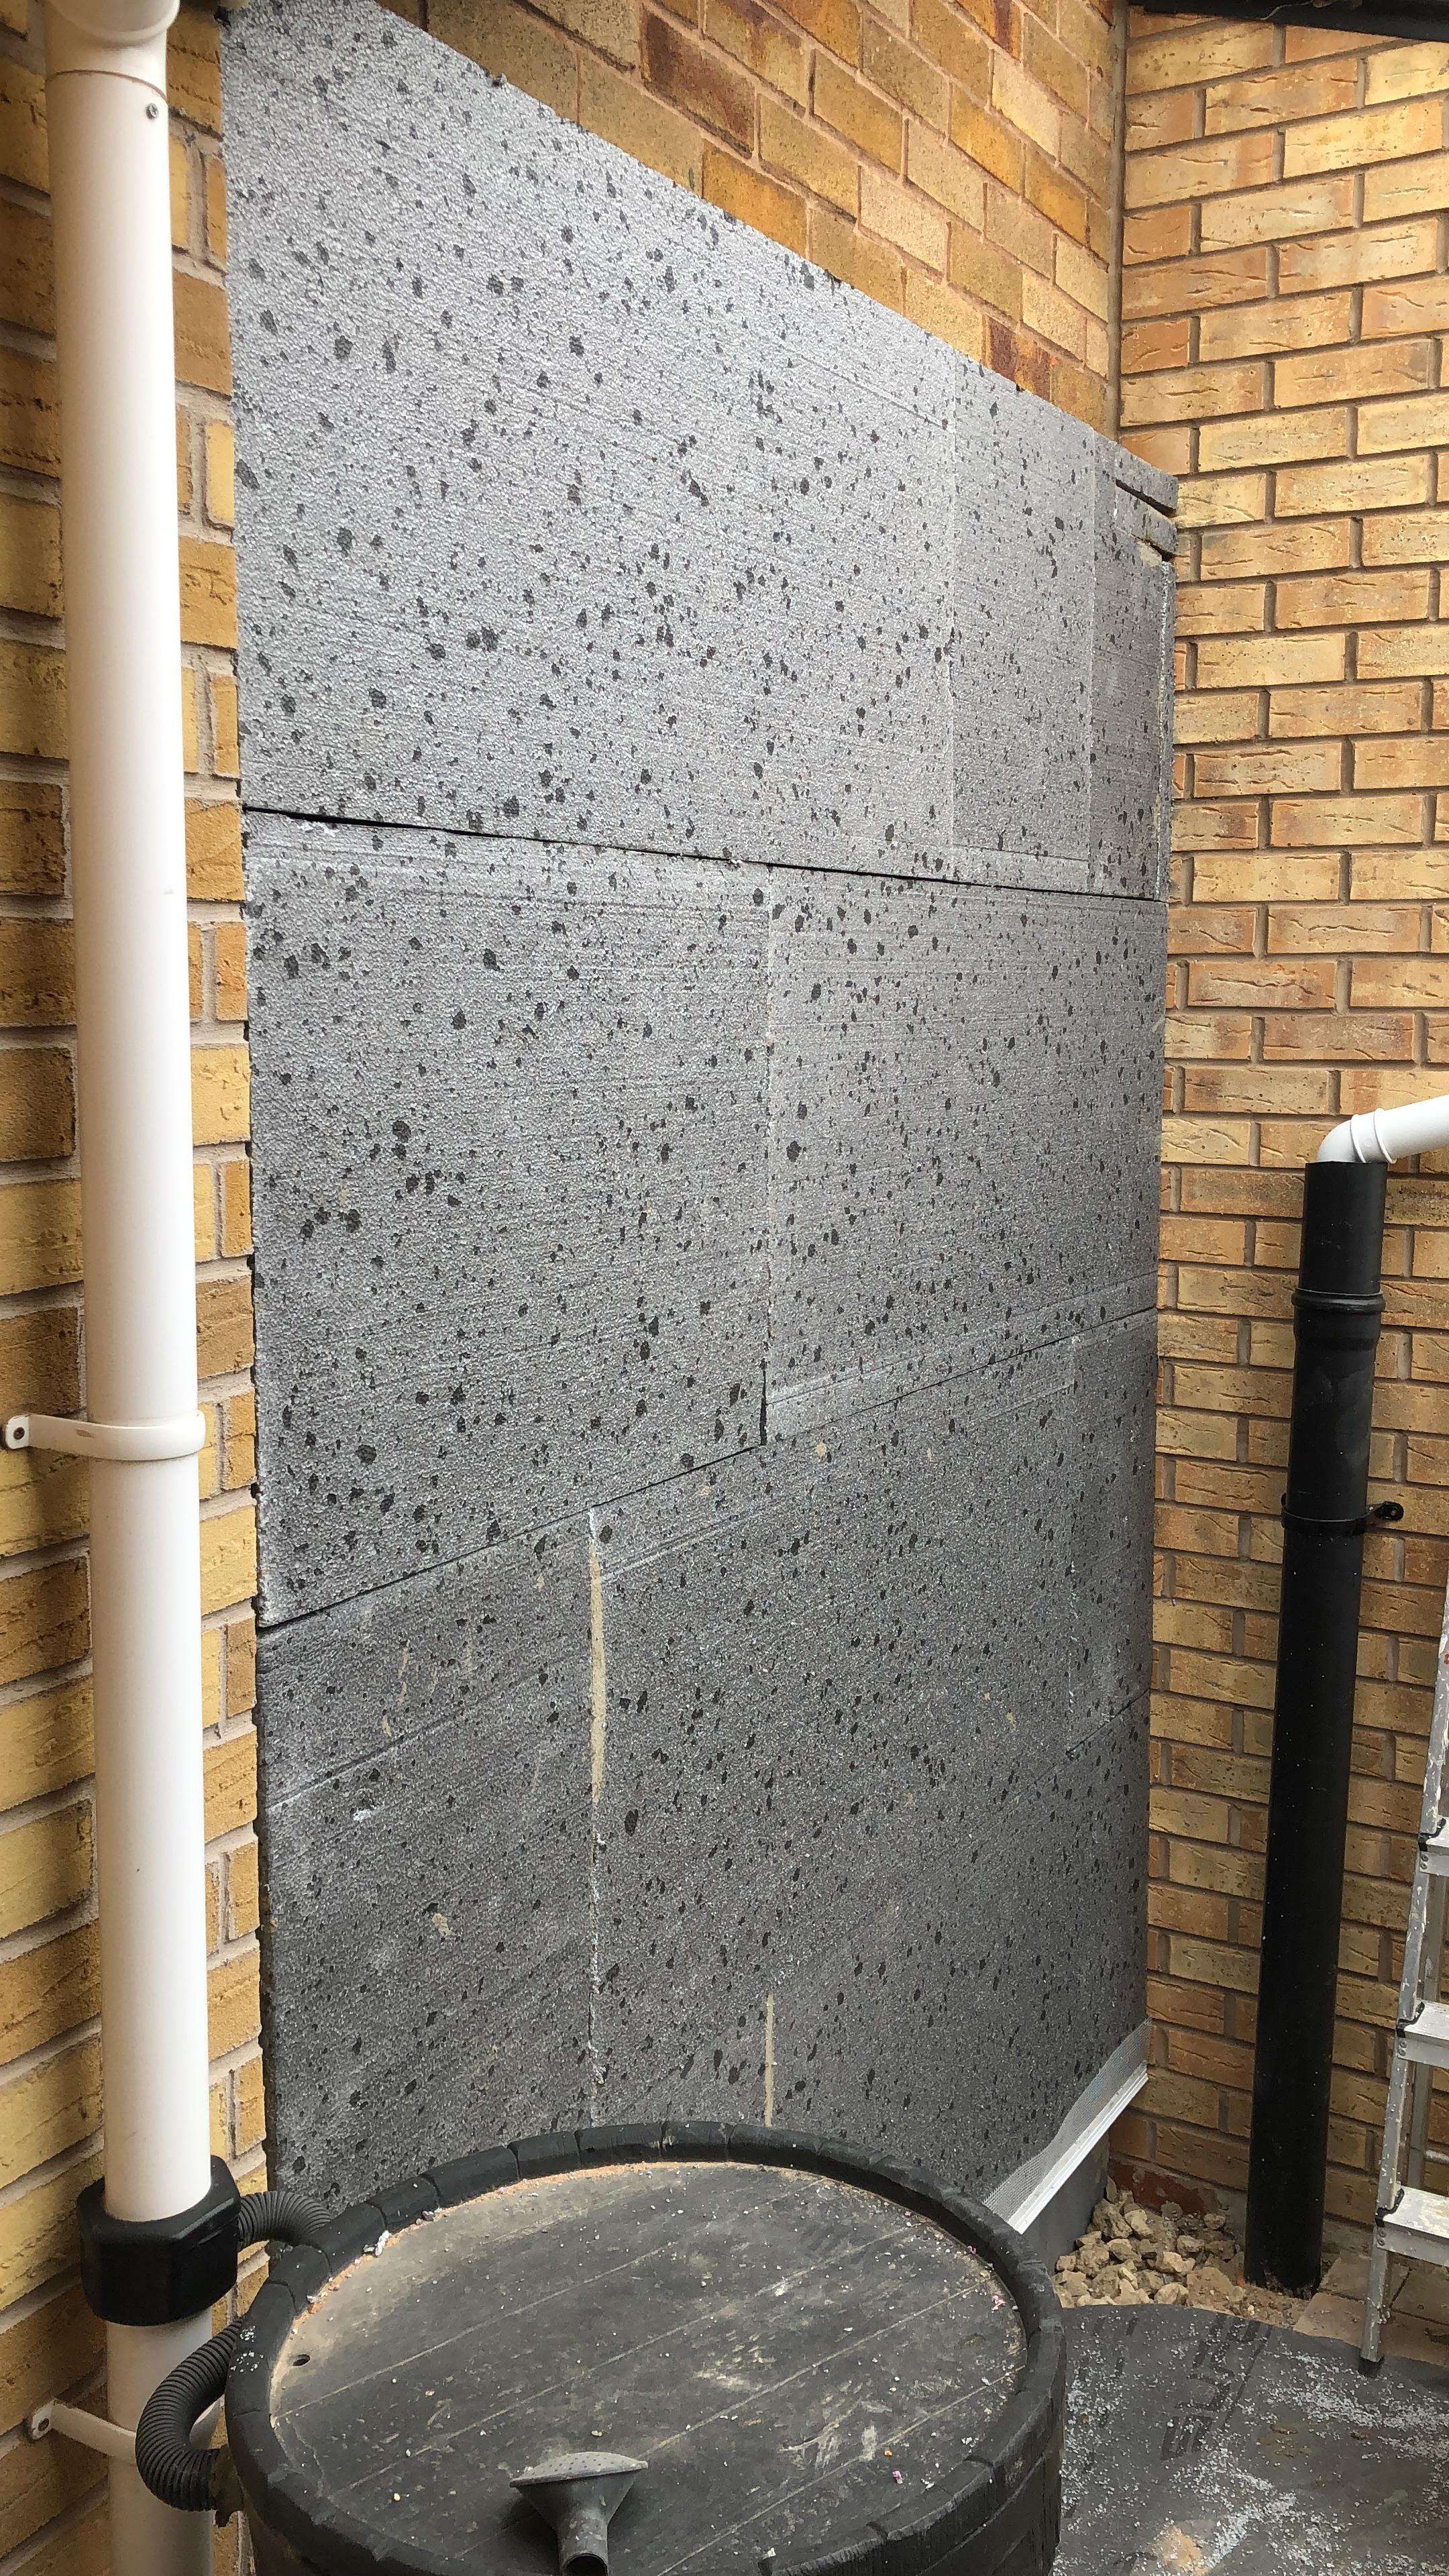
Area round the gas box was dug out and prepared with plinth insulation as best as i could. Gas man has since been and put a new gas pipe in through plastic tube where i core drilled, so the remainder of the plinth can be installed now. Gas box was spaced away from wall by 120mm, and a new longer flue has been installed ready for the wall boards to go up.
has morphed into...
few more pieces to go on, but need to finish block paving off so i've somewhere flat to setup my work platform.
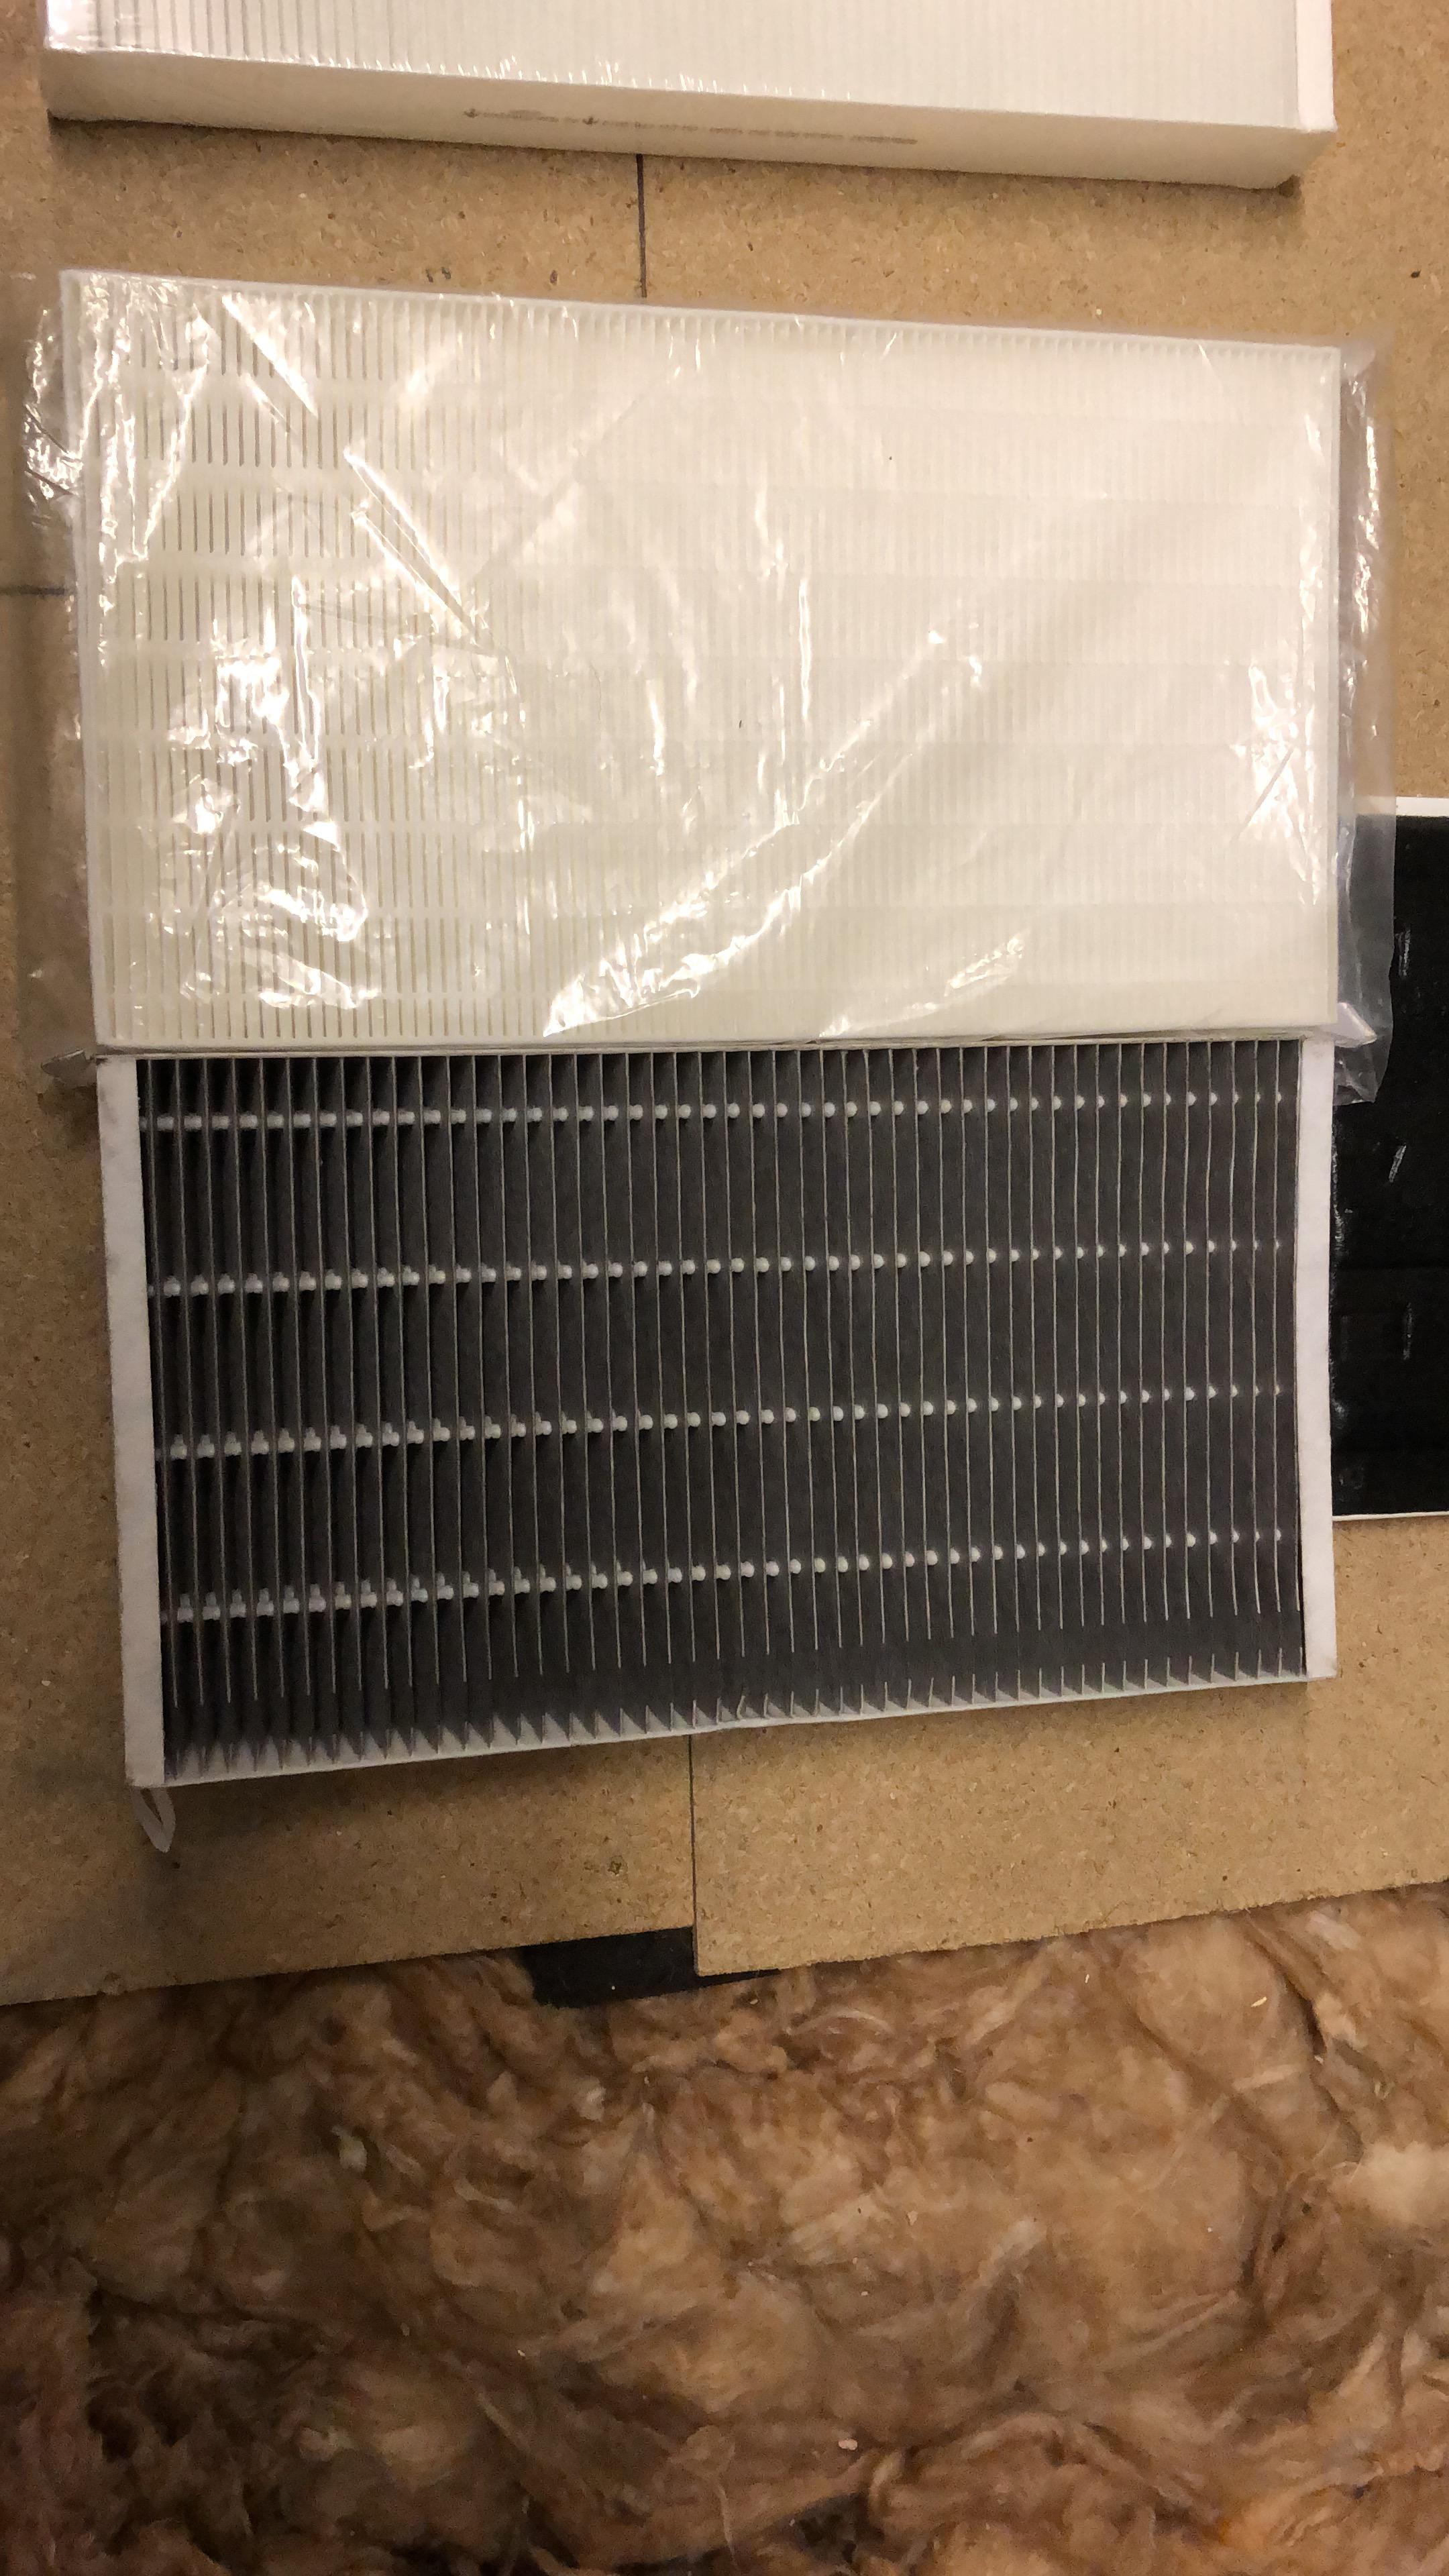
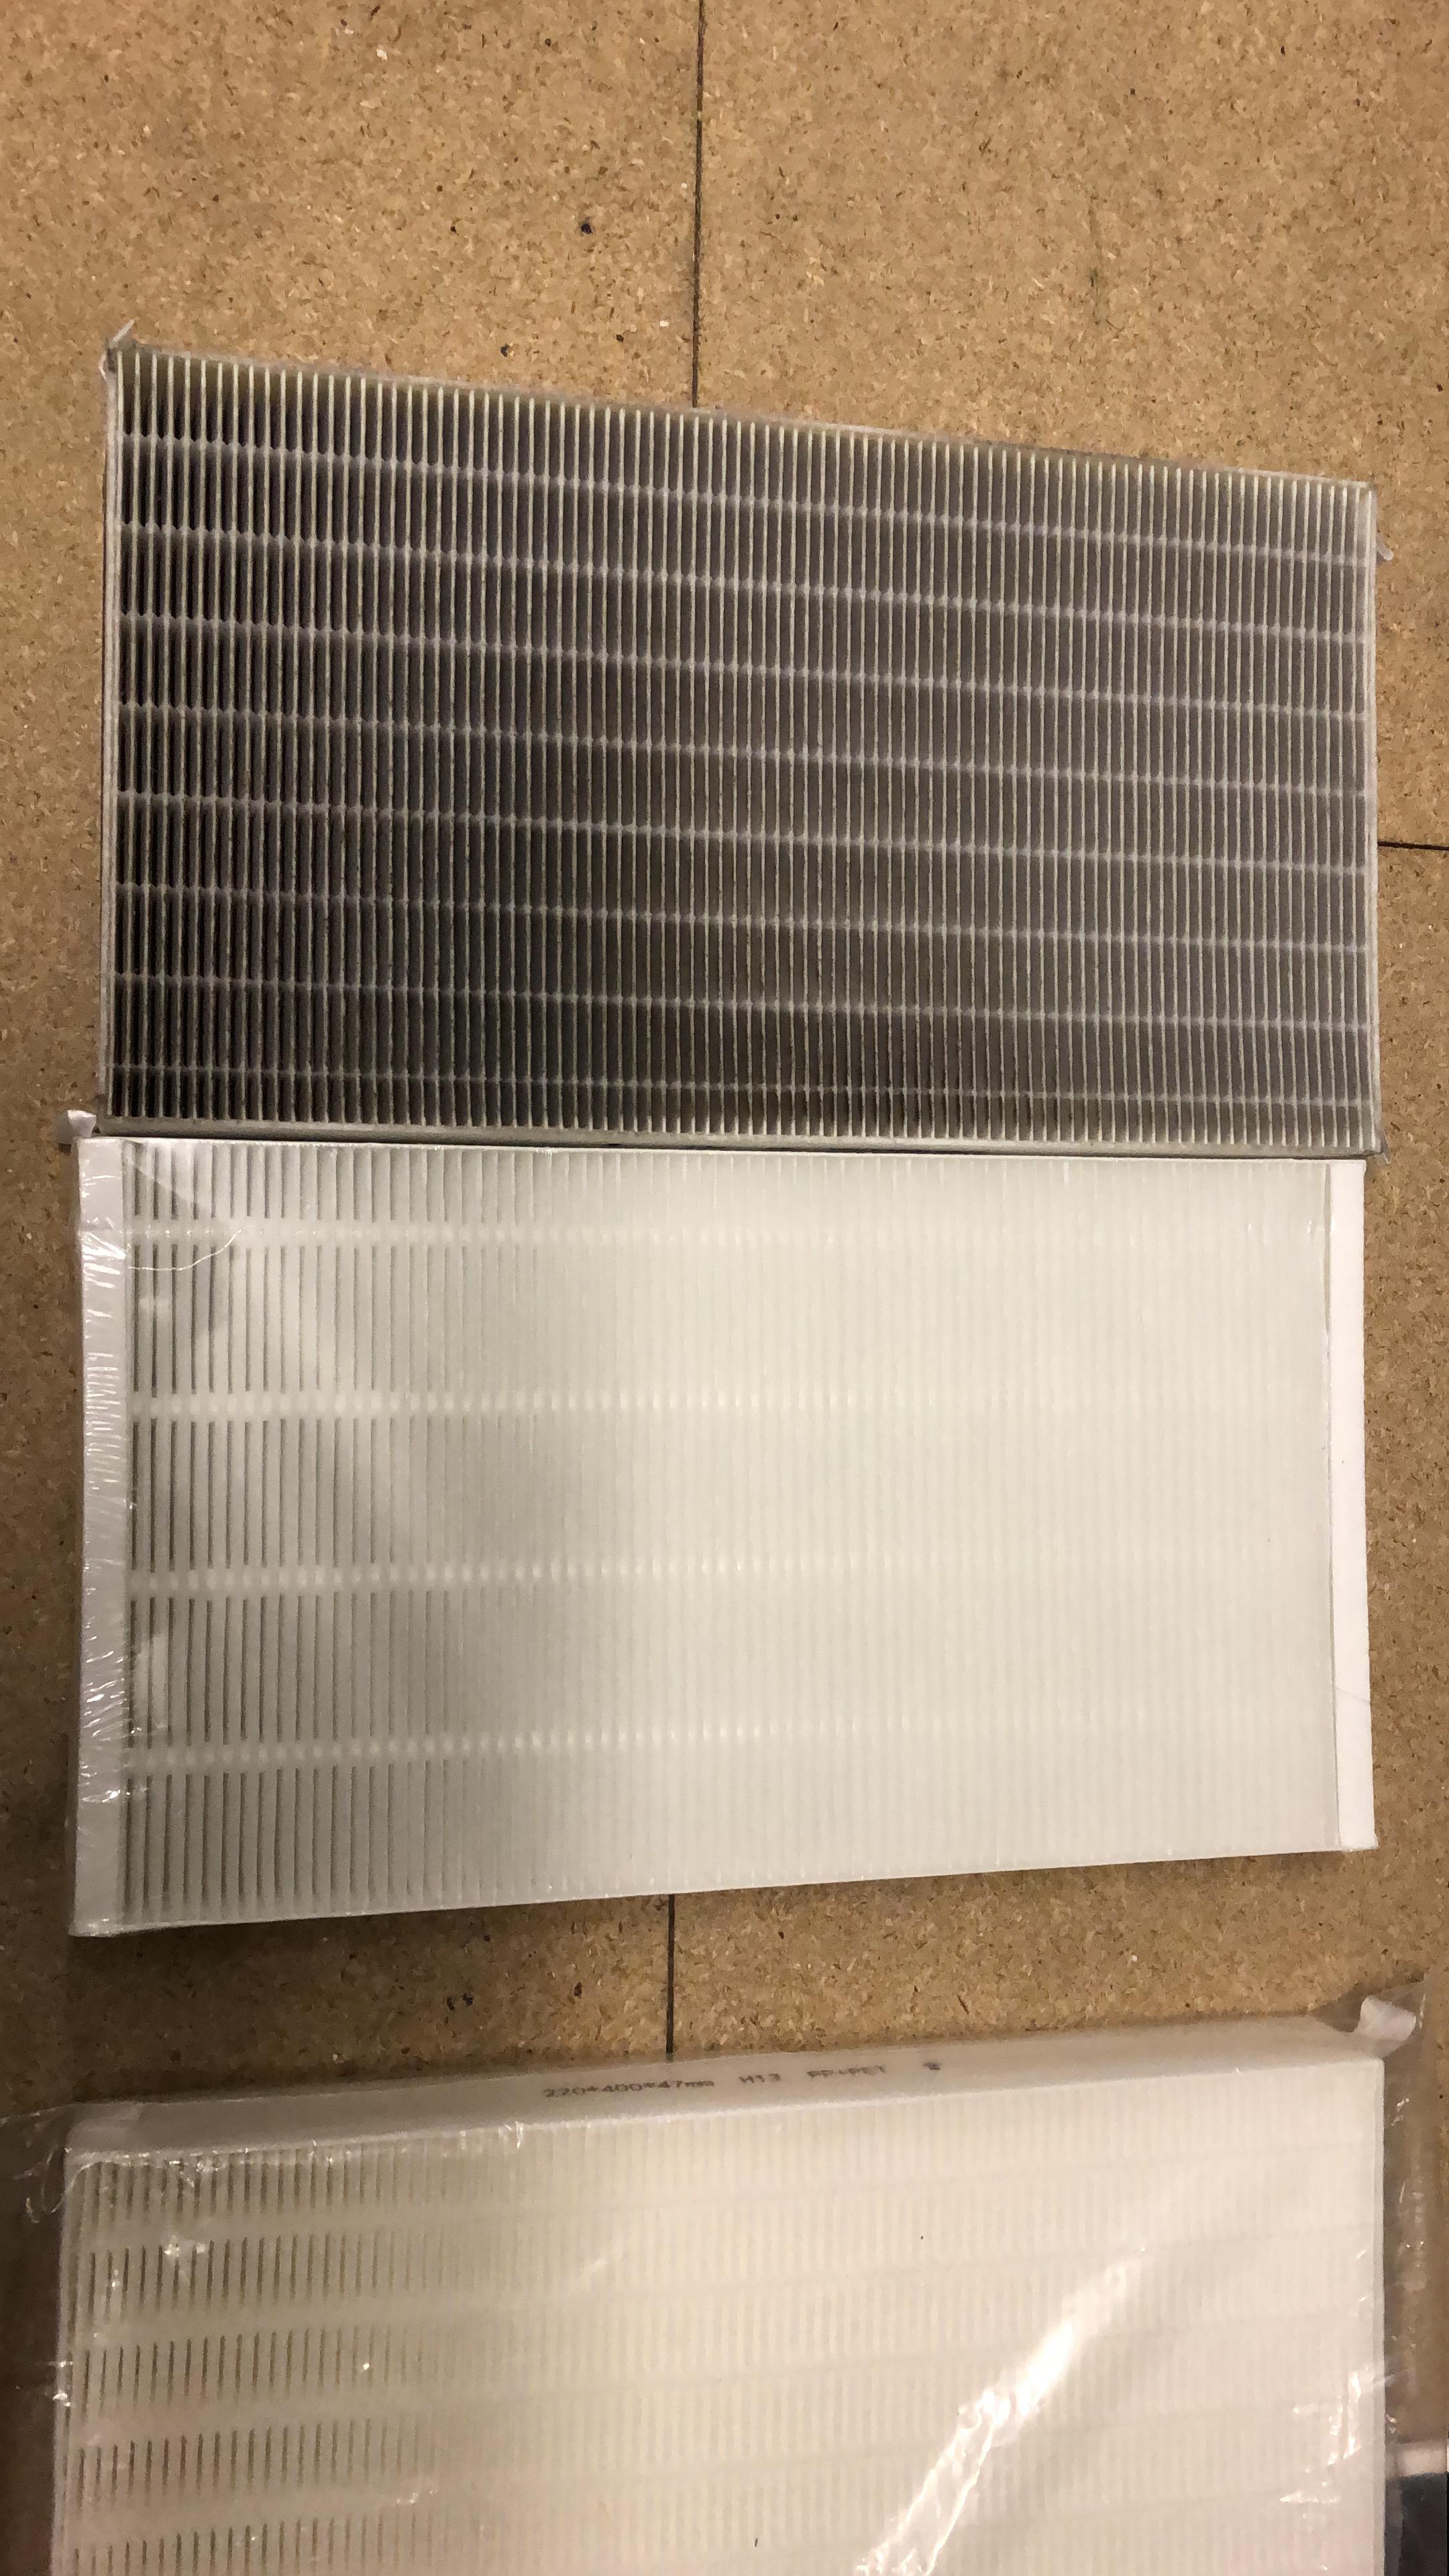
and last but not least, swapped out the MVHR filters, previously G4 and F7 for another G4 and H15, spot the before and after...
More to follow, hopefully soon, but probably not that soon!
0 Comments
Recommended Comments
There are no comments to display.
Create an account or sign in to comment
You need to be a member in order to leave a comment
Create an account
Sign up for a new account in our community. It's easy!
Register a new accountSign in
Already have an account? Sign in here.
Sign In Now