Part 24 - Finishing all those little things
Having spent the summer months pottering in the garden, and generally ignoring the list of outstanding things to do inside, I finally summoned enough motivation to get things finished off.
Fortunately, the list was fairly short so once started, was completed in a reasonable timescale.
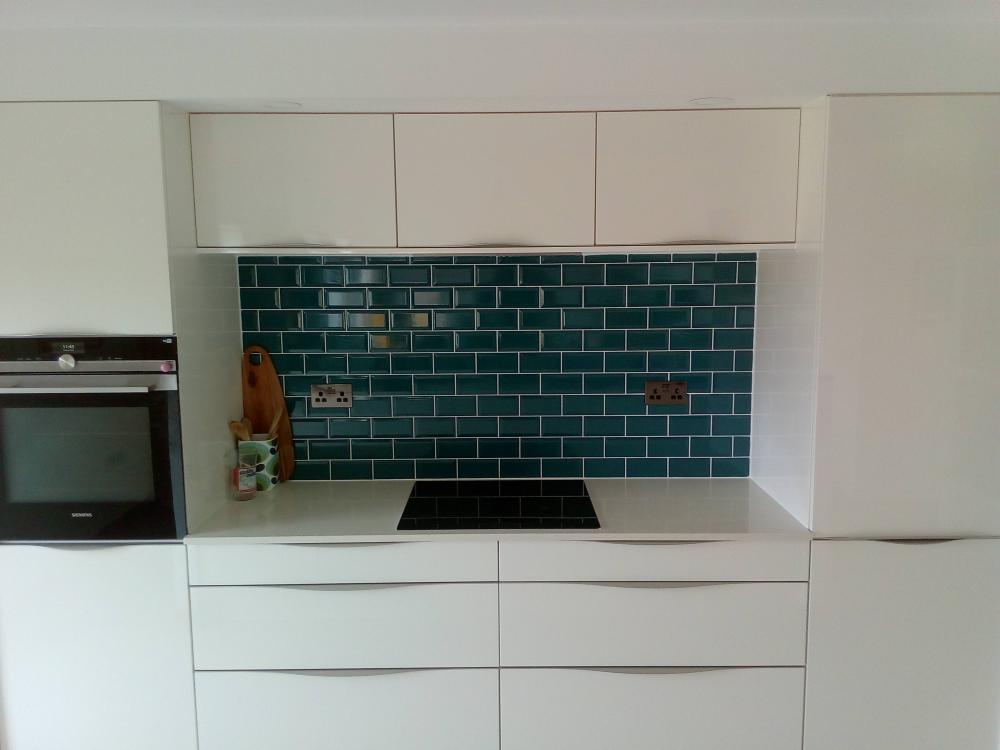
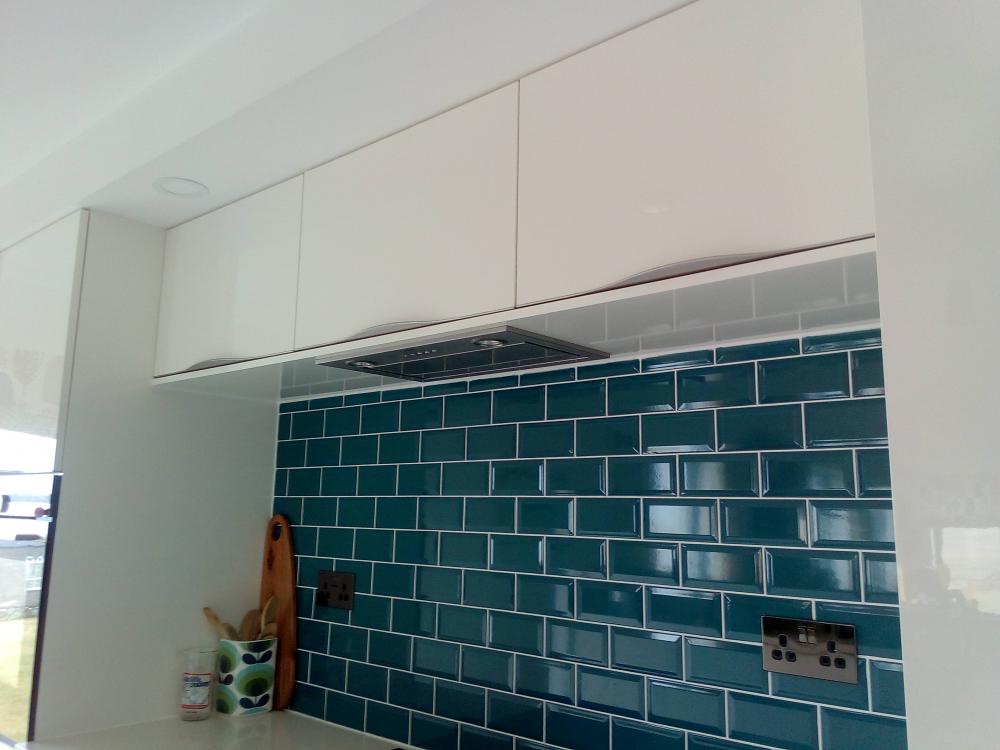
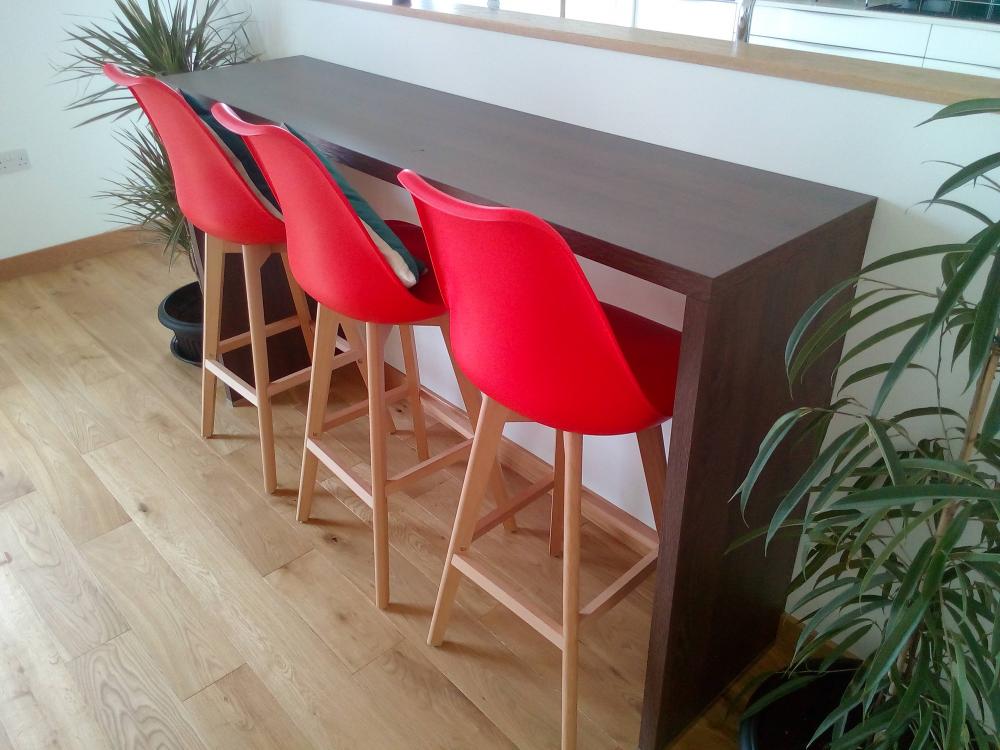
In the kitchen we tiled the splashback, fitted a decor panel underneath the bridging units (rather than having to see the underside of the units) and fitted a breakfast bar.
Picking the tiles was probably the most challenging part, but we finally found something we both liked and agreed upon, and seems to work pretty well as a contrast to the units and worktop, as well as matching the colour scheme of the wider room.
The decor panel has nicely finished off the underside of the bridging units. Ideally, this would have been done at the time the kitchen was fitted, and although was something I raised in the kitchen showroom, it was decided that it wasn't required...
The breakfast bar was formed from 450mm deep lengths of worktop, the uprights specified as shelves so they were finished on all sides. A very simple construction secured to the back of the island by means of small brackets to a batten, and fix-all to the wall and floor. The height is set at 1000mm, which although taller than a standard breakfast bar, does give more leg room when sitting at it. I have to admit I wasn't keen on the idea of a breakfast bar, but have been won over, and it is a really usable addition to the room, primarily as a place to sit and chat when someone is working in the kitchen. I think solid oak worktop would have been preferable, but the final choice was down to asthetics, and again colour contrast was desired.
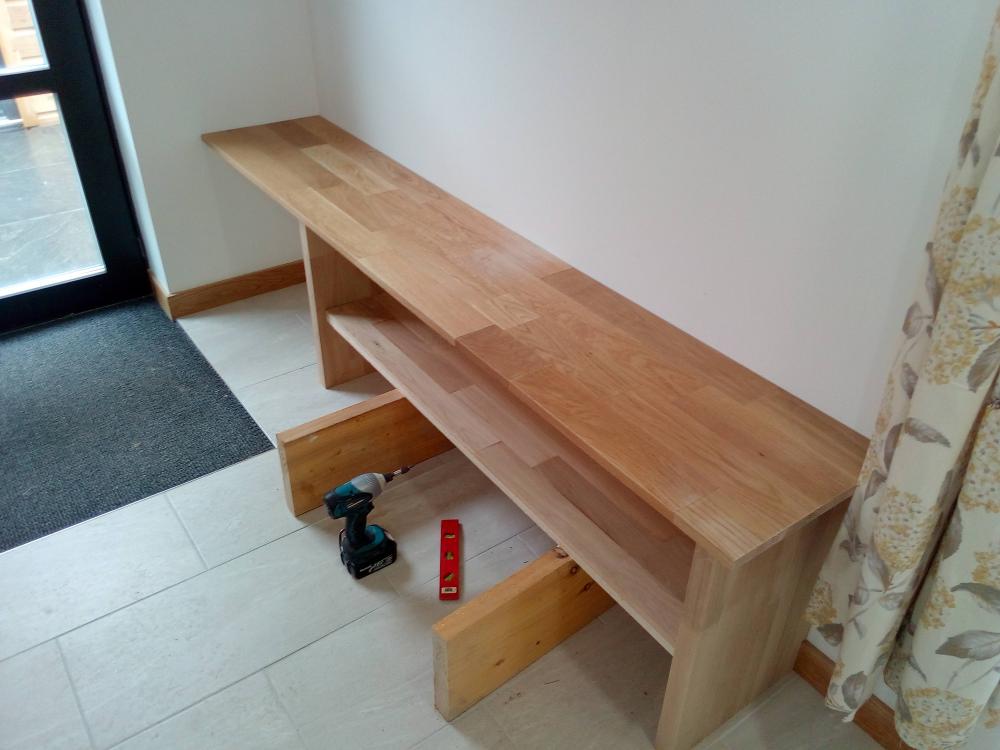
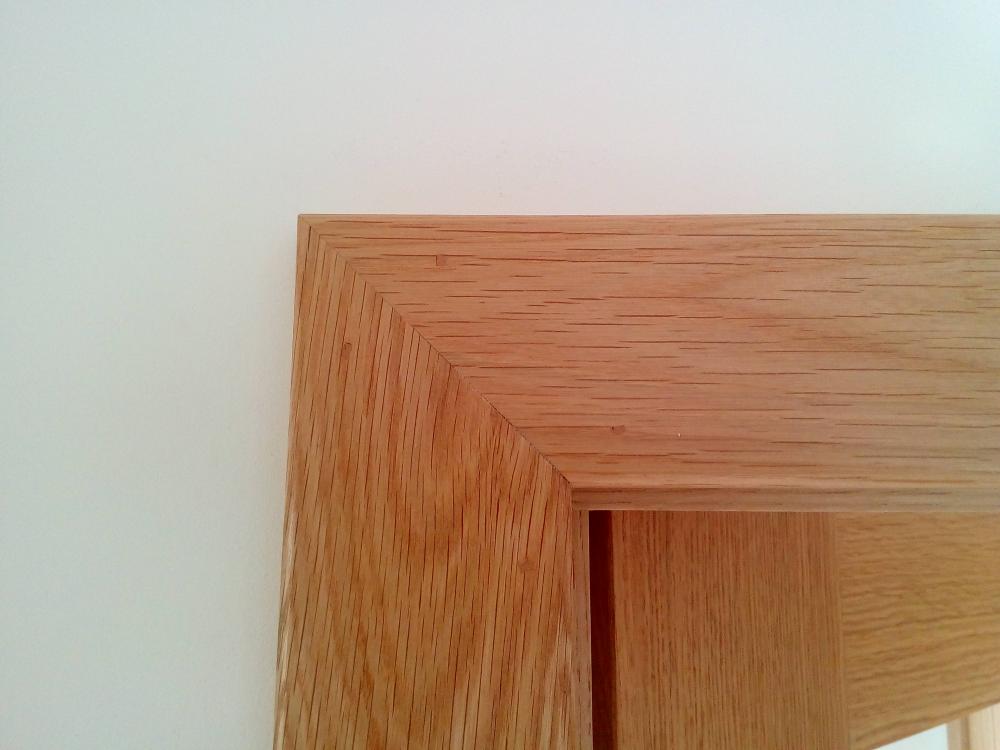
In the utility room, I built a bench / shoe storage. A very simple but sturdy construction, I used oak worktop off-cuts for the uprights, and formed the shelf and top, using off-cuts from our oak door frames and door stops, glued to an off-cut of plyboard, all finished with Osmo. From a cost point of view, the materials were all free as they were scrap. The only cost was my time, a little wood glue and a few sanding pads for the orbital sander.
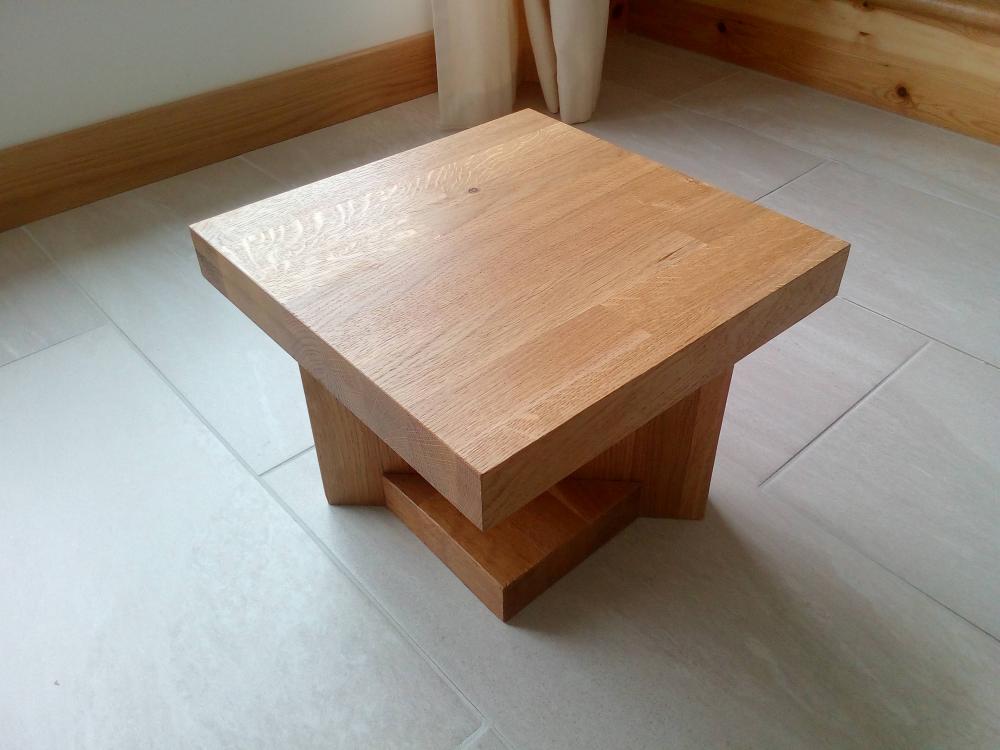
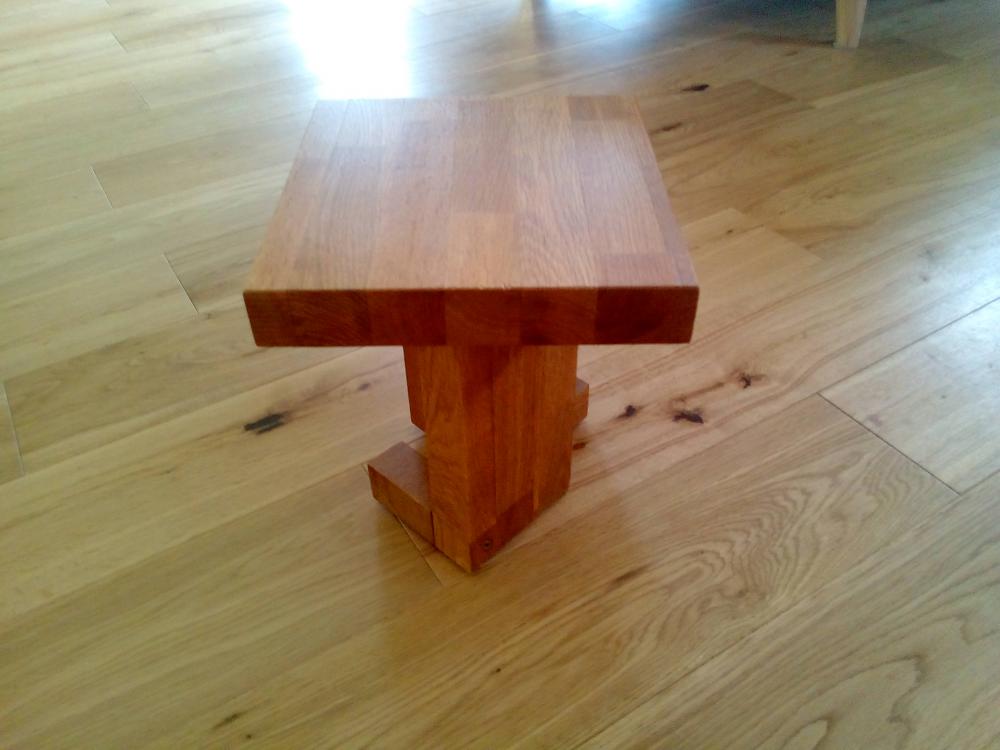
Having built the bench, I had a couple of pieces of oak worktop left which I used to make a couple of little side tables. I had intended these to be only temporary, but like them so much that I plan to keep using them rather than replacing them.
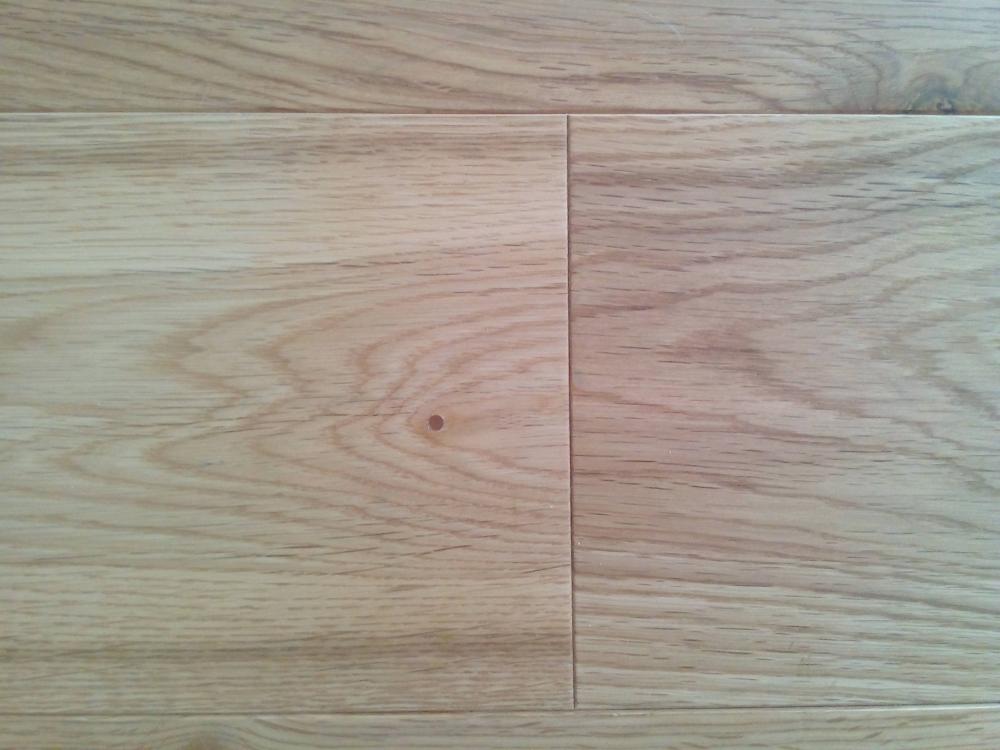
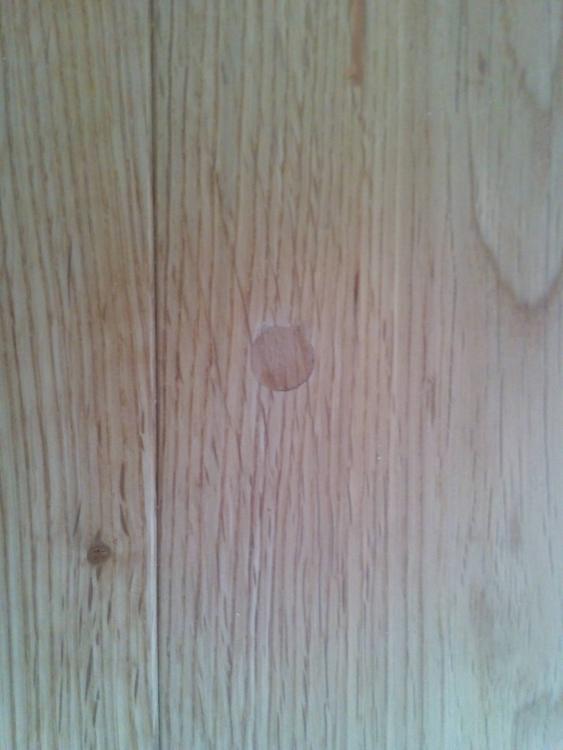
Elsewhere we had a couple more spots on our oak floor where it hadn't bonded to the slab. These only became apparent as we moved furniture around. I've previously relayed the reasons for this issue so won't repeat them. We used the same method of 'repair' using this product:
but instead of drilling a larger hole and using a plug of timber flooring to finish, I drilled a hole of 4.5mm, injected the adhesive, then once cured 24 hours later, finished the drill hole flush using melted furniture repair wax. This in my view is a better method of finshing, looks less intrusive and was less time consuming compared to plugging. See below for comparison pictures.
Filling all the nailheads on our oak skirtings and facings was not a task I was looking forward to, but in the end only took a couple of hours. Using a tip I picked up many years ago from a decorator, I used linseed putty, mixing 50/50 some natural and mahogany coloured putty for a final filler that was pretty well matched to our oak. Very easy to use, the putty remains flexible with the only finishing required being a wipe over the filled area with a dry cloth to remove any reside.
Other than that, it's been settling into a routine of annual maintenance - servicing our MVHR (filters and cleaning the core), renewing the white silicone in our showers and servicing the treatment plant air pump.
Next entry - Heating and DHW - How our ASHP based system has performed over the last 12 months.
-
 4
4


9 Comments
Recommended Comments
Create an account or sign in to comment
You need to be a member in order to leave a comment
Create an account
Sign up for a new account in our community. It's easy!
Register a new accountSign in
Already have an account? Sign in here.
Sign In Now