
Part 13 - Rendering completed

Entry posted by Stones
5335 views
A busy couple of weeks on site has seen the majority of the timber cladding finished, the rendering completed, and first fix / plaster boarding progress inside.
The render system used by my builder is made by Mapei. Having prepared the area to be rendered (as described in the previous blog entry) a base coat :
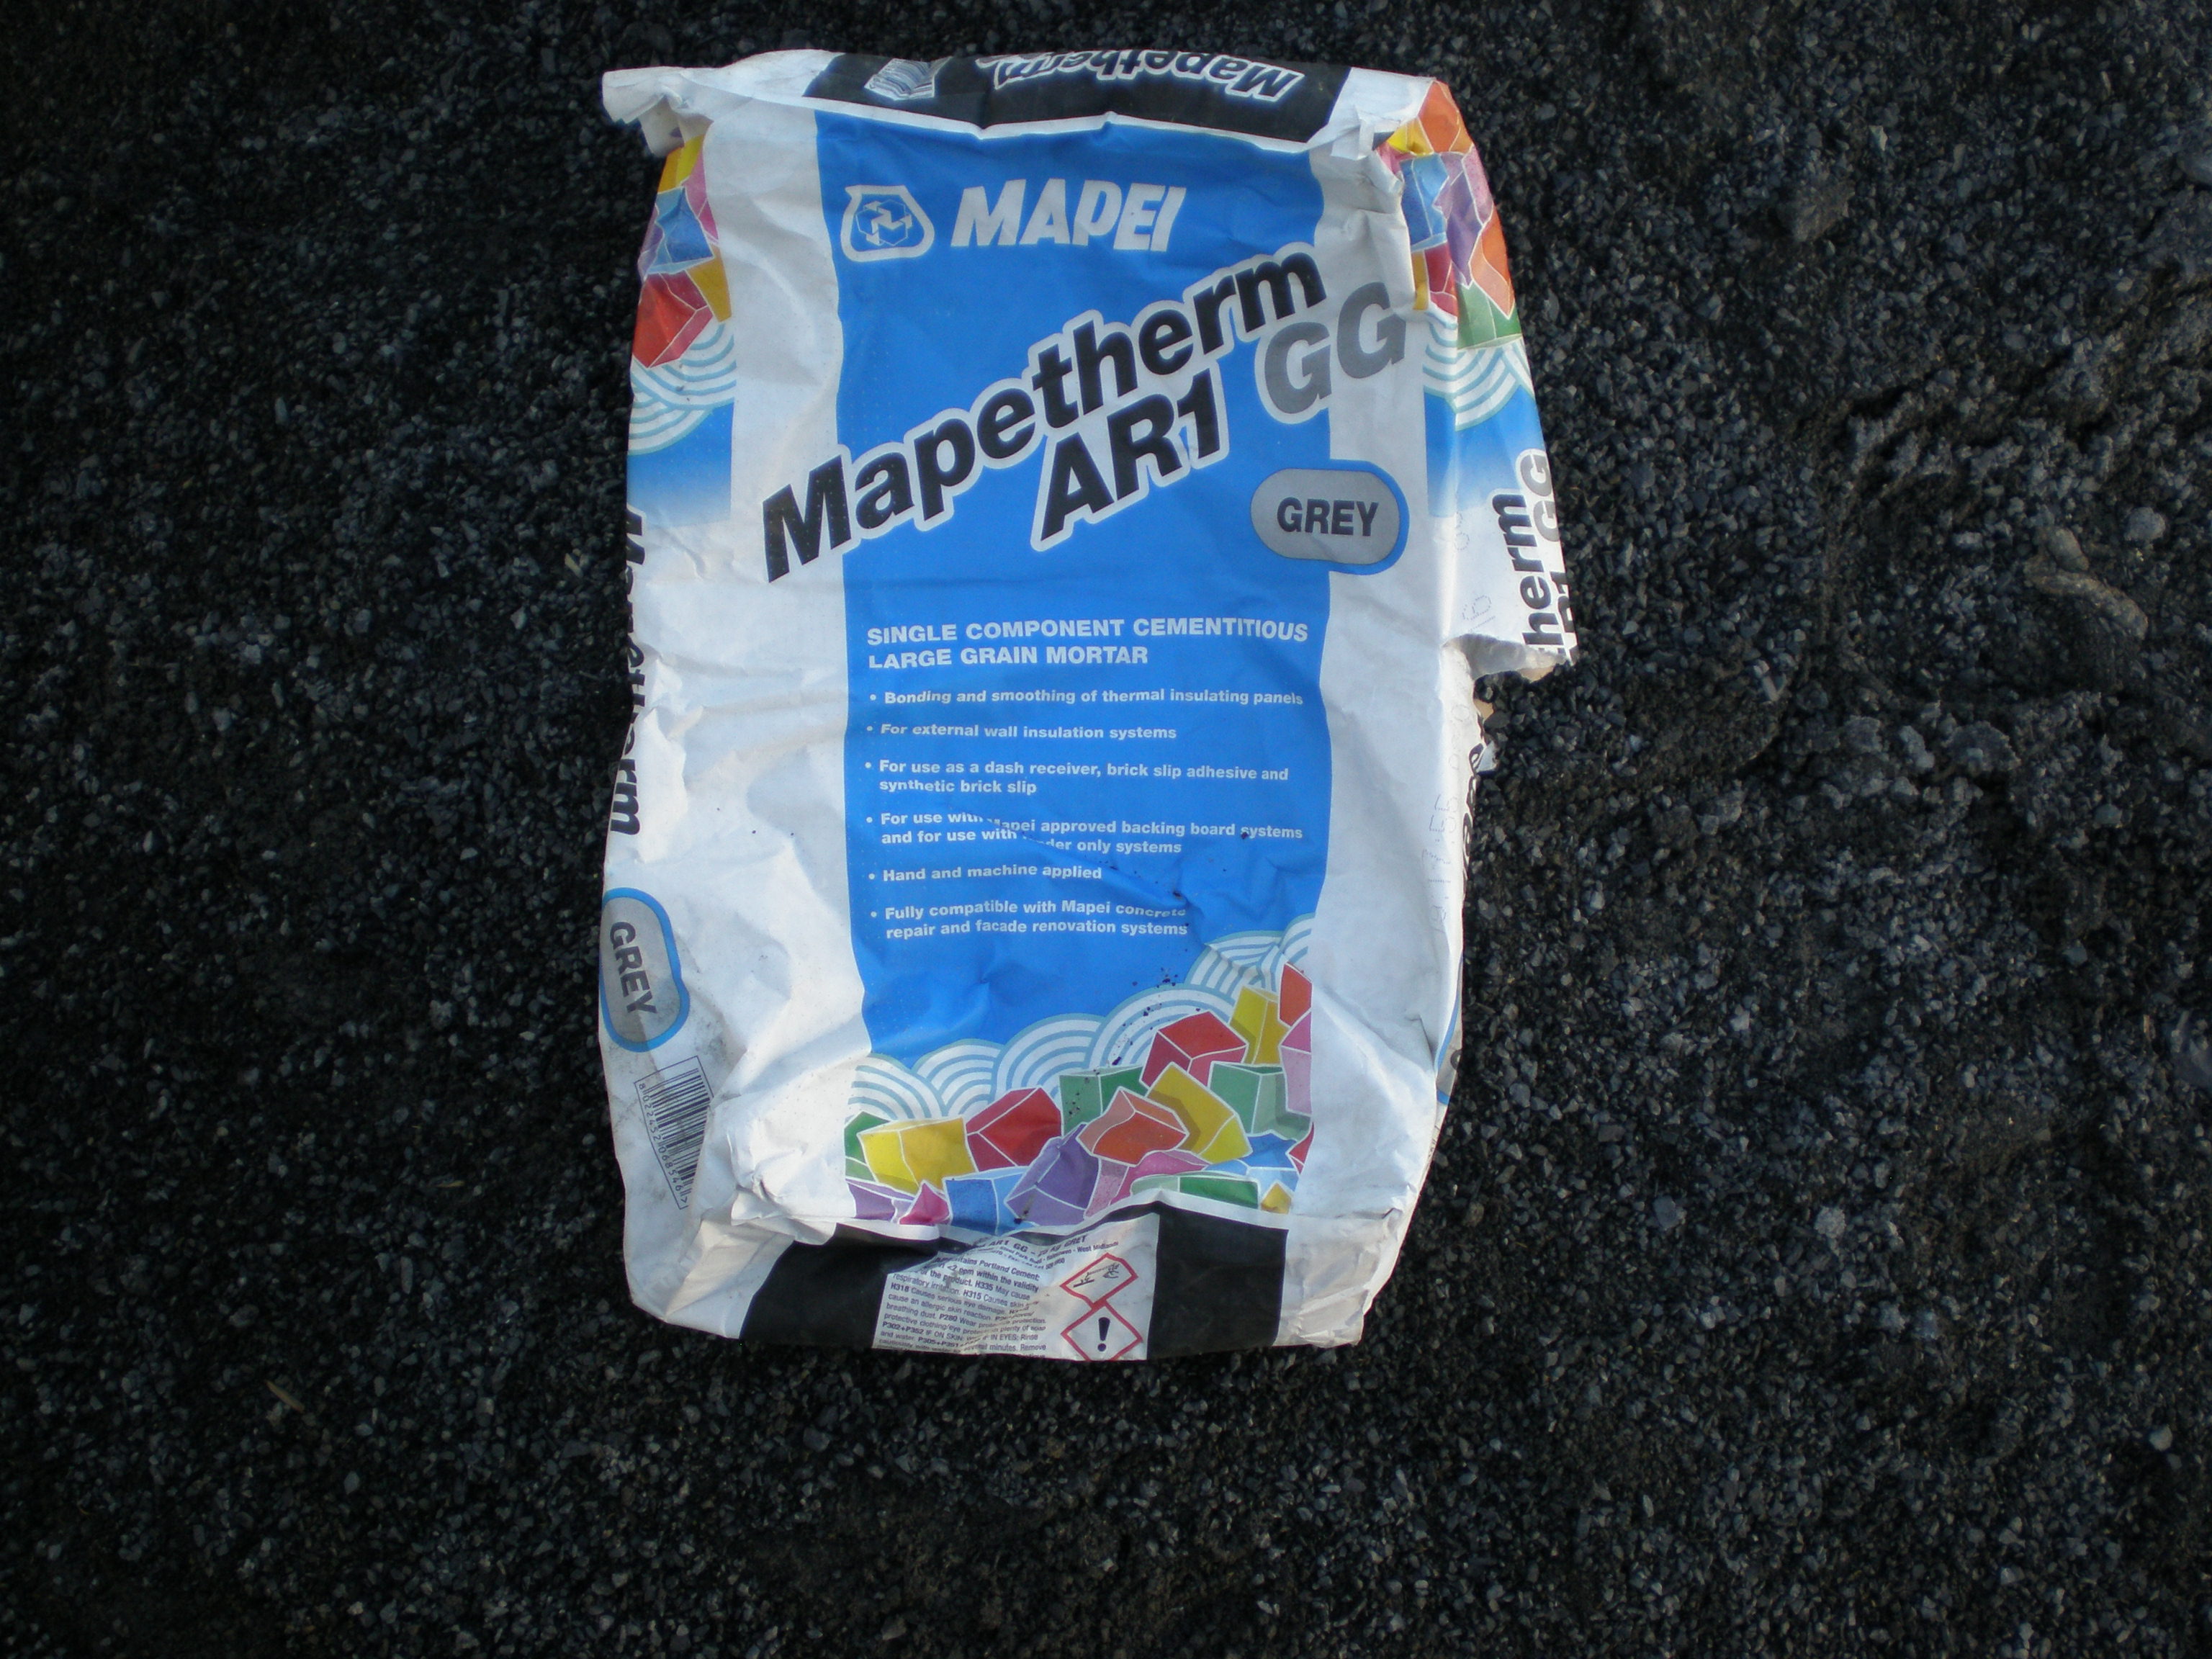
was sprayed onto the EWI, then floated by hand to a 6 / 7mm depth finish.

Fibre mesh (which you can see at the bottom of the picture) was then pressed in the base coat to provide long term strength. The base coat was left for a few days to dry before it was skimmed over by hand to take out any imperfections / ensure the fibre mesh was fully covered.
A primer was then applied (using a paint roller) to the base coated surface ready for the final coat:
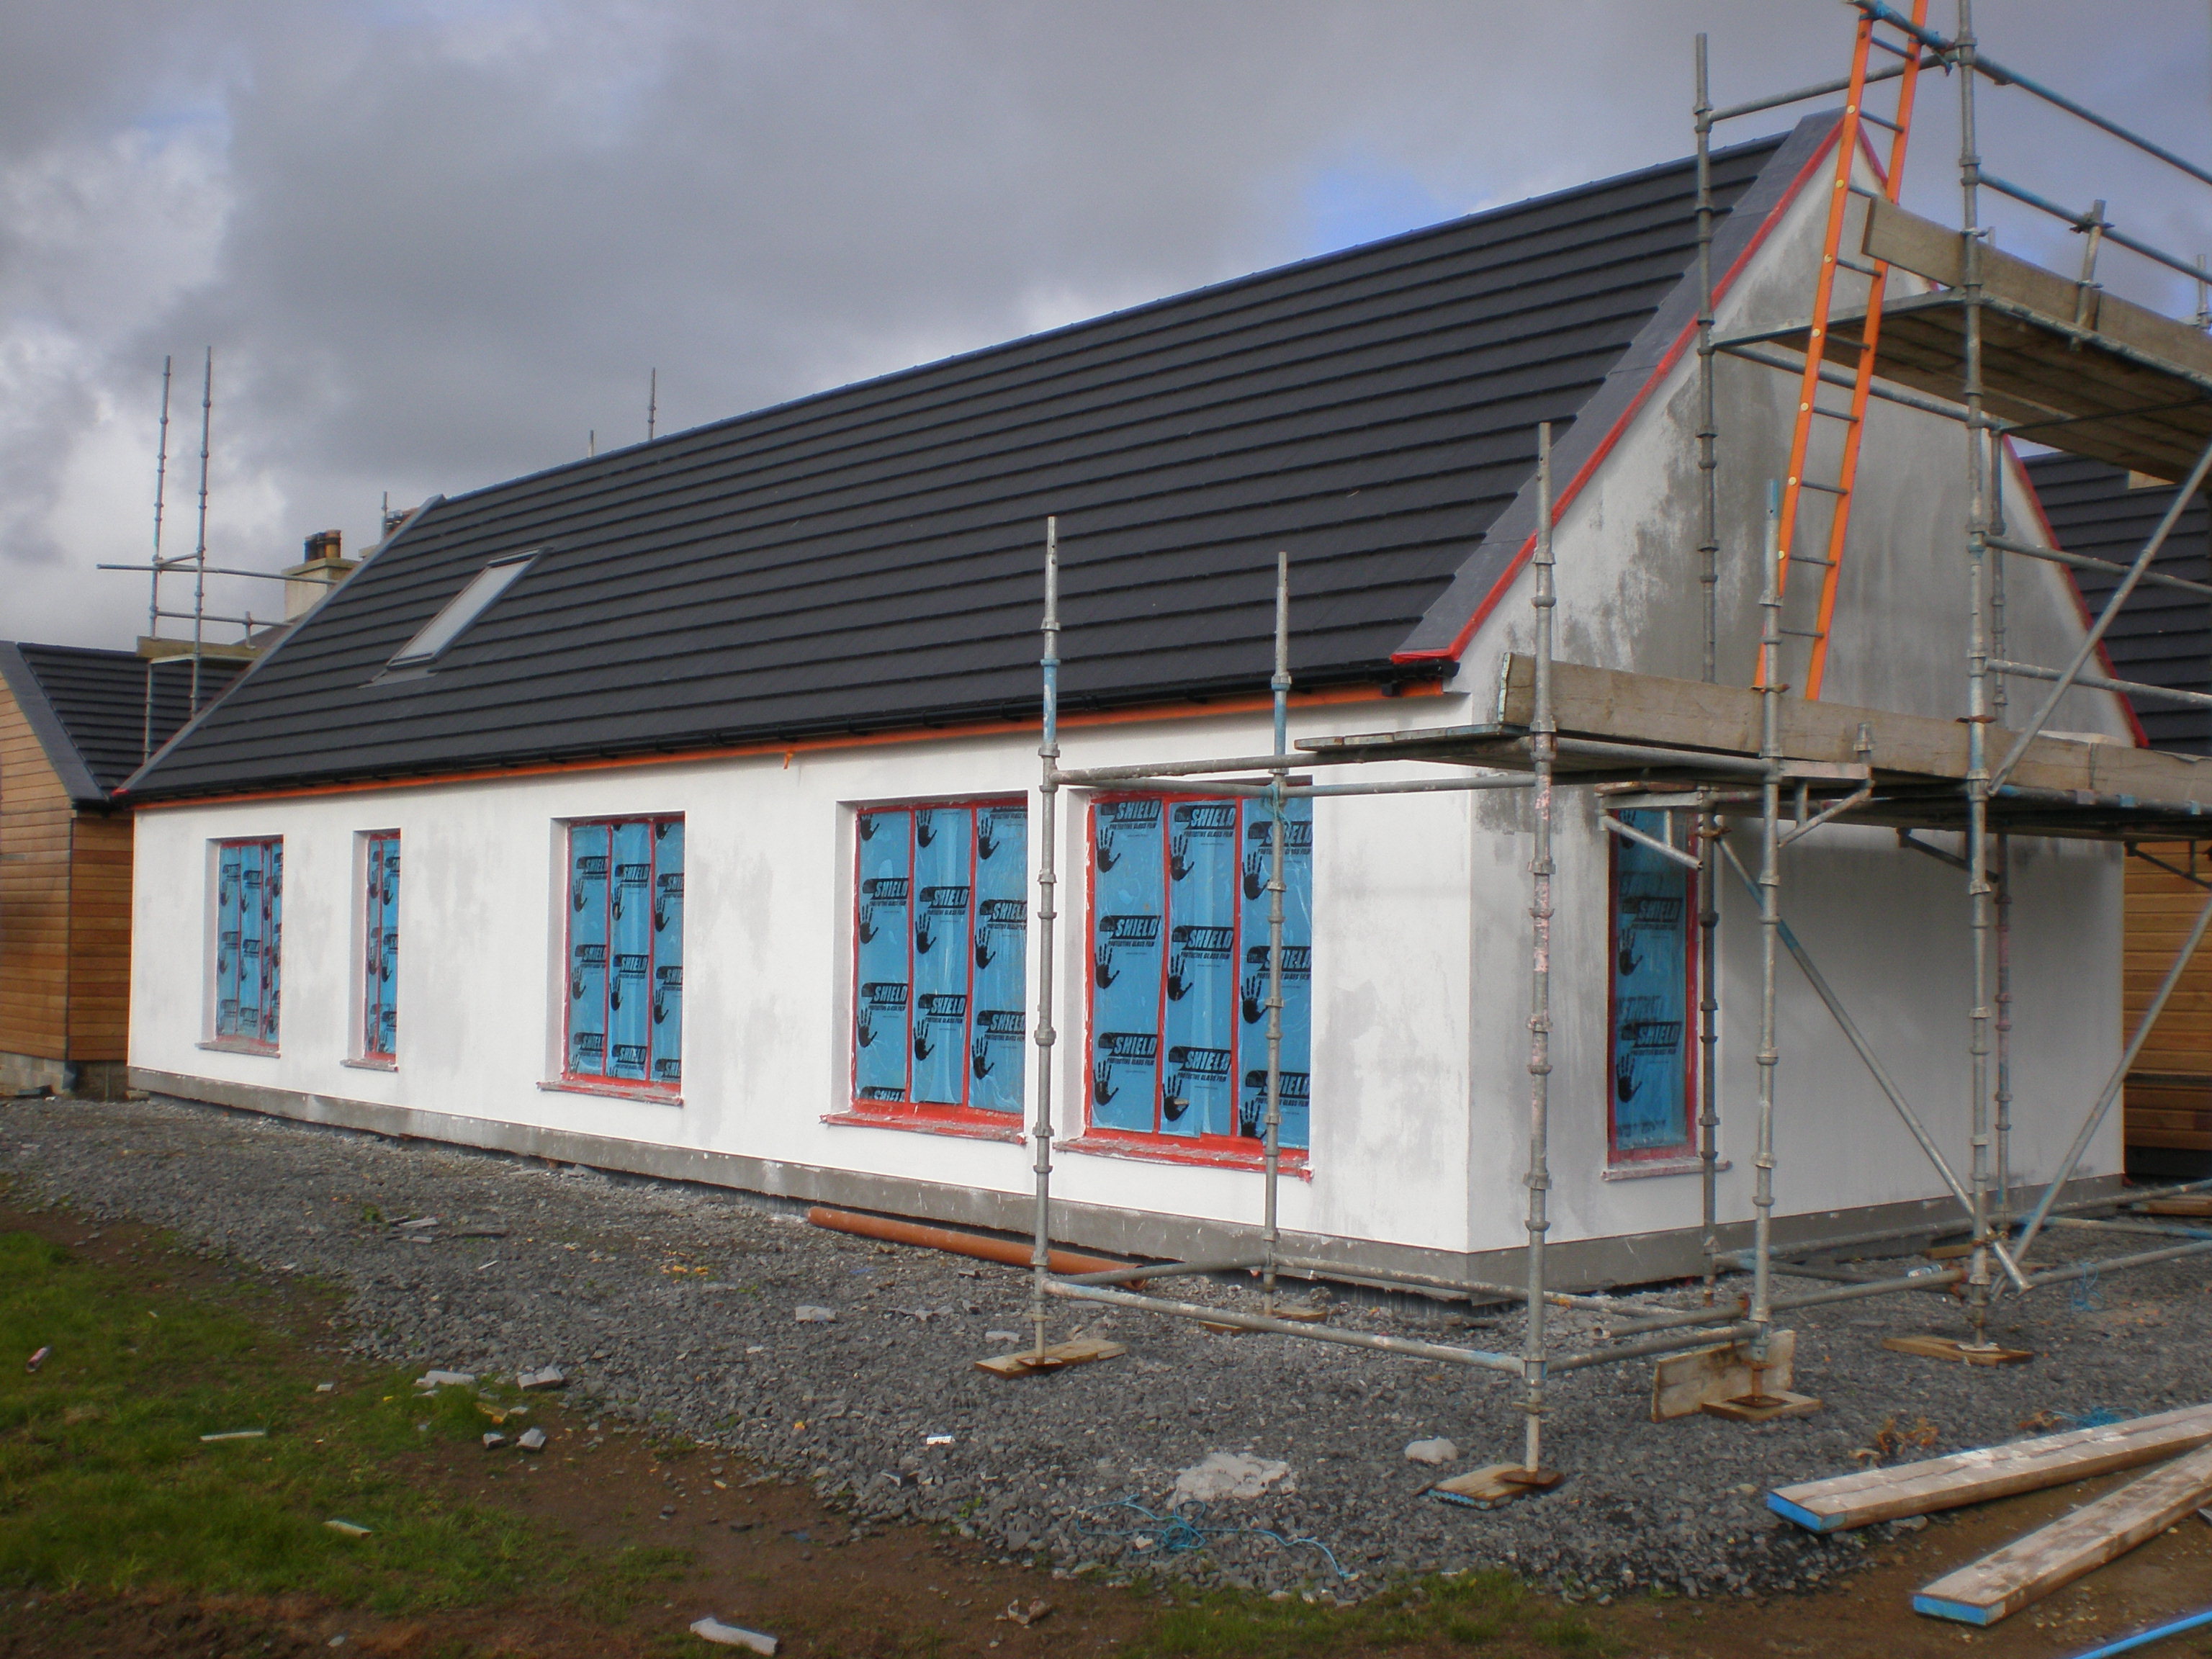
Due to some unfortunate weather, some of the primer got washed off in heavy wind driven rain. Reapplied where required, the house was then ready for the top coat.
The silicone based top coat :
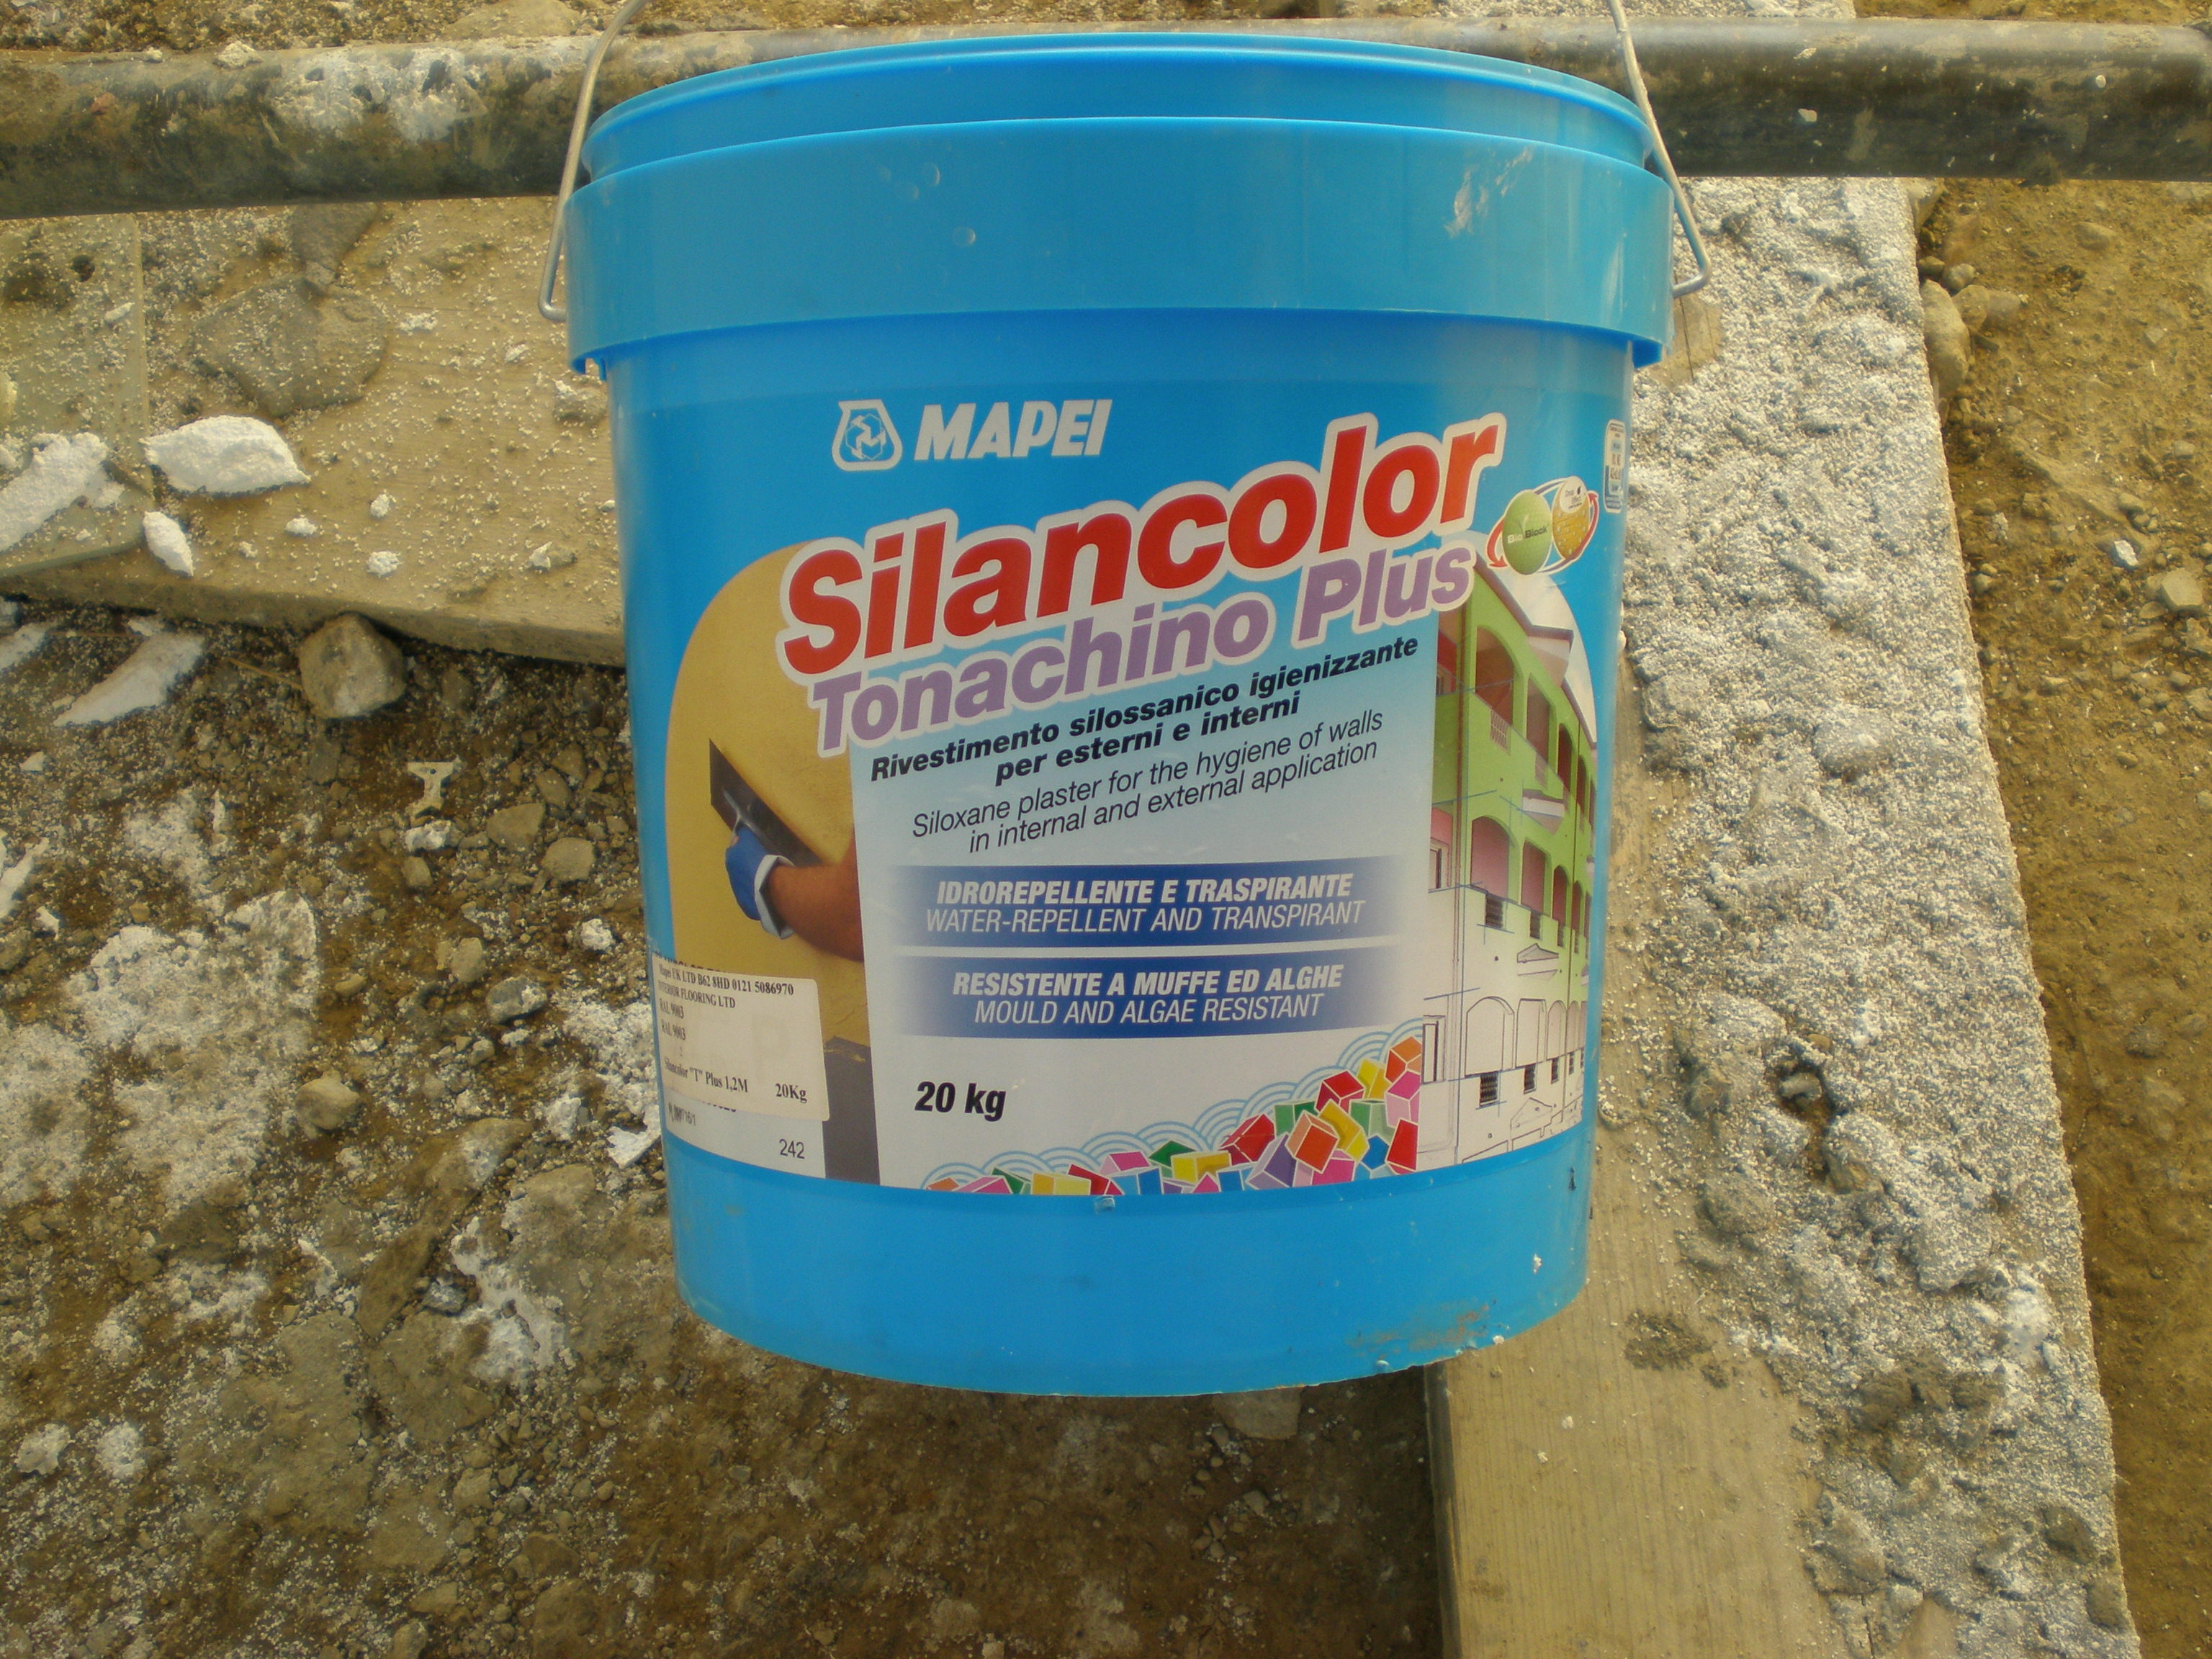
came premixed in 20kg tubs, and looks very similar to Artex! At around £100 a tub, quite expensive as well!
The top coat was sprayed on, and floated / polished by hand.

Let's keep any comments about the sprayer clean!


With an aggregate size of 1.2mm, the final finish is fine textured rather than smooth.
Having completed the top coat, the guys returned the following day to touch up anywhere that needed it - very easy to do when your render system can be applied (like Artex) with a paintbrush - and to remove all of the protective film from the windows and gutters. They also took the opportunity to apply base coat beneath the bellcast ready for painting in due course.


With the protective film removed, and the render complete, you really do get a feel of what the finished article will look like. It certainly (to me anyway) looks very neat and crisp. The only niggle really is the roof tiles, which although nominally the same colour, we clearly have tiles from two dfferent batches on the roof, which shows when the sun shines. Redland (Monier tiles) will apparently supply a tub of the acrylic coating used to finish the tiles to paint on, but local experience suggests that after a winter of weathering the difference will disappear.
Drainage works and final landscaping are due to start next week, so all being well, by the end of the month we will have everything done outside.
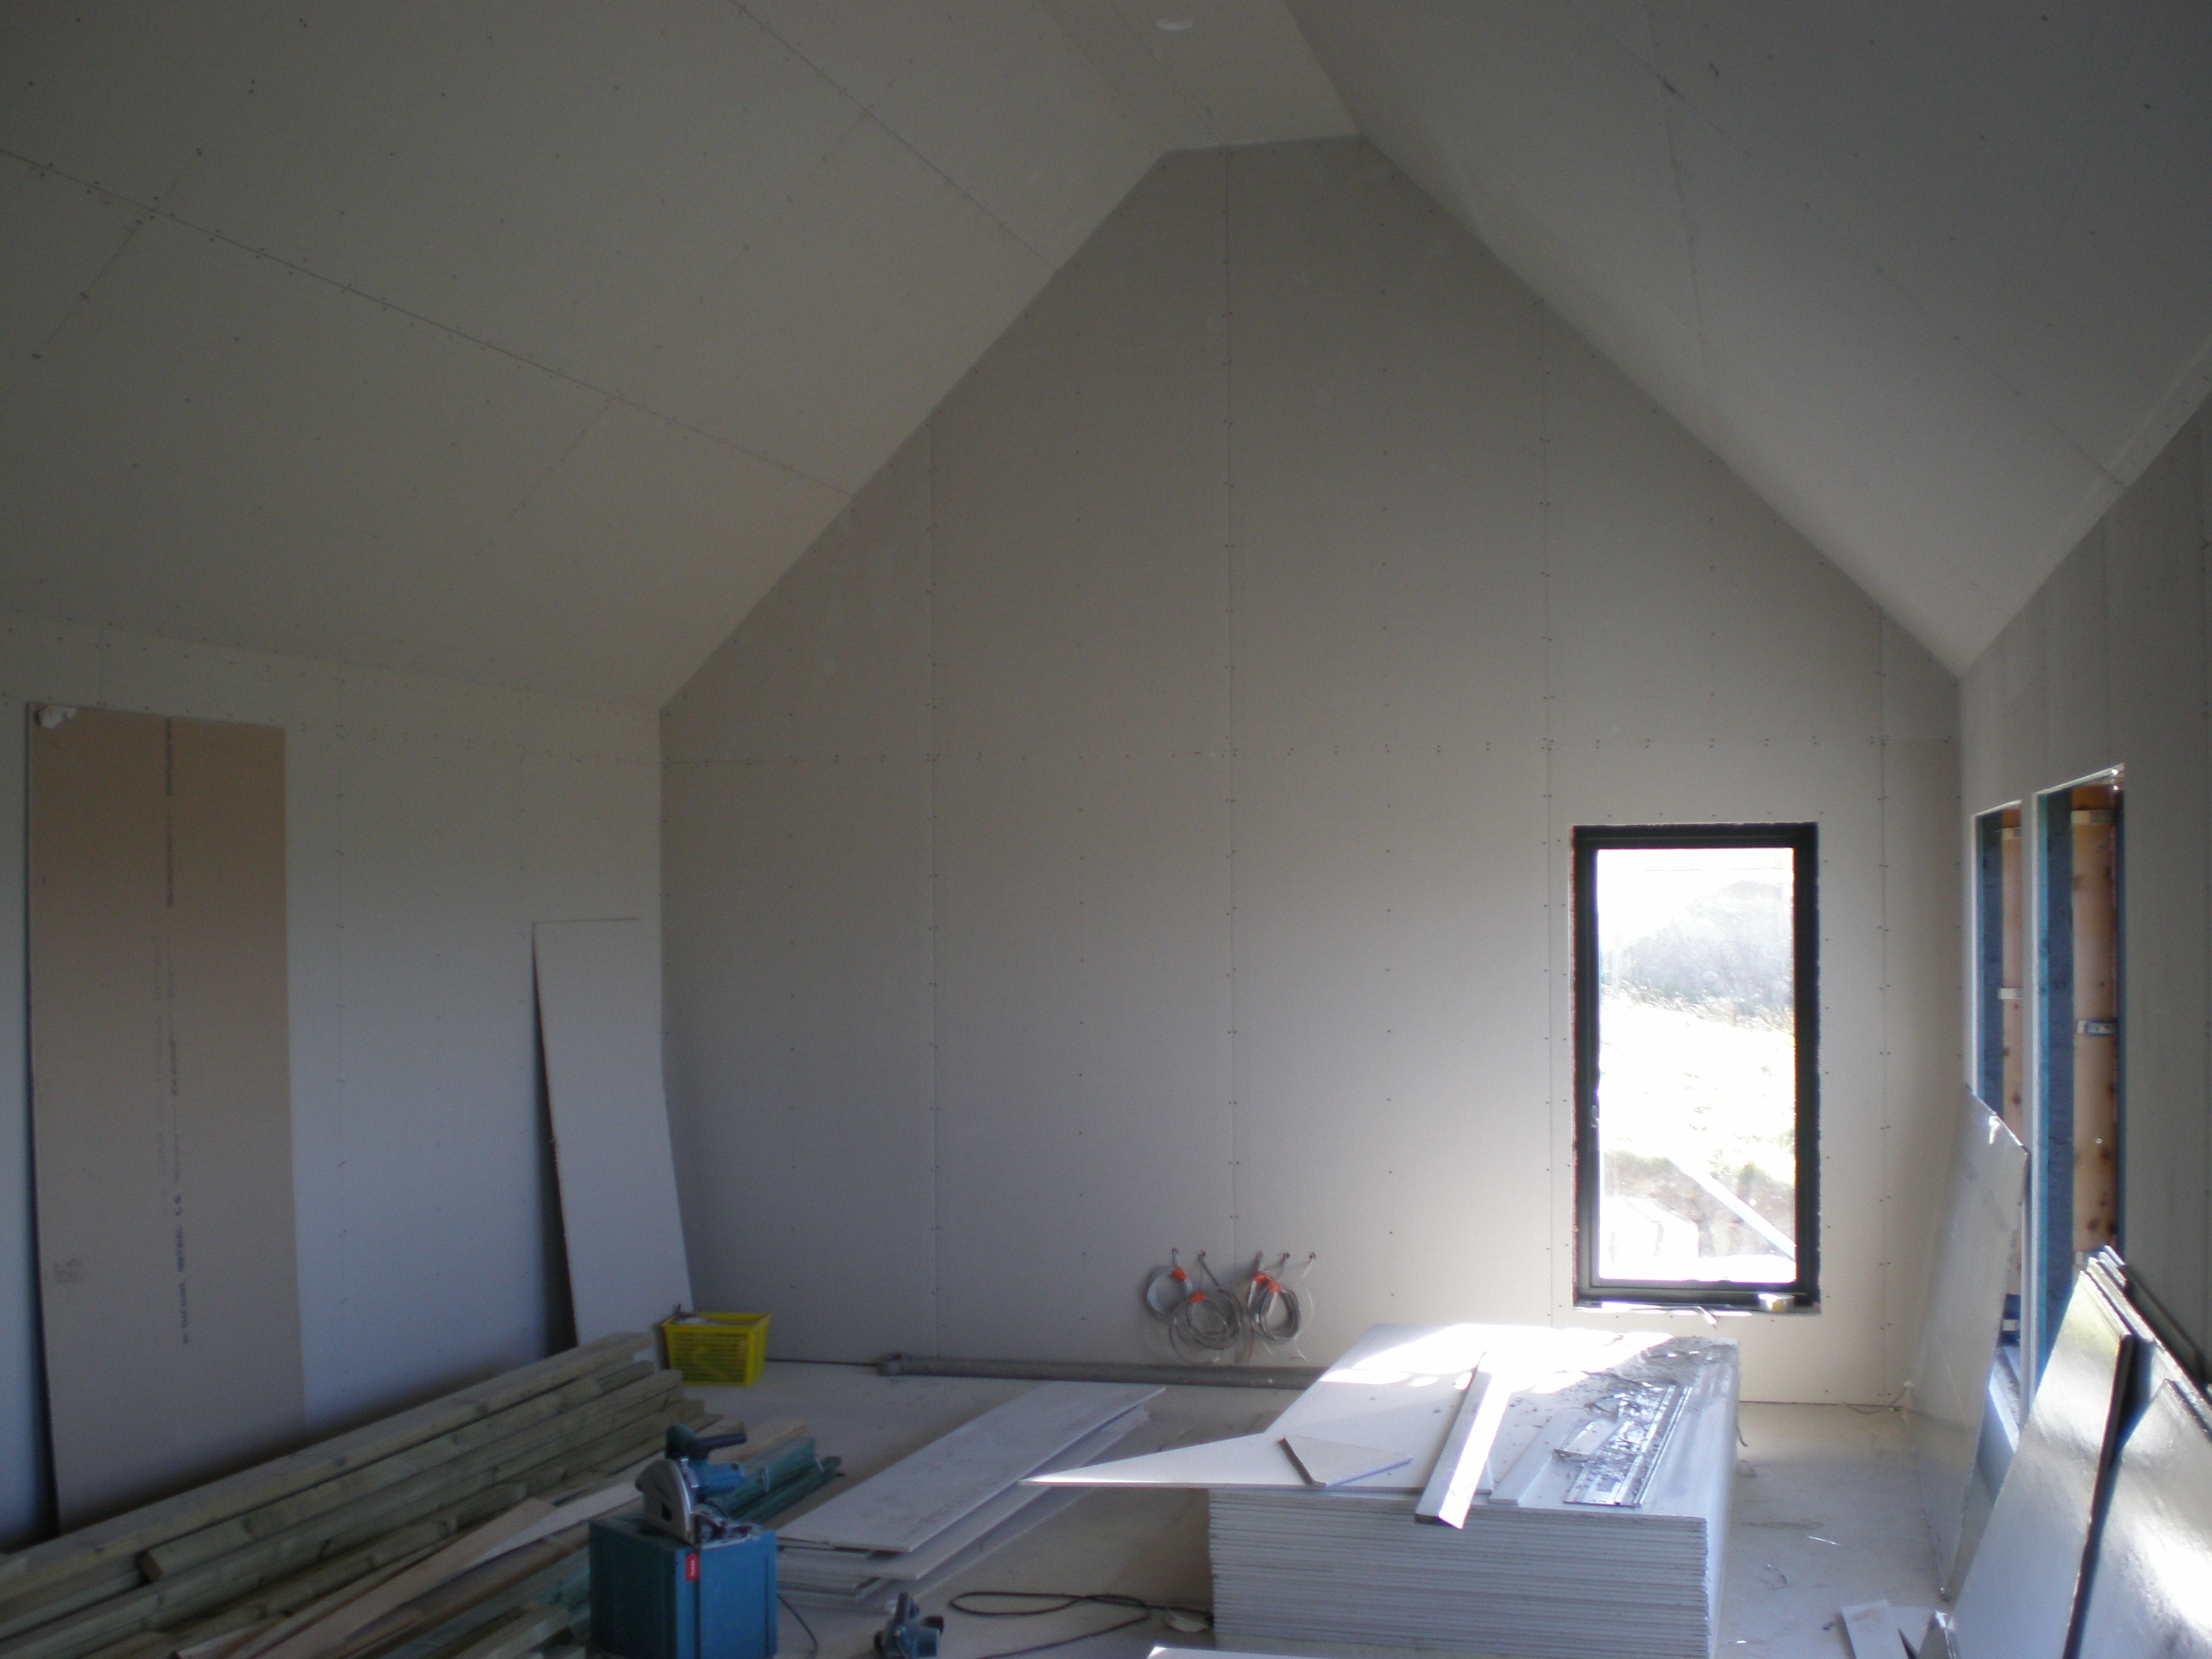
Inside, work is continuing, with Electrical first fix complete, Plumbing first fix nearly completed and plaster boarding nearly finished.
The decorator is due in a fortnight, so we have a bit of time in hand to get everything finished off ready inside.
-
 1
1
7 Comments
Recommended Comments
Create an account or sign in to comment
You need to be a member in order to leave a comment
Create an account
Sign up for a new account in our community. It's easy!
Register a new accountSign in
Already have an account? Sign in here.
Sign In Now