Search the Community
Showing results for tags 'leadwork'.
-
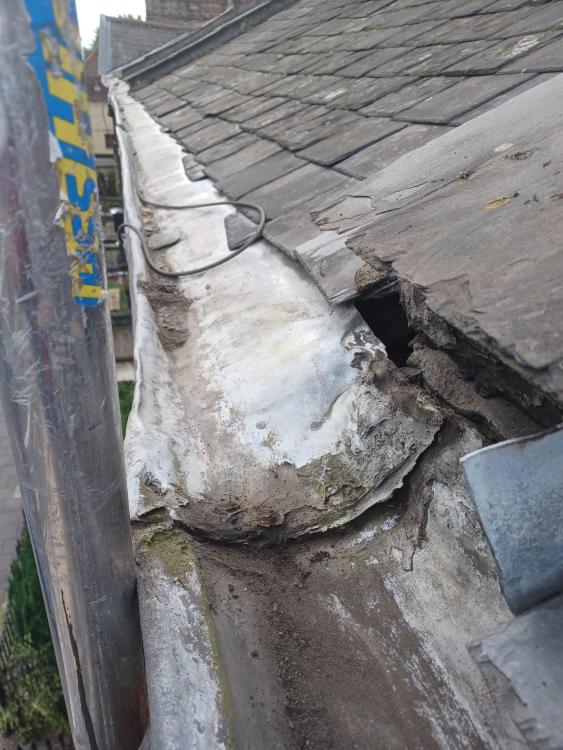
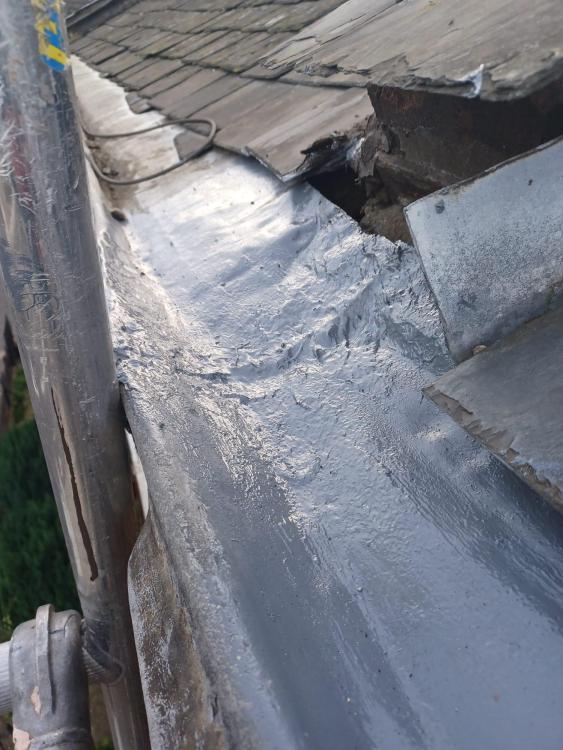
Hi ... any thoughts on whether using Flexacryl AND Flashband for this gutter repair might make it less robust? Getting access is a real pain, so I'm thinking of adopting an overkill approach in the hope of getting a couple more years life out of whatever form the finished repair takes. The first coat of Flexacryl was mainly intended to start levelling up the surface to make a Flashband more effective (FB running along the gutter) ... but now I'm not sure whether to just stick with Flexacryl and apply more coats, or apply Flashbands, and then maybe Flexacryl over the top of that again? All guidance warmly received...
-
Hi, I have a couple of questions about my existing (mostly lead) flat roof. It is allowing water in at the chimney party wall area and the copper section. The base is dry and solid wood planks. 1) Would it be possible to retain the existing lead and weld new lead work around the chimney and party wall join, and replace the copper with lead? 2) The channel behind the chimney is too narrow and I would like the base extending to 300mm under both eaves so presumably I will have to add some OSB here? 3) Can I join a lead alternative to the existing lead to save money? Images here: https://ibb.co/LYswRV3 https://ibb.co/QFMQFmn https://ibb.co/64JpNQ5 https://ibb.co/vhMPmfz Thank you
-
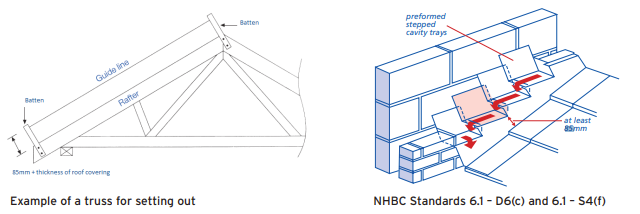
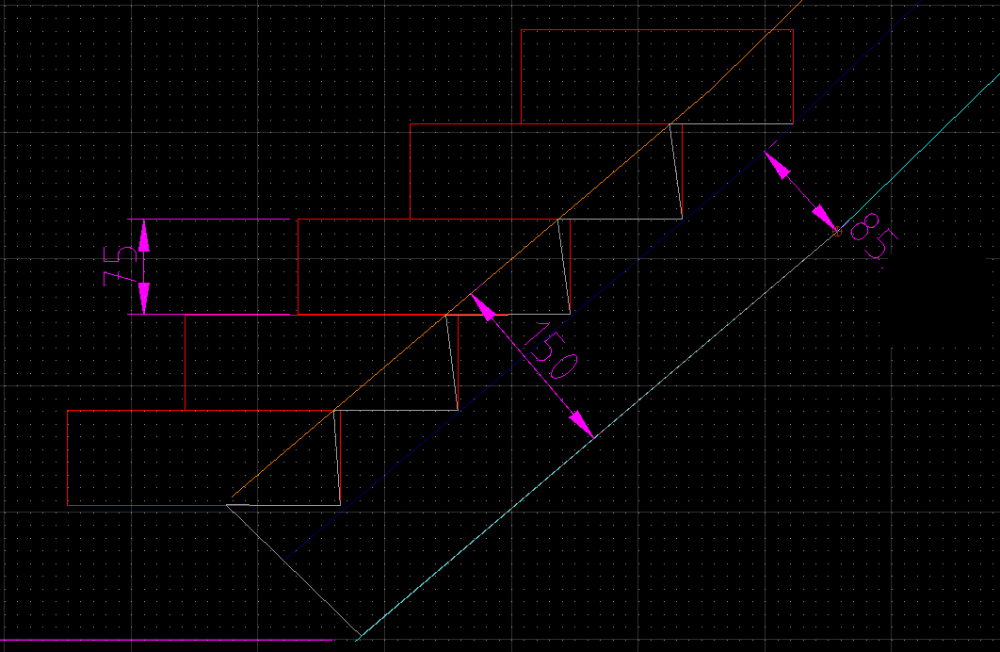
I'm trying to work out where the flashing and cavity trays will sit on a roof abutment. I don't have the rafter to put in place and measure off, but I do have a drawing of the bay window roof exterior surface. I need to work all this out so I can get the positions of the stepped cavity trays correct as they get built in to the wall now. Their corners align with the corners of flashing, so it's lead me to try to understand this (excuse the pun). I can see NHBC recommend at least 85mm (some of their docs have 65mm min) between the roof surface and water line which defines the positions of one set of corners of the flashing. What I can't work out is what sets the position of the other set of corners. Is it just set by the height of courses and drawing a line perpendicular to the roof slope? I've seen something that suggests they sit on a line 150mm from the roof slope. I have attempted to draw this below with the lead shown in grey and the reference lines at 85mm from roof slope and 150mm from roof slope. The red rectangles show coursing and would be the positions of stepped cavity trays. Wider lead flashing or moving it off the roof slope slightly (so up the soakers a bit) would create a tighter angle on the 'saw teeth'. I imagine these must never result in the cut line sloping the other way. Is there a minimum amount of overlap on each step? Finally, can you stop when the lead goes past being vertically above the end of roof slope or is there a minimum amount it has to go past the end of roof slope. In the example below, could I have stopped one brick course higher at the bottom? Lots to understand so thank you if you made it this far.
-
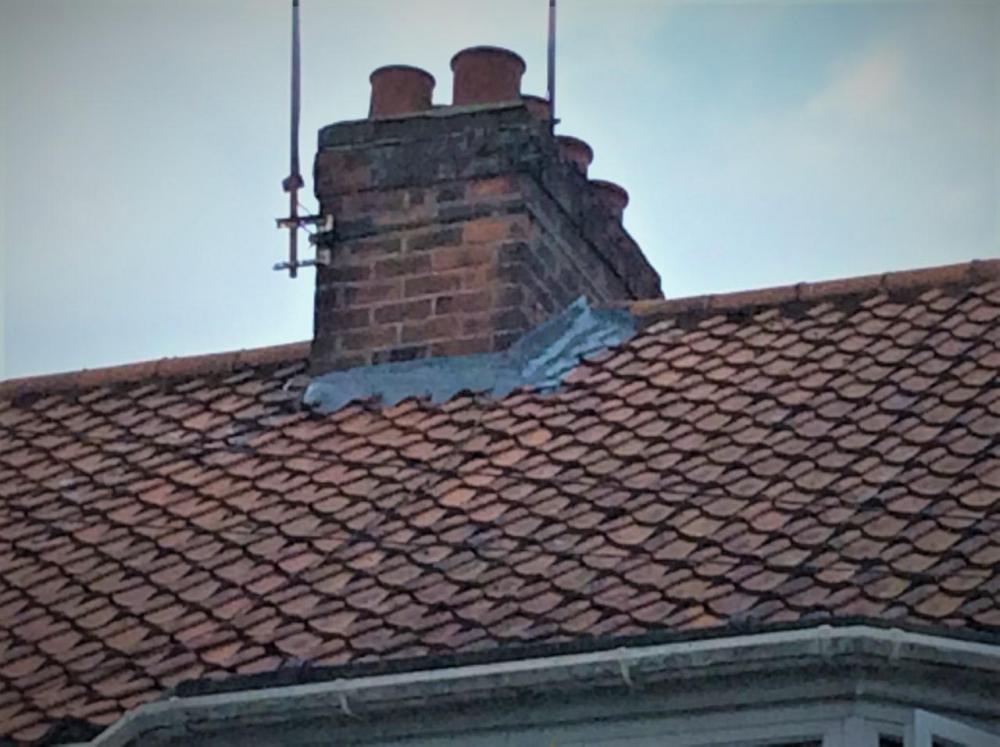
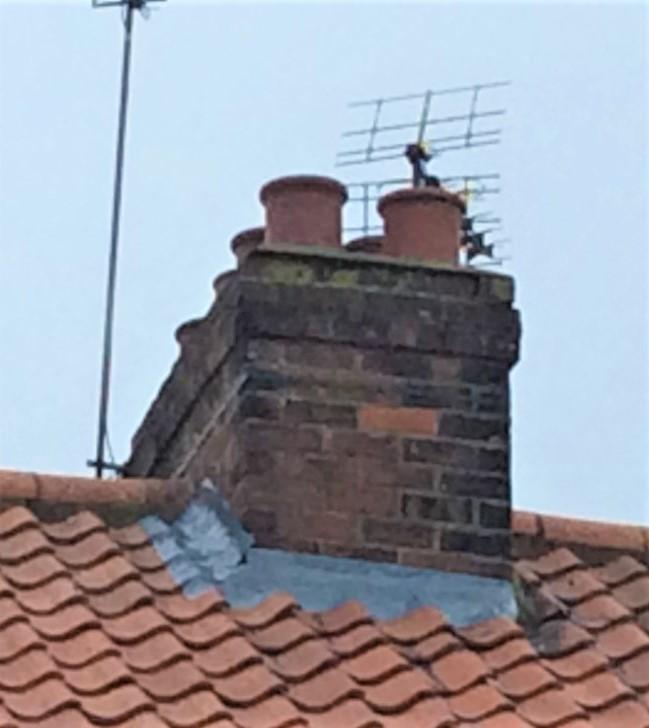
Leak in roof required repair. I requested quotes for lead flashing to waterproof area. Instructed a nice roofer who had provided a large quote (£1200-1500) and therefore expected a premium service. They took just 2 hours (no scaffolding) to install a product called Leadax and the job looks appalling. Roof still leaks, no step flashing on side profiles, gap still in one corner and creased throughout. This job has not met our expectations and we are refusing to pay. Will contact another roofer to complete the job to a higher specification. I'm I being to fussy? Is this the normal standard of installation provided by reputable roofers? Please look at the pics below (sorry for the poor resolution). Seems a lot of money for 2 hrs work.
- 16 replies
-
- leadwork
- poor practice
-
(and 1 more)
Tagged with:
-
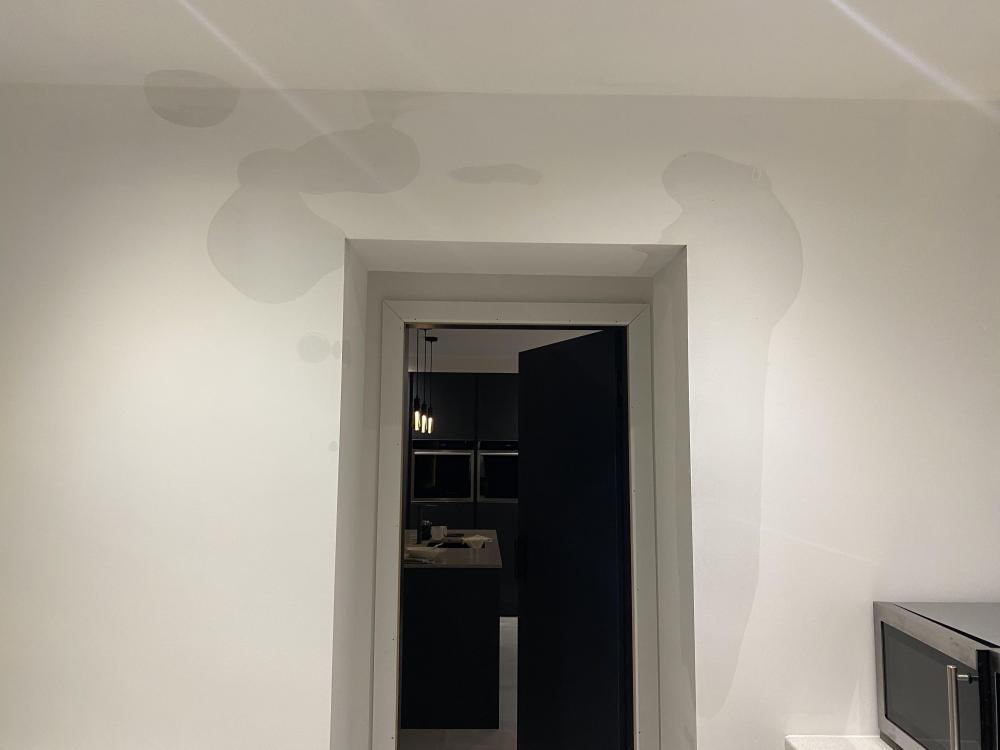
Hoping the buildhub hive mind can help on this one. ? Our single storey wrap around extension was finished late last year but on taking heavy rain to the gable wall we’re ending up with damp patches in our new utility room. Flashing looks ok to my untrained eye but we do have a decent crack in the render above the utility room which could be culprit for water ingress. The problem is after just having a plasterer out to quote for the render repair he didn’t think it was the crack and the leak was down to the flashing. The render needs repaired which I’m happy to do as it was an existing crack but I’m conscious if that doesn’t fix the issue what is my angle for going back to builder regarding him coming back to look at the flashing and making sure the issue is sorted. apologies for multiple posts but couldn’t get the pictures up in one go due to file sizes.
-
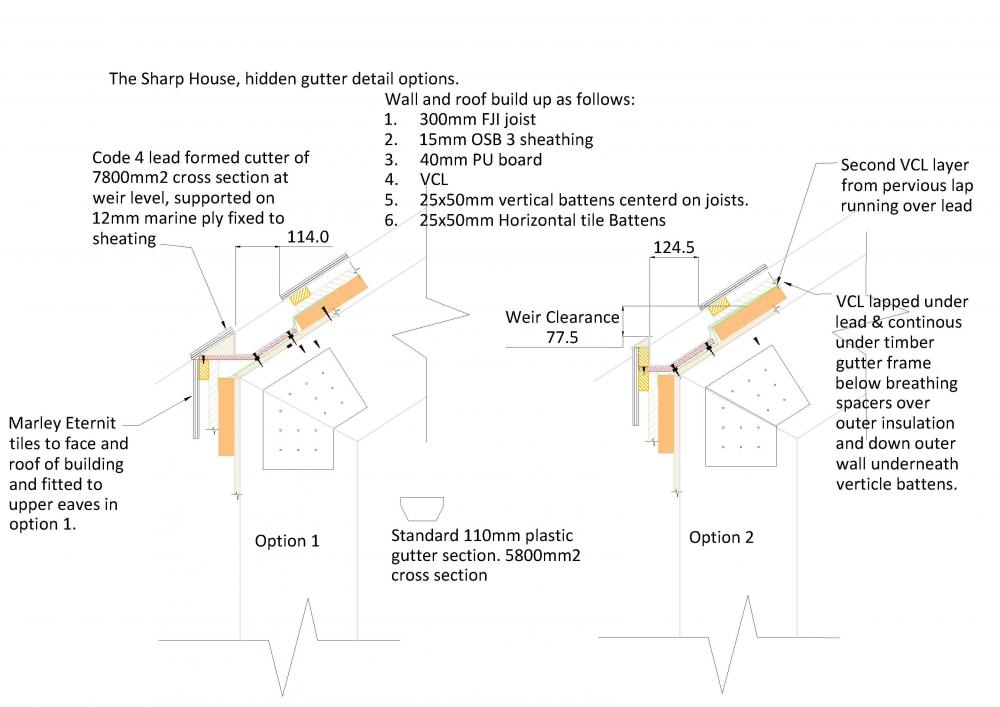
After 8 months of going very slowly on the main house build, returning to work 2 days a week plus a bereavement has not helped, I am approaching needing the hidden gutter detail. The architect gave me some ideas but after a lot of discussion with some of my materials colleagues I have concluded that zinc / grp / powder coated aluminium wont cut it and I have decided to go for lead. It is a hidden gutter and having looked at loads I have come up with a couple of ways of making it happen, see section images below. I think I like option 2 as I don't have the phaff with very short roof tiled section at the eaves. Both have a slight problem in that cannot see a way of getting a through draft under the supporting marine ply. I also wonder if I should give up on the second, upper, over lap of the lead with the VCL and take the lead all the way up to the underside of the tiles, this saving a problem with an insect guard. Anyway thoughts appreciated.
- 19 replies
-
- gutters
- hidden gutters
-
(and 1 more)
Tagged with:

