markharro
-
Posts
634 -
Joined
-
Last visited
Everything posted by markharro
-
Hi @Bramco I cant find any ref to Hormann pocket doors online - do you have a weblink you could share?
-
We intend to fit 2 sliding doors for space reasons. Can you recommend any brand as "premium kit" @Mike We intended to use rocketdoorframes.com/en/ as we bought their flush door kits and were impressed with the quality.
-
Best approach for drilling 20mm terrazzo tile?
markharro replied to markharro's topic in Bathrooms, Ensuites & Wetrooms
That's the thing, the hinges came without screws. I'd assumed SS would be the way to go. But yes you are right they are easier to snap....having said that it will be my favoured Spax brand and they are the dogs... -
Best approach for drilling 20mm terrazzo tile?
markharro replied to markharro's topic in Bathrooms, Ensuites & Wetrooms
Ok thanks @Nickfromwales is it simply the case that the torque from eg an impact driver will easily dislodge the screw if needed even if embedded in the CT1? I have another question......I figure I could use 6mm diameter SS screws for these hinges and ordered some which have arrived today and also ordered a drill bit to match at 6mm. Now I have the screws they do fit the holes in the hinge but the top of the screw sits slightly proud so the chrome cover plate will not slide over. So I need to go now and order some 5mm screws but my question is can I still use a 6mm drill bit or should I get another drill bit so I can drill a 5mm hole through the 20mm thick tile? My thinking is that maybe a 1mm excess in the hole isnt an issue? thanks -
Best approach for drilling 20mm terrazzo tile?
markharro replied to markharro's topic in Bathrooms, Ensuites & Wetrooms
Ok thanks I'm sure you'll know its just that it makes me a bit nervous and was wondering if silicone might not be the better option for this? -
Best approach for drilling 20mm terrazzo tile?
markharro replied to markharro's topic in Bathrooms, Ensuites & Wetrooms
Thanks all...we are about to get our glass delivered so this is going to become reality soon. Once thing I meant to check with you @Nickfromwales your advice to CT1 the screwholes. I can see why for waterproofing but will this not make it next to impossible to ever remove the screws? -
Hi Im sorry we bought from an EU website and Geberit had to check it would be ok. Id recommend calling their tech support = they are excellent
-
I was in the same position as you. We had restricted space so had to use this product. Its in the wall now and wiring in for electronic flush and shower toilet - both still to be fitted. I spent hours checking instructions and with the excellent Geberit tech guys who steered my through everything. This should work as you intend although G had to send me a small but of flexi hose to make everything work as the electronic flush made things more complex
-
Ah sorry I thought these would be standard. They are Uniwin triple glazed. Not sure on the manufacturer
-
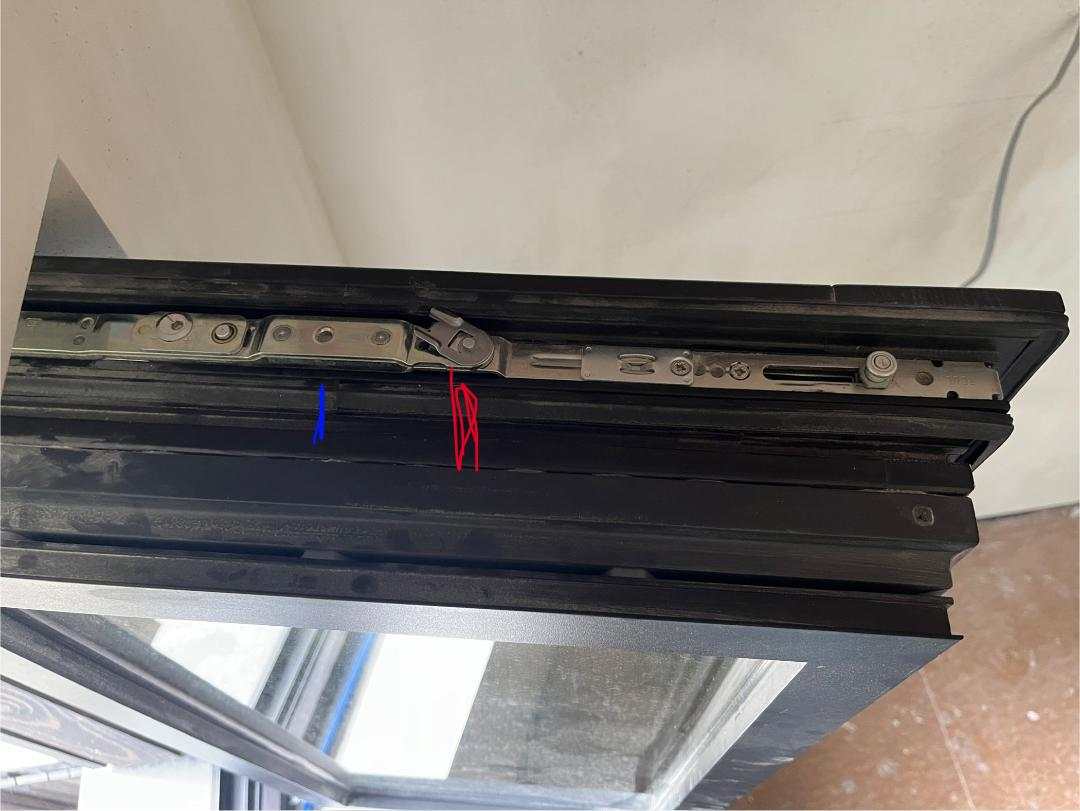
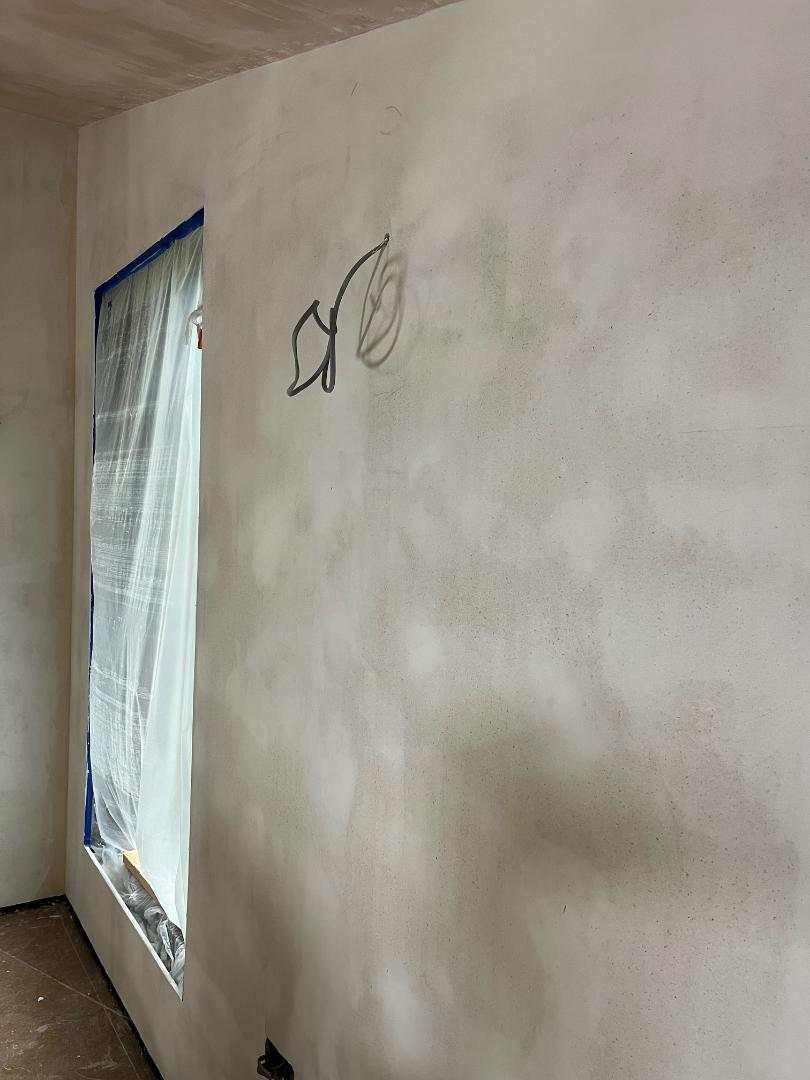
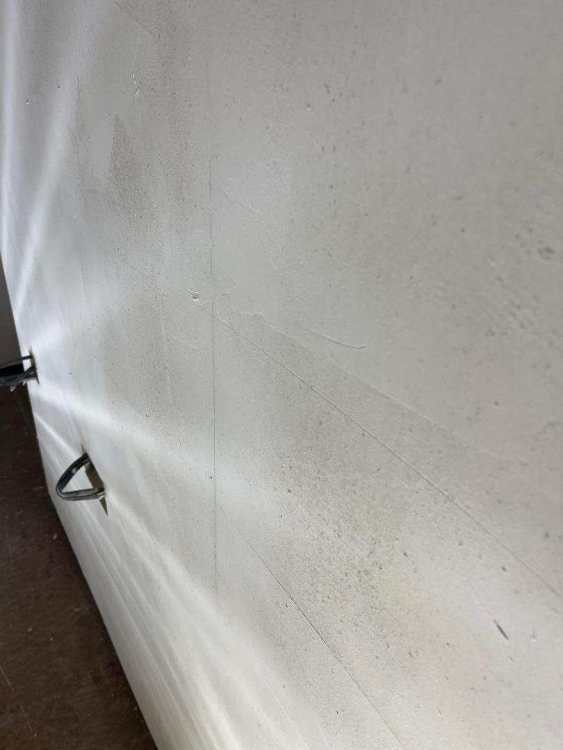
Hi I need to remove a small window to paint around the frame - youtube tells me this should be easy - open the window then put the handle to "tilt" then the top retaining clip is meant to pop off. On the photo I have turned the little clip highlighted in red 90 degrees so that it can come out but then when I try to lift the clip up it wont come out even with quite a bit of force. It appears to be catching on the point marked blue which it the position of one of the locking bolts I think when in tilt mode. Is there something obvious I am missing? further to the left there is a small adjuster with a - and + ......does this need to be turned somehow? thanks

-
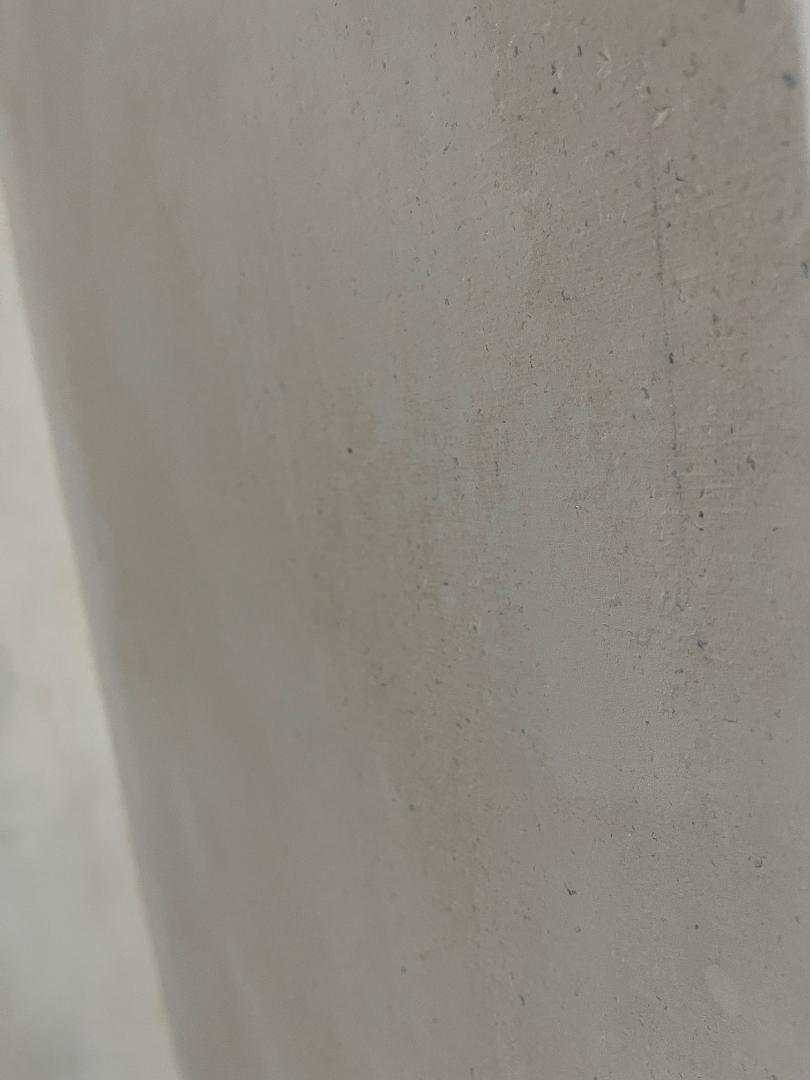
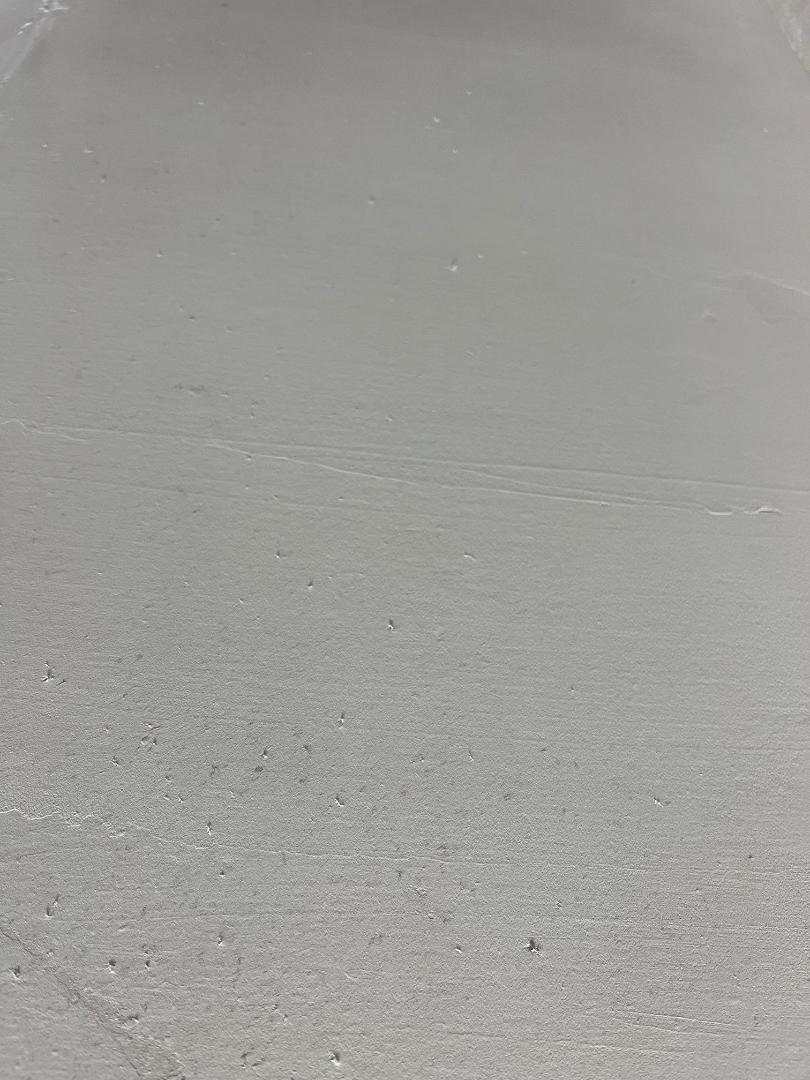
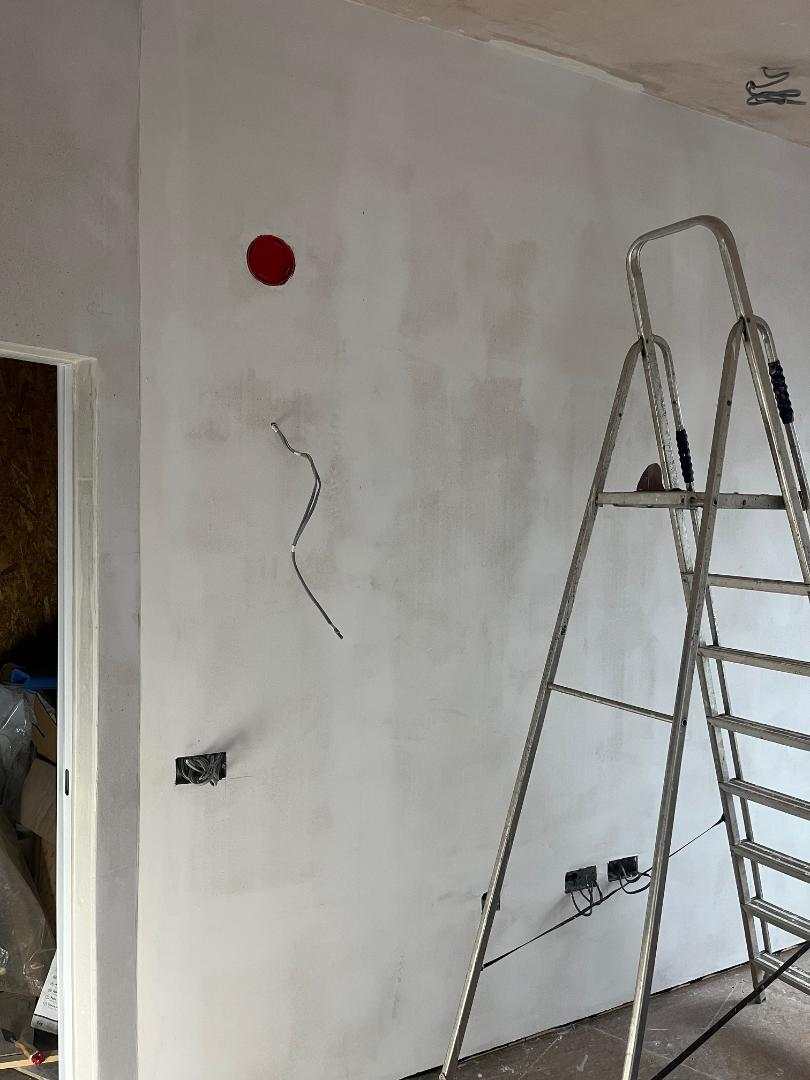
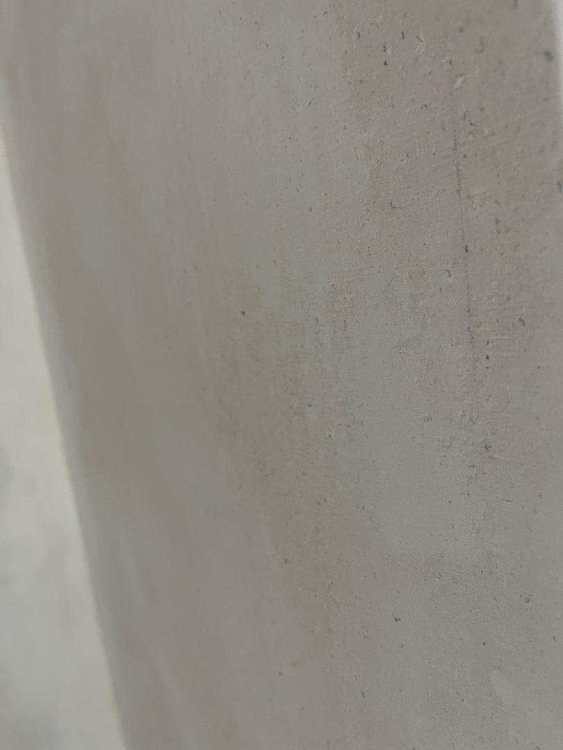
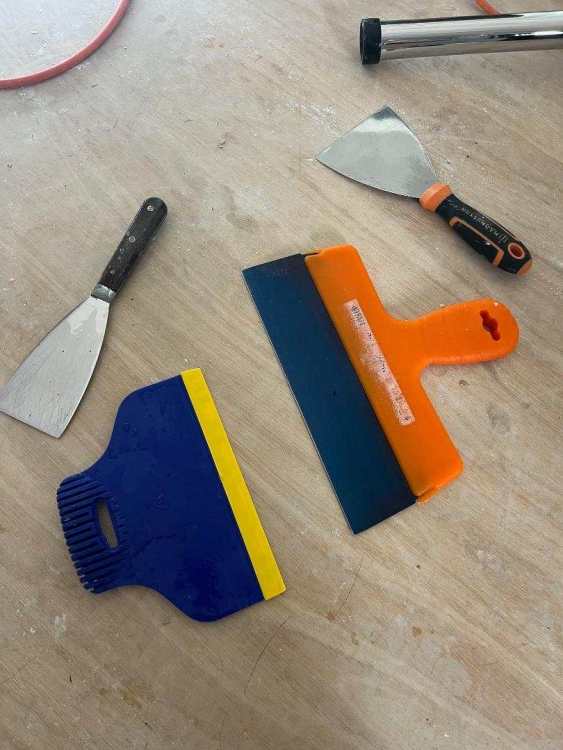
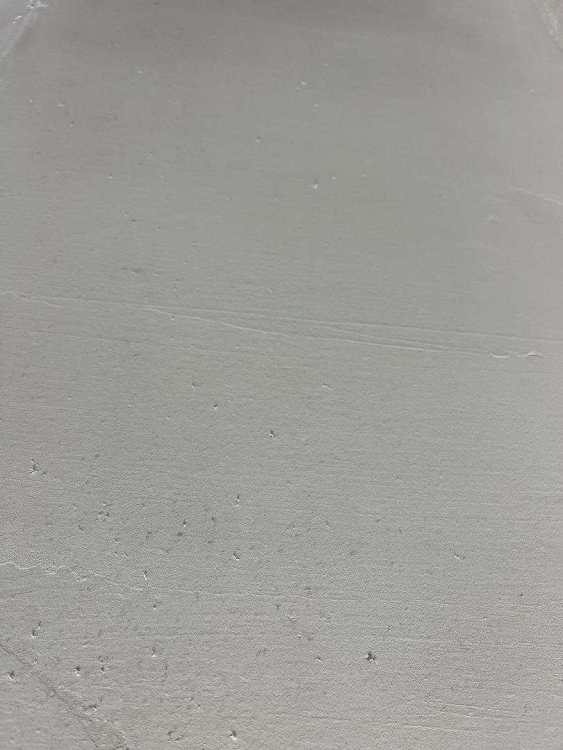
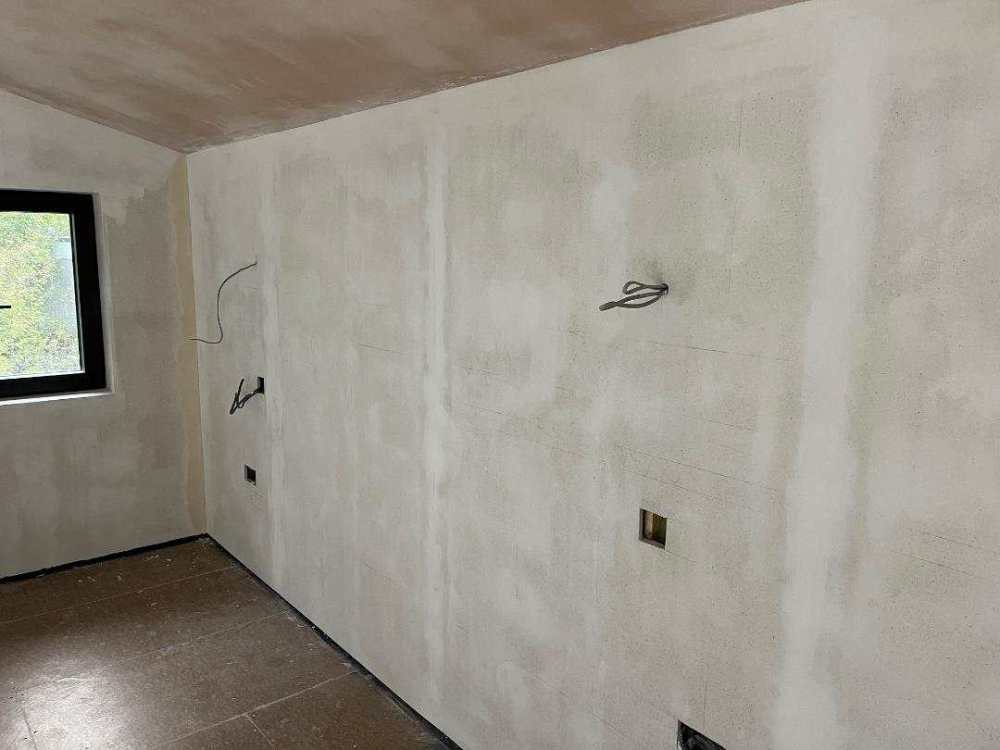
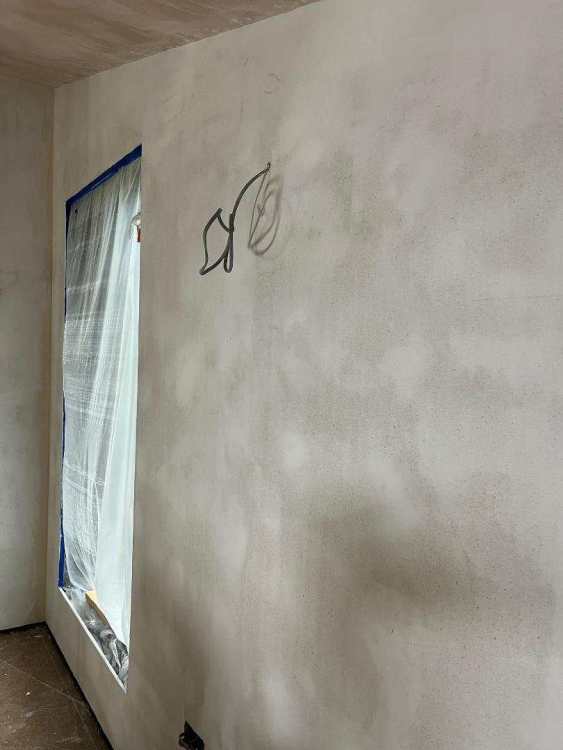
So ok @Nickfromwales you were right...finishing Fermacell is a complete PITA. However I have perserved and got the first room slathered in the FST (or almost). Its been quite a learning curve and I still dont know if what I have done is going to be any good but thank god its almost time for painting.... So, @Nick Laslett I wondered if you could have a quick look at my photos and (hopefully) confirm all looks in order? I have been variously trying the official Fermacell speader (orange handle) and the black rubber flexible blade. I find with the rigid Fermacell tool its very easy to scrape the FST pretty much right off the board leaving hardly any product left. It also leaves lines often despite being advertised not to (or maybe my bad technique). So I have been largely using the rubber thing as I find that easier. But overall the appearance is "patchy" - its better when sanded but I thought I had better check that this is going to be ok once painted? Cheers

-
Power floated slab. Now rethinking micro-cement
markharro replied to flanagaj's topic in General Flooring
MBC power floated our slab as we told them we were going to use it as the finished floor. Its largely good but some rough areas but it fits in with our aesthetic in the house so its ok.... On a separate point there are some minor cracks here and there - how best to repair these? -
Shower enclosure leak - likely source?
markharro replied to markharro's topic in Bathrooms, Ensuites & Wetrooms
Actually one thing I have been wondering about. Before the tiles were put on the tiler recommended that we apply tile sealant solution as his view was that it was easier to do this before the tiles were on the wall. So that means that the sealer was on the tiles before the grouting was done and before the silicone was applied. Could that mean that the silicone would achieve a reduced "grip" on the tile edge against an unsealed tile? -
Shower enclosure leak - likely source?
markharro replied to markharro's topic in Bathrooms, Ensuites & Wetrooms
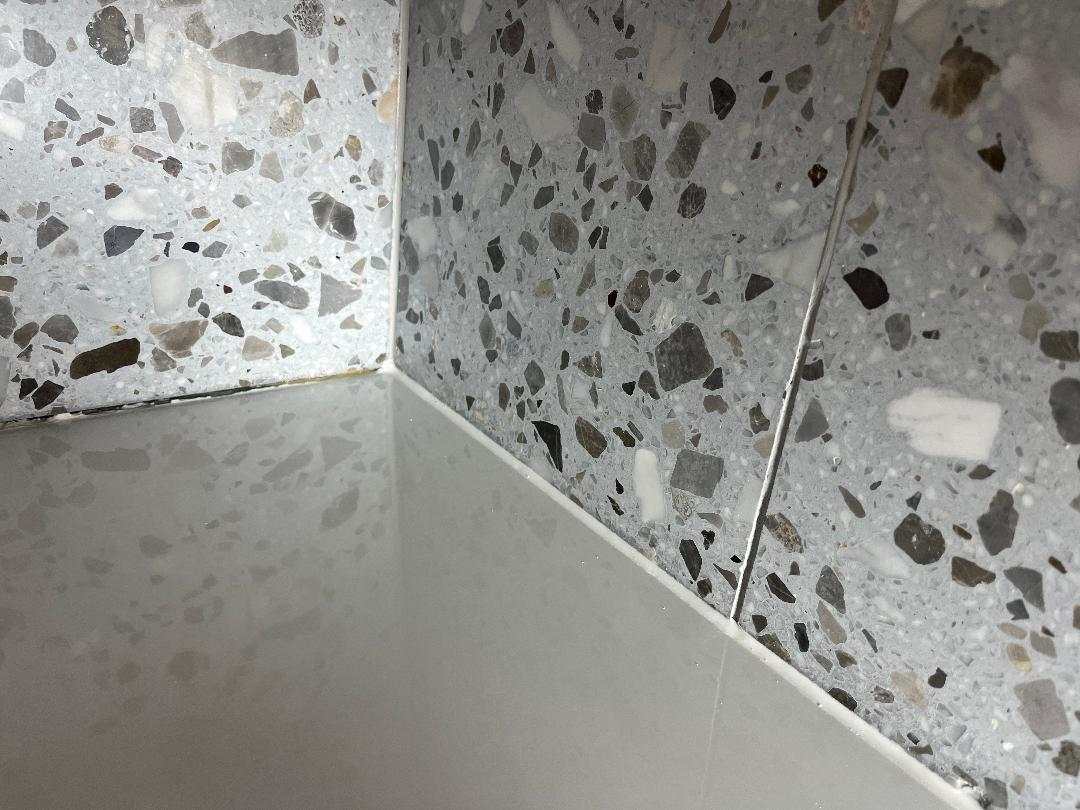
Thanks @Nickfromwales that it is really good advice as always. I don't think that we are going to have enough space to put in any CT1 but other than that we can follow your instructions. What is puzzling us is how this could have happened literally only a number of weeks after we finished the work. It is difficult to see the scale from the photo but the width of the shower is 900 mm to give some idea. You can see that my partner has applied really quite a narrow bead . Would you reckon that we are better with a much thicker bead at the bottom where the tiles meet the shower tray? Also, any tips on making sure that you get the optimum adhesion of the silicon to the tile and enamelled steel tray? -
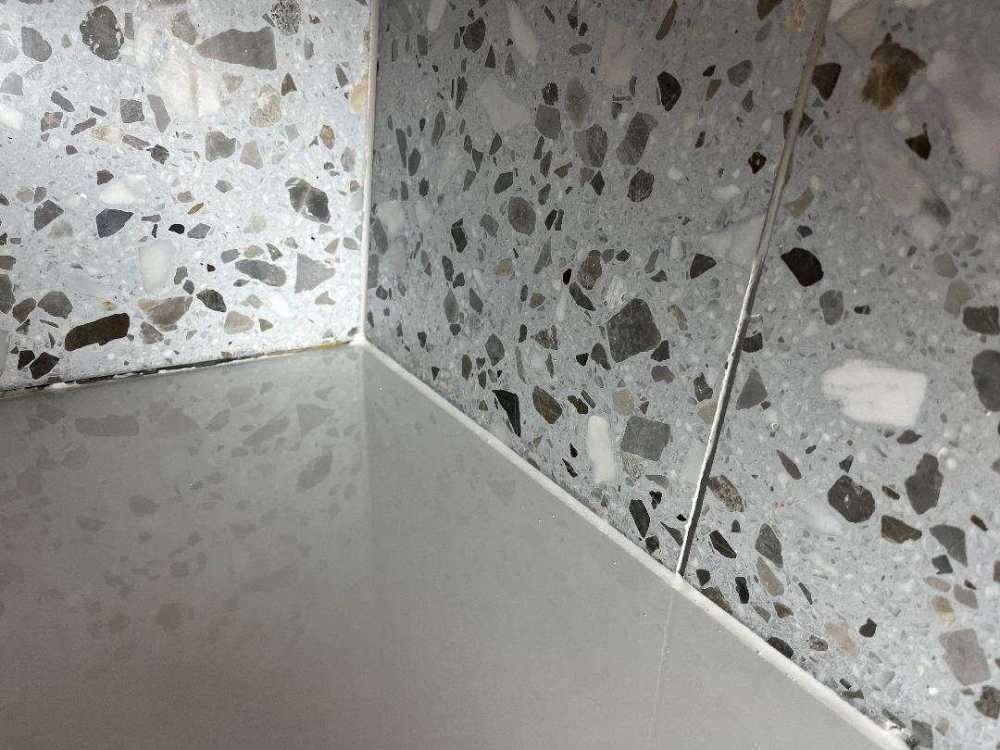
Jeez some days you really do lose the will to live. After literally months getting this shower operational my partner noticed that about one inch of grout where one vertical grout line hits the shower tray was appearing permanently wet. We suspected that the silicone around the try was the culprit. She has now scrapped off the silicone to find the back of it is wet over quite a length!! would even a small breach in the silicone allow this to happen? She did the siliconing herself and I thought at the time that she had used a very narrow bead around the shower tray. Should we take it all out right around the tray and apply a thicker bead? @Nickfromwales what do you recommend to get the silicone out and to clean up before reapplying thanks

-
Thanks @Nick Laslett I had seen the last 2 of those videos but not the first one so that was helpful. One question with the FST.....I think you apply it over the whole surface of the boards dont you and not just the areas you have applied the joint filler? And any tips for sanding it....I am trying to visualise how you avoid sanding right through to the board below!?
-
You are quite right @Nickfromwales we do have some non perfect background battening and, despite my efforts at shimming, it has resulted in some irregularities here and there. The background framing was done by the company that built our kit. Its only when months later I out a straight edge to the studs did I realise that a lot of shimming would be needed. Some of the studs are shocking with twists as well. As a punter before its been a steep learning curve not to make too many mistakes and avoid any really bad ones. We have boarded 2 rooms ourselves now and it not perfect, but not a complete disaster. I at least understand the issues now so as we continue boarding I intend to major on the shimming.
-
Thanks @Nick Laslett that sounds encouraging although I have the Deros; the Leros would be great but £££. Yes I think using too much joint filler may be part of the problem. There are joints however where one board is maybe a fraction of a mm proud and I have attempted to feather with the joint filler. I am wondering now whether its better simply to grind the edge that slightly proud down with the sander to match the neighbouring edge? And less I think I will try to passes with the filler. Filling holes I haven't yet found the knack. If you try with one fill and scrape away the excess it tends to leave a slight dimple in the middle which then needs a second fill. However if you fill it copiously you then end up having a lot to sand back. With the FST can I ask which grit of the Abranet you used to sand it? I am using 80 grit to sand the filler but I suspect you need to use something much much finer with the FST or you will basically just take it all off as the FST is very thin isnt it? Your job looks great
-
You're really trying to spoil my agony .....sorry fun..... aren't you!
-
Best approach for drilling 20mm terrazzo tile?
markharro replied to markharro's topic in Bathrooms, Ensuites & Wetrooms
and for marble terrazzo which is what we have? -
I suspect you may be right......the thing is I have got half a dozen bags of jointing mix and the same number of tubs of FST so am going to persevere for a bit longer at least......
-
Doing 2 bedrooms atm and thats bad enough but yes the idea is to use Fermacell throughout the house. You are right its negative fun and I need to review after we get these two rooms done....I need to get the dust extraction sorted though first! We are following the Fermacell system so after sanding the joint filler compound down the intention is to use their "fine surface treatment".
-
I suspect tomorrow I'll be on the phone to V-Tuf and Mirka tech support to try to work out what's going on - ATM just getting enveloped in clouds of dust and contemplating throwing the tools out of the window!
-
Best approach for drilling 20mm terrazzo tile?
markharro replied to markharro's topic in Bathrooms, Ensuites & Wetrooms
Thanks both - when you say a diamond hole saw do you mean something like this with a flat head - https://www.screwfix.com/p/erbauer-hex-shank-diamond-tile-drill-bit-6mm-x-67mm/51908 If so would I not need something like this to stop it skating all over the tile - https://www.screwfix.com/p/erbauer-diamond-tile-drill-guide/84524 ? I was thinking of this sort of thing - https://www.screwfix.com/p/bosch-expert-hex-9-hard-ceramic-tile-drill-bit-set-5-pieces/974rr And @Nickfromwales thats useful waterproofing tips but I think you are imagining we are using some sort of frame or metal profile- we are not. The idea is a single pane of glass pivoting on the 2 hinges and totally frameless. The room is a semi-wet room. So I guess the CT1 in the screwholes may be all we need? -
I have a couple of questions on a similar topic. Currently engaged in sanding filler in Fermacell boards and its already a job from hell......but even worse there is basically zero suction from my Mirka sander....this is connected - via a 4 metre (crazy expensive) Mirka hose to the 3m or so hose on my V-Tuf mini vacuum. I thought I might need a new bag but changed it and still no good. The filter is clean. So what is the issue? I bought the V-Tuf as it was the cheapest M class vacuum available but is it maybe underpowered for this job? Is the overall hose length too long? Is so would the solution be ditching the Mirka hose and trying to find some sort of adaptor to connect the Mirka straight to the vacuum hose? Thanks