
Pocster
-
Posts
14368 -
Joined
-
Last visited
-
Days Won
29
Everything posted by Pocster
-
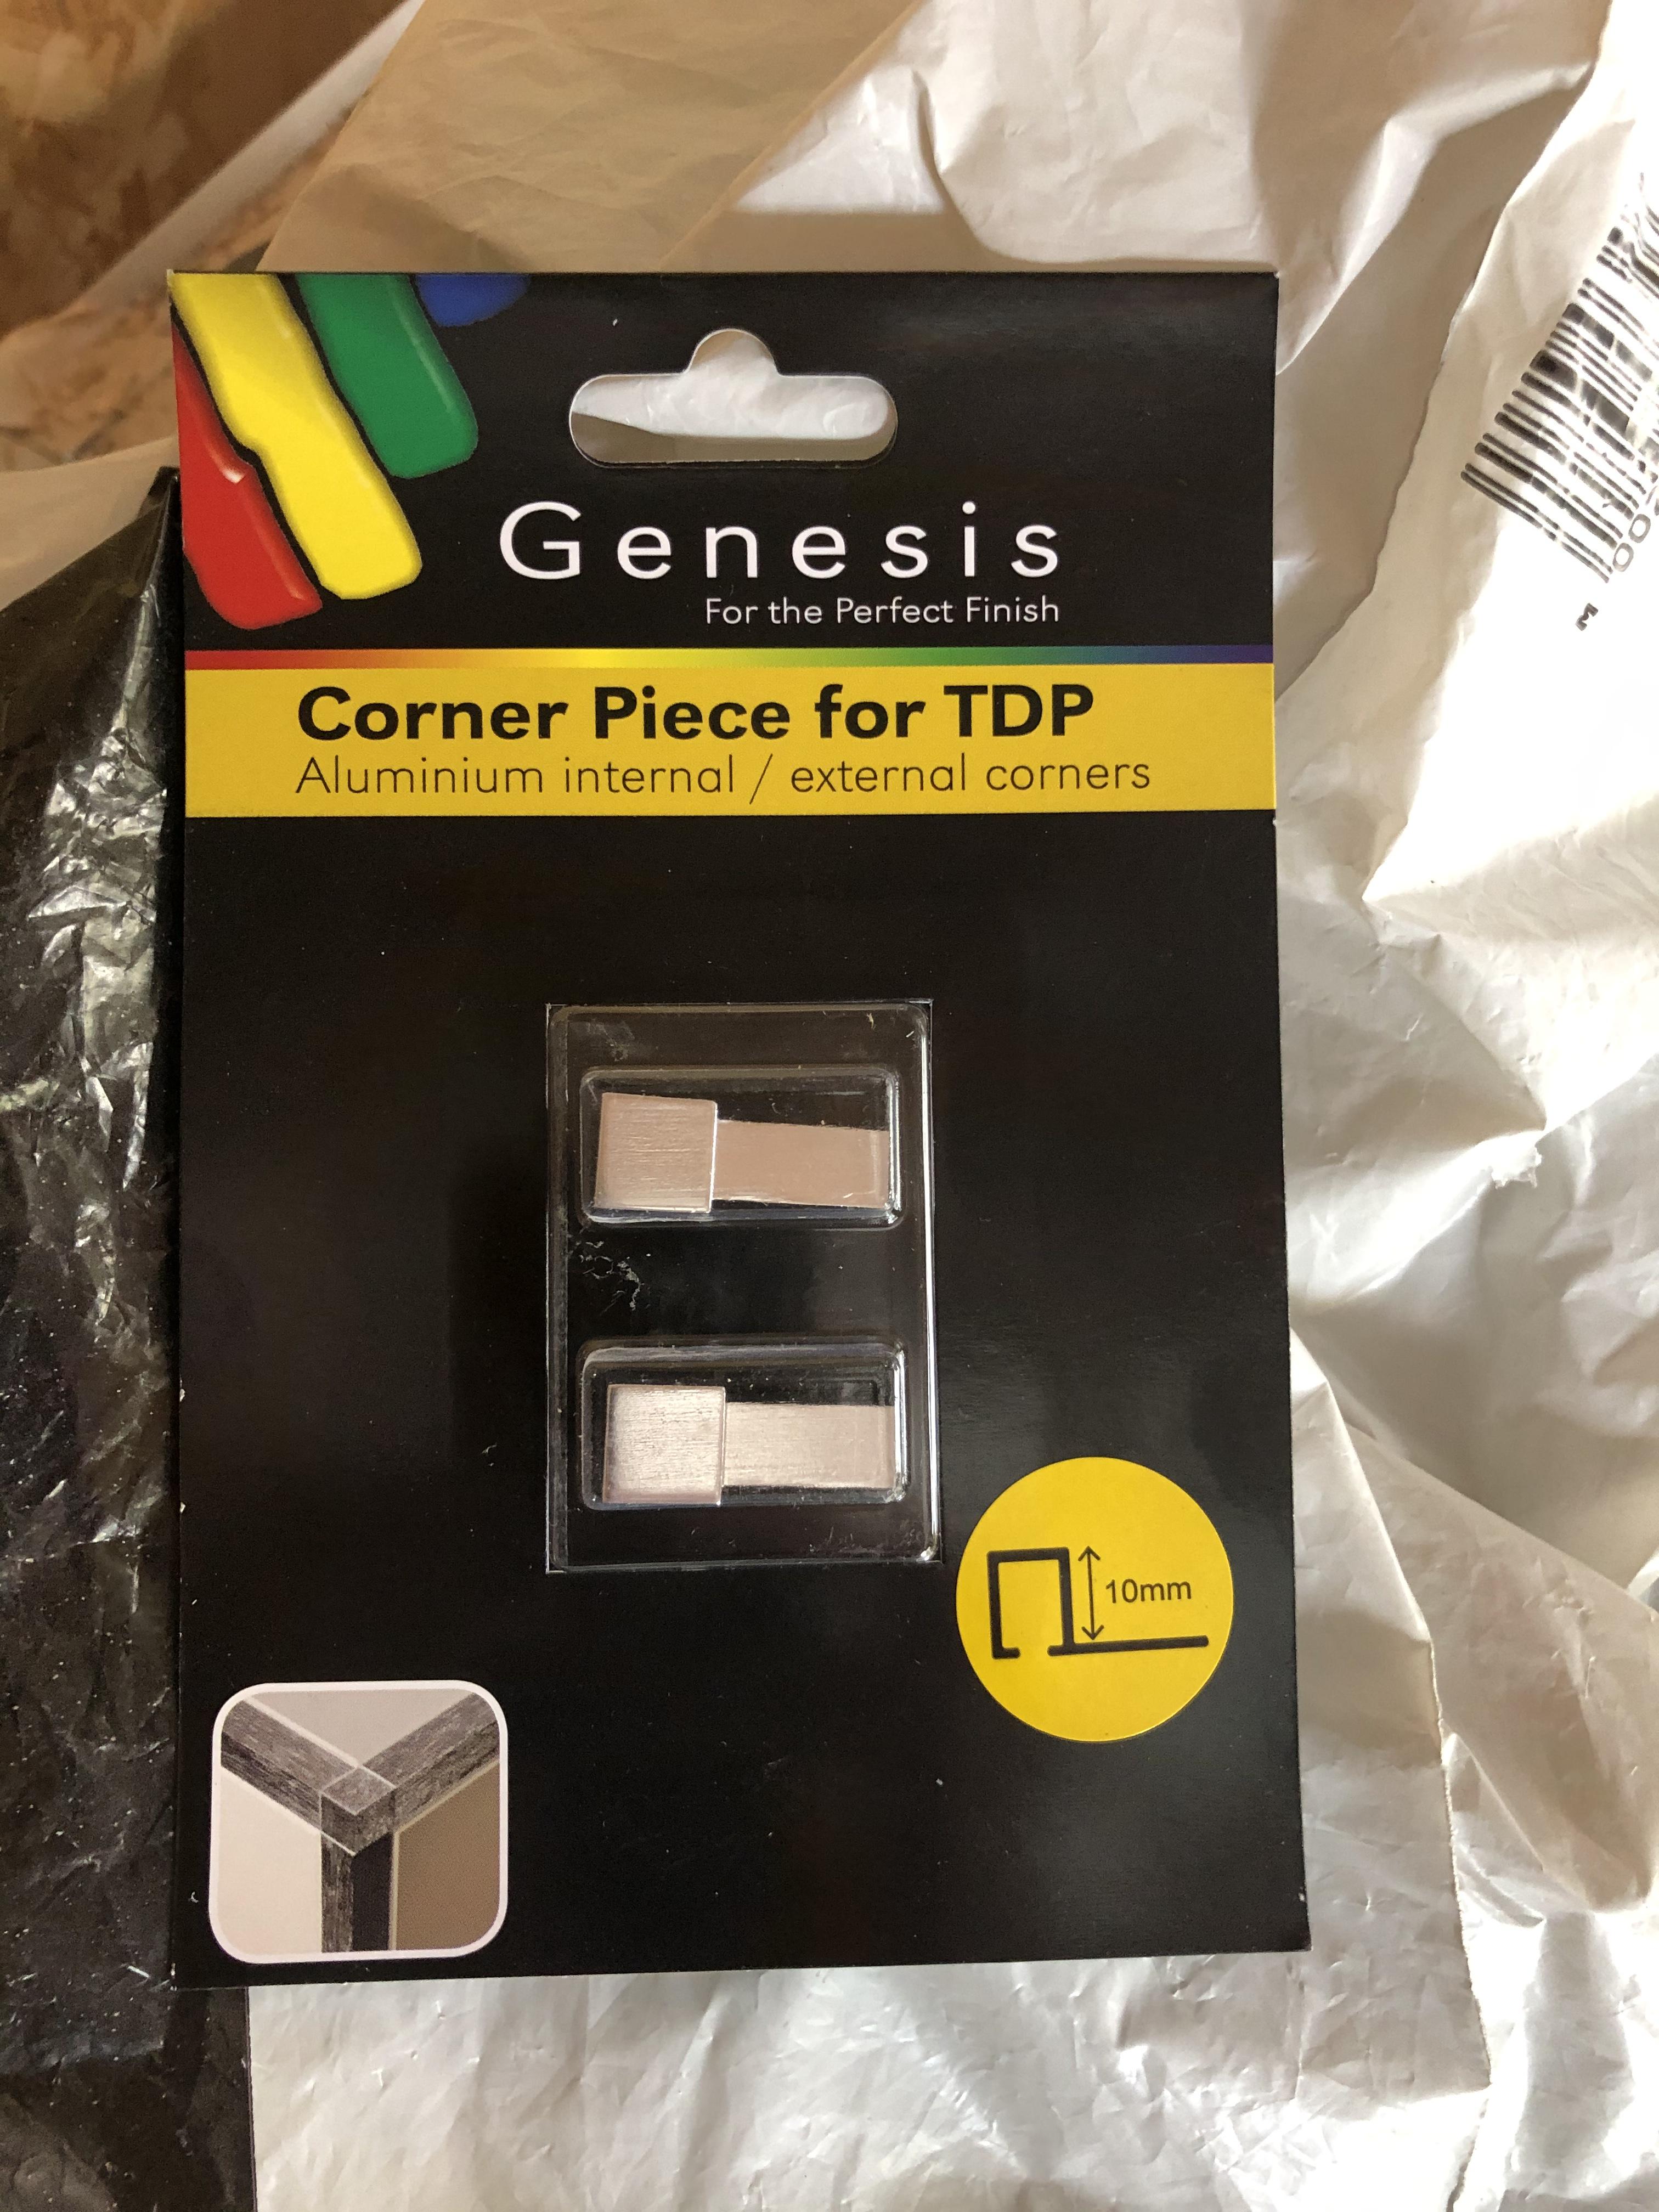
So ! As I near the top of this wall what do I do at angled ceiling meets tile ? Can’t really silicone as need to mask the ceiling - tape might take paint off ? Beading ? With beading anyway do I fit first or with tiles as I go ? . Seem to remember beading always looks nice but cost is upsetting ! As mitring felt like a pita have these nice corner bits . Advice welcome !!

-
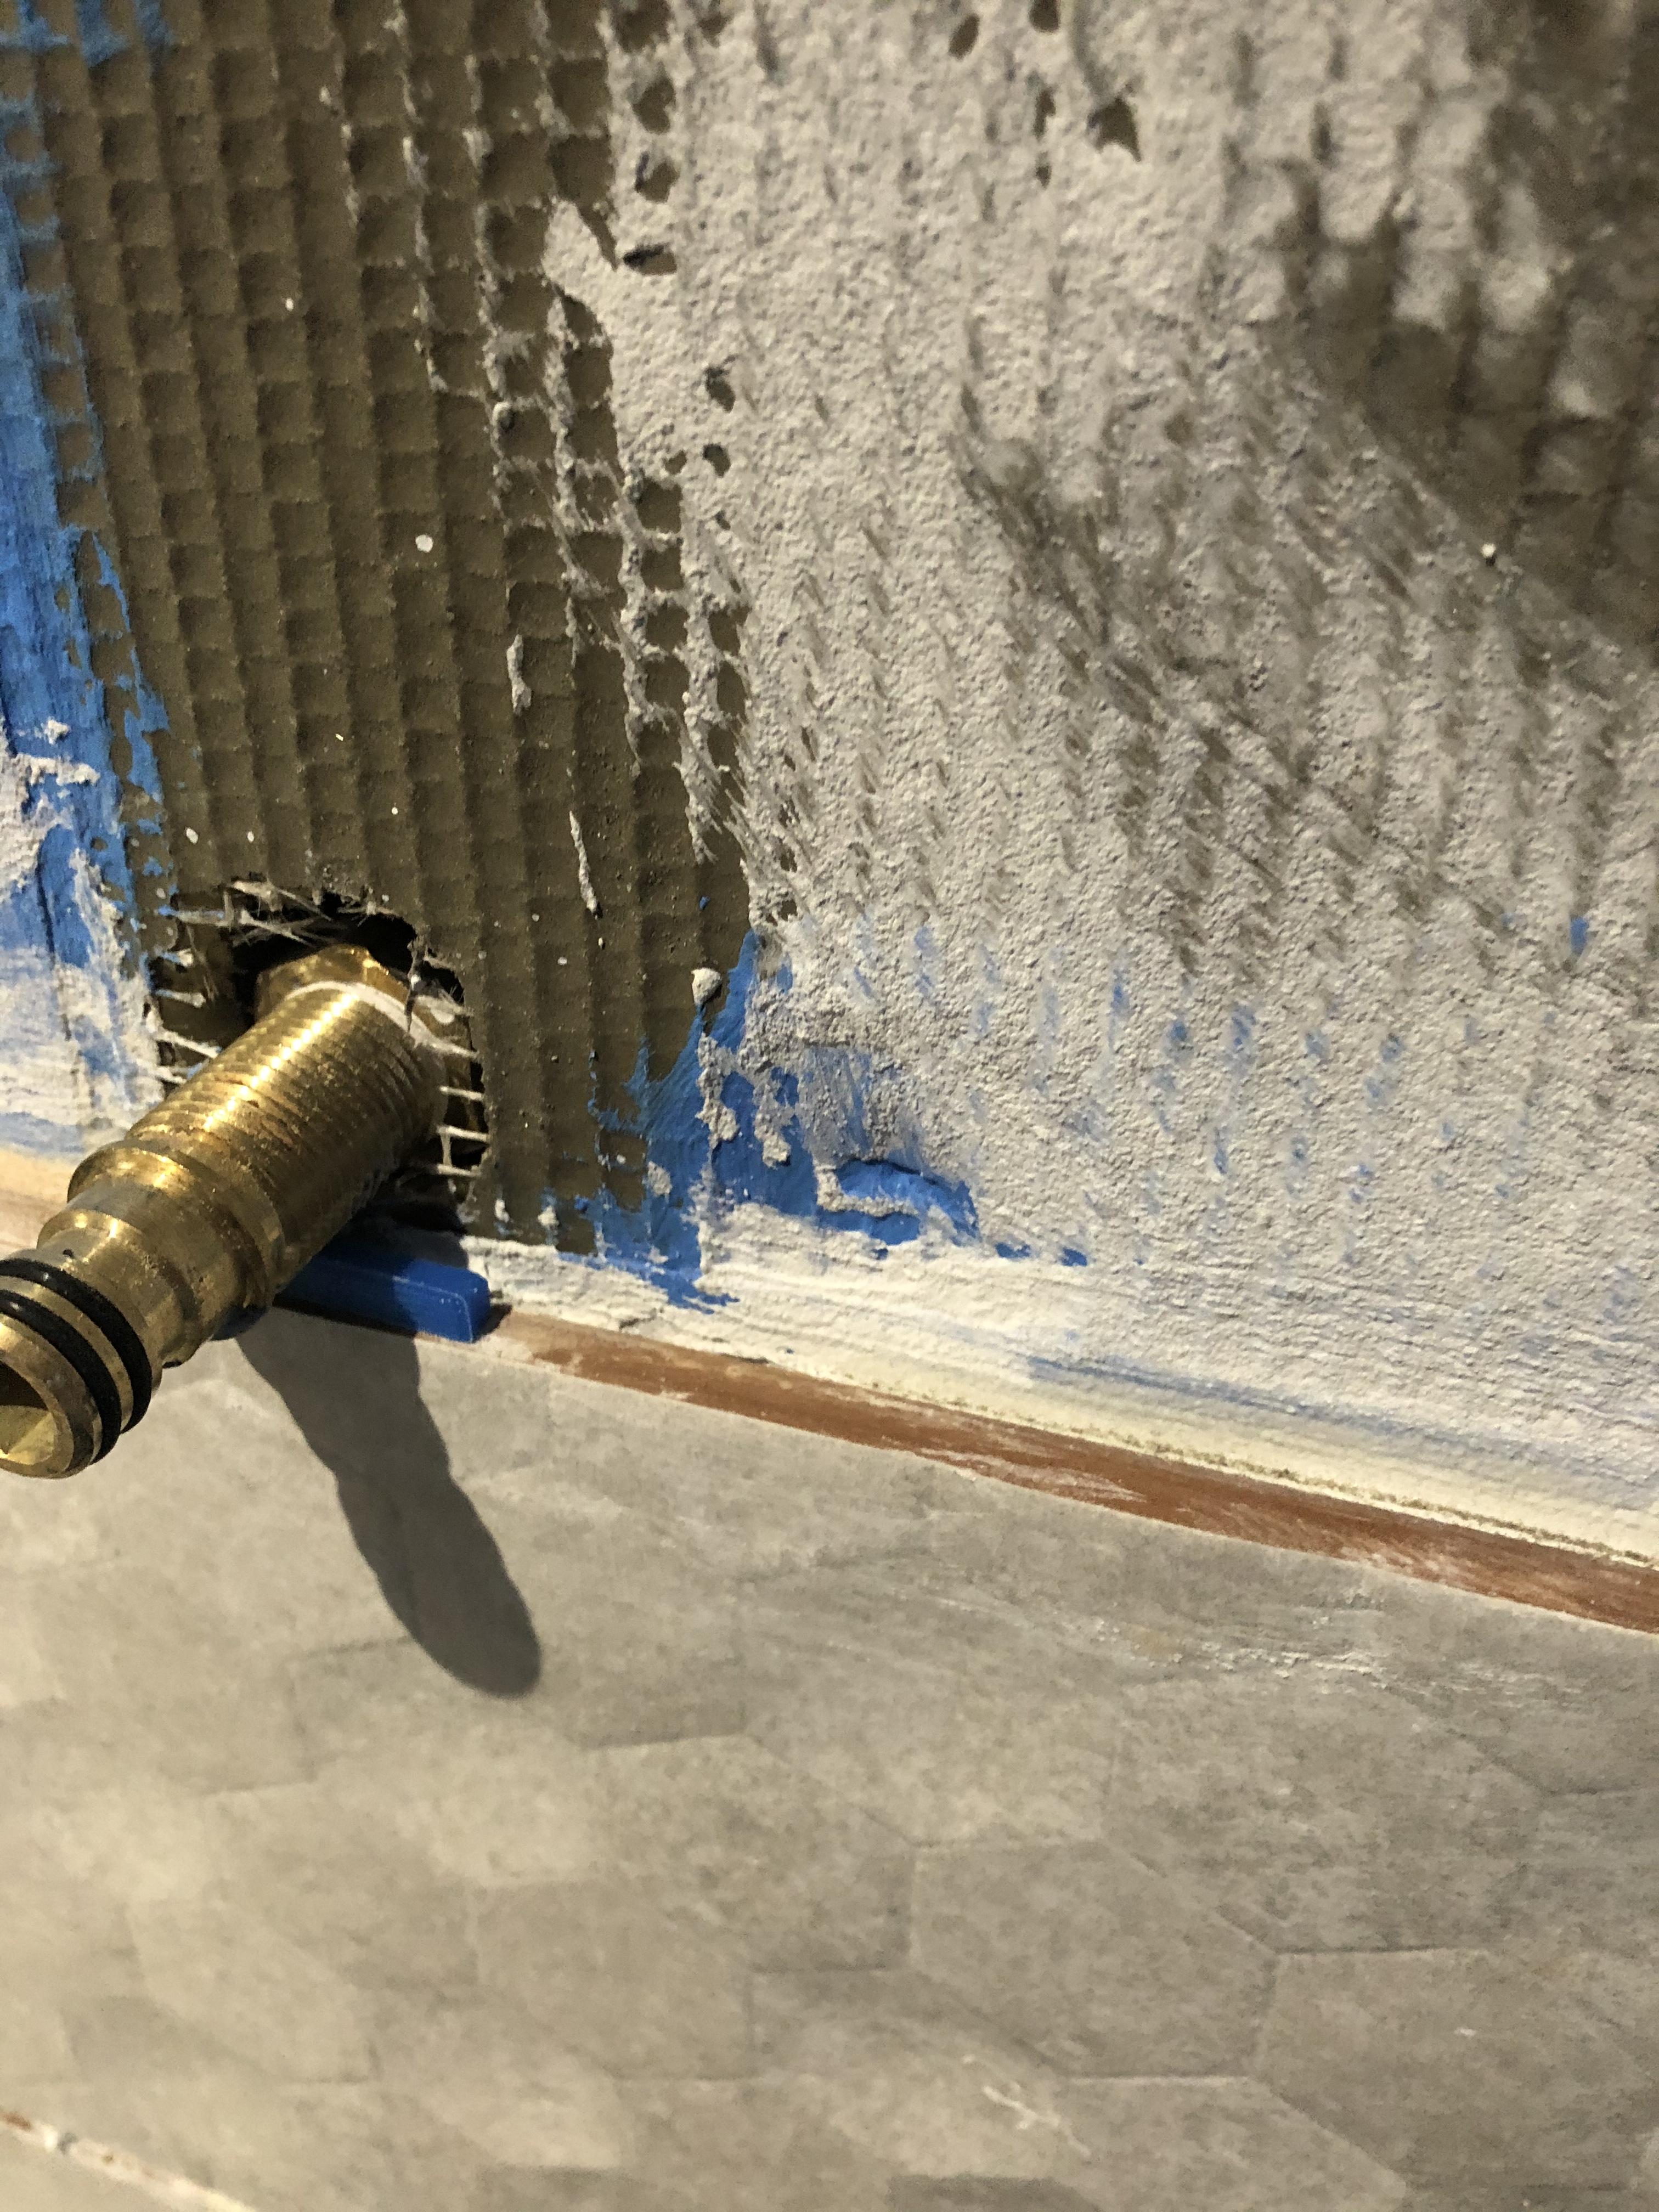
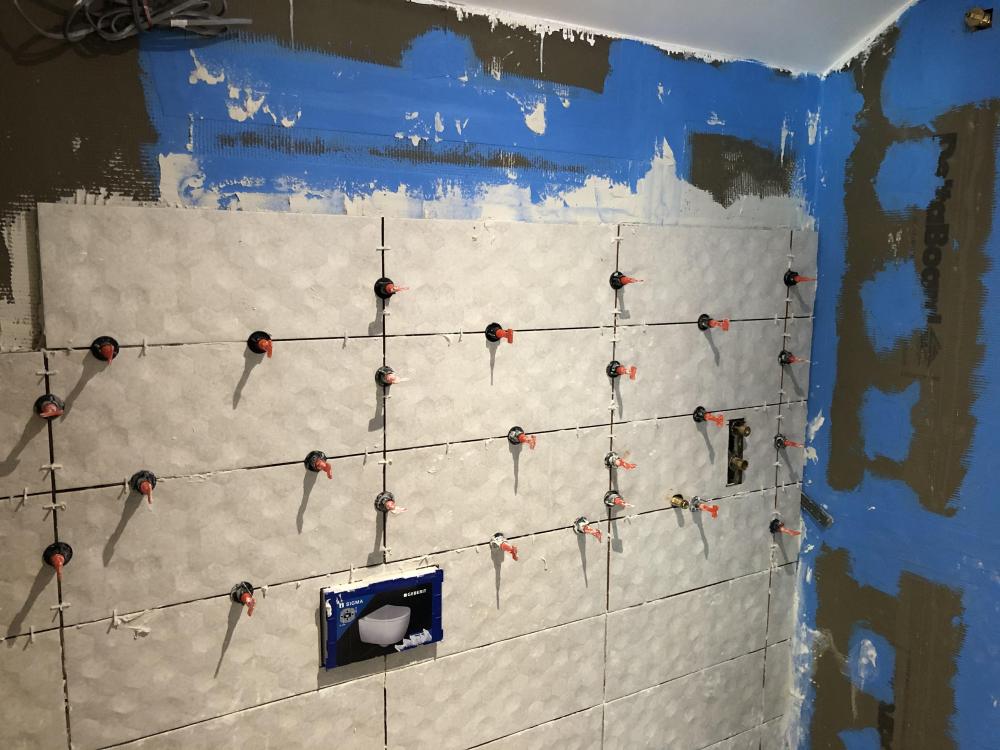
Look uncle Nick - LOOK Getting faster ( slightly ) , using less adhesive . This photo is BEFORE I’ve cleaned the faces . Decided to let my bowed corner go . Wall cabinet can hide my sins . So sorry Uncle Nick ( aka @Nickfromwales ) it didn’t work out with your last appreciate @Onoff - understand he met his fate .... RIPs ???
-
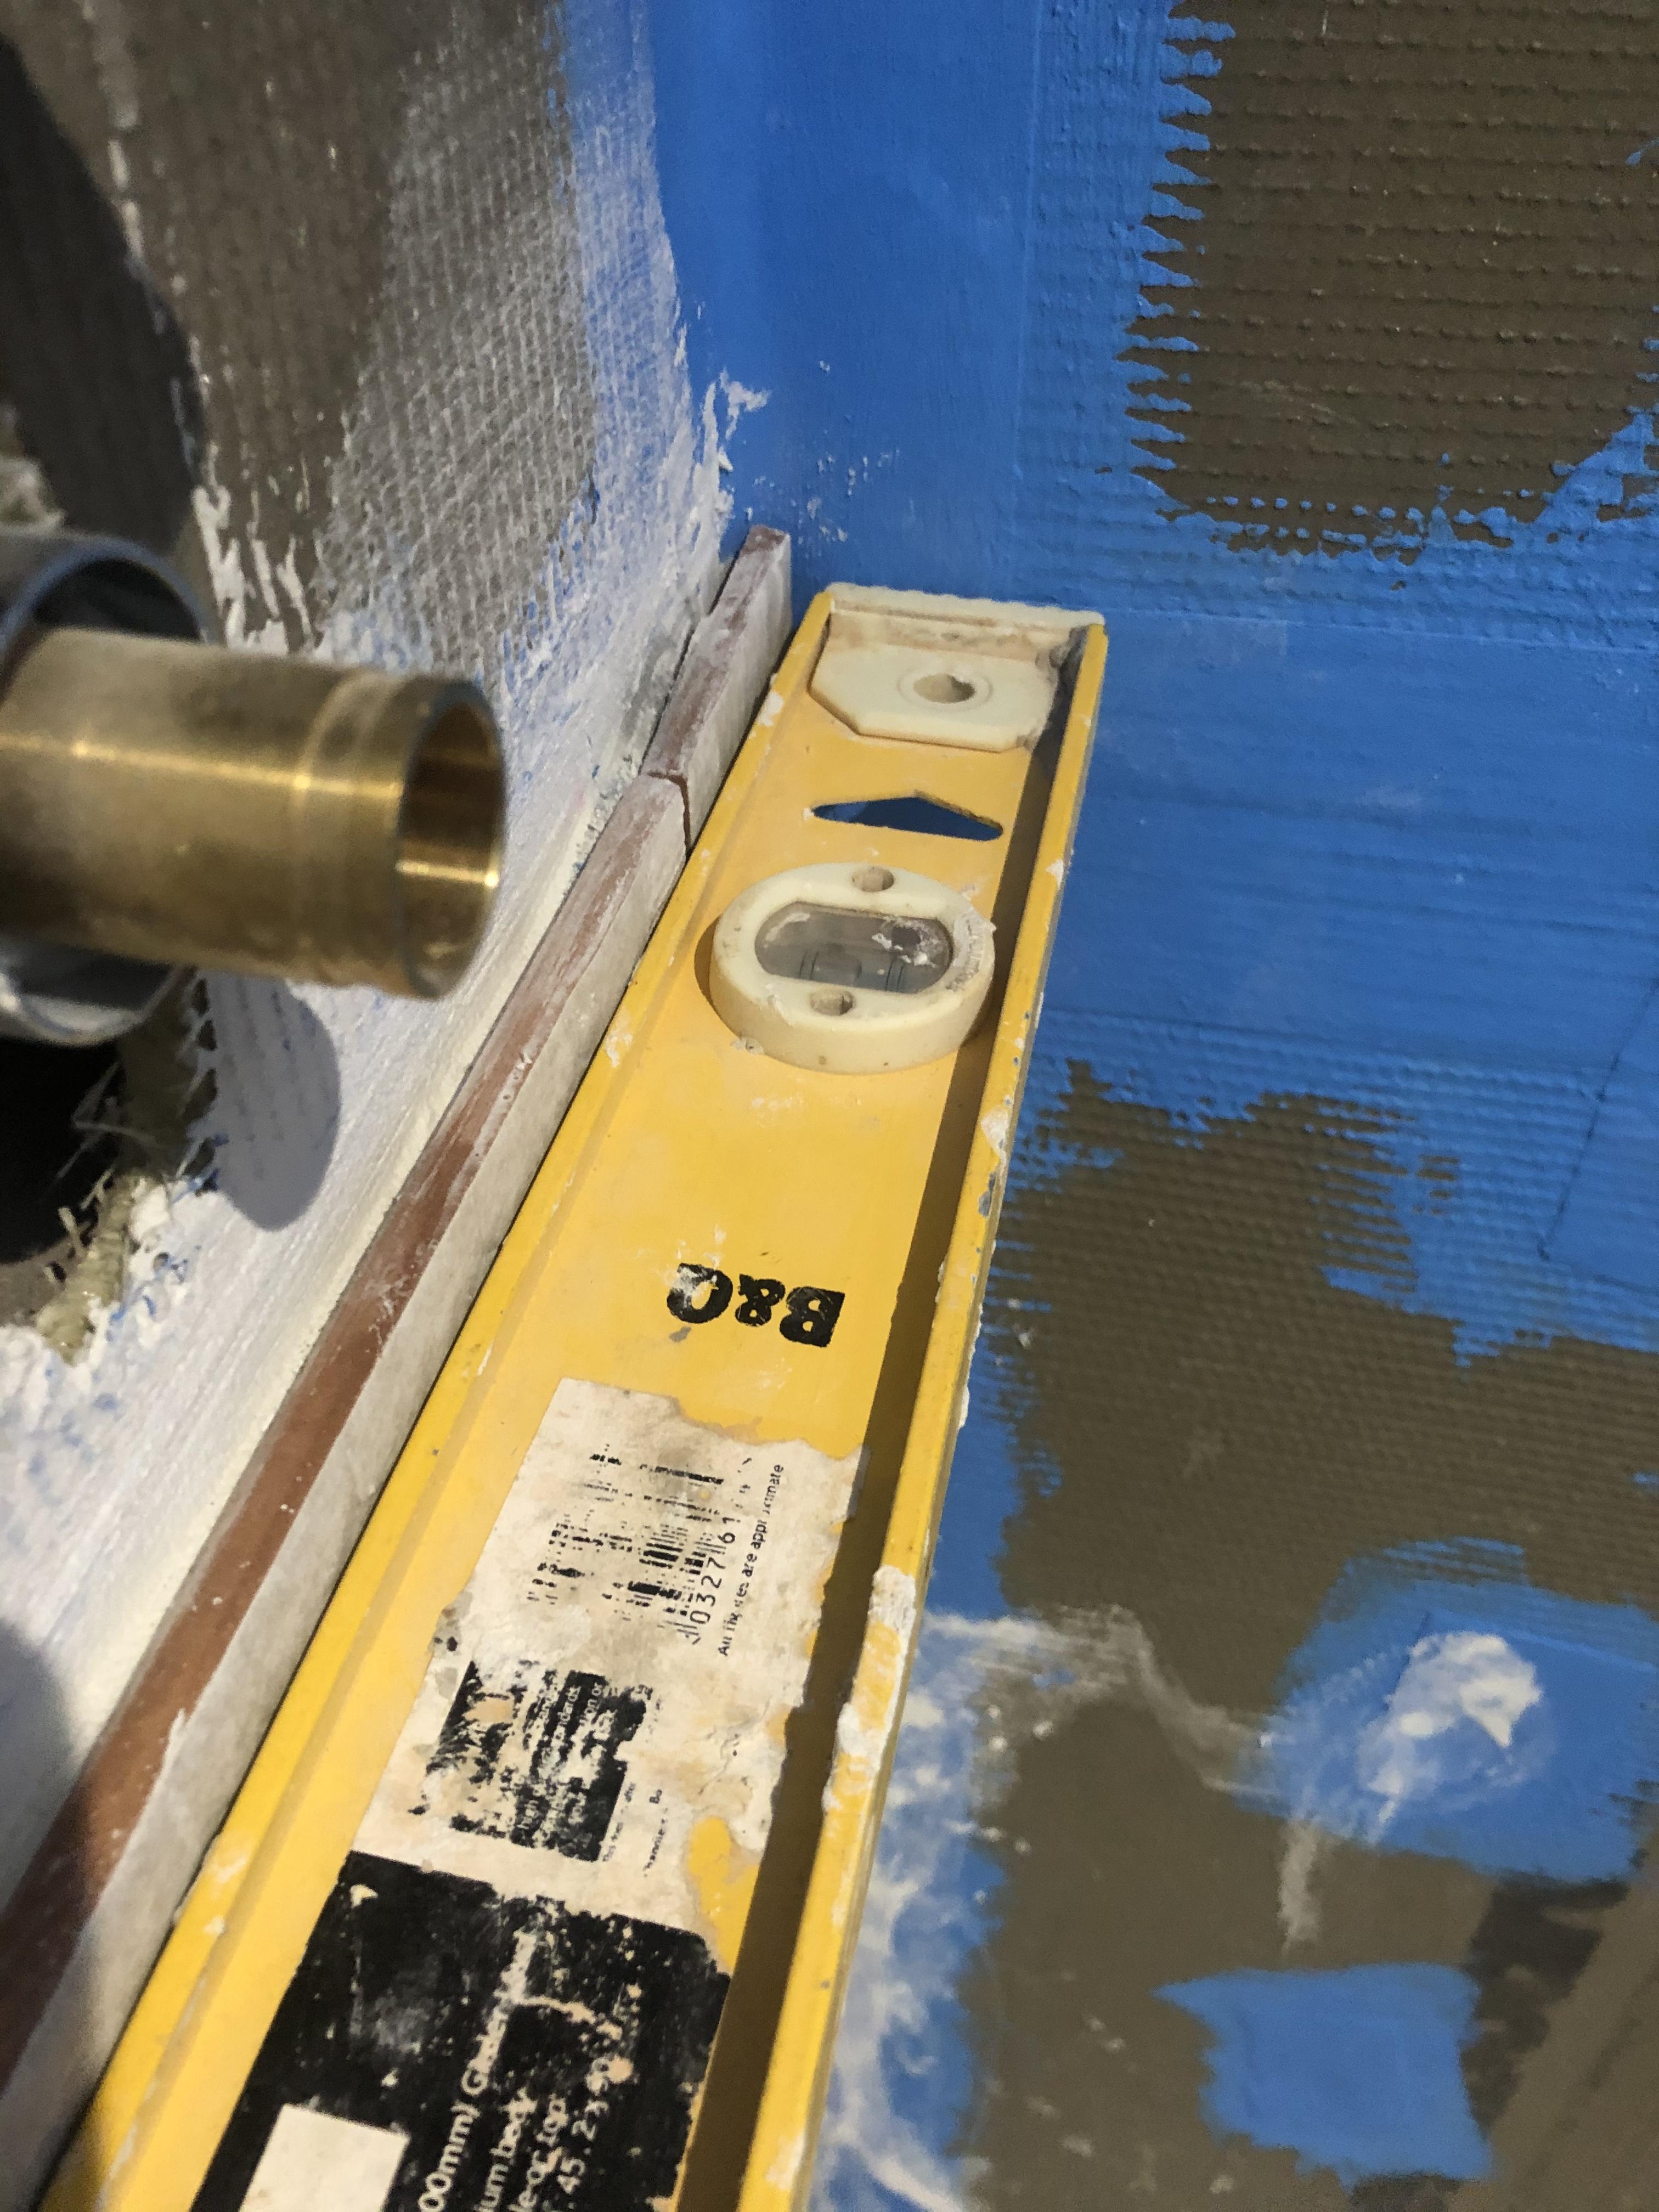
Almost . The short cut at the end to follow the other tiles on that row ( I.e flat , even if wall isn’t ) goes ‘into’ the wall . @Onoff has got it . I need to ‘thin’ a narrow strip of that corner vertically . As I said , luckily sink and vanity unit go on this wall and in this corner .
-
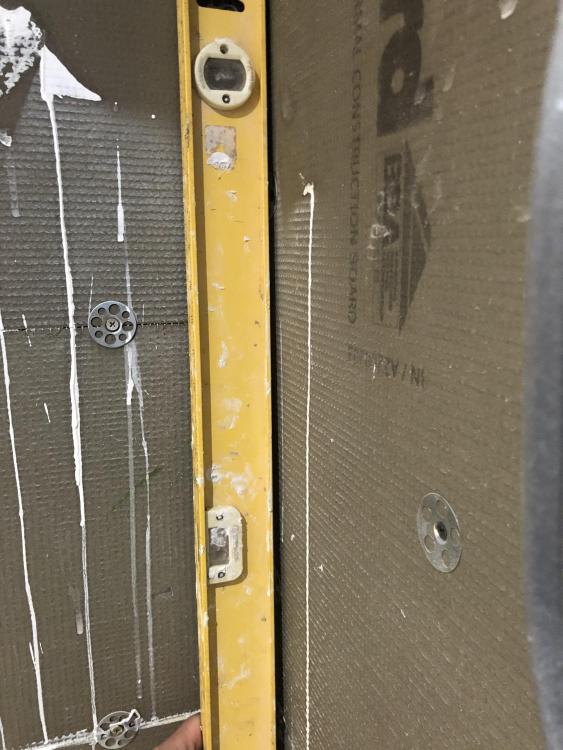
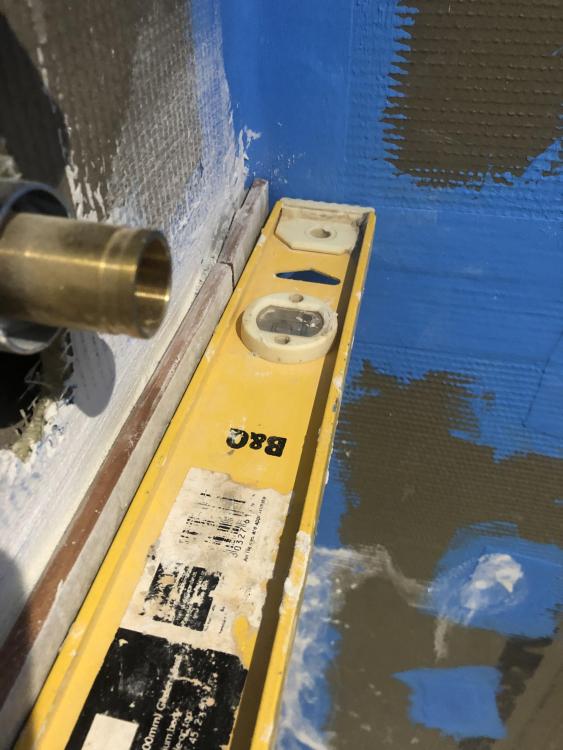
Lol sorry ! That photo’s misleading . The bottom of the level is on the tile face . I’m just showing that the ‘gap’ for the tile narrows as I go up the wall I.e no room for a tile ! My fault. Trick photo ????
-
It is But as it took him 5 hours to draw it , thought I’d better like it
-
When my bits are out no tiles are visible ?
-
I’m still lost ? The corner bows out as far as I can tell . I can’t push each row out a bit to compensate otherwise I’ll get the dread lippage . Appreciate with smaller tiles you can gain/ lose as you go . Still thinking of cutting a narrow strip of backer board out in the corner . Adhesive on the ok bit of tile . Ct1 on the bit where I need to be shallow and also beneath backer board is timber .
-
@Gav_P has given me OCD !! Bastard !! Tomorrow I’m going to gently turn that thread see if I can pull it in a mm @Gav_P you are a (expletive deleted) ??
-
You lost me . You mean deliberately push the tiles ‘out’ away from the backer board ? . Creep out a bit per row ?
-
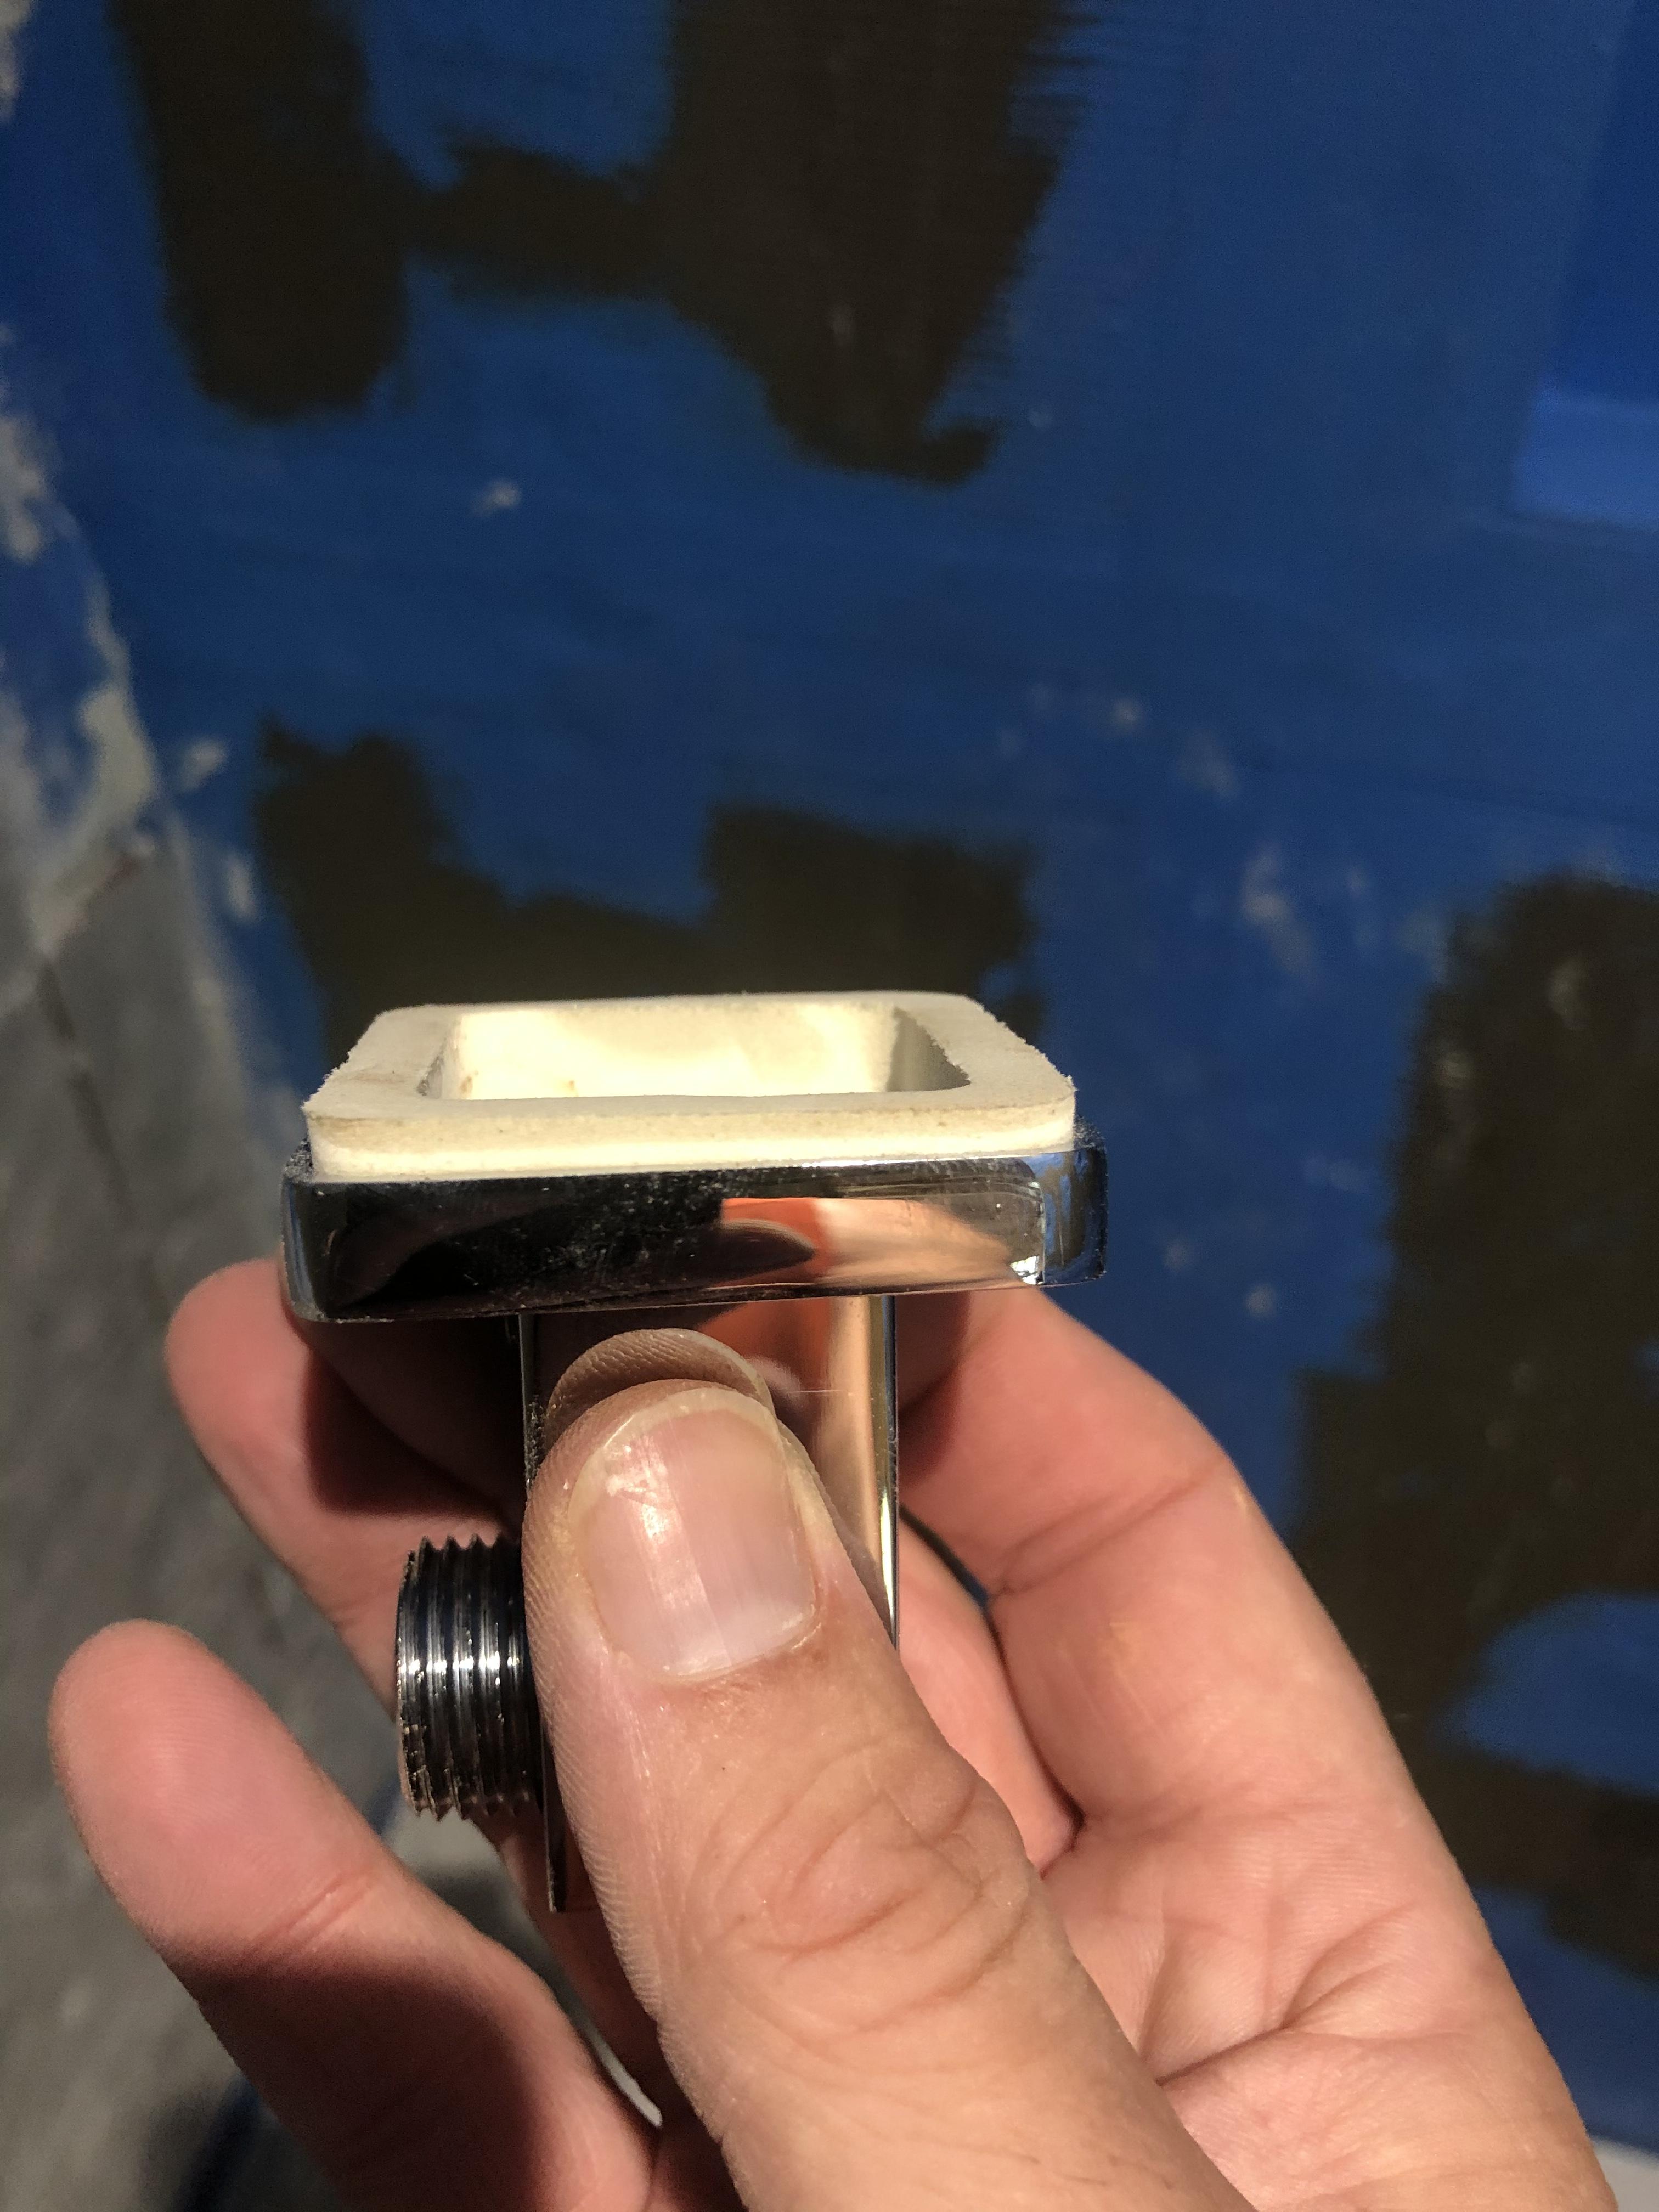
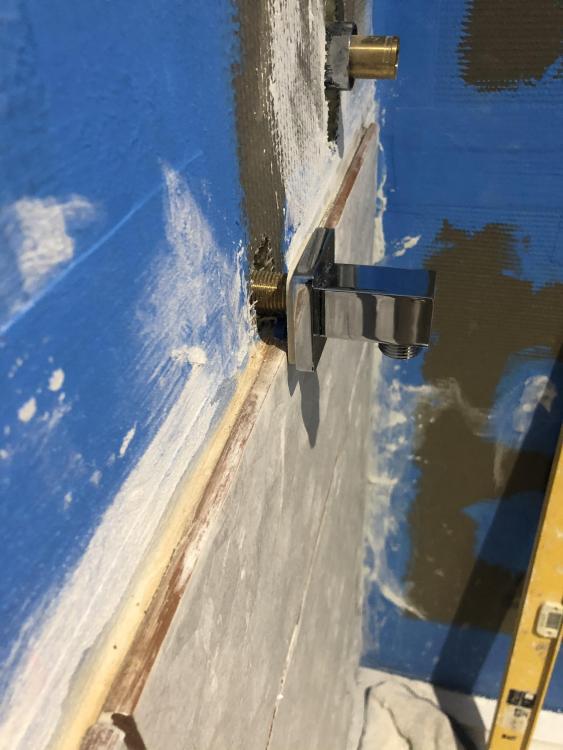
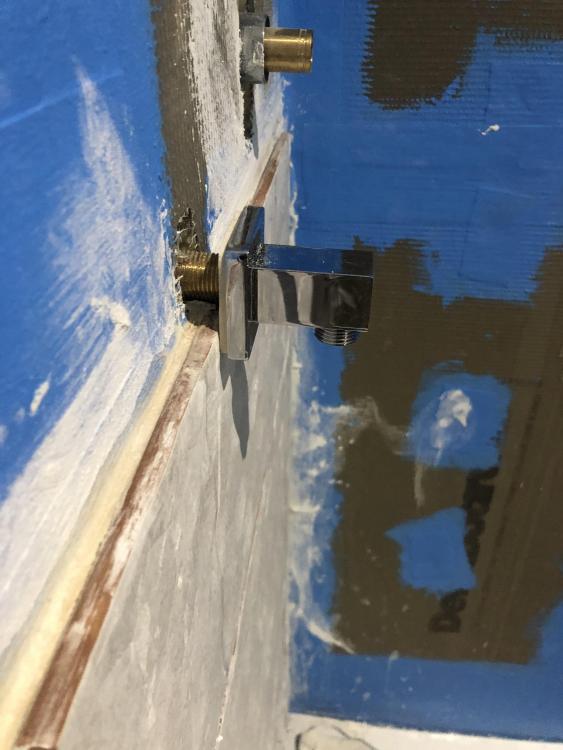
Yes the ‘foam’ squashes against a flat surface as I assume . But it’s like a mm . I was more worried about the shower elbow not fitting fully on the fitting . Can’t build / tile to 1 mm accuracy ??
-
Or do I just ‘bend’ the fitting upwards ( it’s mounted on timber so there’s a bit of give ) . Bit of plastic packer becomes my friend .Still sticks out a few mm too much - but assume Mastik solves that !

-
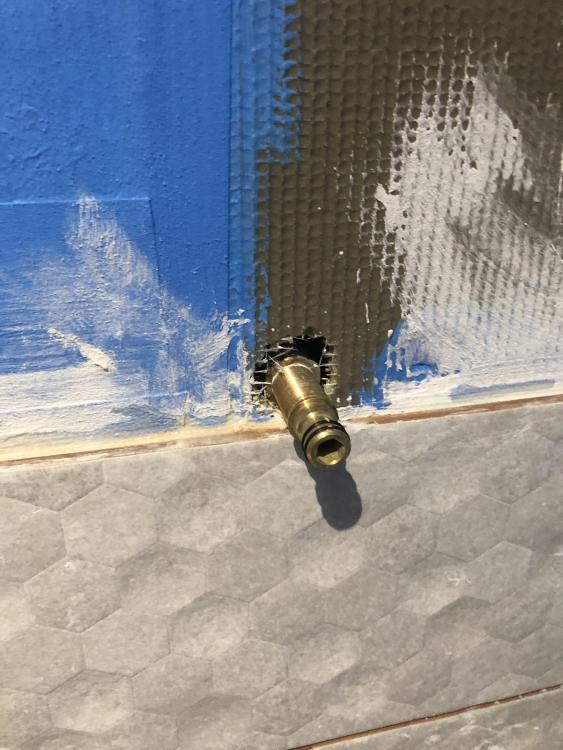
It’s going to be a bugger to access Would have to rip off tile below . Fitting has 3 screws . 2 above the tile 1 below . How annoying ! Do I rip the lower tile off . Cut the backer board out . Sort it’s level . Baton / fix board then re tank , all for maybe 3mm ???!
-
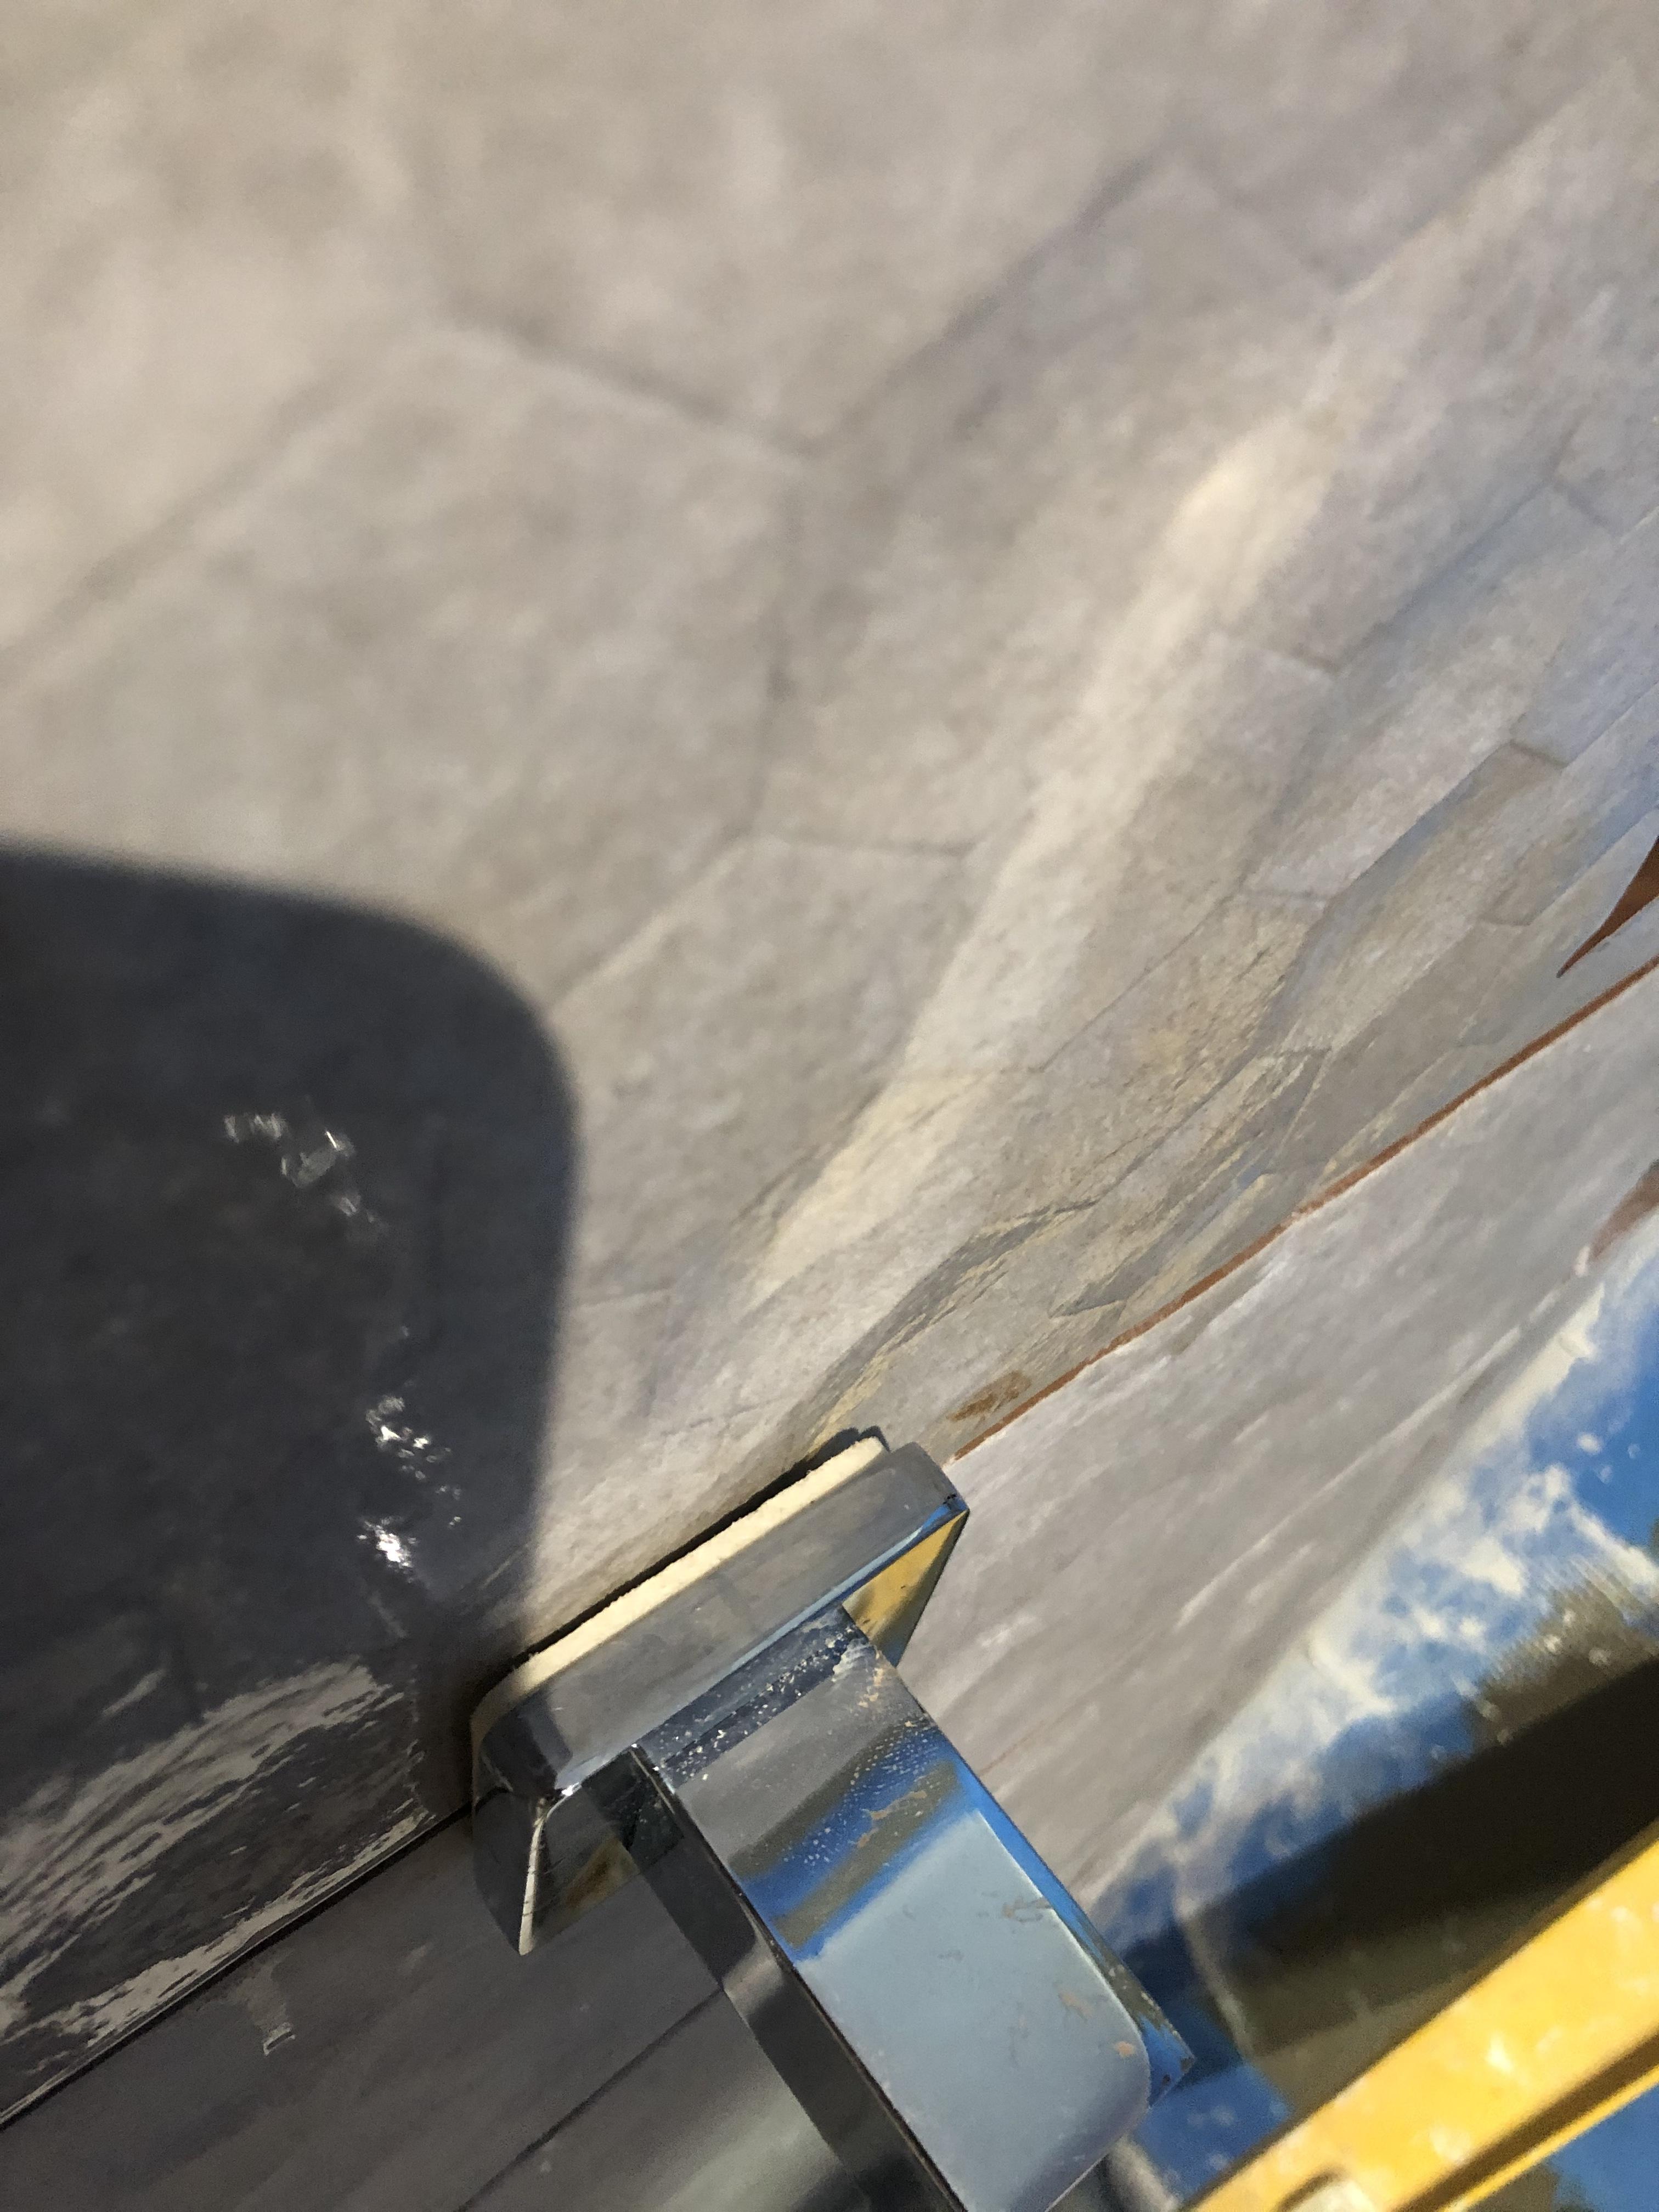
Shower elbow does seem to Be slightly out . Holding it’s tile it sits in shows it up . Should I cut out the backer board - level fitting and set it back a few mm . Or ignore ??


-
Just tried the shower elbow . Not particularly tight against the tile . The white rubber surround only just touches . Assume this is ok if I Mastik around it also ?

-
This though , where the end tile appears to have moved is unacceptable!!!
-
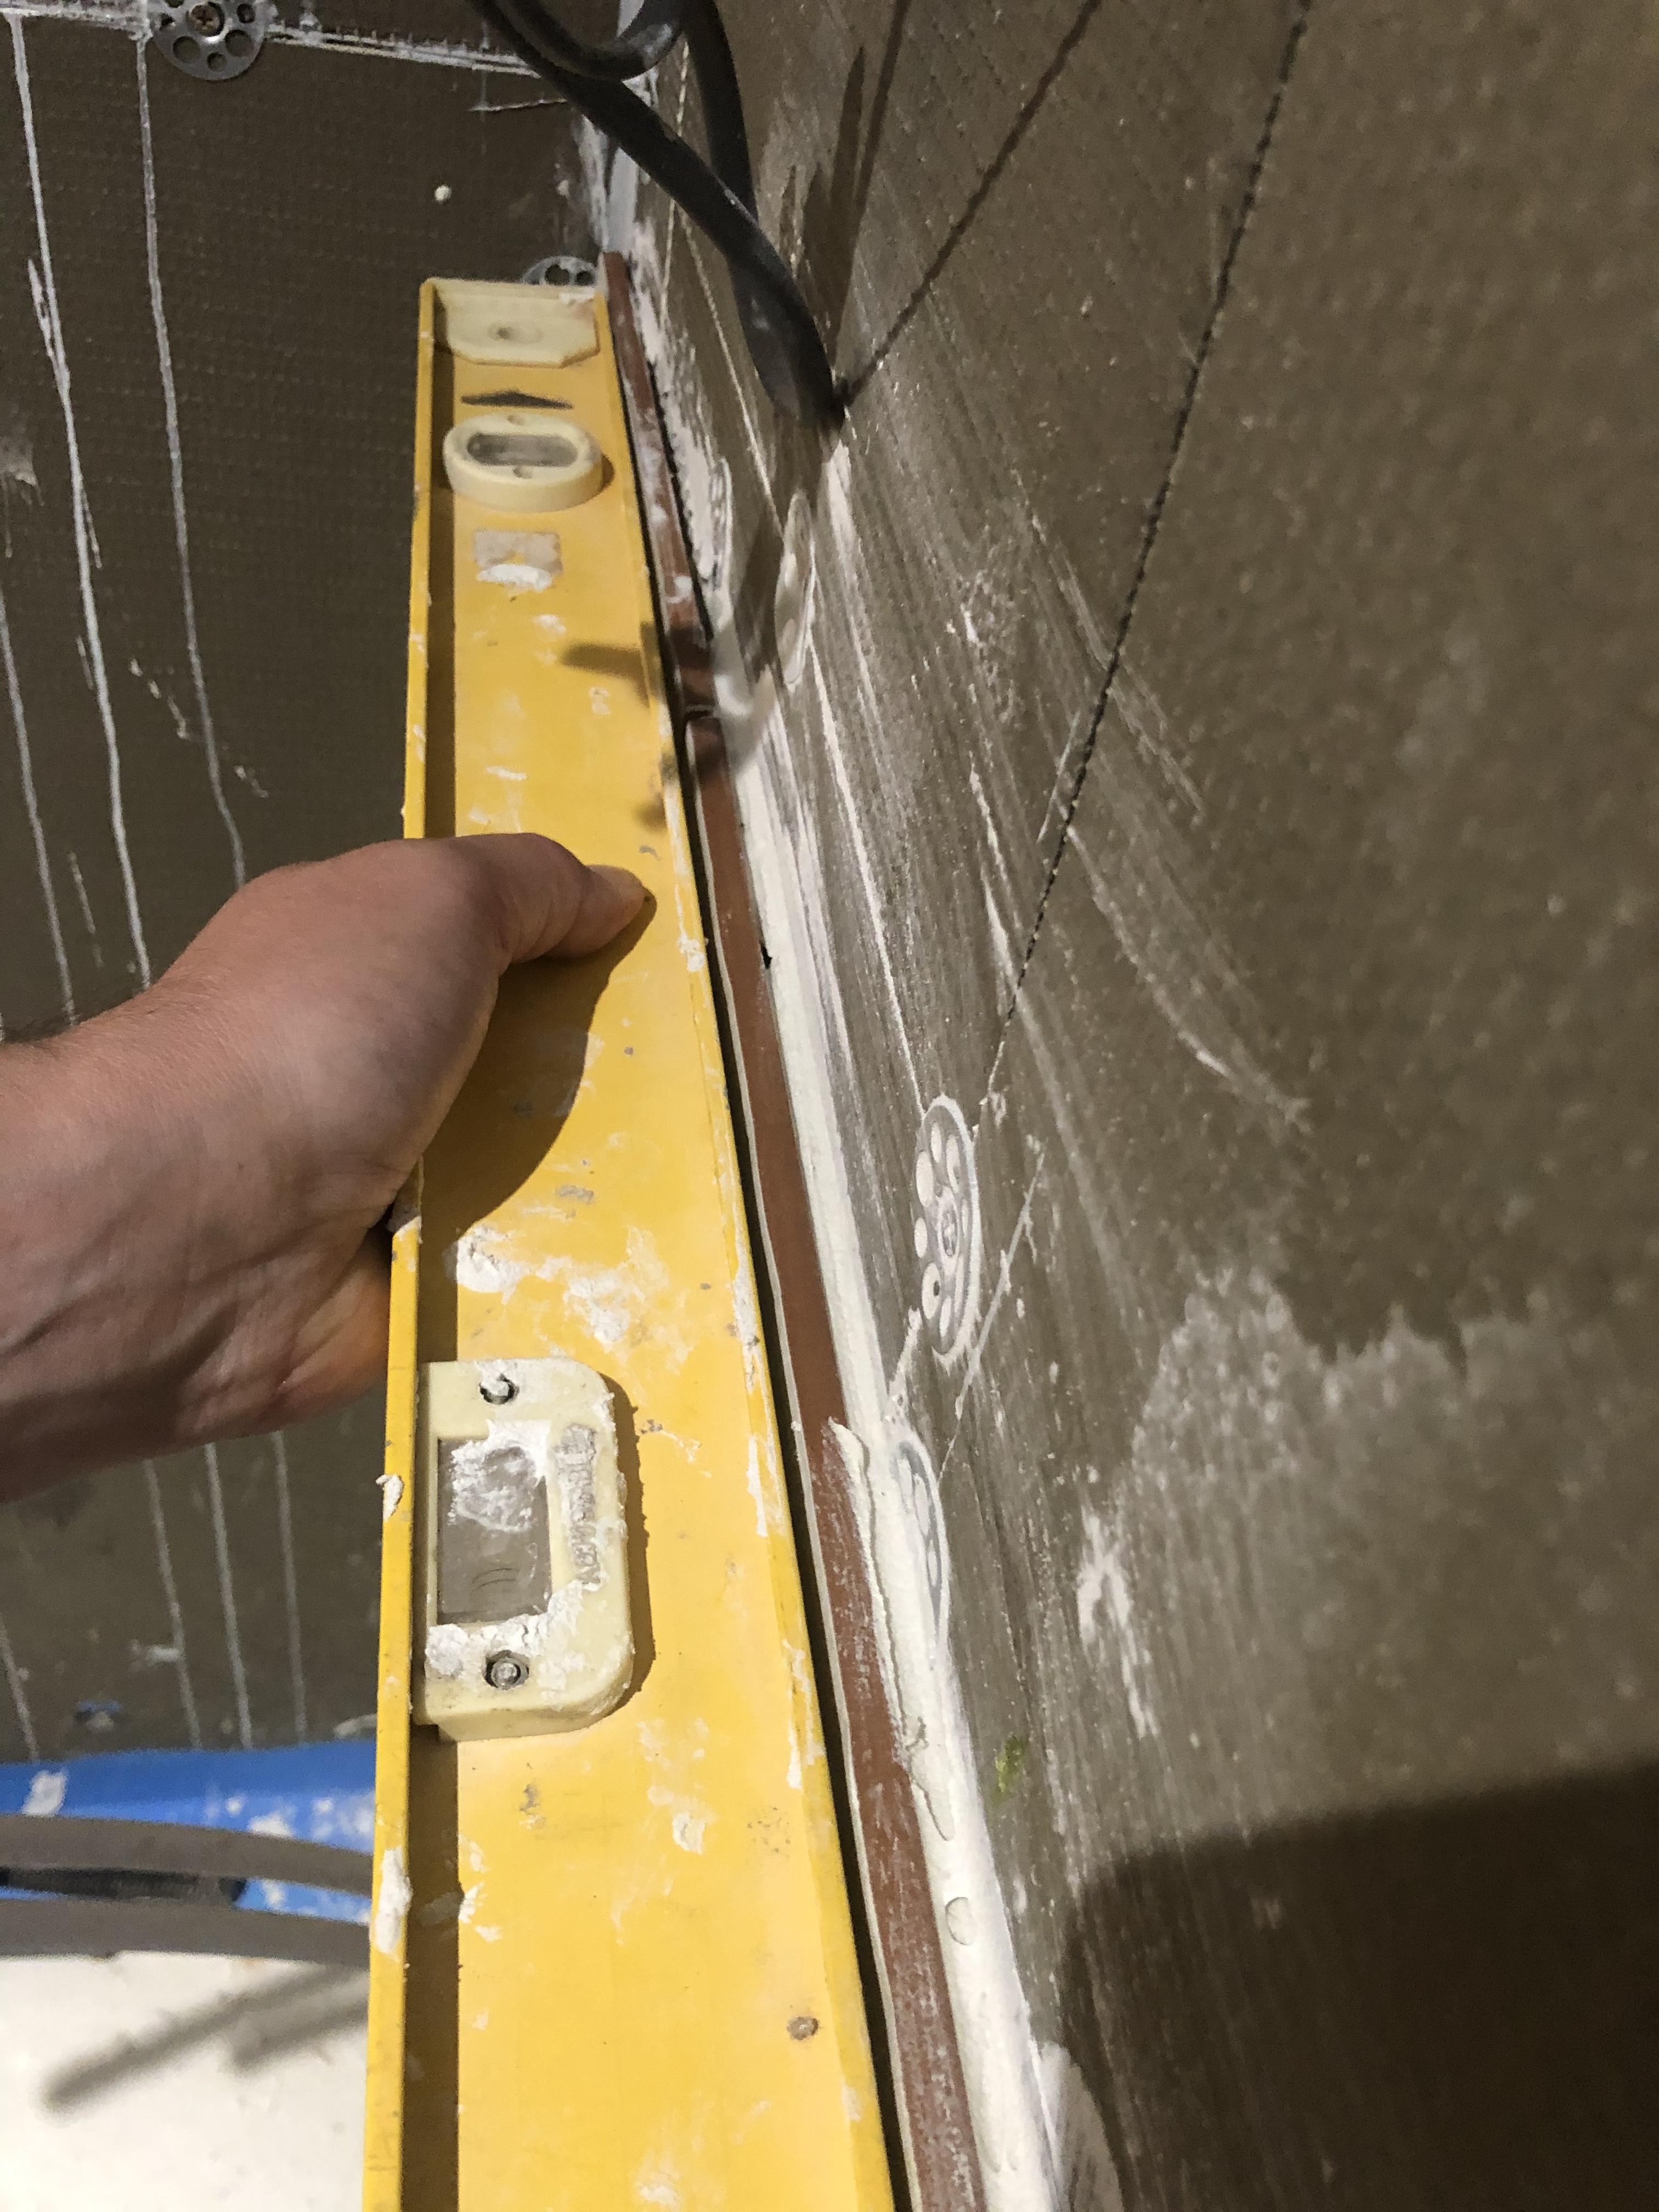
Lol My memory must be going . It’s not as bad as I thought . The corner is out , it bows . If you look at the 2nd photo the gap for the tile narrows to a point where you can’t even get a tile in . I’m assuming this is all ‘acceptable’ at the moment ....

-
I agree I am not a tiler , a plumber , a builder or anything So imperfections are expected . That laser line does show you are out , but if I eye’d it I couldn’t tell . My errors greater than that ! On site in an hour - so photos to follow !
-
You mean a dick ?
-
Why has this not been deleted ??
-
Filth !!!!
-
Tastes better ?
-
Ok ! CT1 was the do everything . Now BT1 !? - what’s the difference???
-
On the side - just in the corner . Photo to follow
-
Like ripping out a strip of the tile backer board to allow the tile to go ‘into’ the wall and be level ? One tile on the other side has moved and set crooked . What’s the best way to get it off ?
-
I’ve got a bad feeling to get my tiles level and flat in the corner they need to go into the wall . The stud work must of been a bit out - bending the tile backer board . Photo’s tomorrow. I can think of a nasty solution that Uncle Nick would swoon at .