
LiamJones
-
Posts
259 -
Joined
-
Last visited
Everything posted by LiamJones
-
Video doorbell pain - so ring ?
LiamJones replied to Pocster's topic in Networks, AV, Security & Automation
I’ve gone ubiqui for all my networking + security needs. Makes the cost of the ‘hub’ more palatable, and it’s rock solid. Got 4 g5 turrets connected to a dream machine pro. Will add a ubiquiti doorbell + chime to the mix at some point, but been OOS for a while, expecting a g5 doorbell to be announced soon. Or I go with a gate + intercom setup, that’d be nice. -
Hey @TerryE. Google search results for buildhub are significantly degraded, I think since the above migration. Doesn’t look like Google is able to crawl the forum as well. https://support.google.com/webmasters/answer/7489871?hl=en#zippy=
-
With that said, I’d focus on airtightness first with that place, it was pretty leaky, and 200mm of PIR under the slab wouldn’t help that. I guess the only reason I dug the slab out of this current one I’m doing, was because I upgraded energy efficiency everywhere.
-
I’ve used wunda over floor boards befofe in a 3 bed semi renovation with no additional energy saving measures. A warm floor was nice, but I don’t know if it saved money, as I never heated it with rads. Energy usage was about £250pm in 2019. 3 bed semi 70mm cavity blown beads. for what it’s worth, if I did it again, I’d probably dig the slab out and do it properly with insulation under and UFH embedded in slab, but, there’s no doubt that’s more expensive to do in the first instance. If I couldn’t justify the “proper” way, the wunda board are a good half way house, and I’d prefer them over rads for sure, even if it didn’t save any money.
-
Is it just a case of going to a fabricators and grabbing a slither of steel they’ve got laying about? Or do I go and buy a “steel straight edge” from somewhere 🤣
-
Nice idea with the steel/ali, will gives it a go. Boxes full of what, sorry @nod?
-
Thanks @nodany recommendation on blade for limestone + marble? Also what about cuts that will be on show and not under a skirting board? I.e the wall/cieling junction? Any tips/tricks for getting dead straight cut?
-
Hi, I’ve got 65m2 of 15mm limestone 600mm x FL, mostly 800mm some 700 and 900mm lengths. I’ve also got 50m2 of 12mm marble 300x600mm. dont need any mitres. I’m preferring the Rubi TC-125 at the minute. Although have looked at the DU-200 850. Have also seen people say just use a hand grinder. don’t wanna spend loads, but if £500 of kit makes 115m2 of tiling easier, I think I’ll go for it.
-
From offer to money in the bank was actually pretty quick. I’d prepared my solicitor with the majority of the paper work in advance. Maybe a couple weeks?
-
About 3 months from application to money in the bank with ecology. It felt painfully slow at times. An email takes about a week to get a response, absolutely make sure EVERYTHING is included in the application to avoid back and forth.
-
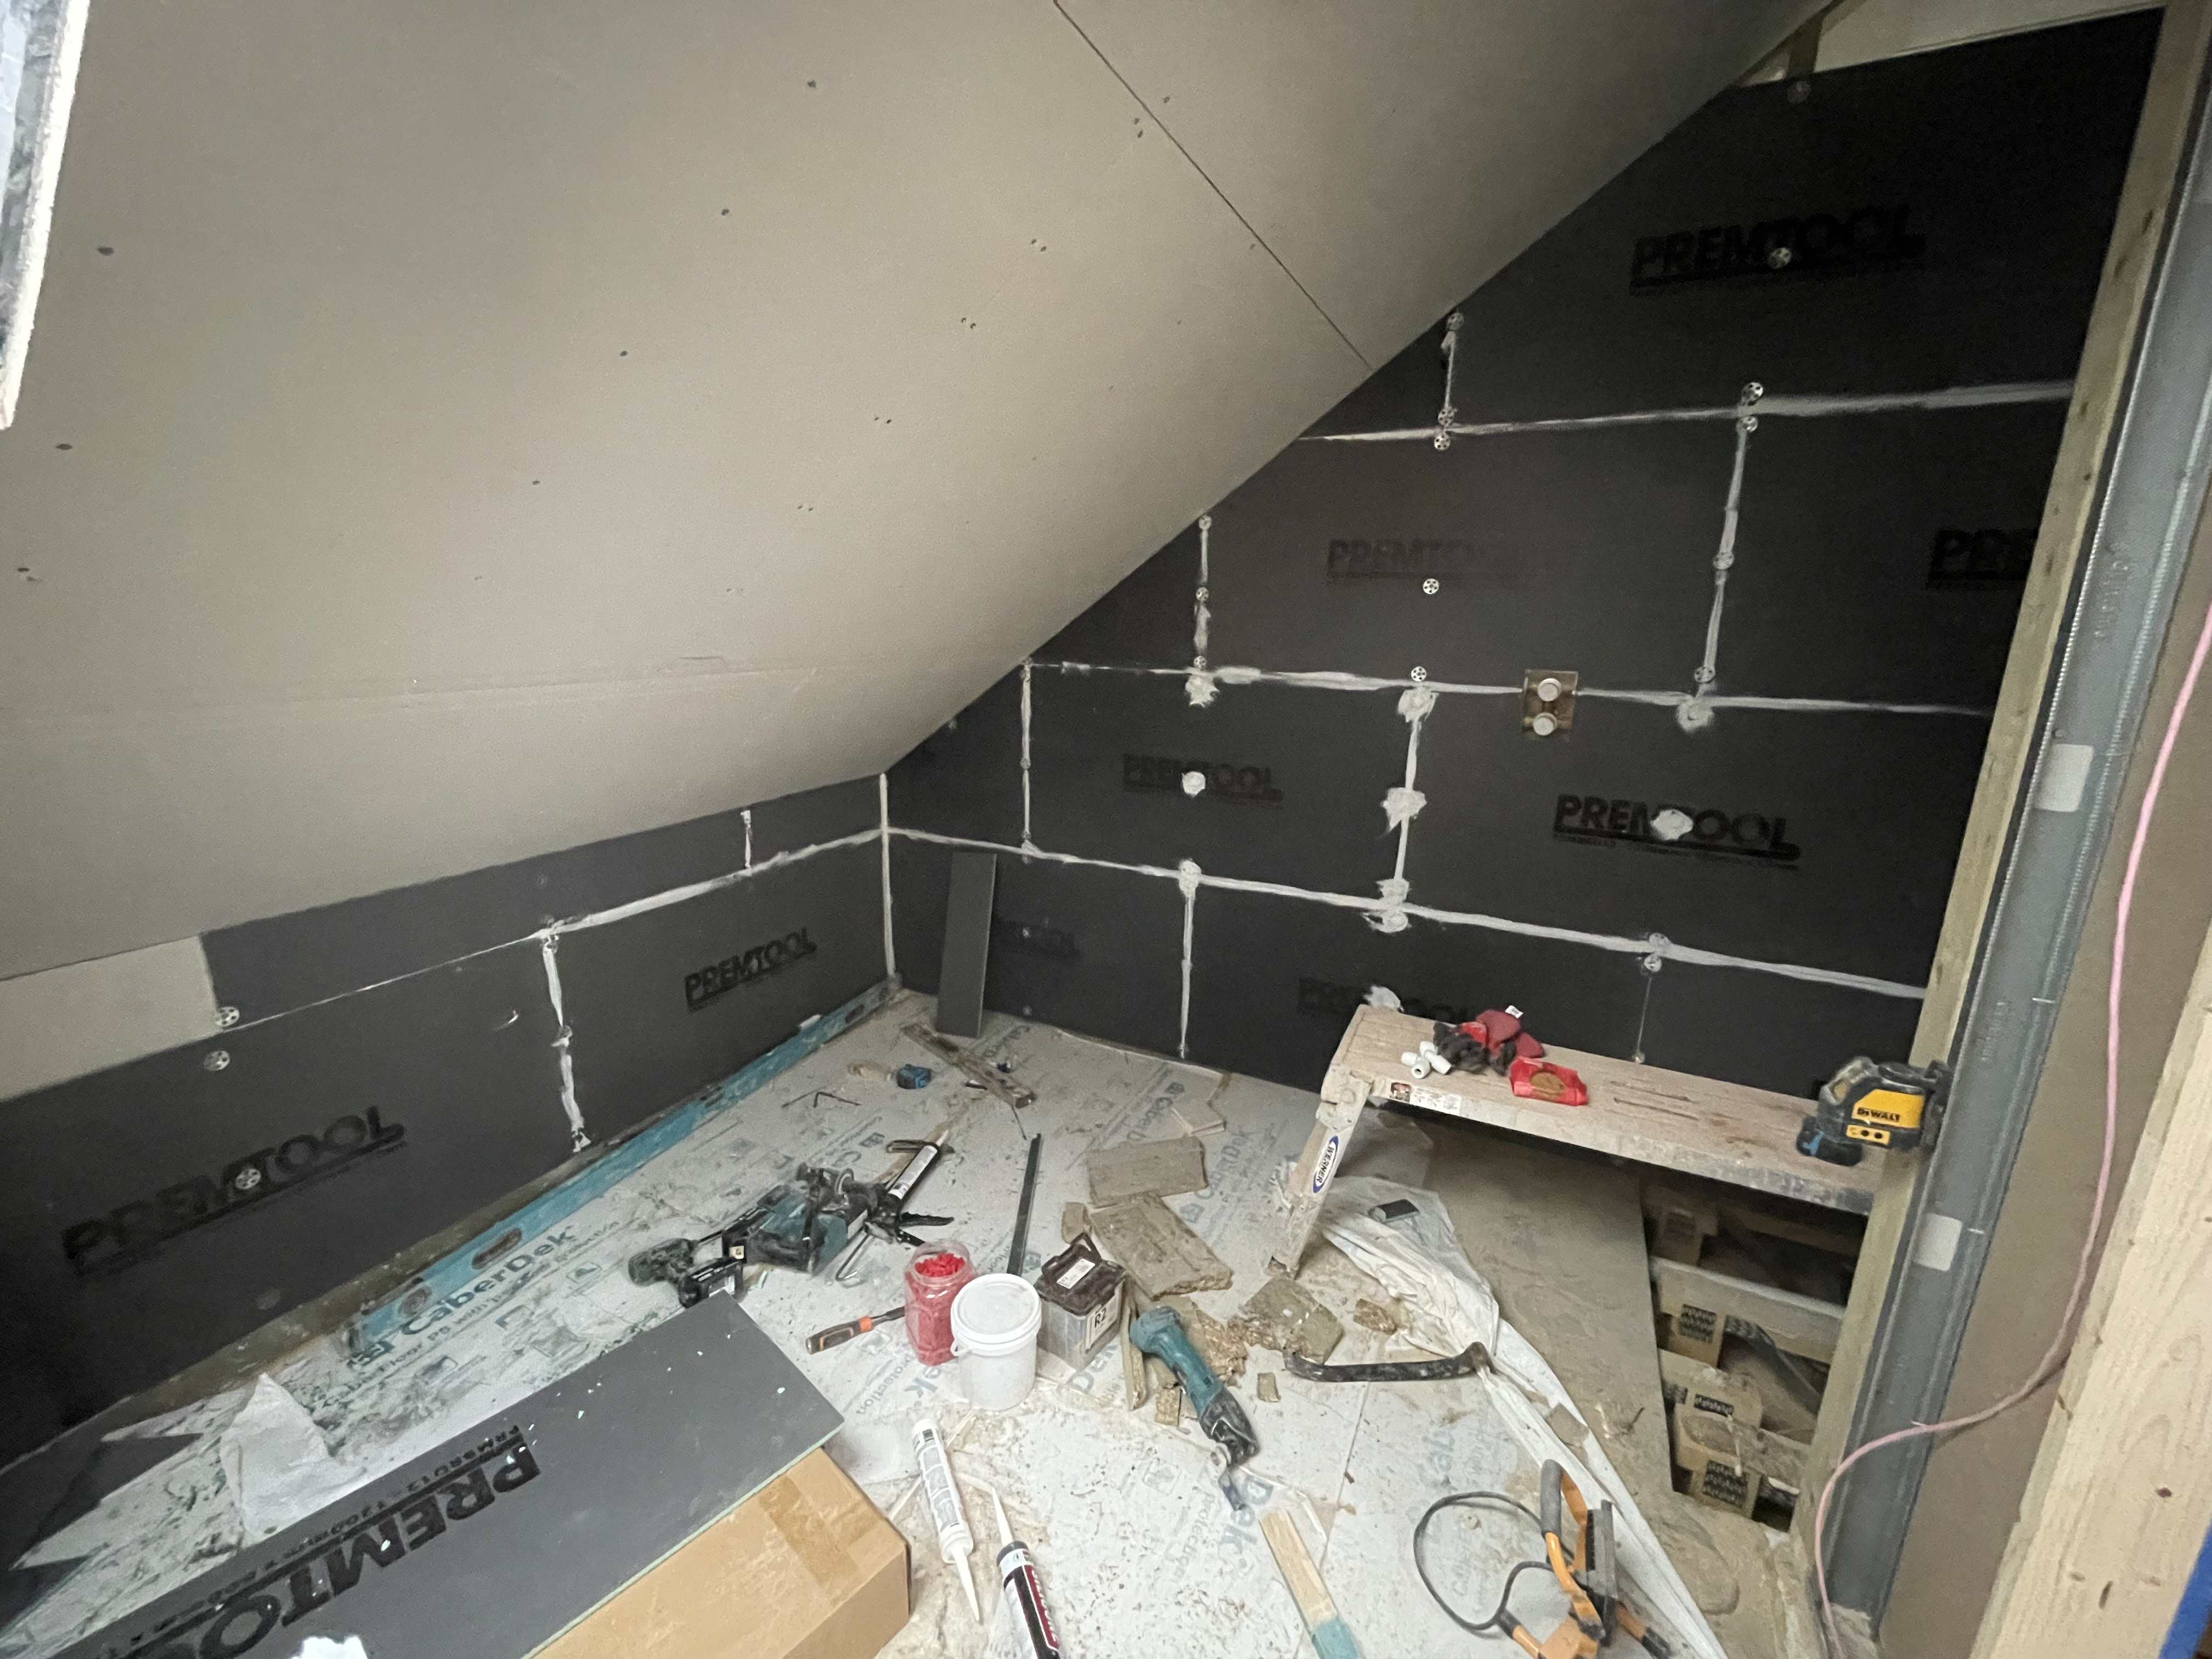
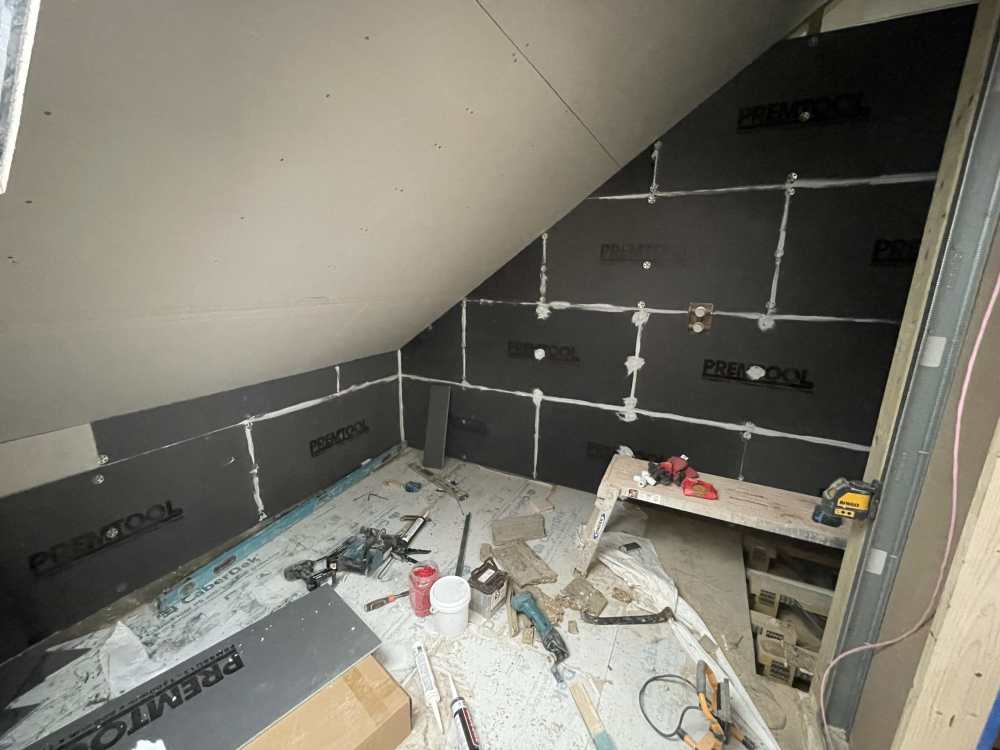
I understand you don’t need to further tank the XPS tile backer boards in a wetroom, just the joins, which can be achieved with a bead of CT1 between the boards. At least that’s what I’m planning on doing, so be good to find out if that’s not true.
-
In progress
-
I should add, the cost of the sealant between the tile backer boards is working out about a tube every 10 boards (7.2m2). £10/7.2m2 =£1.389/m². I’m using board fix by jackoboard. you should also throw in some waterproof corners £5 a pop and a tub of insulation washers £30 for 500 (should do about 50 boards or 36m2)
-
I’ve looked into this quite a bit and decided to go for premtool 12mm tile backer boards. I worked out the following; prices inclusive of vat Plasterboard: £4.5/m2 paintable tanking £10/m2 impey water guard £21/m2 hardie backer: £13/m2 Tile backer: £12.5/m2 both the PB and the hardie backer should be tanked, the tile backer is already waterproof and just needs the joints sealing with CT1 or similar. i therefore believe, for a tanked wetroom, tile backer board is the cheapest option. furthermore, plasterboard can only take up to 32kg/m2 (or thereabouts) which is right on the limit for a 10mm marble, the tile backer board is good for 120kg/m2 and the cement board 200kg/m2. I could have gone cement board (I did at the last place), but they’re heavier, messier, and still need tanking, therefore slower to install and more expensive. modern xps filled tile backer board seemed to me like a no brainer. I liked the look of the impey waterguard self adhesive waterproof sheet (and decoupling membrane), but so expensive, the only people that use this must be limited by buildup height. Ive gone tile backer wall and floor onto 22mm p5 caberdeck
-
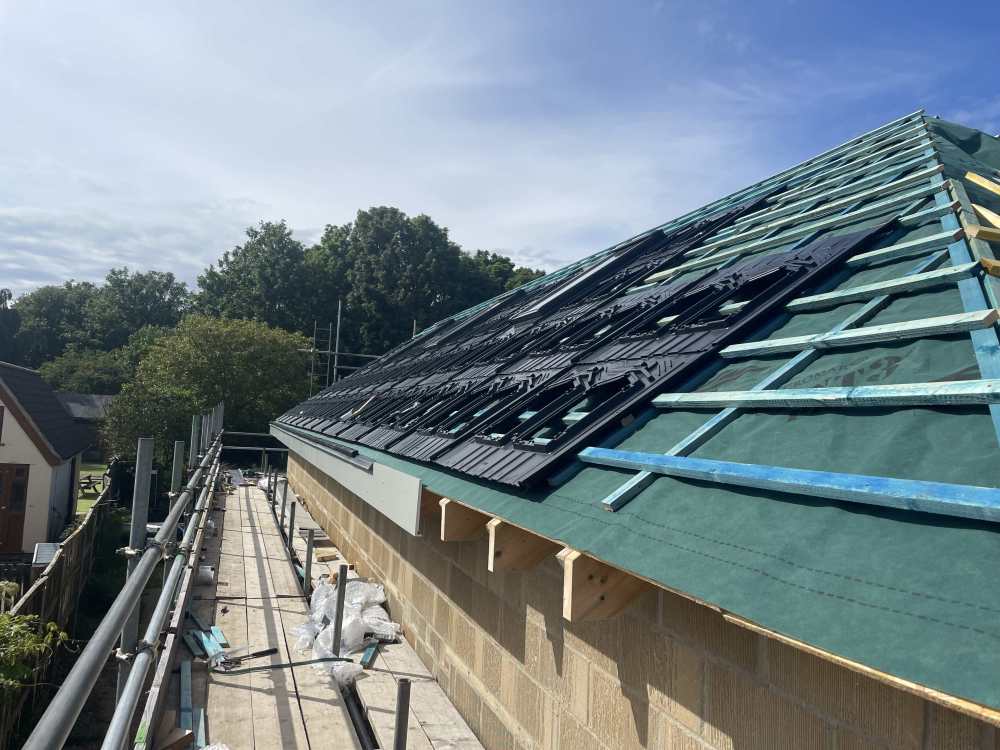
There is a gold batten added towards the end of the roofing work, once I was confident of how the eaves detail would work. If you look back at the first photo I posted, you’ll see it
-
Maybe this photo helps? I fitted another eaves tray over the top of the vent and under the gse trays before fitting the panels. This additional eaves tray only spanned the gse trays. At the tiles I had just the one eaves tray. The fascia/vent height was consistent all the way along, however
-
I didn’t have a kick, just bought the fascia up to keep the fall of the tiles consistent all the way down.
-
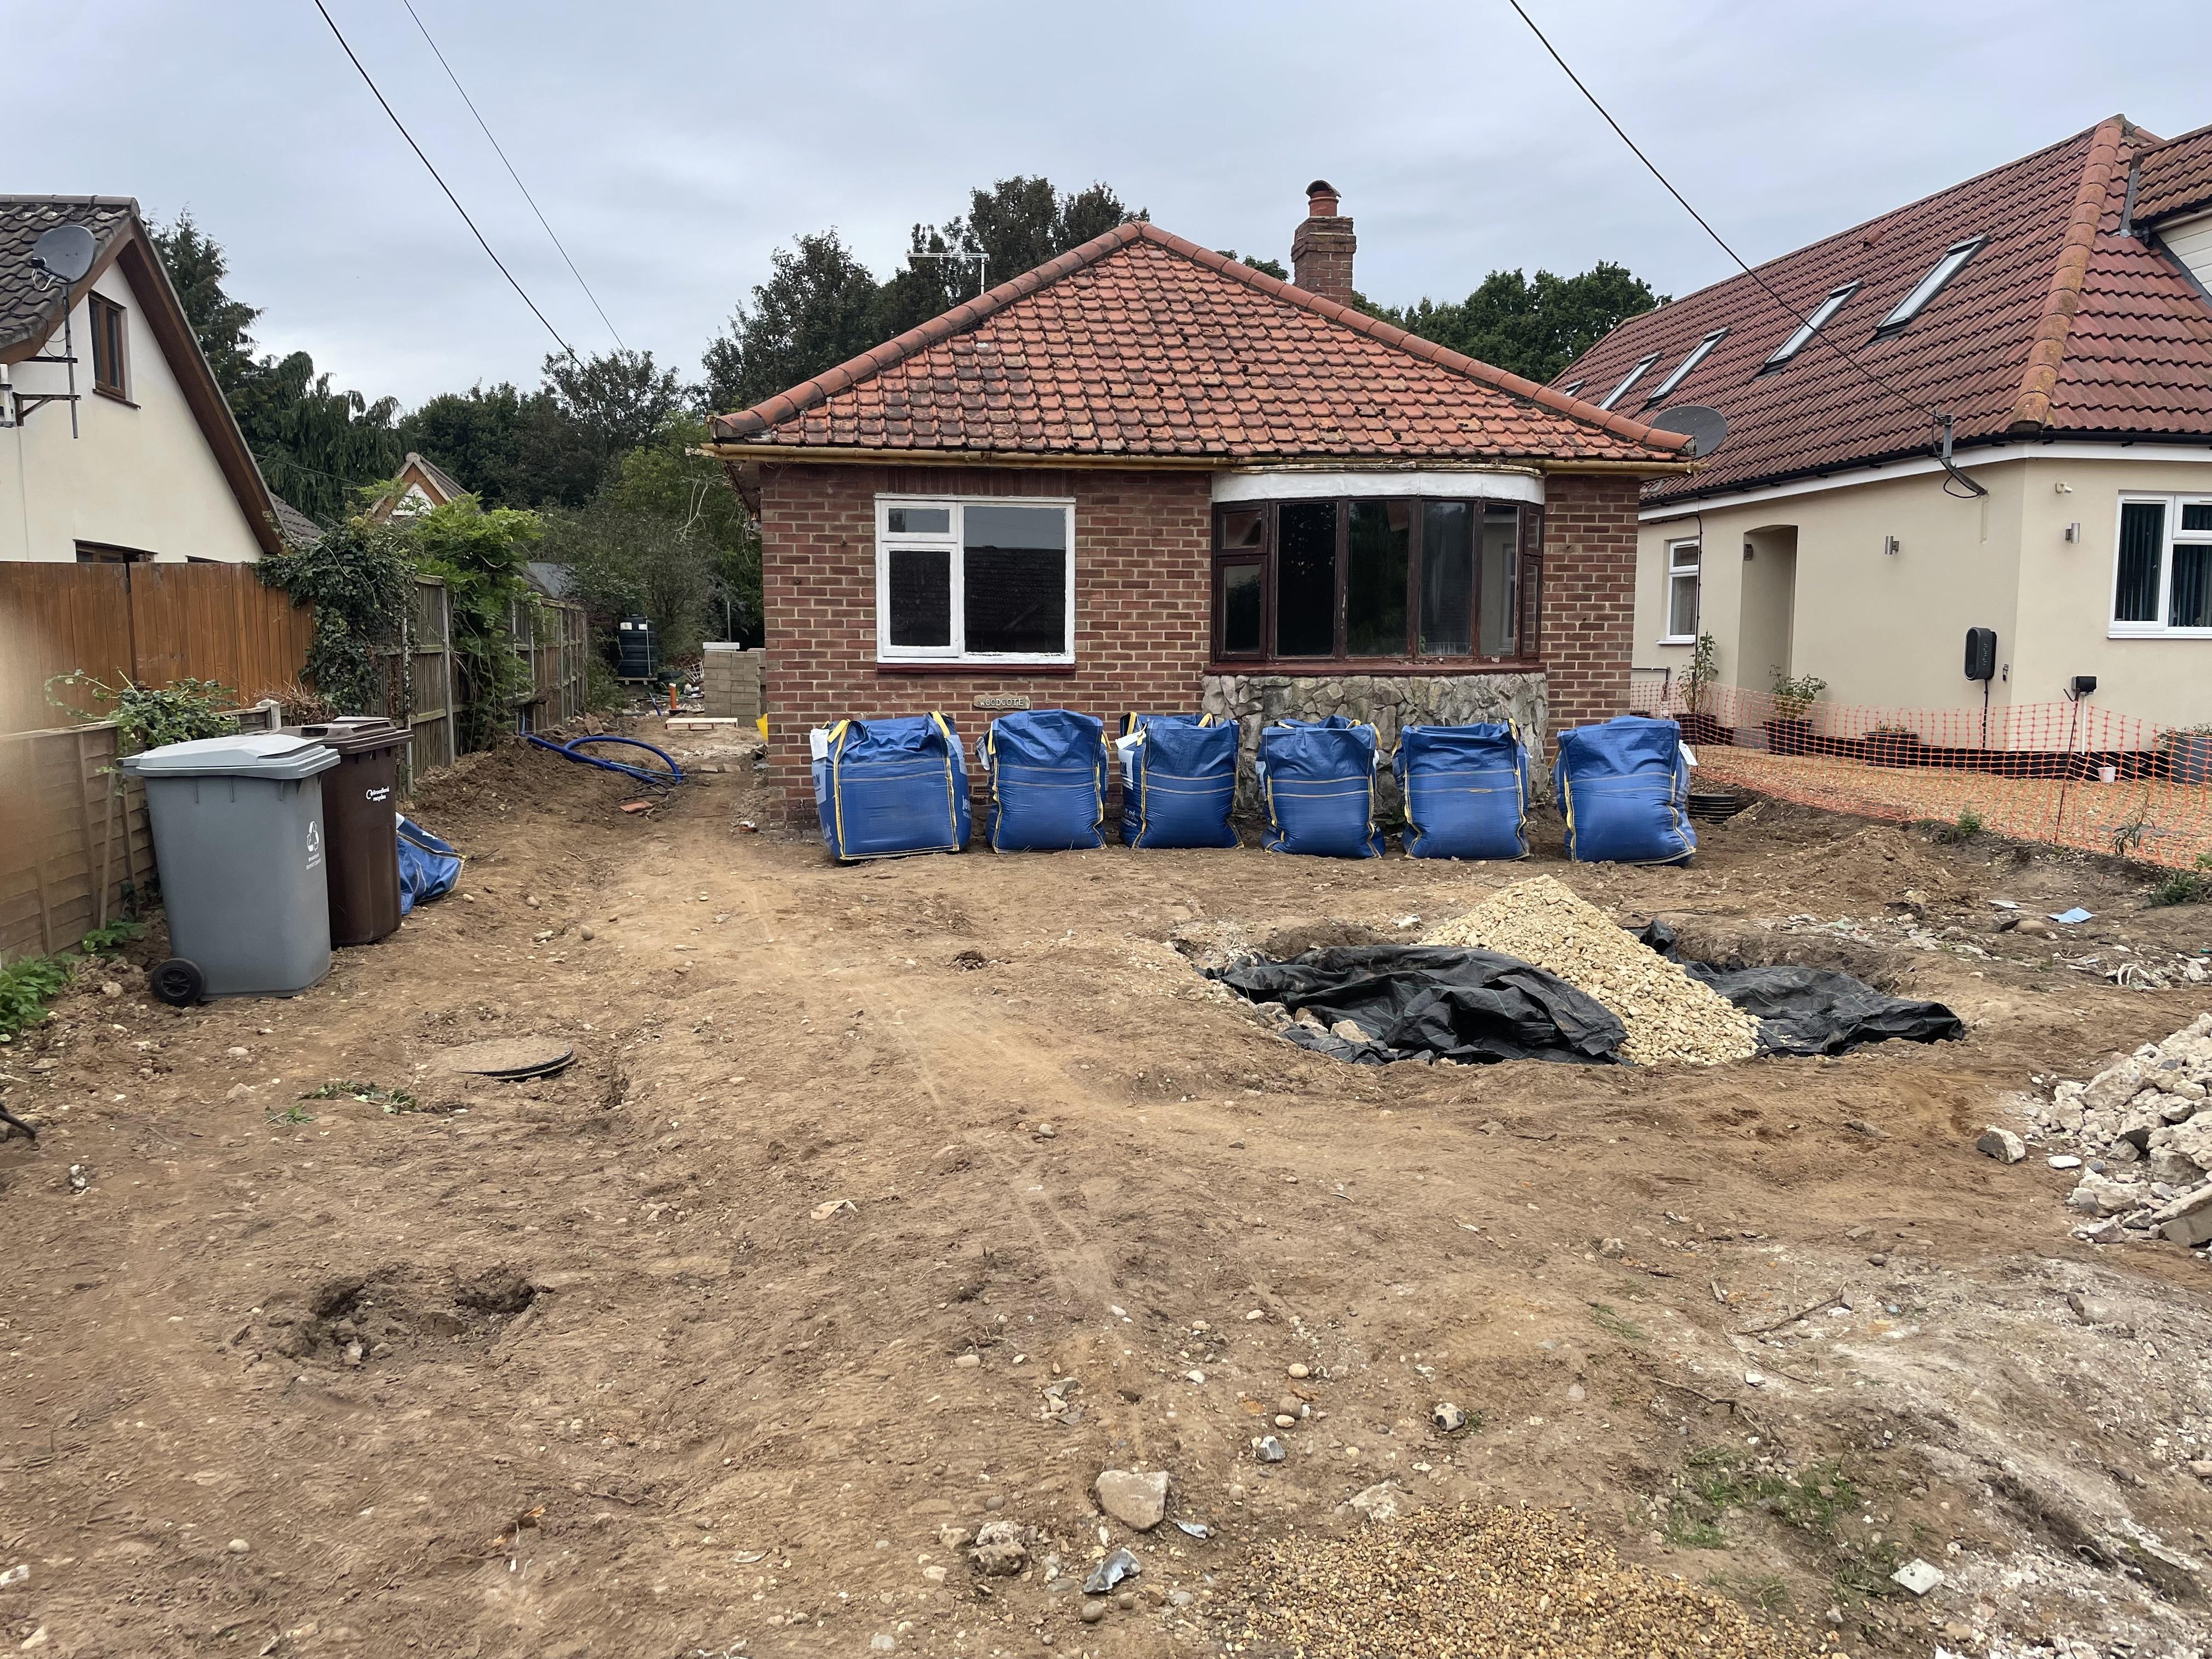
Amending planning from Reno to rebuild
LiamJones replied to LiamJones's topic in Planning Permission
https://forms.southnorfolkandbroadland.gov.uk/buildingcontrolforms -
Zehnder Q350 Ducting sizes
LiamJones replied to Chanmenie's topic in Mechanical Ventilation with Heat Recovery (MVHR)
Thanks @Chanmenie anyone else on here running f7 filters on a vent axia plus B. I don’t really understand why it isn’t officially supported? -
Zehnder Q350 Ducting sizes
LiamJones replied to Chanmenie's topic in Mechanical Ventilation with Heat Recovery (MVHR)
Nice, did you got with the advance s for the f7 filters? I was eyeing up the vent axia plus B, but it doesn’t officially support the f7 filter. It’s a bit weird, because the plus b looks more powerful than the advance S (now rebranded econiq S) -
Zehnder Q350 Ducting sizes
LiamJones replied to Chanmenie's topic in Mechanical Ventilation with Heat Recovery (MVHR)
@Chanmeniedid you work out the answer to this? I have the same question! -
If you “live” there, you can request an emergency appointment on the day the DNO (re)connect you
-
Alternatives to Ecology Building Society?
LiamJones replied to FelixtheHousecat's topic in Self Build Mortgages
Ecology were willing to talk to me about additional borrowing recently, so would assume they are back up and running