zoothorn
-
Posts
4747 -
Joined
-
Last visited
-
Days Won
3
Everything posted by zoothorn
-
Hi ST. Its a great idea.. trouble is I've not got even 1mm room for it. One mistake Ive made doing plant ons in both my extension self-made door, & renovating the front door, is to not leave a 1-2mm gap, so my extension door has swollen a fraction & is squeezing onto the hinge-side plant-on almost preventing me closing ito onto the opposite latch side (& Im stuffed bc I glued & nailed the plant-ons to frame). This front door I did leave a 1mm gap on hinge side.. but dont want anything to ruin it as it is. Ideally you need to factor such an excluder in, whilst positioning the plant-ons, plus 1mm for safety/ in case door swells if its a new one I'd say.
-
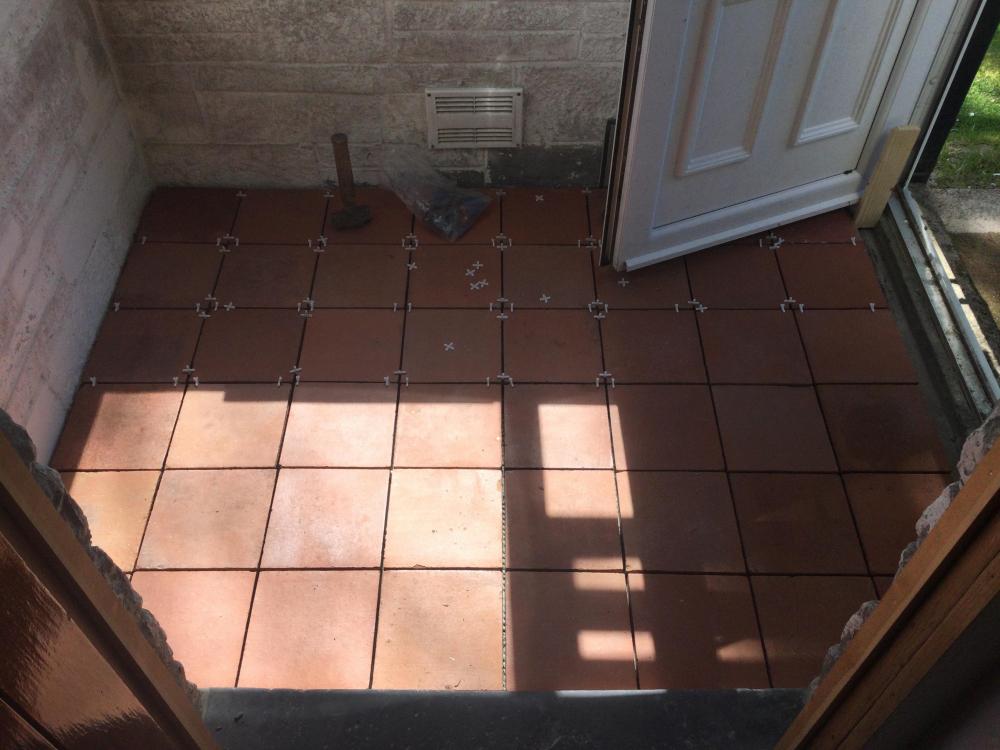
But your bricks- all the same. These were some bowed, some fatter &/ or a smidge wider.. that's my defence anyway! (plus the floor had a hill & a gully to navigate). Almost a cm up some of them to the next. urgh. What would Randy do.. hmm..
-
Ok thanks, I'll keep a pot of water nearby.. I like 'Randy's' idea of wetting the float before each grout too. Its only the time leaving it, before attacking it with sponge my only main concern. And my higgledy tiles, many 5 mm high offsets one to the next, not gonna be a breeze this.
-
@joe90 funnily enough that was the exact clip I bookmarked after watching a good few. I like his light touch. So no shaping thing for him. Cheers Joe. doing the sealer now/ ready to grout tmrw. zoot.
-
Peter was right again, should indeed do the sealer before the grout.. because of the porous nature of the rough tile surface. I'm beginning to think that it makes most sense to, & that I'd like to just be adopted by Peter. Is 49-3/4 too much? zoot.
-
@joe90 Hi Joe. Did you run a grout shaping thing over your lines? I didnt do a great job last time I grouted you see, go as usual to clips.. & there seems to be different ways, sponge, no sponge, running a shaping whatnot along lines after you've pressed the grout in, but never seen this before. I dont know where to start. Im wondering if my silicone shaper tool, the type with 4 different rubbery end bits to choose profile etc, whether this is suitable or even ideal tool for the job? Sponge? I always thought this was inherrant to the job, running diagonally across lines, after a period of time for grout to partially set.
-
Its confidence, & motivation too/ the worst aspect of being 1 here. I'm a bit hesitant about the grout job.. not my forte. Also the depth is about 8x what Ive done with other normal thickness tiles too, so timeframe to do a similar say 2sq ft say is surely vastly different, meaning sponging time & stuff going off all much trickier surely. A heap of pointers morelike! Were your tiles deep ones too Joe? Is it possible to add a dye into mortar I wonder.. all I need is it a bit darker for my 3/4" gaps to 2 walls & slate threshold. Concrete for my 2" gap. Hmm.. so that's what just adding some gravel into a 4:1 mix? I can never see how this addition adds strength to what would otherwise be mortar myself.
-
Great tip.. will do just that then. Understand your suggestion of 'clean them up' too now.. getting the glue bits off 1st. The sealer says 3 days to become fully resistant. Hmm.. was gonna grout tomorrow. What would you do about the gaps to wall, & to the old slate? Both around 3/4".
-
Ok will do that next then before grout. Might be able to get my 250 mls left to last longer this way! Pricey stuff. thanks zh
-
Hi Peter- that's as clean as they go! I'll do the Mattstone tile sealer stuff once grouted.. I used on my bathroom tiles & no issue with the grout lines: it makes the job alot easier, I think (it might make the grout not stick in the gaps is my thinking). Pretty fluky getting front/ back 6 tiles almost perfectly in- there's a 3/4" gap at back, 1/2" gap to front where slate step is, I guess just do a neat mortar job in both to fill, rather than grout?
-
(This post not addressed to jfb, i just cant remove the quoted post above.. again!). Turned out great so far, good few uneven corners, chips.. & the last gap bit 2" or so adjacent to door Ive 2 tiles for/ cut when i can. But way better than expected. The gap nr door area gets wet here, from door drips also rain getting thru under thru door sill somehow.. so ideally done asap. Or just mortar this gap? It'll have a matt on covering most if it. No adhesive left tho you see.. just enough to do job! V. Lucky. thanks zoot.
-
Actually it does make alot of sense I'd say.. where there was dust I missed, adhesive didn't stick. So I think you're right tbh.
-
No understood. It went down the trouser to no avail. @Onoff well I didn't see any youtube info on priming it you see. Its too late as you say, over 1/2 done. dammit if Ive bodged it.
-
@joe90 Hi Joe, I'm 1/4 into tile laying. Now I think I'm gonna be a bit short on adhesive- the mix ratio on the pkt seemed wrong (way to heavy) but even so I'm gonna struggle. Can you tell me, I'm doing it in quarters, & saved my excess bit of compo from my 1st mix in a food bag/ tight. But its starting to set. So I'm kneeding it! I might even put it down my trouser Joe. Can I 'knock it up' this stuff? or bung this bit back in, or add water to it.. I guess thats knocking up, isnt it-? Damn stuff sets way too fast to do it any other way than lay 12 tiles/ no more or the compo will go off it seems to me. thanks zoot. thanks.
-
(This post not addressed to jfb, i just cant remove the quoted post above). Just about to jump into my tiling job. I go to youtube clips, 1st thing I see is some flexible sheet laid on concrete floor. Is this necessary for me? Or can I crack on with just laying my adhesive onto my concrete floor. Do I need to prep the surface with anything? Ive got Mapei Fast-set adhesive, which i believe is less quick than Rapid -set. Only stuff available. Any tips welcome. I plan to just lay without cutting any: meaning a 1" gap to wall at each side.. & laying from doorway, I'll have a 2" gap to wall/ think how to finish off these gaps later. thanks zoot.
-
So mortar adhering to the tiles is ok? i was thinking silicone as it would be easier to get off tiles, if ever need to.
-
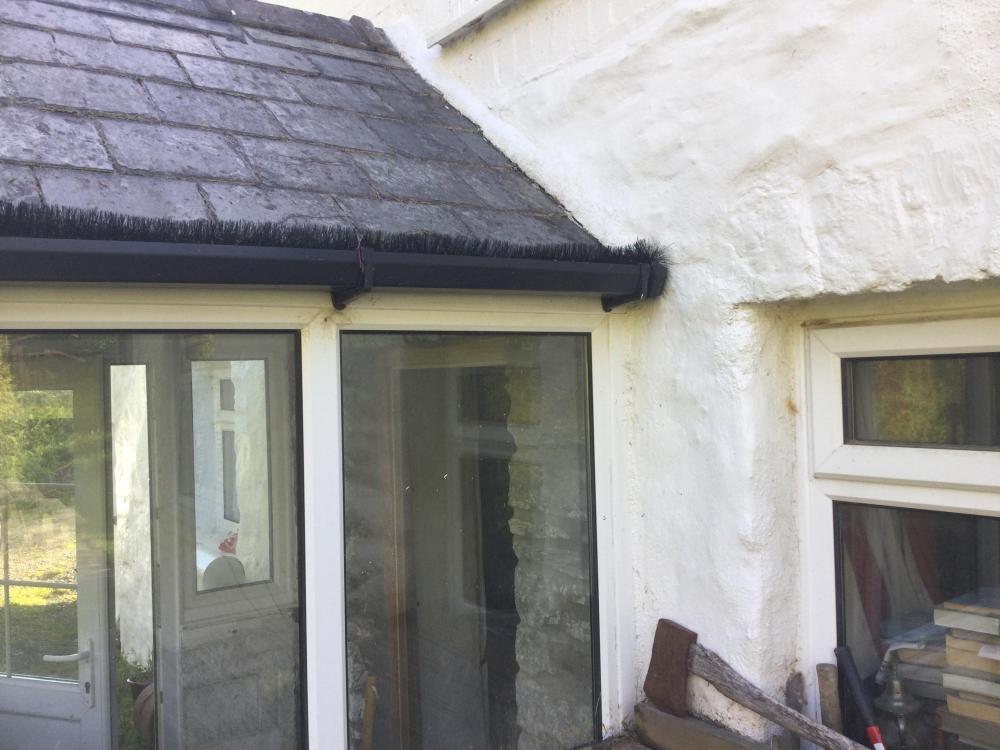
Hi jfb.. I think you must be right yes that has to be where its getting in. Rain was slanting into this side of house for 2 days. Its the only gap, i took gutter off & no obvious entry point underneath. Fill with a thick doing of white exterior silicone stuff?
-
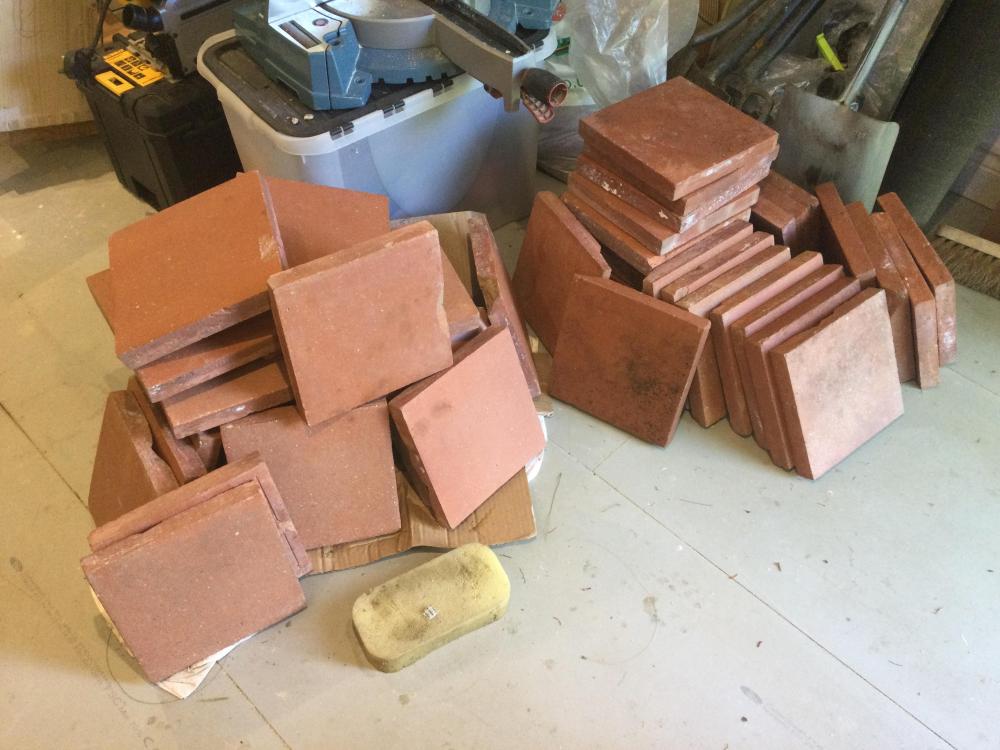
Its already been done this one (concreted edges before, gunked top) in hot soapy water & jif in.. chipped off crap then galv scourer scrub the feck outta 50 of them. I think they'll have to do like this, as Joe says, it seems actually in the fired tile this black 'mouldy' looking thing. Dishwasher? Fat chance. I dont think theyve come out here yet.
-
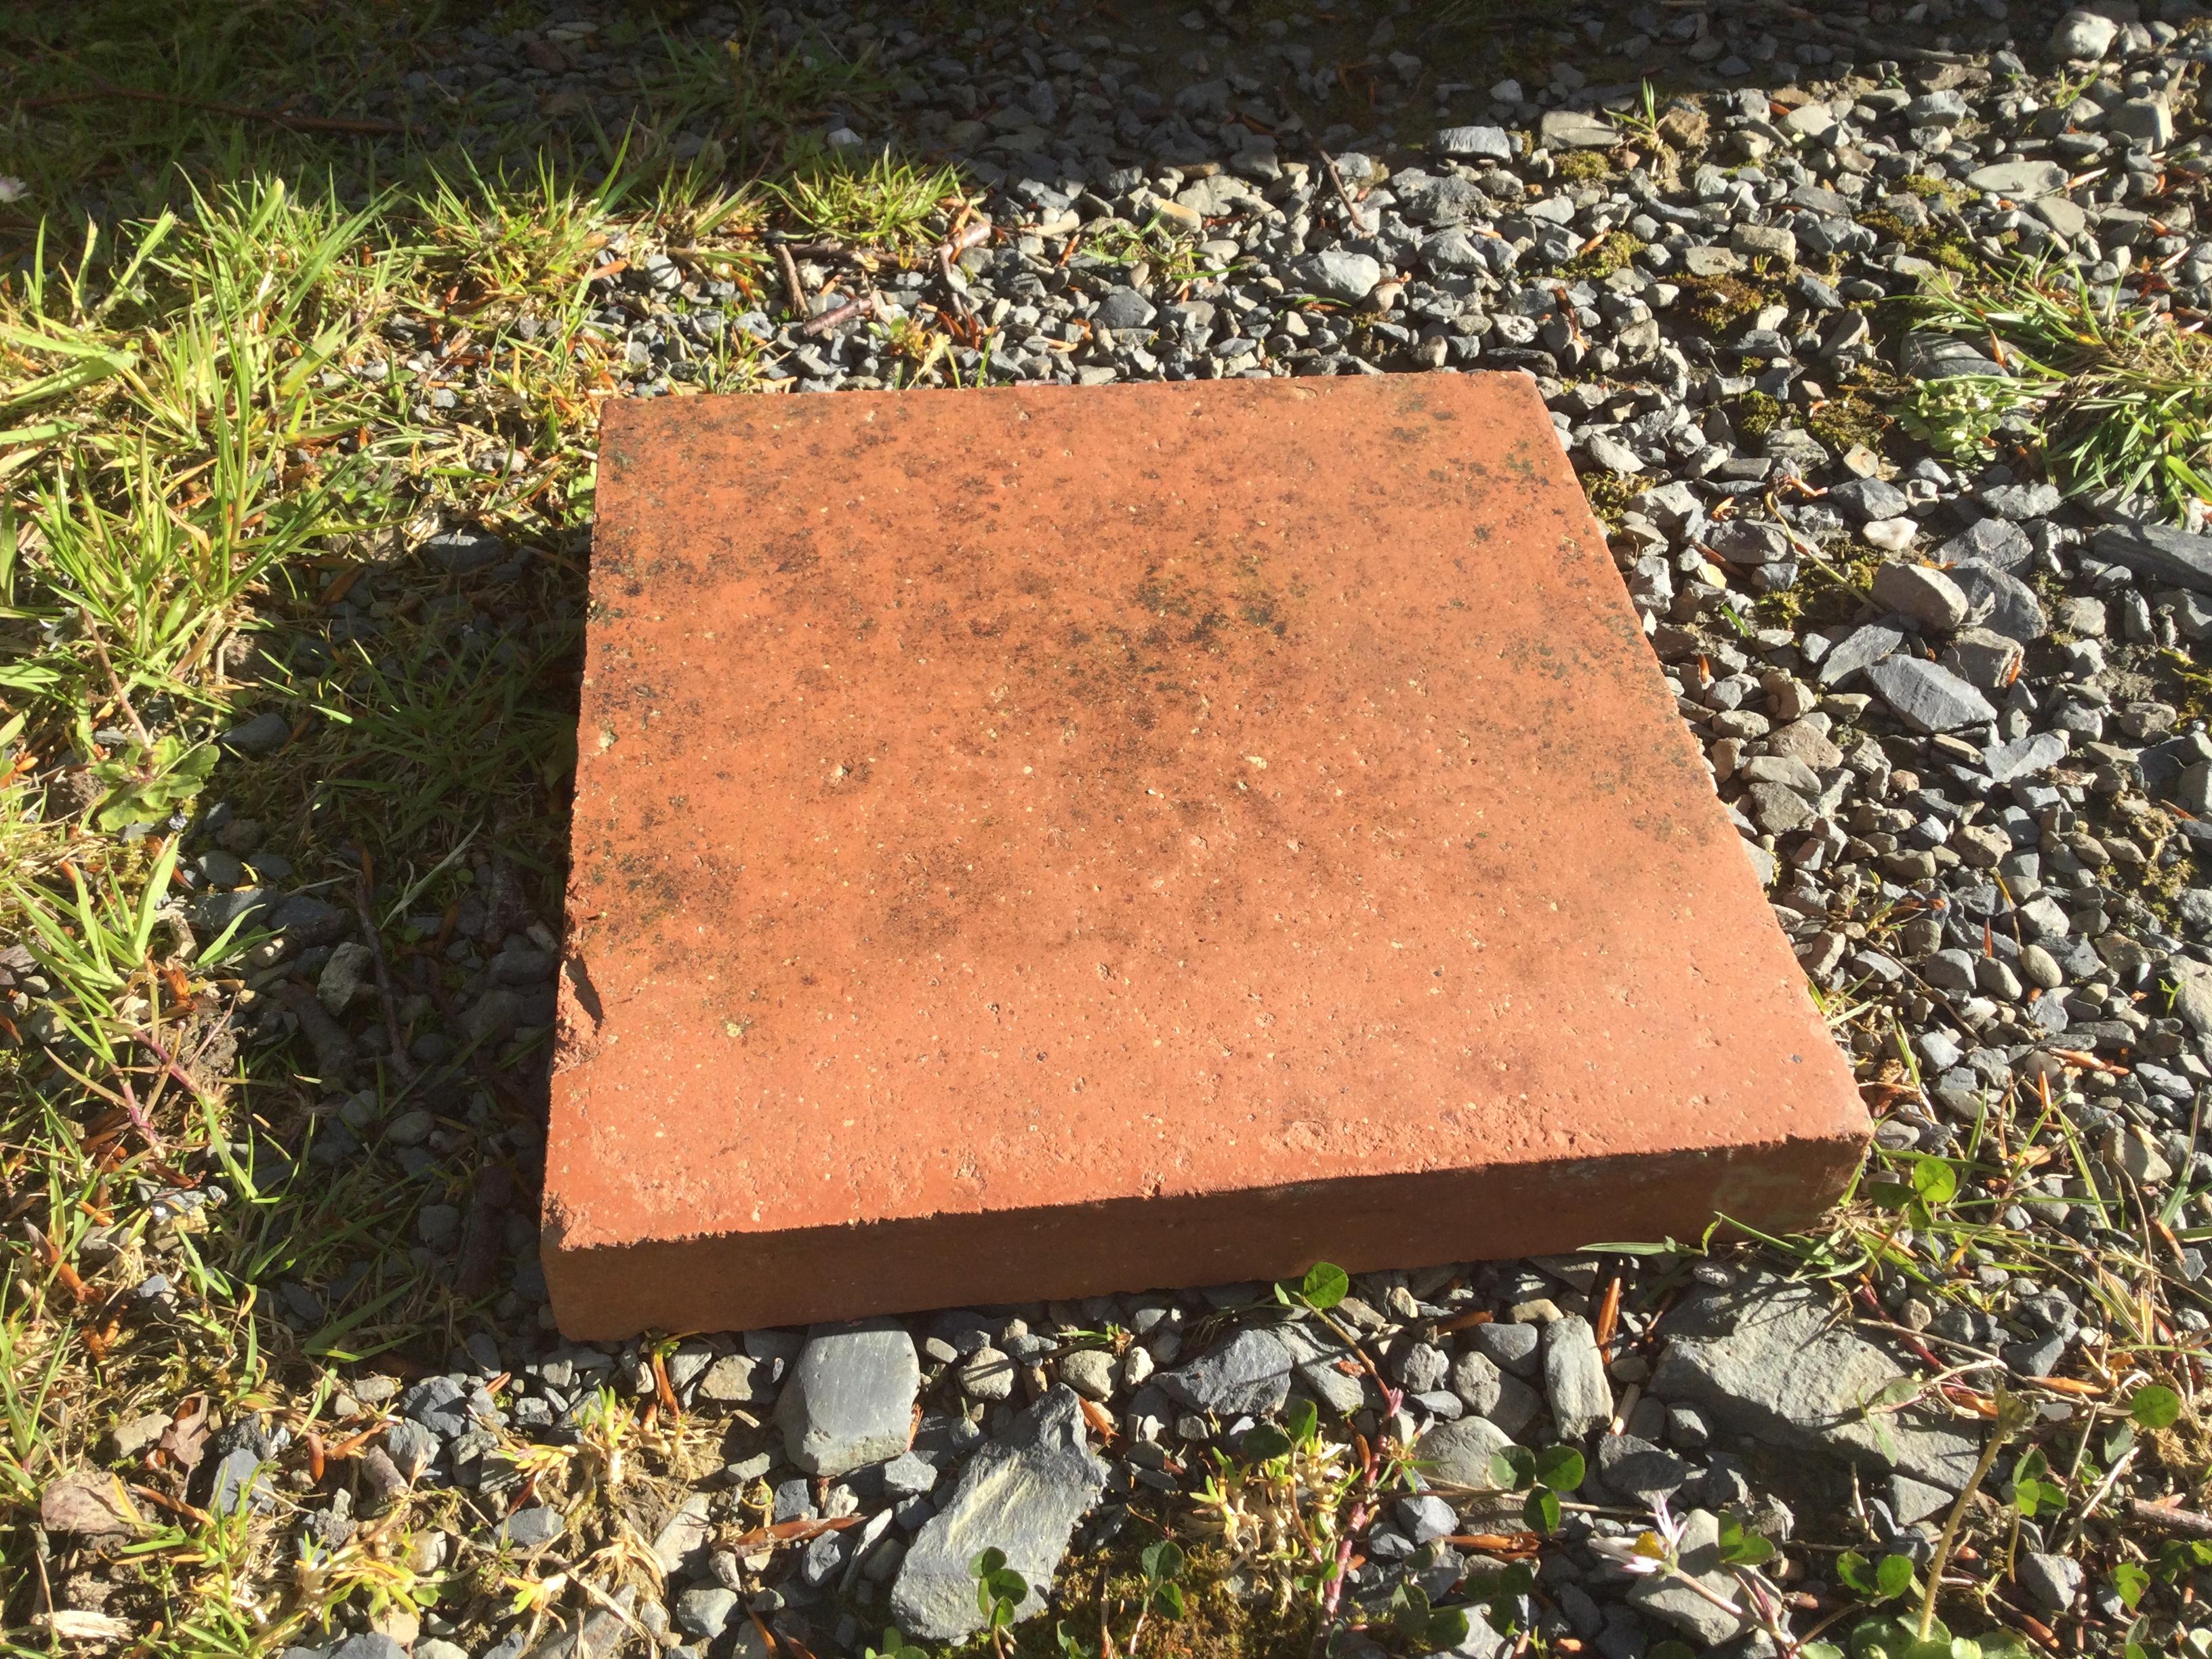
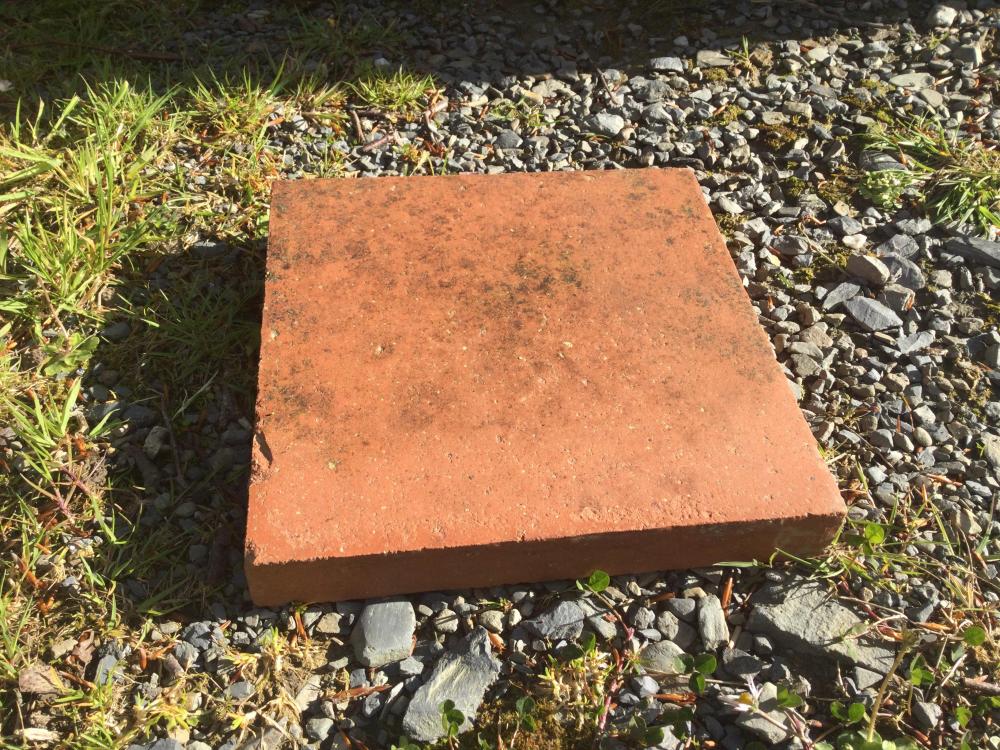
Hi there newhome, those do look nice and clean though.. a third of mine are like so (this is scrubbed really hard ) which just look 'dirty' & many big gouged chips too:
-
Hi jfb, yes should've filled with mortar. Live & learn. Anyway a pic of porch outside
-
Ah.. well then, I sort of thought its so welded on I doubt anything could remove it, & seemed embedded in the brick as it were. Yes was thinking if my tiles say looked A+ like yours, it might not work with my oldy higgledy frame & walls. I do have a good few chipped corners, chip out bits to top edges.. you think this might not look so bad? I guess i cant do much to rectify.
-
No it looks awful tbh. Not sanded down tho yet so will blend in better.. & I might varnish the old frame plus my strap-ons trim bits too, to darken/ blend in with door better, so hopefully will darken this awful yellow filler too. Well the outside jfb shows no signs of obvious ingress.. pic to follow. thanks zoot
-
Tiles concrete remoeved & scrubbed w'soap.. but nothing hardcore solution tried yet. On the whole many are fine as is, but a third are like the eg in post below: if laid like so will look like i have permanent black mould. Very welded on this indeed.
-
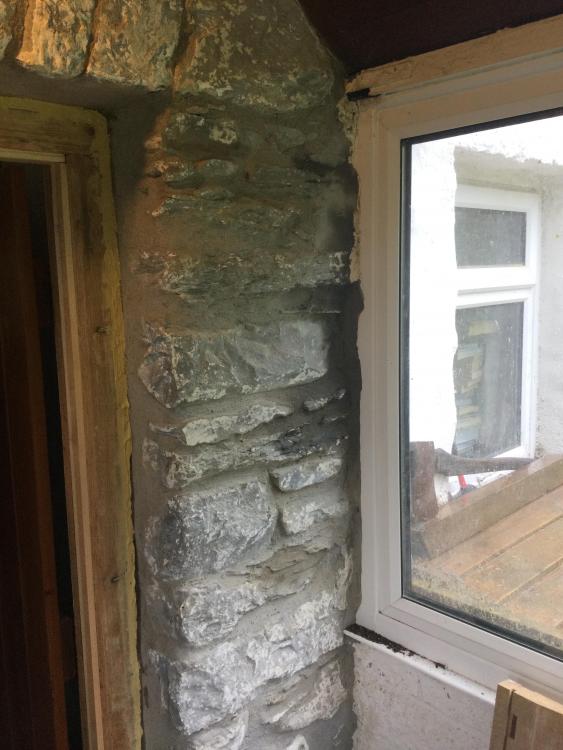
After all this 2 day rain deluge here, porch shown me its weak spot.. my new mortar here, dark area middle of photo, was noiceably wet yesterday. Now just a dark damp area. The rotten 1" wood bit directly above near ceiling, actually dry. So I cannot see where this is eminating from, no obviously outside cracks or holes. Odd. Filled the frame wet rot area in 'natural' filler.. hmm yellow doesn't seem too natural to me! Cleaning up my tiles over wknd, most were concreted in somewhere so alot of edge stuff to remove.. painstaking to clean/ prep allthese 50 tiles. zh
-
Great find- thanks joe/ & there's a 2.5 x 200mm one on same page too for 49p! 3 per side/ sorted.