JohnBishop
-
Posts
504 -
Joined
-
Last visited
Everything posted by JohnBishop
-
I bought some 5mm ply wood boards. Would this work in combination with STS? If so how can I join all together? 1. floorboards 2. ply + screws 3. flexi adhesive 4. STS tile backer board + screws and washers 5. flexi adhesive 6. tiles I have this EVOSTICK primer. In this scenario should I paint it over the floorboards or the plywood. I think it makes more sense to screw ply and STS together, right?
-
I would put some ply down but 9mm ply, 12mm STS, 9mm tile and at least two layers of adhesive makes it well over 30mm. Considering laminate floor to the bathroom will be a 20mm step at least. If I go for 60cmX60cm tiles this should be fine. I understand if I go for smaller tiles.
-
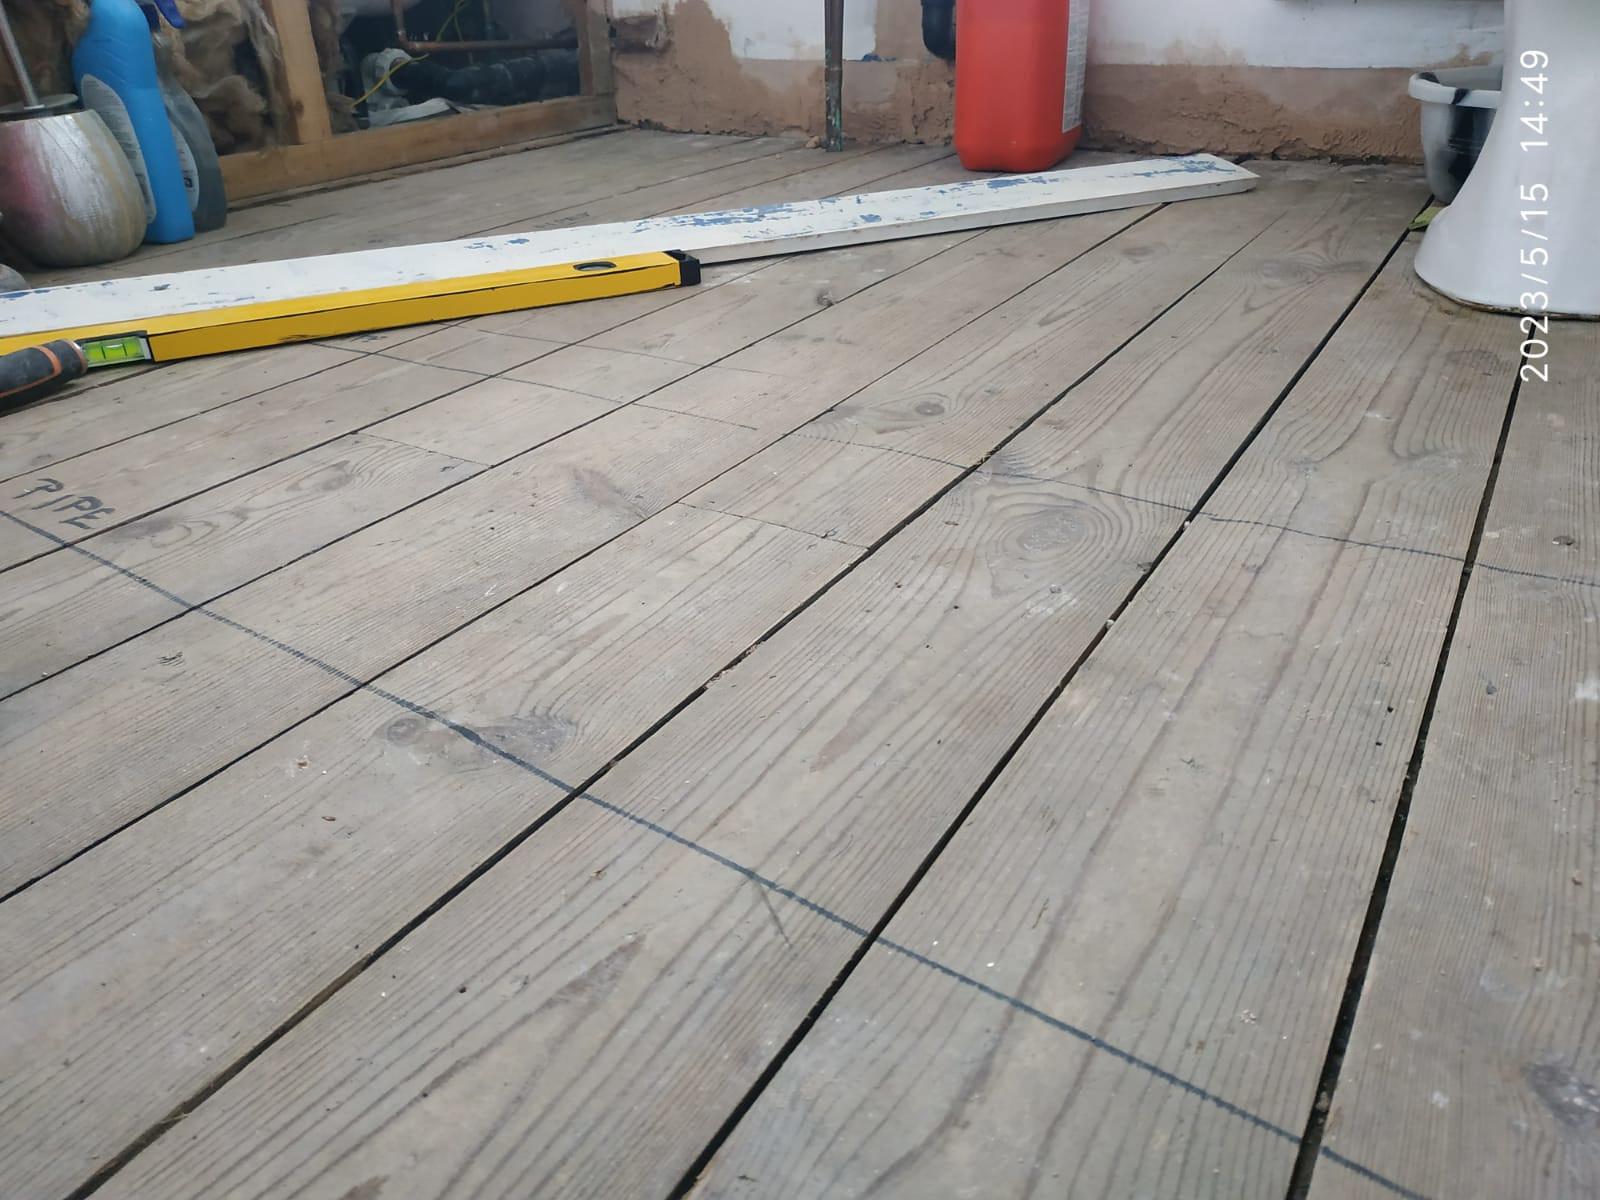
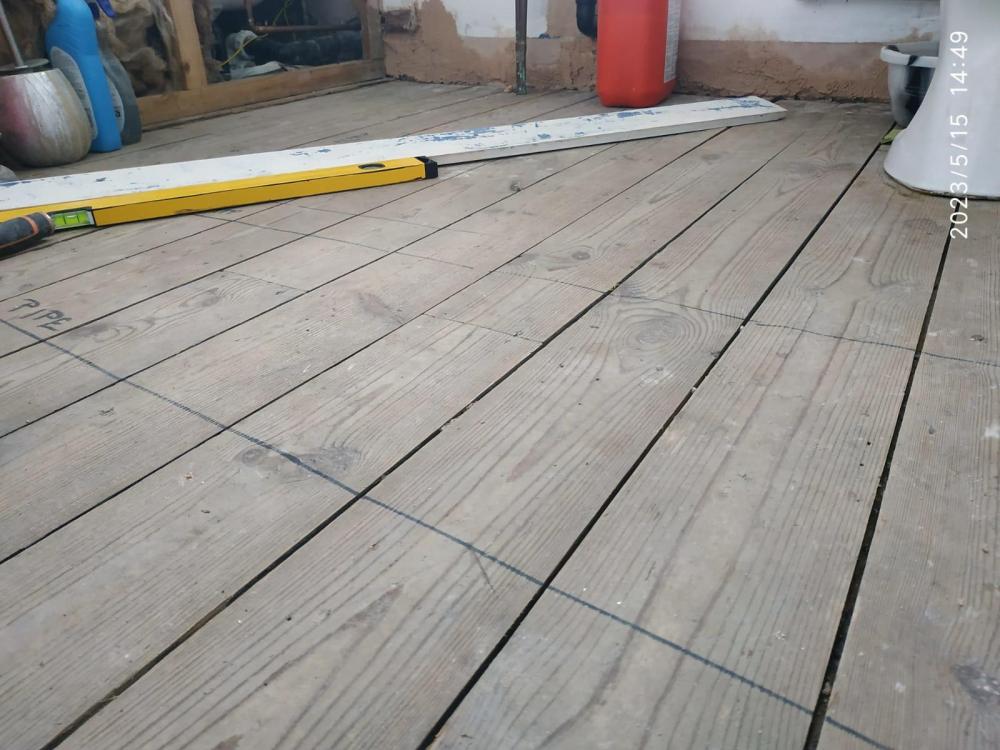
Do you mean how level are the floor boards to each other or level in general. If you mean how level in general then there is a drop of about 8mm across over 2m from the outside wall. Not every floor board is even to each other but I have screwed them so there is no movement or squeaking.
-
I think I pass on the underfloor heating. Do you mean ply or STS only or both?
-
Right so how thick ply do I need for that? I agree redoing the tiles on the floor would be a complete mess perhaps you have to replace the floorboards in the process. Does it mean I put plywood boards first, screw them to the floor boards then I use the adhesive to attach the STS boards or I just screws them all together or separate of each other and adhesive only goes under the tiles? I have these STS 30mm Screws and Stainless Steel Washers I was going to attach STS boards to the floor boards with the adhesive and then these screws/washers but with extra plywood boards this would perhaps be too thick. I also have EVO-STIK 1L Flexibond Tile Adhesive Primer I was going to paint it over the floor boards before applying the adhesive.
-
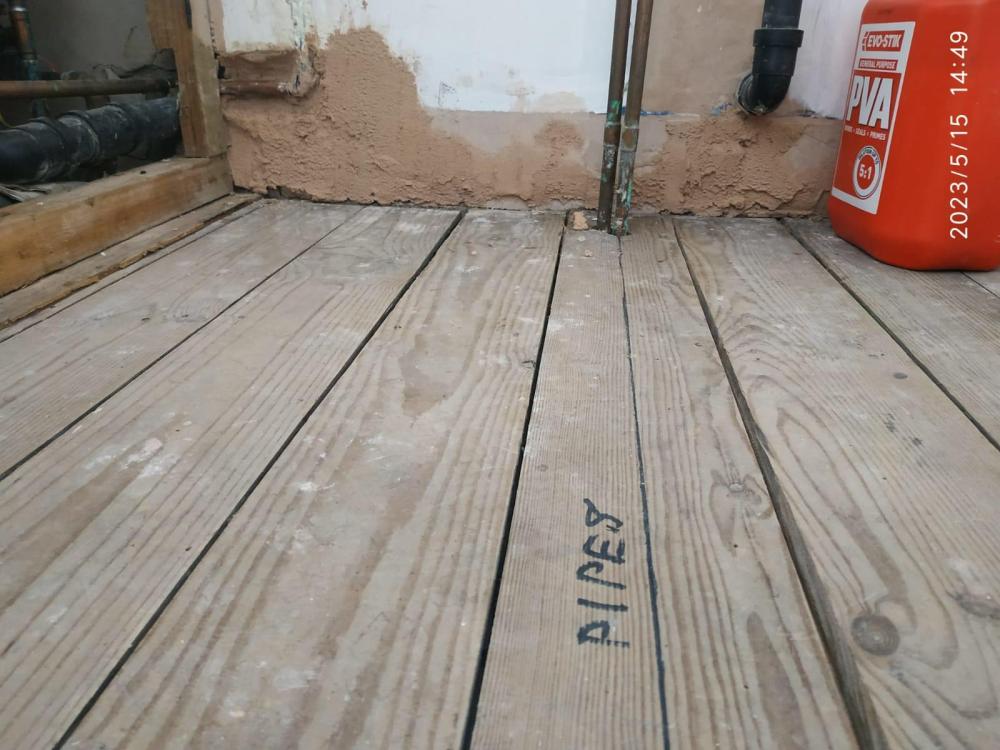
Gents, appreciate your responses. Thank you Yes so far I have screwed many boards and hammered all the existing nails. The floor seems solid I continue walking and looking for the last squeak. I have the 12mm insulated boards from Wickes. Can this substitute plywood? Makes sense. I identify the lowest points and mark them with a pencil.
-
yes, tiles also go on the walls, at least 3 walls. Do you mean to tile top down on the walls first then the floor? I wasn't planning to install any electric tile heating under the tiles. Should I? I mean it's not the coolest room in the house.
-
Hi All, I looked around and cannot decide. I go for 600mm tiles on the floor so I need a larger cutter. What would you recommend or should I just buy a used cutter from a tradesman? Best
-
Ok I decided to go for this 12mm STS Tile Backer Boards instead so: 1. floorboards 2. flexi adhesive 3. STS tile backer board + screws and washers 4. flexi adhesive 5. tiles The last two question? 1. these boards are waterproof and the adhesive is also waterproof. Do I have to put anything in between the boards or the adhesive is enough? 2. finally what should I use to waterproof where the floor connects with the walls?
-
a quick question. What about STS Tile Backer Board? I understand I should skip it
-
right, I would want to have some sound deadening (this is 1st floor) so I attach a cement board with flexi adhesive and some screws unless there is some extra layer I should put for that.
-
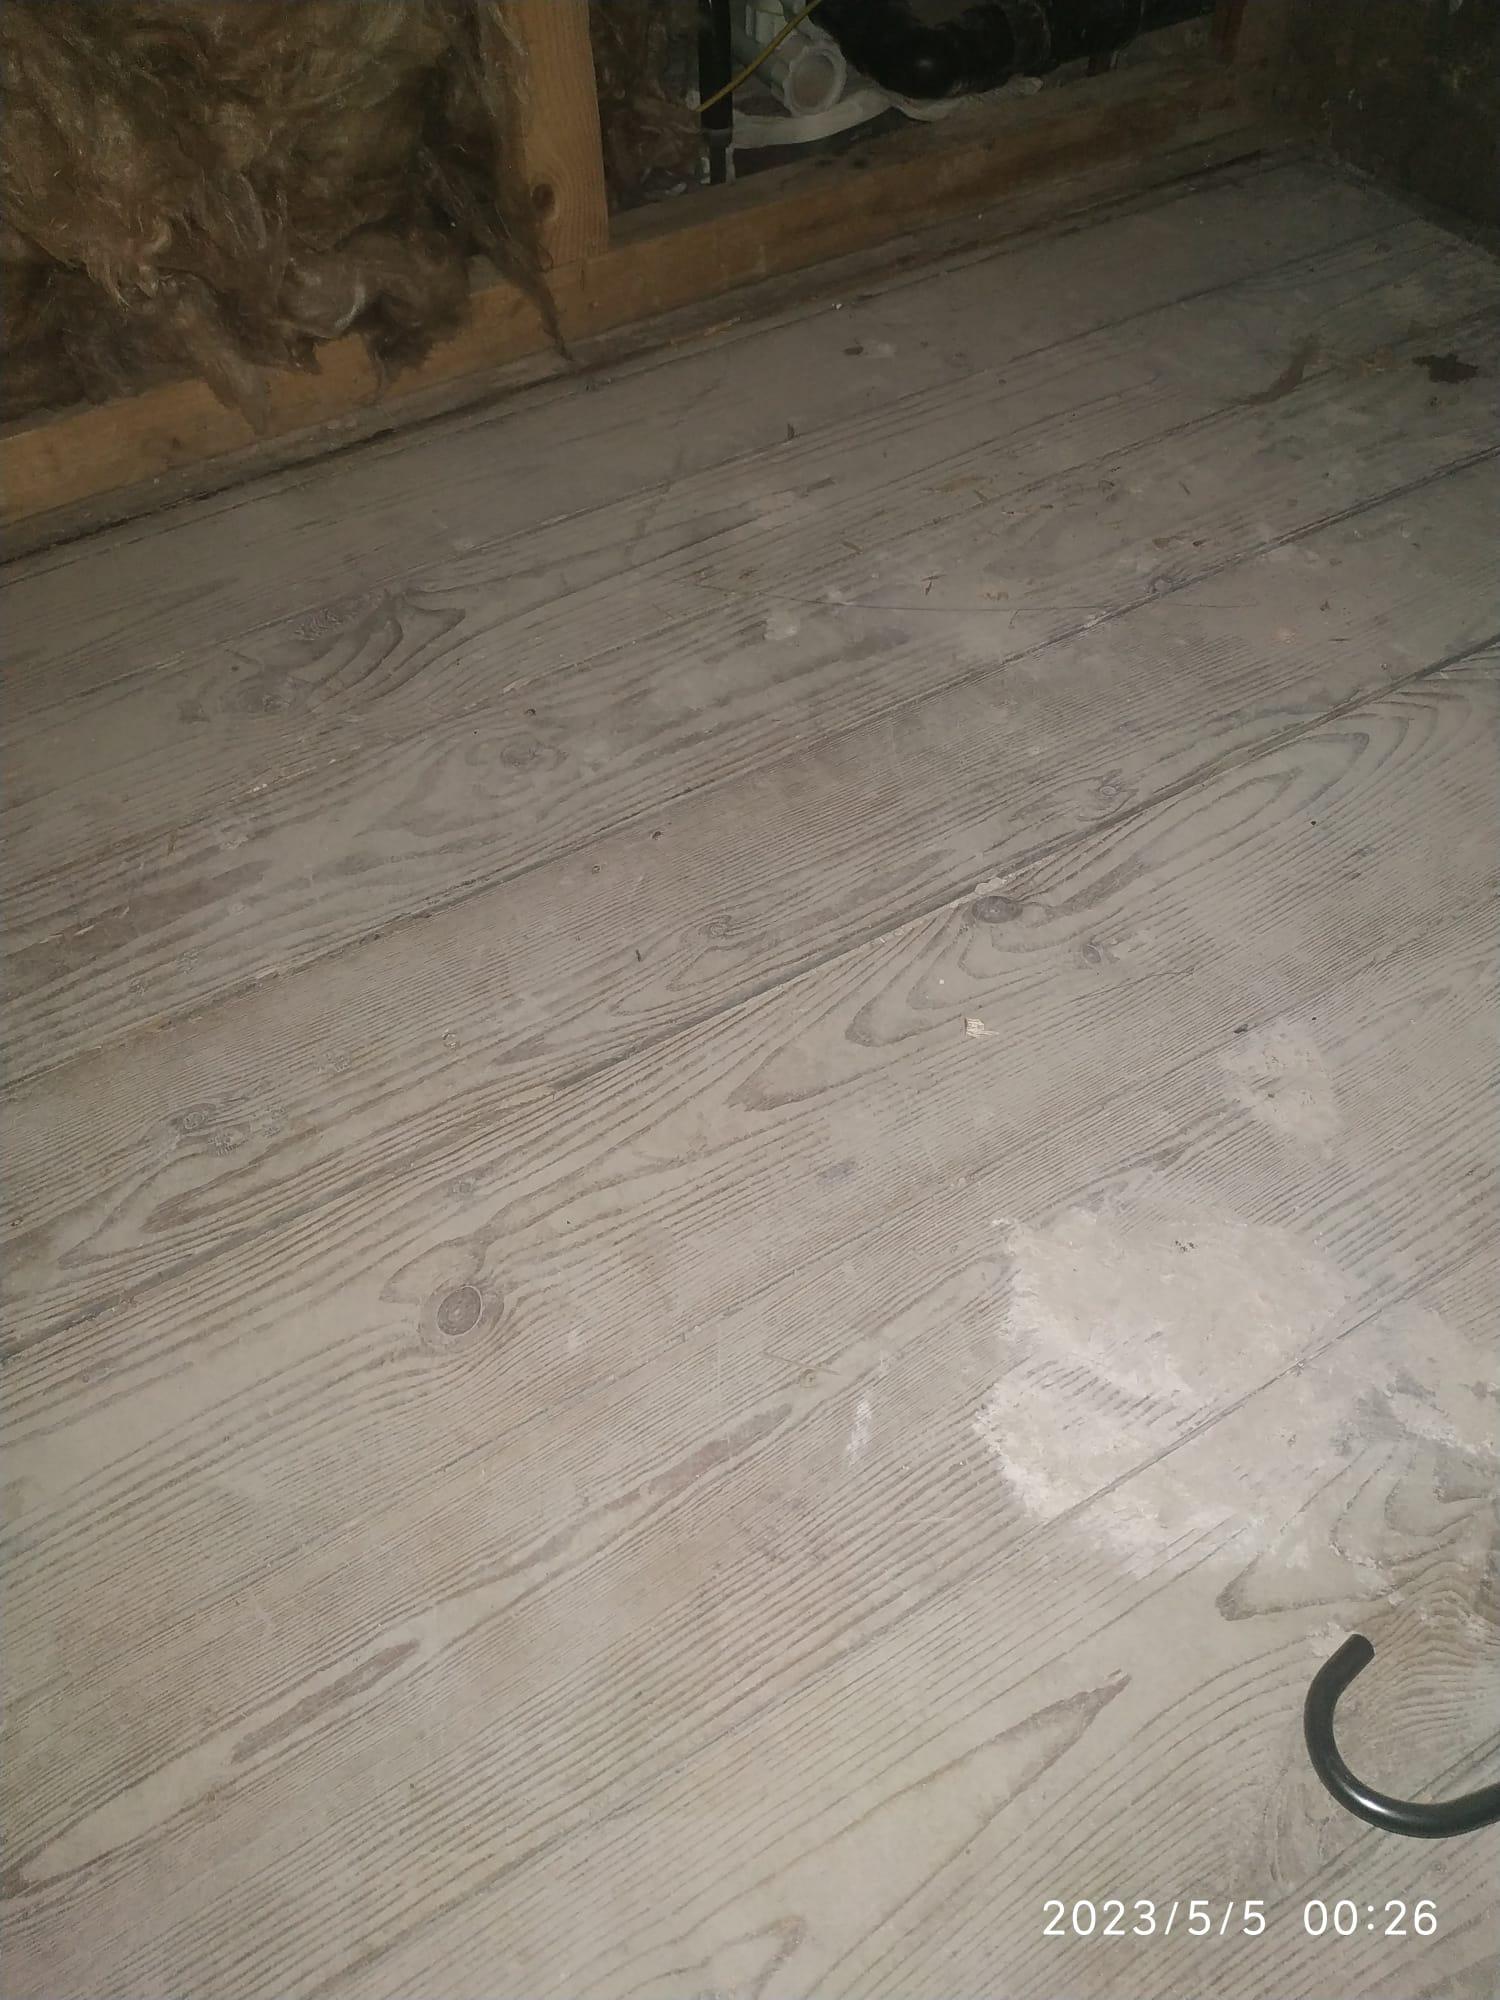
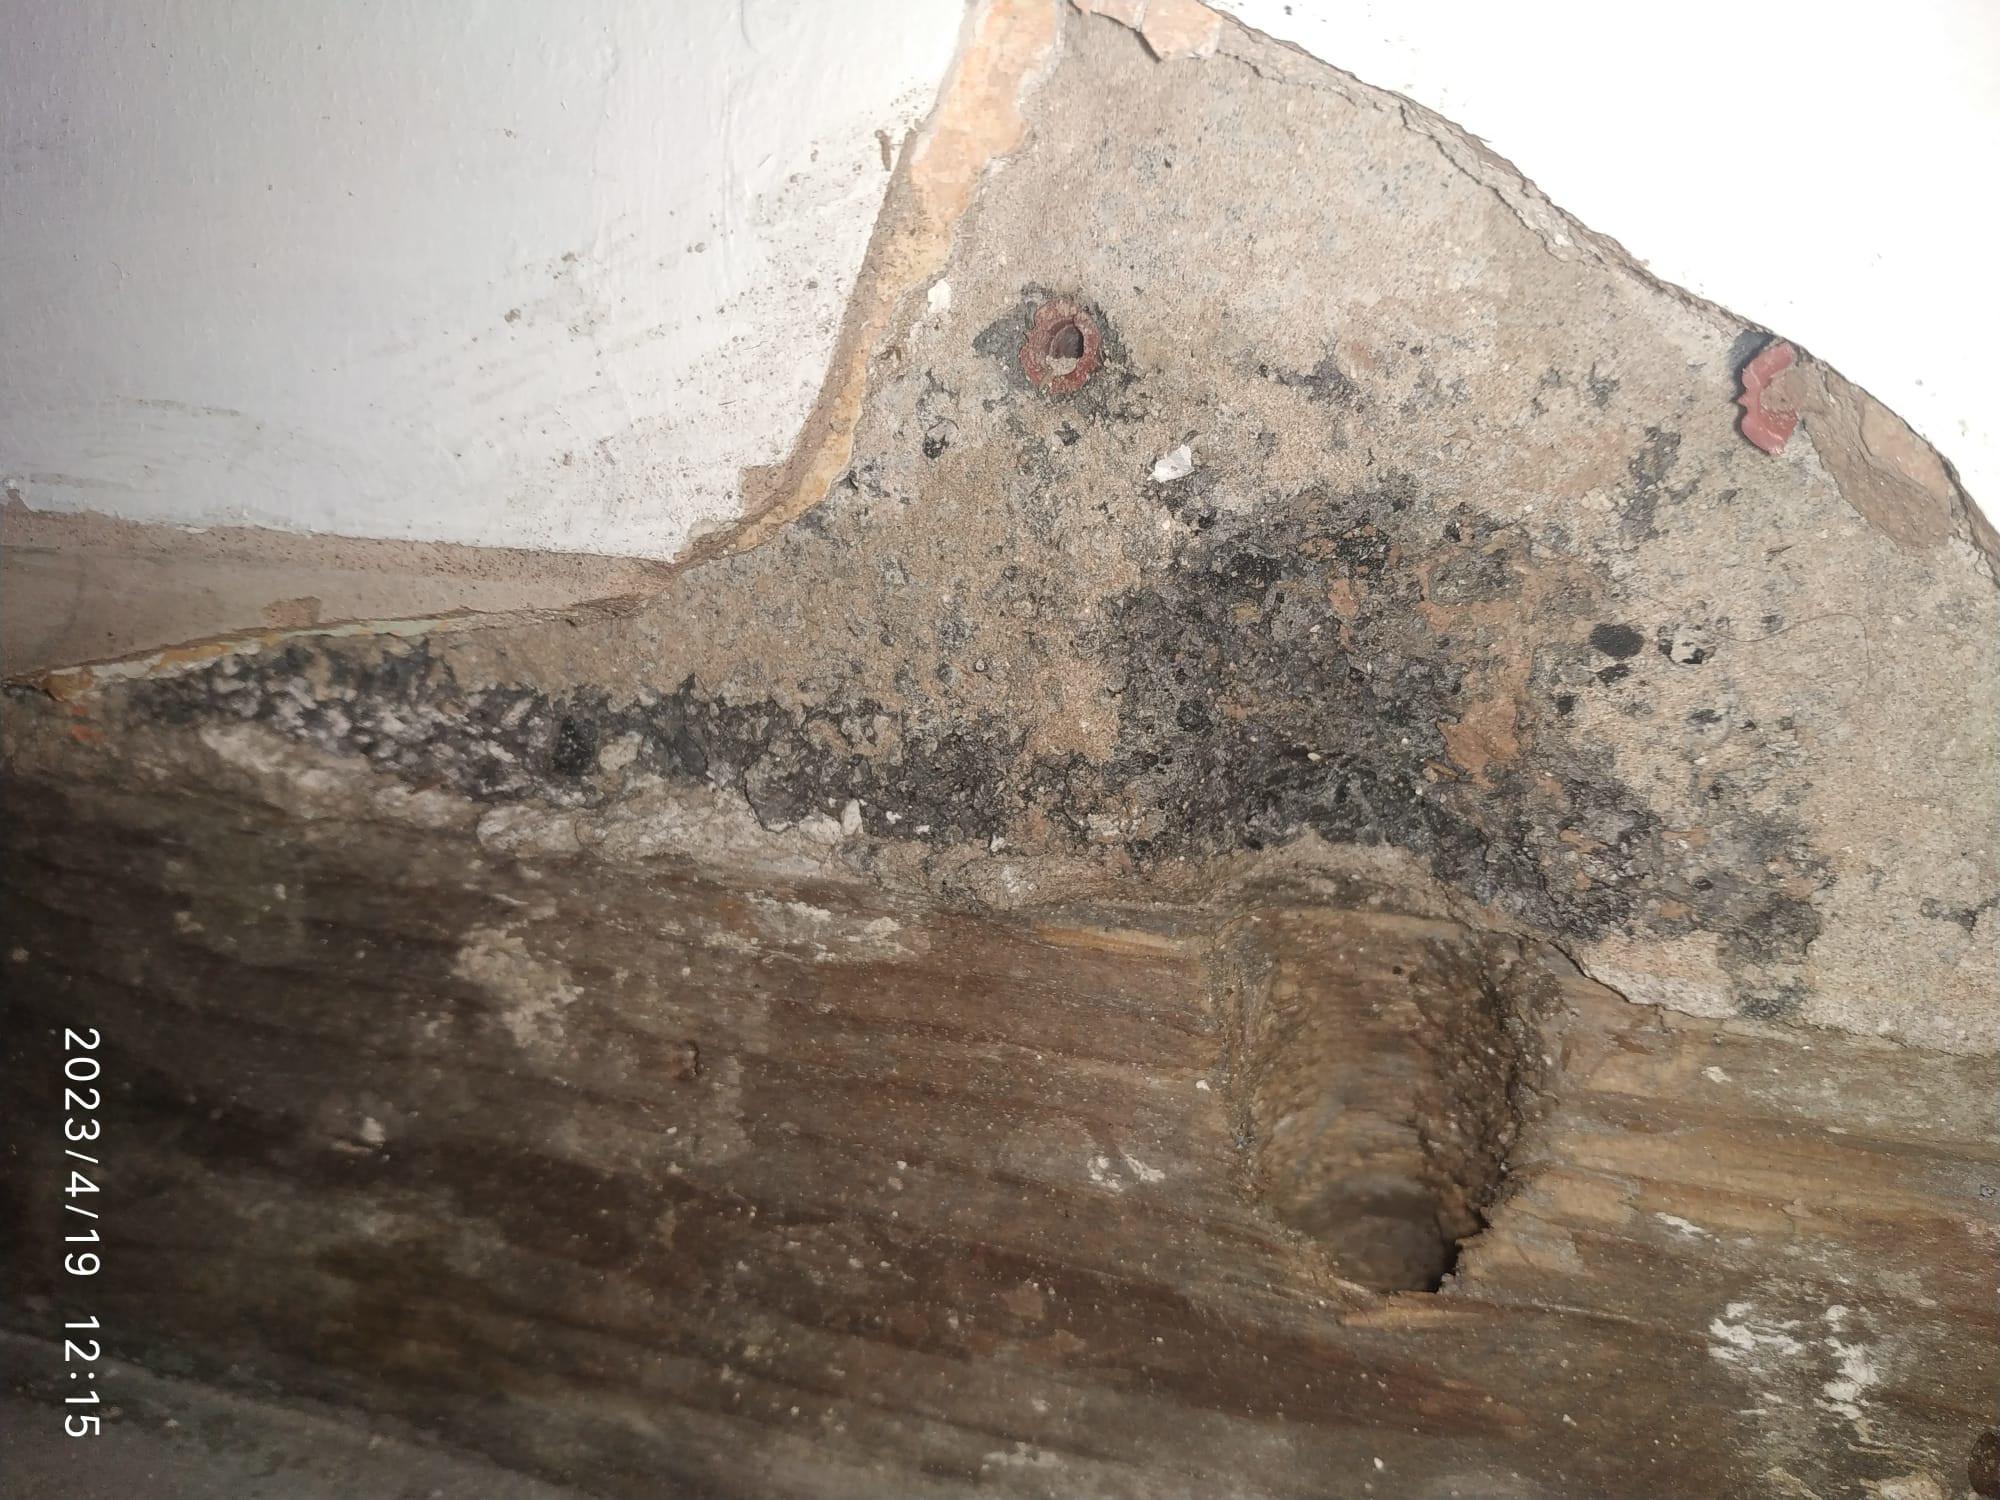
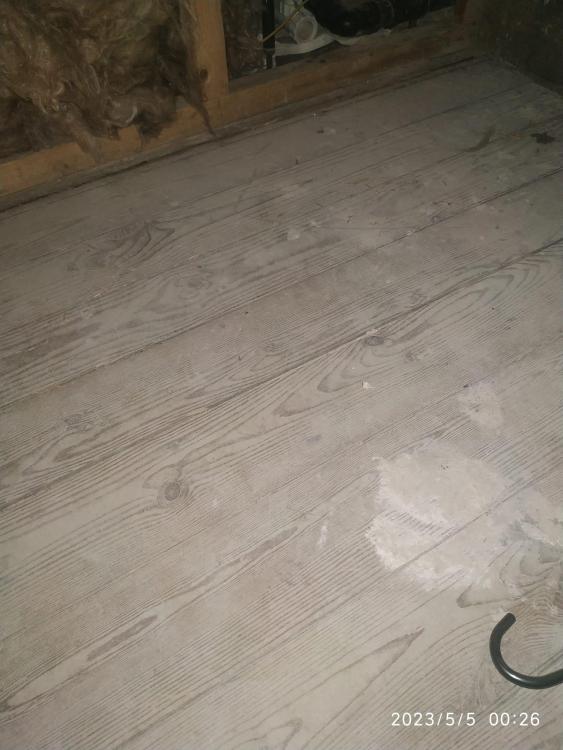
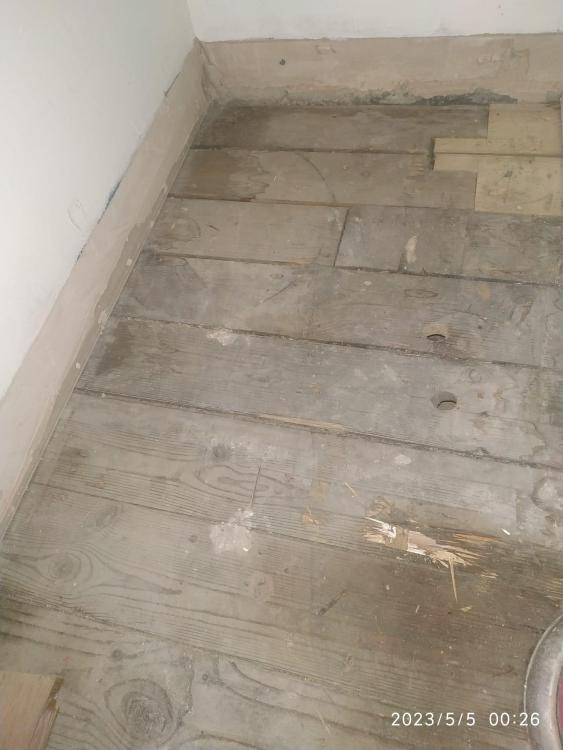
In my case the floor looks like that. I am going to nail the existing nails deeper and put some extra screws for better rigidity. So I should use regular cement boards 1200mmX800mm paint them with SBR on both sides. Should I in my case use rapid flexi adhesive between the floor boards and cement boards or just screw them in?
-
what is PB - a plaster board? 1. floorboards 2. cement board / plywood 3. Ardex 200 4. Schluter DITRA decoupling membrane 5. Ardex 200 (Schluter Kerdi membrane in the corners to waterproof) 7. Tiles OR If cement board should I just get this one? NoMorePly 12mm Fibre Cement Construction Board 1200 x 800mm or a larger plasterboard so there is fewer gaps / joints? So in this case just: 1. floorboards 2. screw in cement boards (I reckon I should waterproof the edges at this stage) 3. flexi adhesive with the thickness of the tile 4. tiles
-
Hi All, I just ripped these old 5mm wooden boards that were under the vinyl. Currently floor boards are exposed. What would you recommend I should do next? Should I get new 5mm OSB boards and put on top or plaster boards then attach them with some special screws? So: 1. floorboards 2. plasterboard / OSB 3. thinset 4. Schluter DITRA decoupling membrane 5. thinset again 6. Schluter Kerdi membrane in the corners to waterproof 7. thinset and tiles Have I missed anything? Thanks
-
ok, I schedule this work for August - September time as I have other more important projects at the moment. Is Celotex the best material to use on the crank?
-
Right, so if you are saying that M6 is fine to hold the post maybe I should use M6 across the board rather than M8? This would simplify drilling otherwise I need long M6 and M8 drill bits.
-
Yes, this is a 10mm cable I just put in for the shower.
-
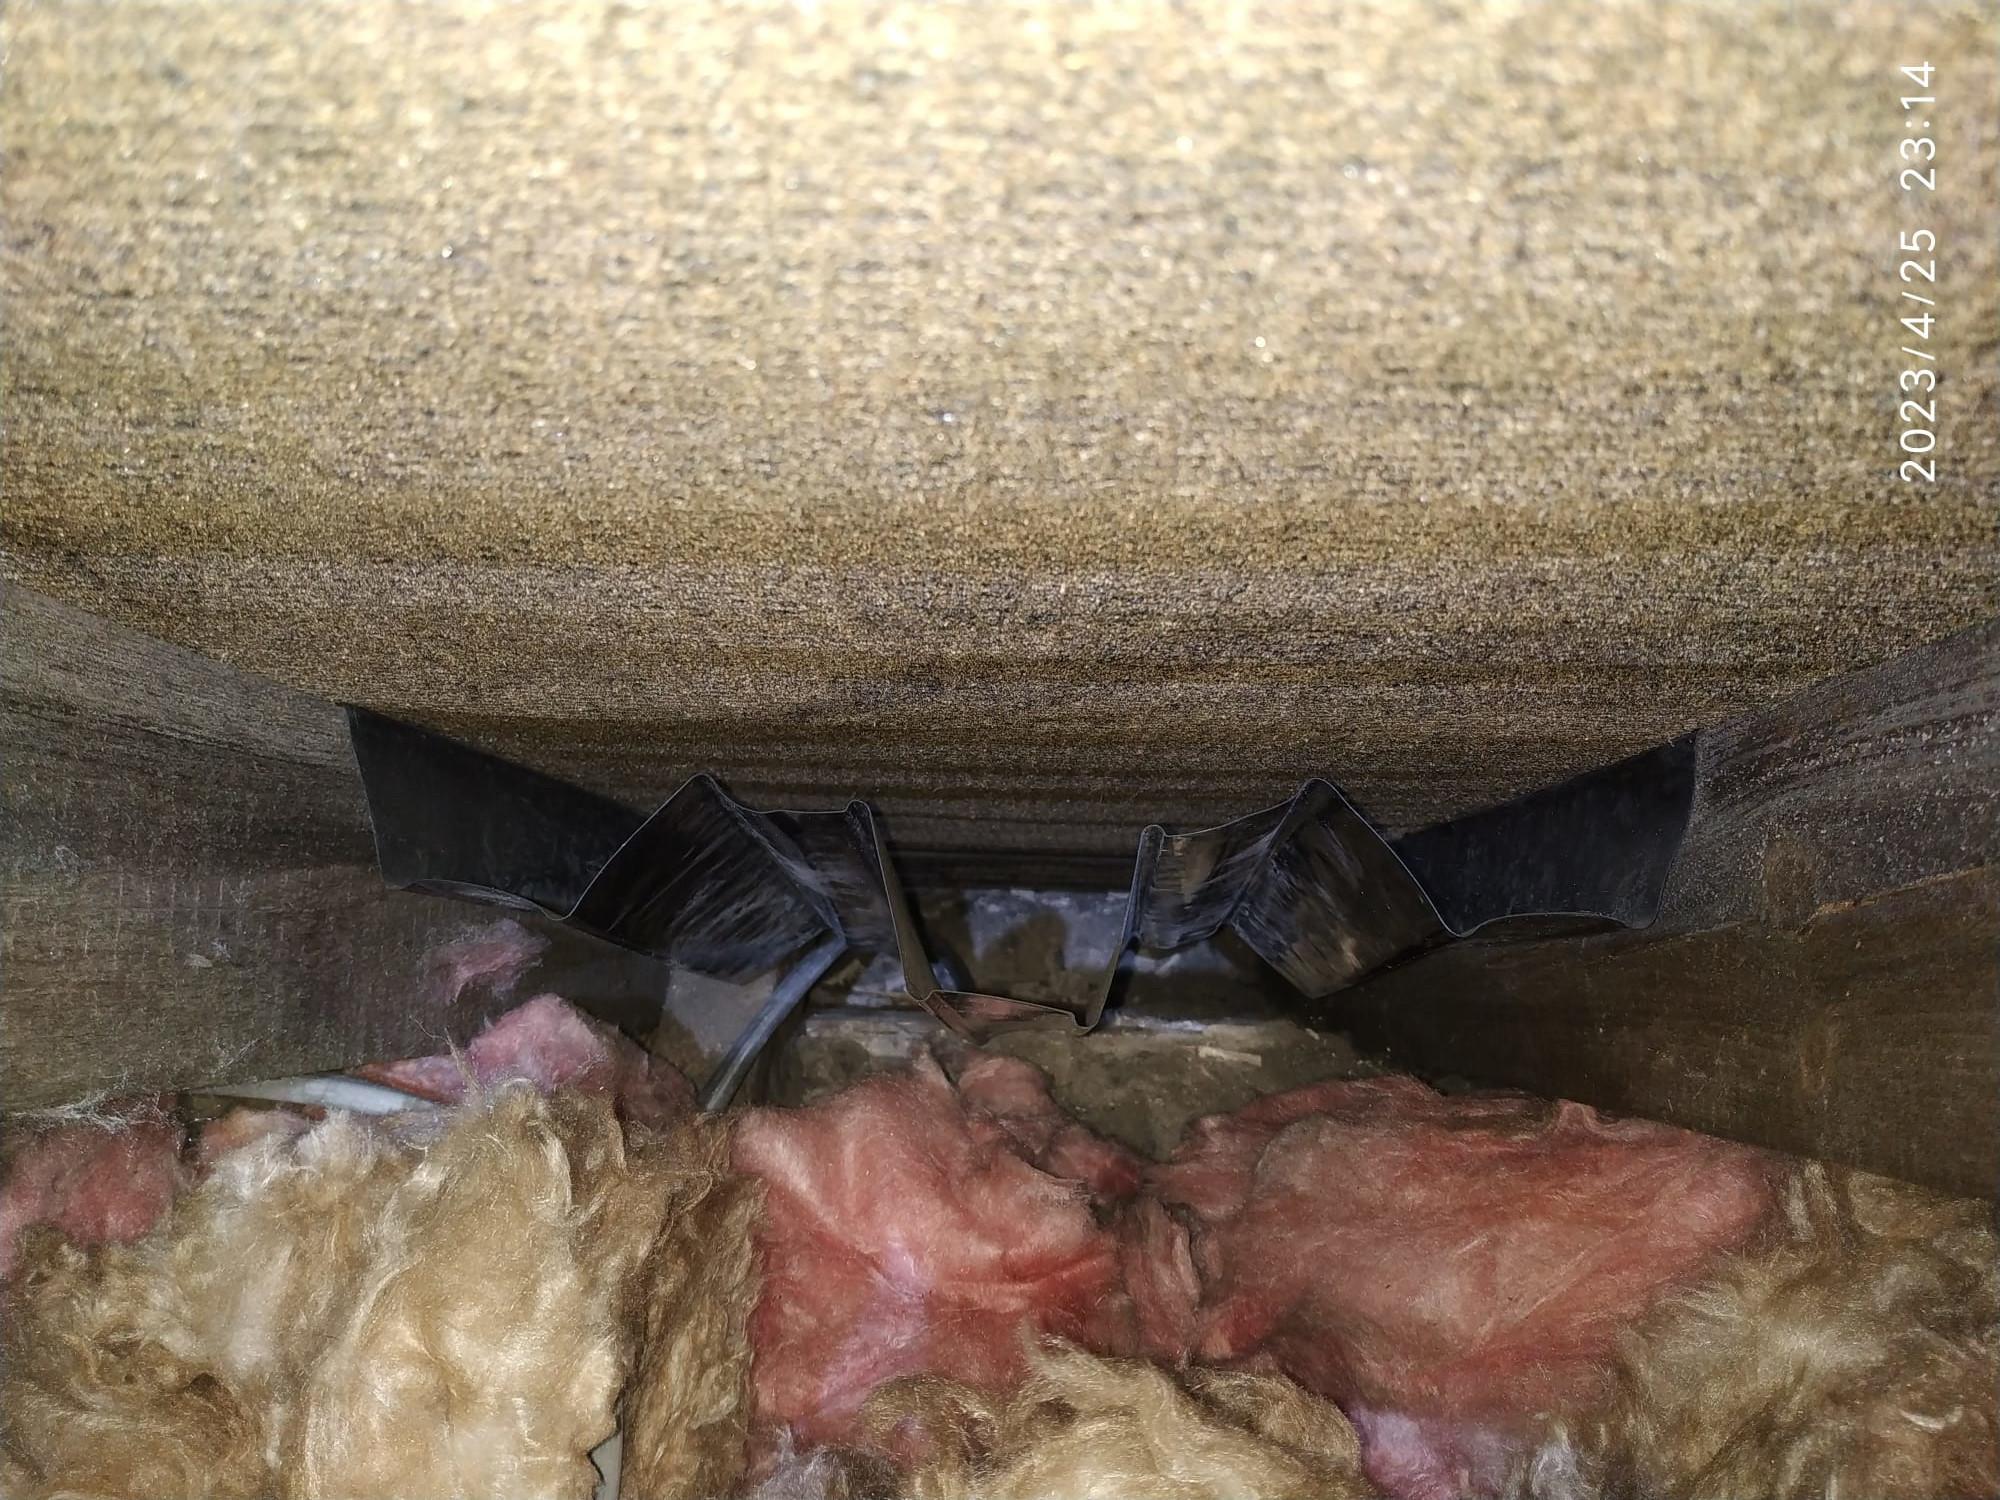
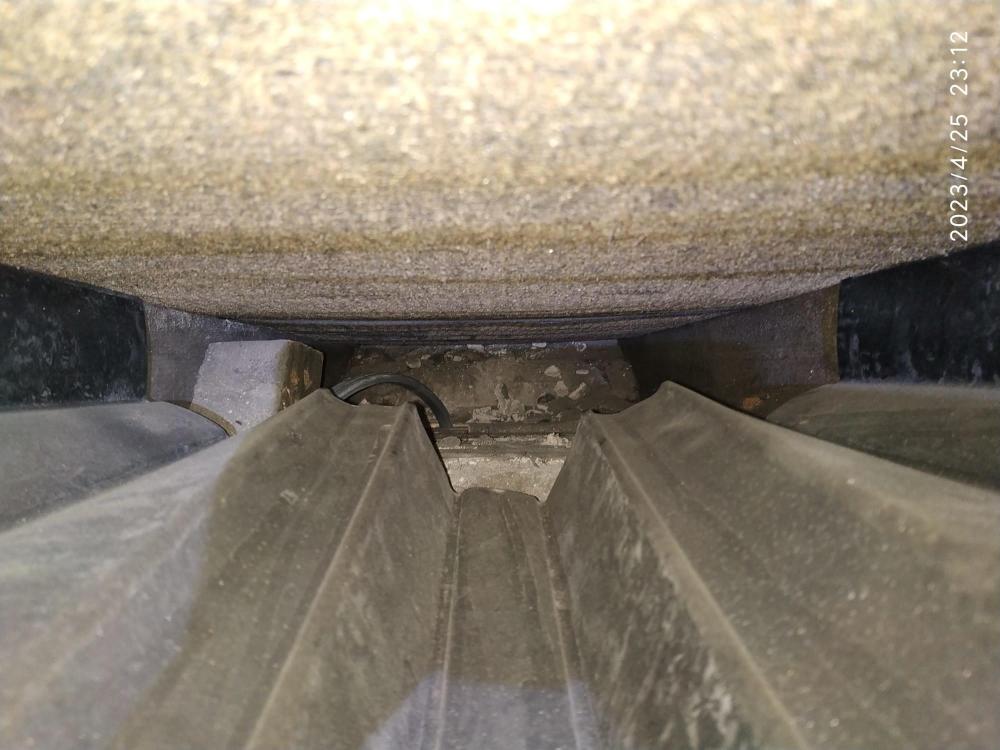
indeed a cranked roof. This one is in Notts. I monitor the humidity and I have to say it's surprisingly dry in the house between 44-47% and I have not seen any mould yet but I am sure it is due to these always opened vents in each and every window - what I blocked only recently so I could expect some raise in humidity but it didn't yet. I reckon there is some other draft coming from the doors and perhaps the ground floor fire stove also circulates the air. Or maybe it's because in the loft it is relatively drafty and dry because of these new vents OR both. It looks like it will be tricky to fit Celotex in but this would provide a more consistent insulation of the ceiling. This should be addressed in the first place rather than adding more Knauf. I already have like 3 generations of mineral glass wool (yellow, pink and more recent 170mm Knauf top up) in the loft, could be 400-500mm. Since I have a proper vacuum cleaner I could remove all the dust in the loft and maybe replace the old mineral glass but this won't be a 1-day job.
-
What would be the best way to connect the pallet shed base with the pallet walls and wooden 10x10cm or 15x15cm posts? I can connect the pallets in the corner using the nuts and bolts but I see I will need to use wooden posts in some places.
-
What about inserting some 25mm Celotex on the outside? There is some rubble at the end but the gap is about H 10cm and 35-37cm wide. I would cut to size and fit it in. I suppose the thin plastic thingies are to maintain the ventilation.

-
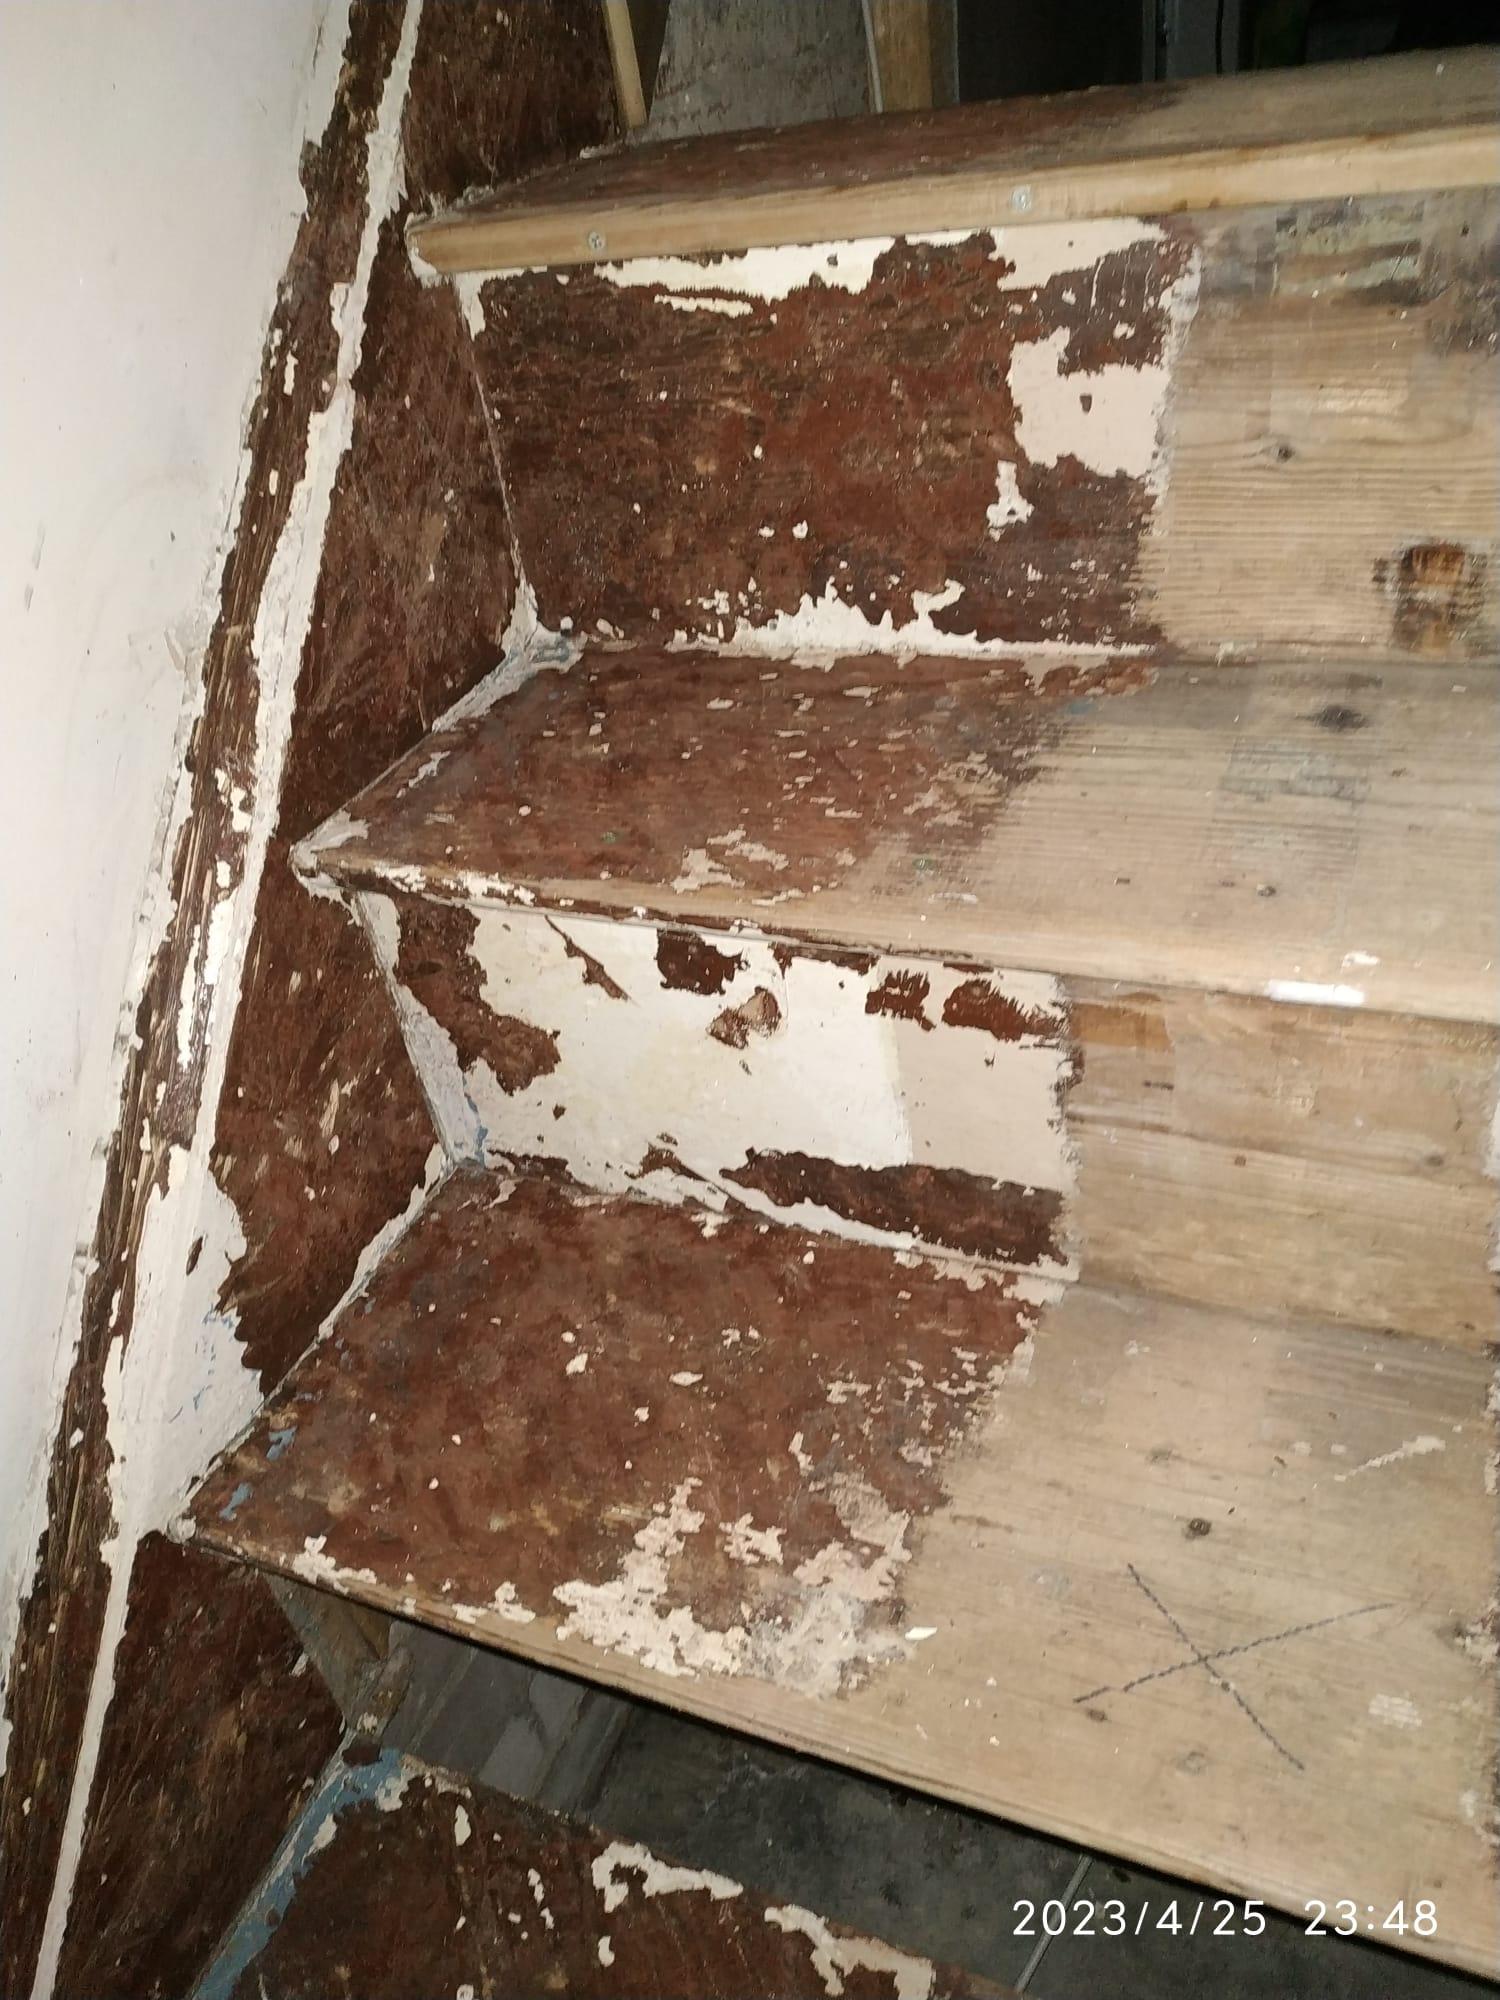
Use space under the stairs
JohnBishop replied to JohnBishop's topic in General Self Build & DIY Discussion
It is my second day of removing the old paint and I am not even half way! I have a heat gun but using it indoor isn't a good idea besides it's like 4 layers of paint.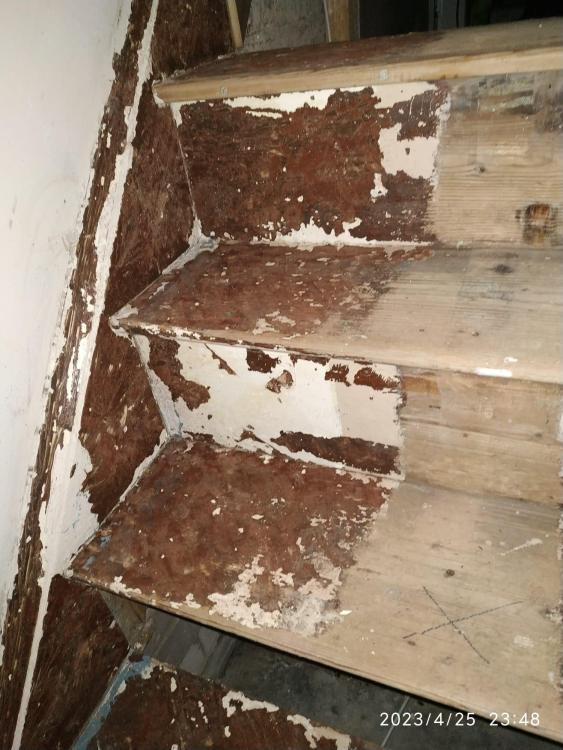
-
the thickness of the plaster so about 10-12mm tops On another note I have this OSB on top of the wood decking. The OSB is thin about 5mm. How should I play it? Put some fast flexible set tile glue then backerboard and another layer of glue then tiles or that flexible membrane (tile matting?) between the glue layers so it does not crack so easily.
-
The wood is about 1.5" thick then there is some gap behind it about 1.5cm and the plasterboard of the other room.
-
Yes, I am going to remove the paint. Someone suggested to scrape it with a steam cleaner. I think I put the tiles there as well. I haven't decided what tiles but perhaps some bigger and thicker ones as I want to dampen the noise as well.
-
aren't concrete blocks resting on it? I mean this is a thin wall but there is some concrete whatever that is.