Ground floor Nudura buildup and pour
We left you with a poured slab and we were chomping at the bit to get the ground floor Nudura walls up before the end of the year. Well, I am glad to report we got there - almost ?
After getting the slab done, I figured I'd get ahead a bit and it would be a good idea to talk to someone about the waterproofing we would have to put on the outside the walls before we started backfilling. To cut a long story short
- using waterproof concrete in walls such as these is a complete non-starter, so Type-B waterproofing cannot be used.
- Visqueen's R400 Radon barrier is not an effective waterproofing method
and so we now face having to use a Type A and a Type C waterproofing method - basically this will mean for us a waterproof screed being added to the floor with channel ducting where the walls meet the floor and the "egg-crate" plastic material across the screed and up the inside of the walls. That should eat into our contingency ? ? ?
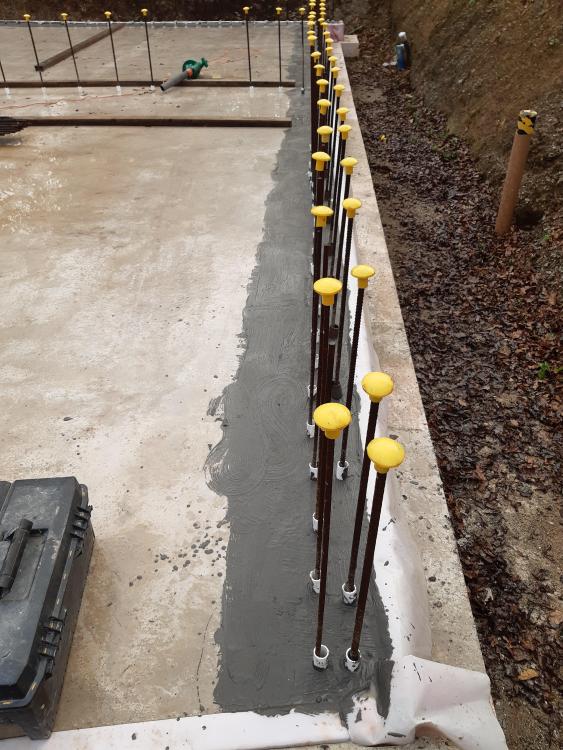 But also it meant a dash to get some waterproof slurry to paint round where the Nudura blocks would be laid the following morning and mixing and painting it on under floodlights (it's the dark grey stuff in the picture to the right). Oh what fun!!
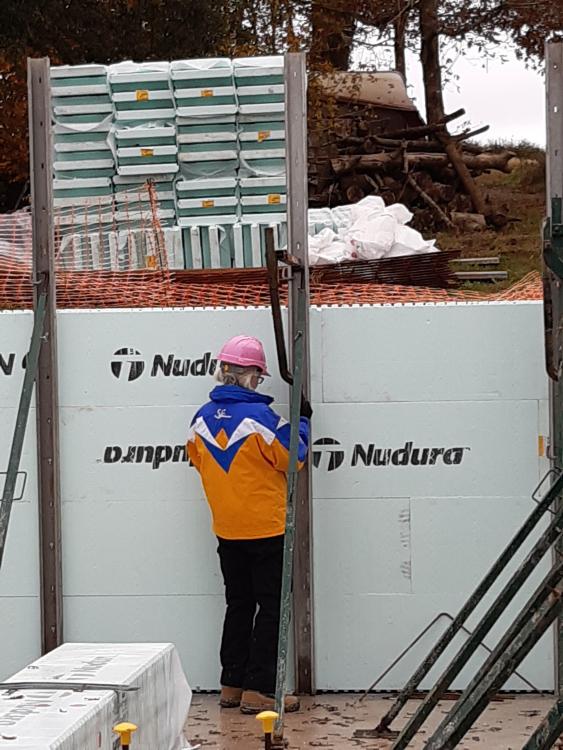
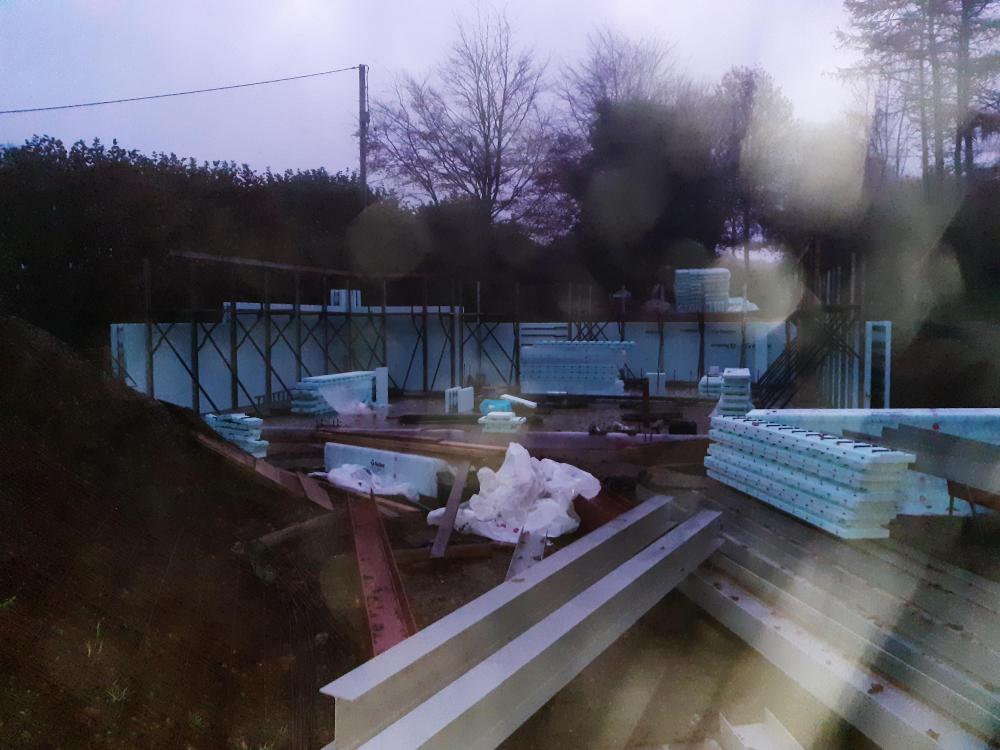
But, the following day we were up early to welcome out walls, the bracing and two fine chaps (Louie and Harry) from The Fell Partnership who would be helping us Day 1 to get the first row in place. We then scurried around unloading things off trailers and flat beds, and installing the waterbar between those pieces of upright rebar. By 10am we were ready to go.
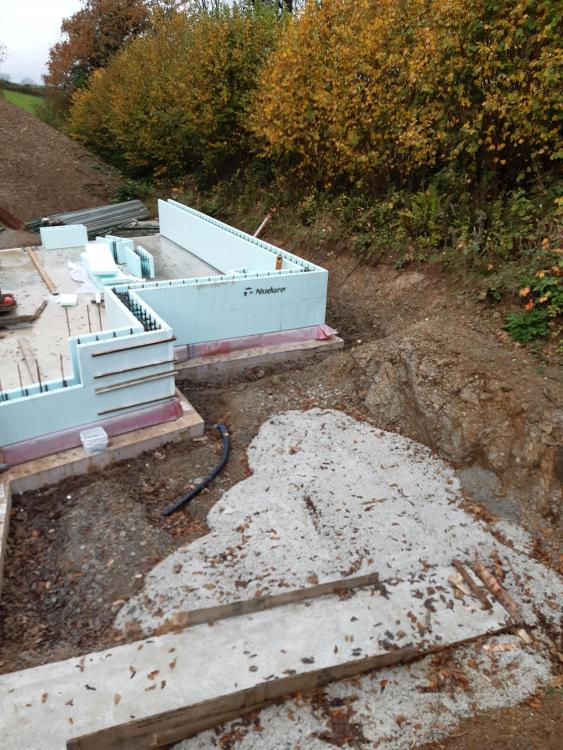
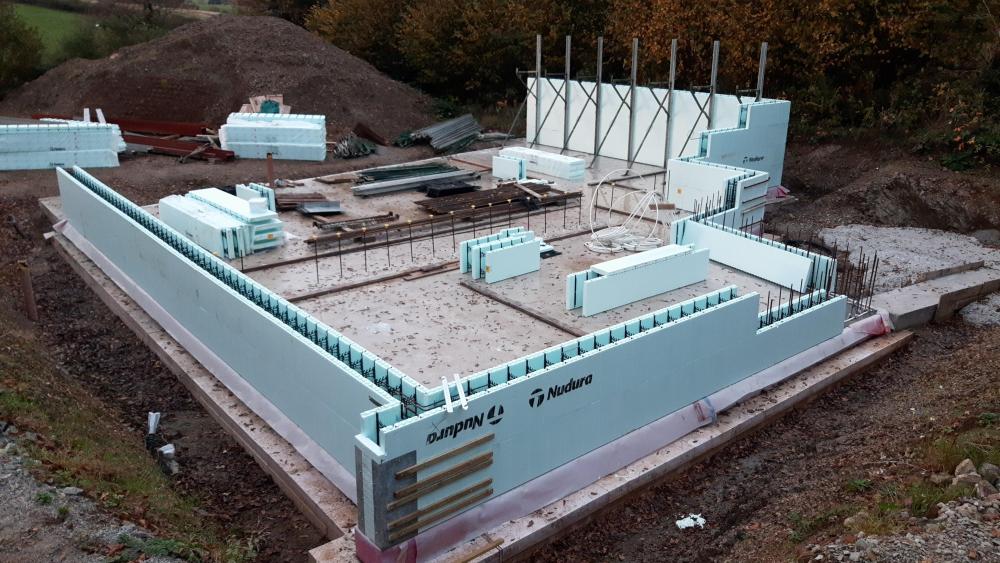
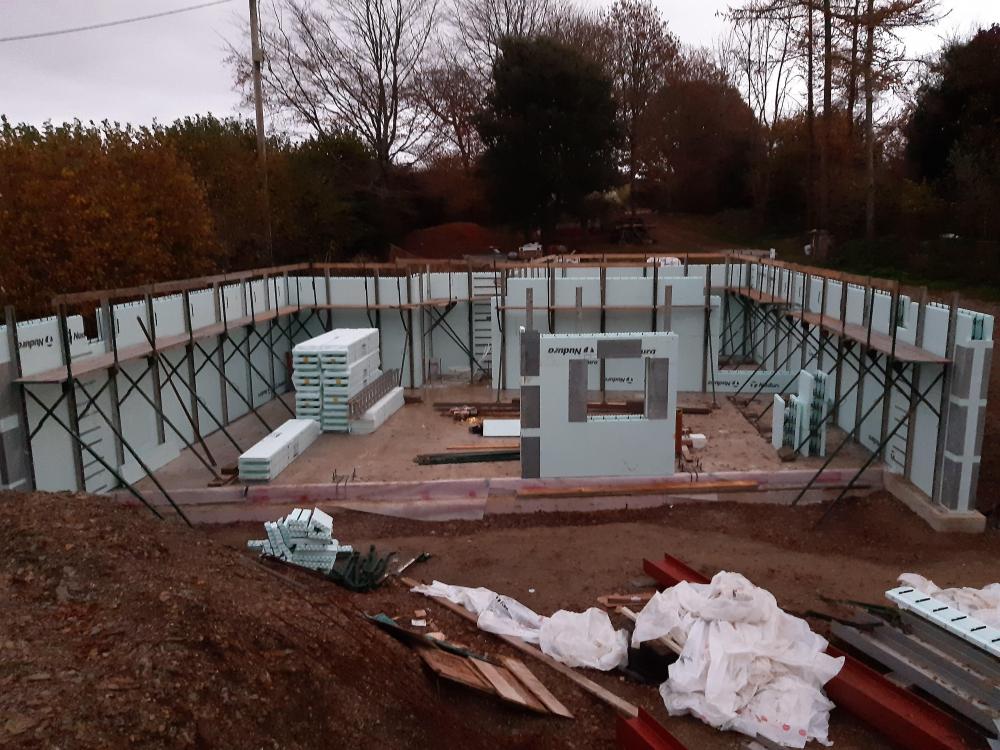
By about 2pm we had most of the first row in and part of the second row (see below). If it hadn't been for some non-standard corners in the design, we would probably have been at Row 3, but that's what you get for following a design religiously ✝️
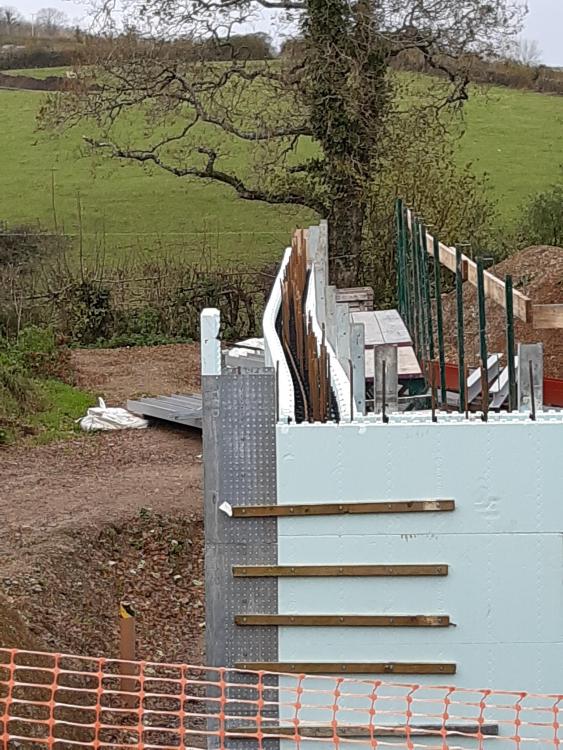
(FYI - the T-corner is all to do with the design - don't ask yet)
On the second day we were left to our own devices, I had to make a dash to collect some extra Nudura parts and some waterproofing equipment (due to the direction our waterproofing system now had to take) so we made a later start but still we were very pleased to get up to 4 rows installed.
Day 3 we were ready to begin installing all the bracing system, and after hitting her head SWMBO was made to wear the Christmas present from her children.
and on Day 4 it inevitably rained in Cornwall ? , but before our help arrived again we had managed to just squeeze a block on to Row 6 (the final row before the first pour of concrete)
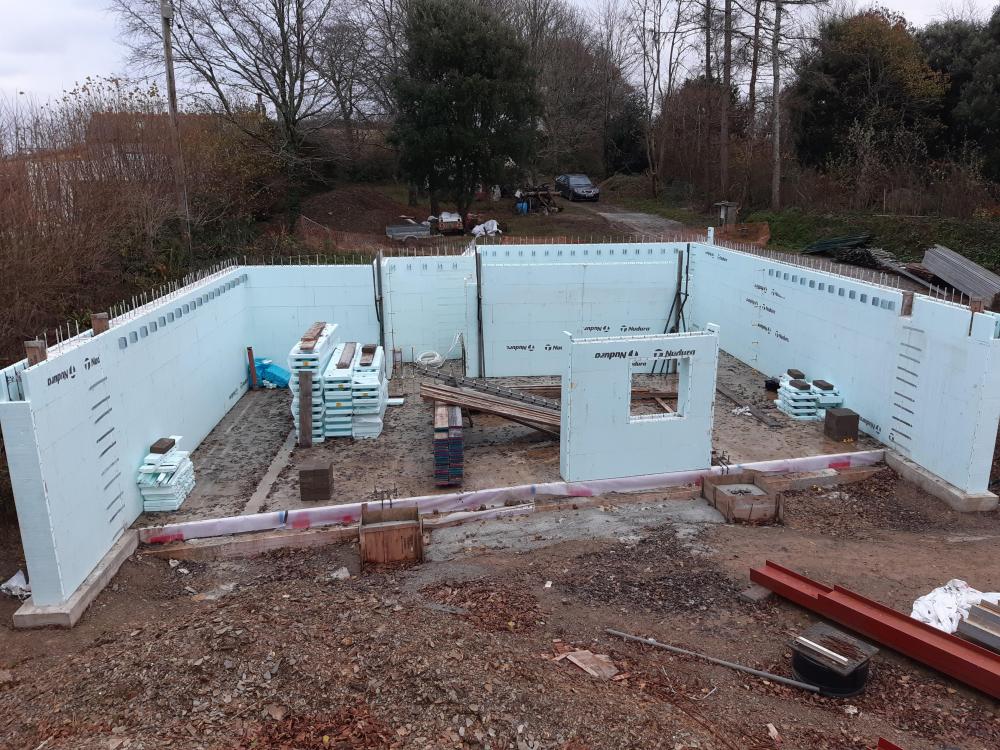
After the help on Day 4, we continued to finish things off on Day 5 by constructing part of an internal load bearing wall, and a wall with the only window opening at this level which will be for the family bathroom. FYI - the rest of that side of the house will consist mainly of windows into bedrooms plus some extra small sections of walling (to be determined)
Where we were not able to complete things before the pour happened (time didn't allow) was where the internal wall meets the external wall and there are two doorways to construct (this is why I said we almost made it). I will have to do these in the New Year, mixing and pouring the concrete by hand (just under 1 cubic m) so that'll burn off the Christmas pudding ?
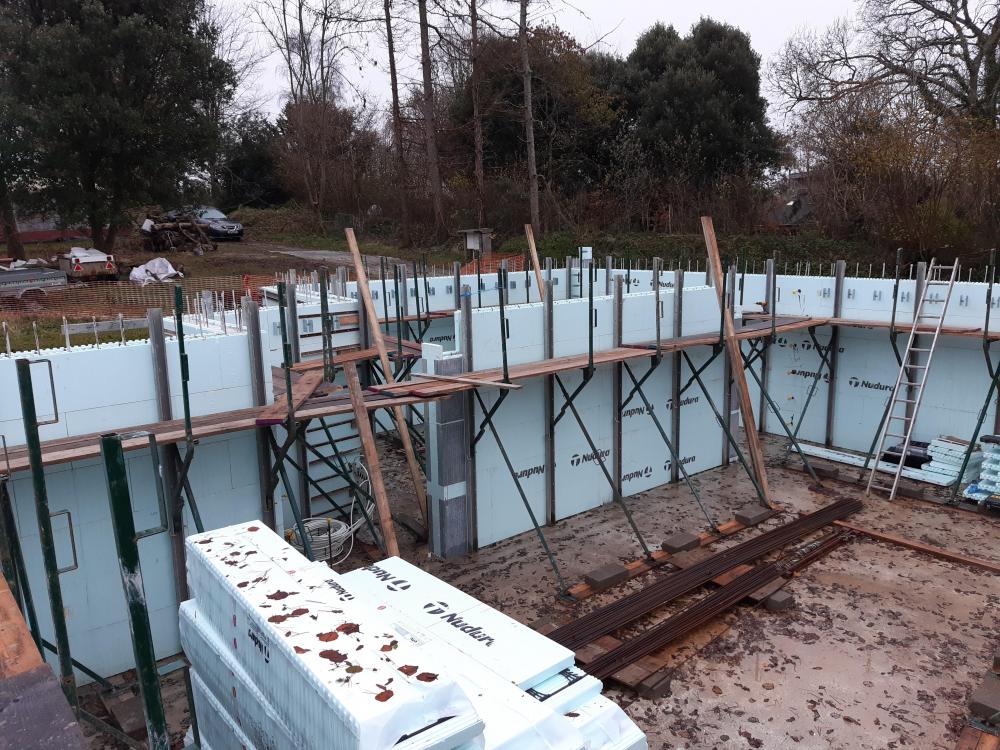
A week later (during which we had some more high winds) I came back down to finalise a few bits (like lack of scaffold planks and bracing in some places) to be greeted by a snaky ? wall.
so that was all straightened up, the rest of the bracing fitted, and the Nudura joist hangers inserted. 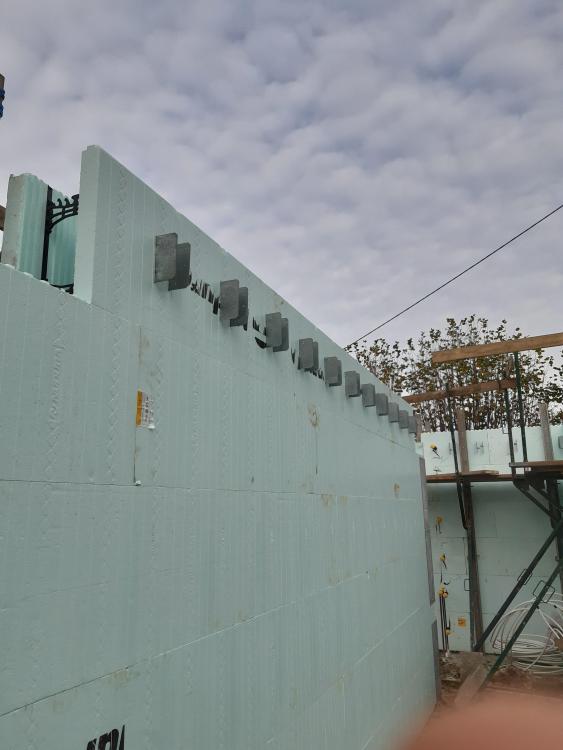
(Between straightening and the pour we had Storm Barra, but my remedial work held up nicely)
I won't bore you with pictures of hunky men doing manly stuff with concrete pumps etc. but suffice to say it all went very well, with no leaks or blow outs so "he who shall not be named from Channel 4" would have been very disappointed if he was allowed onsite.
And so, last weekend (after a midweek pour in the remnants of Storm Barra) I was able to deconstruct the bracing and we are now the proud owners of some freestanding, high-wind-proof walls.
Really happy at the attention to detail that Louie and Harry paid to ensuring the walls were straight and true before the pour began - right up my street.
So now we have a tidyish site again (for a short while) ready for steels installation in the New Year. We have to finish off the internal wall, then waterproof and backfill outside, and install joists and flooring before we can continue with building the upper floor walls. We're hoping that by middle of next year we can start on those upper floor walls.
So until 2022, and the inevitable next lockdown, I wish you all a very Merry Christmas ? and a Happy New Year ?
-
 9
9

6 Comments
Recommended Comments
Create an account or sign in to comment
You need to be a member in order to leave a comment
Create an account
Sign up for a new account in our community. It's easy!
Register a new accountSign in
Already have an account? Sign in here.
Sign In Now