We have a slab!
Weeks 4 and 5 of the build saw our basement slab being poured. it was a major milestone for us and we're really happy....well, apart from the section that was too high and they needed to grind it down of course, but apart from that we're really happy. ?
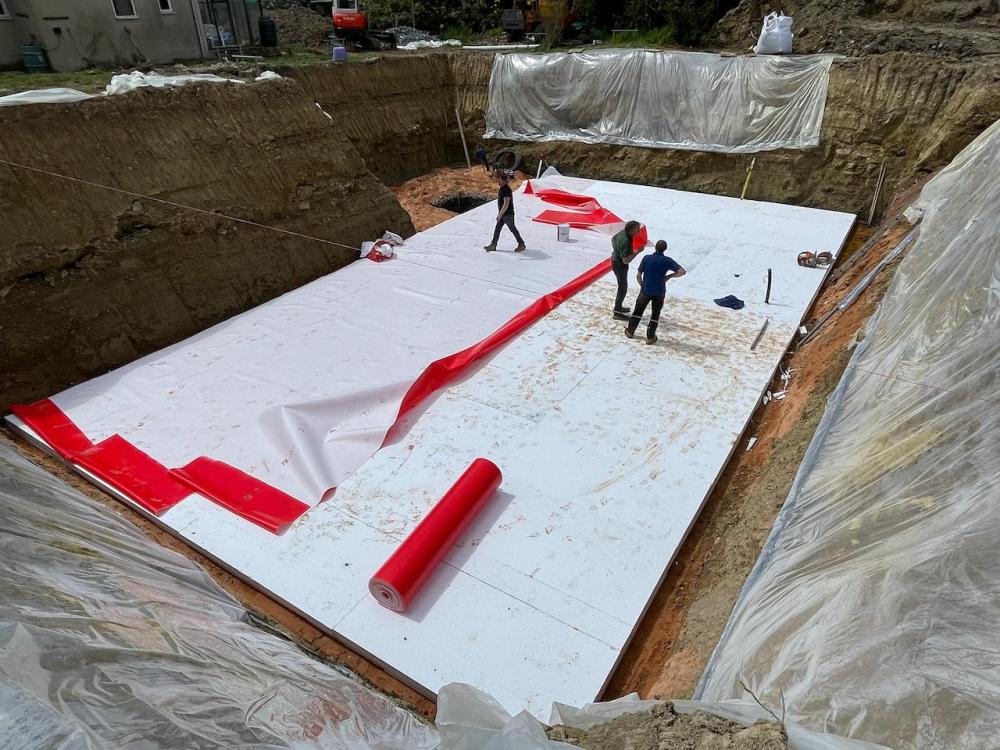
We have 200mm EPS300 specified for under the slab and this was laid by using a long telescopic rule from the profile board strings 4m above at ground level. We are supposed to have a 200mm toe outside the slab and luckily I was outside when the basement contractor's engineer came for a site visit to set out for the slab and I asked if it was square and was told it was a bit off in one corner. a bit off turned out to be 70mm. now, in my mind if a structural engineer tells me that the 200mm toe is needed to take the 45° load from the walls above then you really should have a 200mm toe and 130mm just wouldn't cut it. you'd think that wouldn't you? but, it turns out that unless I was there to ask them to move the insulation so that I had the correct toe all around it it wouldn't have been done as the corner points had already been marked. I got a few huffs and whinges about 'but we've already set out' but there was no way I was letting it slide and made sure I was happy with the toe widths. This just goes to show the importance of living on-site as I pop out every hour or so to get a break from my desk to see what's been going on. if I didn't do that I wonder what else might get missed and just covered up?
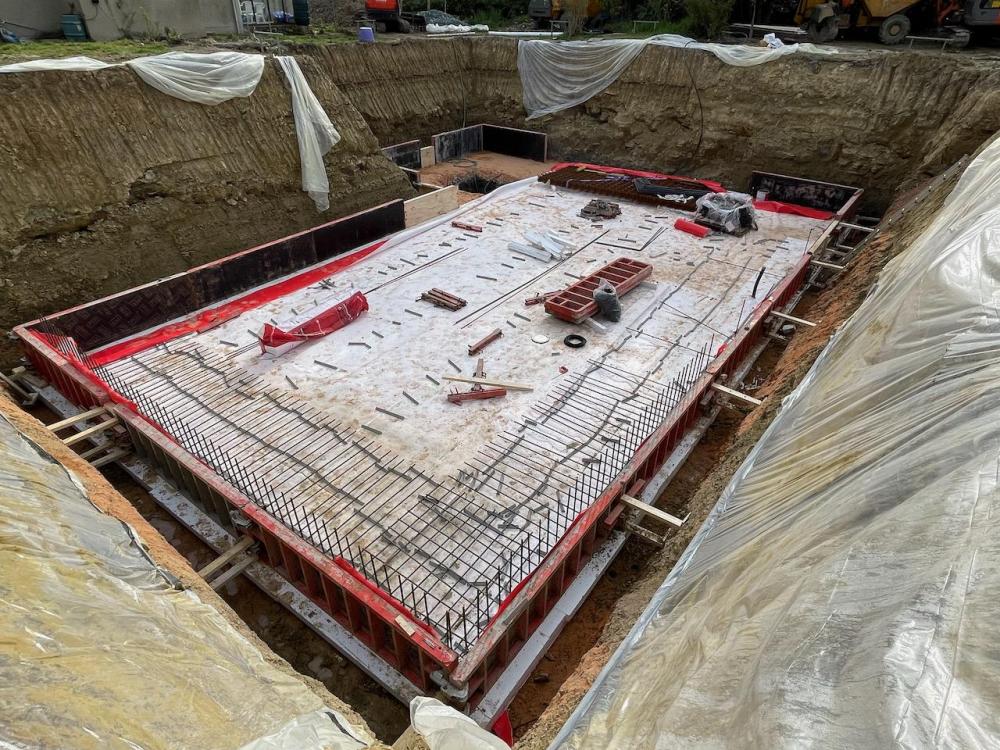
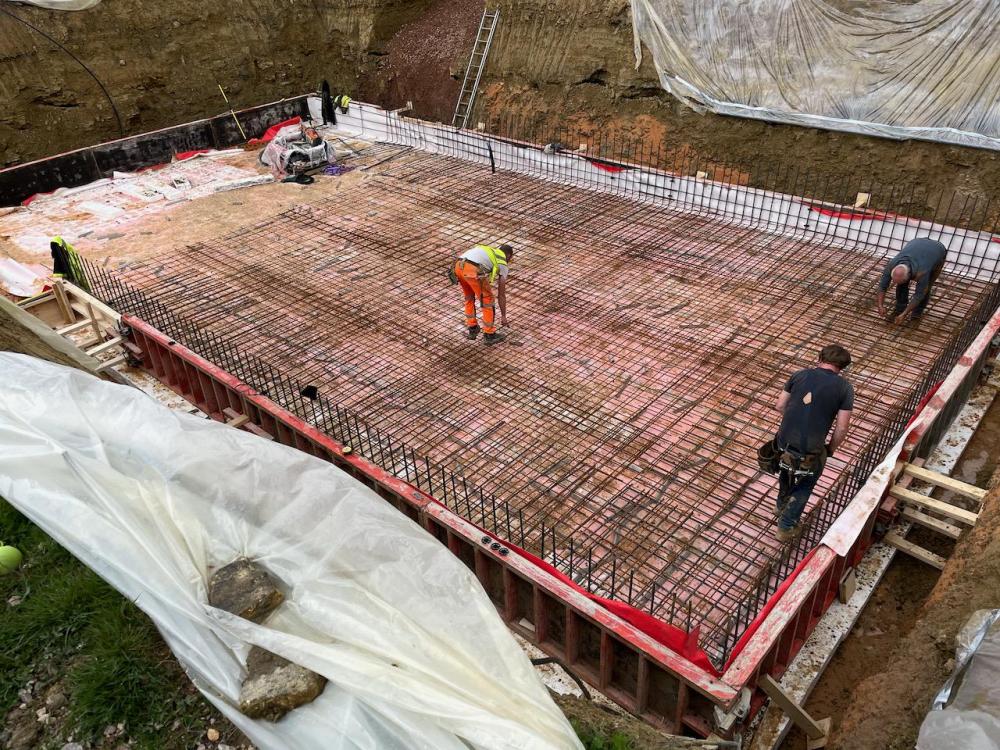
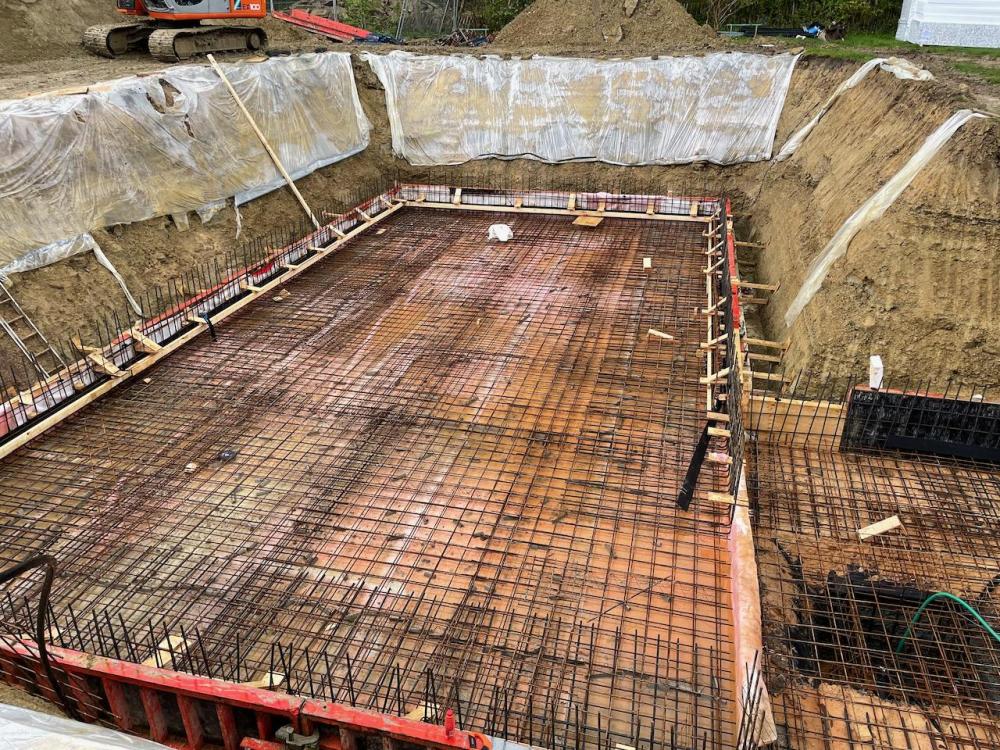
Anyway, after the corners were set out the FIS waterproofing membrane (http://www.fisproducts.co.uk/product/maxiprufe-plus-2/) was put down on top of the EPS300 as this will then join the same membrane on the walls to form a waterproof wrap around the basement to ensure Type A protection and with the Type B waterproof concrete that will give us our 2 forms of waterproofing. Following that was the formwork, steel bar and mesh, hydrophilic strips (http://www.fisproducts.co.uk/product/cemflex/) and kickers and then we were ready for the concrete.
The day of the slab pour came and we were extremely excited. It was though, as I’m sure it is in most cases, a very last minute dash to get ready for the pour. The contractors were let down by a couple of extra pair of hands on the morning of the pour so they were rushing around finishing off bits in between lorry loads of concrete. it all worked out ok in the end though.
We took loads of photos as well and here are some for your enjoyment.
The waterproof membrane on the EPS:
Formwork almost complete:
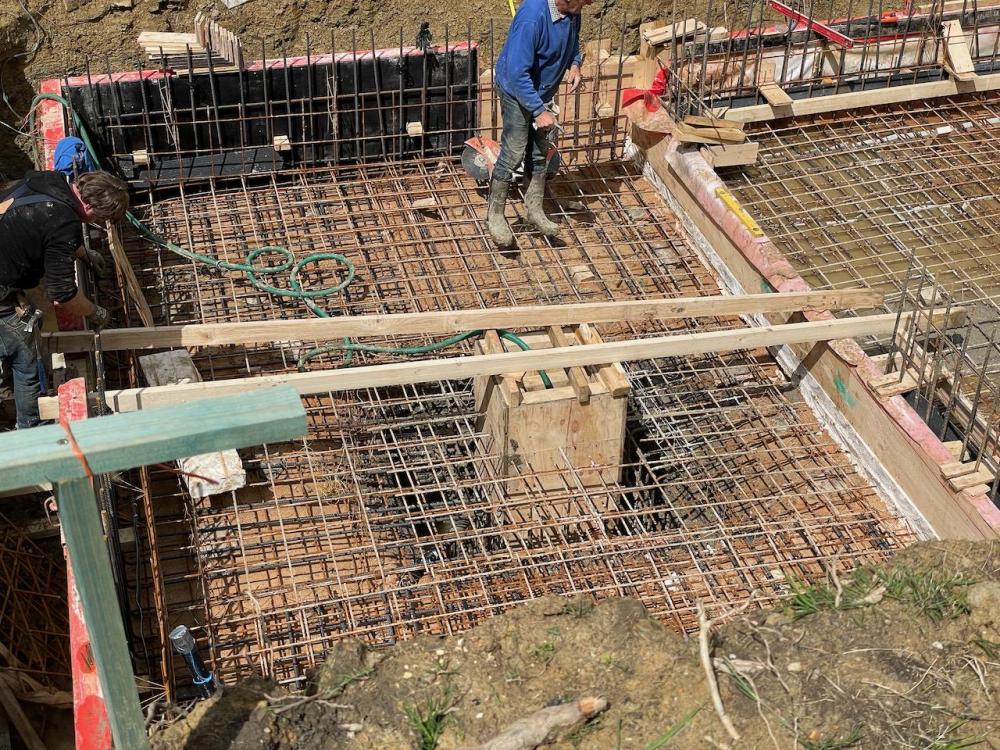
Steel mesh:
kickers almost finished. the final ones in the courtyard (to the right) were done on the day of the pour:
The shuttering for our sump in the courtyard:
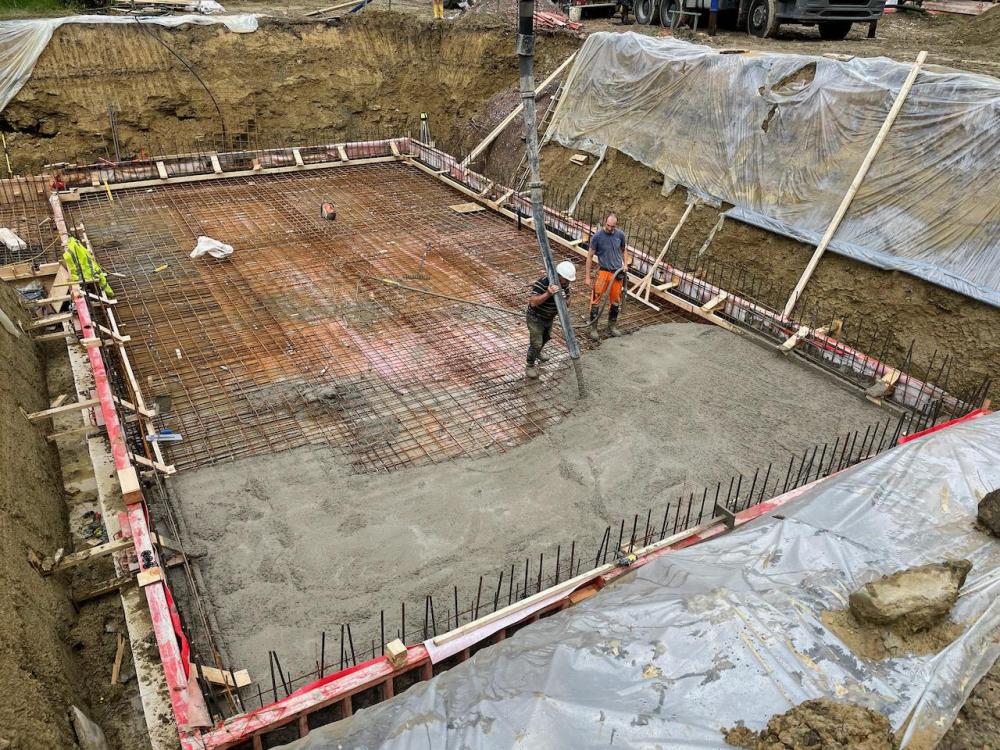
first lorry load:
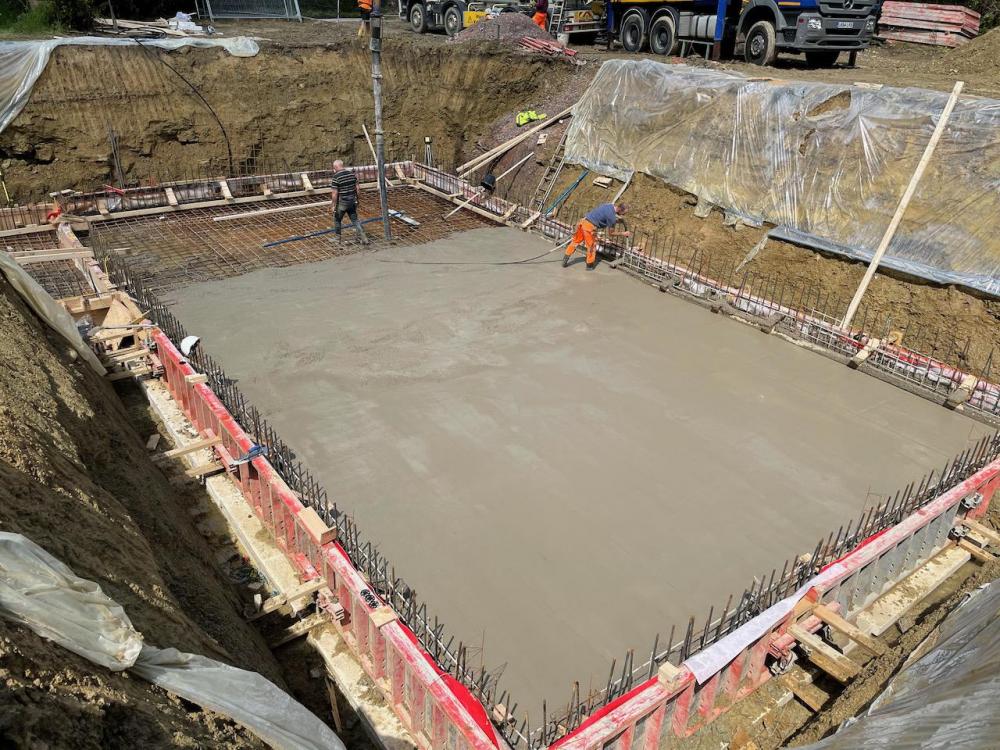
almost there:
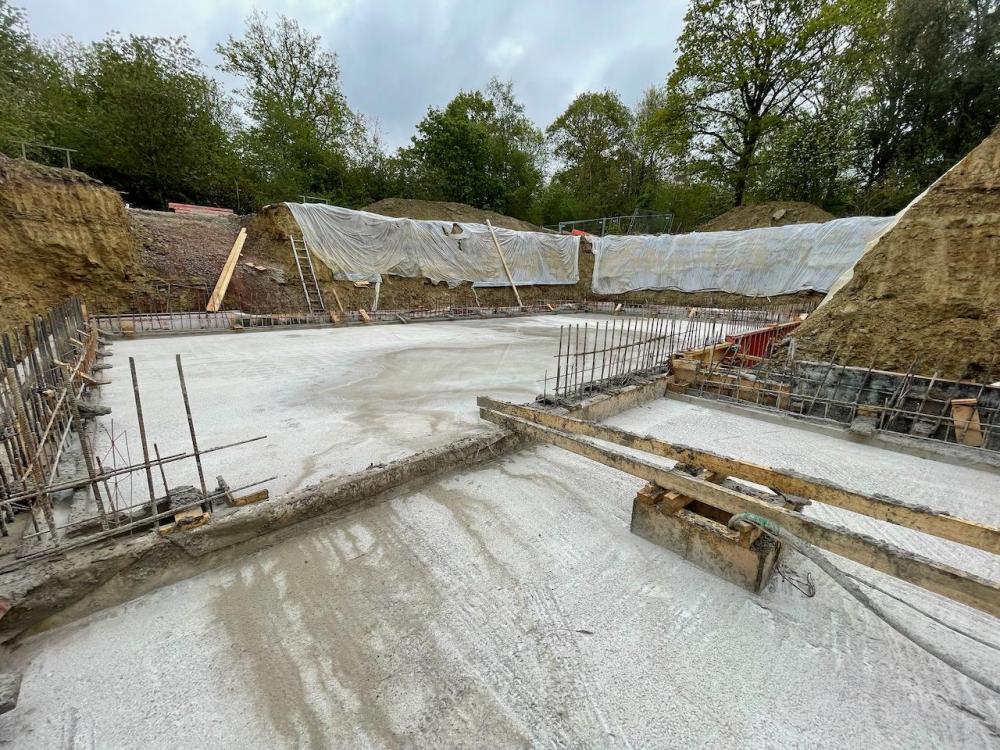
finished:
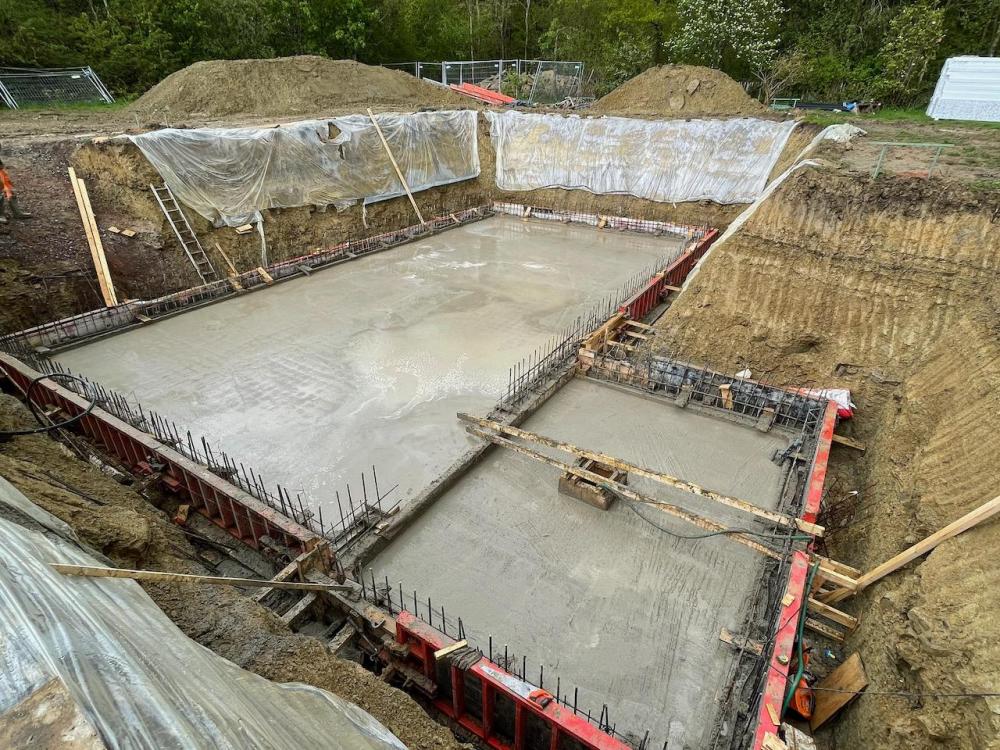
sadly the weather turned a bit for the worse during the pour and the finish isn't perfect so we'll probably have to put a self-levelling screed down but we can cross that bridge when we get to it.
the next morning:
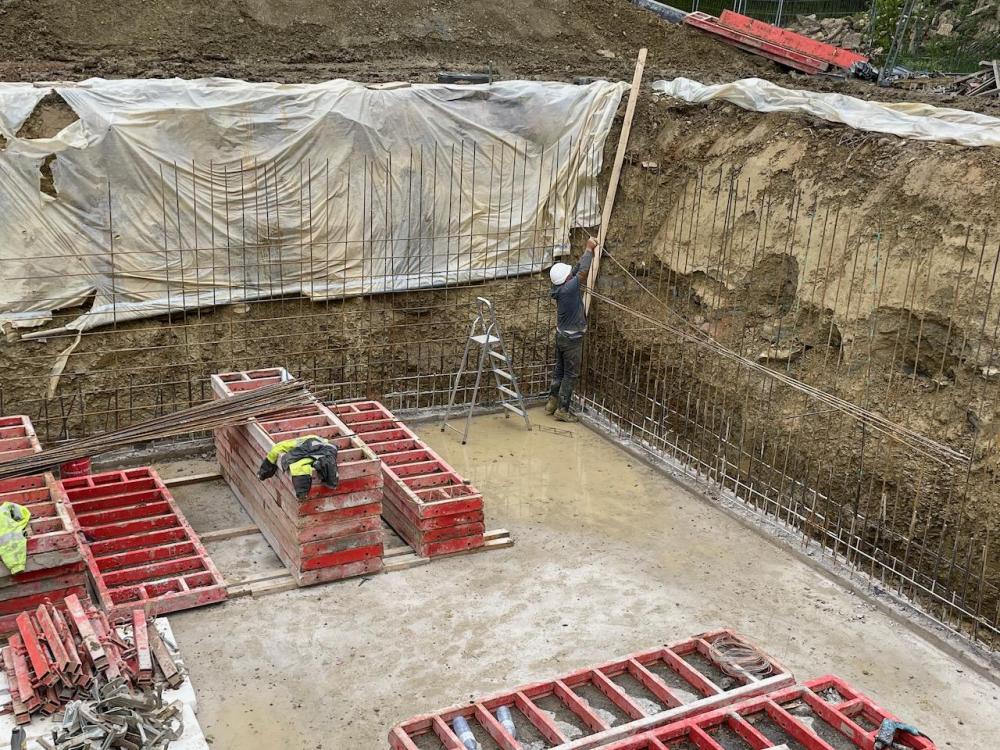
After they struck the slab formwork they made a start on the wall rebar. it's only now that I see it up that I realise how bloody high the ceilings will be! 3m was the request and that is what I got.
painting them will be fun. ?
I did create a video for these last couple of weeks but as all the work was predominantly down at the bottom of the big hole and the camera didn't really catch it all I've sped the footage up quite a bit. Still, I think it's a pretty good watch and you can certainly see a large portion of the work that was done. (Please note that the music has explicit lyrics so you are forewarned)
This week they’re starting on putting up the formwork for the walls and we’re hoping to get a pour in towards the end of the week which will be great. I was told that the walls should take about 3 weeks in total so we should really see some great progress over the next few weeks.
As always, thanks for taking the time to read our journey.
-
 8
8

7 Comments
Recommended Comments
Create an account or sign in to comment
You need to be a member in order to leave a comment
Create an account
Sign up for a new account in our community. It's easy!
Register a new accountSign in
Already have an account? Sign in here.
Sign In Now