Well, it’s over. The company that did our render and cladding has finished and the final bill paid so the warranties can be issued. Now I feel I can blog about what has been an up and down experience.
We started looking at companies to do the render and cladding before we had finished knocking our previous house down. The sales guy sat in our caravan in May last year. We felt we had got on top of this at an early stage.
One issue we were really concerned about was the joins of the render with the cladding. We were told that the battens for the vertical mounted cladding needed to be a min 38mm but that fitting vertical cladding would require horizontal battens. So double battening needed.
The sales guy guy got his render depth wrong (told us 25mm when should have been 19mm). That 6mm matters when you are trying to get battens to fit two different depths of final finish. Should have confirmed sales guy conversation in writing. Lesson learned. Confirmed every subsequent conversation.
But didn’t notice that the company cocked up their calculations of area to be rendered / clad. So got a surprise demand for extra money at the end.
The experience of the actual time on site can be summarised as follows:
Delivery of materials was in mid November. Bizarrely, no one rocked up on site for a further week. Then, no one knew what to do with the materials that were there. Alarm bells were ringing loudly at this point.
We had had outsourced the whole job to a specialist company so expected them to project manage it. A project manager was absent for most of the first two weeks with the guys on site working without any guidance with a render system they claim never to have seen. For the record, this was SAS ProWall and the company we used was recommended by the SAS people.
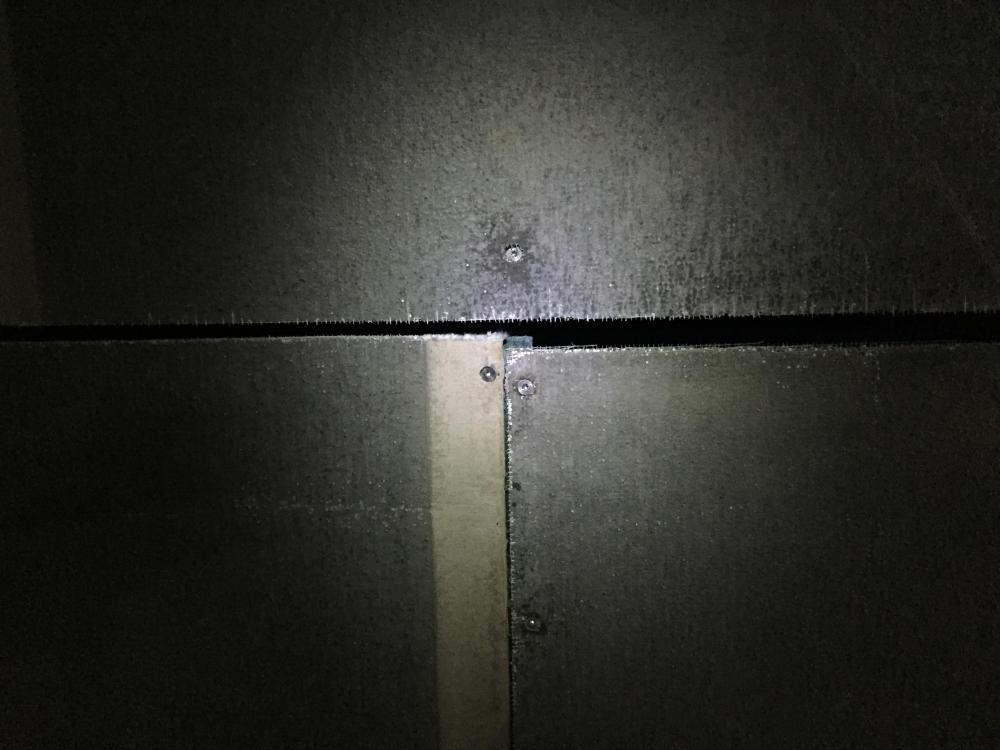
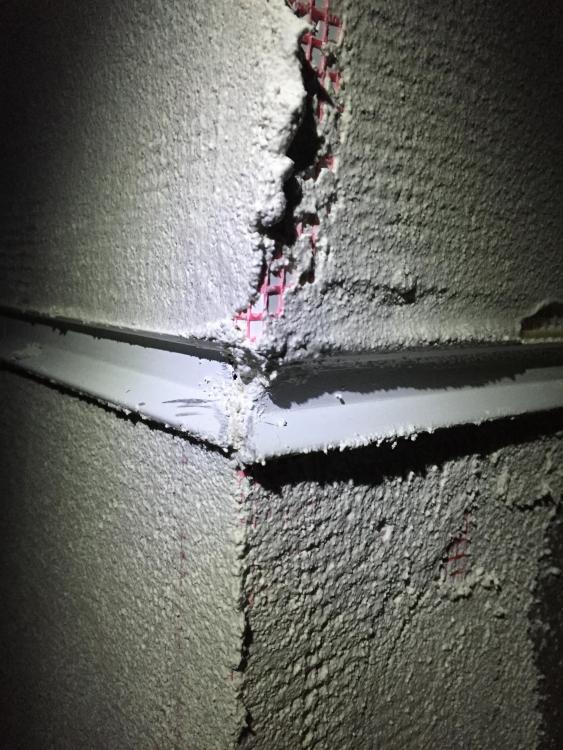
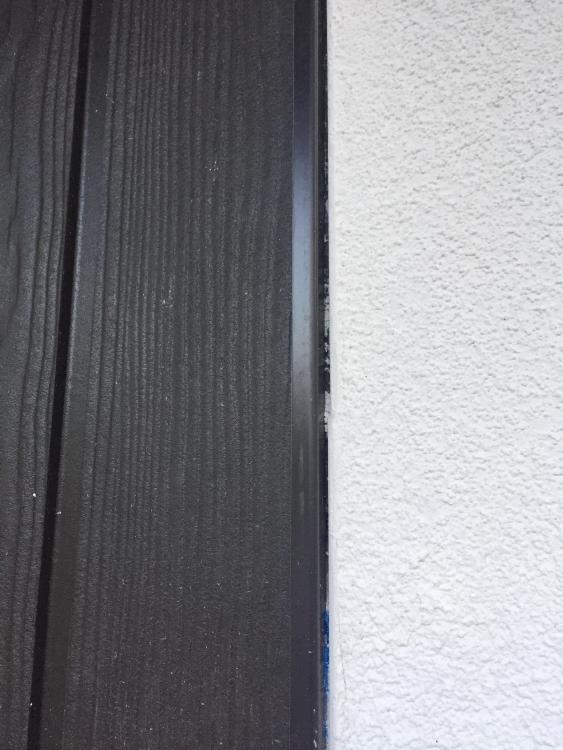
Some of the workmanship was shockingly poor. This sort of thing - see the photos. Awful mess on the expansion joint mitre (which would remain visible) and huge variations in the render board gaps. It was down to us to raise this as nobody supervised their work. We had to raise issues a few times, including right at the end for remedial work. It seems it was too much to ask for someone to just do a good job. They all tried to take shortcuts or simply hadn’t a clue how to do what was needed.
Half way through the job, one guy was let go. Good job as his efforts at fitting Cedral Click boards were pretty poor. The two teams (Estonian and Romanian) who then came in were good. Finally.
The Latvian render team delivered a good final finish but it was a big effort from us to get them to focus on quality. Apparently they “render loads of low cost housing and no one really bothers with the finish”.
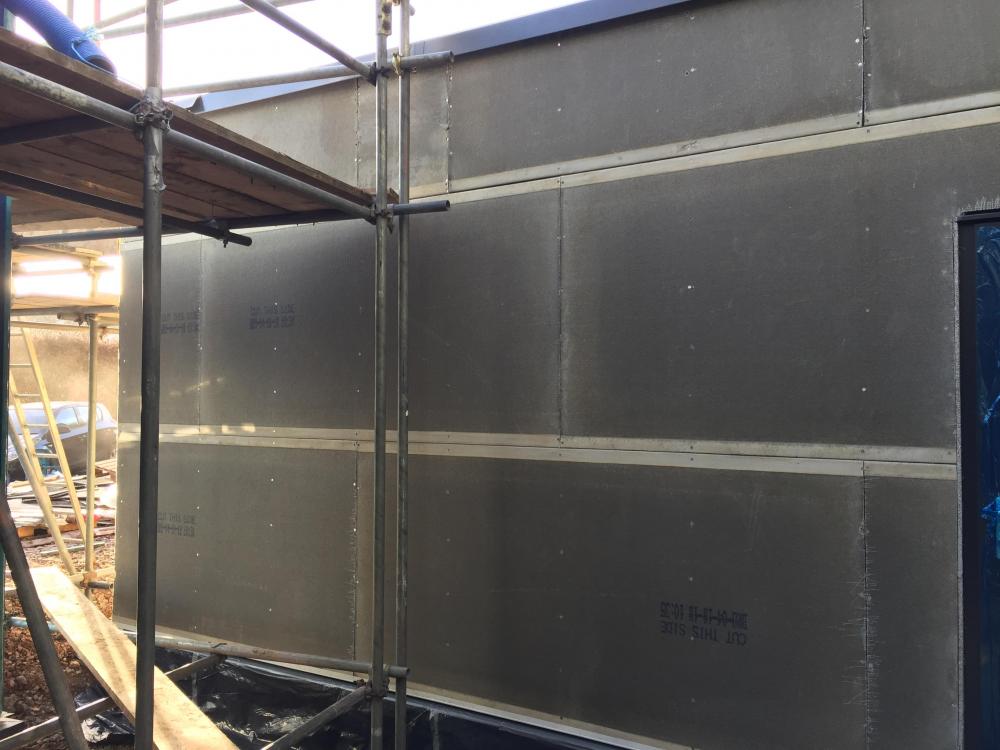
So, the SAS system involves battens, then heavy render board (which they fitted the wrong way round to start with).
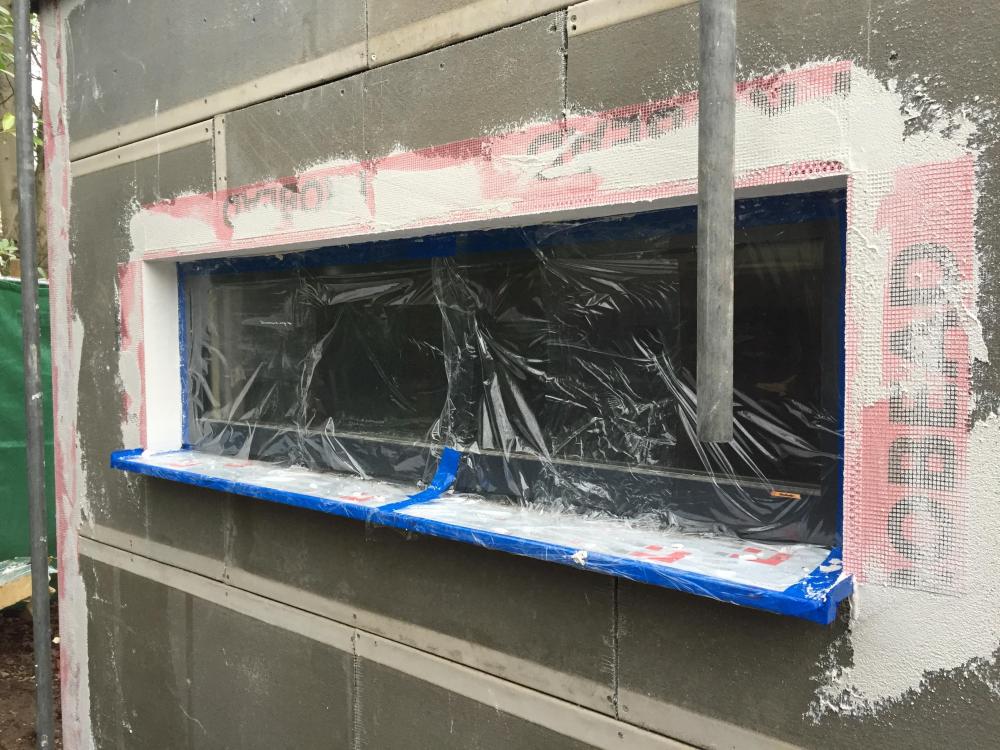
On top of the board goes a layer of base coat with a mesh embedded in it.
then it needs two top coats in the chosen colour (ours is white) and it has to be 5 degrees or warmer day and night for at least two days to do this. It was December. We were getting worried.
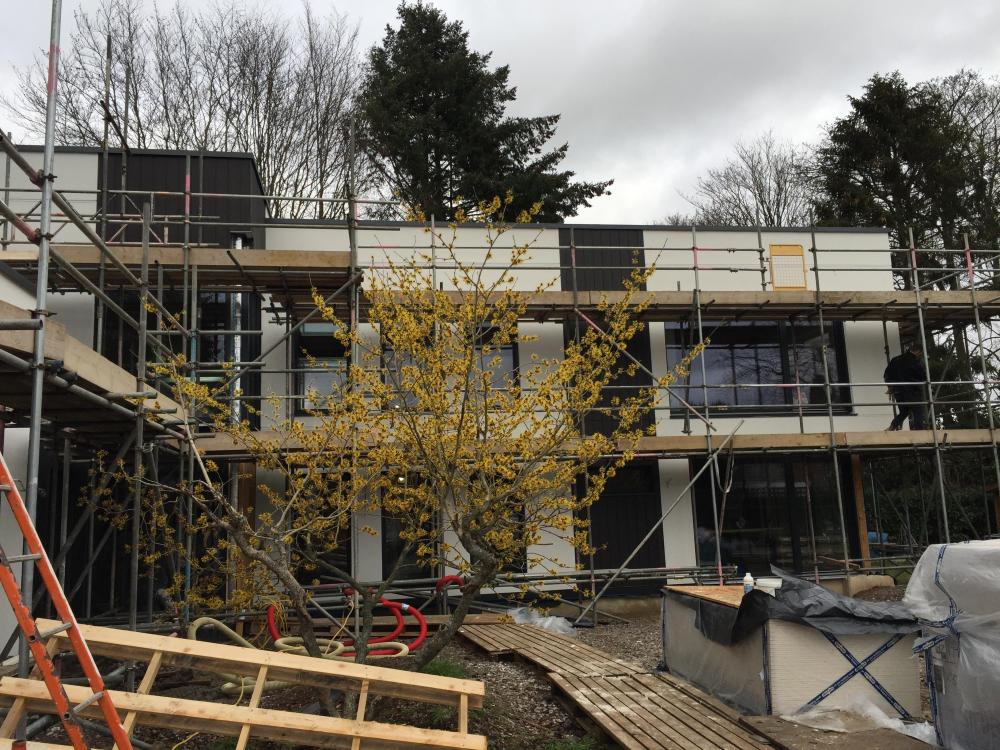
But we have been very lucky with a mild winter and they got it all coated by the first week in Feb. It’s a slightly textured finish - hopefully visible on the photo.
The Cedral click cement board has to be cut with a decent circular saw. It then has to be fitted so the cut edge isn’t visible. The boards are slightly overlapped and fitted together with metal clips. Each batten has to have damp proof membrane on it (they didn’t know this and we had to tell them). The strips for the ends are colour matched aluminium trims.
We still need to silicone the window reveals. But it is done. We are pleased with the overall effect. And delighted that we don’t need to go through this any more or ever again. Difficult company to deal with. We got there but the journey was horrendous at times. Many sleepless nights and days of worry. Plus anger and frustration. But now we can look forward to getting the scaffolding down.......

6 Comments
Recommended Comments
Create an account or sign in to comment
You need to be a member in order to leave a comment
Create an account
Sign up for a new account in our community. It's easy!
Register a new accountSign in
Already have an account? Sign in here.
Sign In Now