
Bonus edition - Garden landscaping

Entry posted by Benpointer in General
61 views
Back by popular demand! (Well, one person asked.)
I said the previous blog was my last. I lied. This bonus edition focuses our efforts to landscape the garden.
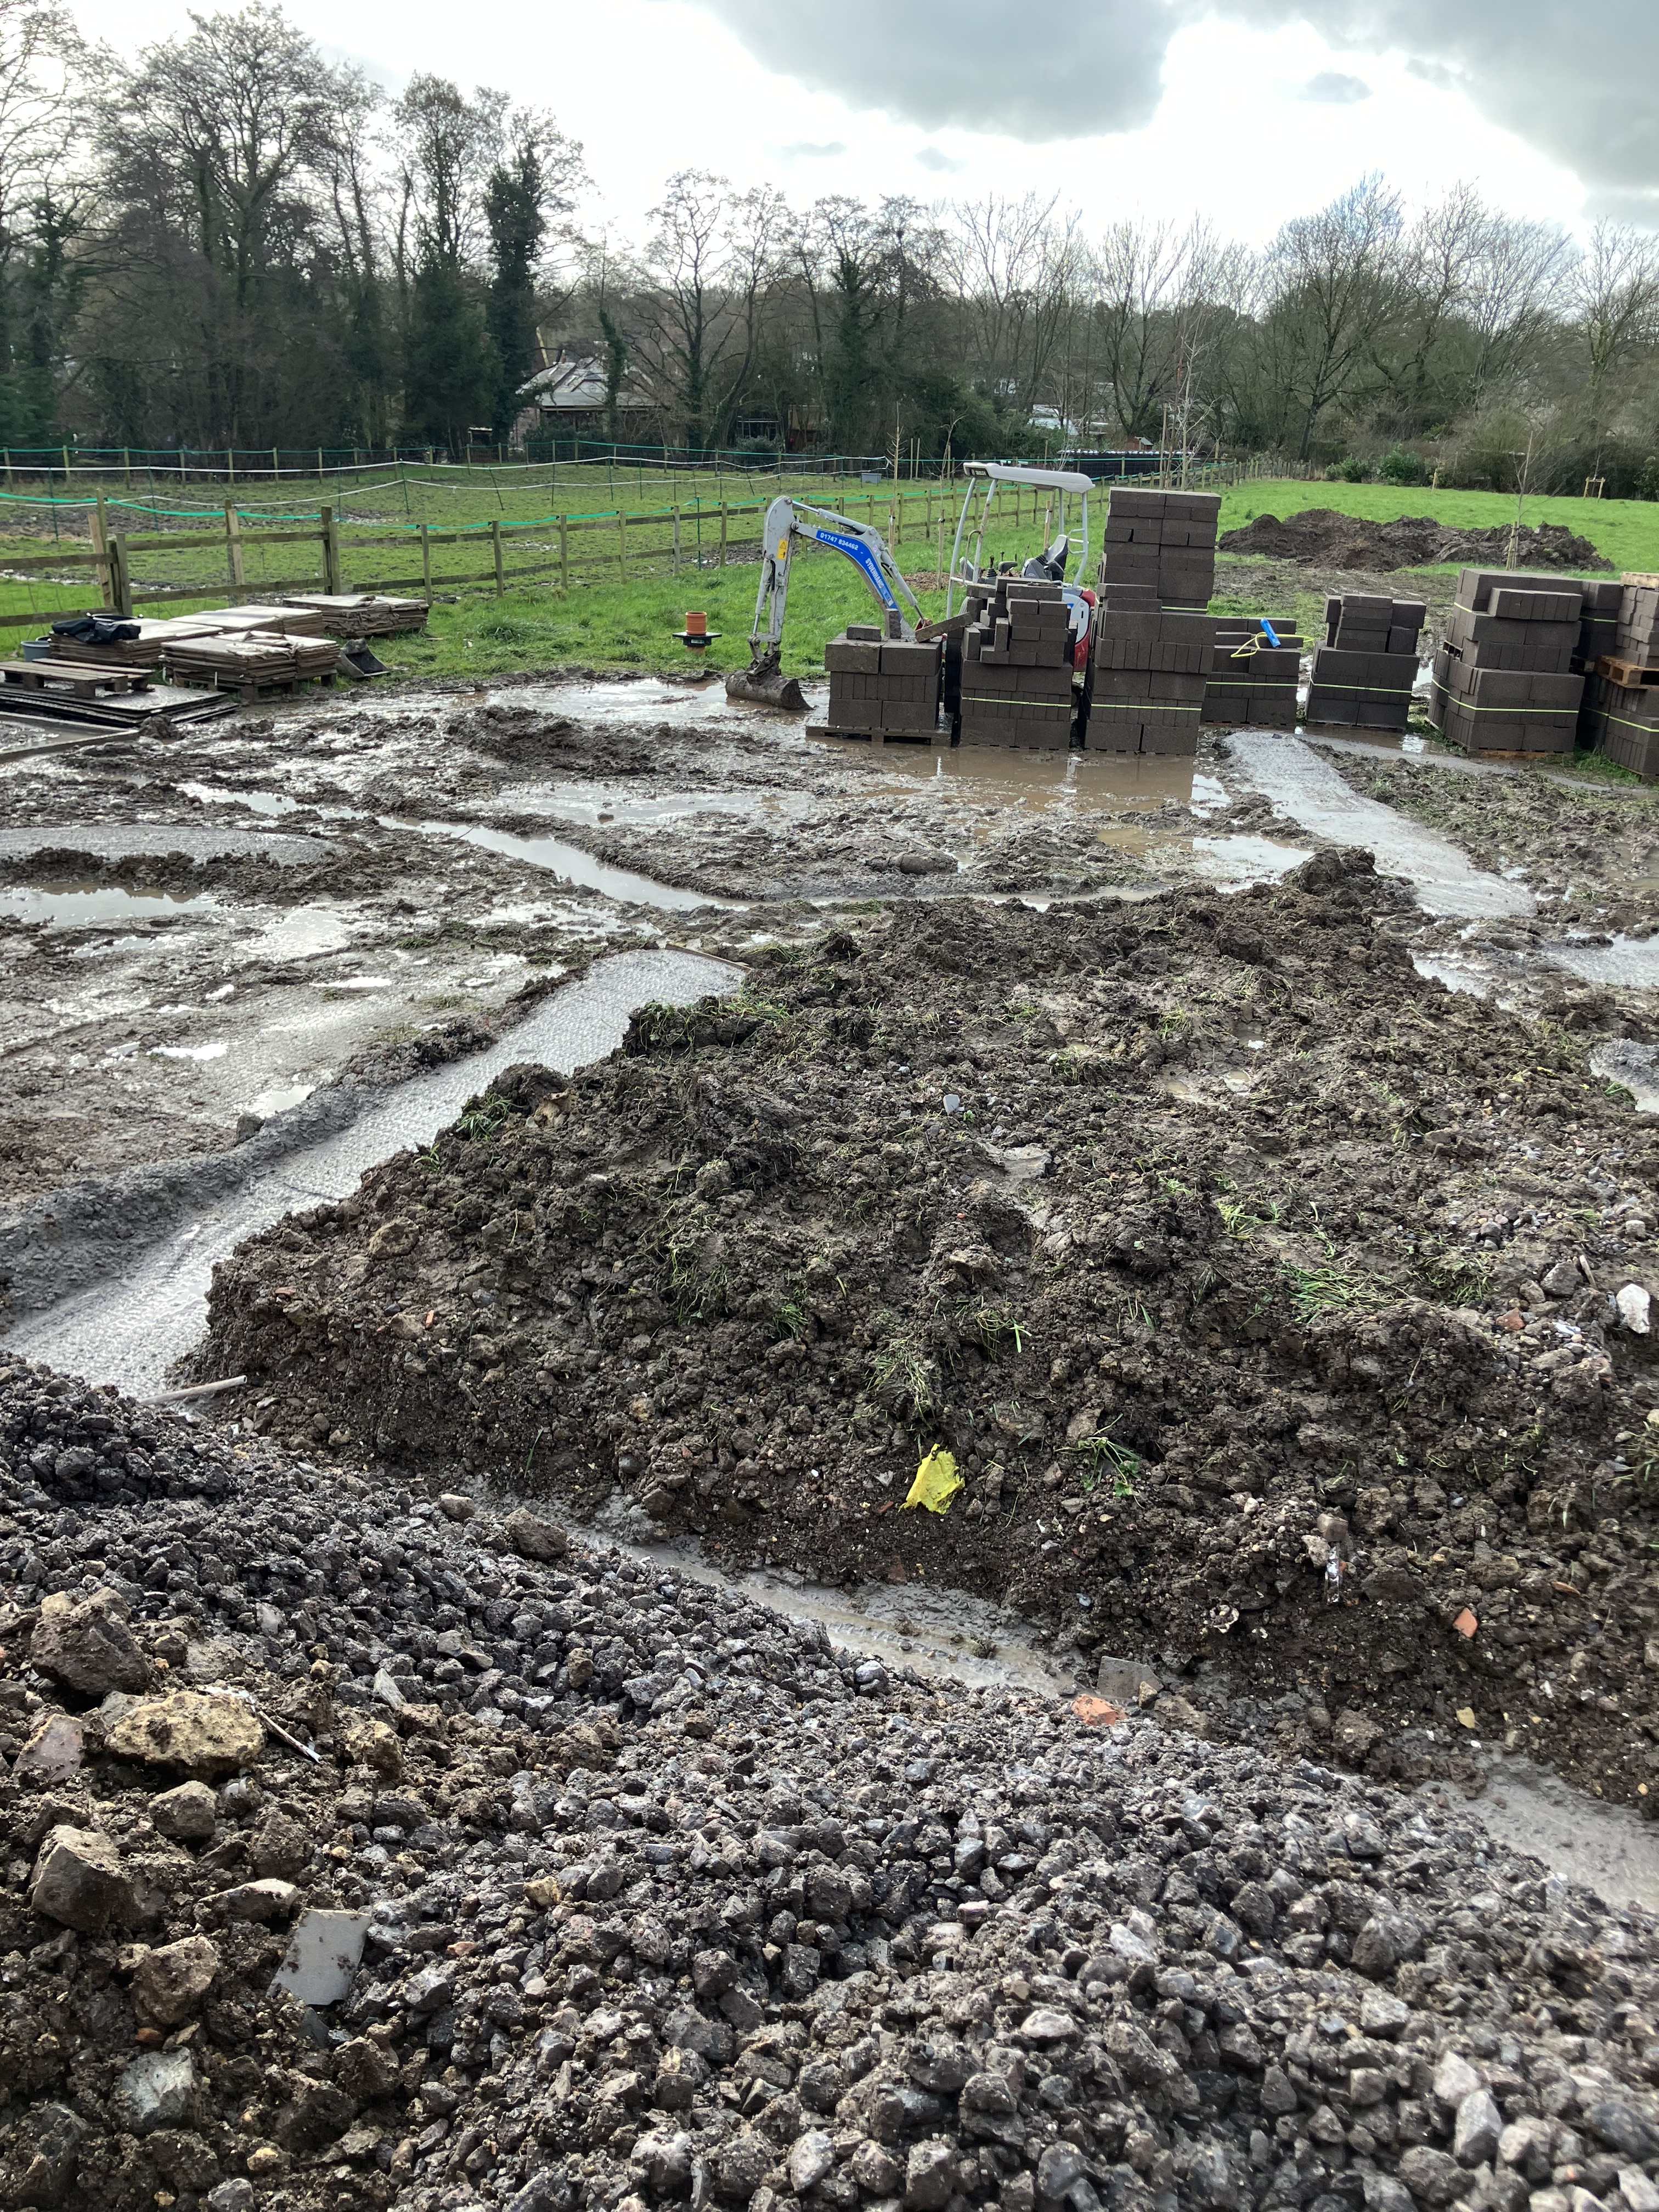
Just before we moved in in February the rear ‘garden’ looked a bit like this:
Fortunately, we’d stayed close enough to the build budget to have some funds still reserved for landscaping. It turns out that landscaping is expensive - similar costs to groundworks in our experience.
Last year, while waiting for planning and itching to do something, we’d engaged a garden designer to help us meet some key requirements. We wanted to create a small garden with multiple planting and seating areas with level access from the house and wheelchair access to all areas.
The designer came up with a design we liked - an interesting mixture of curves and angles, with planting and seating areas as requested.
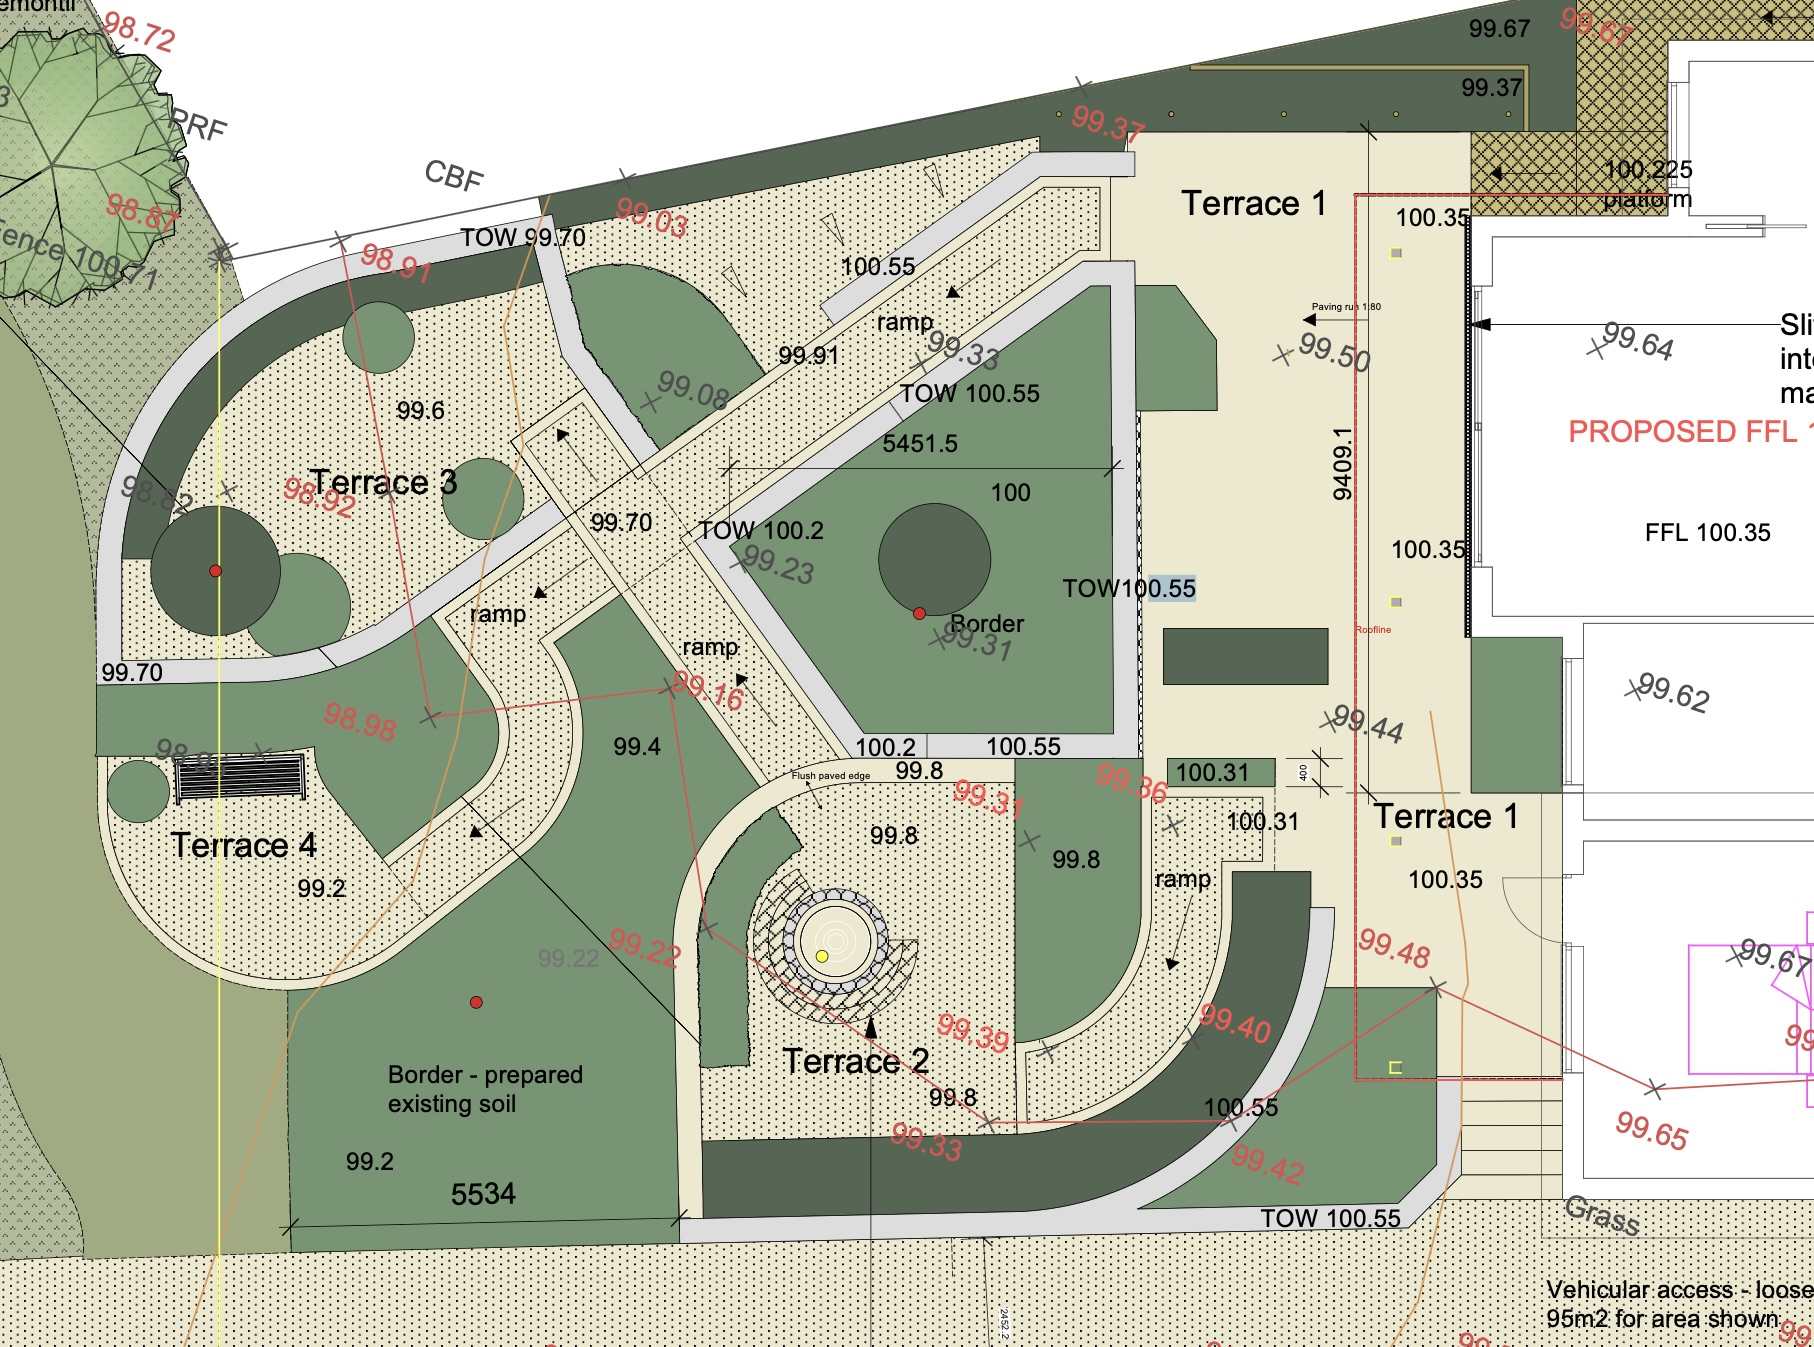
We ended up adapting this design to form the skeleton of the garden. In truth we were never likely to take any design without tweaking it but if we attempted the design ourselves it would have been very boring compared with the garden we now have. (We also ditched the designers planting list suggestion but Mrs P. was always going to have the plants she wanted, and why not?)
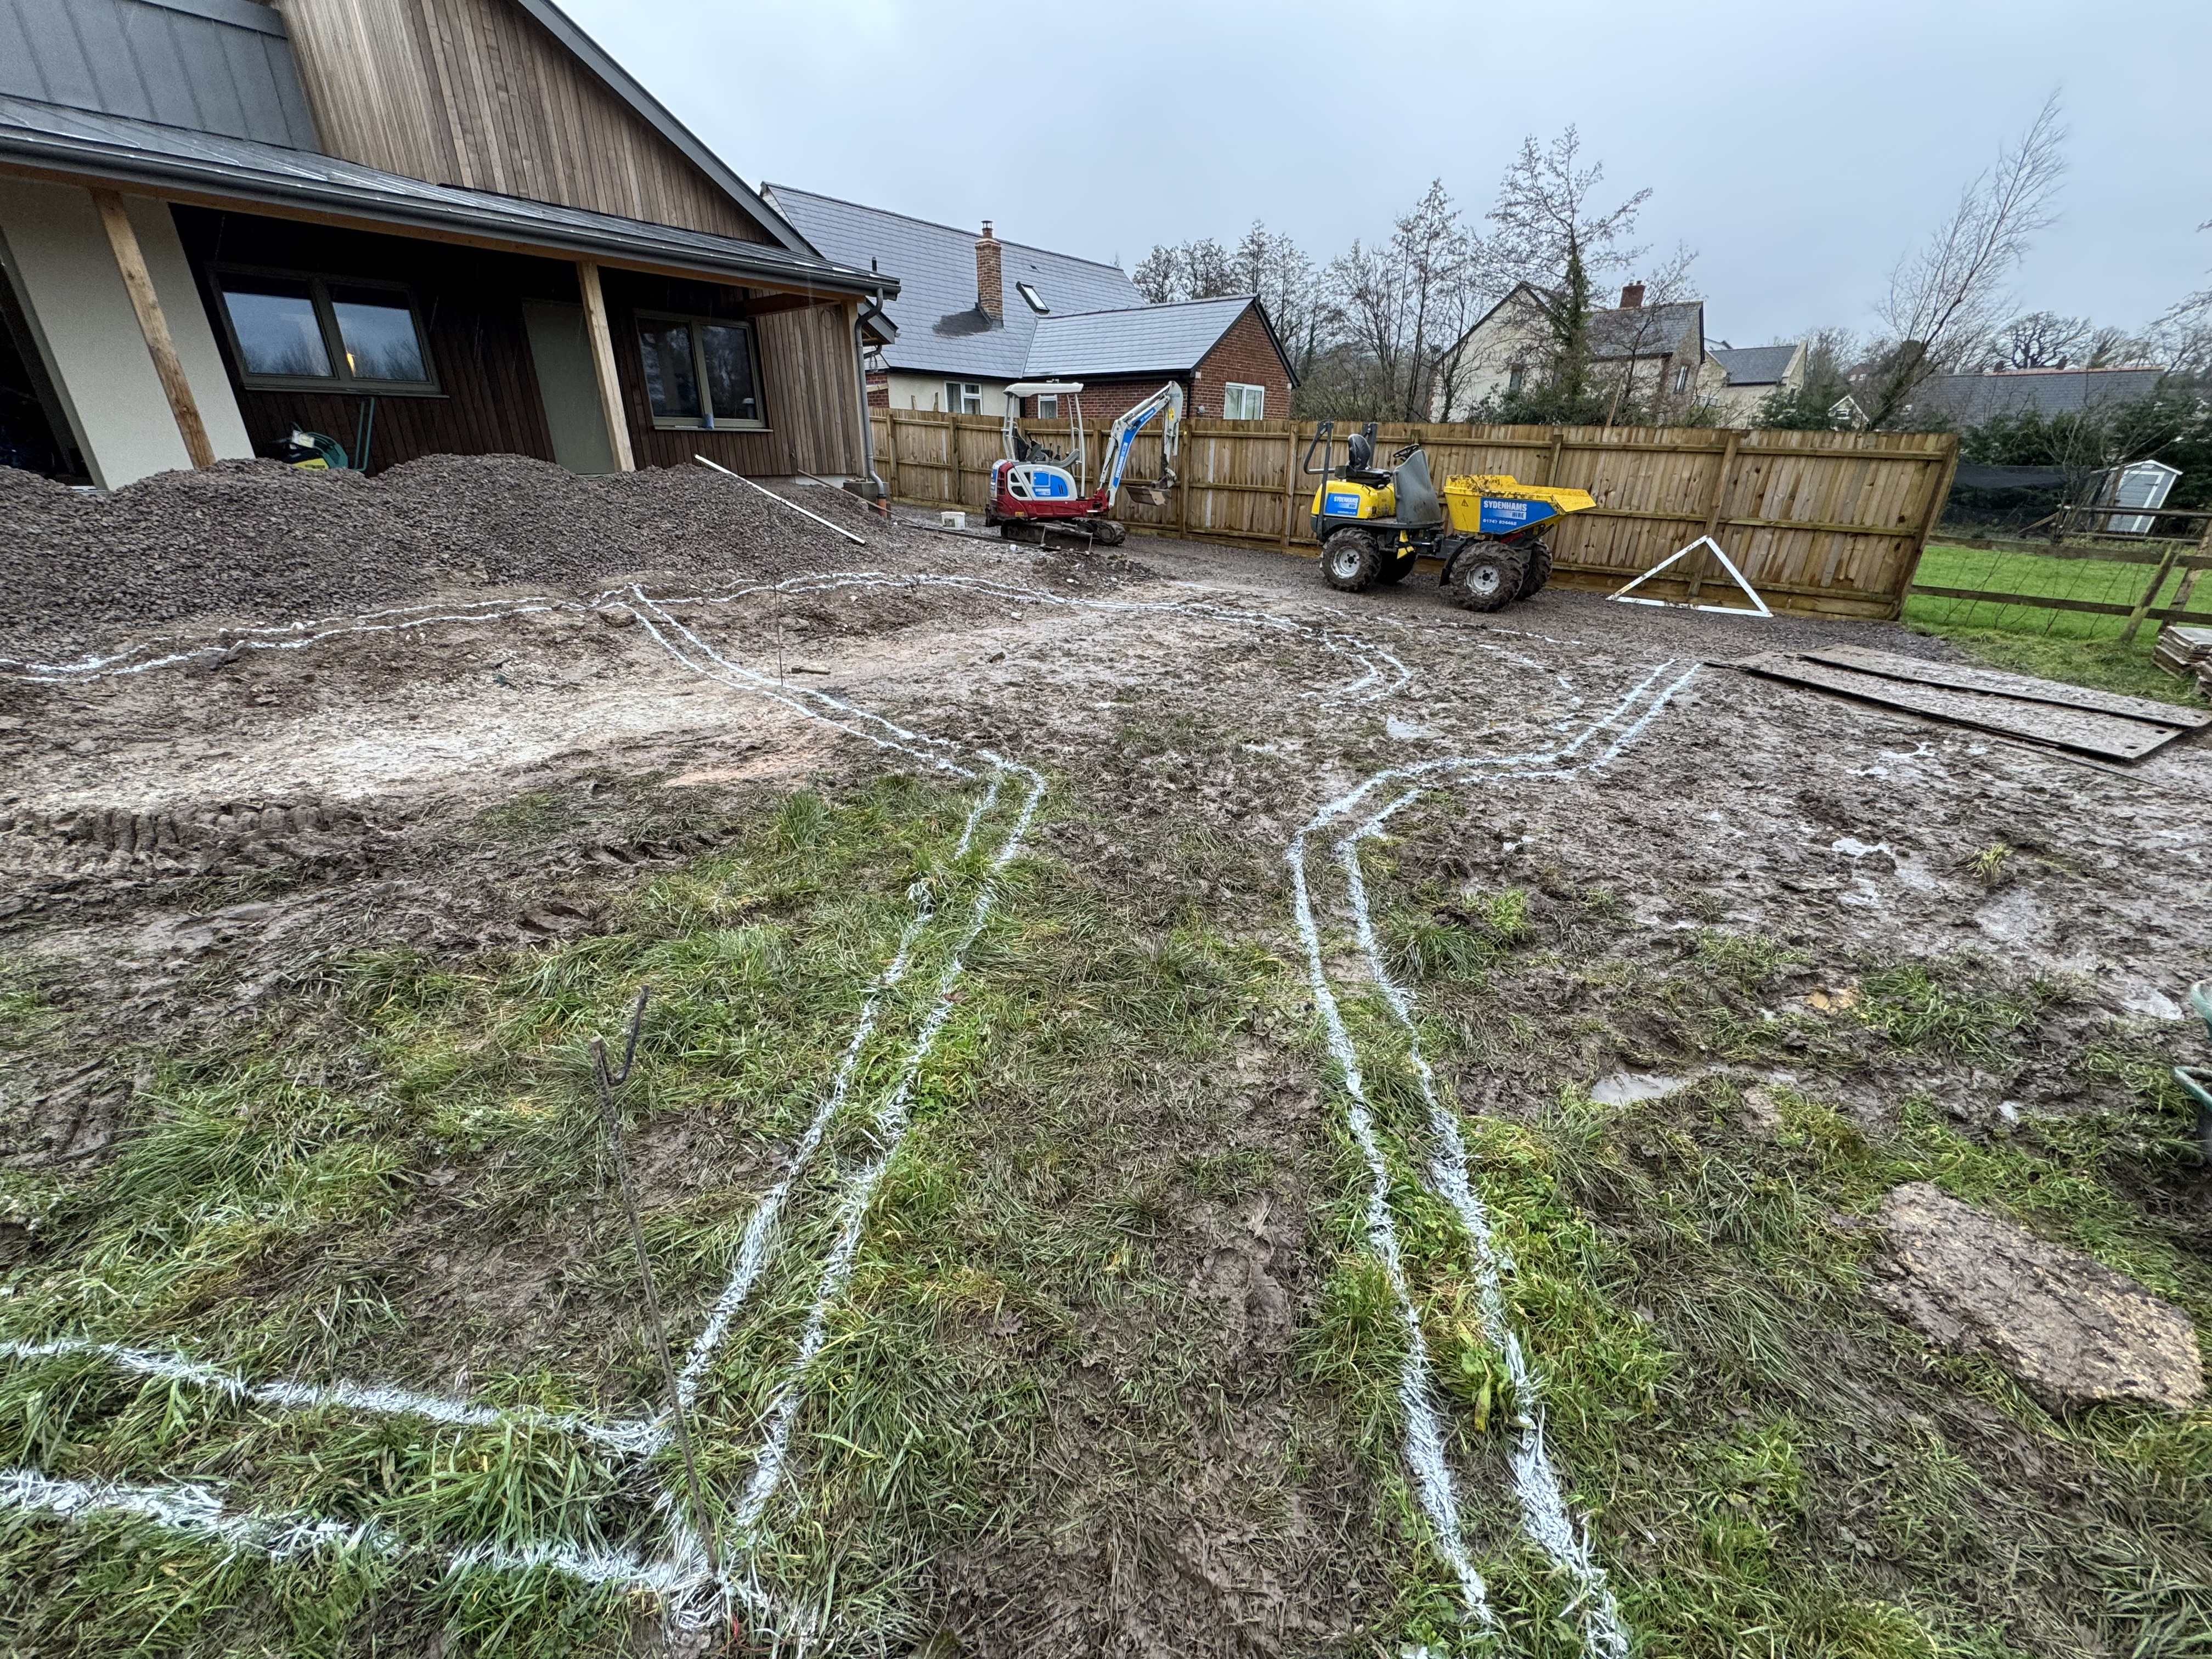
One reason we had to adapt the design was that the fall in height was more than we planned for at 1.6m, and we only had about 12m distance to manage it given we wanted a terrace with level access next to the house. For comfortable wheelchair access I find it’s best to limit ramps to no more than 1:20 gradient, which implies we needed to fit in 32m of ramps in a 12m x 15m area. So the paths became a bit more meandering. Here’s my amateur attempt at trying to gauge shape and fall of the paths.
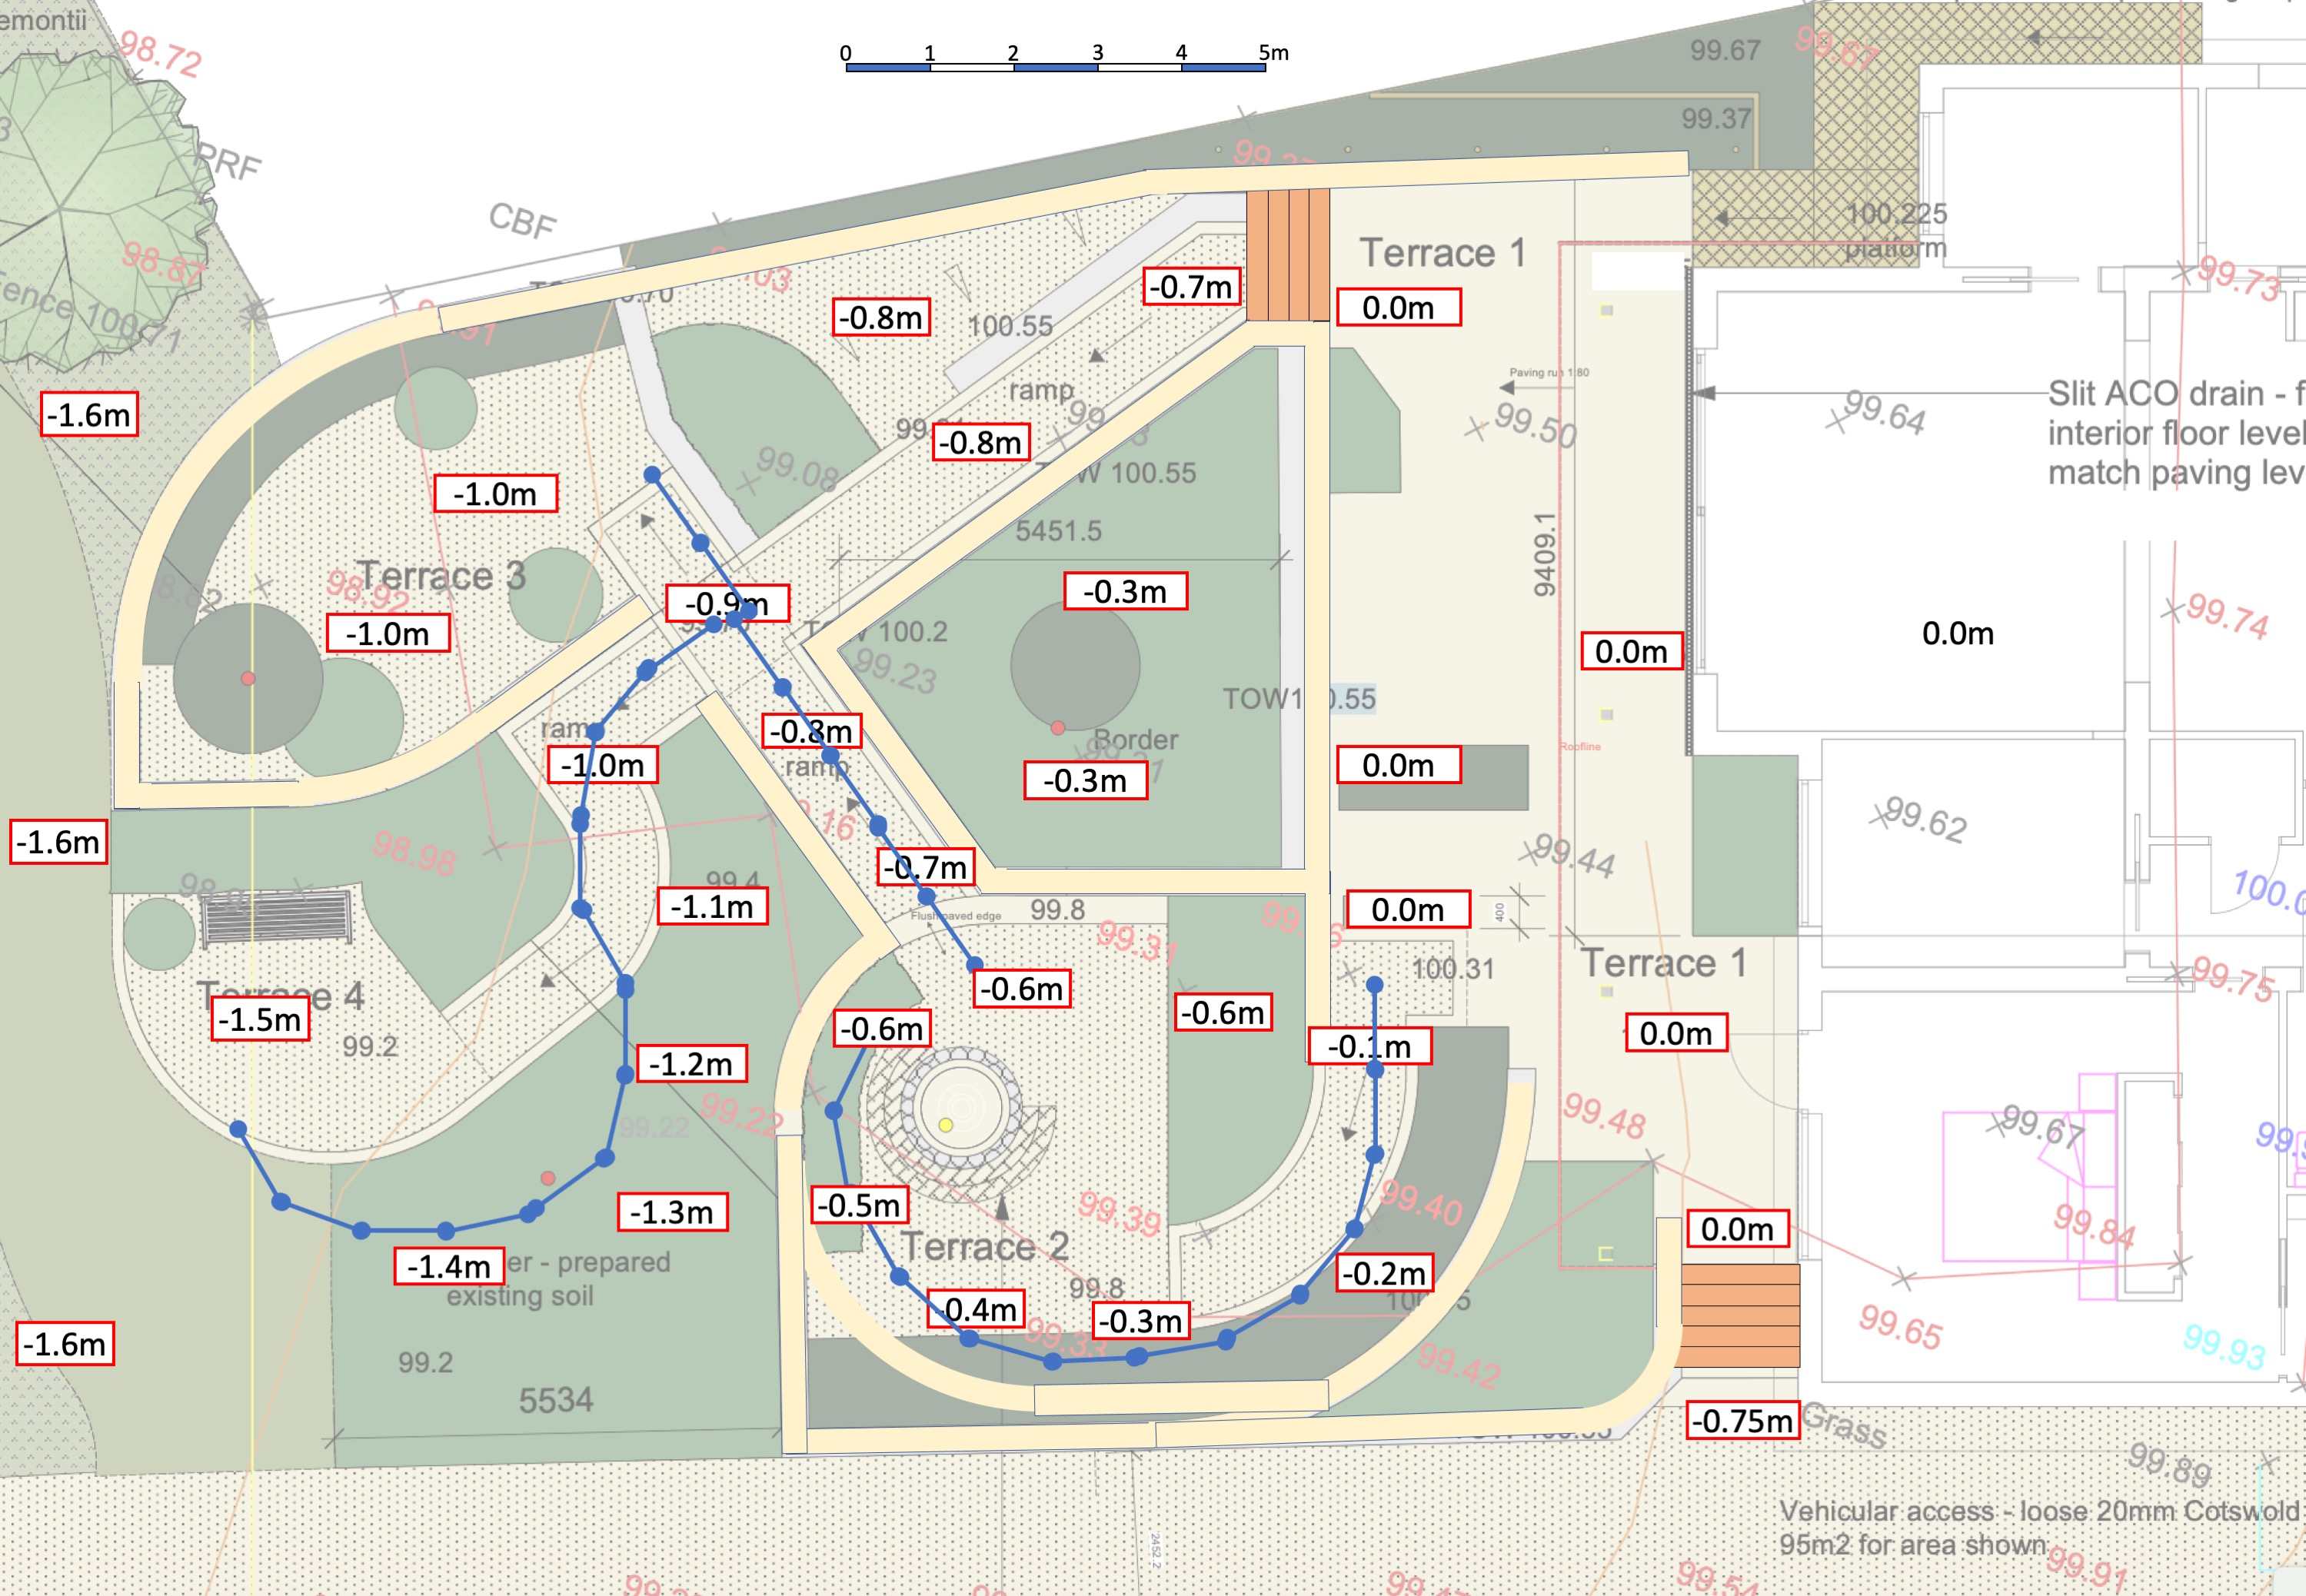
Our excellent local landscape gardener Ashley Ralph (Ashely Ralph Landscaping - I’m not on commission!) started work in February to turn our amended plan into reality.
Marking out was fun! This photo shows just how tight a space Ashley was working with.
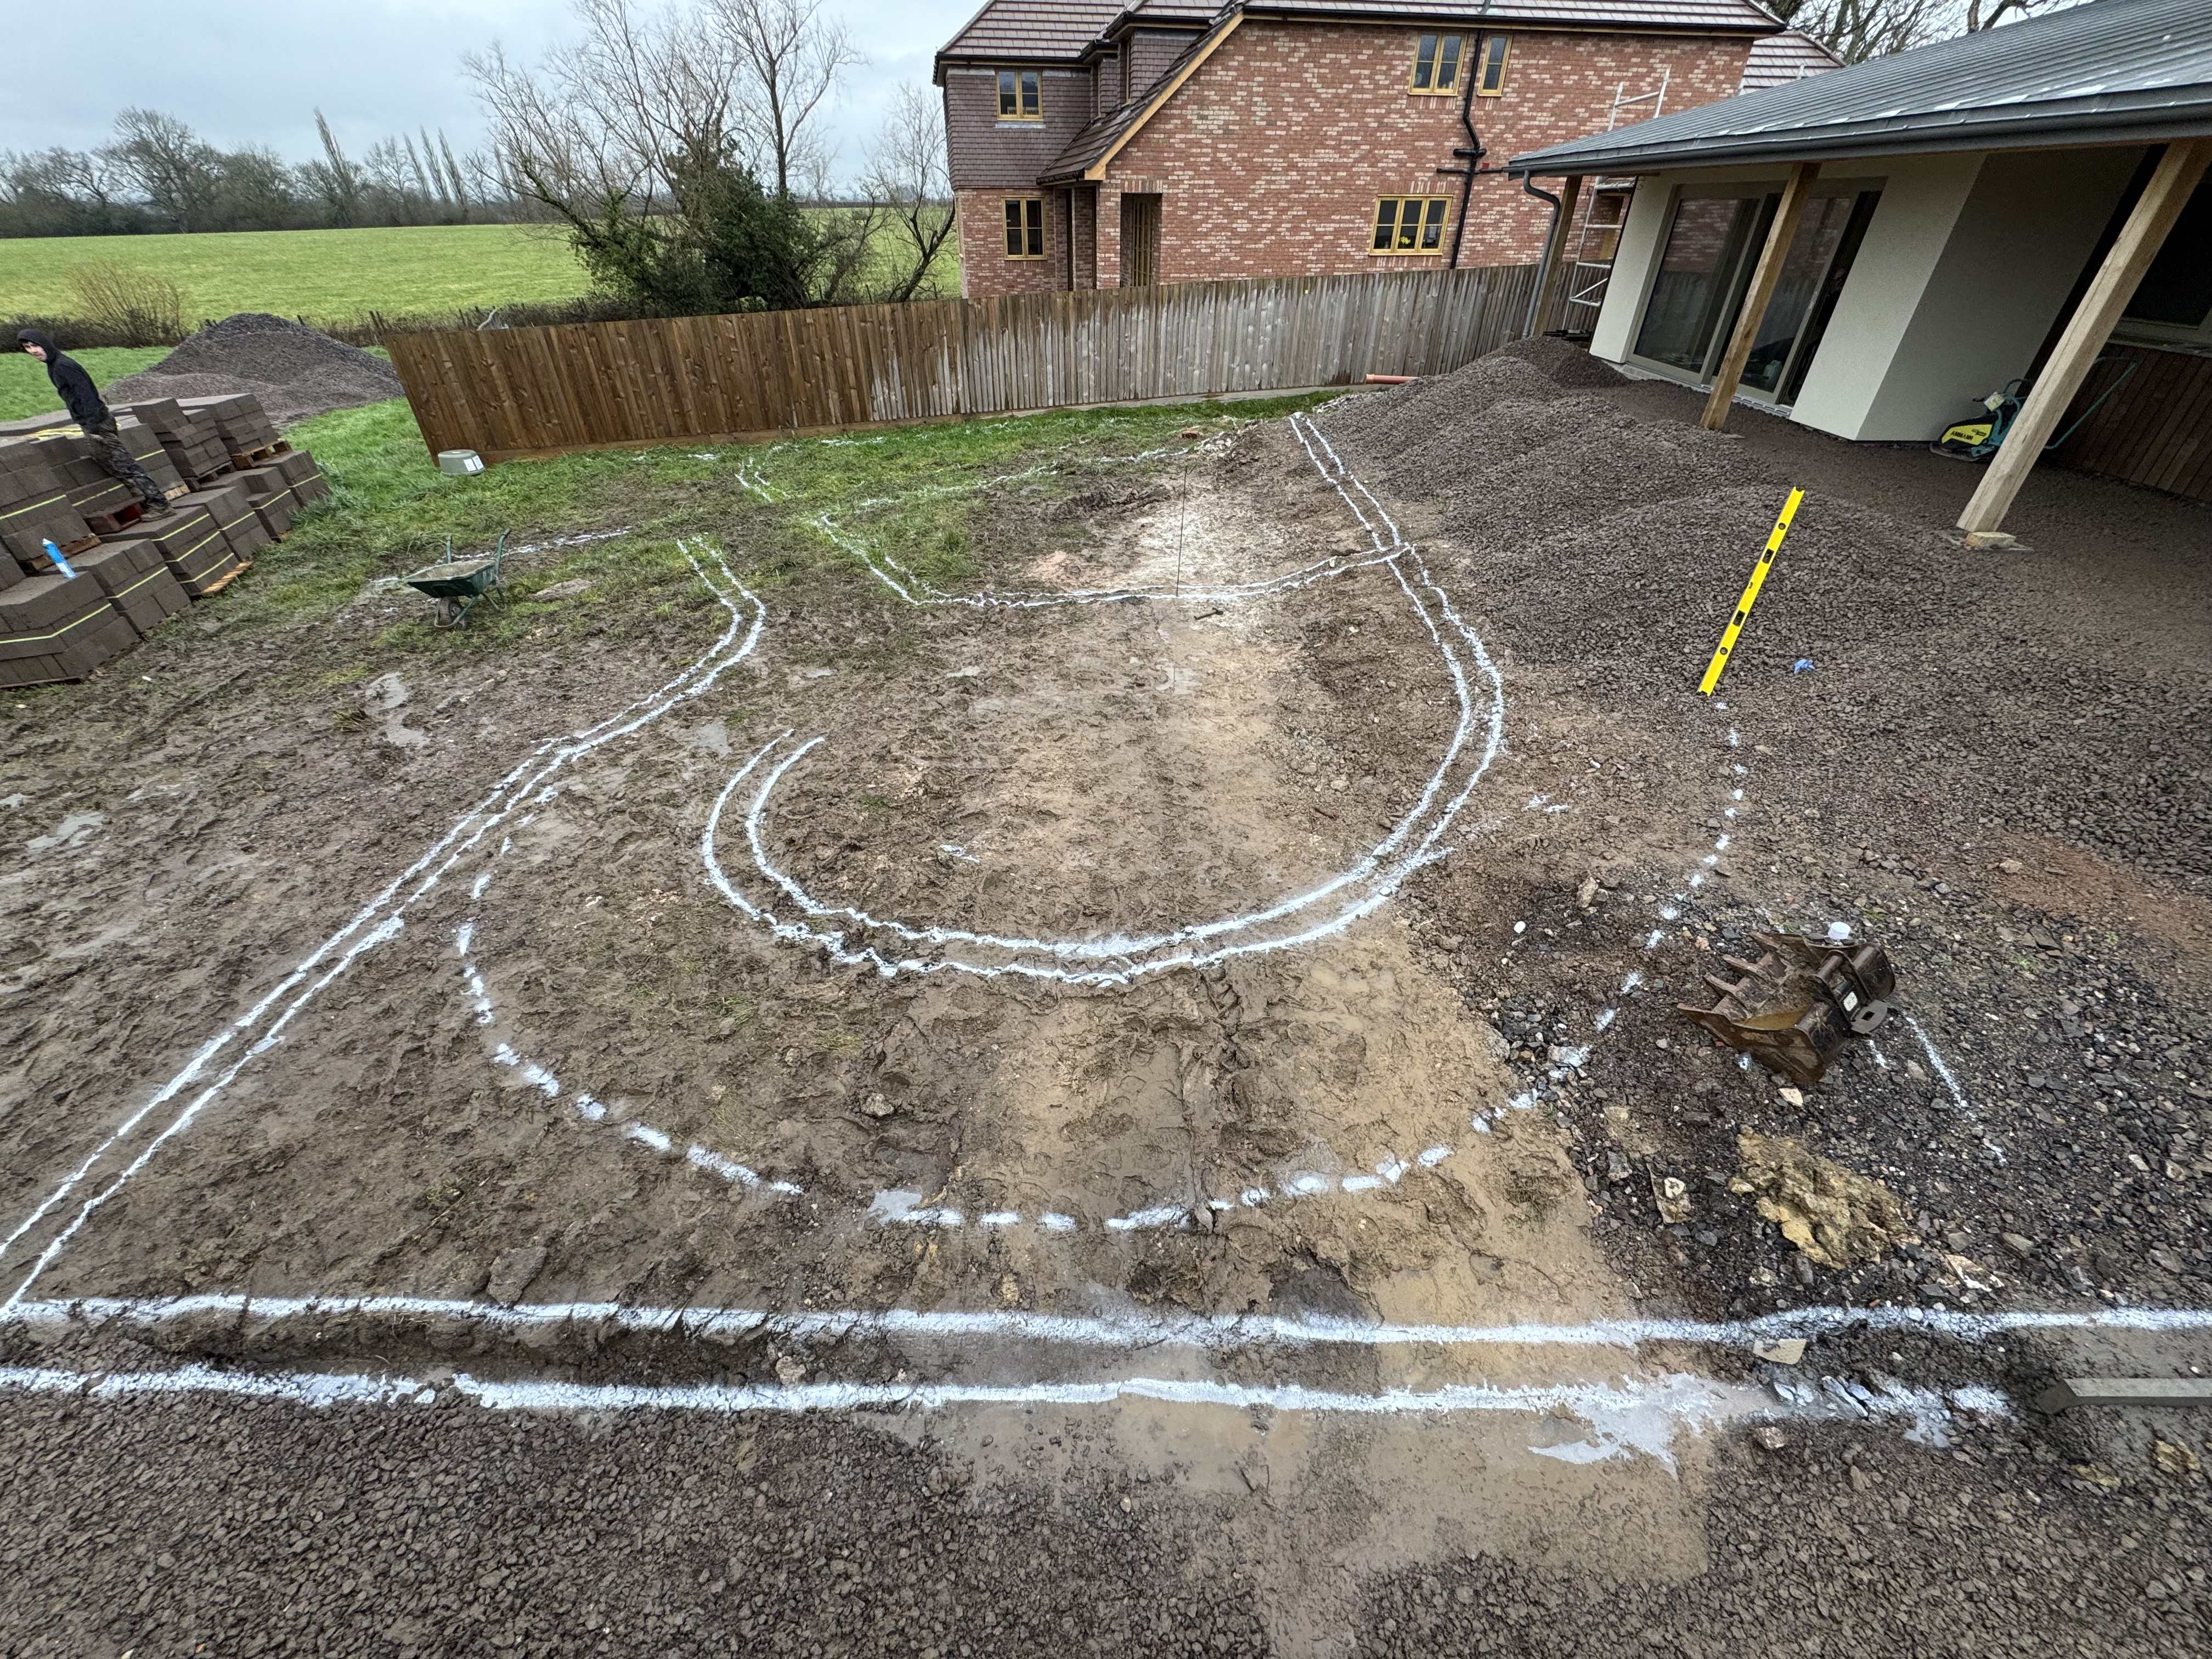

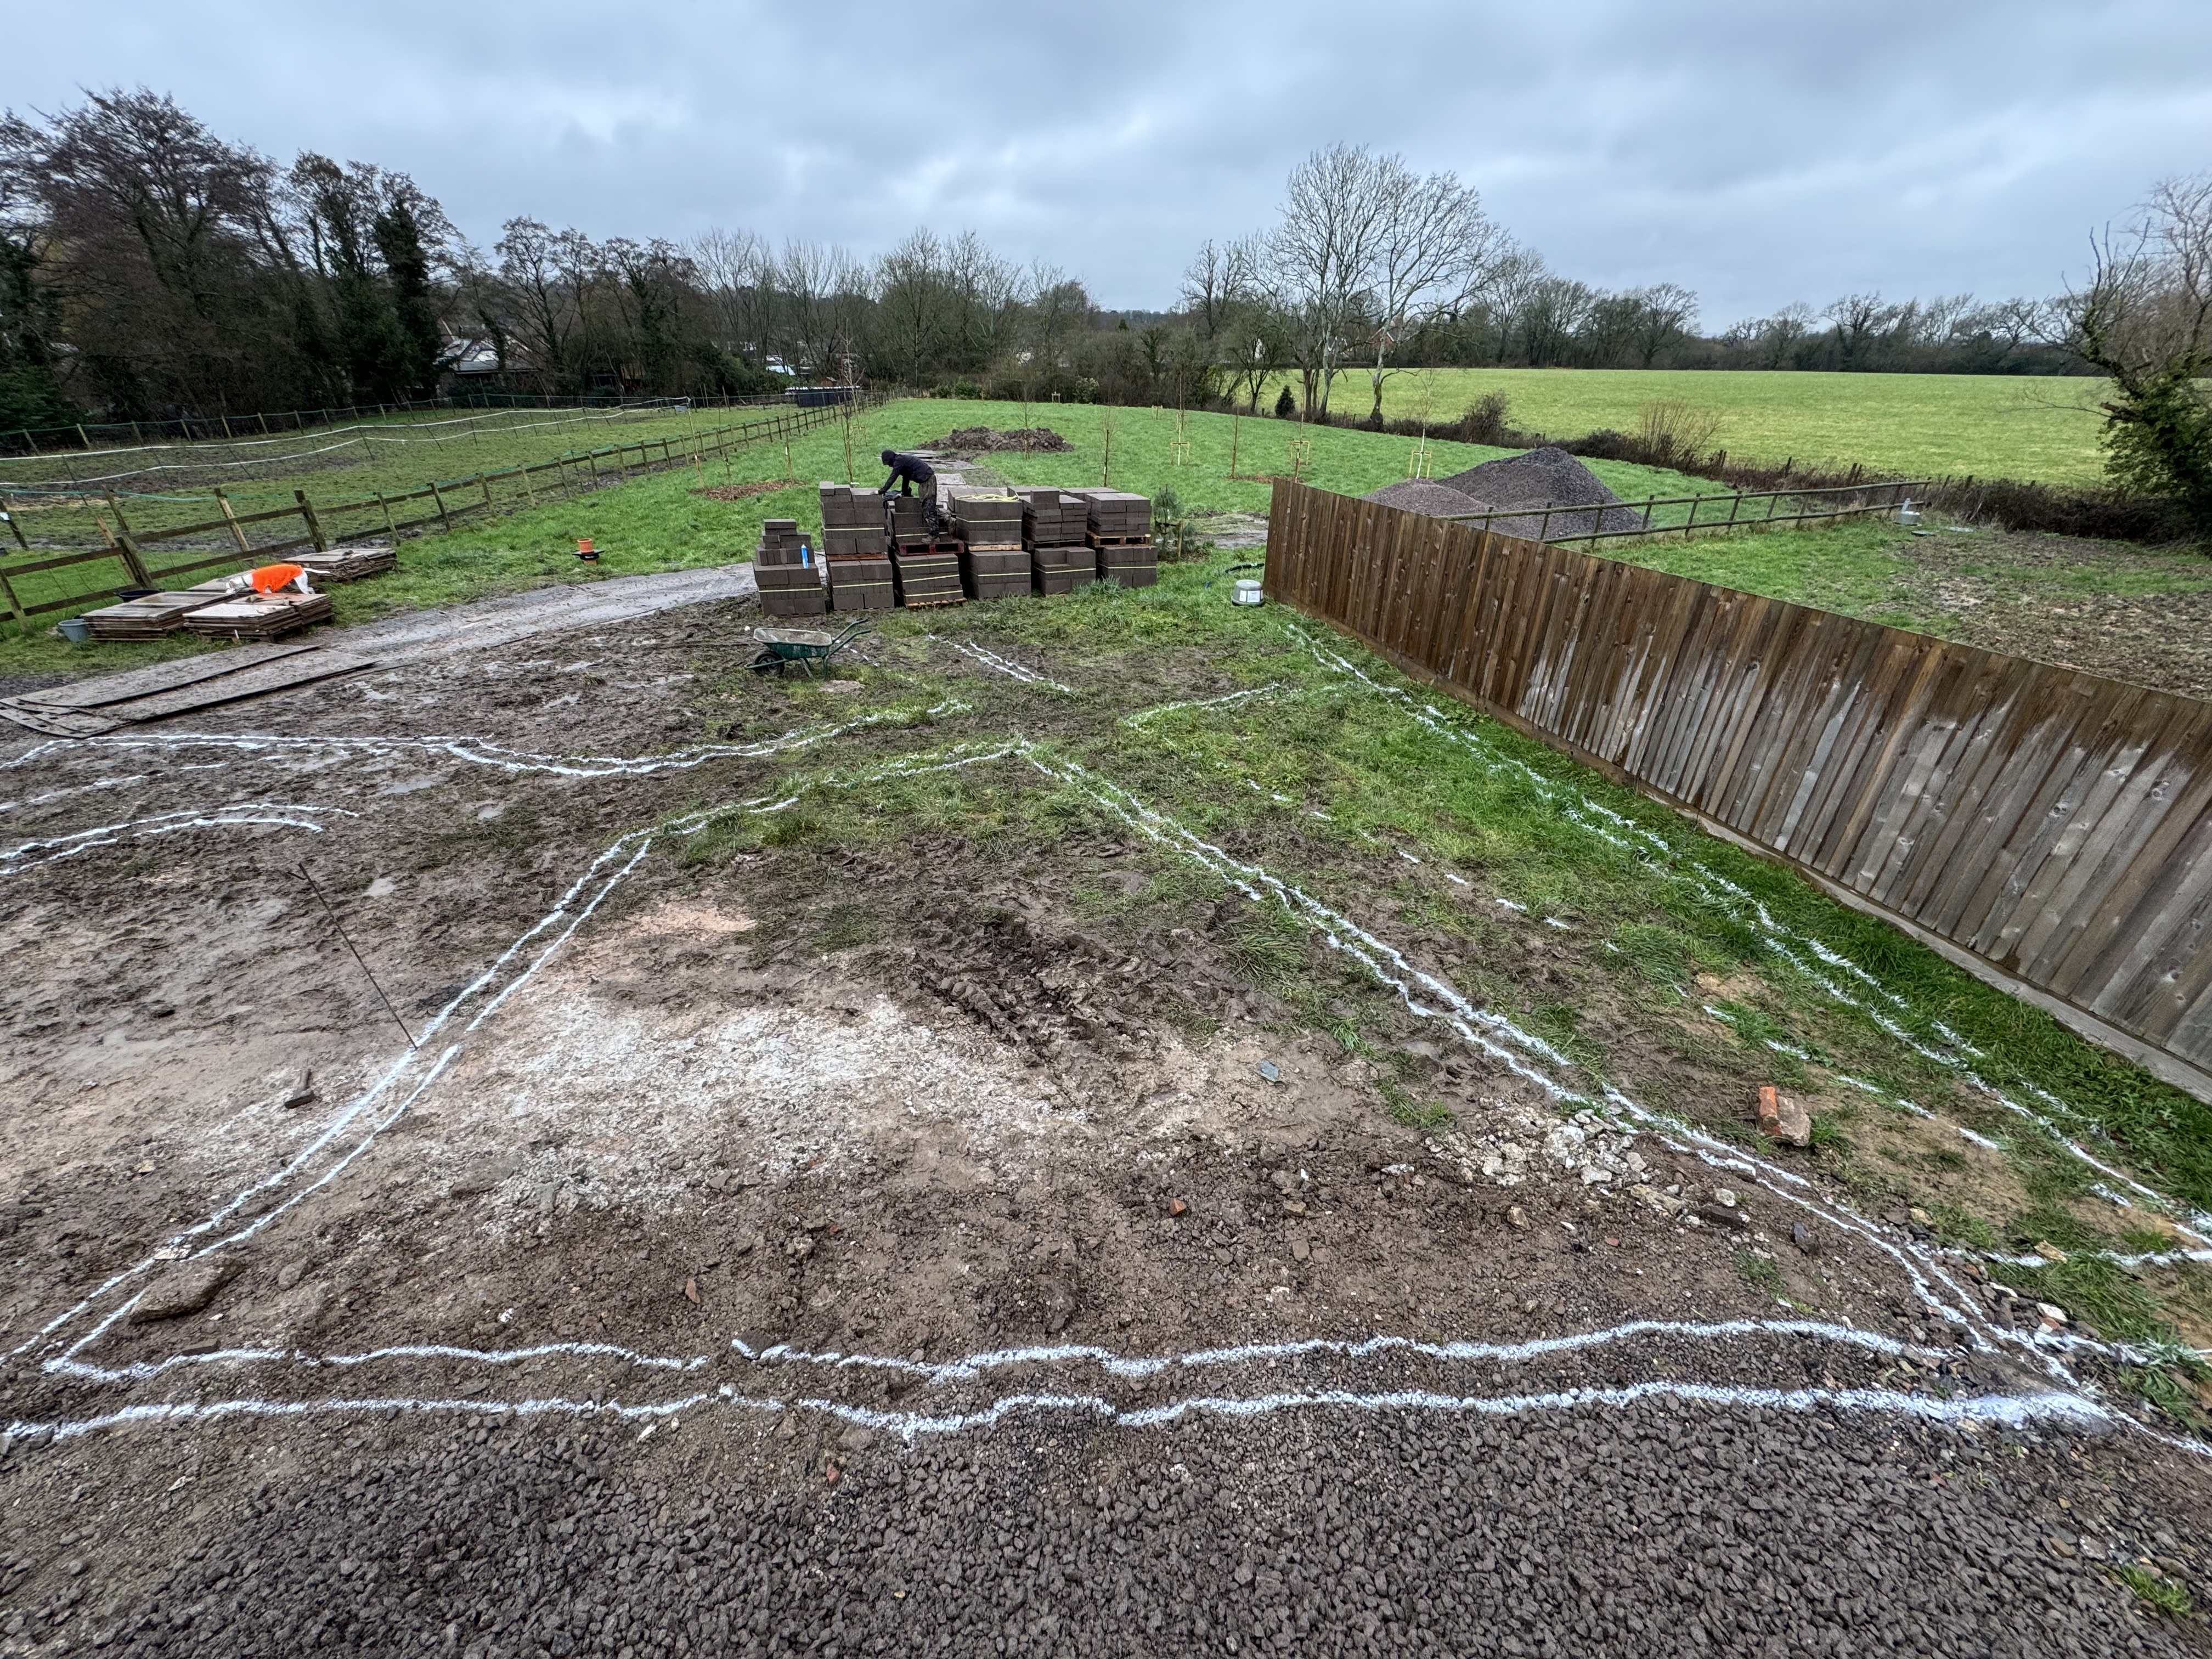
Cern Abbas Giant eat your heart out!
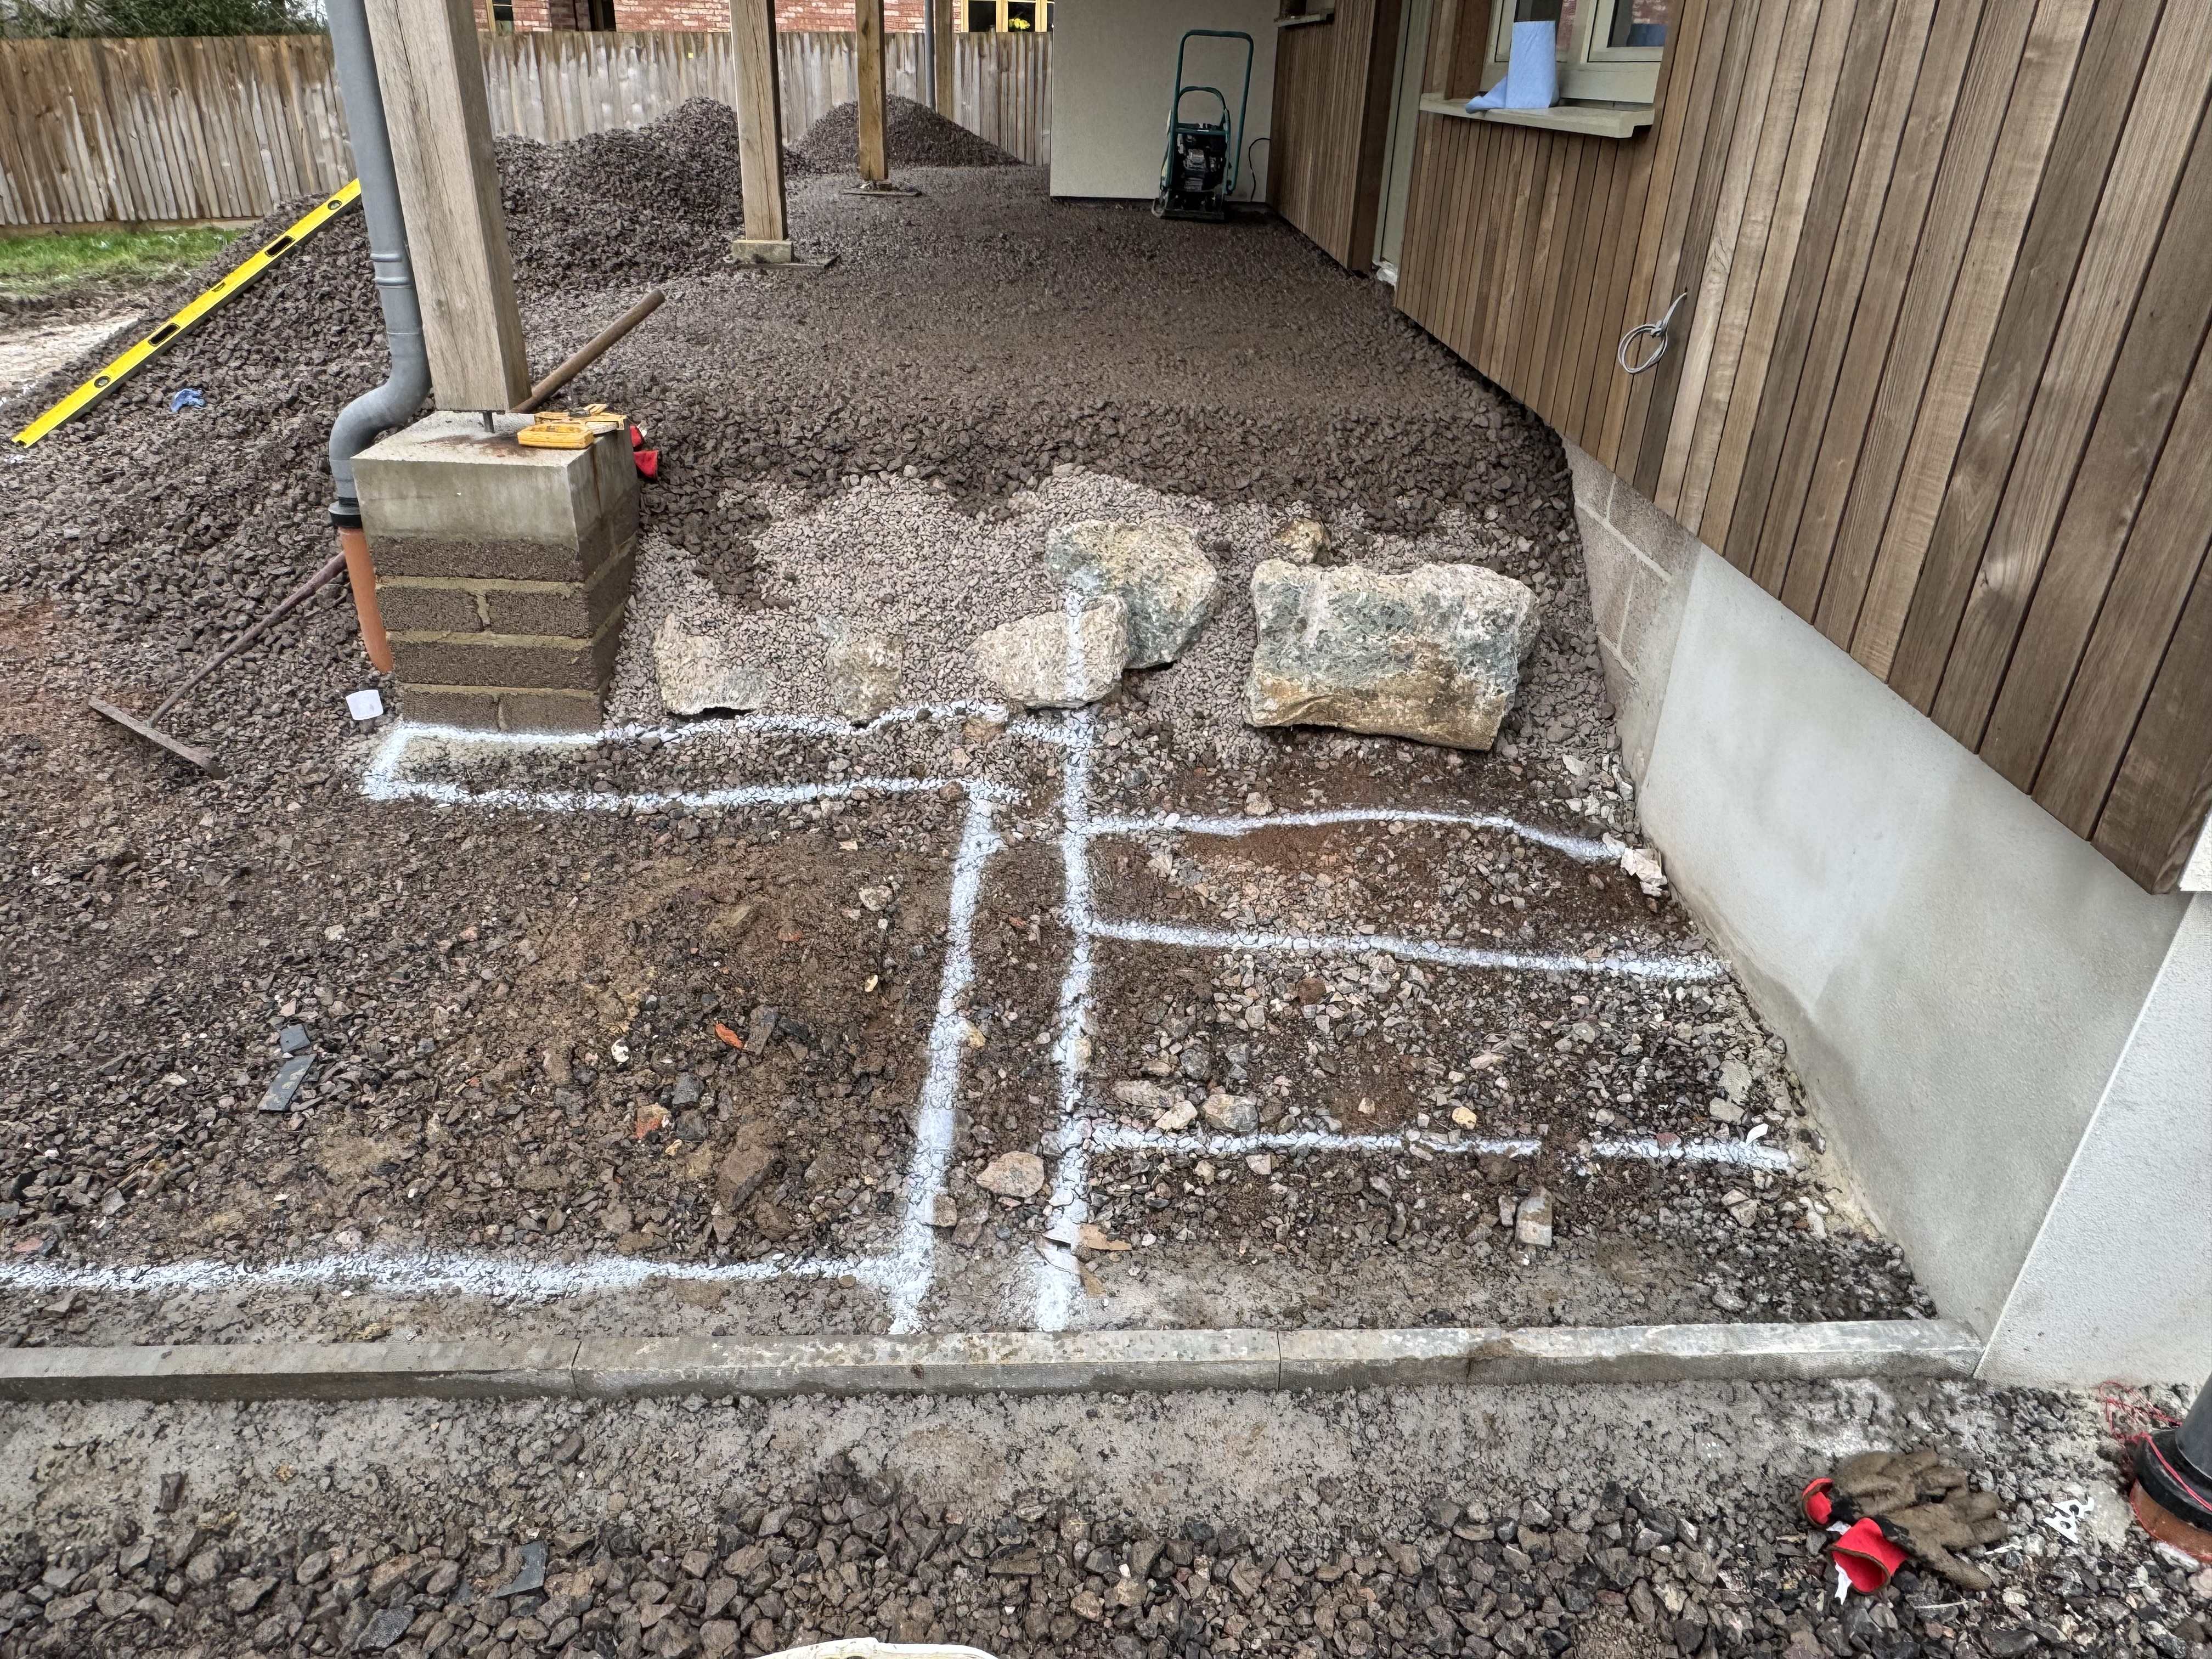
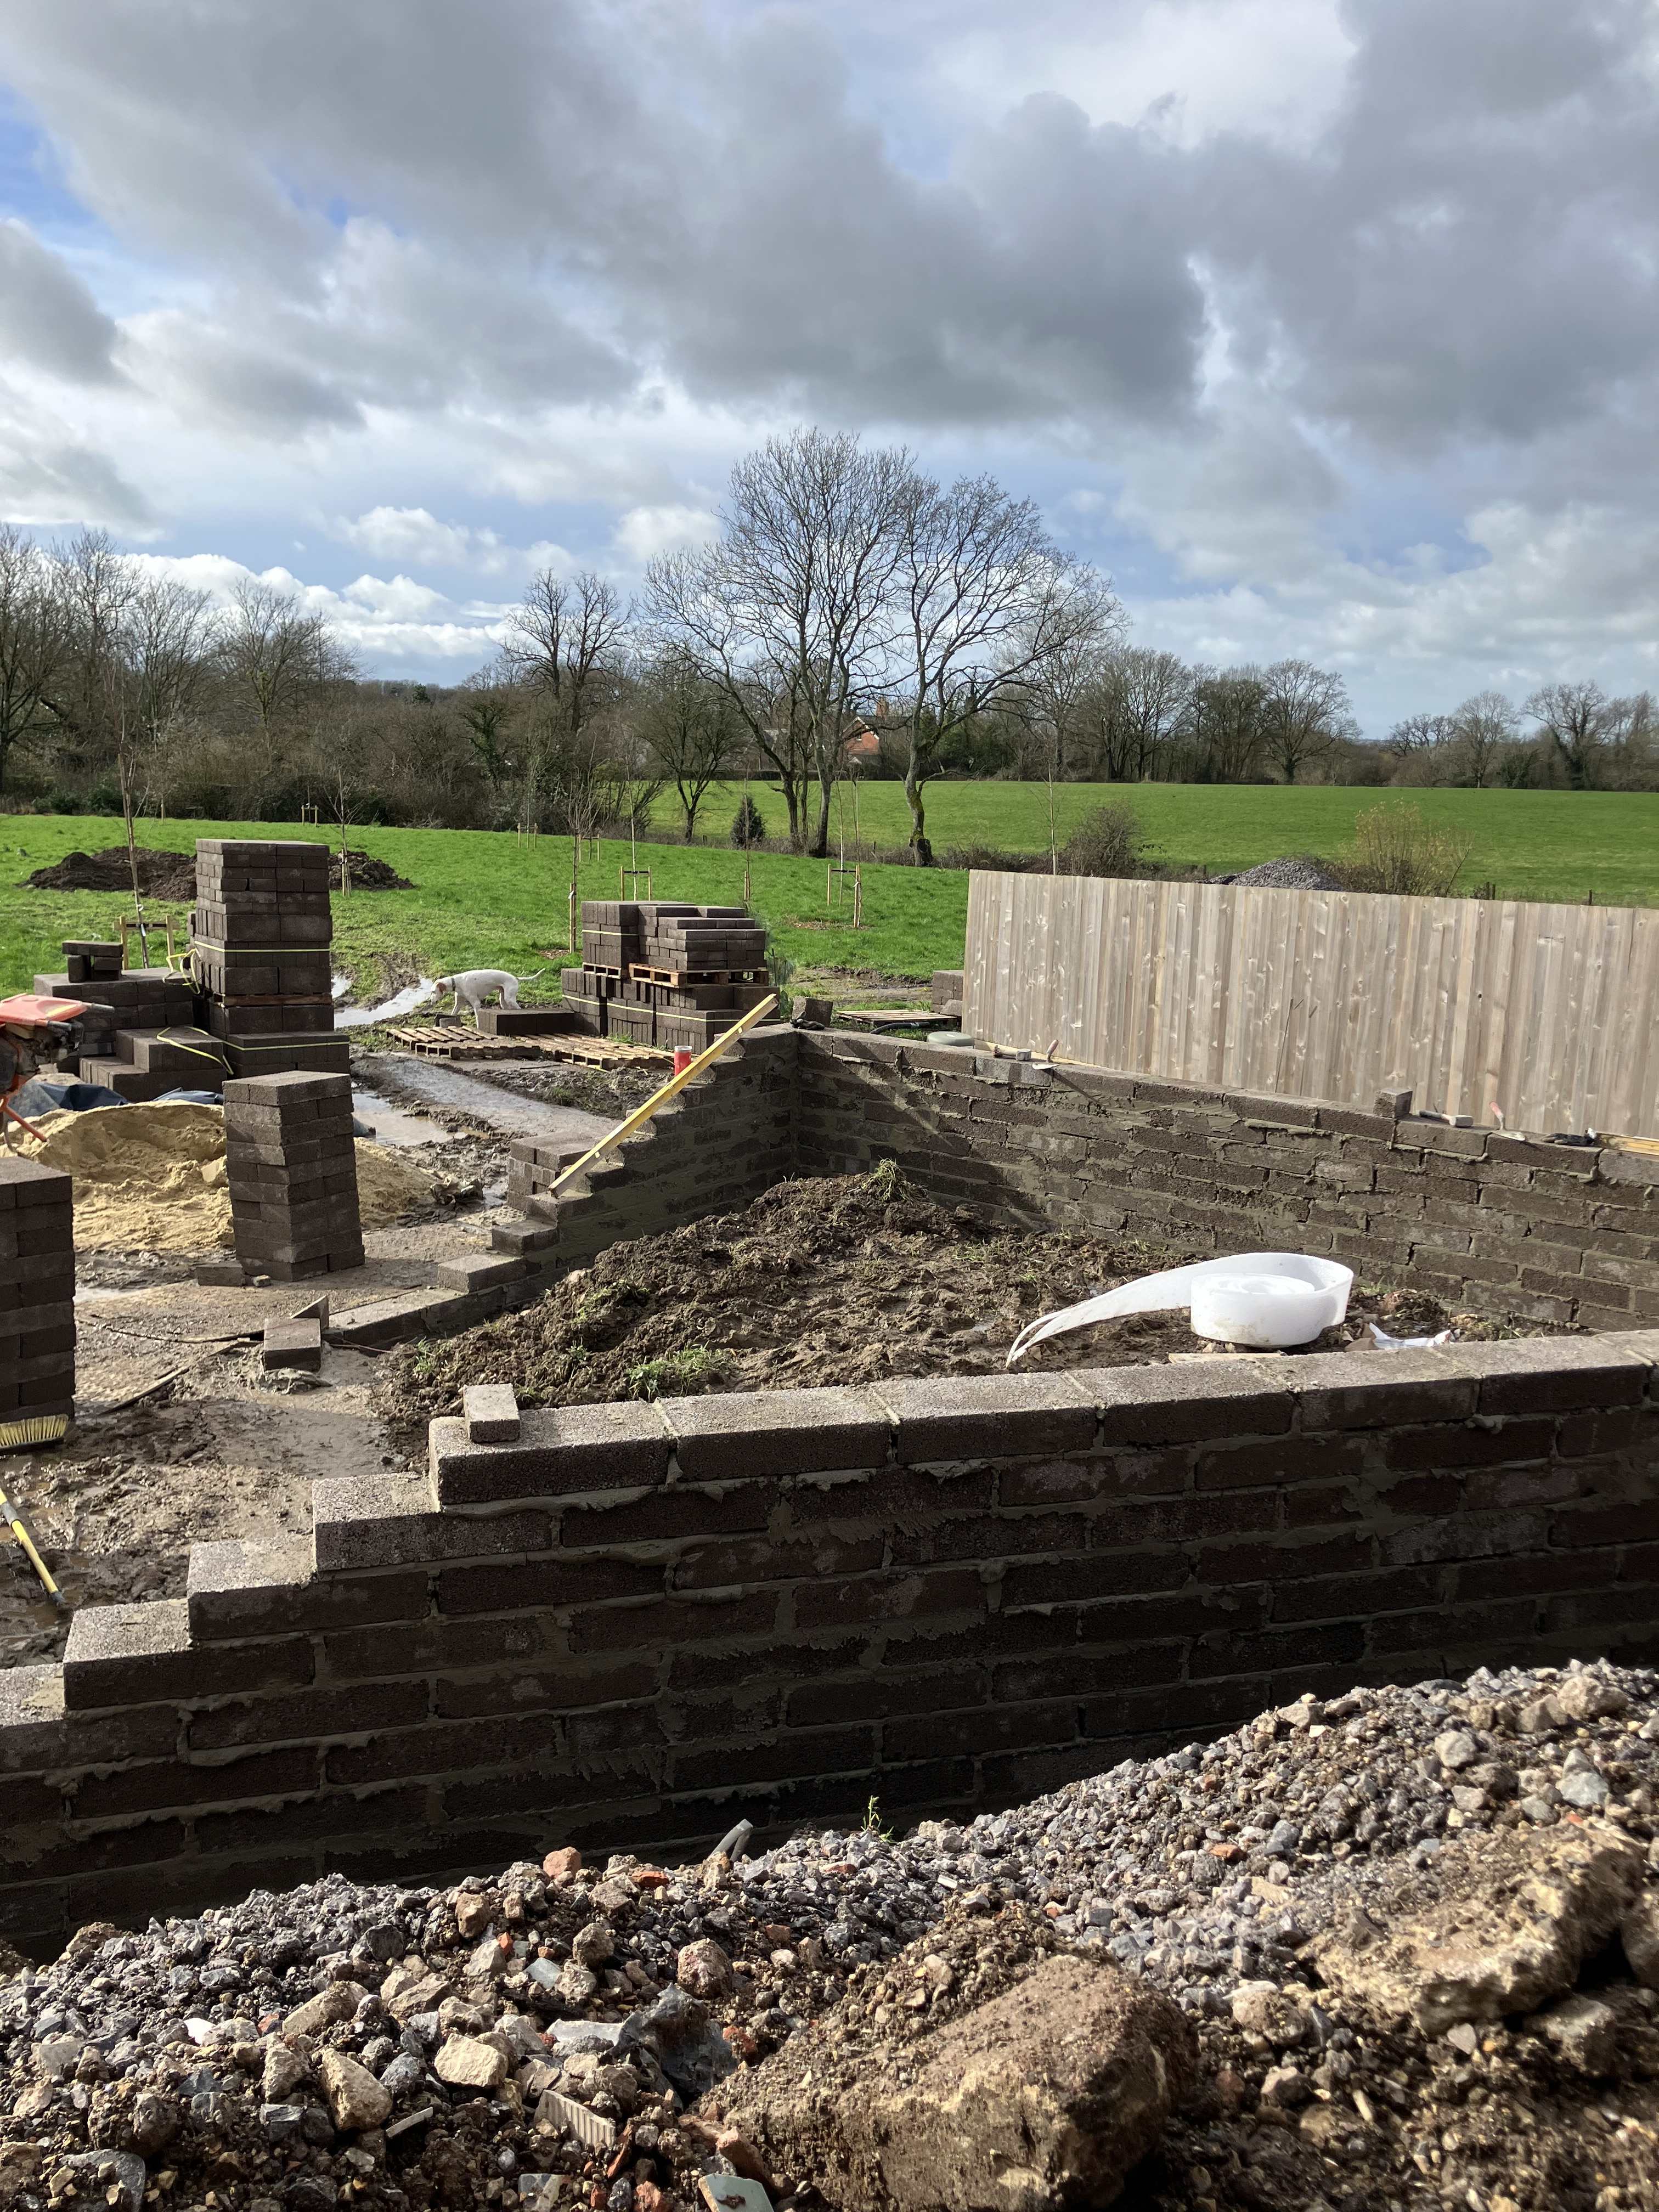
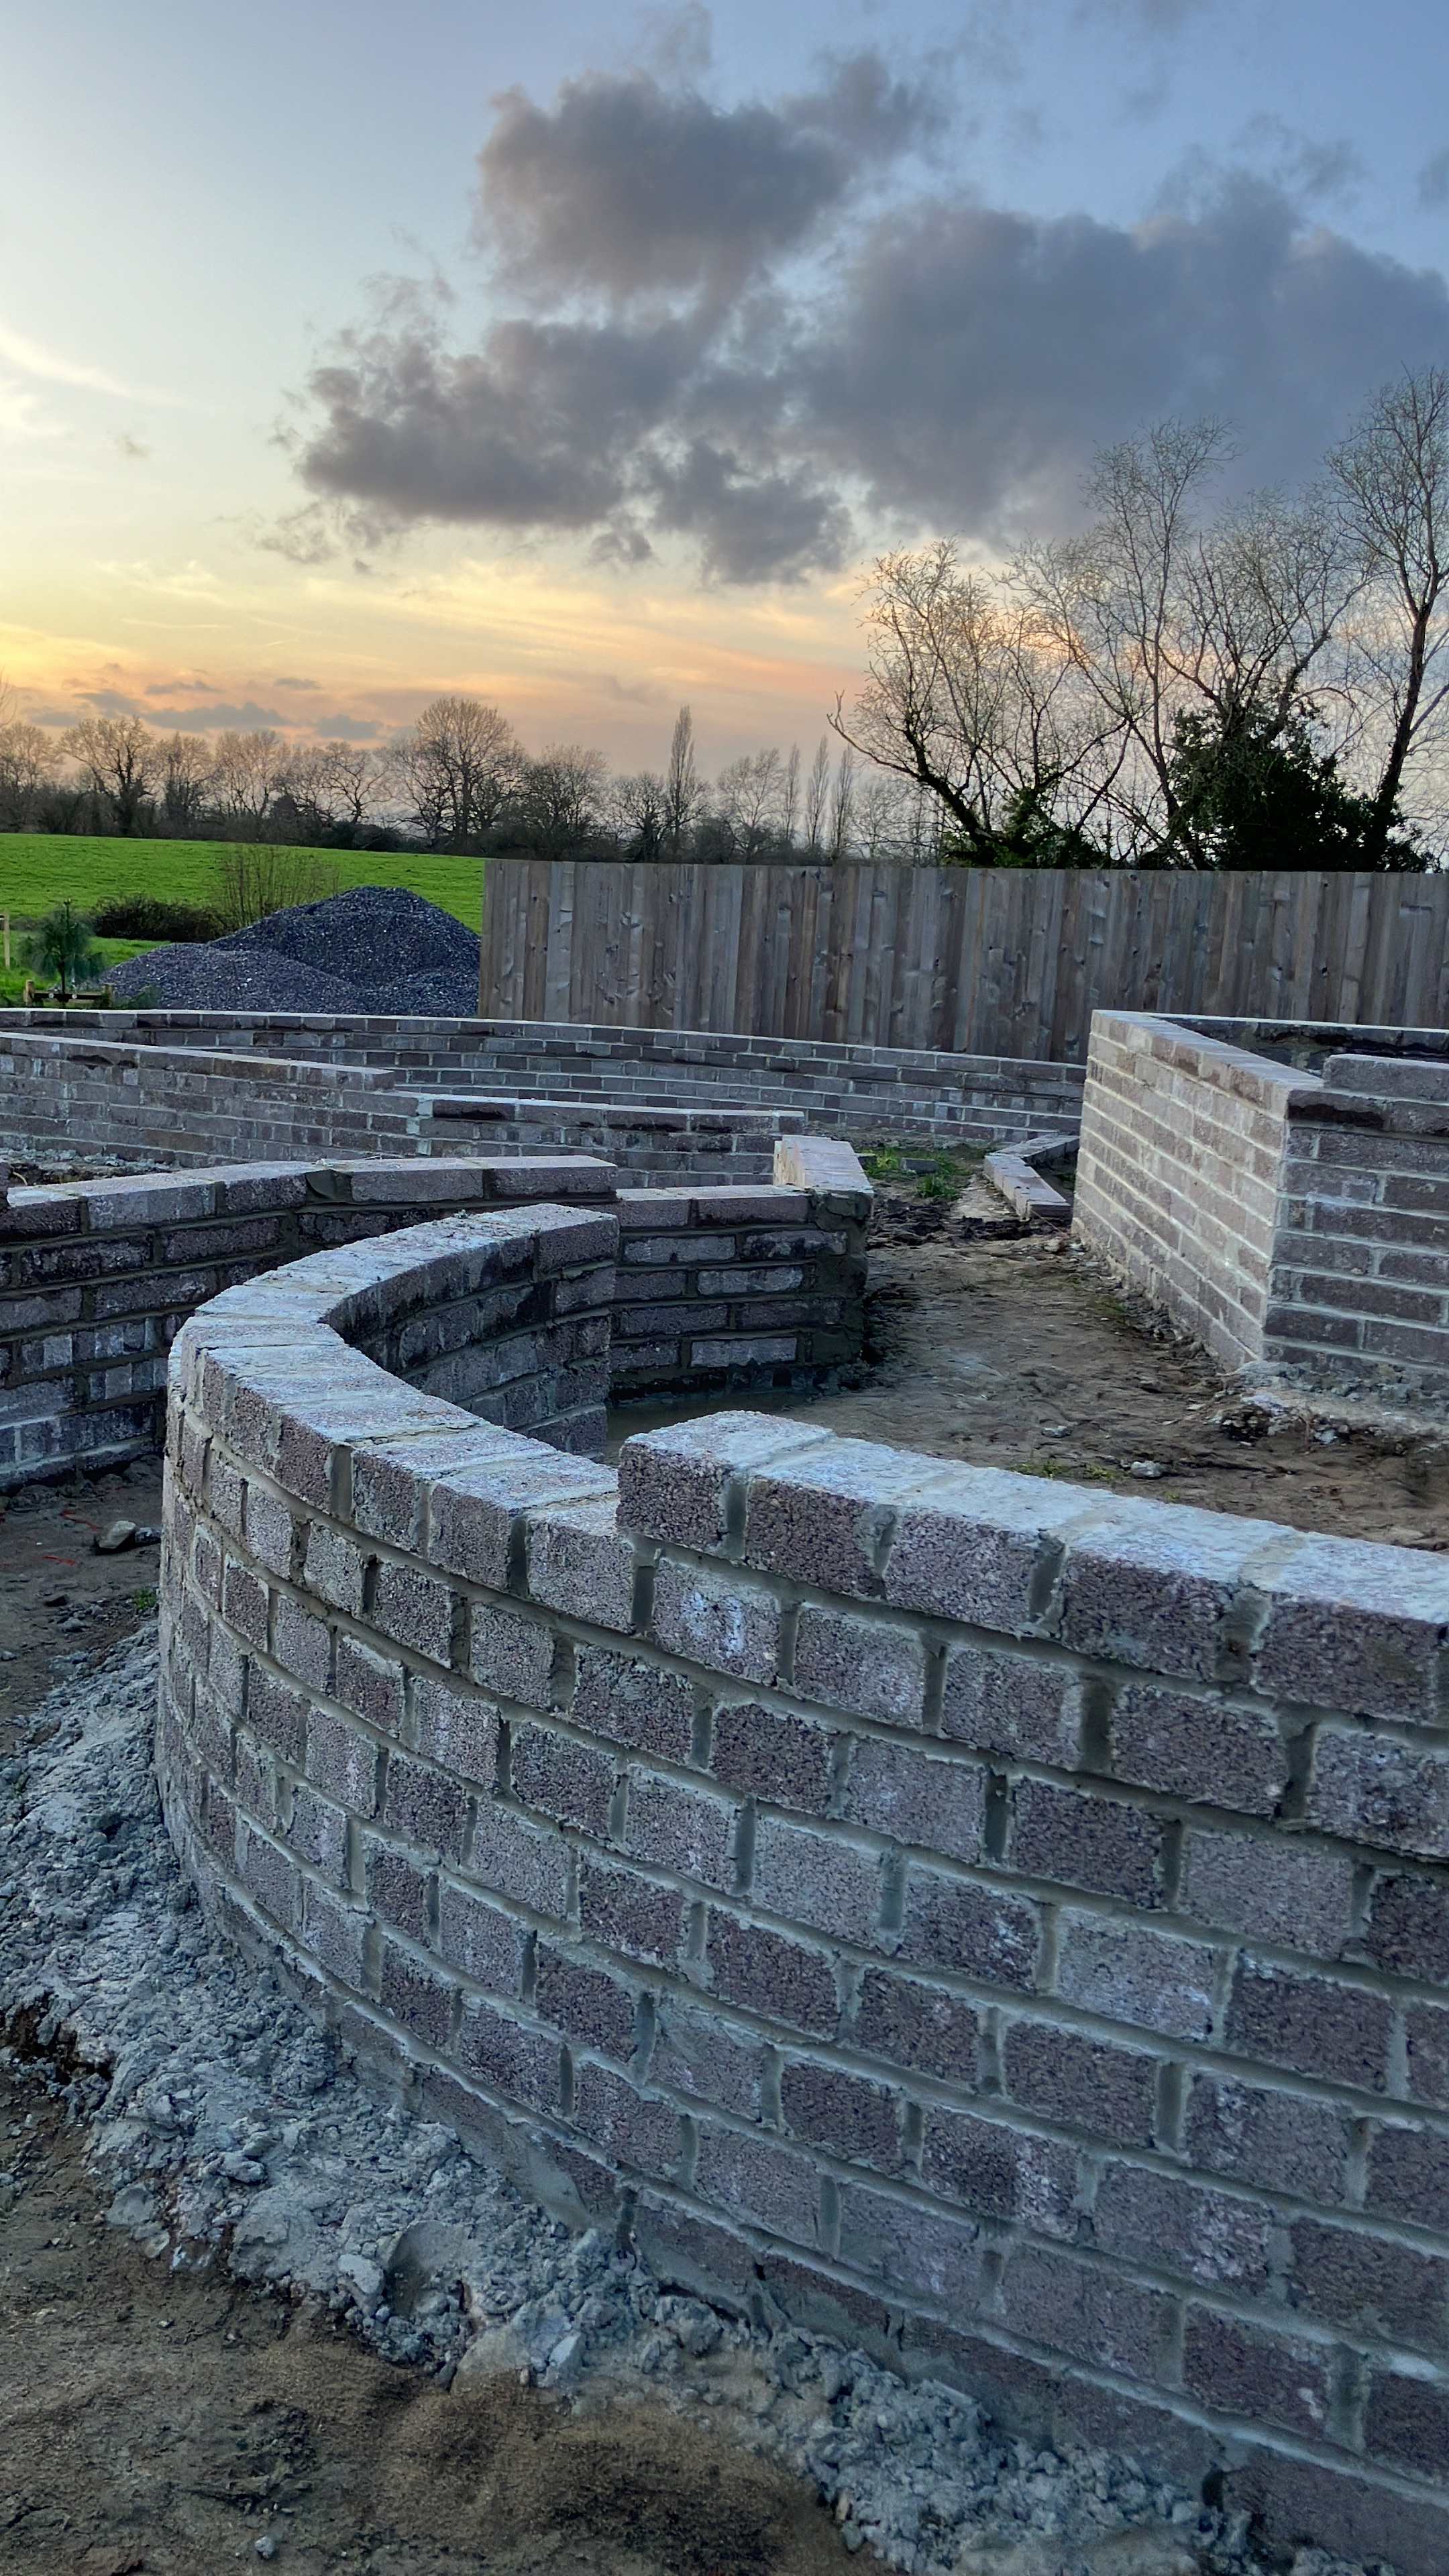
Anyway... we needed quite a few retaining walls, which means a lot of trenches and footings. It rained a lot in February too, which added to the challenge.
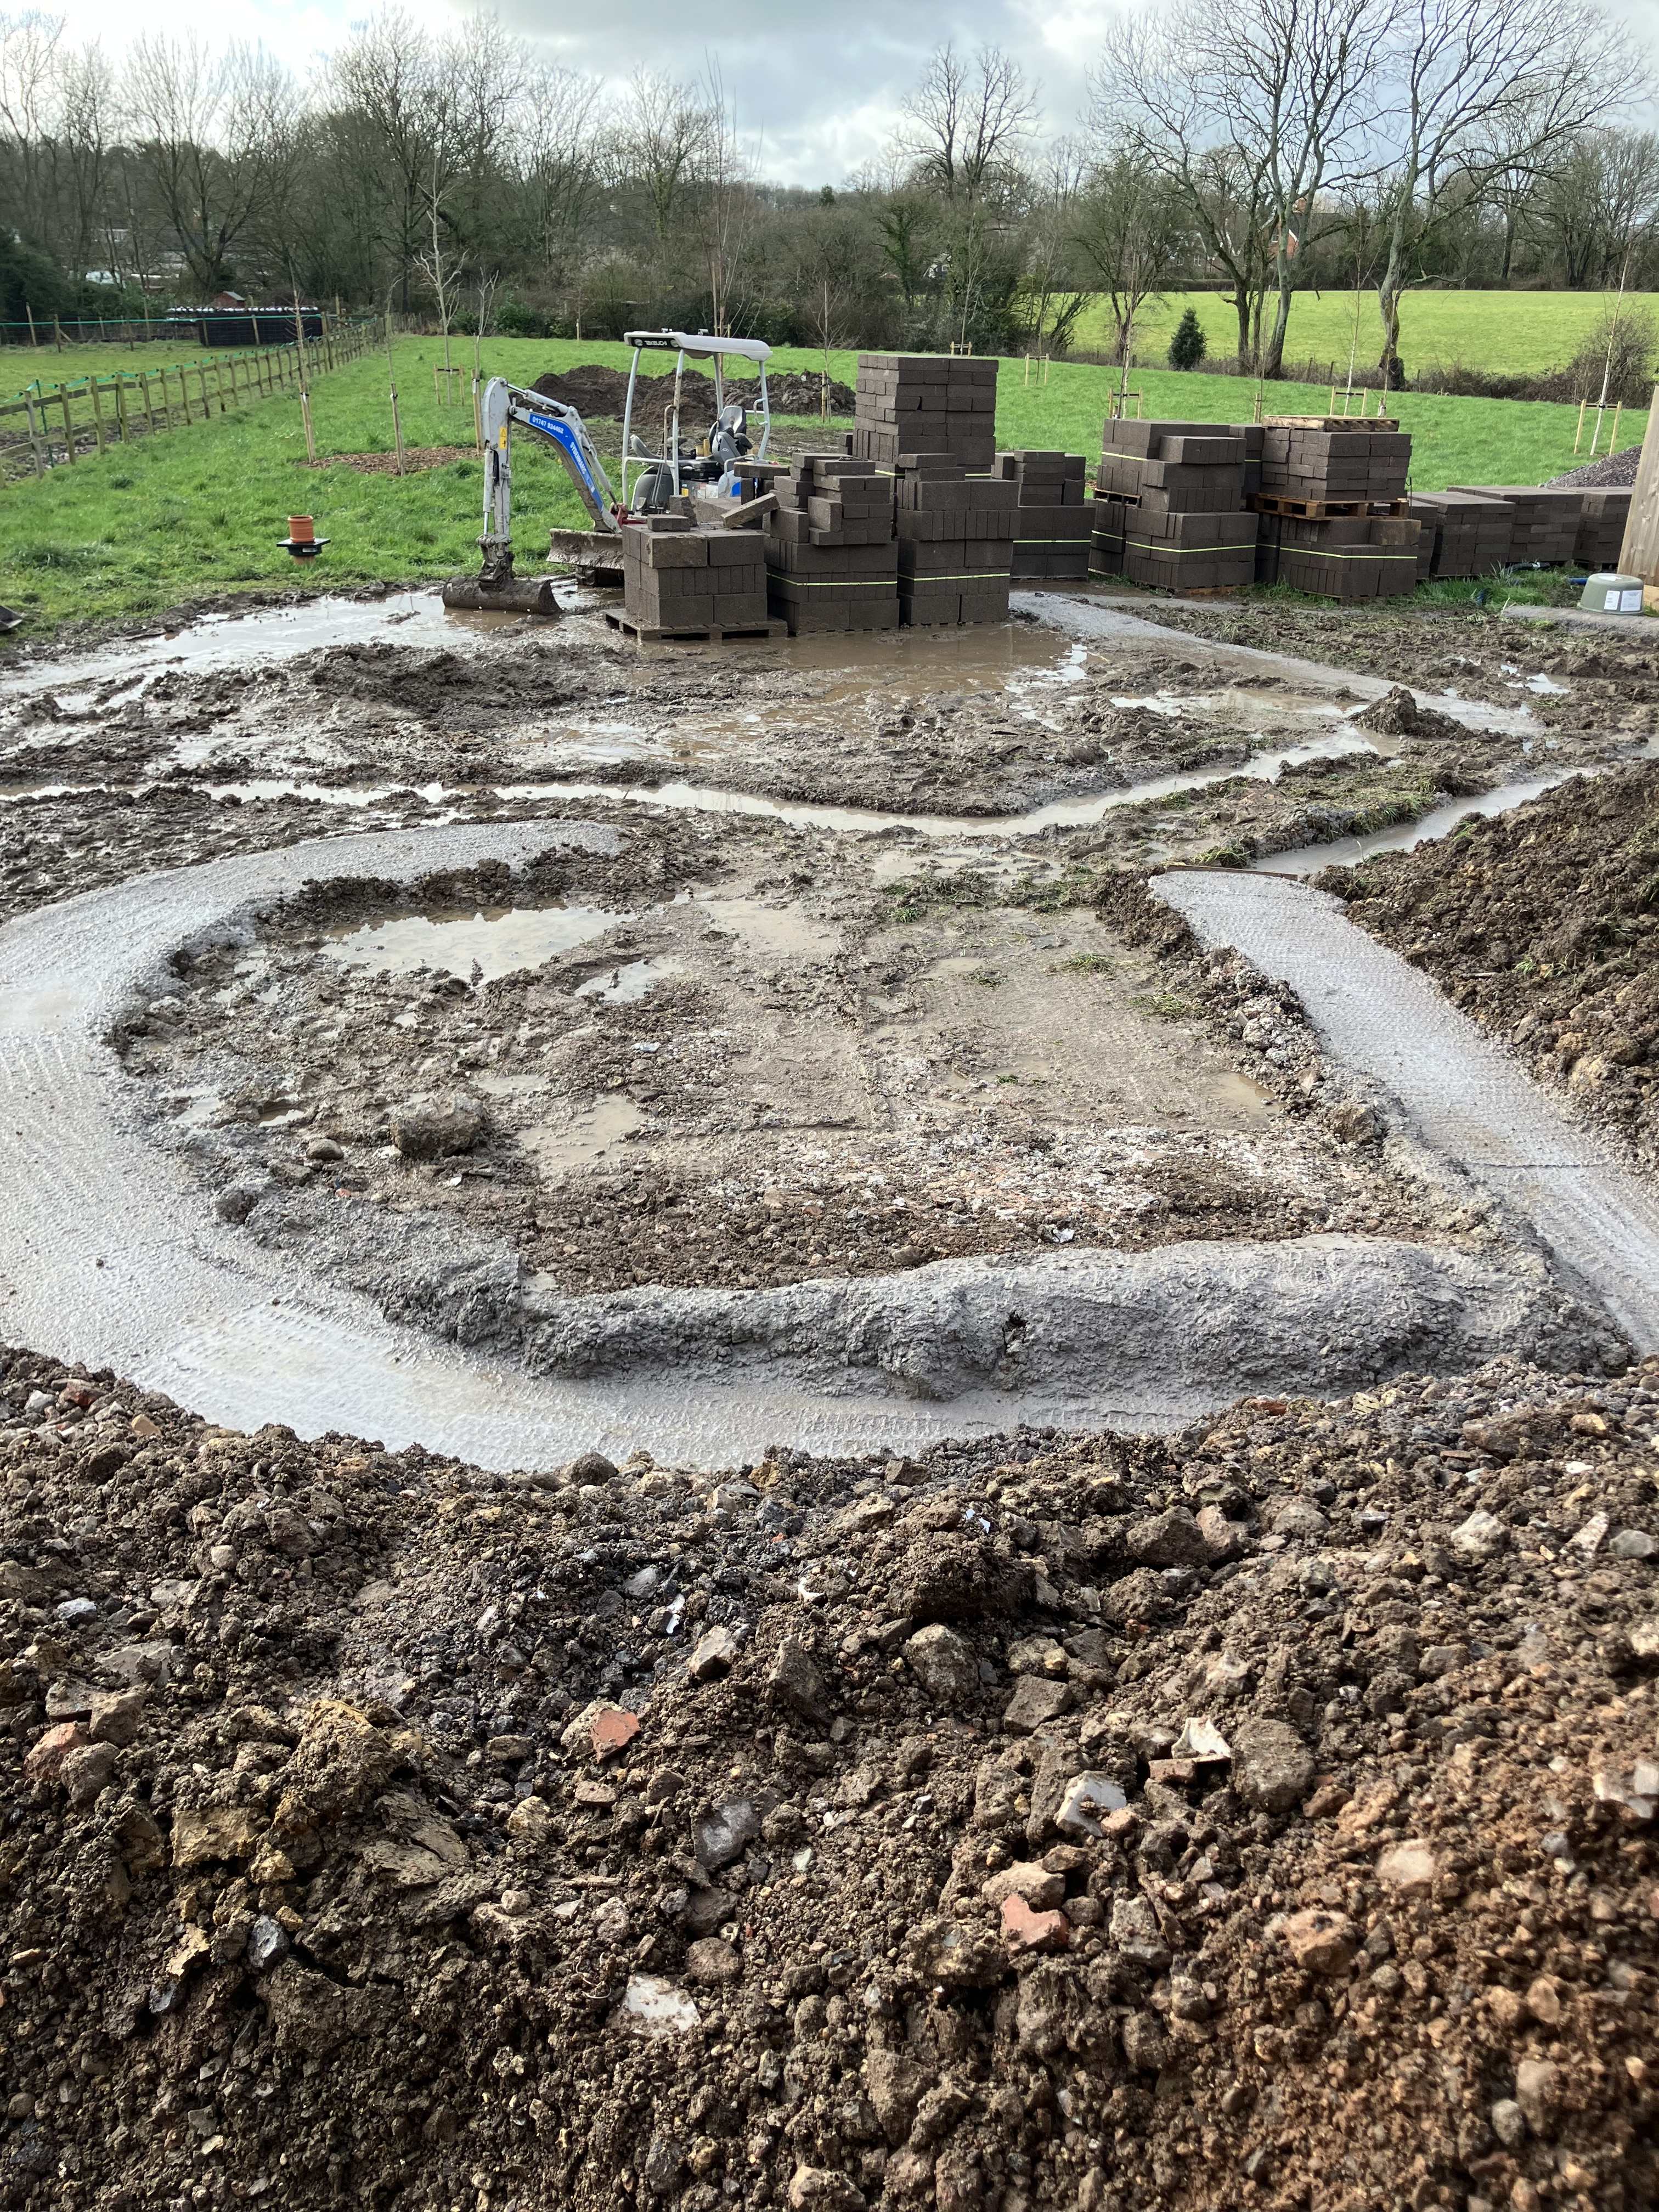
It would have been nice to achieve this with less concrete and fewer concrete blocks but I can’t think how that could have been done.
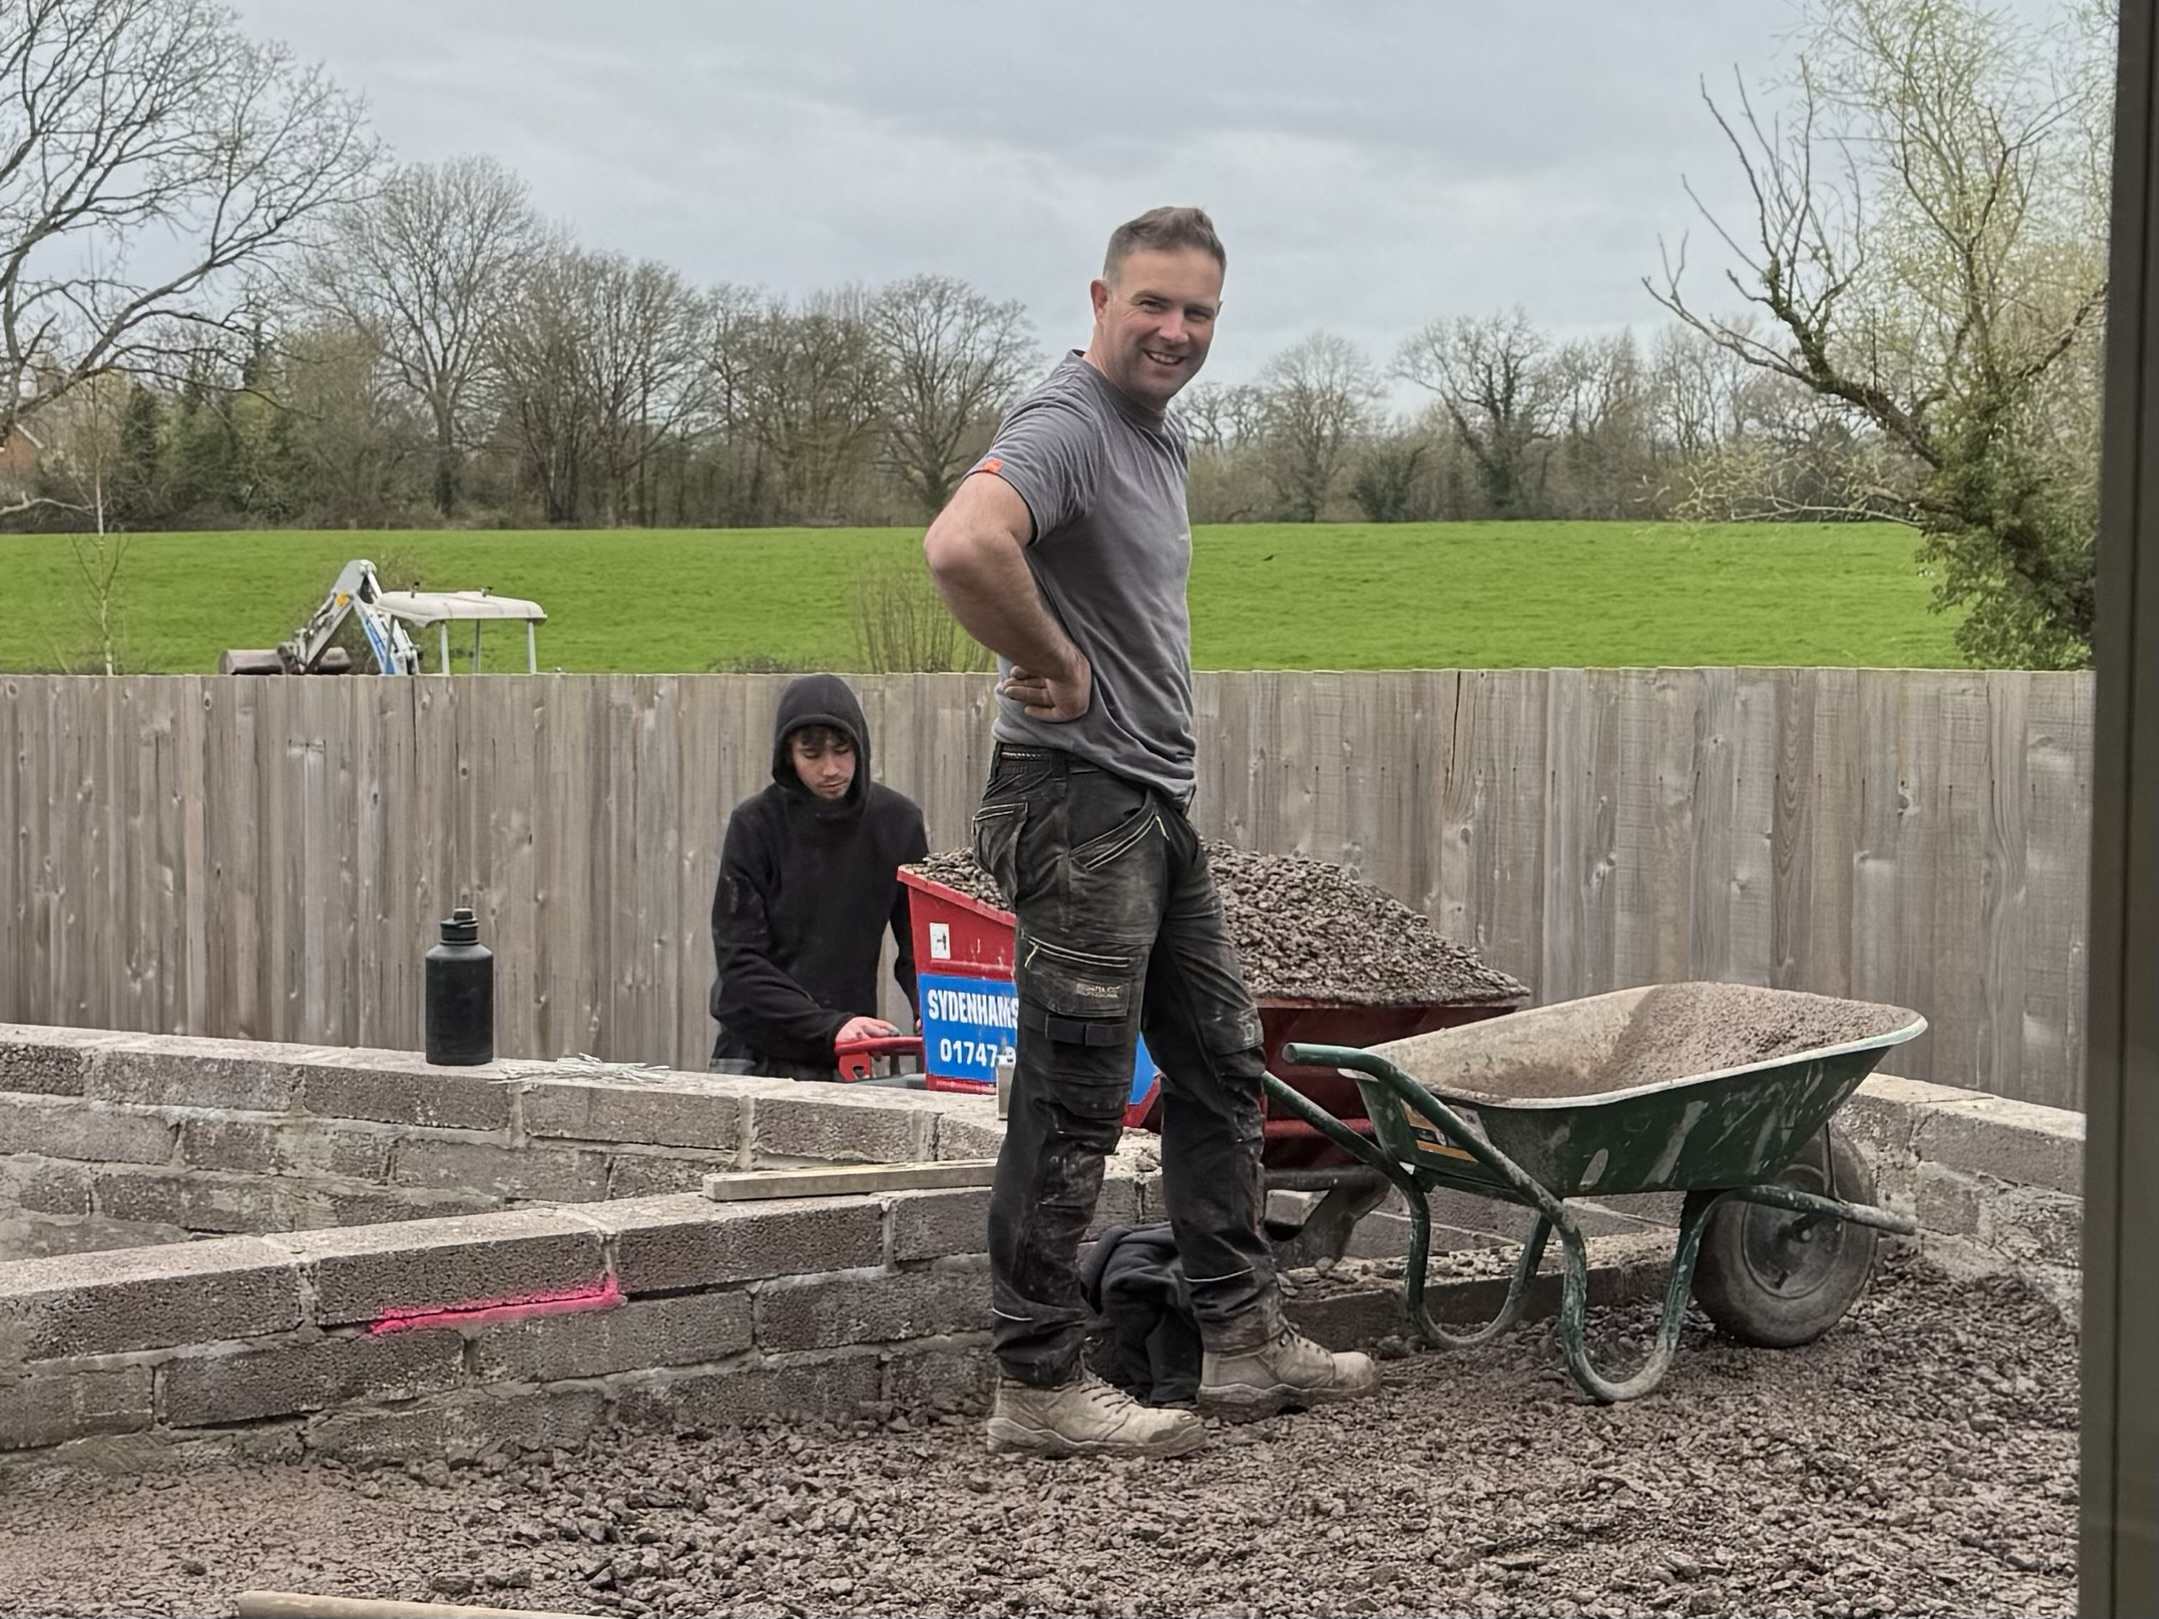
Ashley, with Francis driving the dumper.
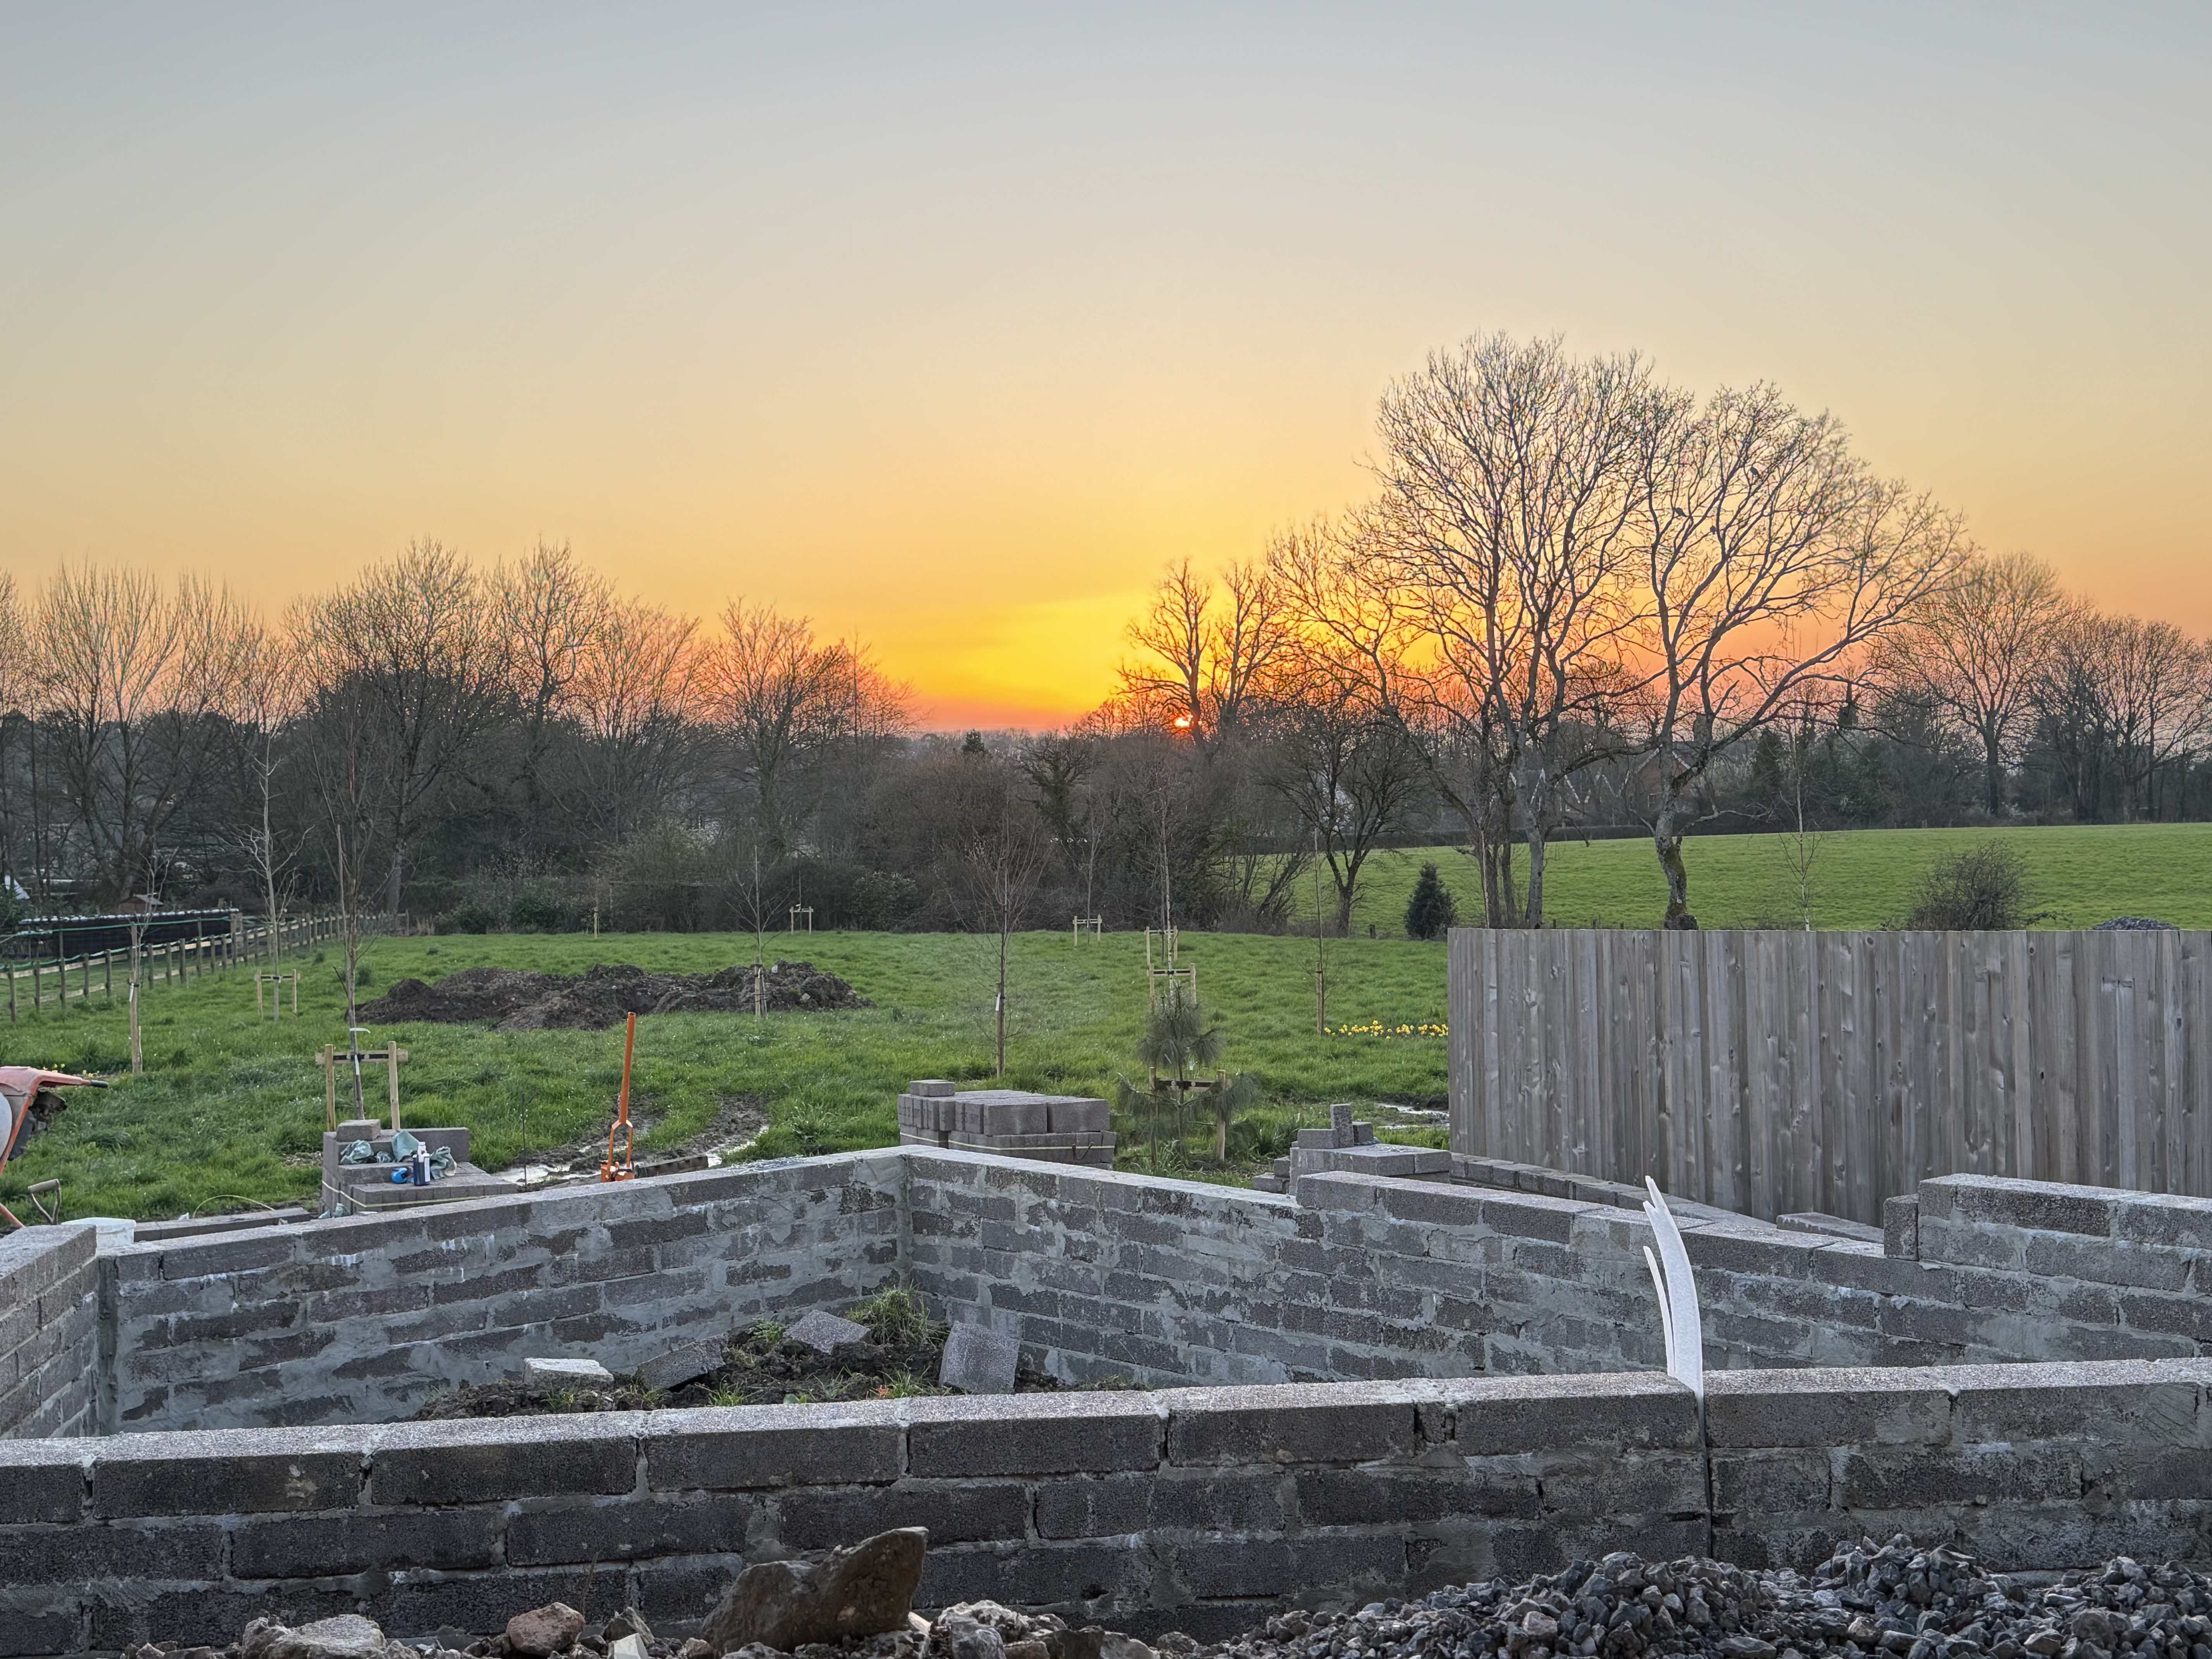
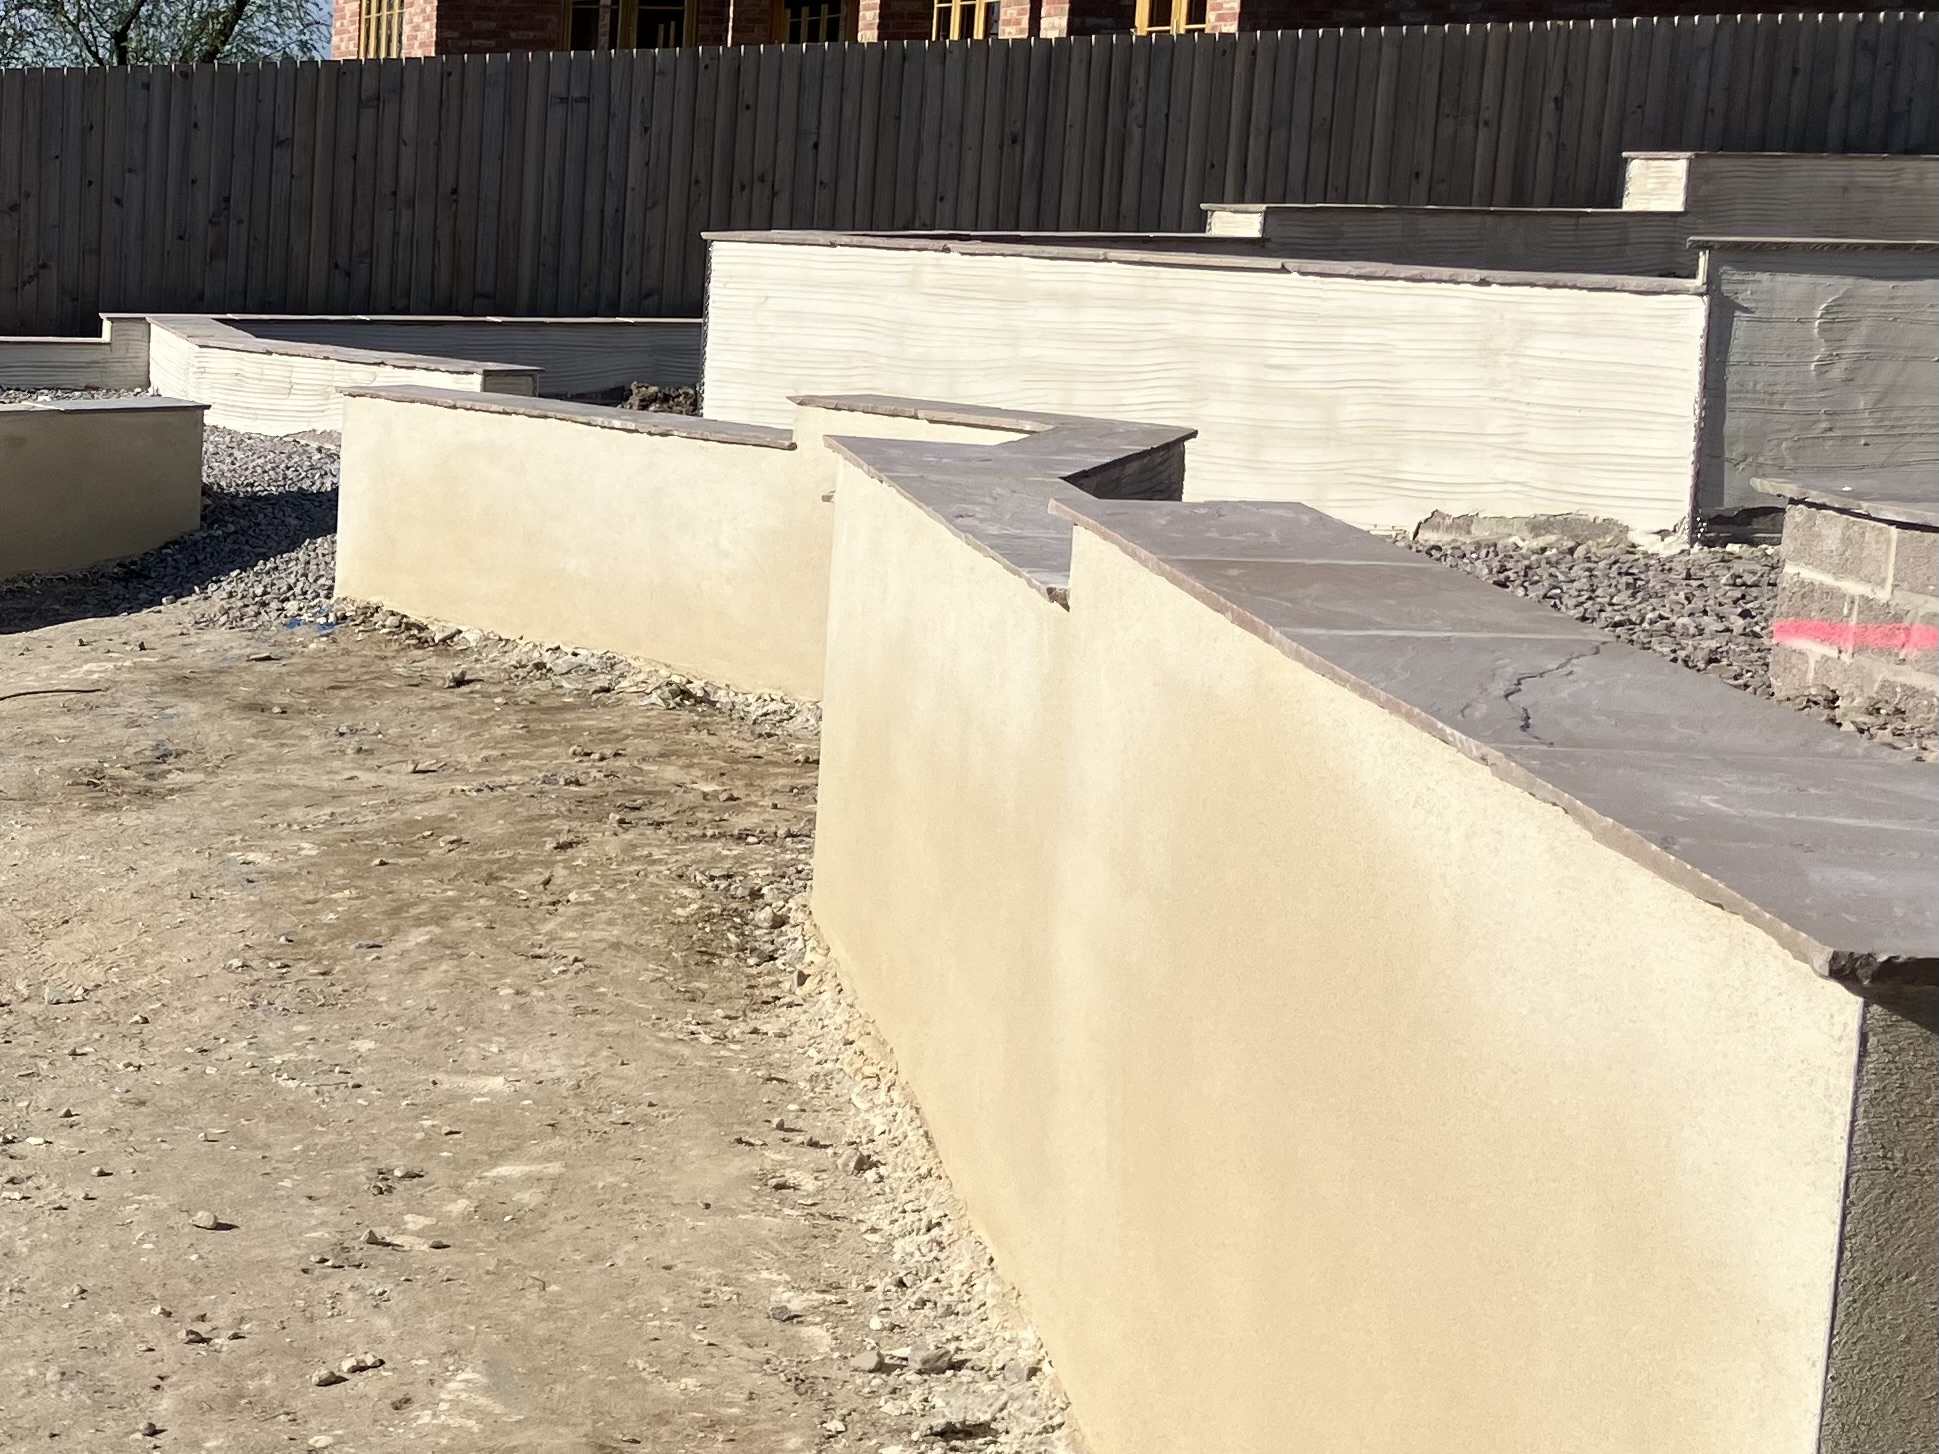
The block walls were capped with sandstone copings and given a sand and cement render finish.
We remembered to run some armoured cables and blue water pipe to allow couple of electric sockets and water taps. In the end we decided not to bother with external lighting even though we’d got planning permission approval because we rarely need it and are happy to use portable rechargeable lamps when we do.
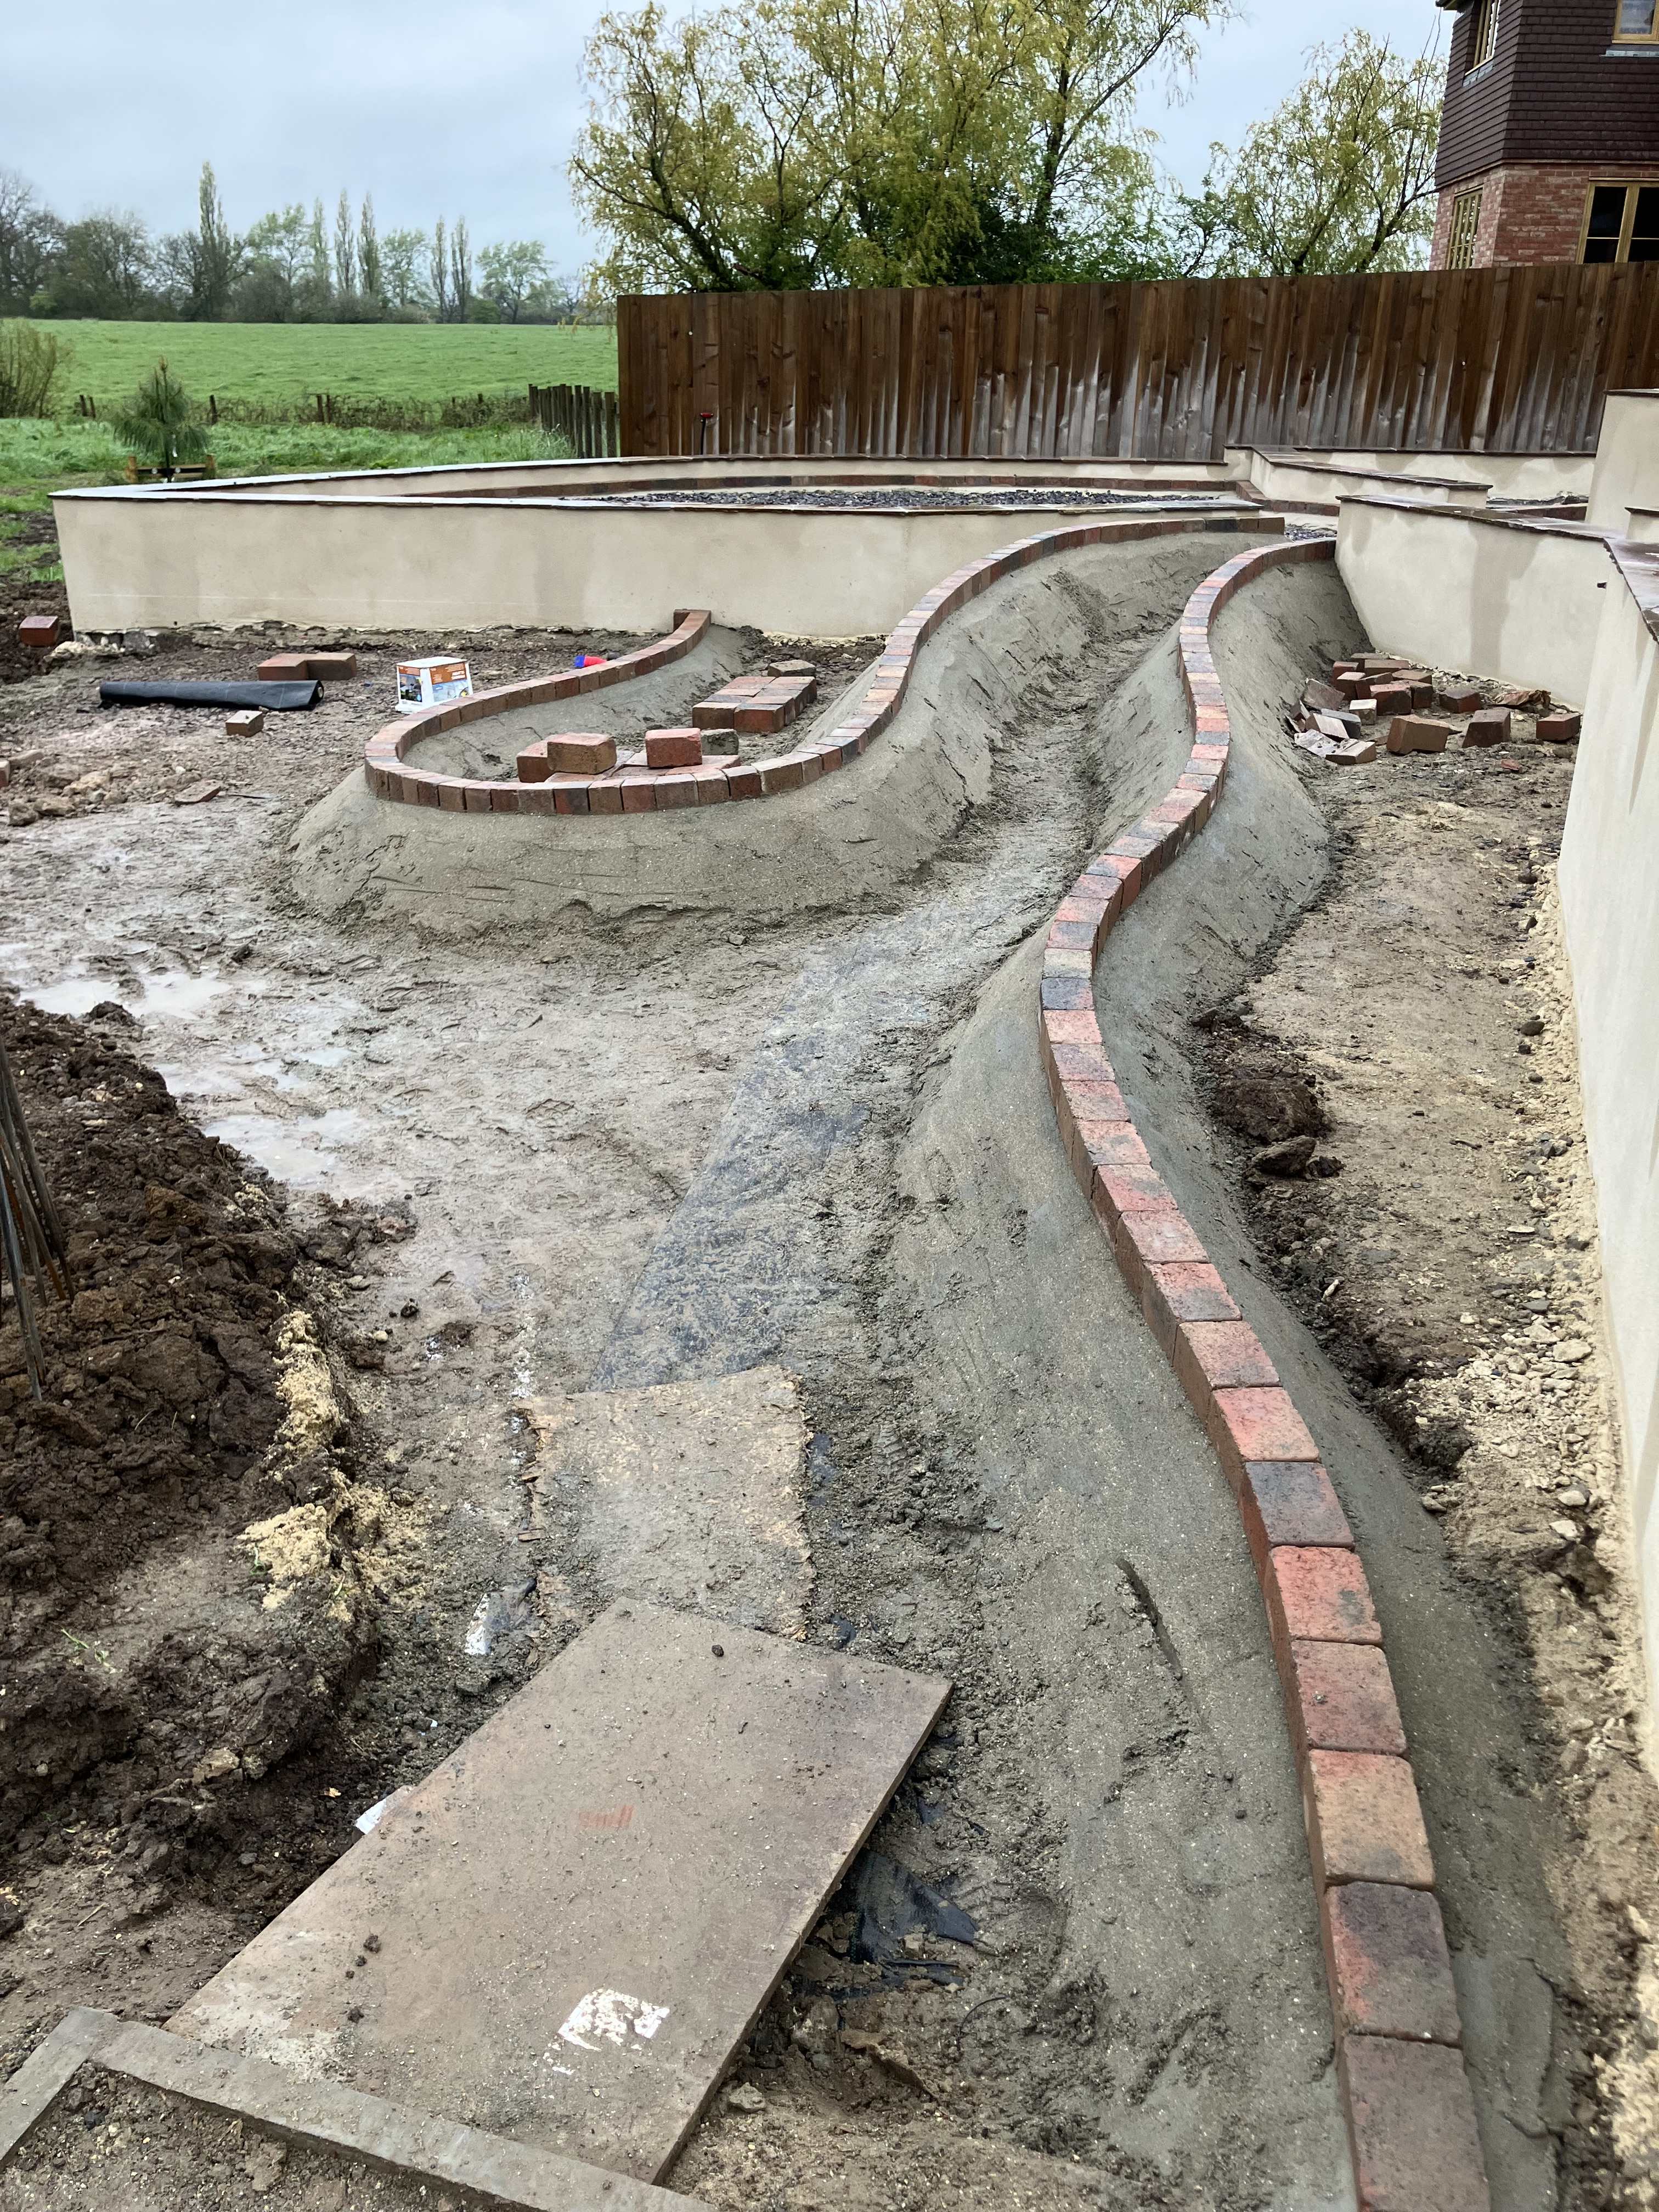
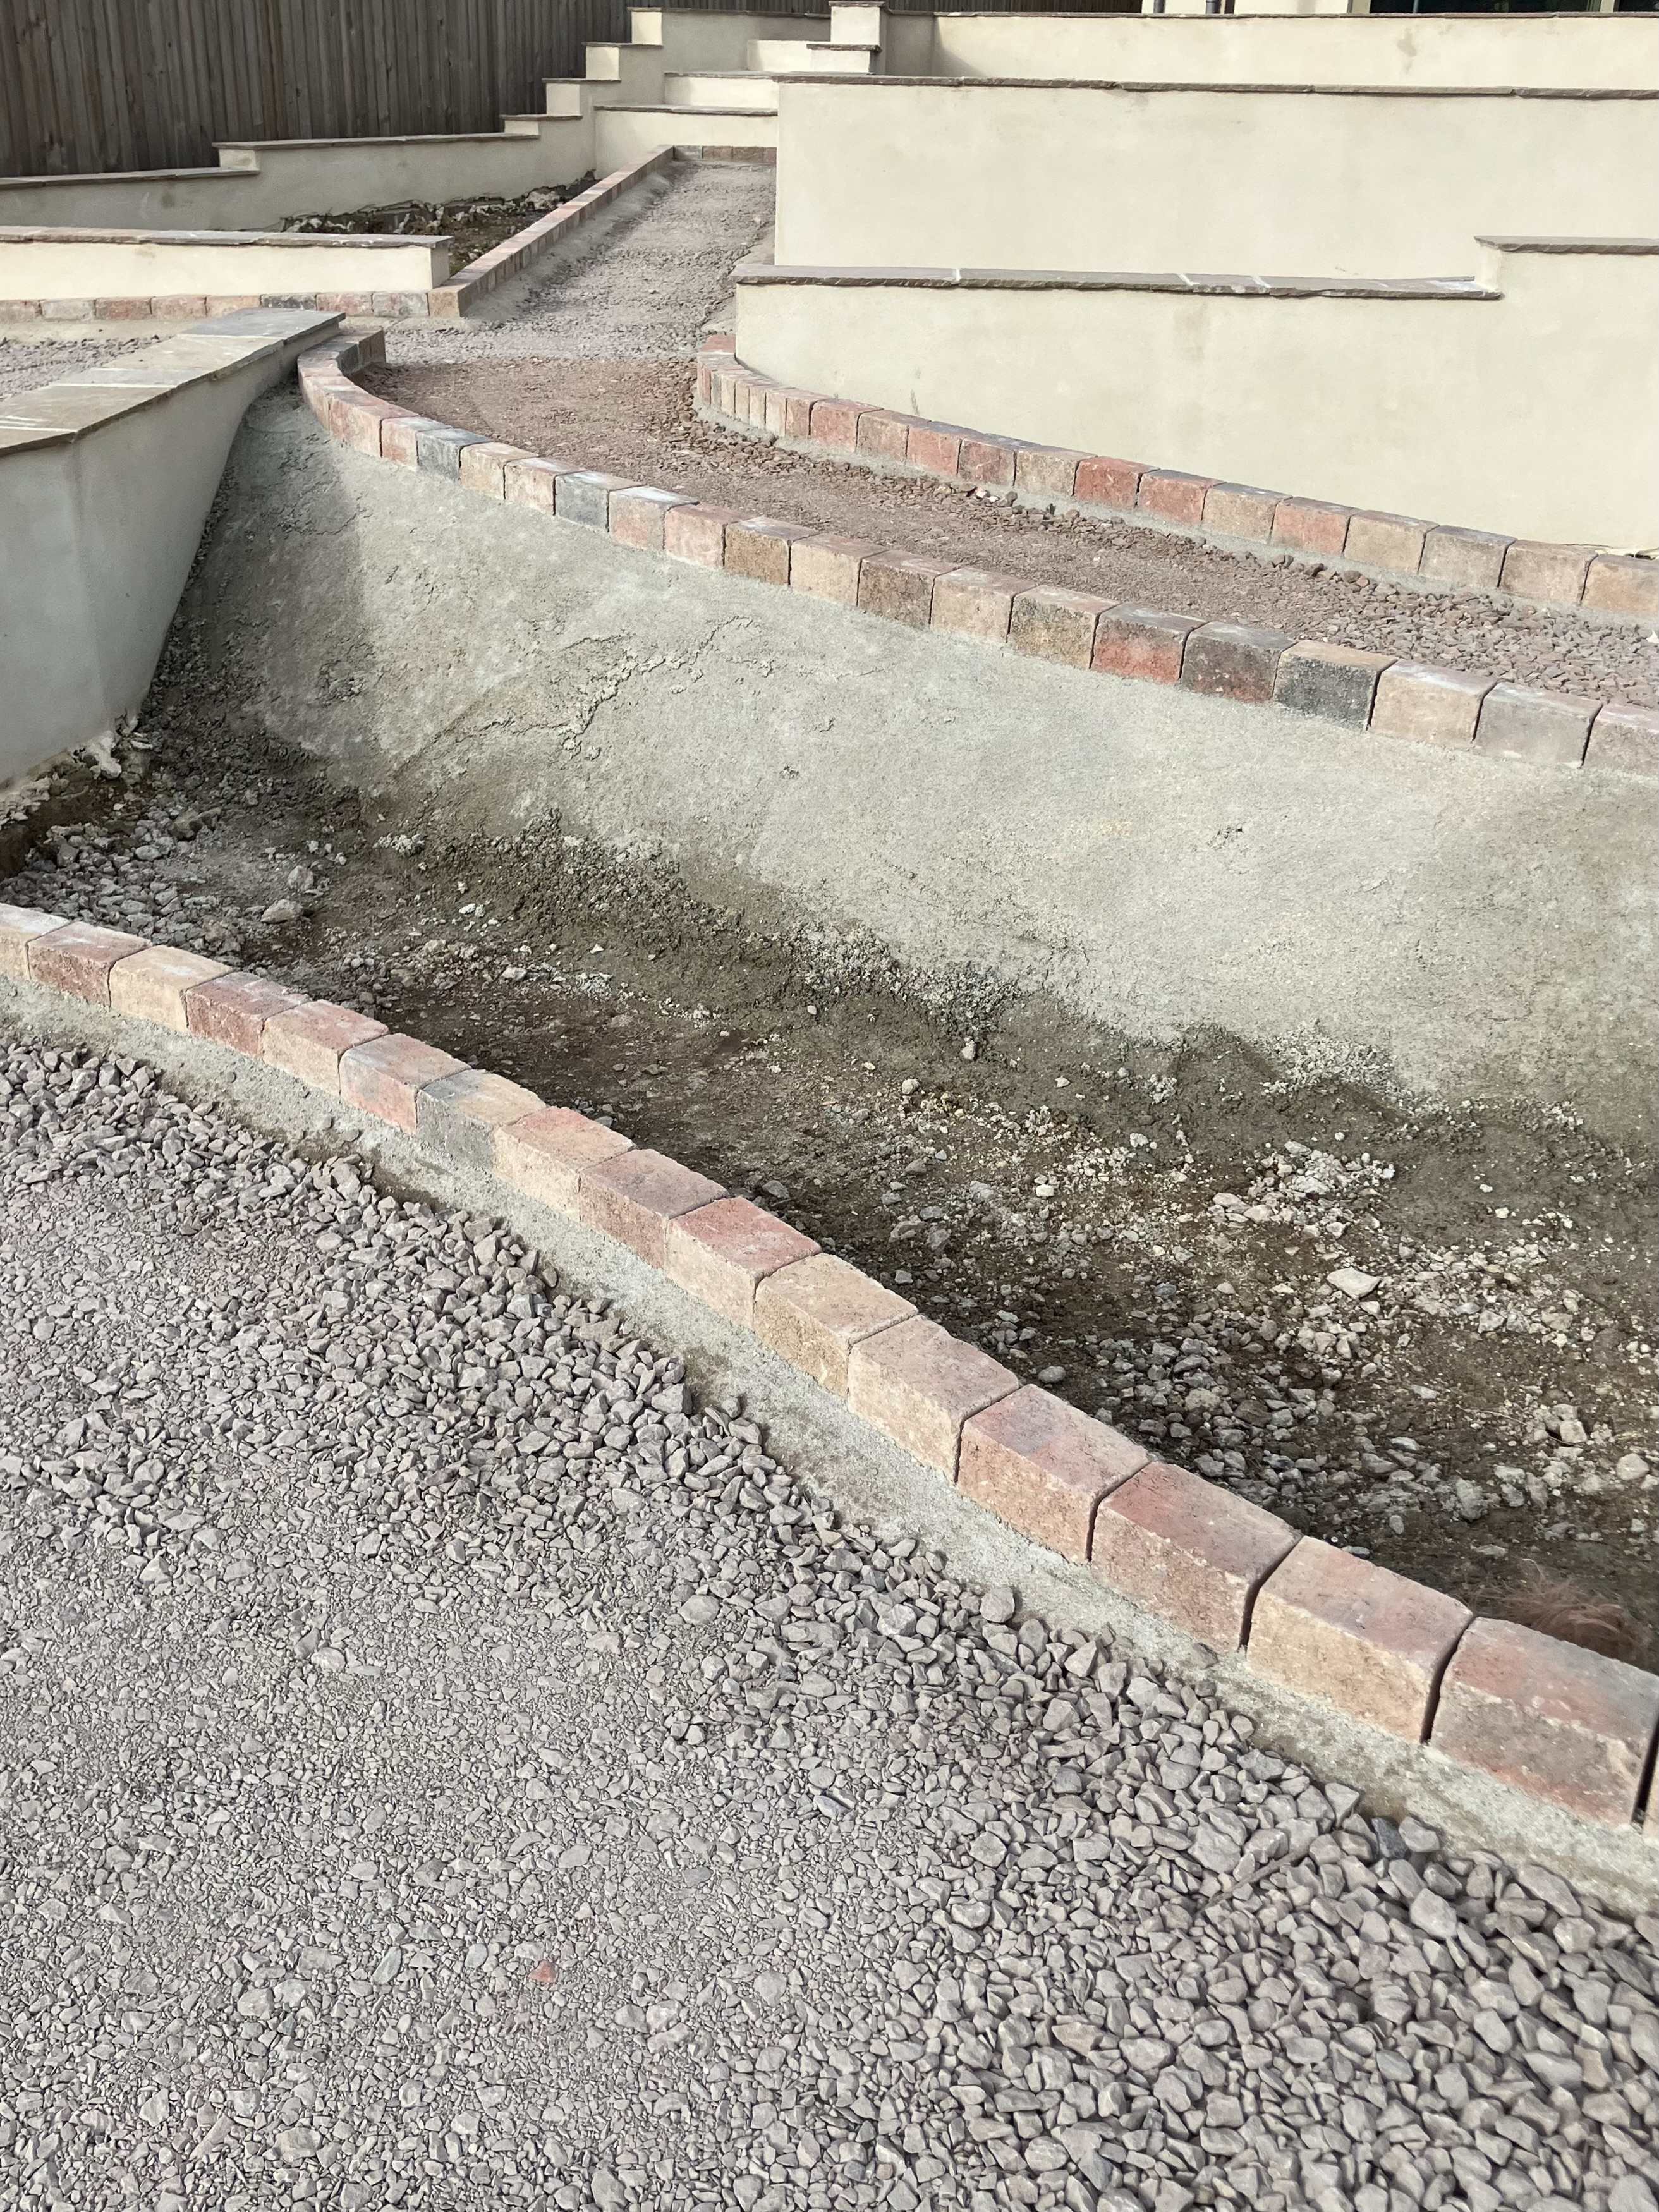
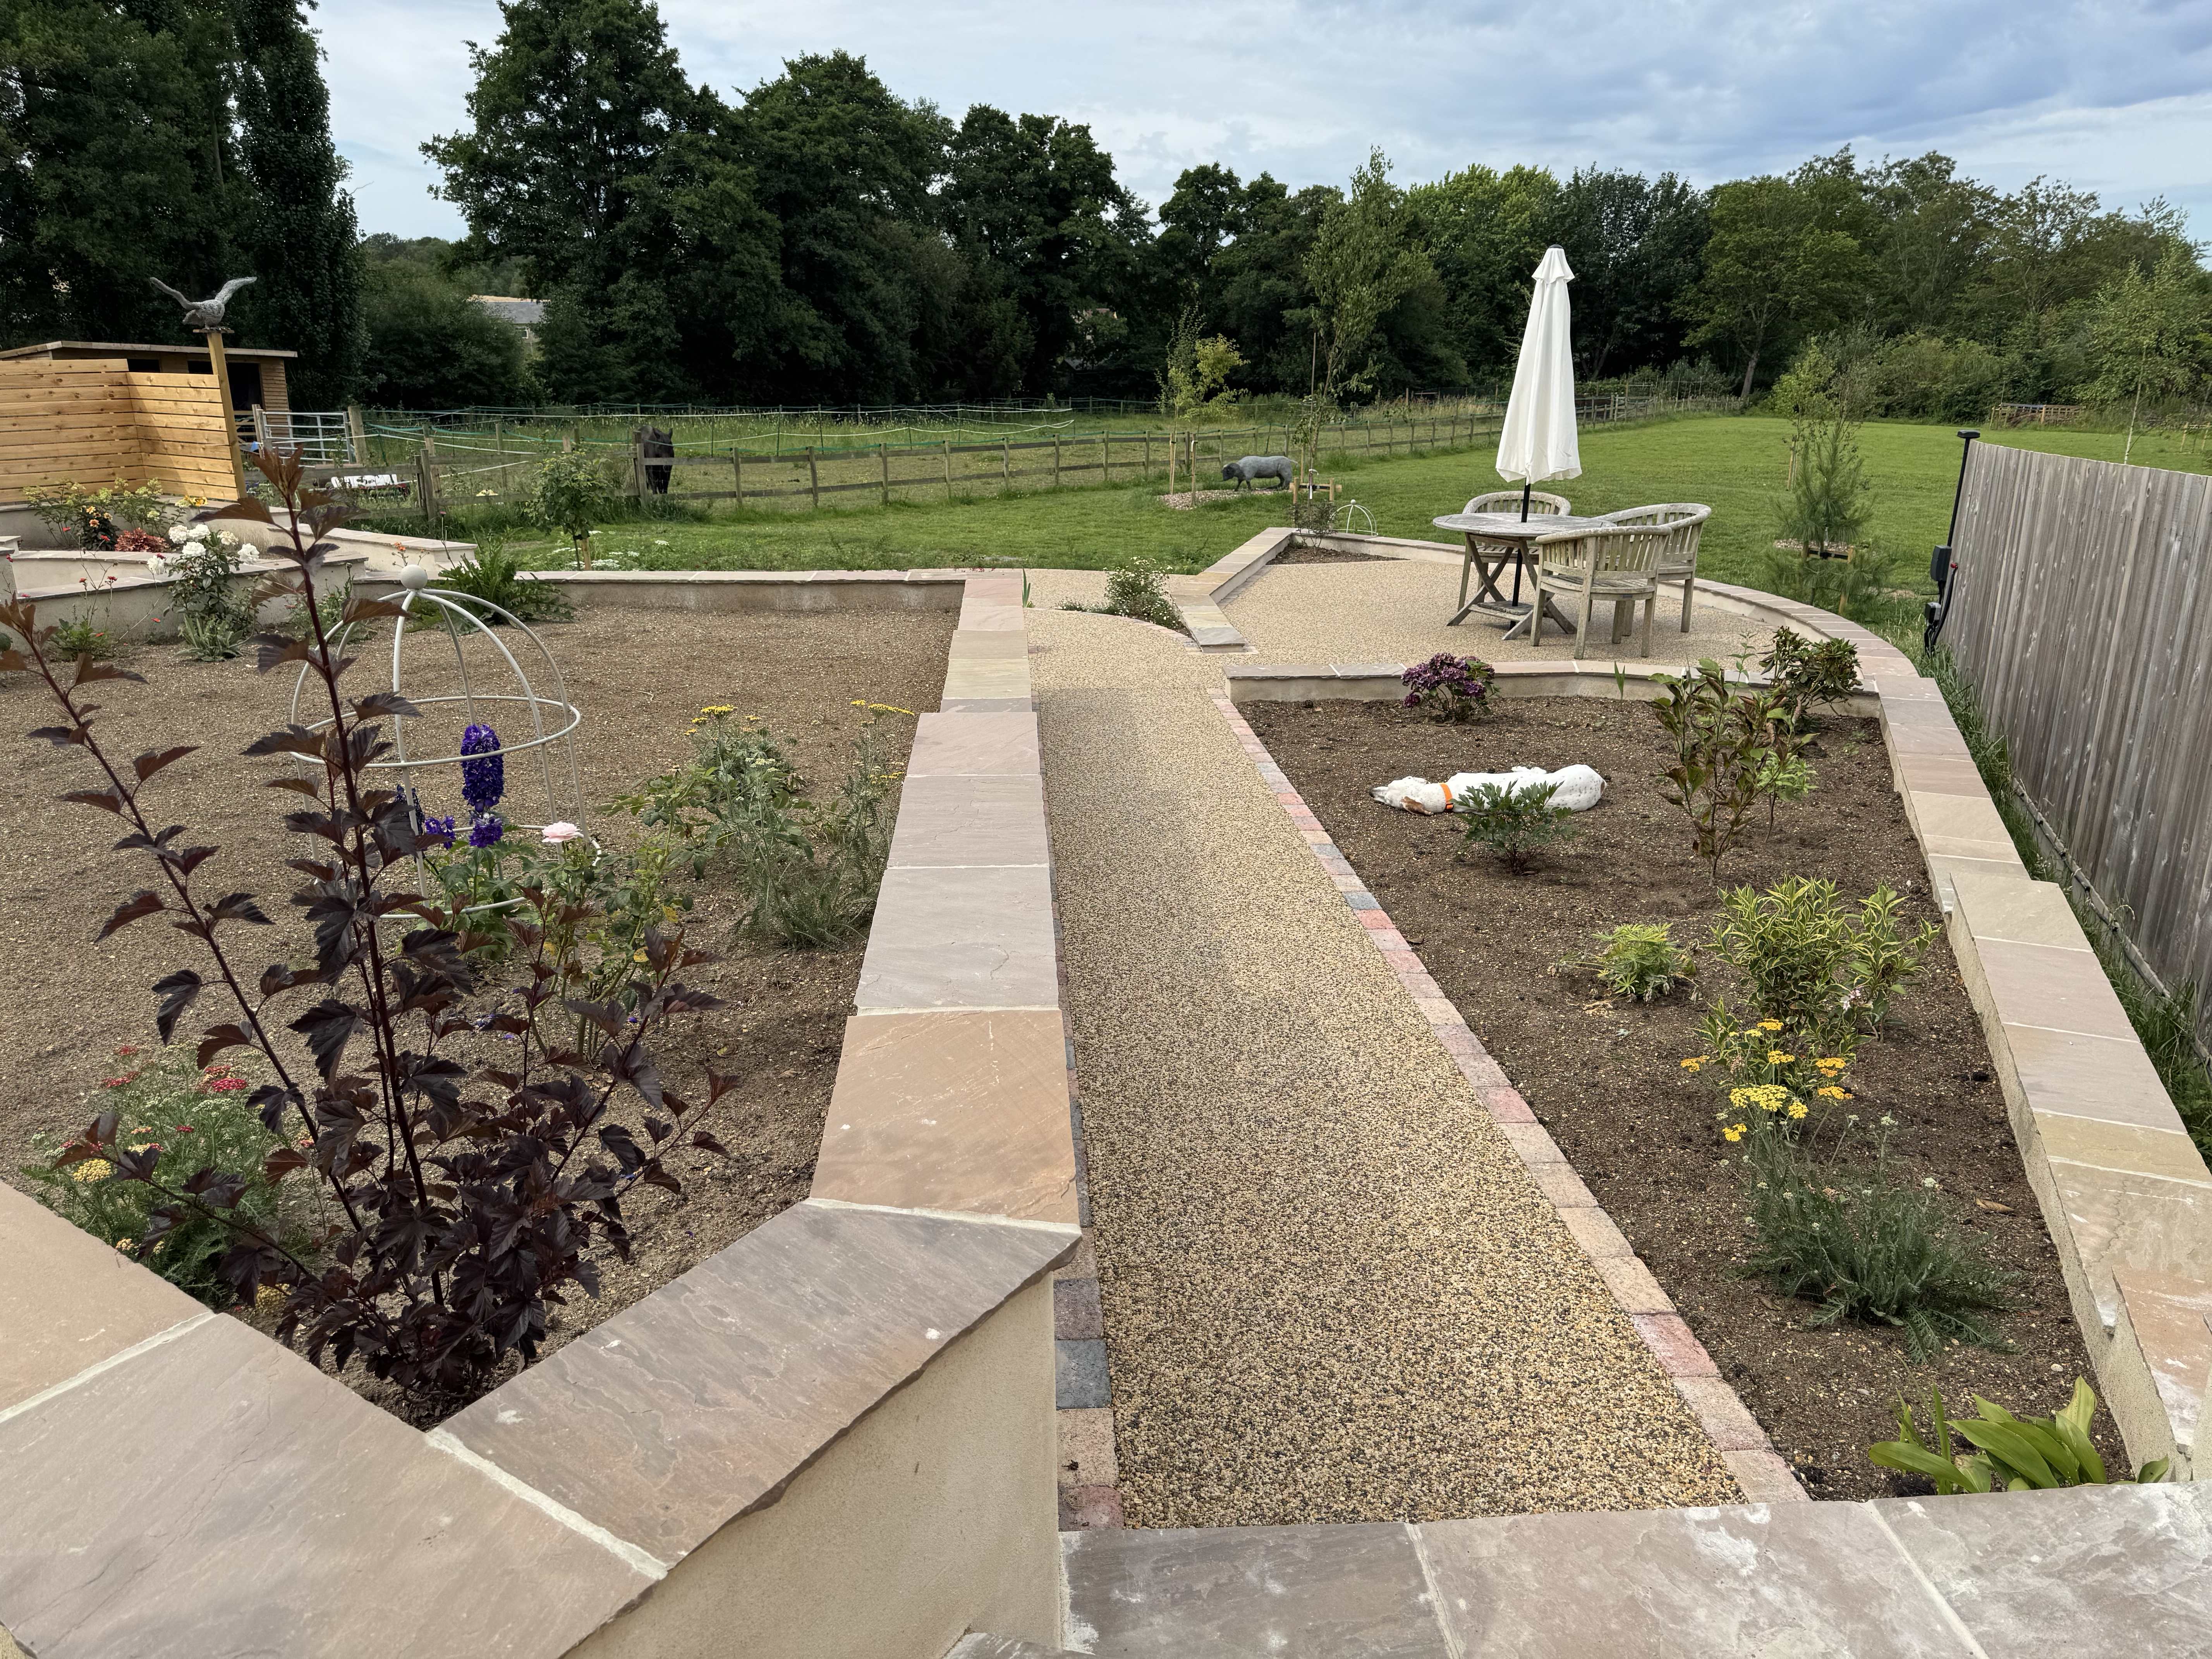
The paths and seating areas are in resin bound gravel; here are the paths edged in red setts then with and a concrete sub-base on type 1.
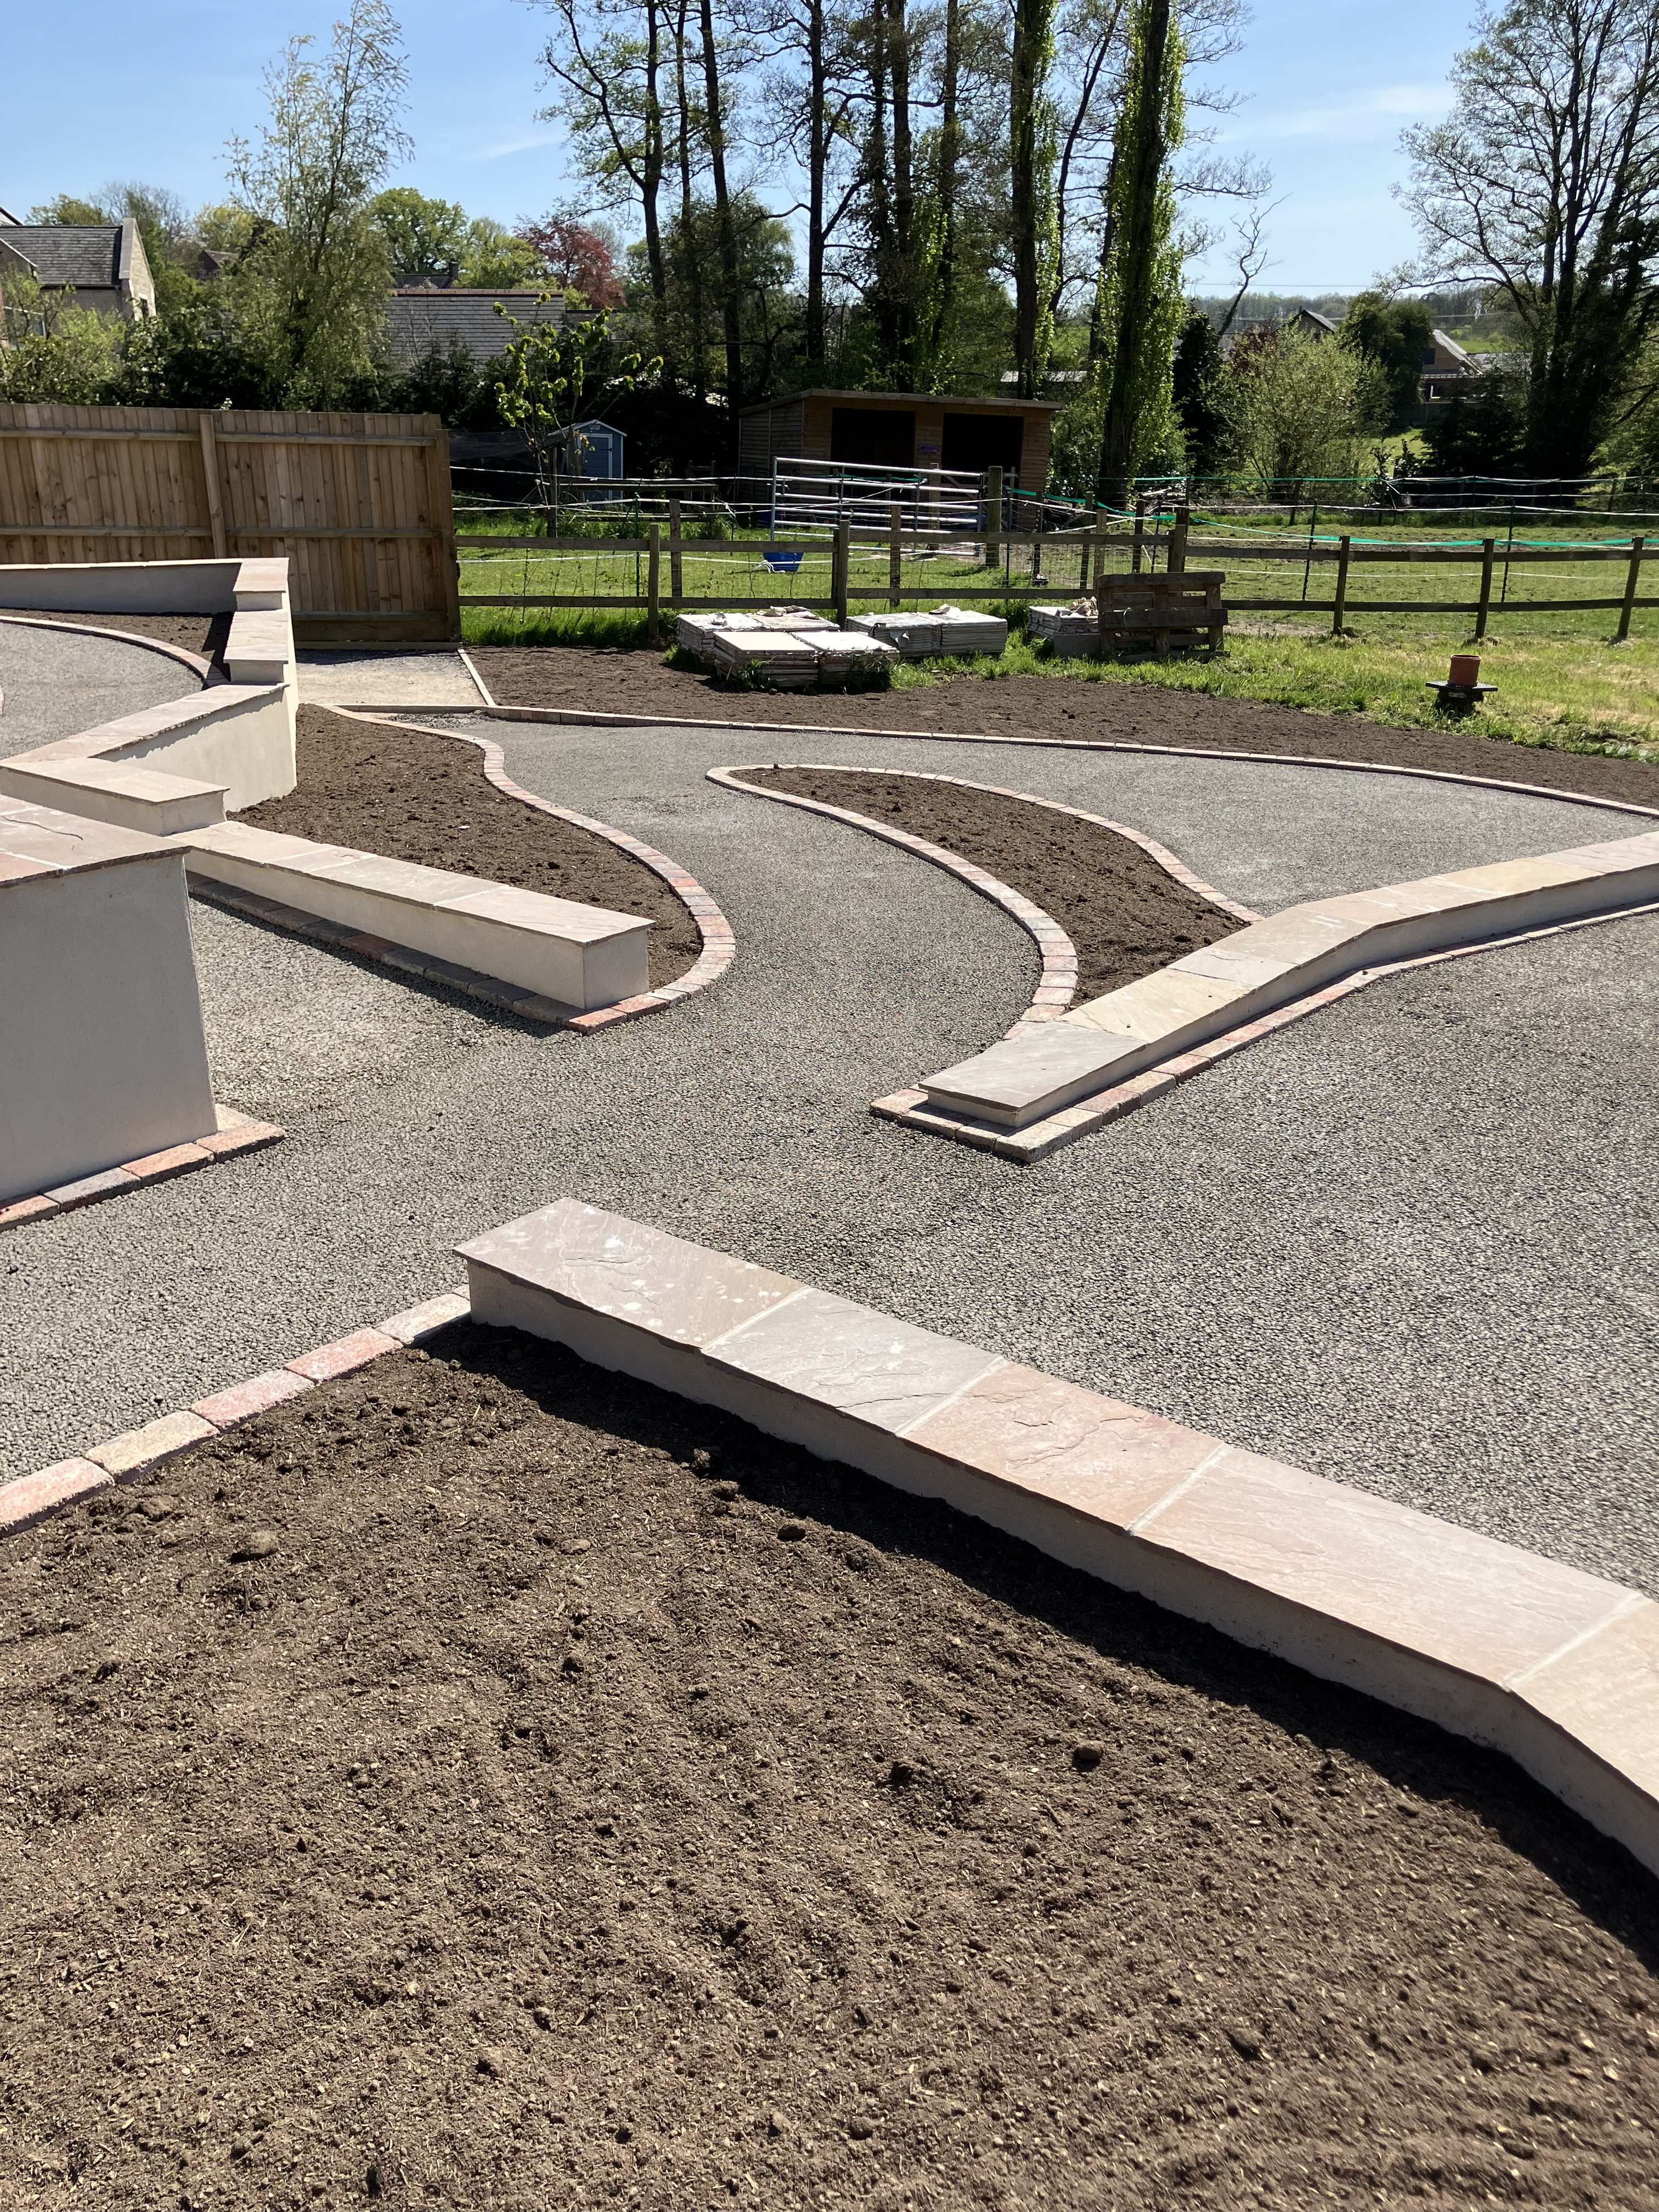
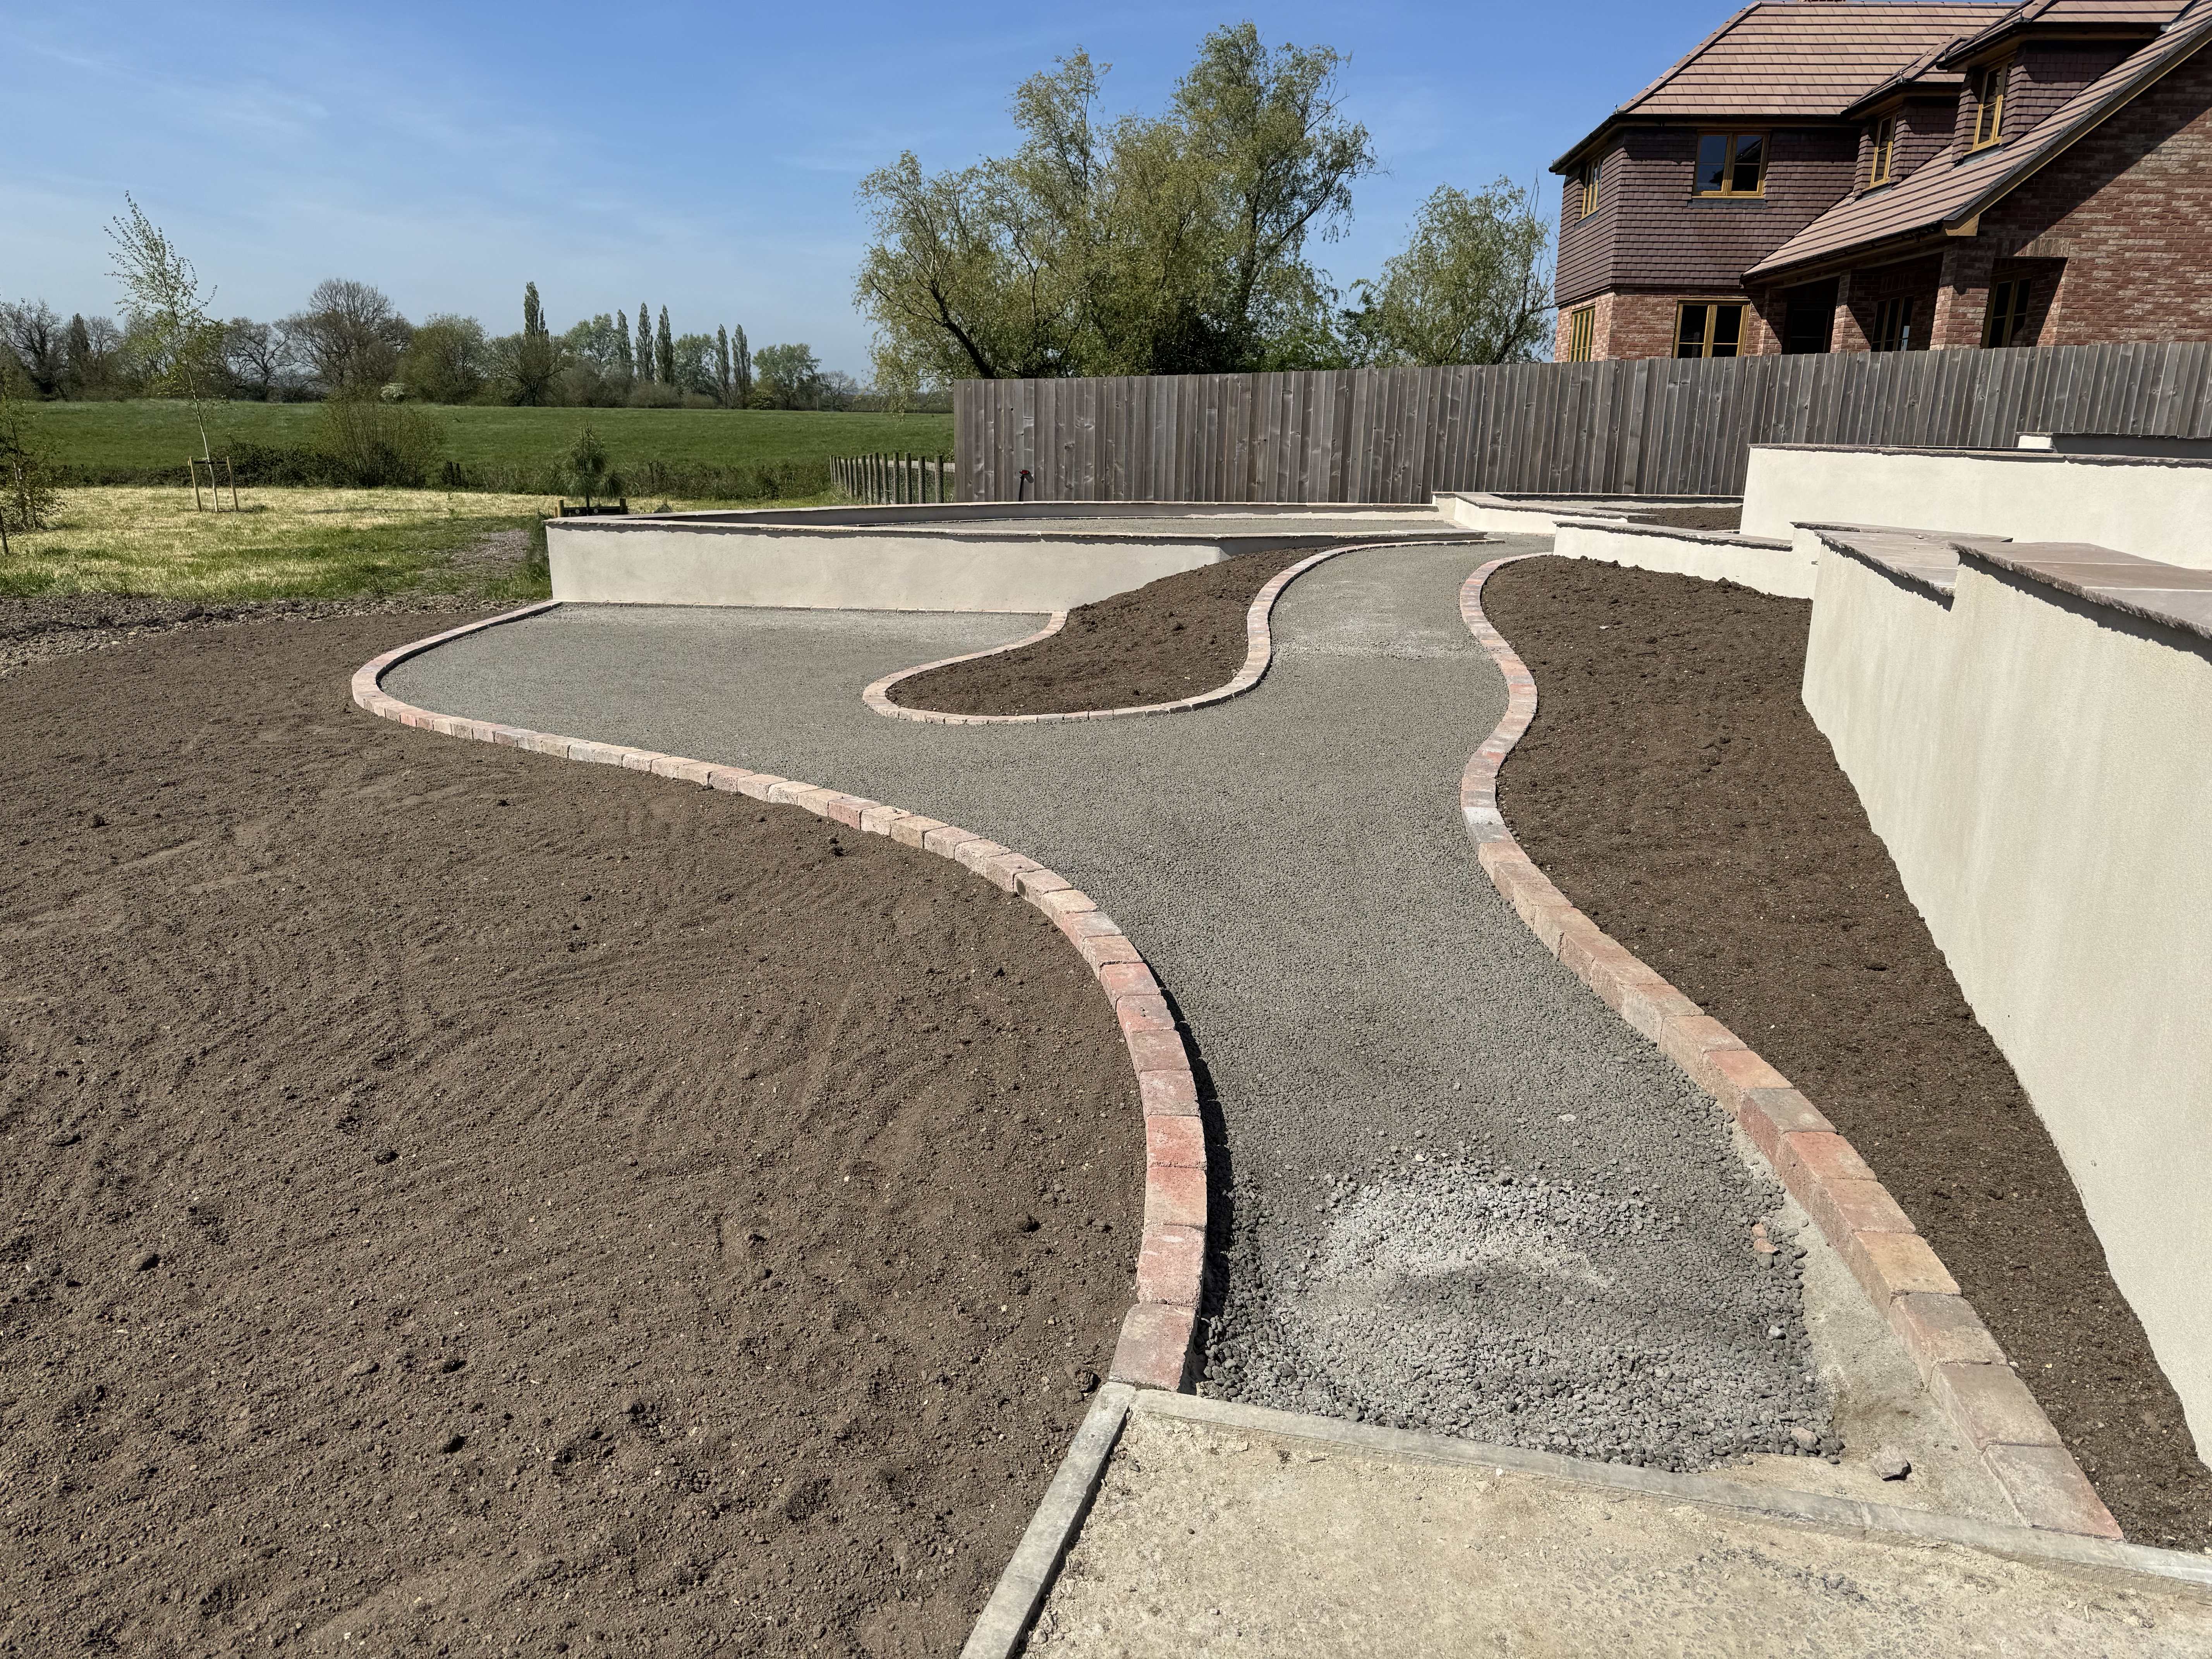
Here’s the scene before the resin top-coat is laid but after the planting beds have had their topsoil put in.
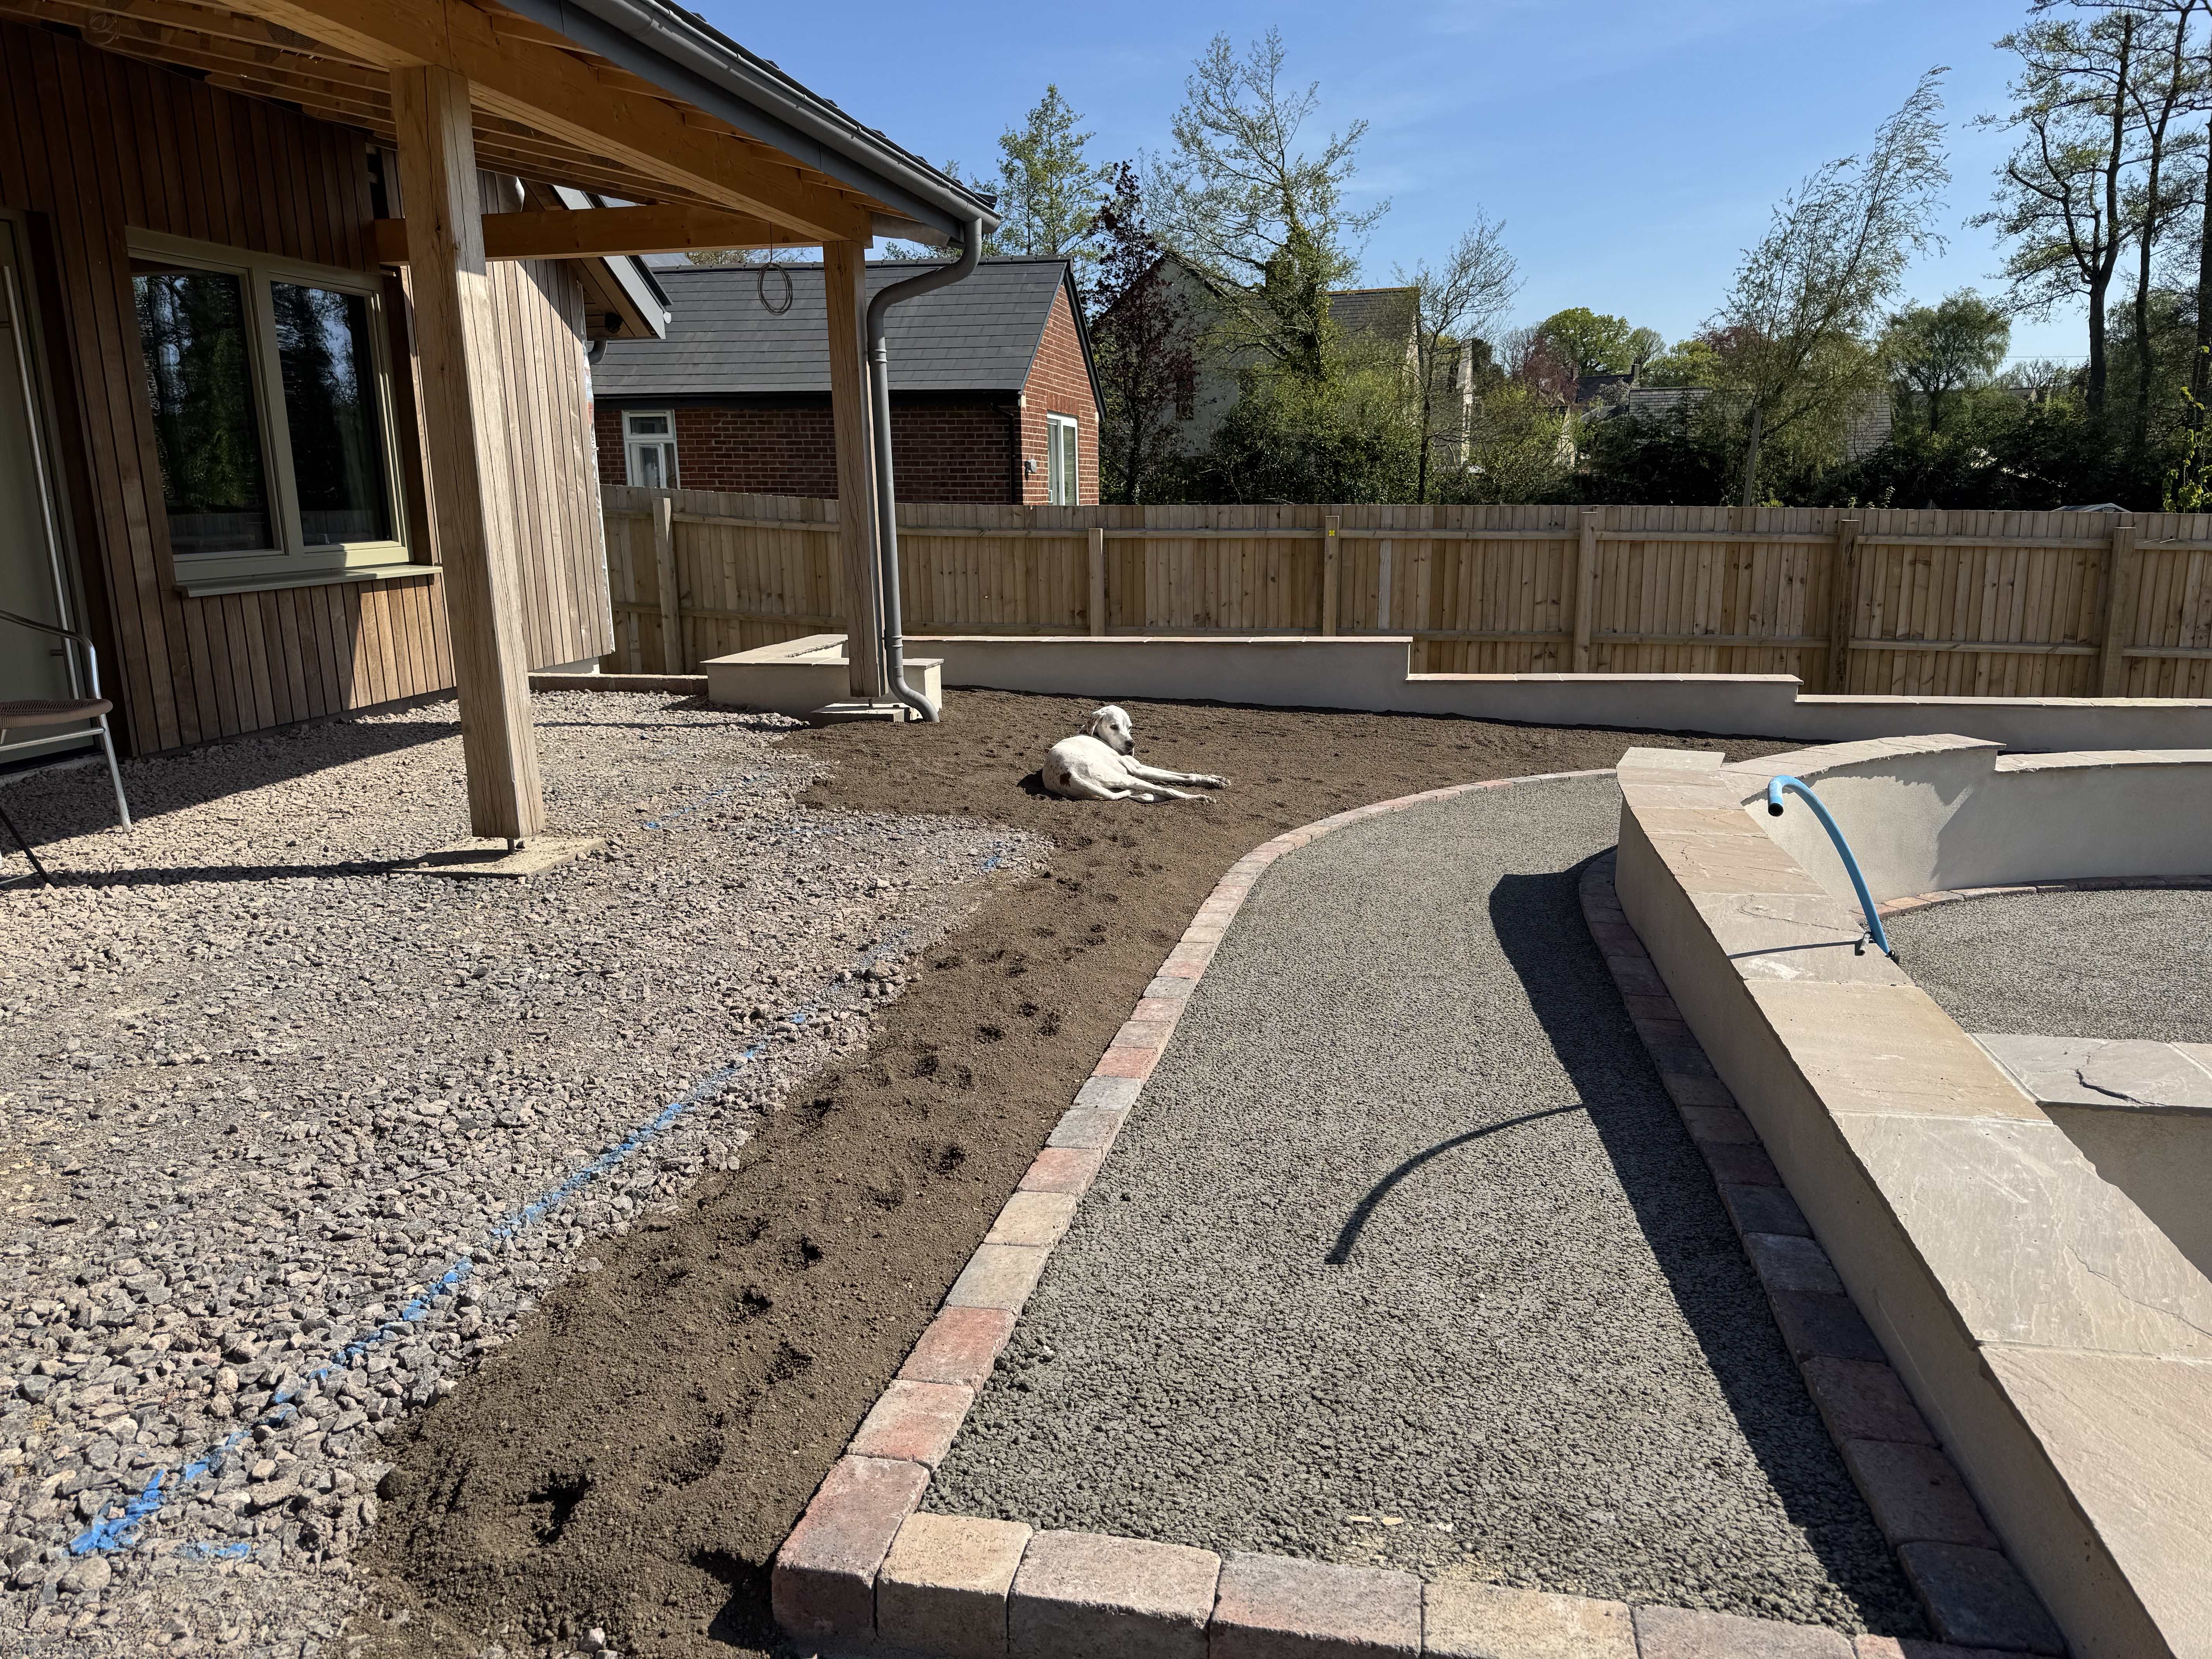
Troy's taken the idea of 'beds' too literally:
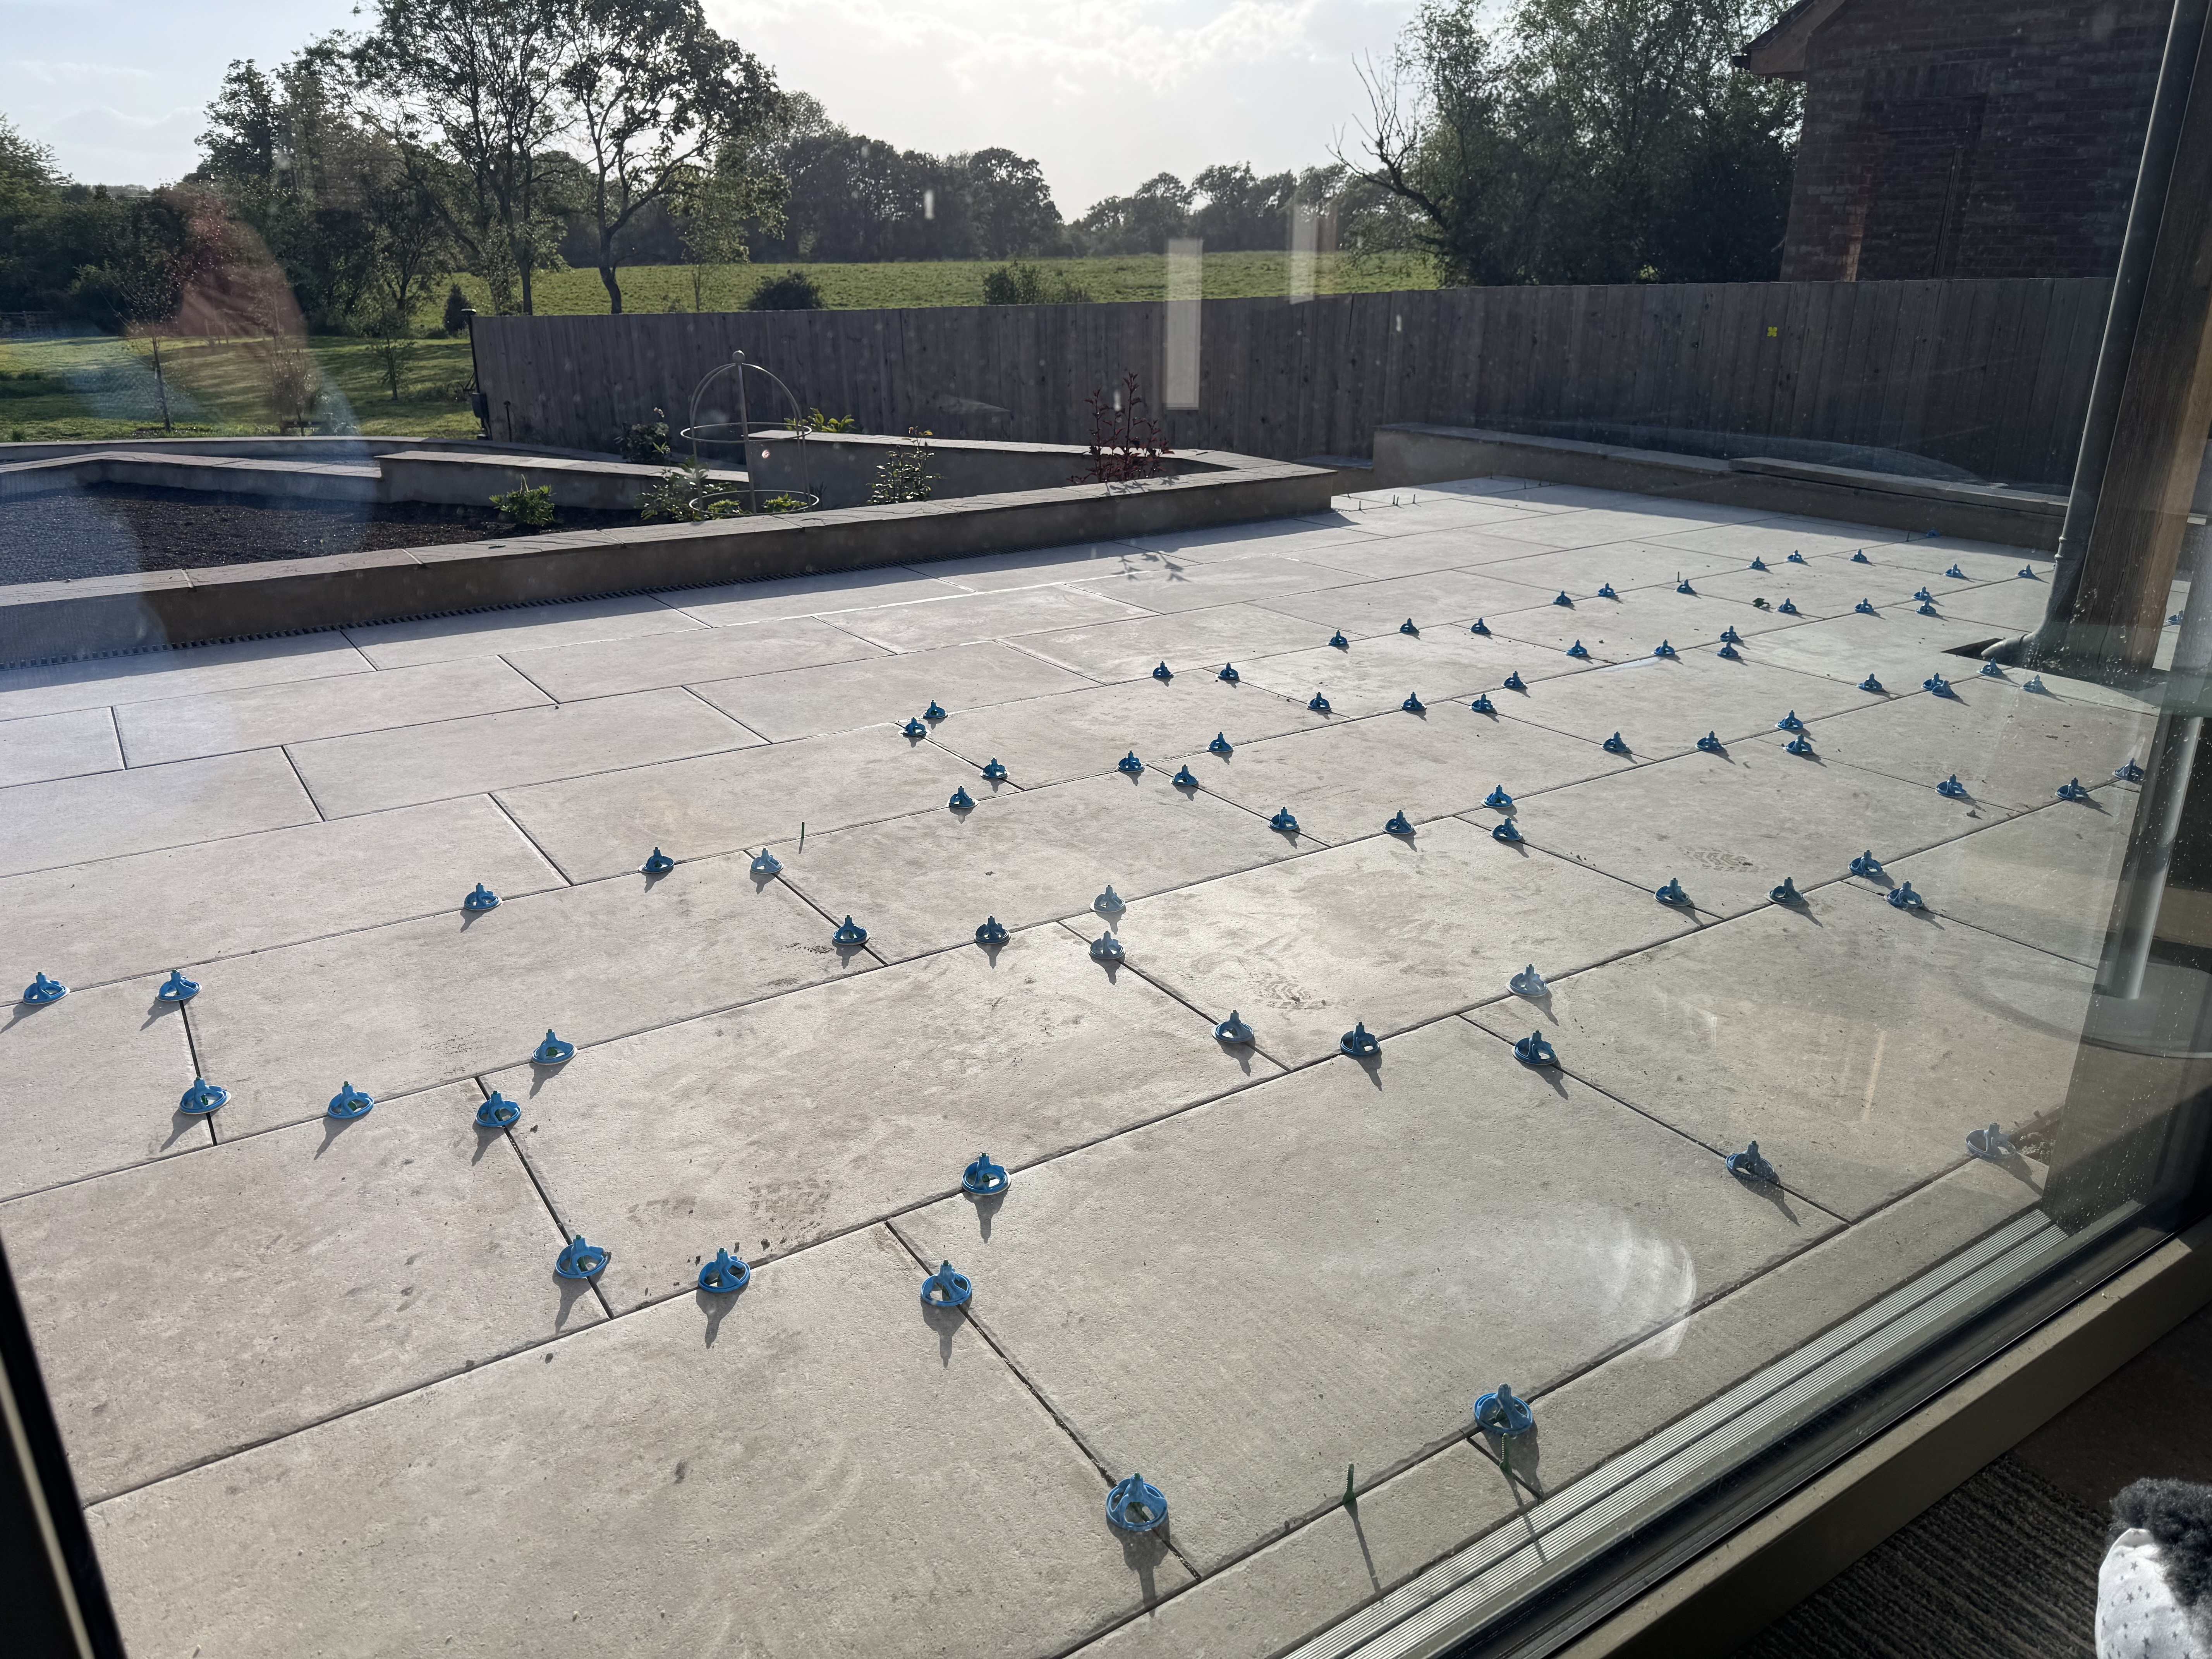
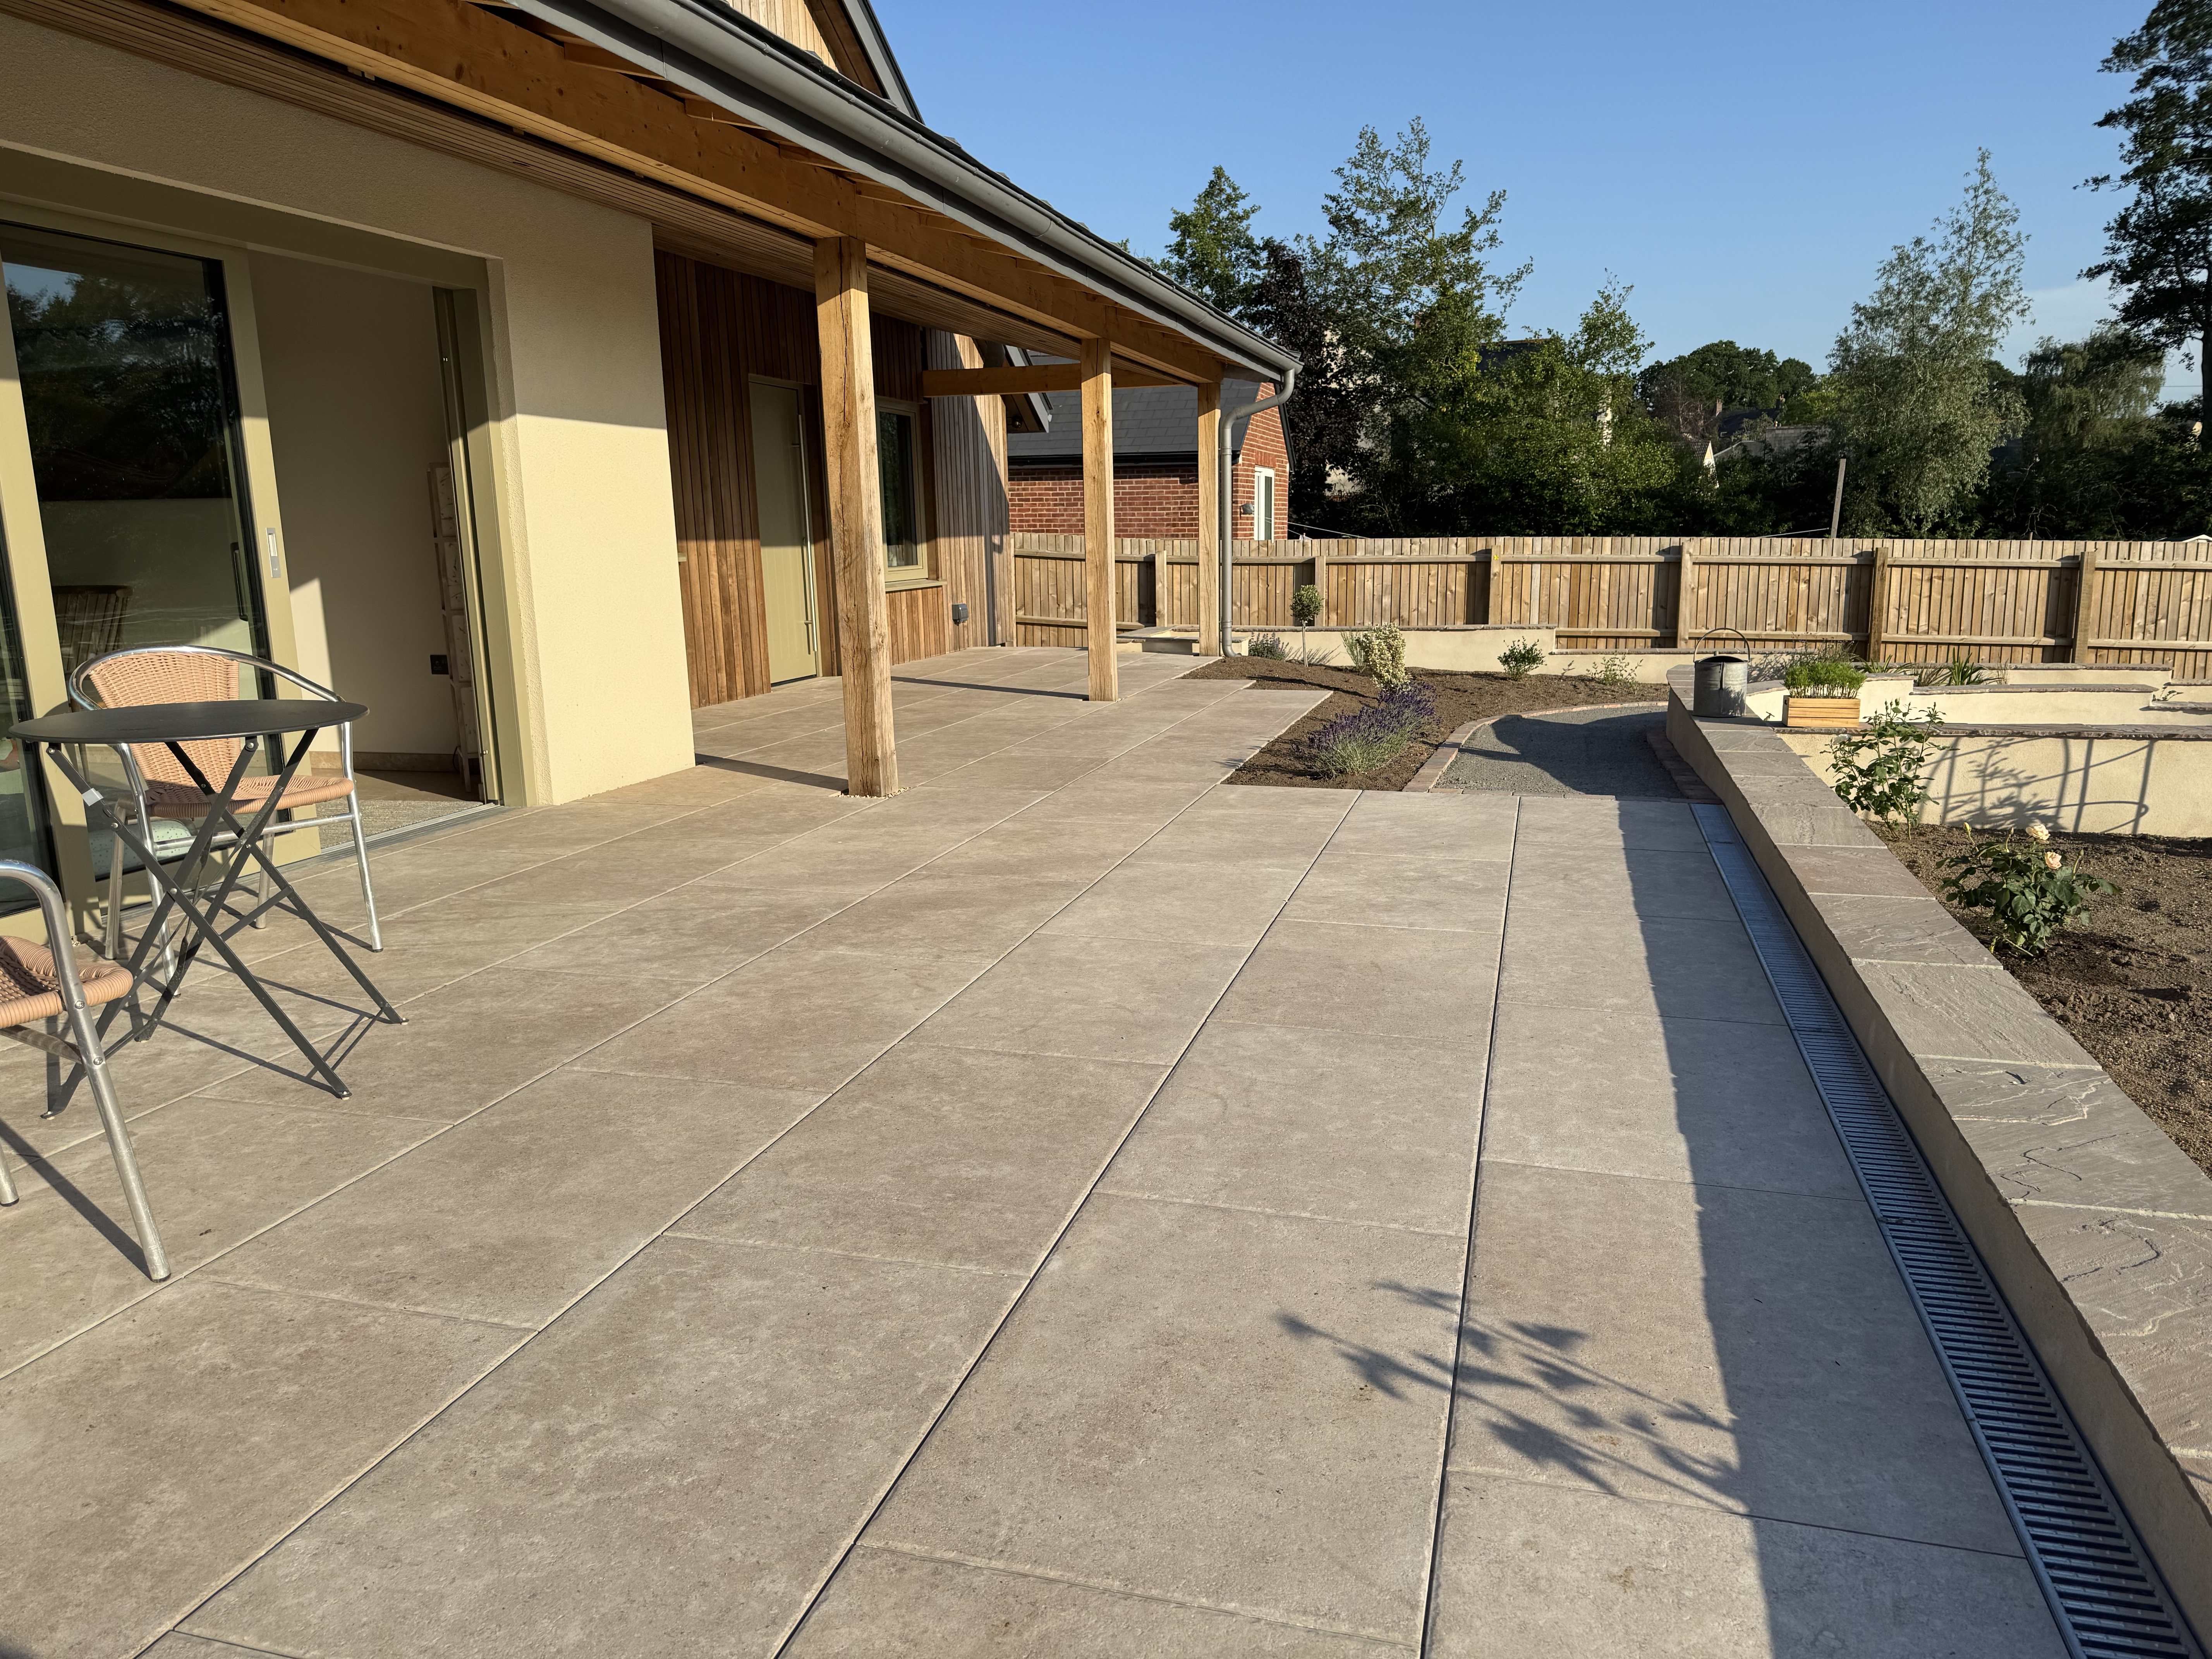
For the terrace we used the external version of the internal 900 x 600 porcelain tiles we use throughout the house. The external tiles are 20mm thick rather than 10mm and have a slightly rougher surface for slip resistance.
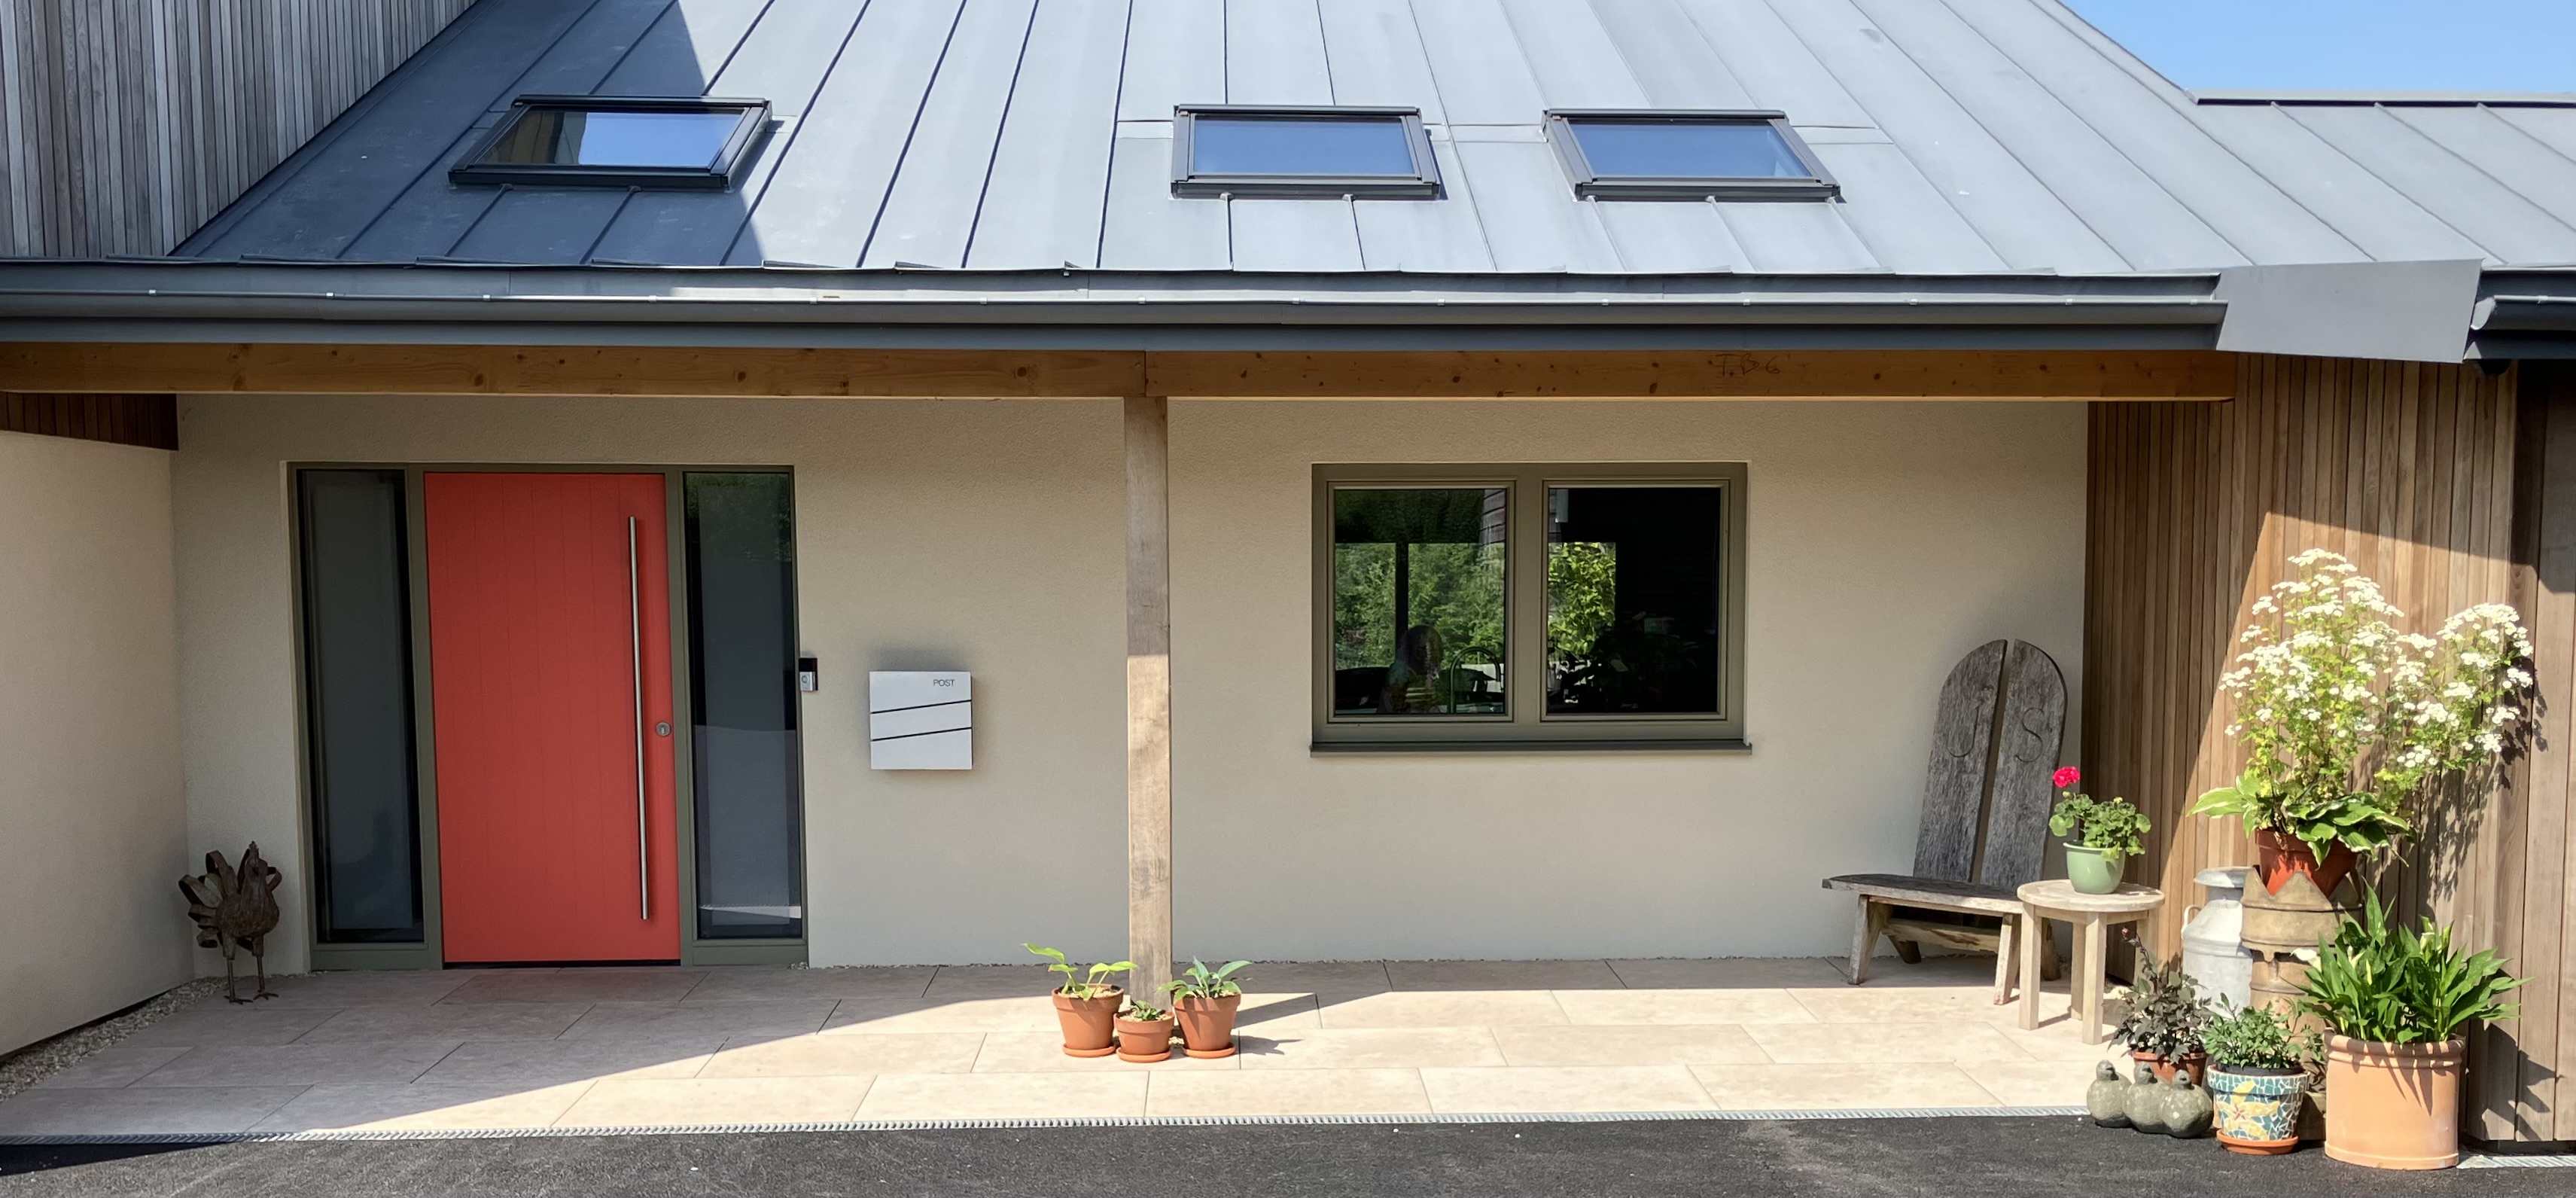
We used the same tiles for the front porch area.
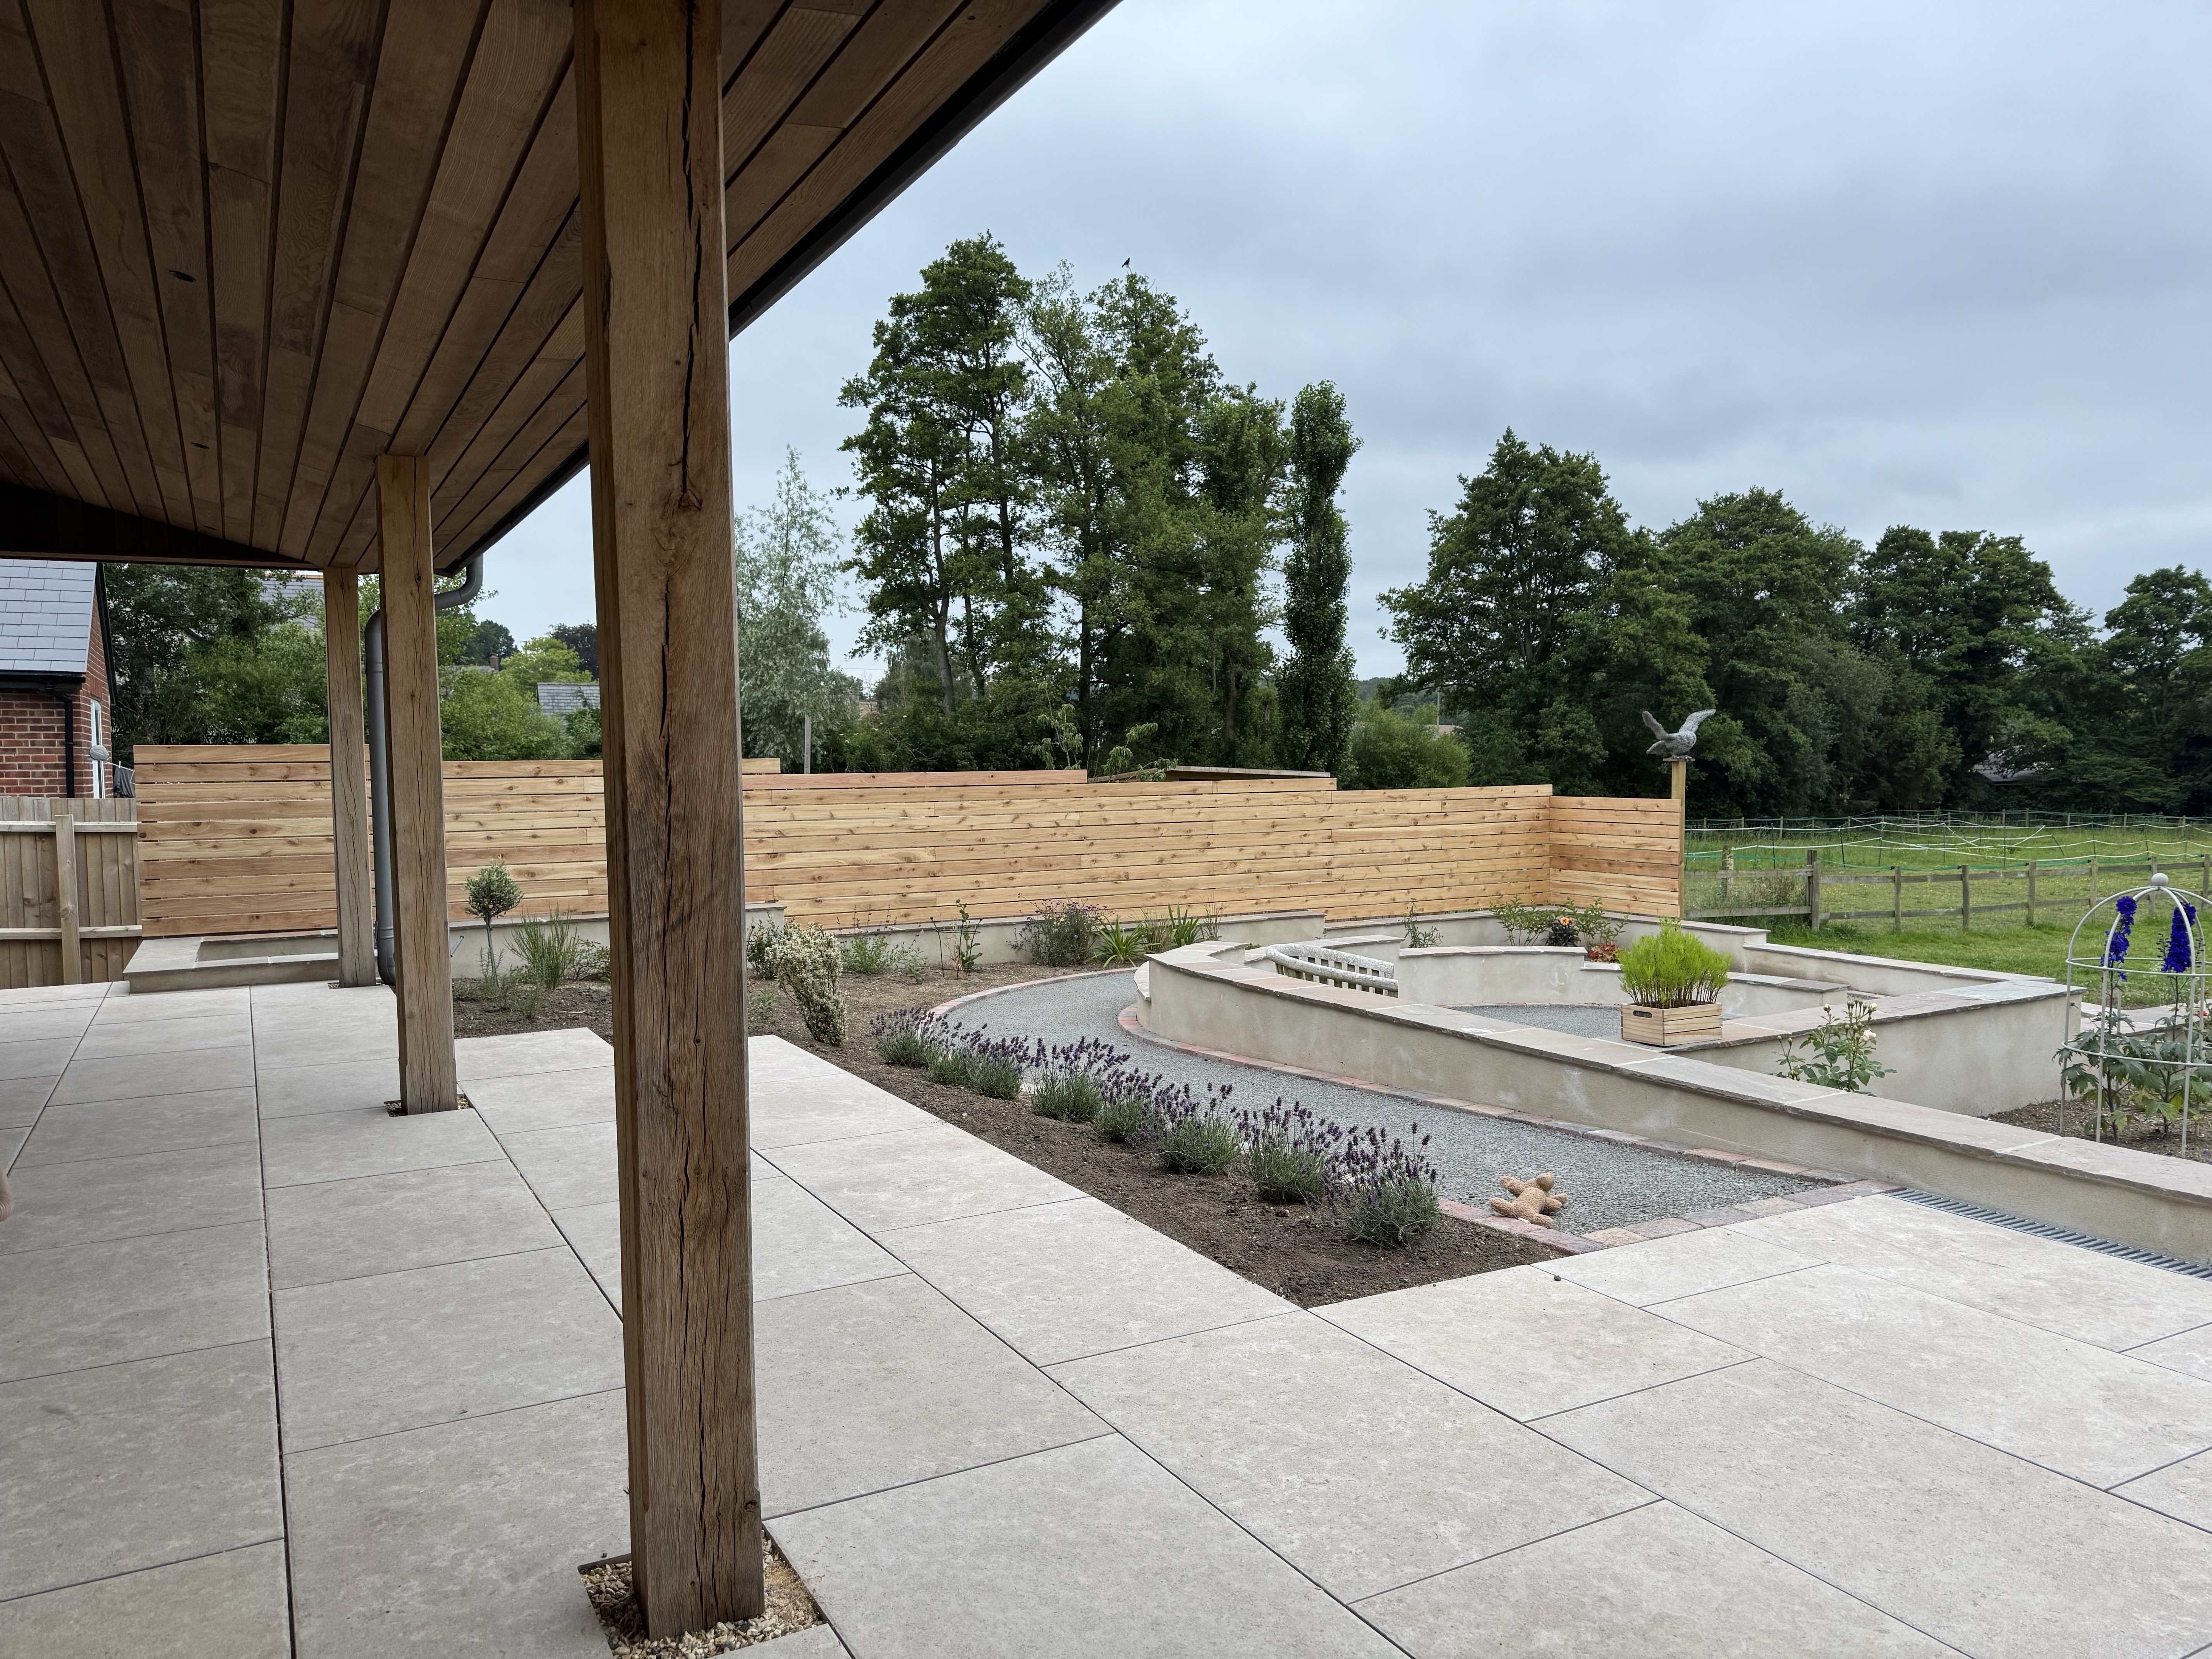
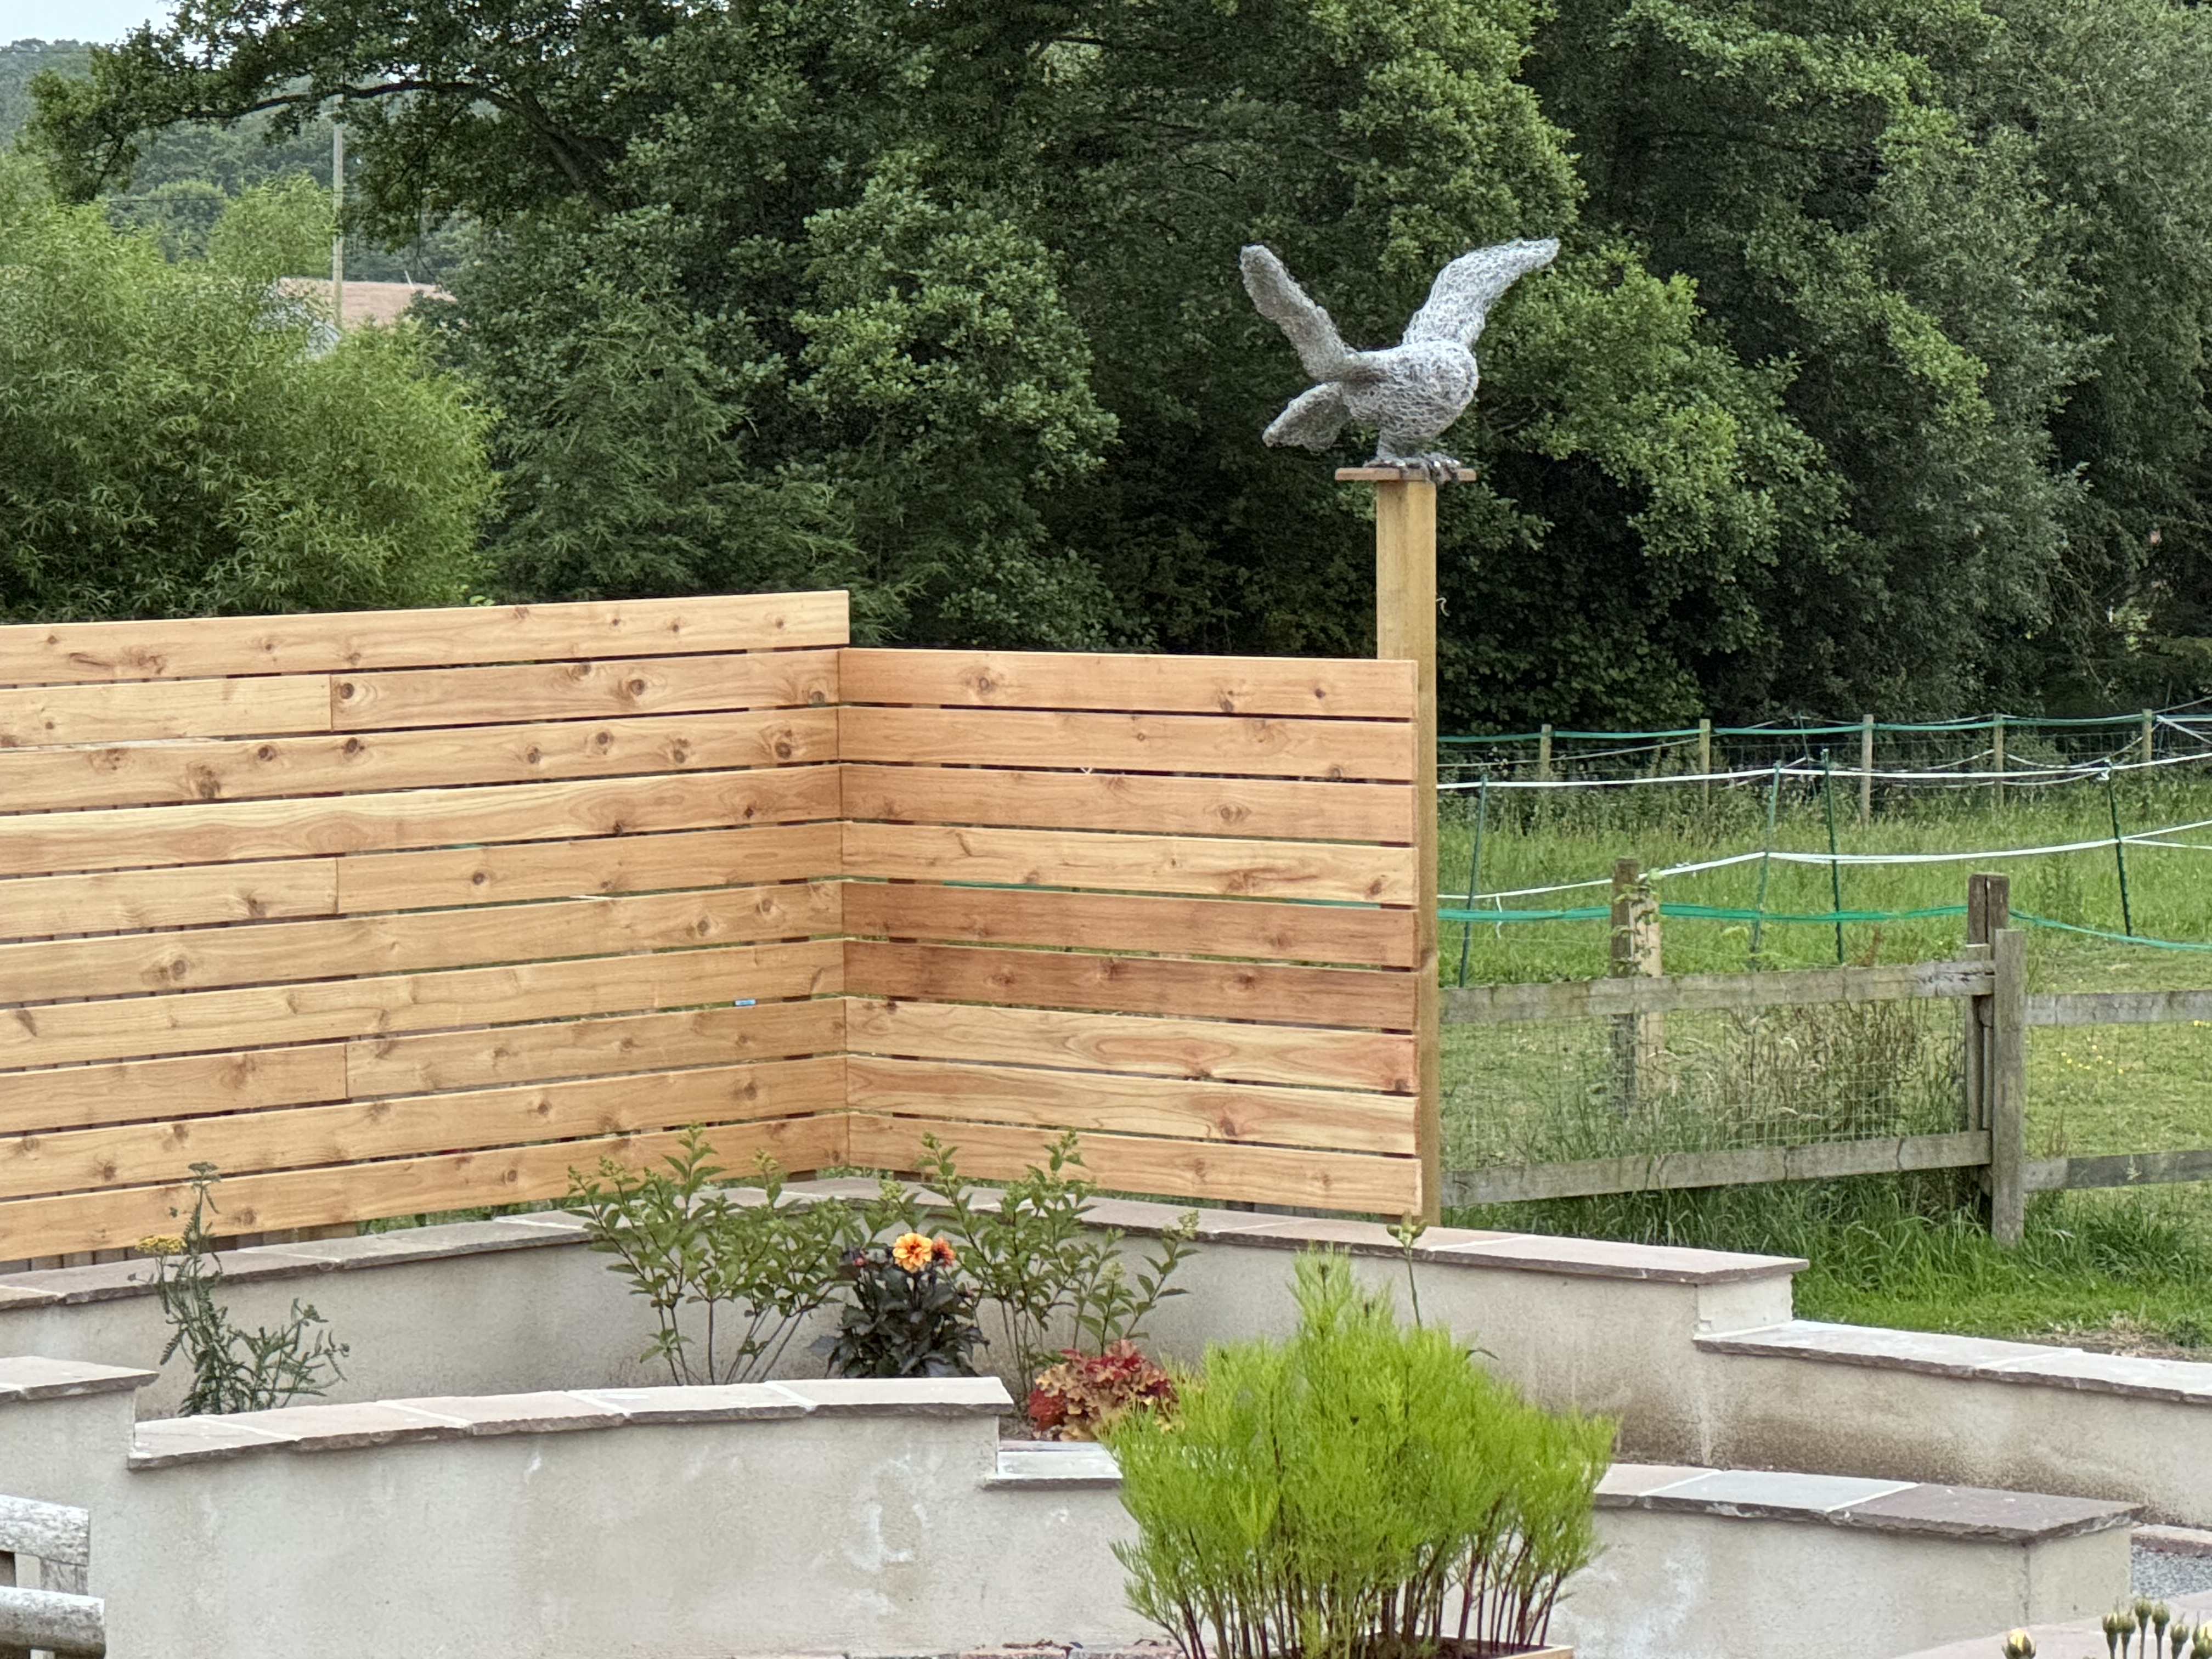
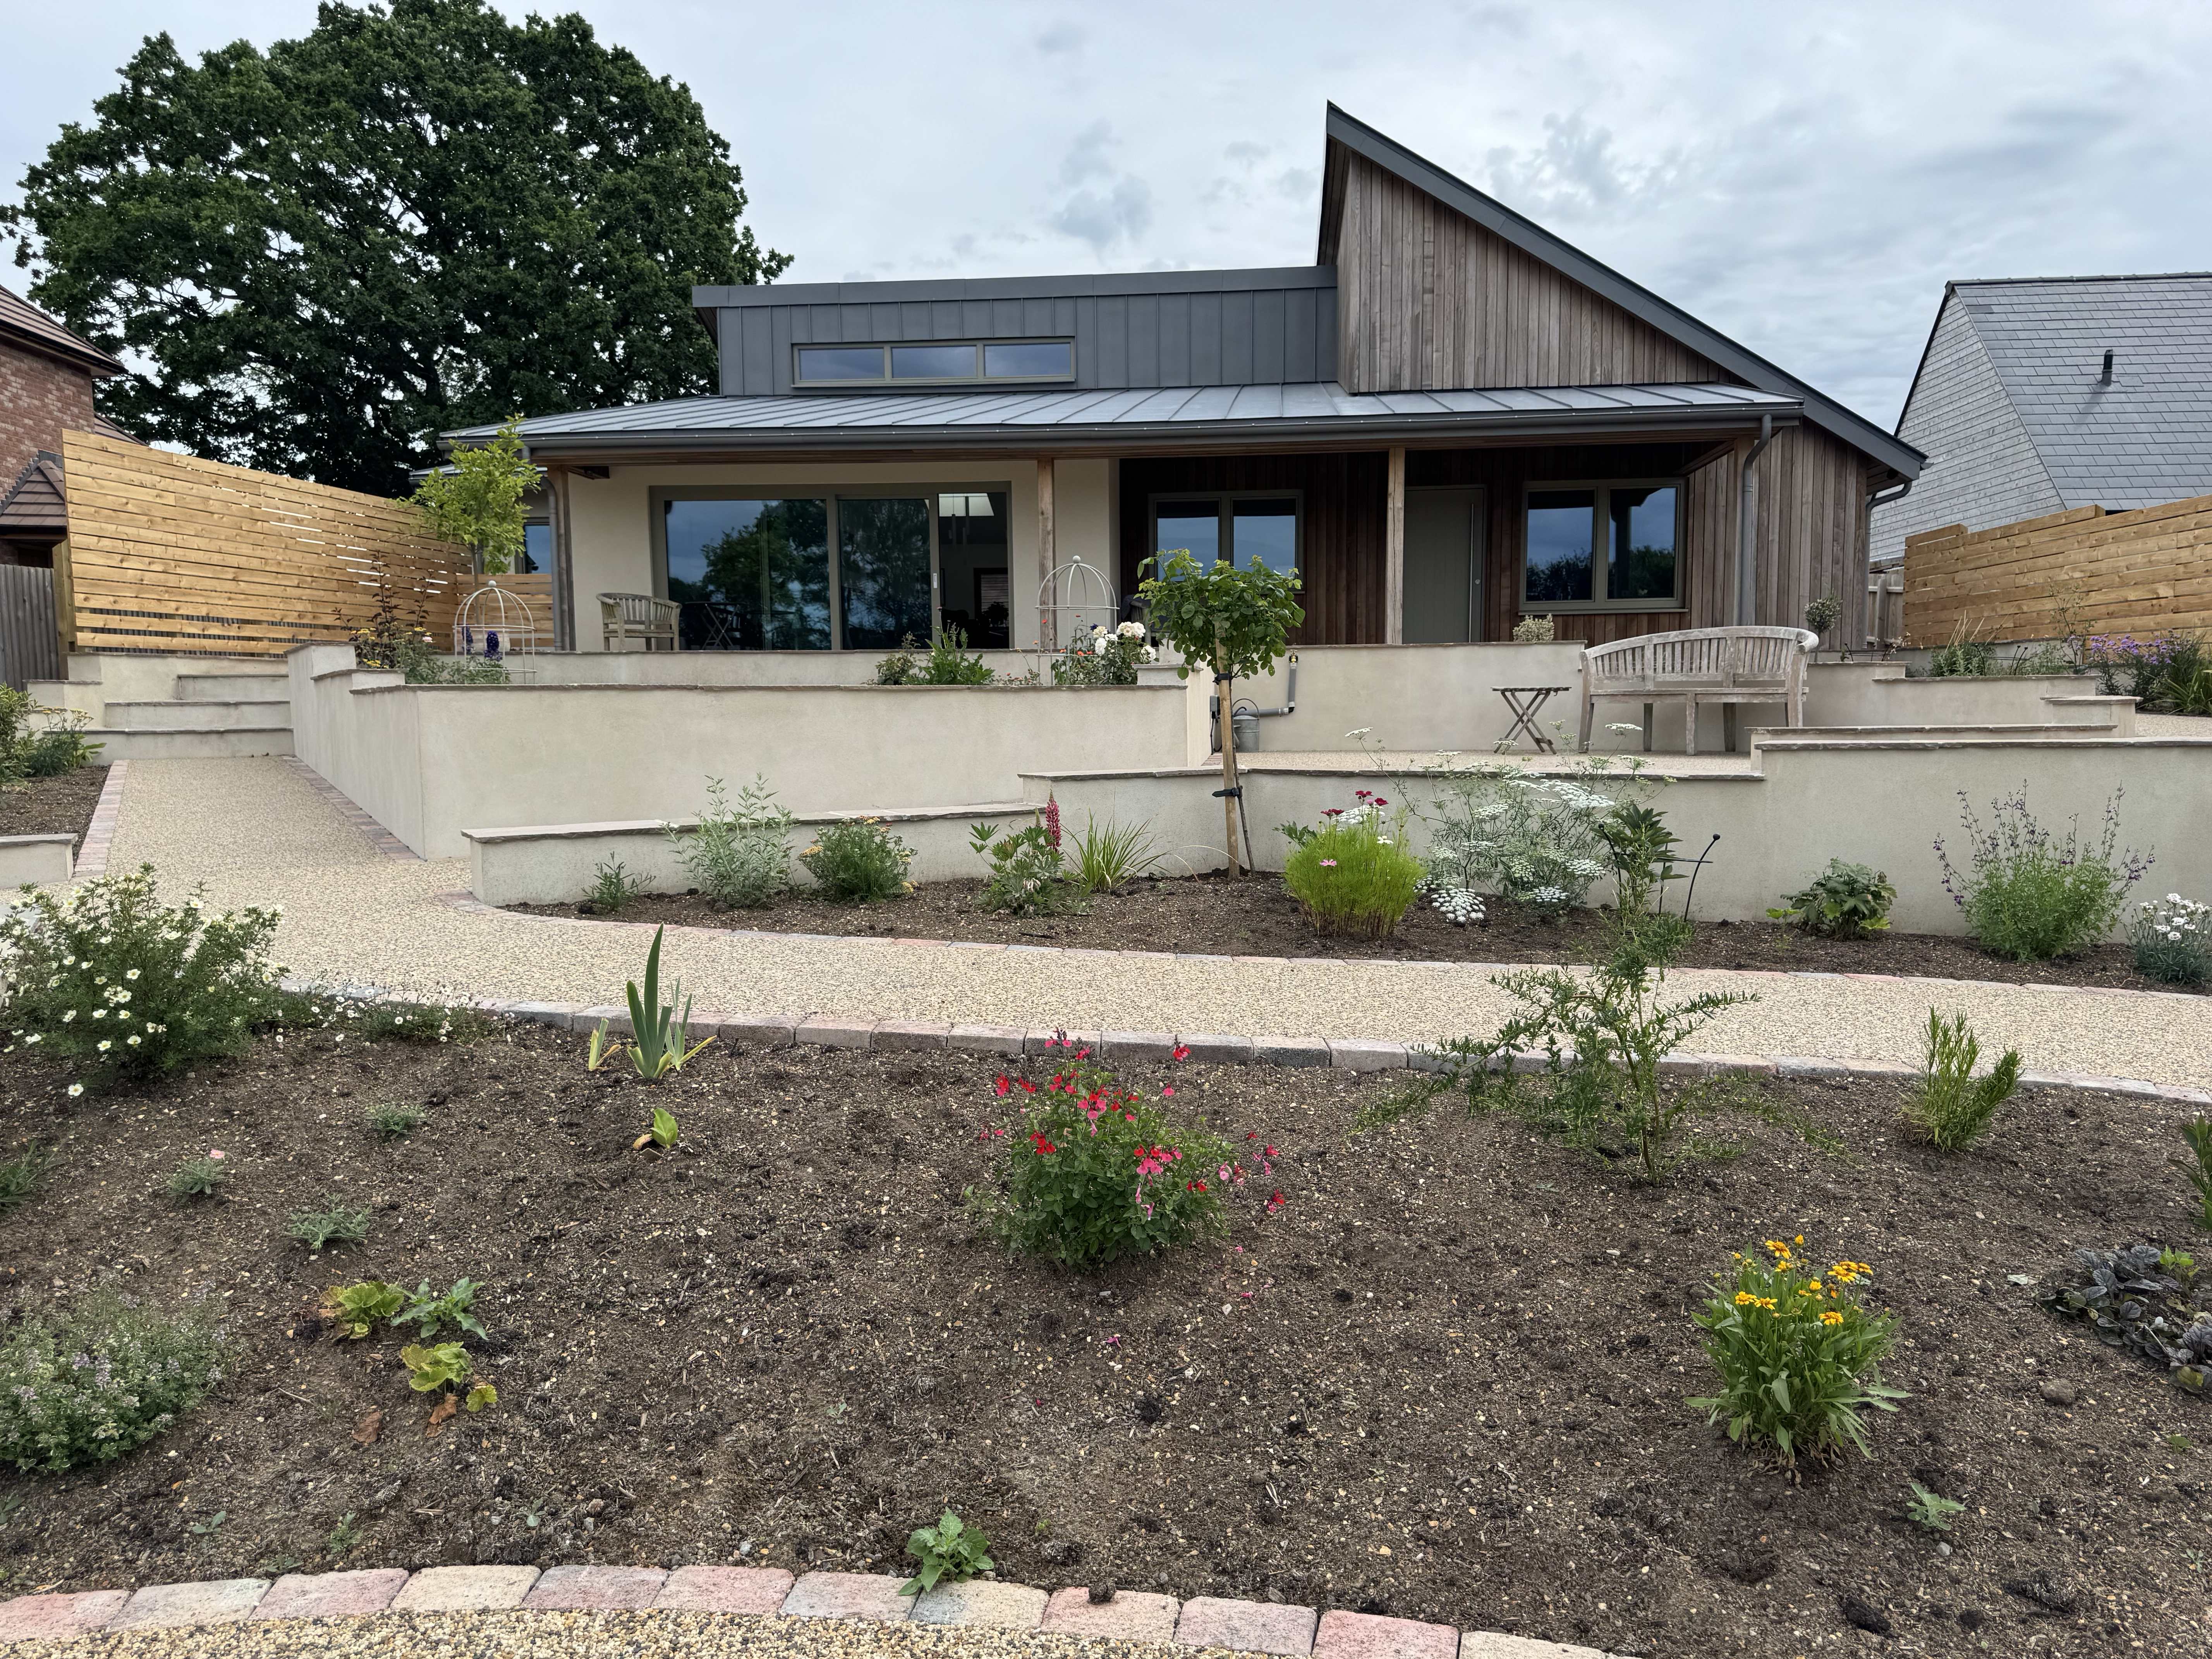
The walls at either side of the rear garden have drops of over 600mm so our building inspector insisted we put up ‘fall protection’ which we did using locally sourced cedar slats, fixed horizontally to posts ‘resin-studded’ to the walls. This doubles as screening from our neighbours and provides extra shelter and structure for climbing plants, so we were not too upset at having to do this.
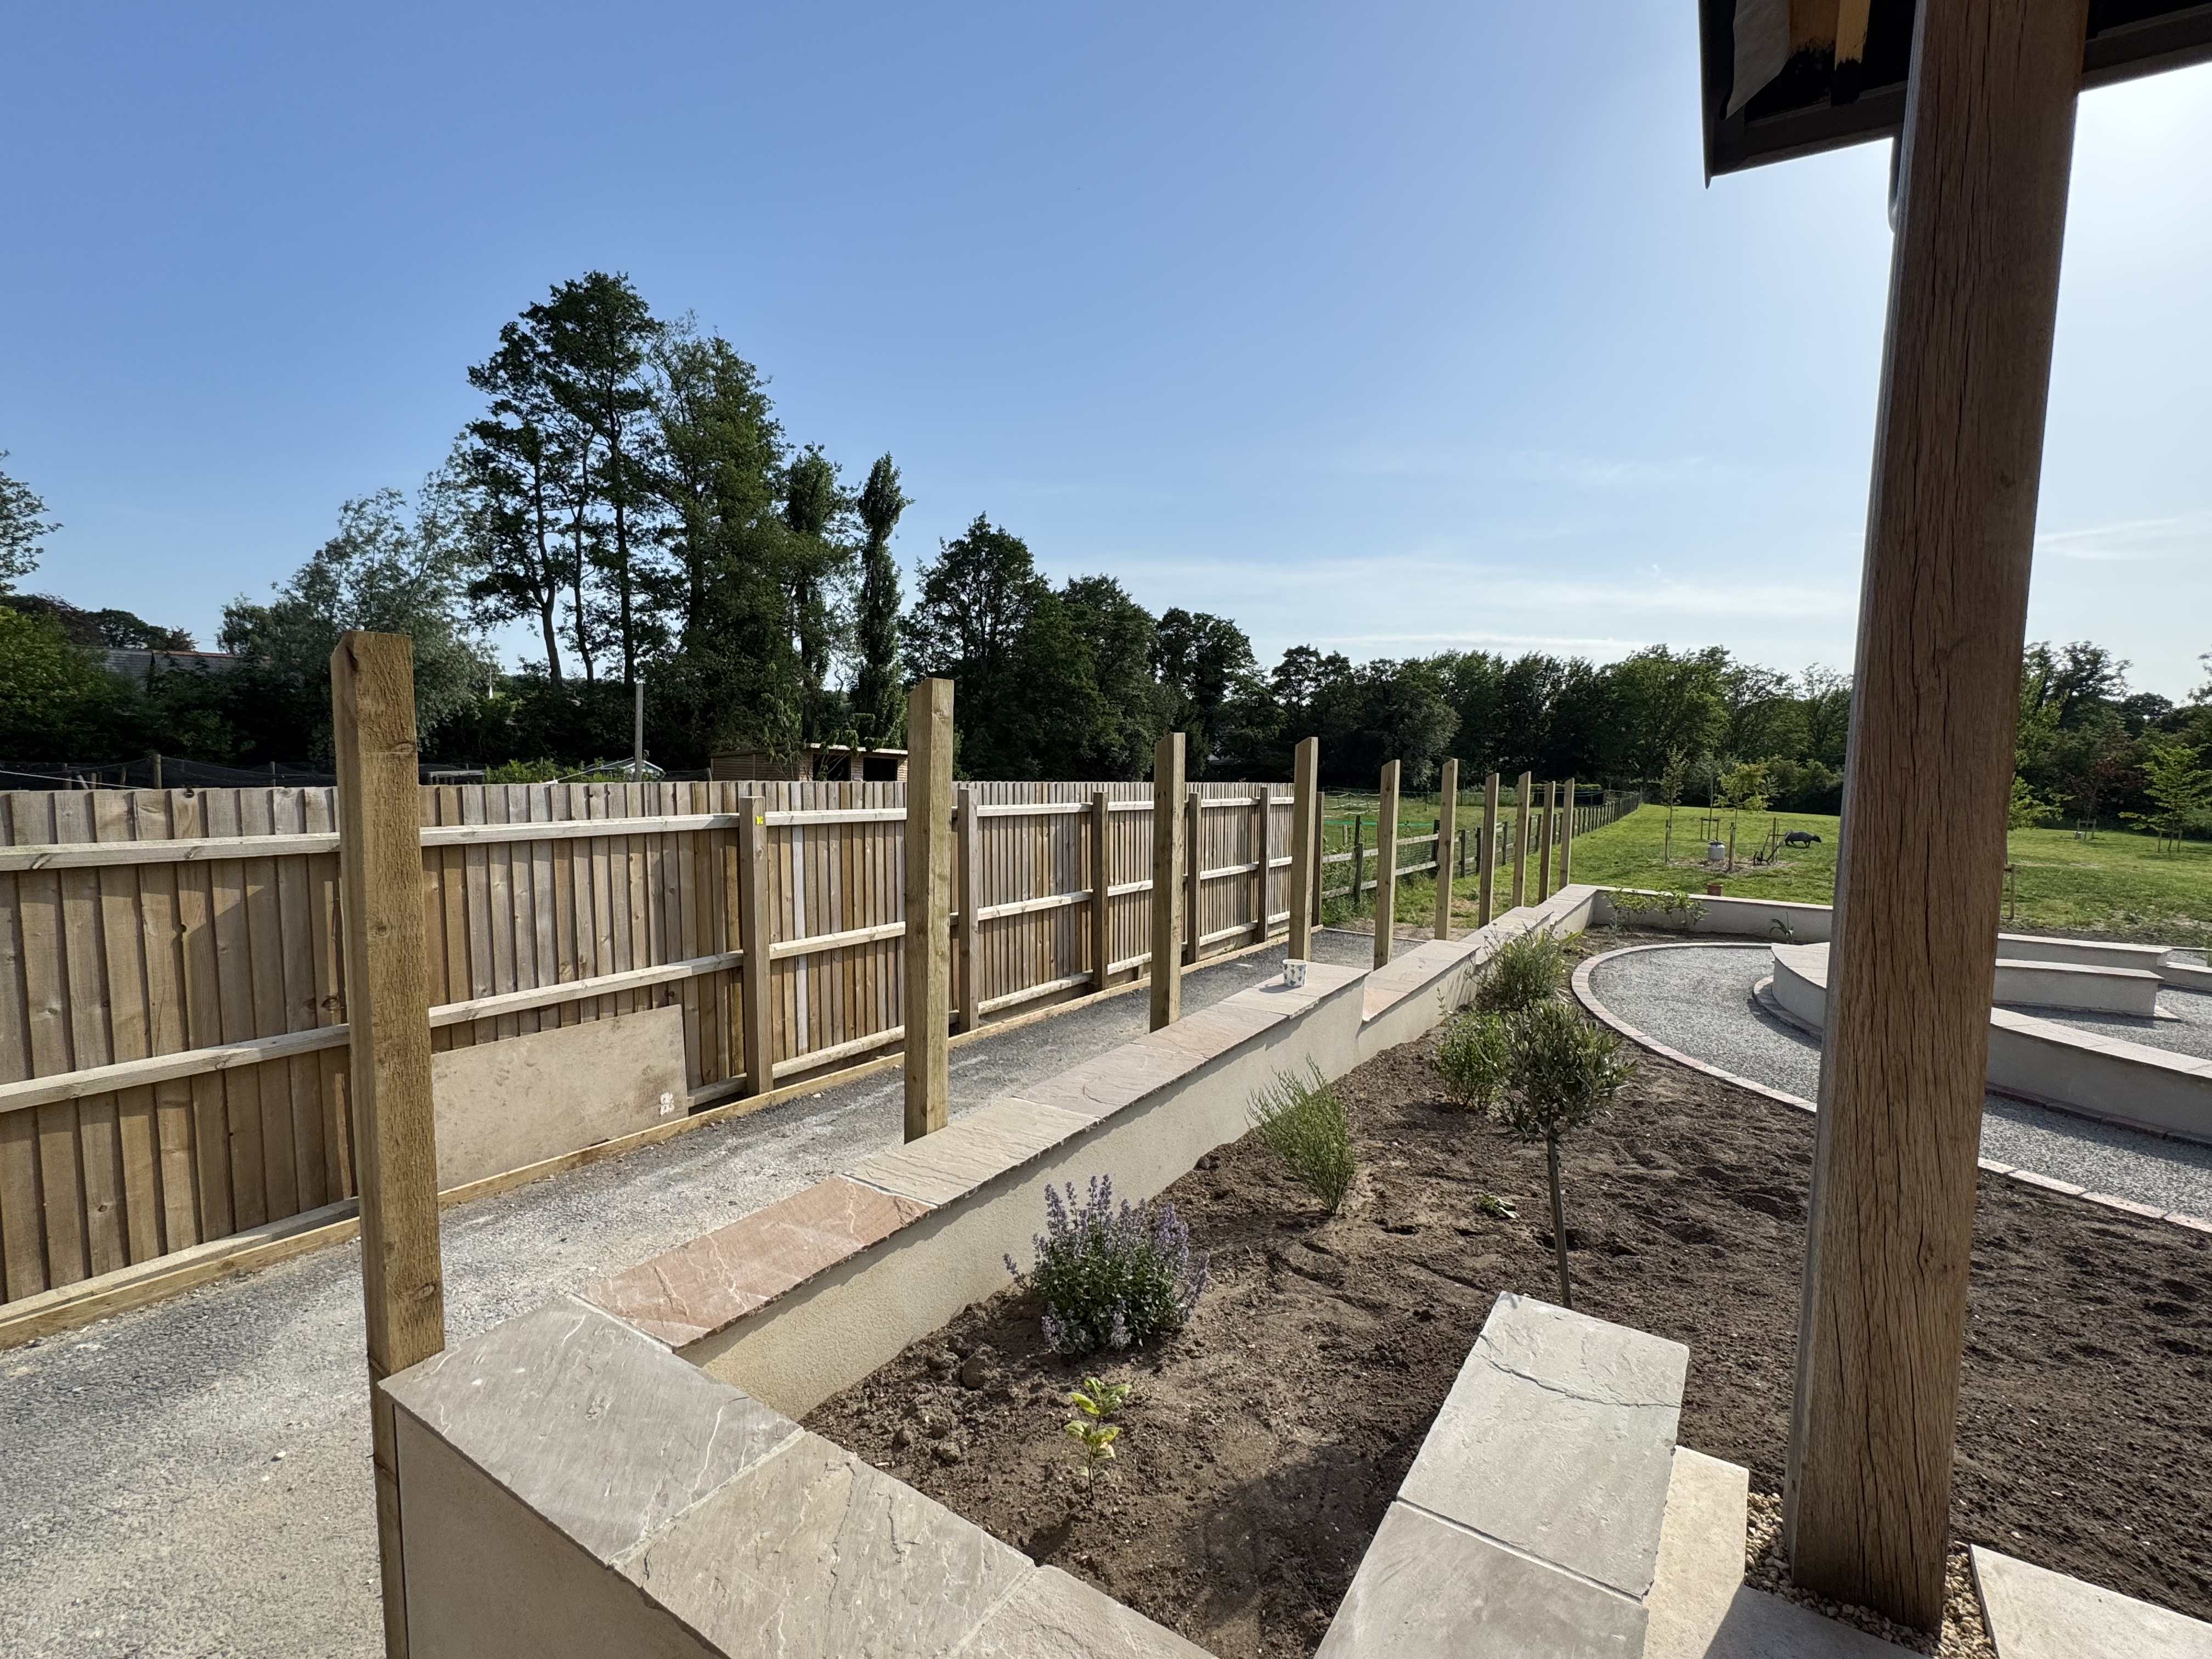
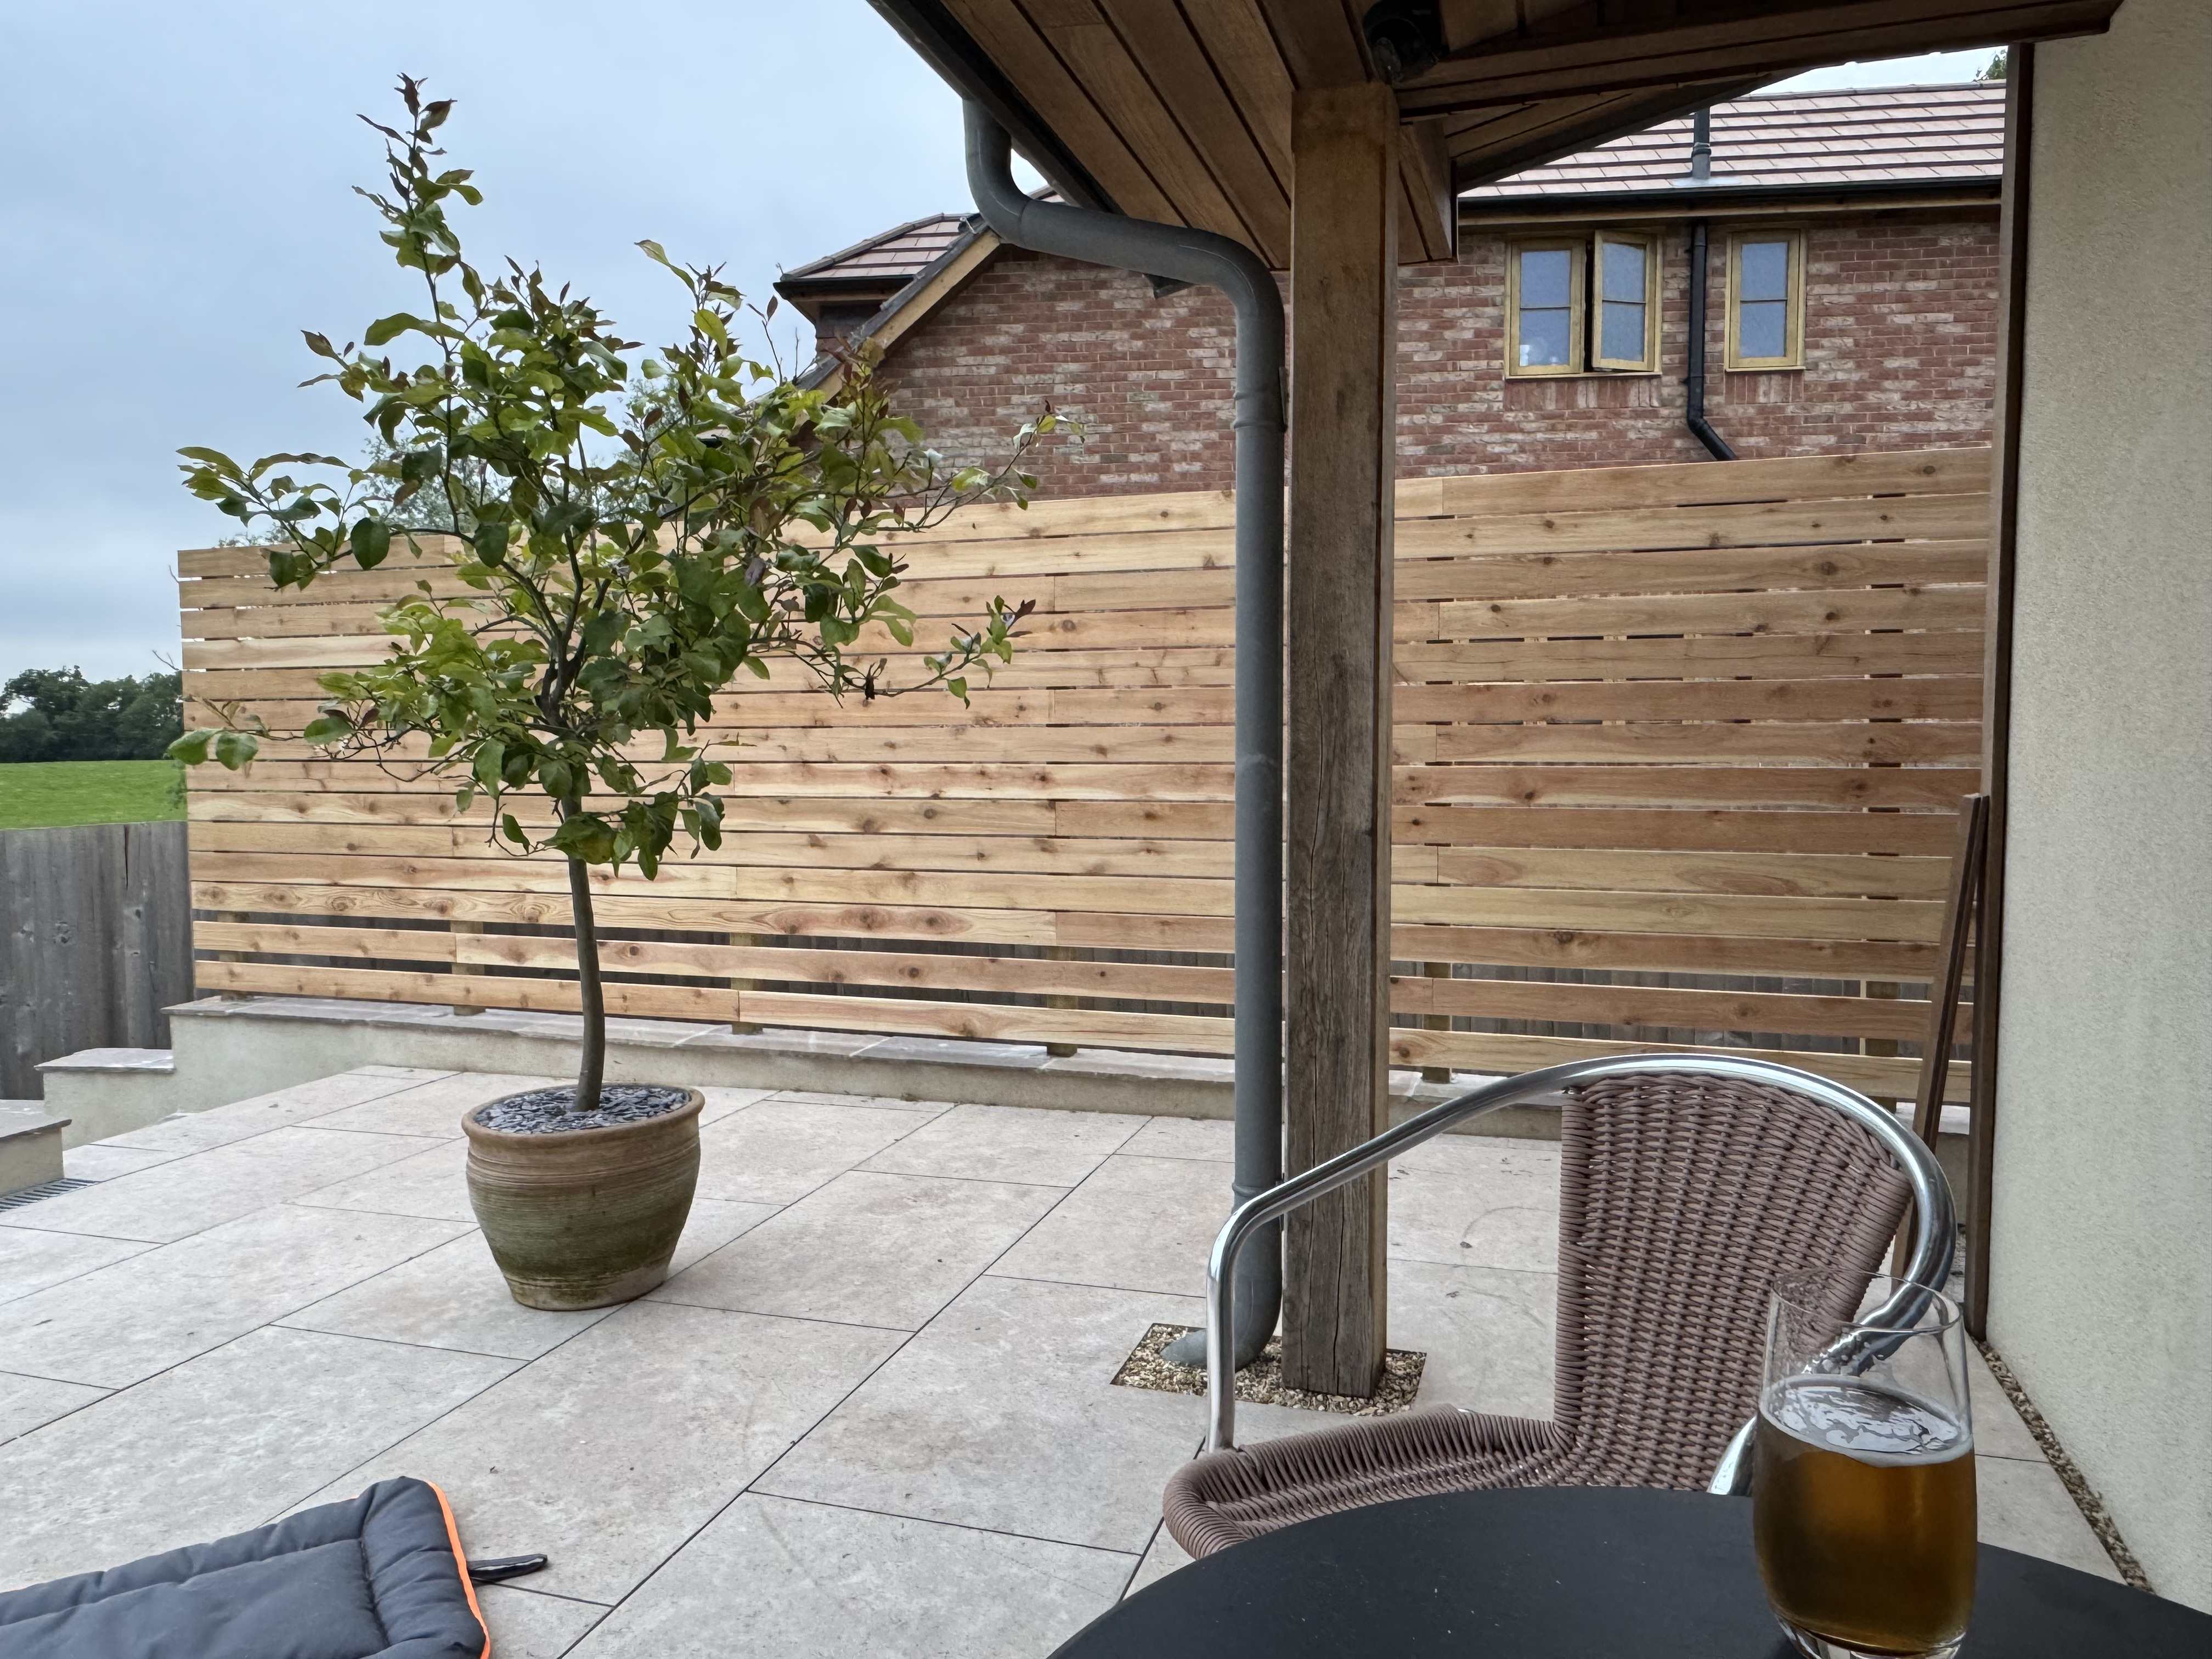
(The wider gaps at the bottom are deliberate here, to allow jasmine to grow through from the other side. Beer at bottom right is entirely incidental!)
The final step for all that hard landscaping: the resin bound gravel surface. We think it looks great. It’s very smooth to wheel on and all the gradients are good too!
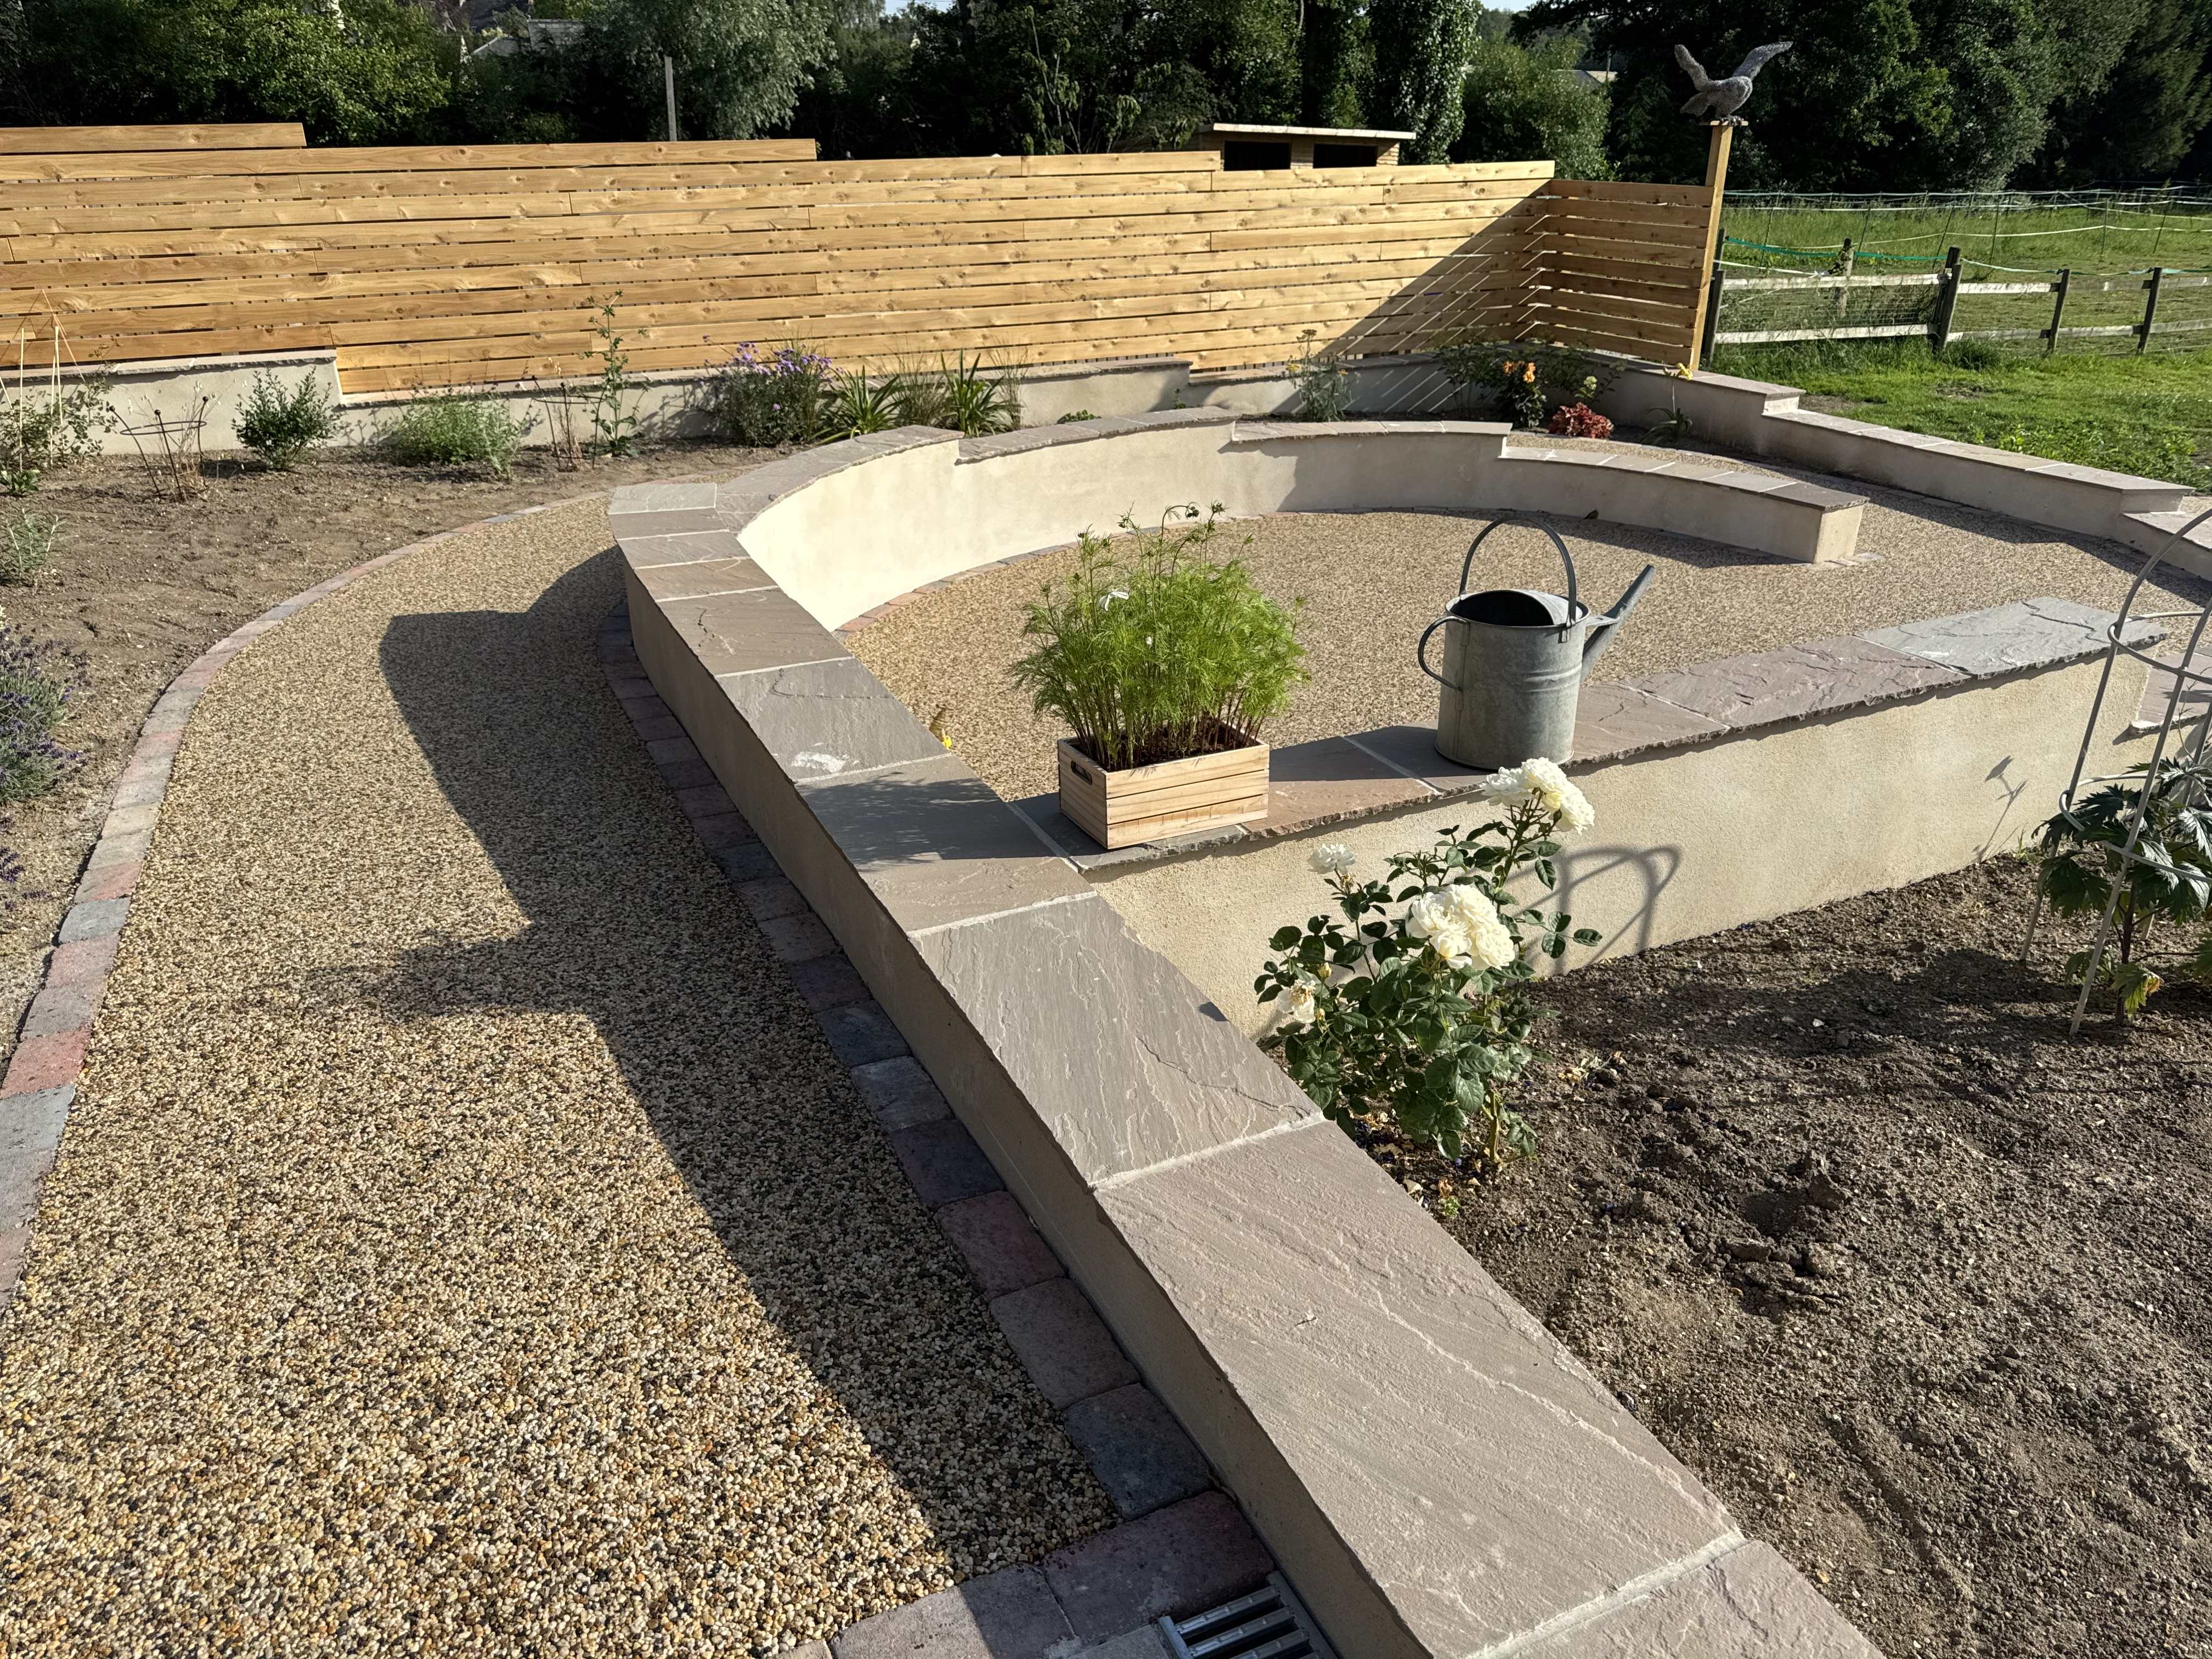
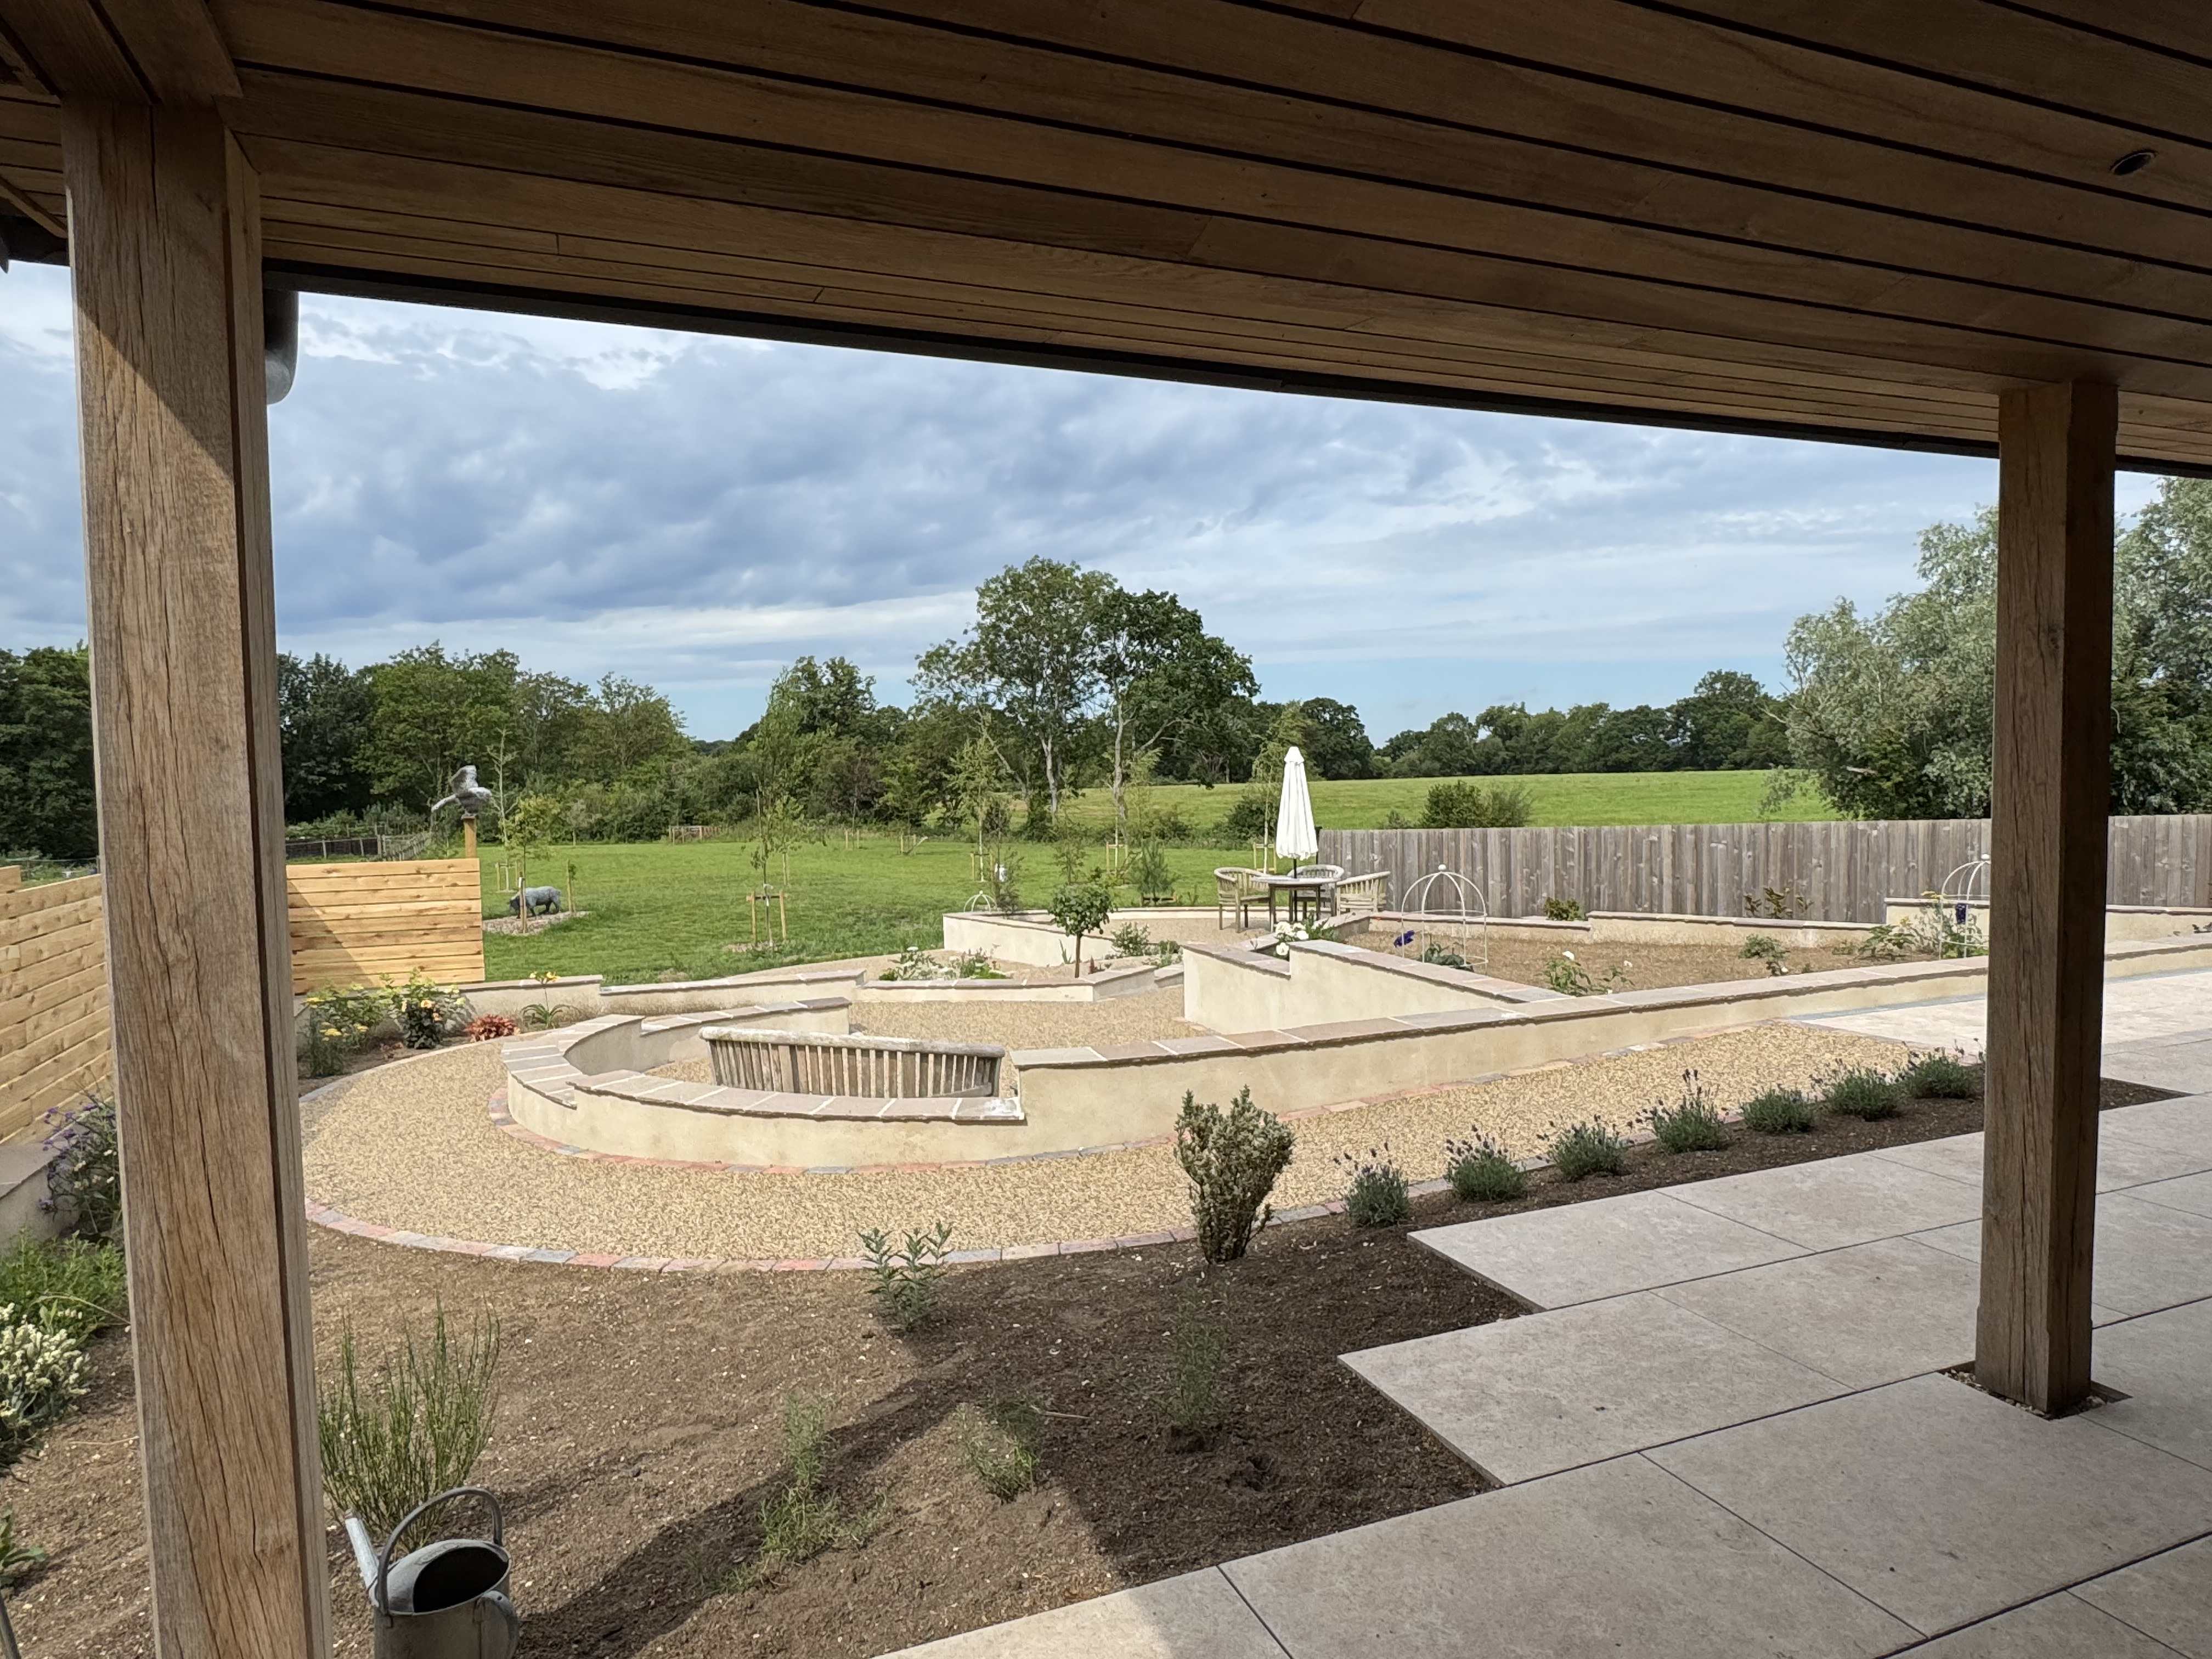

For the planting beds we imported a fair amount of loamy topsoil to go over the existing heavy clay. Hopefully this will give a good balance with the underlying clay retaining water whilst the surface soil doesn’t get waterlogged. The beds are not enormous but it is going to take a lot of plants to fill them. That, and time to allow the plants to grow and establish themselves.
Er… planting beds Troy!


Obviously Mrs P. is in charge of the planting as I haven’t got a clue. The beauty of raised beds is that you can put the soil you want in them. One of the beds closer to the house will have sharper drainage and is going to become a Mediterranean garden. Another has been filled with ericaceous soil for acid-loving plants.
I do know that we have some of our favourite plants already planted or planned, including roses: Nye Bevan, Claire Austen, Queen of Sweden, Champagne Moments, Donahue; also various peonies, hydrangeas eryngiums, achillia, lavenders… and lots of others.
But plenty more planting opportunities according to Mrs P. - I’d better check that budget again!
Well, that’s it for this bonus edition garden landscaping blog. A big thank you to Ashley and Francis for all their incredible work building our garden, and to Mrs P. of course for great plant choices, all that planting, and green fingers.
After all, what is a garden without plants?
That’s definitely it now…
…until the epilogue maybe.
Ben

-
 1
1
4 Comments
Recommended Comments
Create an account or sign in to comment
You need to be a member in order to leave a comment
Create an account
Sign up for a new account in our community. It's easy!
Register a new accountSign in
Already have an account? Sign in here.
Sign In Now