Jump to content

Static caravan on site!


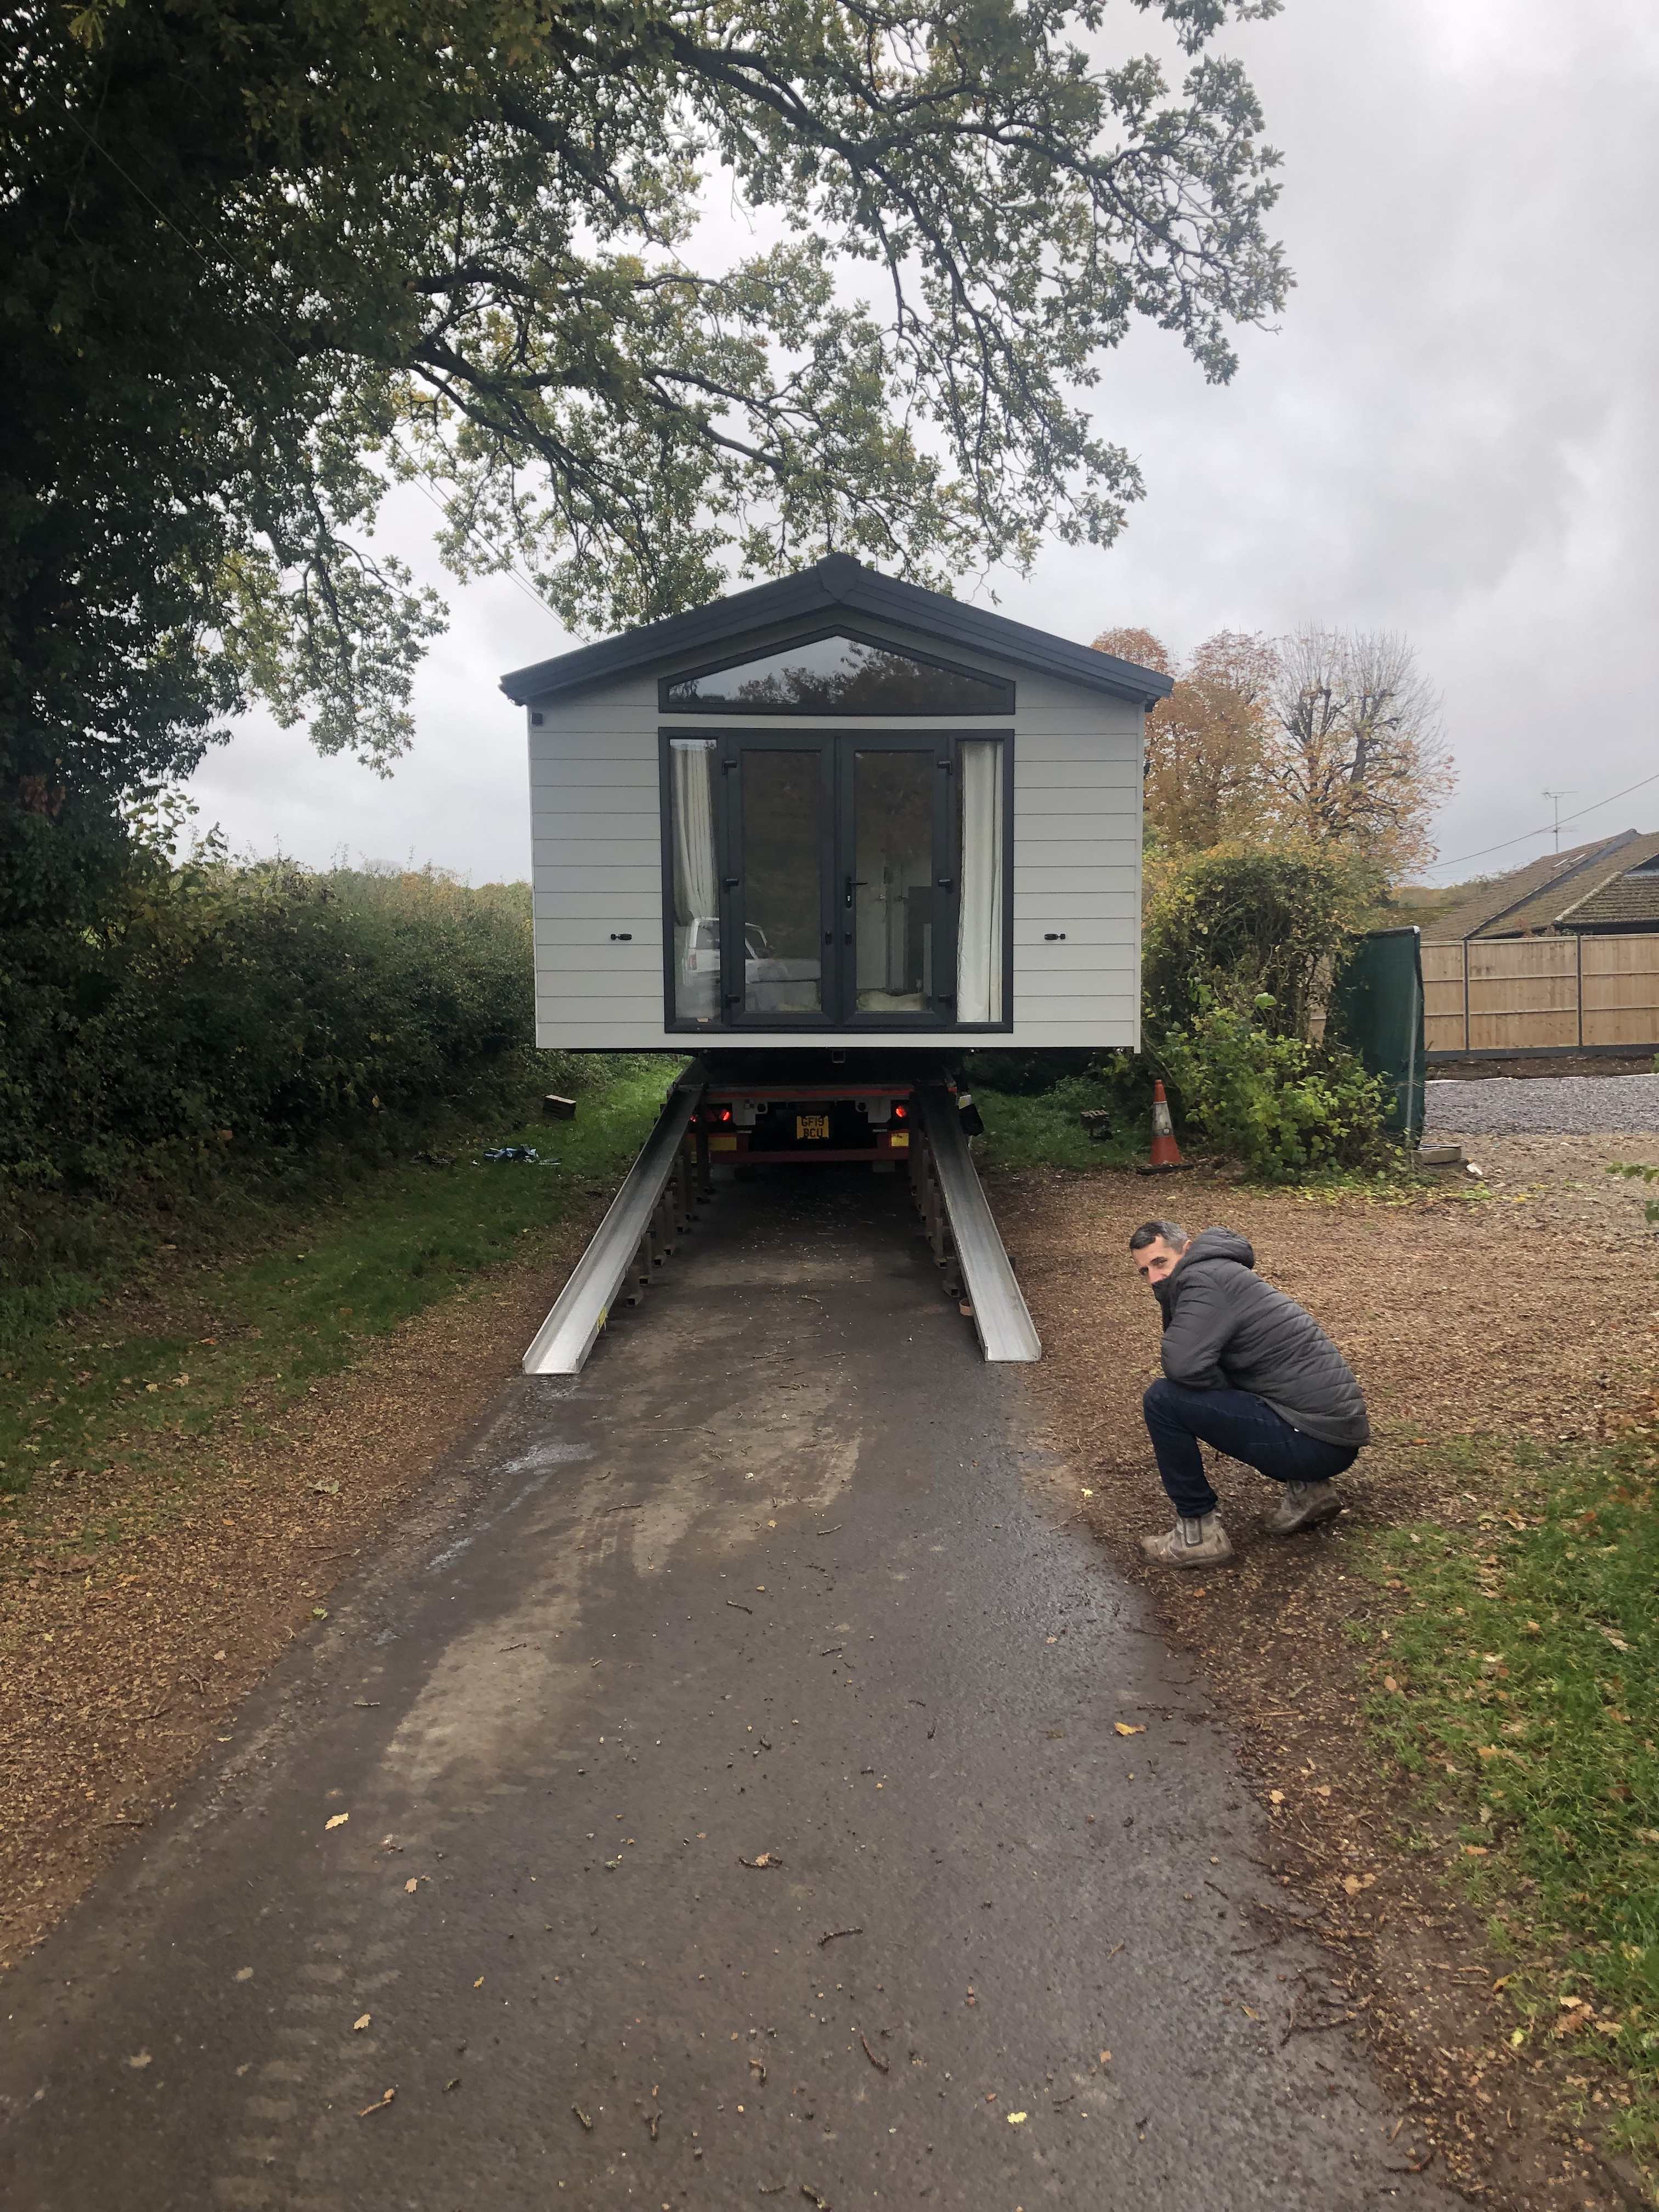
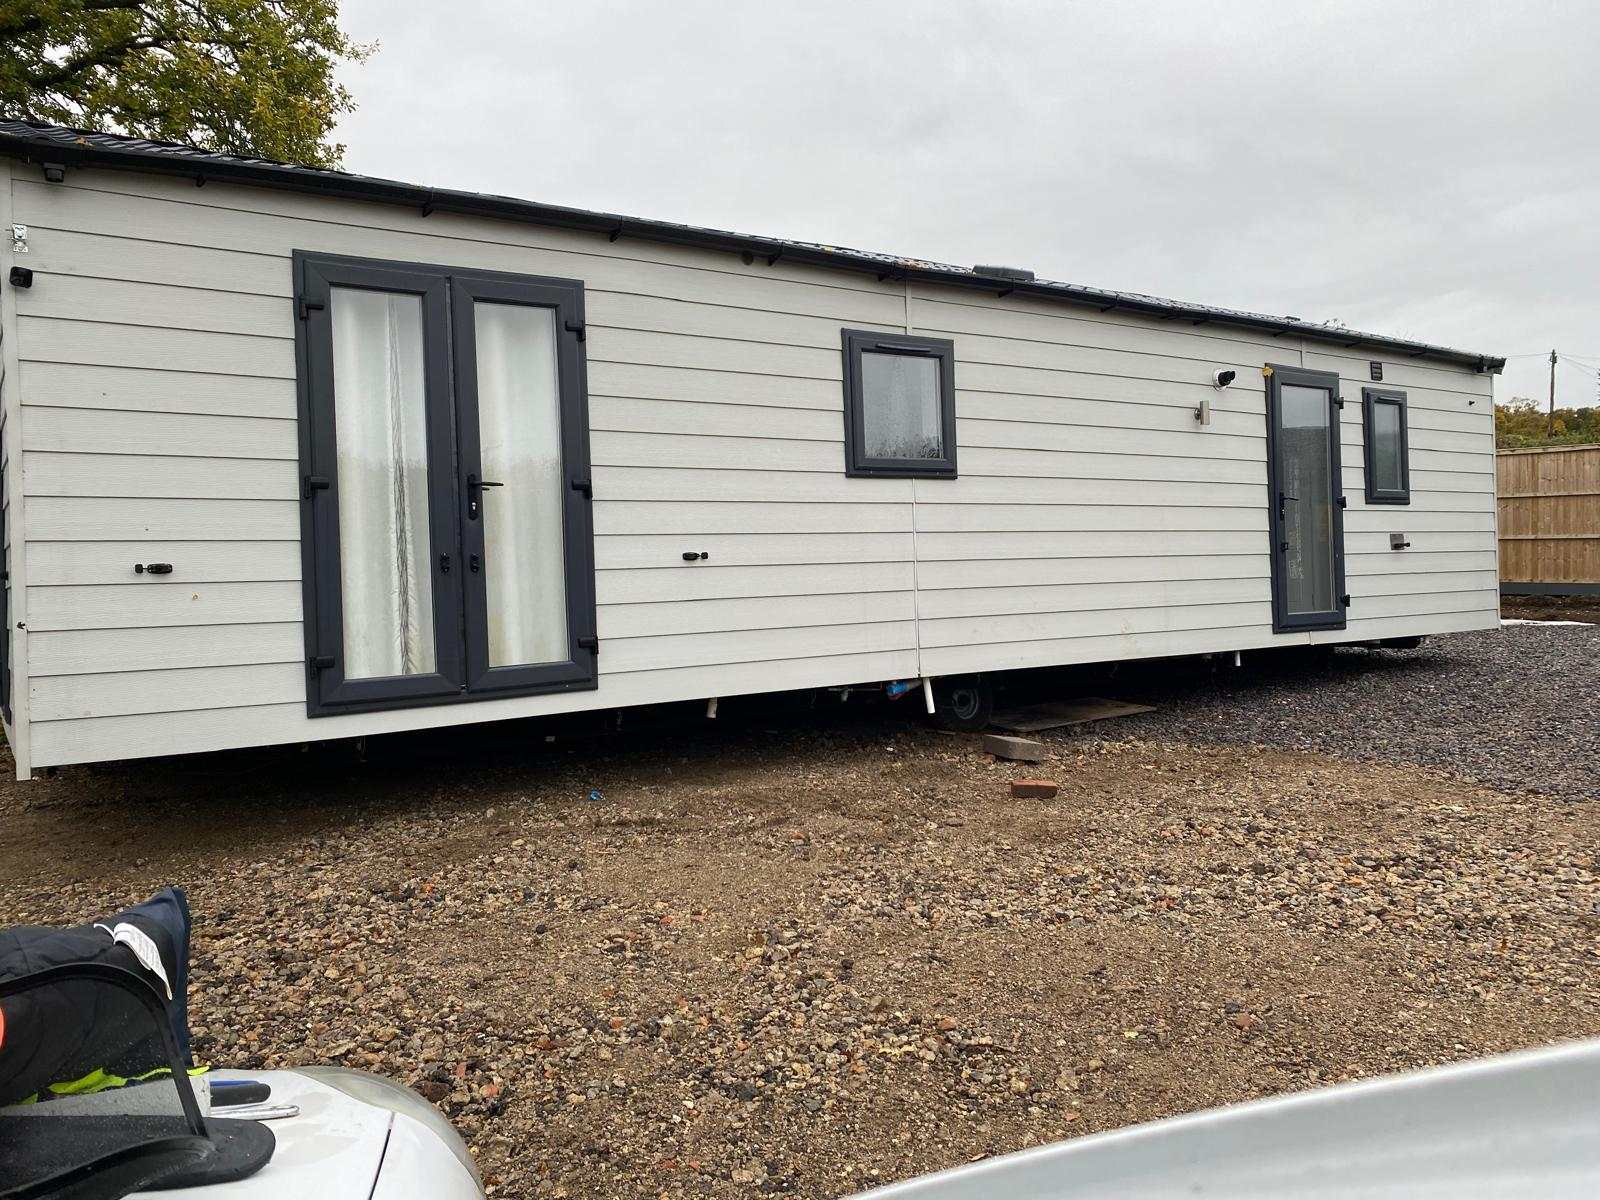
This day has been on my mind for months.  We really struggled to find a company that would visit the site and confirm whether we could get a static down the lane.  In the end we took an educated guess and purchased a 2023 37x13 unit from a private seller.


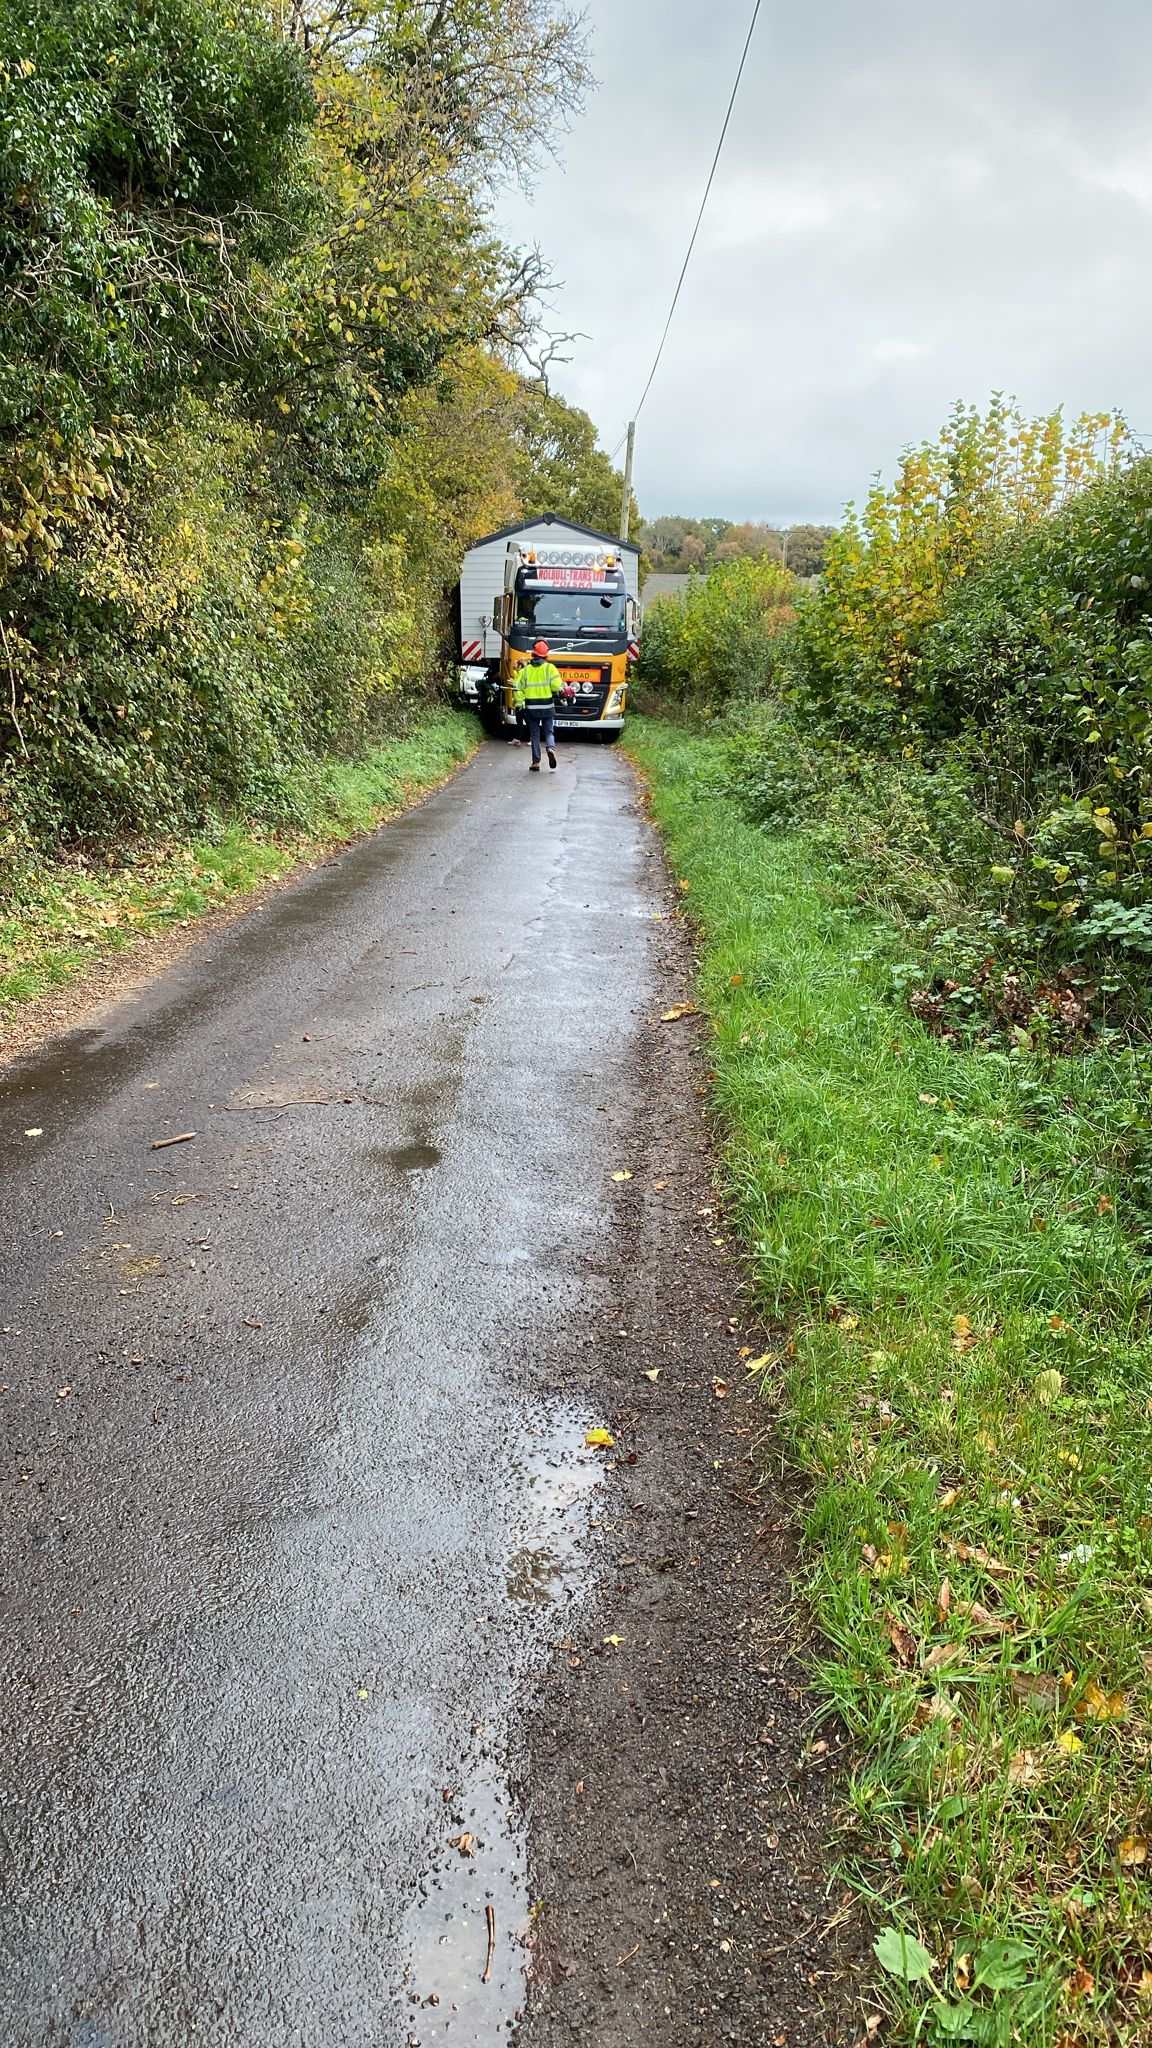
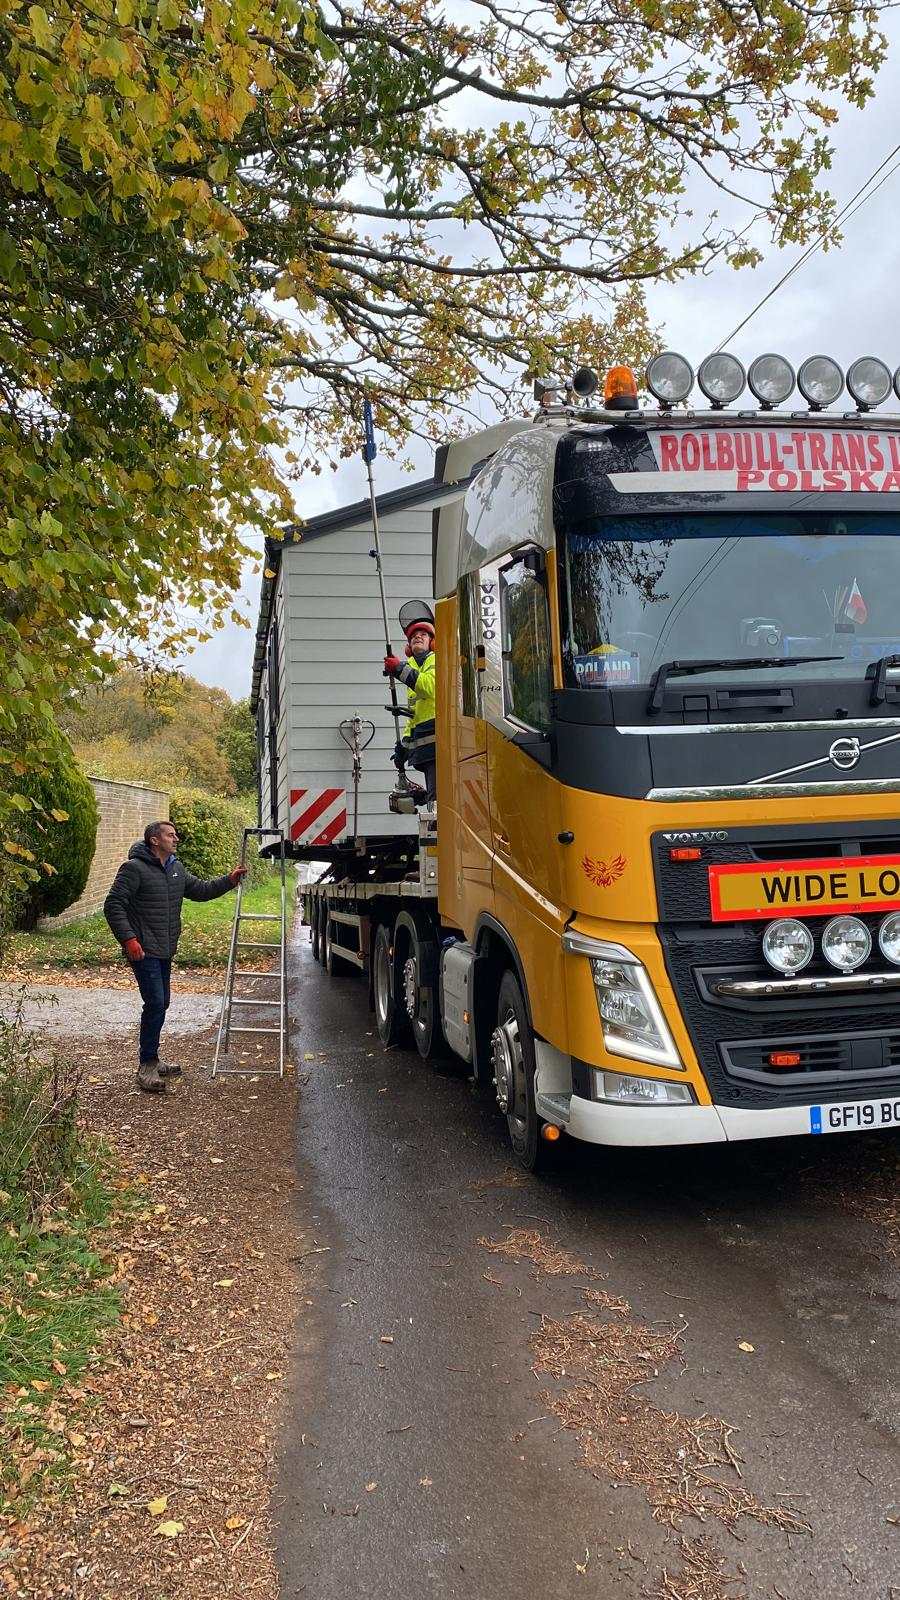
So at 1100hrs today, the wife of the driver (Greg Caravan Haulage) appeared in the driveway telling me I needed to go and cut some low hanging branches.


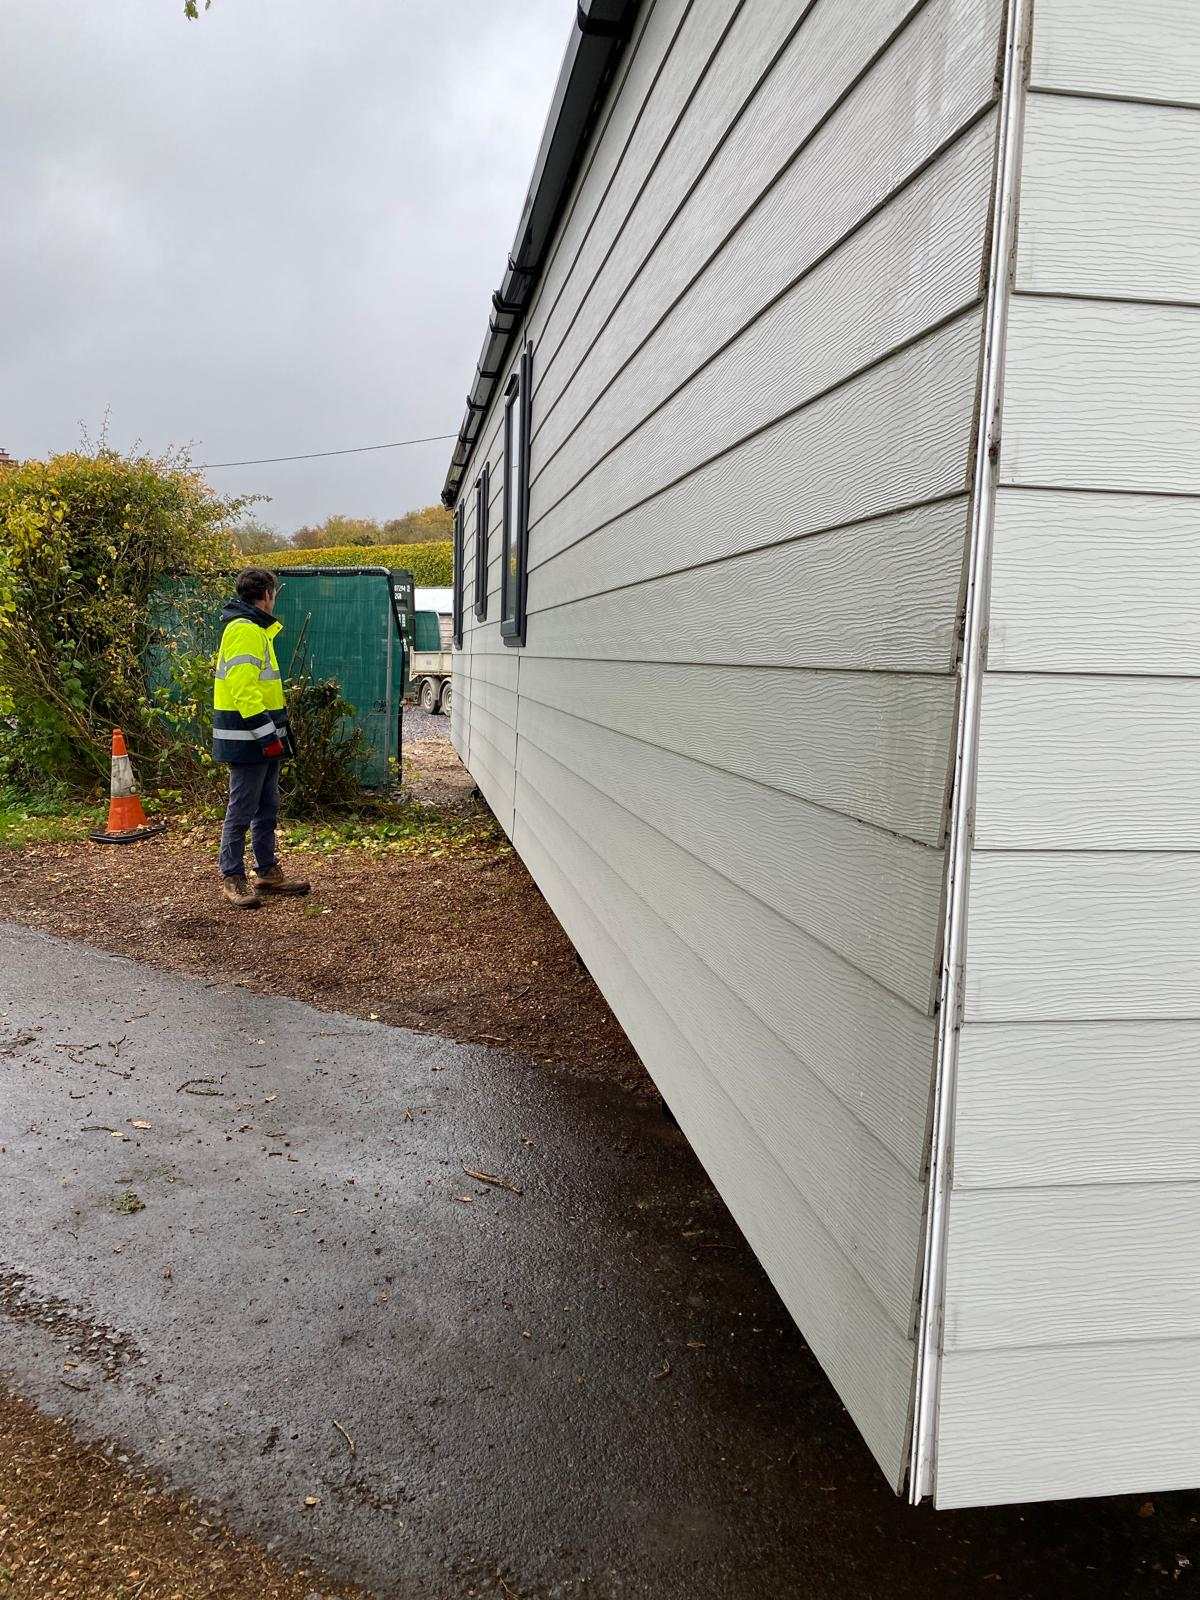
We got the static on site relatively easy, but then it got bogged down twice whilst reversing it over the type 3 MOT.   We had to Jack it up and then finally decided that sheets of 18mm shuttering ply under the wheels might be the way forward.  In a nutshell , if we’d done that from the start we’d have got it done much quicker.  It’s in position and I just need to get it levelled and on blocks now.


A bit too stressful for my liking, but relieved.  I’ve been more concerned about getting the static on site, than building the house.

ccf97557-627b-4c56-8025-777a39d5e26a.jpeg

79ccabcd-23ce-43bb-8380-eb9dd872927a.jpeg

IMG_6092.jpeg

dfac49cc-886d-42b2-8769-e780ab5eb449.jpeg

78b95b76-ebb6-4c40-8973-369f90c779ad.jpeg

  • Like 9

18 Comments


Recommended Comments

Big Jimbo

Posted

Well done. Hope you enjoyed a cup of tea after.

  • Like 2
Russell griffiths

Posted

You will have many more stressful days like that. 
just think how that plywood saved the day, then every time you have a day like this planned think what could go wrong, and what would save the day, whatever you think will save the day make sure you have it ready. 
it could be an extra man on concrete pour day or that stack of 4x2 that you found free on Facebook, get it all ready you will find the majority of lads are used to solving problems. 

  • Like 3
flanagaj

Posted (edited)

41 minutes ago, Russell griffiths said:

You will have many more stressful days like that. 
just think how that plywood saved the day, then every time you have a day like this planned think what could go wrong, and what would save the day, whatever you think will save the day make sure you have it ready. 
it could be an extra man on concrete pour day or that stack of 4x2 that you found free on Facebook, get it all ready you will find the majority of lads are used to solving problems. 

I love problem solving and you cannot beat the feeling of doing so via improvisation.  Getting on site in the next 3-4 weeks is going to be a big relief.  Having to travel 1hr each way has been a real drag and I think that even though we are moving into a static caravan.  It will be into a static caravan that we own on our land and the place we will call home.  Living in rented for two years, has felt like living in limbo.
 

Edited by flanagaj
  • Like 3
flanagaj

Posted

54 minutes ago, marmic said:

image.jpeg.5cd8991a15bfce08e985e999d0e83025.jpeg

That's hardcore.  Respect!

Russell griffiths

Posted

Try to make living there more pleasant 

look for some patio slabs free on Facebook, build a small patio, build a path to the washing line, put up a small shed that you take your boots off in and work clothes, if the wife starts walking mud in it will start eating in to the dream. 
build good steps to the static, keep her warm and happy and you can probably put up with the house build. 

  • Like 2
saveasteading

Posted

The caravan steps at Argos are good. But you'll need a slab base first to get up to your floor height.


  • Like 1
marmic

Posted

or pallets and old rubber stable mats 😁 

  • Like 1
ProDave

Posted

9 hours ago, Russell griffiths said:

keep her warm and happy and you can probably put up with the house build. 

I fitted a wood burning stove in ours.  It hardly went out from November to February and kept us warm through a Highland winter at little cost but it was a lot of work keeping up with the wood to feed it.

  • Like 1
marmic

Posted

37 minutes ago, ProDave said:

I fitted a wood burning stove in ours.  It hardly went out from November to February and kept us warm through a Highland winter at little cost but it was a lot of work keeping up with the wood to feed it.

if only we'd had the room!  electric oil filled radiator and large bills, and electric blanket of course!  Albeit once we're finally in the house we'll use very little energy - in theory............... 

flanagaj

Posted

1 hour ago, ProDave said:

I fitted a wood burning stove in ours.  It hardly went out from November to February and kept us warm through a Highland winter at little cost but it was a lot of work keeping up with the wood to feed it.

I am contemplating installing one.  Was it easy or did you pay someone to install it?

ProDave

Posted

1 hour ago, flanagaj said:

I am contemplating installing one.  Was it easy or did you pay someone to install it?

DIY


stove_1.thumb.jpg.9c26437e19834ed15277b8c1fd388ee8.jpgstove_2.thumb.jpg.5157cbdcaae851879a41dcba724a1110.jpgstove_flue.thumb.jpg.9668545fb1a3173190b42456abfaa8e0.jpg

  • Like 1
flanagaj

Posted

9 hours ago, ProDave said:

DIY


stove_1.thumb.jpg.9c26437e19834ed15277b8c1fd388ee8.jpgstove_2.thumb.jpg.5157cbdcaae851879a41dcba724a1110.jpgstove_flue.thumb.jpg.9668545fb1a3173190b42456abfaa8e0.jpg

It's cutting the hole through the roof that is concerning me the most.  I will get up on the ladder later, to see how the tiles are done.  Last thing I want is water getting in.  As the caravan is a 2023 model, it needs to be done right, otherwise, I risk devaluing it a fair bit.

saveasteading

Posted

29 minutes ago, flanagaj said:

how the tiles are done

Tiles?

If expect a caravan to have a thin steel sheet  with some polystyrene under it, and then ply for some strength. But I see your photo, so  perhaps otherwise.

I'm guessing, but that would need care.

You have to consider if a hot flue could cause a fire.

An insulated flue would be essential as a minimum.

There are special flashings for flues to metal roofing or any other product,  so it is doable.... with great care.


  • Like 1
ProDave

Posted

1 hour ago, flanagaj said:

It's cutting the hole through the roof that is concerning me the most. 

Mine is a much more basic 'van with just a plain aluminium roof.  Having failed to find any fitting or flashing made for the job I improvised.  I cut a hole in the aluminium slightly smaller than the flue, then carefully swaged the edge of the hole upwards until the flue would just fit through.  the swaged edge formed a small upstand so water running down the roof would run round it.


The hole was cut mid way between the roof joists.  In the void I fitted a clamp to retain the flue in place.  There was glass wool insulation in the void that was cut back to clear the flue.  The inner "ceiling" was hardboard / plywood material. I cut a larger hole in that to maintain the 50mm from the twin wall flue to combustible materials and covered it with a stainless steel closure plate.


The kink in the flue as it exits my stove was to align the twin wall with the centre of the gap between joists.


The stone the stove sits on and side and back pieces were all offcuts I had collected some time ago to put in the "that will be handy" pile, and they were.


It was not possible to maintain correct side and rear "distance to combustibles" so I used stone slabs to protect the adjacent furniture and wall behind the stove, with an air gap left between the wall and the stone.


It did a lot of burning and nothing got too hot or singed.

ProDave

Posted

51 minutes ago, saveasteading said:

image.jpeg.a2bd9e260e4794a991a31a941bf8d09c.jpeg

That was an option I dismissed.


It was a flat aluminium roof.  Unlike tiles, there is nothing to slot that under.  So it would rely entirely on being stuck down with some glue / sealant to keep the whole thing watertight.  Any failure in that and it would leak.


My swage up the under sized hole forms a natural upstand to divert rainwater around the hole, and I well sealed it as well.  I guess I could have then put one of those over the top to make it look better.

saveasteading

Posted

11 hours ago, ProDave said:

would rely entirely on being stuck down 

Exactly so. Using double-beaded flexible mastic tape, and self-tap screws through it.

This is how steel clad roofs (1mm thick) are sealed, and no other material has to go over it.

Red for hot pipes, black for others.


The corrugations allow for the slope.


I must have 100 of these out in the world. It needs skill to fit on a steep slope, then they work without issues.

Create an account or sign in to comment

You need to be a member in order to leave a comment

Create an account

Sign up for a new account in our community. It's easy!

Register a new account

Sign in

Already have an account? Sign in here.

Sign In Now
×
×
  • Create New...