oldkettle
-
Posts
793 -
Joined
-
Last visited
-
Days Won
3
Everything posted by oldkettle
-
Hi I installed 600x600 panel in the kitchen about 5 years ago, the panel, driver and mounting kit came from tlc. Can't recall whether I asked here or just decided myself, but I simply put the driver on top of the panel where it remained all this time - until a week or so ago the panel started flickering. Quick Google says it's the driver, although I couldn't see any obvious signs of deterioration on capacitors. OK. Ordered a replacement one, the same 50w constant current for 40w panel. The concern is I can see the panel discoloured where the driver was, which makes me want to separate the two a little. Is putting a couple of wooden planks between them acceptable? Any other options? The lead connecting the driver to the panel is very short so moving the driver to the ceiling space is not easy. Thanks in advance.
-
These are questions I would love to know answers for, especially the two about covering the membrane around the gap and regs. Hopefully, someone will reply at some point.
-
I have one of those by Lidl. It's usable, but only just. Even though I added tiny 6mm stones they still tend to stick to the bottom of the bucket. I ended up having to shove the bucket quite a lot to be able to mix everything well enough. It's possible I haven't added enough water - it was just a second time making concrete after mixing in a barrow. If you only need to mix mortar, no stones, this may work reasonably well.
-
So at this stage was it just a few lines on the ground? The base level marked separately on a post?
-
I very much doubt 4 visits would be done for that amount in Surrey though 🙂 But how do they actually mark it? 2m in each direction will mean an even larger height difference, likely around 2m. Or do they just mark corners with certain levels and leave the rest to a laser with a traveller?
-
It's just how the ground looks like. Lifting the lower corner is not a good option as would have to retain the newhigher level and the width is limited. Trying to build into the slope. It also gives me a bit of an extra ridge height due to PD rules.
-
Yes, I really liked this option when I read how you did it. Unfortunately AFAIK this only comes with large diggers and access is simply not there for anything larger than 3t, even 5 is unlikely.
-
I do use a laser. But one needs to leave something on the ground - impossible to keep 2 lasers (for all 4 sides) on for hours and hours. I may do this eventually (or let groundworkers get their surveyor for it). But I am curious how this problem is solved in general: surveyor still needs to leave some marks pointing at the 4 corners of the building which would still be visible after digging starts - how does this work?
-
I've watched quite a few videos showing how to set out with batter boards - all very clear and easy to follow. But I can't find one showing the same process on a slope. I.e. when one corner is 1.5m below the other, do I need my batter boards (and the strings) to be 1.5m or even more above the ground in this corner? I would need a step ladder just to check the string Any pointers? It's only one corner which is so low, the other two are 700-900mm lower than the highest point. Won't be surprised if the answer is "excavate a larger area first, then set out on a flat surface. TIA
-
Confused about birds mouth cut dropping ridge height
oldkettle replied to flanagaj's topic in Roofing, Tiling & Slating
If you watch any of Robin Clevett's many roof cut videos, this is exactly what he does. -
I used Incognito view, sorry, can't look at the history. But I did visit https://www.steelconstruction.info/Modelling_and_analysis#Trusses_and_lattice_girders which refers to an application called Trimble (if I am not mistaken). Also once I knew the names for these trusses like Warren or Pratt it was easy to find calculators, i.e. https://skyciv.com/free-truss-calculator/
-
They are getting better at applying standard formulae and especially when using "tools", such as various calculation engines. I played with chatgpt to see what size glulam would do the job while SE was working on his I-beam calcs and with some supervision - stopping it from forgetting inputs etc. - I got numbers closely resembling load tables with supporting formulae confirming the deflection. Again, this is some way away from being usable. On the other hand, while searching for options yesterday I came across a picture of an existing specialised calculator for this specific beam type so the problem is clearly resolved for standard use cases. Yeah, I know it's doable, but does require a commitment to specific locations of the ducts, something I am clearly not good at 🙂
-
This is it: I would expect this to be a standard detail. "Here is your 10m long 400mm truss supporting usual loads, if you need more it's X to calculate. I mean no disrespect to the profession at all because there are plenty of complex scenarios but this seems to be something AI should be able to handle easily. Yesterday. I just tried to check whether rivets were an option as well 🤣 Again just curious where the balance is wrt manufacturing costs. Yeah, I was rather thinking about loading / unloading and moving 1t 9m beam 50m up the garden around the house. I know it is doable but wouldn't it be nice to have something much lighter 🙂 Well, it saves having to drill through or losing space in a false ceiling. For example, right now I am not even sure how to get MVHR ducting from one side of the house to the other. Like in manufacturing, ultimately it saves time. Wow, that's quite a lot more expensive then, 1K for 305mm I-beam vs 3K+ at best. No surprise few would suggest / consider this option.
-
Thank you. Below is a very naive take, please correct my mistakes if you have time. I only consider a straight one, not curved, and one beam would contain 3 pretty standard long tubes plus a few dozen connectors which should be pretty standard as well. I don't know whether there is a way to assemble the whole thing using bolts (say, if connections are top/bottom of the tubes) or they have to be welded, in either case doesn't sound terribly time consuming (hence expensive). The benefits are Easy to handle - no lifting equipment required. Easy to deal with services (the same as web joists). Can be left exposed and would look OK as opposed to a steel beam. I would consider paying extra for these benefits - obviously, depending on the difference. I saw a large personal pool where the roof was supported by cables - I guess they also protect against the wall spreading. Looks great.
-
Just curious Here is Heathrow terminal 5 roof structure. These triangular trusses are nothing new. I wonder whether they can handle a higher load in this position or when 2 tubes are at the bottom, one at the top - does anybody know a good calculator for this type? In which case - why are these not used in residential buildings? I would happily swap 300mm 8.2m beam for one of these. https://as1.ftcdn.net/v2/jpg/04/42/41/30/1000_F_442413078_THZGOCx6OOJlTlti0NAhcdL1MY5fGna7.jpg
-
Costco sell 2x1l bottles of lemon or lime juice for smth like £3. Works great - and is used for cooking as well.
-
Stuck mains stopcock / mains pipe questions
oldkettle replied to oldkettle's topic in General Plumbing
An update on this Got a moling company to deal with pipe replacement. It started well, the quote was reasonable and the weather was nice. And then they discovered a massive (3m by 2m+?) concrete "something" at the bottom of the garden, they couldn't find a way around it, goes almost under the conifers on the border. They suspect it's an old obviously unused septic tank. I was surprised that there is just about 50mm of soil covering it. It's not clear to me how the existing pipe / drainage was laid, maybe they were in first (but then why have a septic tank). Will have to come back with a digger to sort this out. Another grand on top of the quote - but has to be done. I did consider hiring my own but with possible utilities all around it feels too risky. And they said the existing pipe is steel. -
Still need the sand for gap-filling mortar. And boy, it's such a pain to take ballast out of a bag with a spade.
-
Right. I just moved the content of a bulk bag of sharp sand 125 steps up to the garden after a curb-side delivery and thought I was done. Now I need to order ballast and repeat the exercise 🙂
-
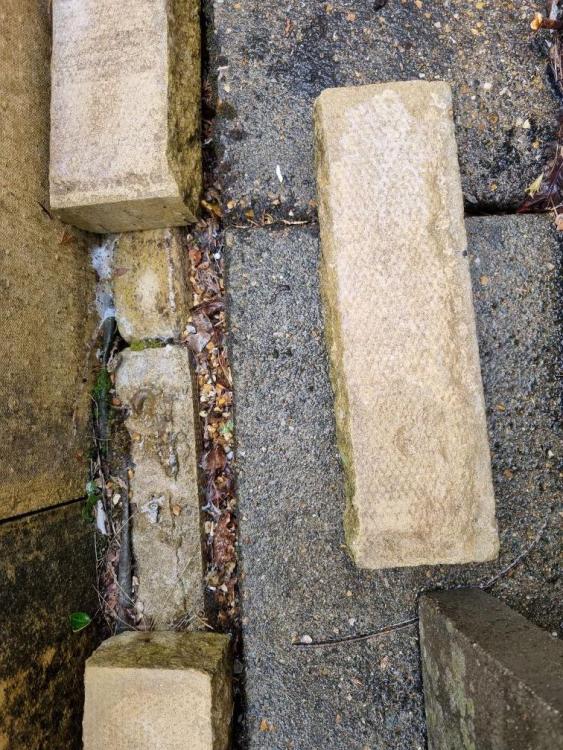
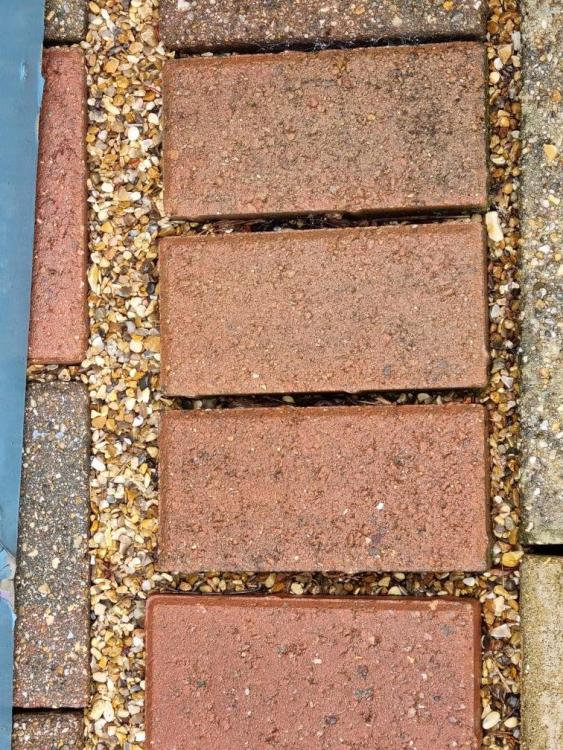
All true, but is 50-60mm depth enough? Every time this question was asked the reply was "no, need at least 100mm". I can remove some of the blinding layer of 2-6mm shingles, but not another 50mm. And adding 20mm over the slabs is probably even worse. I will still have to deal with the joints between the perimeter slabs of course.
-
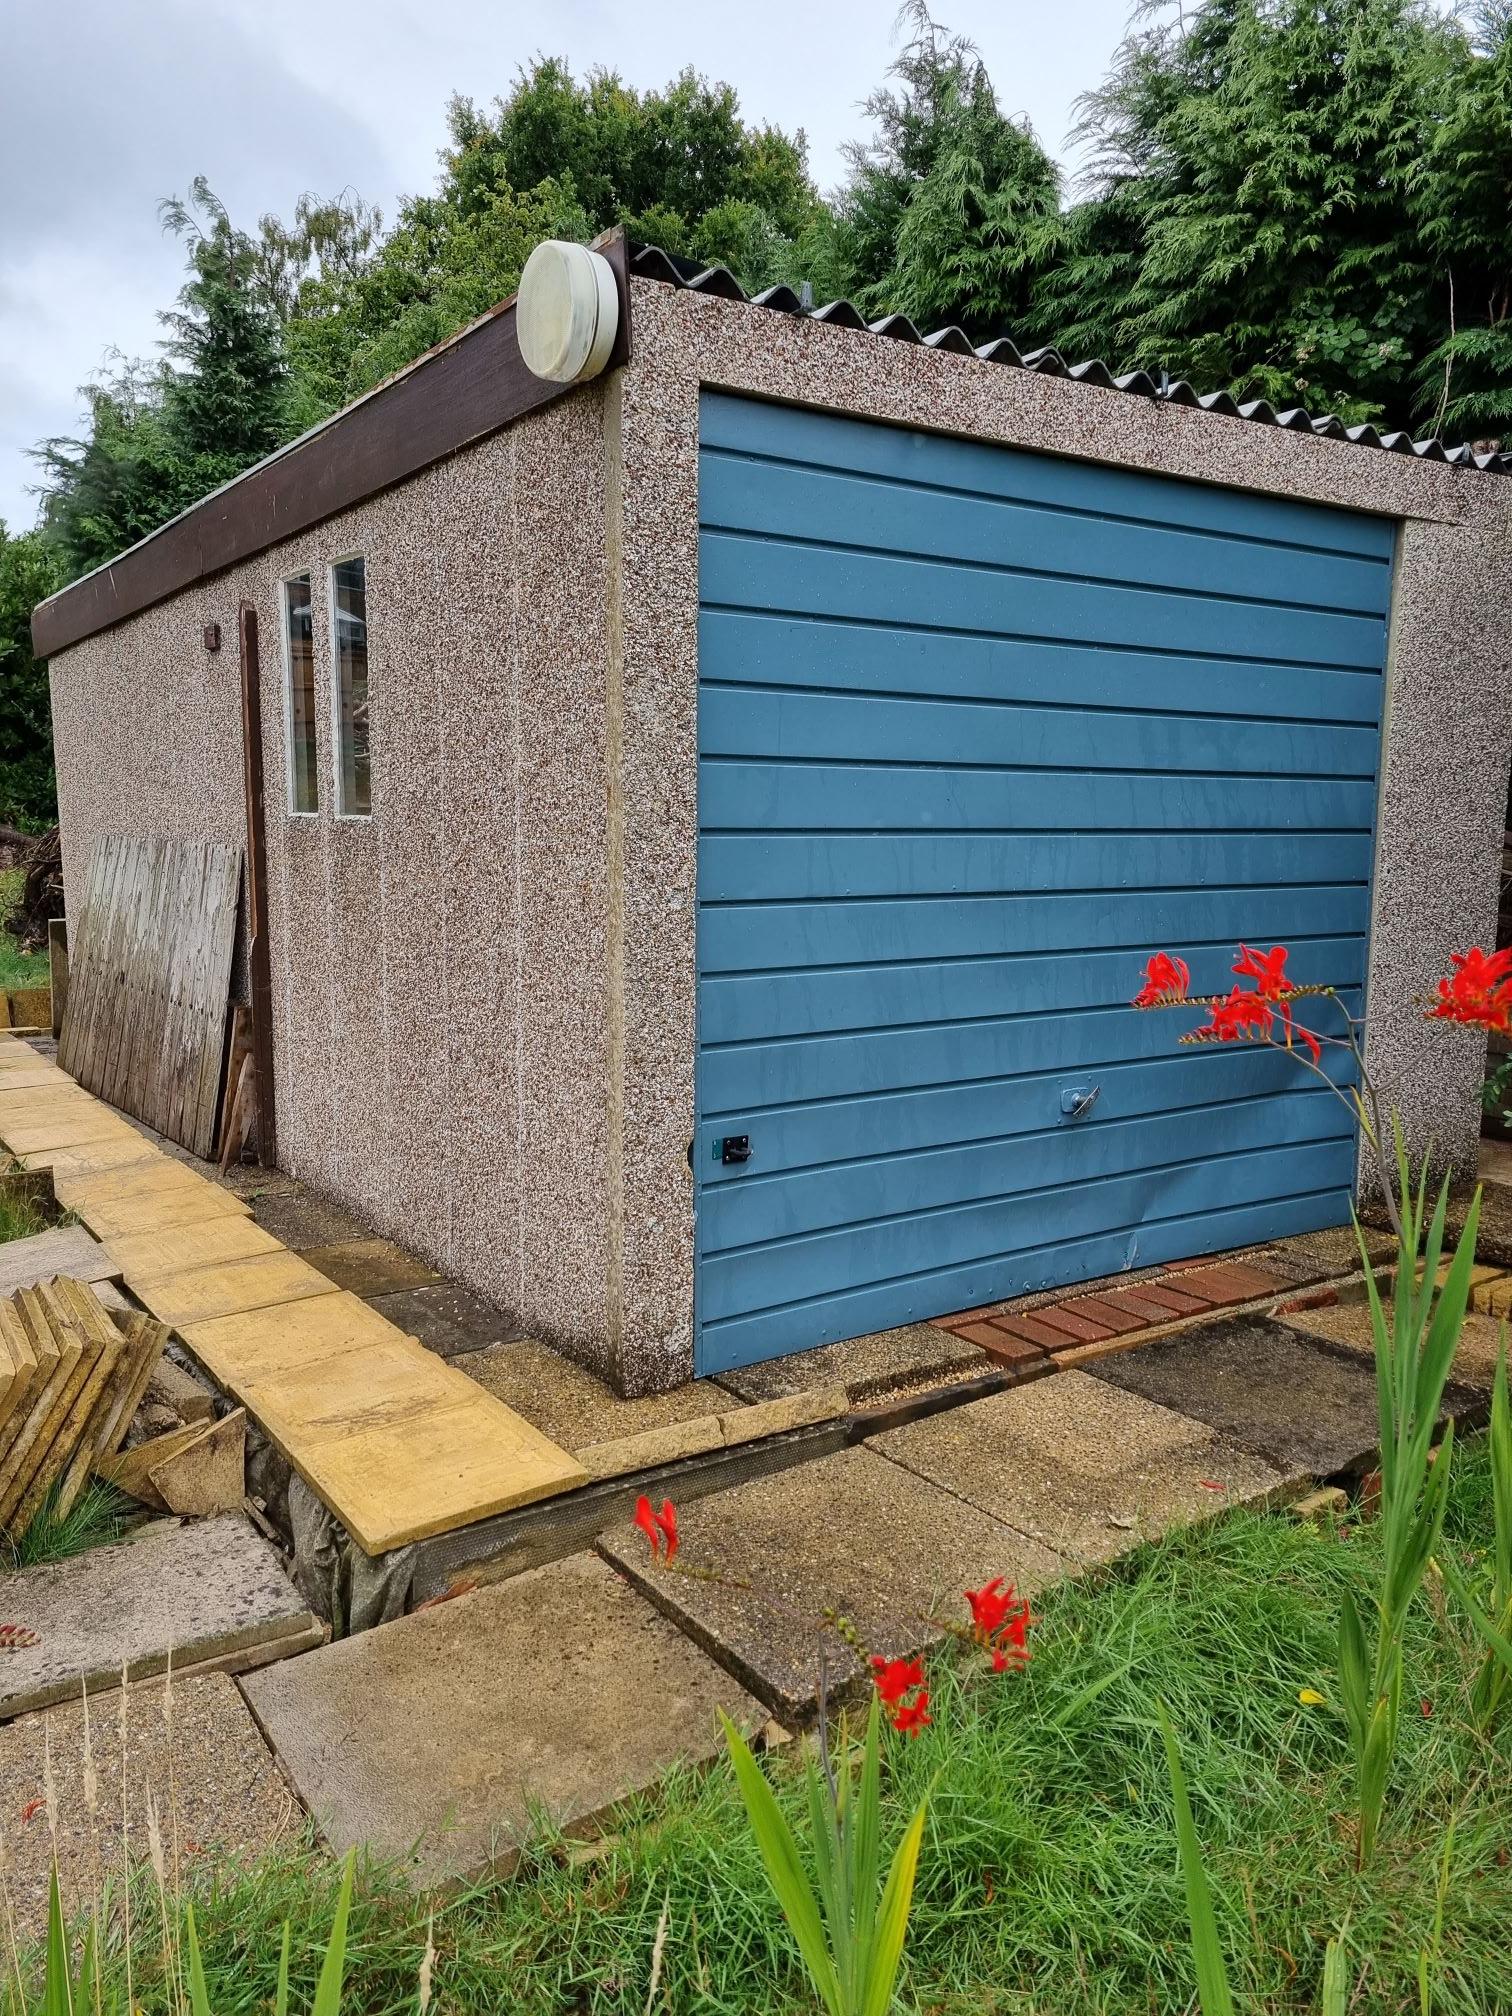
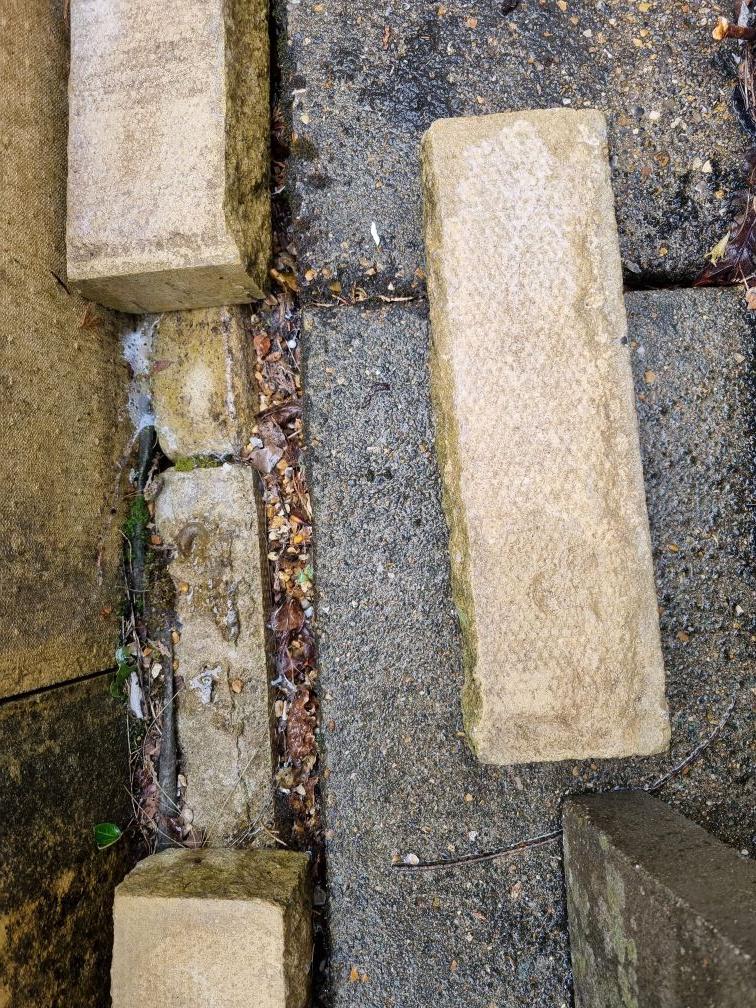
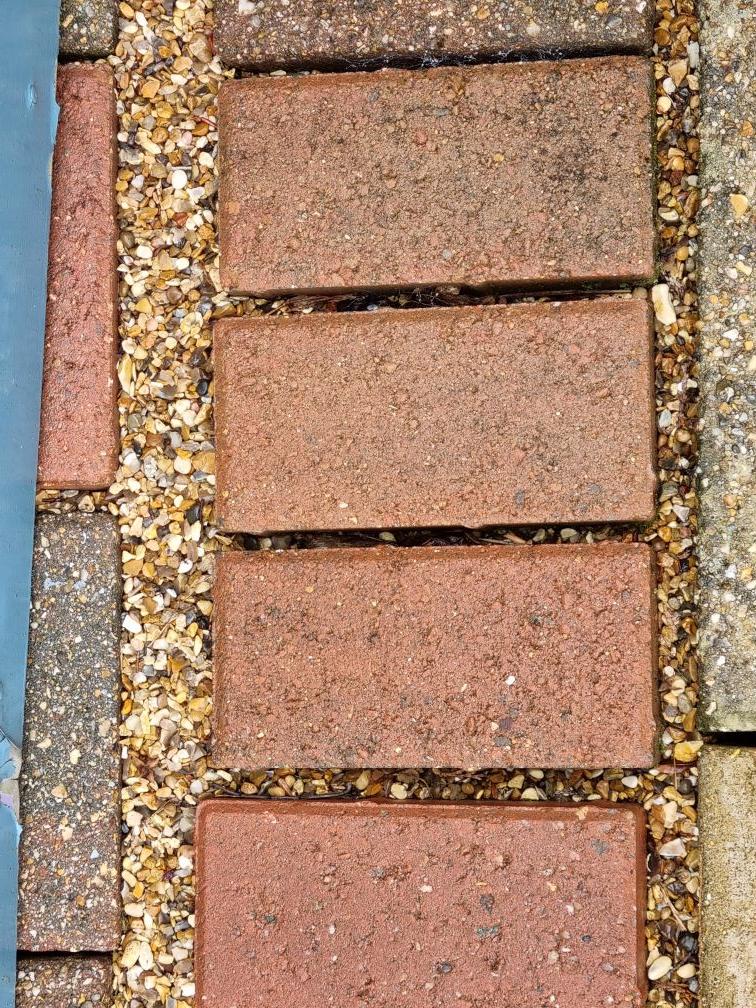
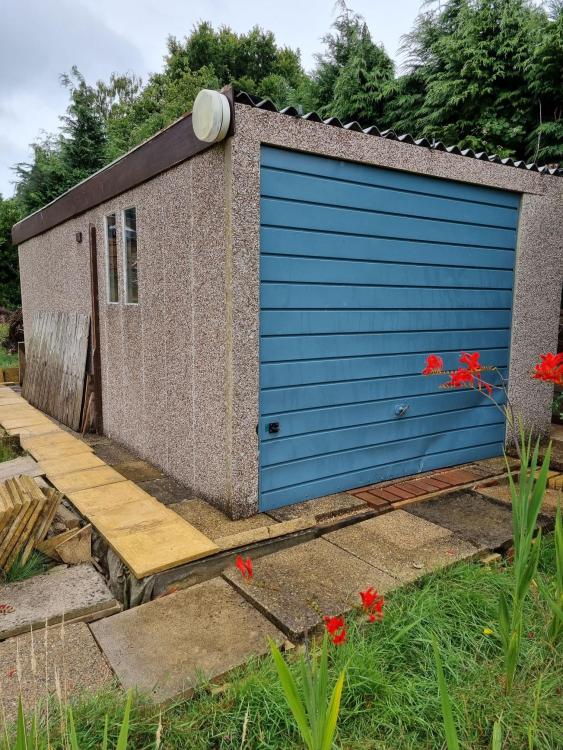
Resurrecting this since the garage is now in place (well, has been for over a year). Apart from the roof sheets, everything was moved singlehandedly by yours truly (and hence the walls are not quite as straight as they should have been). In the end I've not set the slabs into any mix. One of the reasons was I didn't have enough of them to fill in the whole space - only the perimeter. Might have been a mistake but with all the weight above I doubt they are going anywhere. It's fine as a storage but the dirt and organic material will inevitably get everywhere and I can't use it as a workshop as it's impossible to sweep. I have enough slabs now to fill in the middle. I also have paving bricks as an option. What would be the easiest thing to do: 1) bricks sealed by dry or wet mix (?) 2) slabs sealed the same way - I don't think I need to bed them at all as there is nowhere for them to go to be honest 3) just concrete mix over the compacted base; the concern here is I only have about 50-60mm of depth to play with, although nothing too heavy will ever be put on this slab I feel 2 may be the easiest as it doesn't require mixing a lot of concrete (which I've never done before and quite curious to try actually)? Watched a few videos on sealing patios, not sure whether this would be much different. I do have a similar problem outside where there is a 100-300mm gap that has to be covered as well. Too small for slabs. Put smaller slabs over the top temporarily to keep the weeds off but want a permanent solution. A few photos for illustration.
-
Your favourite cheap gloves for painting (and for gardening)?
oldkettle replied to Adsibob's topic in Tools & Equipment
+1 on rigger gloves I use these for anything thorny https://www.screwfix.com/p/site-370-leather-mig-welders-gauntlets-red-large/245fr -
A general observation. Get a laser level and measure the actual fall, you can easily do this in the evening. I was surprised to find out that our slope, which doesn't look steep from the house, is over 3m overall.
-
Stuck mains stopcock / mains pipe questions
oldkettle replied to oldkettle's topic in General Plumbing
Cr.p So it does look like lead? No need for another picture? -
Stuck mains stopcock / mains pipe questions
oldkettle replied to oldkettle's topic in General Plumbing
As I said above, I can see plastic at the meter. But yes, it may go quite far, it's a roughly a 20m run.