Tom's Barn
Members-
Posts
86 -
Joined
-
Last visited
-
Days Won
1
Everything posted by Tom's Barn
-
MVHR and windows open
Tom's Barn replied to Trw144's topic in Mechanical Ventilation with Heat Recovery (MVHR)
Thank you for your comments on this, I agree with the approach of keeping them on. However, what I have done is adjusted the fan speed to lower setting plus I have reduced the humidity threshold. Now I am saving on electricity, plus should there be an increase in moisture the fans will increase to ensure that remains under the 55% threshold. For summer it can stay in this setup and will be complimented by opening windows on tilt mode for cooling. As always thanks for your thoughts on this. @JohnMo @jack -
MVHR and windows open
Tom's Barn replied to Trw144's topic in Mechanical Ventilation with Heat Recovery (MVHR)
My vent axis units state on the label - do not turn off - however from what I am reading it would seem it is ok to turn off when not needed. Do your units have the same warning? -
Unfortunately, the only contractor I could find was in Scotland and he was not willing to travel. I had 4 local specialist contractors visit site, all had experience of fitting corrugated metal roofing, and unfortunately, not one of them could articulate exactly how he was going achieve two things: 1. water tightness around velux. 2. insect seal the end of the roof panels whilst still providing ventilation. One contractor actually suggested that he would fit the roof and then told me to find a velux specialist to fit the roof lights afterwards. On the basis that I could not find any contractor that provided convincing installtion details I resorted to standing seam. Not what I wanted but it does look good. I hope that helps
-
zero rate question
Tom's Barn replied to yebaws's topic in Self Build VAT, Community Infrastructure Levy (CIL), S106 & Tax
The best person to ask is your planning officer. They need to confirm to you that the building is exempt of VAT and issue a certificate. Any building being exempt of VAT must be classed as 'qualifying' under the rules. The best person to determine this in relation to the rules is the planning officer. At least if you have their seal of approval anyone questioning you in the future can be referred directly to them if they have an issue. -
we had a very similar situation so we took the following approach: 1. clear 150m driveway of vegetation as agreed with Arborist. Install the tree route protection zones. Link the zones with type 1 and driveway is ready and compliant for the build and future use of the property, bar the finishing layer 2. We connected the water pipe using a company called Pipeline logistics. They did 100m across our garden away from the driveway in two days. Had the ground been clay they would have completed the work in one day but it was stone so we had to have to pits along the route to change direction. All good. No mess and no damage to the ground. They relaid everything perfectly 3. We purchase the heras fencing from someone finishing another job. It does not matter really what you pay because you will sell when you have finished. The difference in price will be nothing like what you would have paid if you had hired. With the Covid delays the heras would have cost me a small fortune if I had hired because of delays etc. Any further questions let me know
-
Hi sorry for the delay in responding, it has been a little hectic onsite. The only way to gain a price per square meter is to talk with Jamie at ISOTEX, he can tell you the current cost and the cost per square metre going traditional. You cannot really compare my project to your becuase there are so many vaiarbles that would make the final price very different. Sorry I could not be more helpful on this point. The only way to compare costs is ISOTEX vs standard construction vs timber frame. However, even when you have this data it is not that useful as each approach has its own benefits and downsides.
-
Hi Graeme, as per my personal note to you fully recommended but it is important to ensure you have someone who has worked with aluminium before because it is not like other metal roofing materials. It is as I said lightweight, durable, covered by a long manufacturer warranty, and easy work with. One of the best features is the colour. No shine and 100% RAL 7016. Everyone who has been passed the house has commented on how good the roof looks. I took the inspiration from many years in Austria - the home of Prefa. Tom
-
The Great Thermal Mass Myth................
Tom's Barn replied to Jeremy Harris's topic in Boffin's Corner
Hi Dave this entire thread to me is really interesting and quite remarkable because you (and your house construction) have achieved a thermal time constant that should not really work based on your having no thermal mass. Also, @Jeremy Harris note at the start of this thread outlined the best materials to build a house with in order to help achieve a better themal time constant. Therefore, what approach did you take to constructing the walls and floor that provides you with such a comforable internal environment? I assume in the summer you remain cool again despite having no traditional thermal mass. The main reason for my interest and question is I have built a house from Isotex blocks and I have decided to add a service zone on the walls by fixing 25mm battens. My intention is to fill these voids with rockwool RW5 not becuase i need sound proofing but becuase it has a mass of 100kg m3 and therefore I thought it would add to the thermal buffering. I would be interested in your thoughts.- 122 replies
-
- thermal mass
- heat capacity
- (and 4 more)
-
I am currently investigating the use of an ASHP for our new house and came across this information following a visit from one ashp installer suggesting that 10mm plastic pipe to all radiators using a centrally located manifold was the best approach. This is from John Cantor’s website and he has written a book for those on the ASHP journey. I have just made a purchase - https://heatpumps.co.uk/ I hope you find this useful information... Potential perils of plastic pipe A college tutor recently suggested to me that the current environment in the heating industry does not encourage analytical thinking. Maybe I should therefore be less amazed when I come across plumbers who think copper and plastic pipe are interchangeable. Before you think I am anti-plastic pipe… I am not. The right size plastic is absolutely fine. Environmental considerations of the materal aside, a more direct issue is that of flow rate and pressure drops. Bore size of plastic is considerably smaller than copper, and it seems that this is often overlooked. If installers select plastic pipe instead of copper without checking the size correctly, this could have a negative effect on heat pump’s performance. (If you drop-off to sleep ½ way through this – read the scenario at the end ) With respect to the materials of plastic and copper, it would appear that the total energy involved in mining and manufacturing copper is far greater than the total energy (including the crude oil to make the plastic) to manufacture plastic pipe. Here is one site that discusses the topic , though not necessarily without bias. Another factor to consider, that mainly affects pipe runs to hot taps etc, is the heat capacity of the pipe material. Plastic has a relatively high specific heat, and the wall is thicker, but it’s light. The net thermal capacity of the two is fairly similar. (The cold feel of copper is more to do with conductivity from the hand than heat capacity) However, obvious factors aside, one of the biggest issues that could affect installations involving heat pumps relates to the internal bore diameter. This could have a very noticeable effect on the energy-efficiency of the system. All metric pipes are measured by their outside diameter. As can be seen, with common pipe sizes (outside diameters), equivalent plastic pipes have considerably smaller internal area to copper. This has a dramatic effect on flow characteristics. The graphs below illustrate examples of the relative internal dimensions of common pipes. (see AECB Water Standard) A brief note about smoothness – It seems a common belief that plastic is ‘smoother’ than copper, but the inner wall ‘smoothess’ of the two is about the same. However, plastic can be one-piece with slow sweep bends. In a different sense of the word, this is certainly ‘smoother’ than copper with tight elbows. Re inner surface, we can assume the two materials are about the same. Whilst it is fairly easy to look-up the pressure drop resulting from a specific flow rate with a specific pipe, we can see from the 2nd graph at-a-glance the relative flow capacity since the cross sectional area loosely indicates flow capacity. If a certain flow rate is required, then we can look-up the required pressure that is required across the pipe length (beginning of pipe to end of pipe length). The internal bore must be chosen such that the circulation pump is not overly large and energy-wasteful. This graph shows the approximate pressure required to maintain a certain flow rate for one specific fixed length of pipe example. As can be seen, the pressure drop along the example pipe varies very dramatically, so the wall thickness makes very big difference. In this example, we can see that a 15mm copper pipe could be used with a common central heating pump (shown at 3.6m head, 36kPa). However, if plastic were chosen, then one would need almost 9m head to achieve the required flow – far beyond the capability of normal circulators. On the other hand, if 22mm plastic were chosen, the pressure requirements would be only 1m head (10kPa) which is likely to achieve very low circulation pump energy. In real life, we tend to have a pump connected to a pipe system, and the flow rate that results is dictate by the balance between the pressure produced by the pump and the ‘restriction’ of the entire pipe work circuit. There is a common concern about the restriction caused by the inserts (stiffeners) needed at joints. These restrict the bore, but they are so short that the the affect on flow is much less than it may seem. For our final graph, we consider a pipe circulating with a fixed-pressure electronic pump (Alpha etc) The above graphs show relative changes in flow rate that would result from a fixed pressure. If the pipe chosen were too small, then a larger circulation pump may be needed in an attempt to compensate for the extra restriction caused by the small internal bore. The point here is that by choosing plastic instead of copper of the same nominal size, the system could potentially suffer unless the sizing is checked. There is of course no problem using plastic if it’s the right diameter. Indeed, 28mm plastic may be an ideal choice for the connections from a heat pump simply to minimise noise transmission. The best final solution is often a mixture of both plastic and copper for a multitude of reasons. All this emphasises how dramatically the wall-thickness affects flow rates and pump pressure requirements, but how does this translate into reduced COPs? Scenario(based on something I observed on a barn conversion) Let us consider a radiator at a far distance from the heat pump. The flow-rate relates to the pressure drop, which relates directly to the pipe-run length, and of course, the required flow-rate relates to the room size (bigger the heat demand, the more flow required). In this instance the room is large. The default pipe size choice would be normal 15mm (outside diameter), but if the sums are done, it may become apparent that the choice should be between either 15mm copper or 22mm plastic. How could a pipe with too small bore affect the COP? Radiators should be balanced, in general by throttling valves (lockshield) on smaller radiators, and those with shorter pipe runs. However, this is actually quite a difficult thing to achieve with a heat pump because the temperature difference (water inlet to water outlet) may only be 5 degrees (°C). (It’s much easier to measure and adjust when the temperature differences are larger). It is not ideal, or easy, to have to throttle most other radiators on a system, and there is the added risk of the circulation pump not being big enough to cope. The likely result of any ‘restrictive’ pipe-runs would be a reduced flow rate to the radiator. This would result in a considerable area (the bottom) of the radiator being cool, and a reduced heat output to that room. The obvious action to redress the short-fall of heat would be to increase the flow temperature by increasing the heating curve setting of the heat pump. i.e. increasing the flow temperate from say 40 to 45°C. Now the heat pump has to heat ALL water to a 5 degrees higher level. This is likely to reduce the COP by 10 to 12%. This all indicates that one must never assume copper and plastic are interchangeable without considering the pressure drops and diameters. That aside, we have also highlighted the importance radiator balancing. Ideally the pipe runs to radiators would be laid out, and bore sizes chosen so that the flow rates are naturally about right without the need for much valve adjustment. A little extra work on the design makes life much easier thereafter. Anyone intersting in further reading on water flows – this site is very intersting http://www.johnhearfield.com/Water/Water_in_pipes.htm Here you can enter pipe sizes and find out the pressure requirements to achieve a certain flow rates.
-
- 2
-

-
Morning everyone, Does anyone have a Steibel Eltron ashp installed? The brand looks good from the online information but I was after some real world experience of their ashp products. Thank you
-
Rethinking the layout of my unvented hot water cylinder
Tom's Barn replied to Adsibob's topic in Boilers & Hot Water Tanks
Thanks Peter. I am meeting him next week so we have this as my first agenda item. Many thanks -
Rethinking the layout of my unvented hot water cylinder
Tom's Barn replied to Adsibob's topic in Boilers & Hot Water Tanks
I planned my tank on the first floor within feet of three bathrooms. However, it would have been 15m from my ashp. This is not a good thing my ashp installer has informed me. I am therefore re locating both buffer and heating tanks near to the ashp and running a pipe with bronze return to the bathroom location. This will be kept warm, and to save water, by a small grundfos pump which will be triggered by PIR sensors in the bathrooms. Just when I thought I had a great plan it was in an instant by the installer. Lesson - tank location also depends on what method you use to heat your water -
Hi All We are installing cast iron radiators in our new house so that they are a feature as well as a heating system. From the insulated slab to the finished floor level (FFL) we have 45mm but could stretch to 48mm if needed. My wife wood like wooden floors (we will go engineered). So far I have come up with a plan for the floor build up but I just wanted to share this to see what the broader BH team felt was the right way to go. So from top to bottom: A. 20 or 21mm engineered oak flooring B. 3mm Elastilon - very good and used in current house - https://www.jfjwoodflooring.co.uk/elastilon-underlay. This provides the structure for the floating and ensures gaps do no open up C. 20mm XPS (300kpa) - this is laid across the entire floor area and because we are installing a wooden floating floor it does not need to be glued to the slab. Some general thoughts and points about why I have chosen this approach: 1. I am always concerned with leaks and they happen in every house so having an XPS underlay to the wooden flooring will ensure I don't have a chipboard flooring layer (one other approach) that is slowly rotting below are feet if we did have a leak 2, The above approach can be fitted quickly, cheaply and it is much lighter than say using a self levelling compound to bring the floor height up. 3. In some PHs, plus on a recent visit to a PH that had a small radiator system, it suffered with something I have read before which is 'warm head, cold feet'. The visit we undertook was to a beautiful PH in the North Cotswolds, arranged through the Green Builing Store, but the first thing my wife said when she came out as just how cold her feet were - we had to take off our shoes becuase the light coloured wood flooring. 4. We have triple glazed windows, a well insulated roof structure plus we are not over glazed 5. In order to provide some thermal consistency (nearly said thermal mass but I know how you guys feel about that term) we will have wood floors throughout, we built the walls from the ISOTEX 380mm blocks, we have a 25mm service cavity on the inside which will be filled with Rockwool RW5 and then on top, a mixture of wood panelling and plasterboard. I know that we need to concern ourselves with the first 100mm in terms of thermal buffering so I almost have that amount before the concrete core of the wall system. 6. The building is not a PH but simply a well insulated building with expected low levels of energy needs EDIT - I forgot to mention that I could put 25mm battens across the floor area and insulate inbetween; wood fixed directly to battens. This would negate the need for B and overall would be 2mm higher. A lot more work on installation but a much more solid final floor covering. Any thoughts on a better way to fill the space currently described as B and C above? Many thanks
-
Good luck with your search; sorry to hear you have missed out
-
How many sqm of ICF can you build in a day?
Tom's Barn replied to ZacP's topic in Insulated Concrete Formwork (ICF)
it also depends on which system you use to fill the concrete. The choices are: 1. One large pump that arrives onsite to pour everty 7 courses - I believe you are going ISOTEX 2. Crane onsite which means you can pour every four courses and removes the need for bracing - small self erecting style. If I were you I would speak with Jamie about the two approaches above and based on the 6 house development they are completing in Marlborough right now, using the crane, it is definitely the way forward. We spent a great deal of time on bracing which could have been saved if we had an onsite crane. Plus with the crane onsite you move other materials around the site as well. Whatever information you get it will only be a best guess; the weather also plays an important role in determining progress -
Hi.....sorry no name.... Thank you for the feedback - a labour of love it was during construction and it will be for some time moving forward as we complete the fit out. Bracing is required if you have about 6 to 8 courses to fill. However, with the onsite crane (the new approach) you can pour every 4 courses which means no bracing and less worry. The advantage of woodcrete over the plastic ICF is that it allows air and water to escape - leaving behind a strong concrete mix with no air gaps. Definitely the way to go. If you think a phone call would help to talk things through just let me know. Regards Tom
-
Hi Bart Thanks for your feedback. We are just outside Cirencester so you can pop over and have a look if you have time. I can provide an overview as to why I chose Isotex. Let me know if you would like meet up. Regards Tom
-
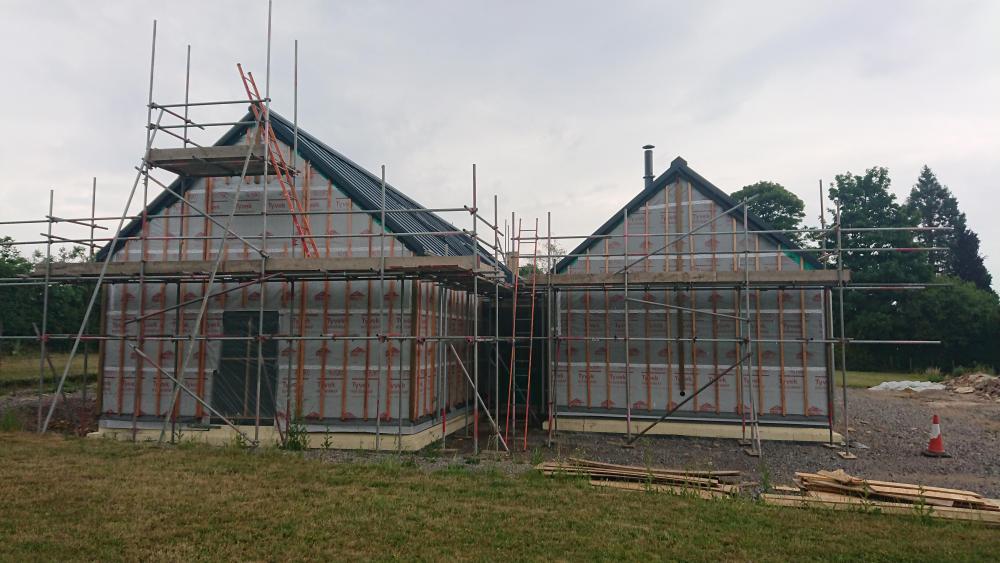
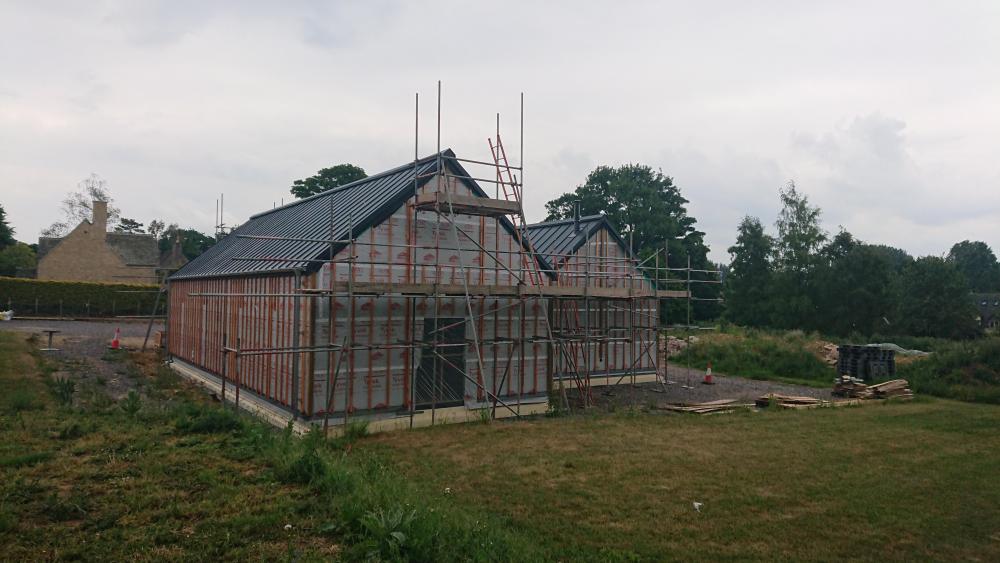
Ok a quick update.....the cladding is finally complete! We are just working on the first fix and internals now. The isotex is still very much on show internally if you would like to view. T
-
Hi Dave, they sit on the concrete slab mainly with the outer edge on foam. I hope that helps
-
If anyone is interested in visiting just let me know. We will be on hold for a while whilst we try and sell our house to fund the remainder of the build. The Isotex blocks are very much on show internally - see attached picture. Also, I have dropped in a picture of a the largest box gutter roof I have ever built. The fibre glass is attached to a 36mm deck of OSB3 with a separating layer of VP400 (to reduce rain noise - separating the layers of board).
-
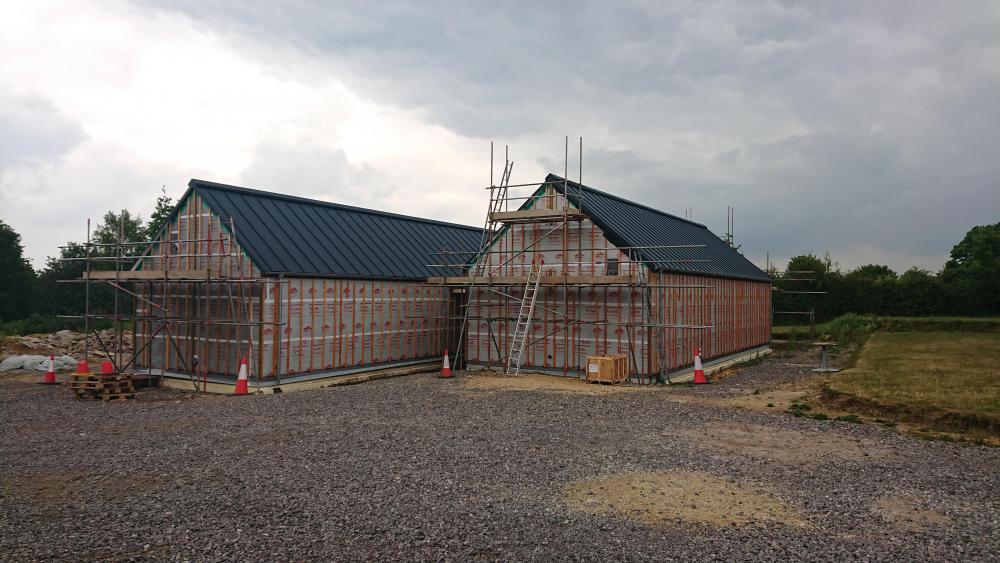
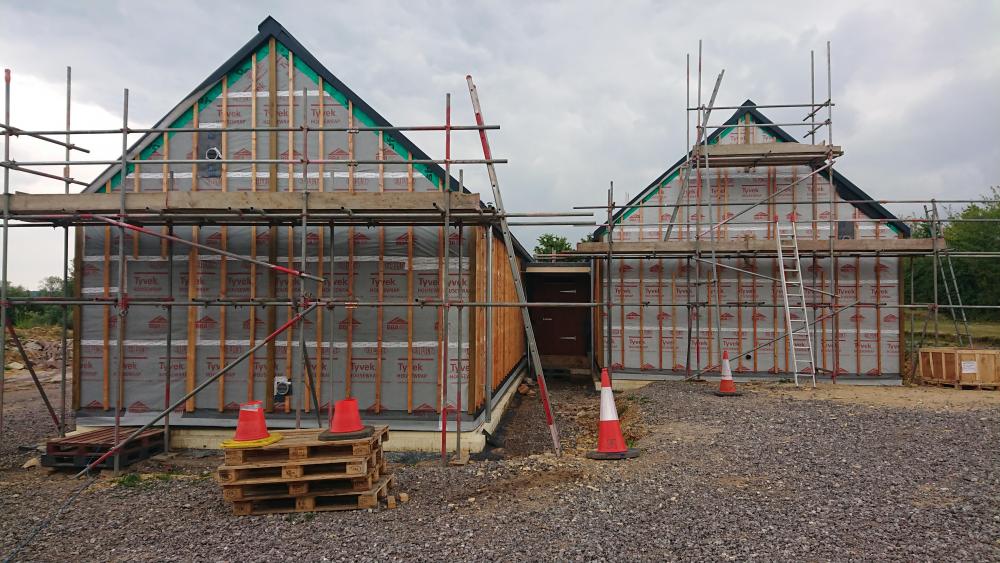
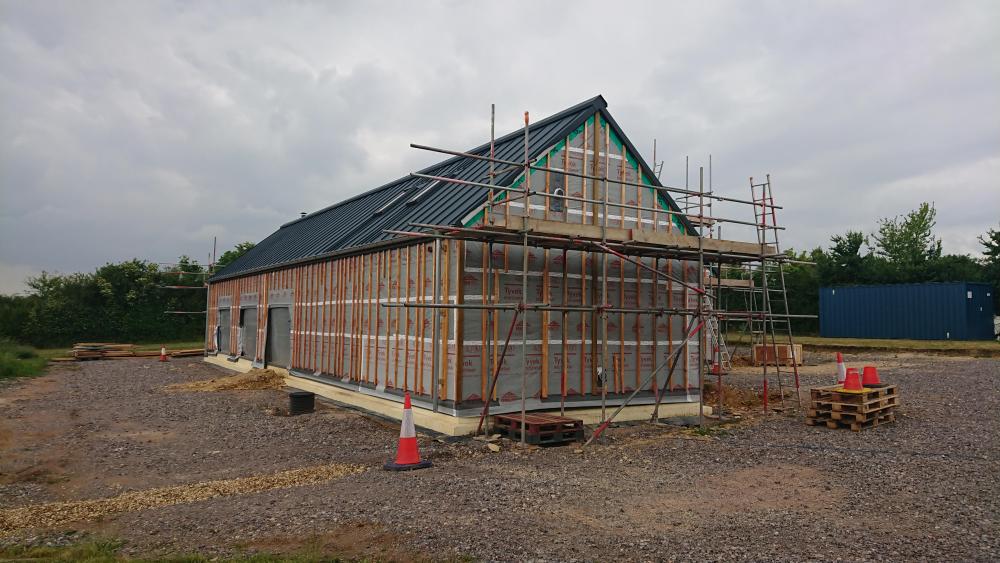
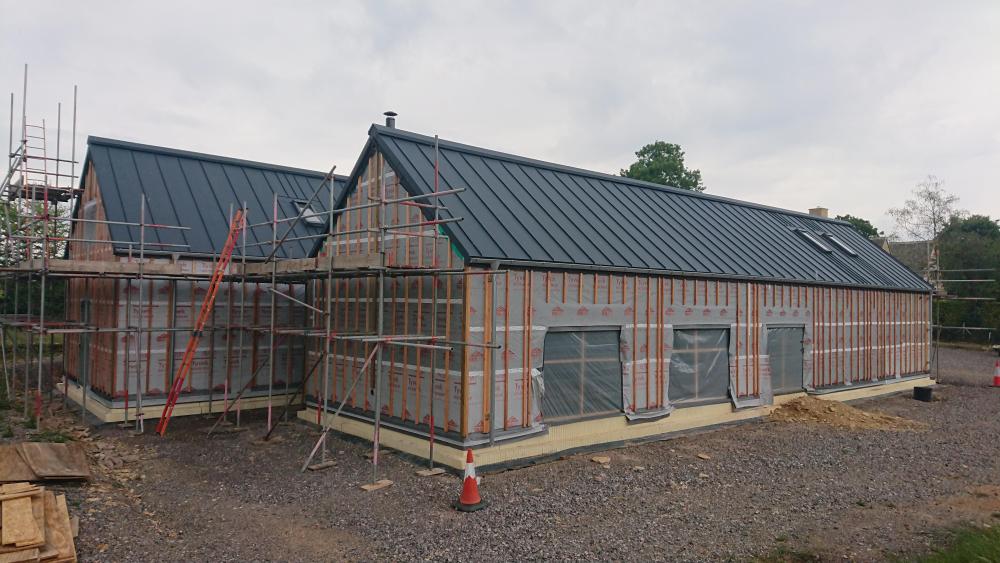
Hi All just a quick update on my Isotex build: 1. I gave up on corrugated roofing, after many months of searching for a competent installer. Not many could give me clear information on ventilation, keeping insects out, detailing around windows, ridge ventilation etc. I finally moved to Prefa standing seam from Austria - anthracite grey 7016. 2. I have installed an internal ventilation systems for each building. The link building profile needed to be kept low and I didn't want all the ventilation pipes coming to one place for both buildings. I therefore installed two separate systems. Here is an interesting point (for me anyway). The fitting company suggested both intake and output pipes go through the roof. However, I realised iin a waking moment one night that this would effectively be pulling in very hot air on a sunny day - a dark metal roof becomes very hot indeed! I therefore had the intakes moved and drilled through the ISOTEX. Important - the chap who drilled the 170mm holes took about 5mins to drill each hole. He said that it was easy because of the 10mm stone used within the concrete mix. He said had we put 10mm flint in the mix, for example, he would have walked offsite and not tried to drill. Each hole would have taken over an hour. Therefore, if you are going ISOTEX make sure you choose your mixing stone carefully. If you live within the Newbury area you are more likely to be given flint. 3. The link building roof has been installed. We have installed it with zero fall but each end has a sunken gutter system within the overhang. Furring stips over 11m would not have left any upstand for the south building which has a lower facia board than the north building 4. Isotex is a rough product despite it being planed. I noticed in the wind whilst trying to keep the horrible winter out that it will tear material on corners where it constantly rubs. I wanted to use Tyvek Housewrap for the external fabric because it allows for 4 months of exposure to UV (perfect for Covid 19 situation). However, it is a very thin material and I was concerned that it would tear on corners whilst waiting for my windows. I also like Proctor VP400 Protect - an amazing breather membrane. So I covered the buildings in VP400 first. This is a thick layer of material which is then topped off with Tyvek housewrap. The added layer will also help with the overall thermal efficiency of the building - think of it has adding a t shirt before putting on another layer. 5. Due to the VERY wet winter and bad weather the ISOTEX blocks did get soaked with rain. It has taken quite a bit of time to get them dry. Whilst building try where possible to keep them as dry so that internal work can happen very soon after the roof is on. 6. Windows - Internorm - these are being fitted on Monday of next week. 7. Ventilation of cladding and roof - one of my concerns with a metal roof was ventilation and also for our wooden cladding. Therefore I have designed (not the architect) a system to ventilate the entire structure. The walls are covered in 38mm battens which go up underneath the facia boards and the roof has been designed to provide an inside layer of OSB3 and an outer layer of Russian birch ply. In between these boards we have a 50mm batten. The cladding and roof ventilation plane is linked allowing air from the the base of the building perimeter to come up and out through the ridge. In detail, at the ground level we have insect mesh to allow air in under the cladding; at the gutter level we have a 40mm ventilation gap with insect mesh just underneath the roof edge; at the ridge we have 40mm gap either side of the ridge with insect mesh. The gable ends have the same ground level arrangement but we have stopped the battens short of the gable end detail by 20mm. We will fit the Jamie Hardie top trim insect mesh (right angled aluminium) first before fitting the cladding. This will allow the gable ends to breath in much the same was as the sides. I am sure there are more points to make from the journey thus far but this is we have got to so far. Windows Monday! Tom
-
BPS - I am using them as well. I will drop in and take a look. Any chance I can pop over and see how you are getting on. Have you gone with the TATA steel standing seam? thanks Russ; I hope to see you soon. You are very welcome to drop in and see the new build - just drop in when you are passing. We are the site (Ewen Barn) on the way out of the village towards Coates - the road that takes you under the old railway. I always thought that with a raised seam / standing steam roof you needed to have a flat deck. I like what you have done because that ensures ventilation all the way through and under parts of the metal. Talk soon Tom
-
Hi Col An interesting approach, thank you for sharing and providing a graphic, it is very clear now. I don't think your tin is coming off any time soon. Question....what screws did you use through your tin? I have been recommended to use timberlok screws but with 50x25mm counter battens they seem a little chunky. Tom


