zoothorn
-
Posts
4747 -
Joined
-
Last visited
-
Days Won
3
Everything posted by zoothorn
-
Picking up this thread. PM'd the op for an update on his situation. My knotweed still persisting in my garden, my stream not exactly helping matters. zh
-
-
.
-
Aha, the idiot didn't think of releasing the lower one did I! Ok trial & error it is. This door has been like it since 9 years Ive been here, so will be fab to get it done. Terrific thanks.
-
Hi craig, ok then doing this as suggested earlier in thread, I get 79-1/8" on the door corner to corner. So the solution is thankfully, to tweak the hinges. So I've got spanners bought, as access restricted. Now I have 4 hinges: so how do I go about this pulling the door 'in' at the top-? Is it to loosen off the two middle ones.. & tighten/ pull the door in at the top one/ get the other two back tensioned-up? Maybe wedge door 1st? Thanks, Zoot
-
Fantastic, thanks so much. Useful to know about the toe & heel process though: I guess it just needs determining, first off, if the door has indeed dropped on the lock side, or is still square: mine -seems- to be still square. Although without a huge builders L shaped set square, must admit I can't be certain. zoot
-
@craig I don't suppose you'd know what the spanner size tends to be with these? Is that a question too far.. mine I've put a brass measuring caliper thing on, seems to be 9mm but I can't get be 100% certain. This seems a bit of an odd figure, & 9mm isn't in the typical spanner set someone kindly linked to. Thanks, ZH
-
@craig That's terrific help thanks, so the centre nut thingy -is- the right thing to do, & -can- be adjusted via a small spanner despite the room constraints here. Ok great, will buy one of these. I'd given up hope tbh! Gratefully, Zoot
-
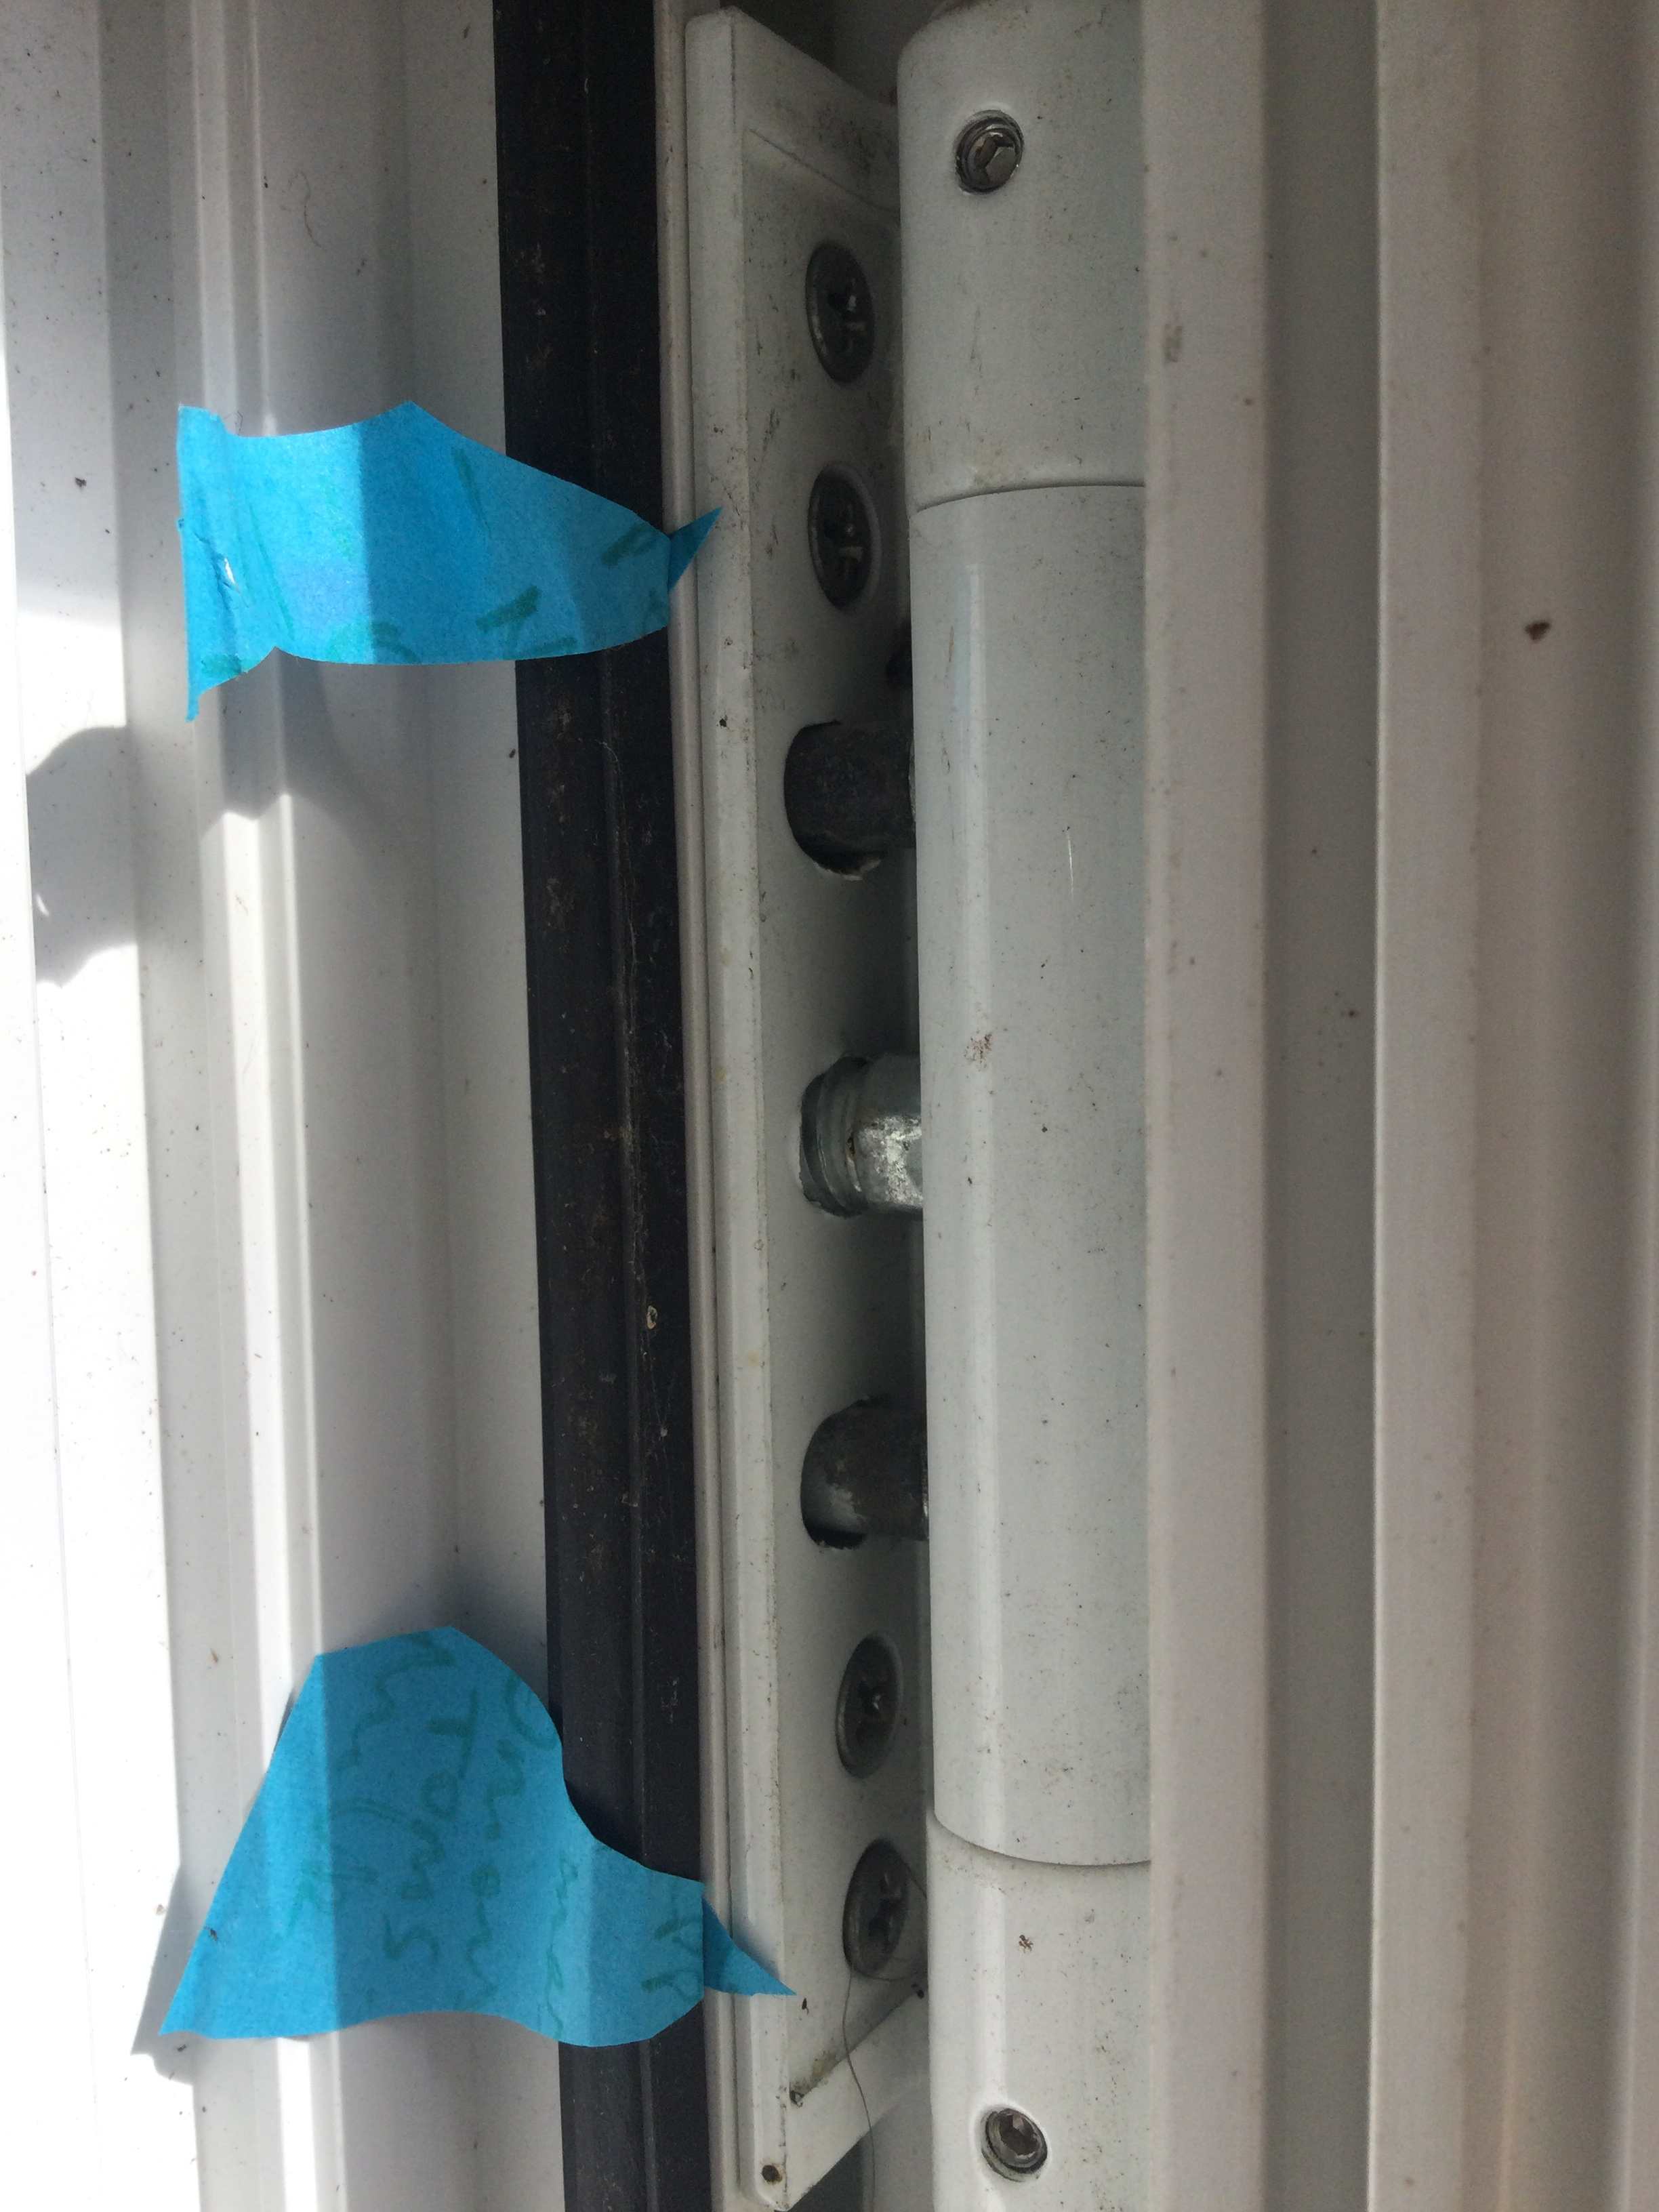
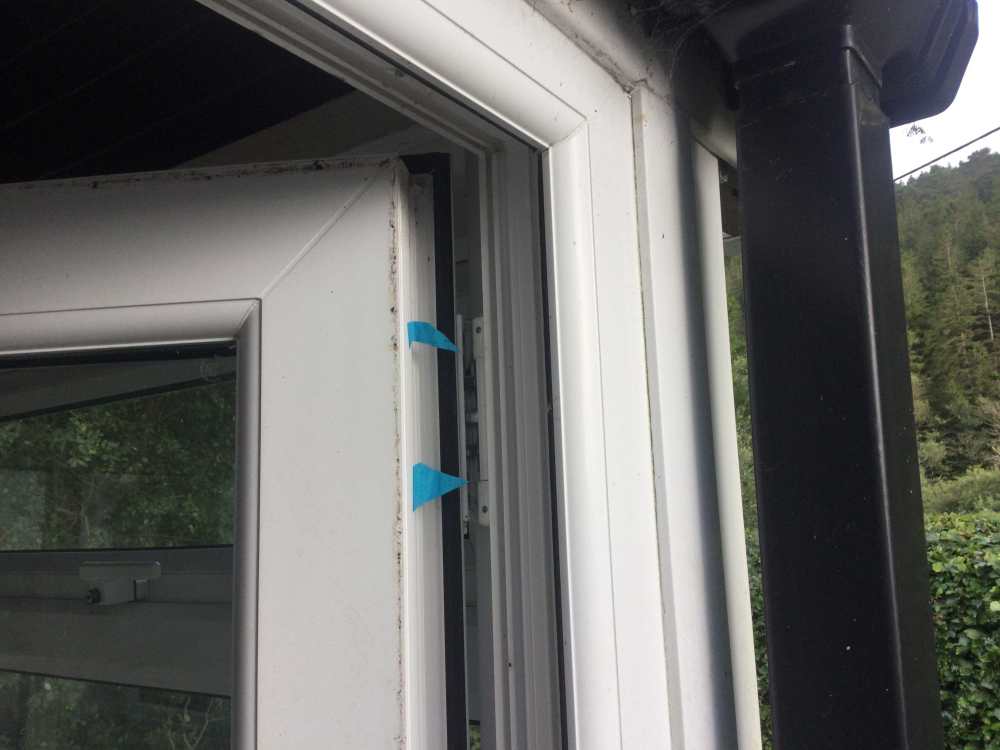
Ok last go.. Here is the inside of my hinge. Photo 1 taken from the outside to see general orientation. Photo 2 is a close up from same angle, to show 4x screws (blue pointed markers just aiming at each pair of them). These 4x screws seems to hold the large wrap around section in place, on the rearside the door. Even if I could access these 4x screws, the wrap around section wouldn't lift away, as there are two bar things within it preventing it, these two are either side of the nut section thing, that's bang centre of the hinge (which no spanner can make use of).

-
@MPH243 alas not: The large outer wrap around section of the hinge, cannot be levered off. It's metal for one thing, & seems to be fixed in place by 4x screws too (on the peskiest angle, so could only be accessed by removing the door). Bloody thing!! Driven me stark raving bonkers this. I conclude I'm defeated for now. Thanks anyway. Zh
-
Aha thanks MPH.. Right I'll have a go at whipping off that white whole section- as I had a feeling the centre screw nut thingy wasn't designed to be tweaked, there. My pics are actually taken from inside, so the beads & handle screws are correct. If I can't get the placcy section off, then I'll get one of those blade whatnots, in case I get brave & fiddle the beads out.. one day. Great help chaps as always on BH. Zoothorn
-
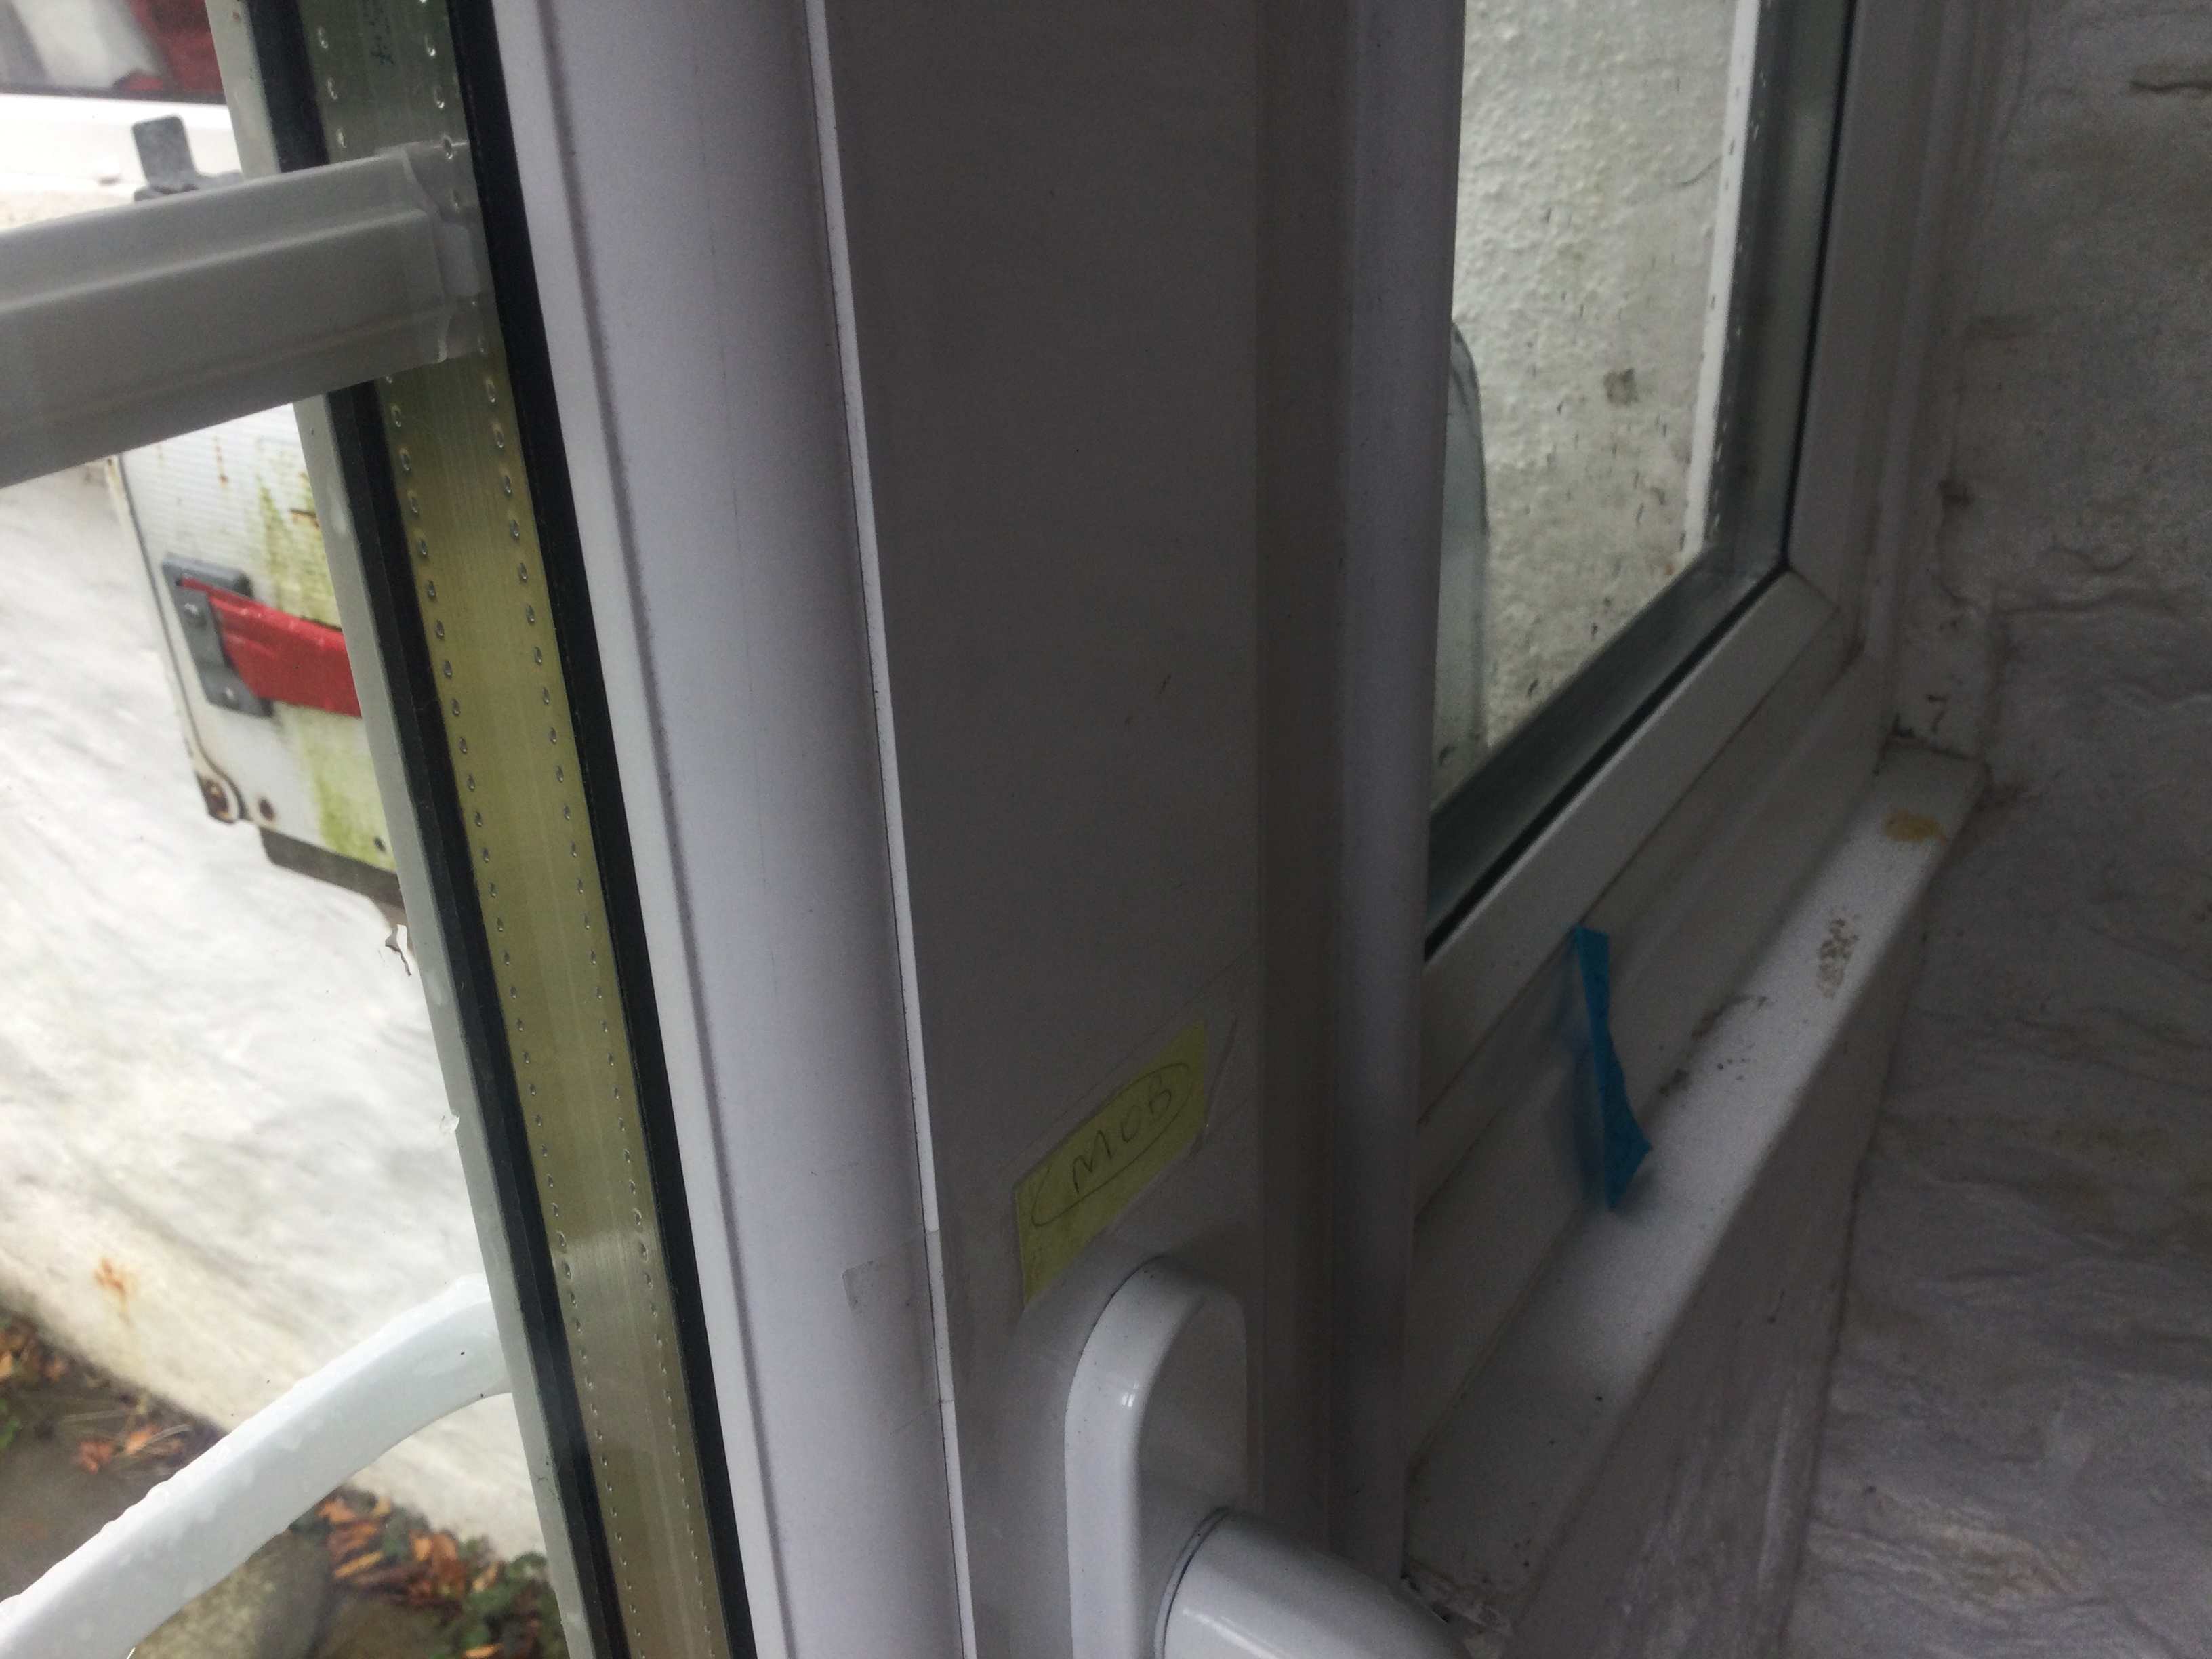
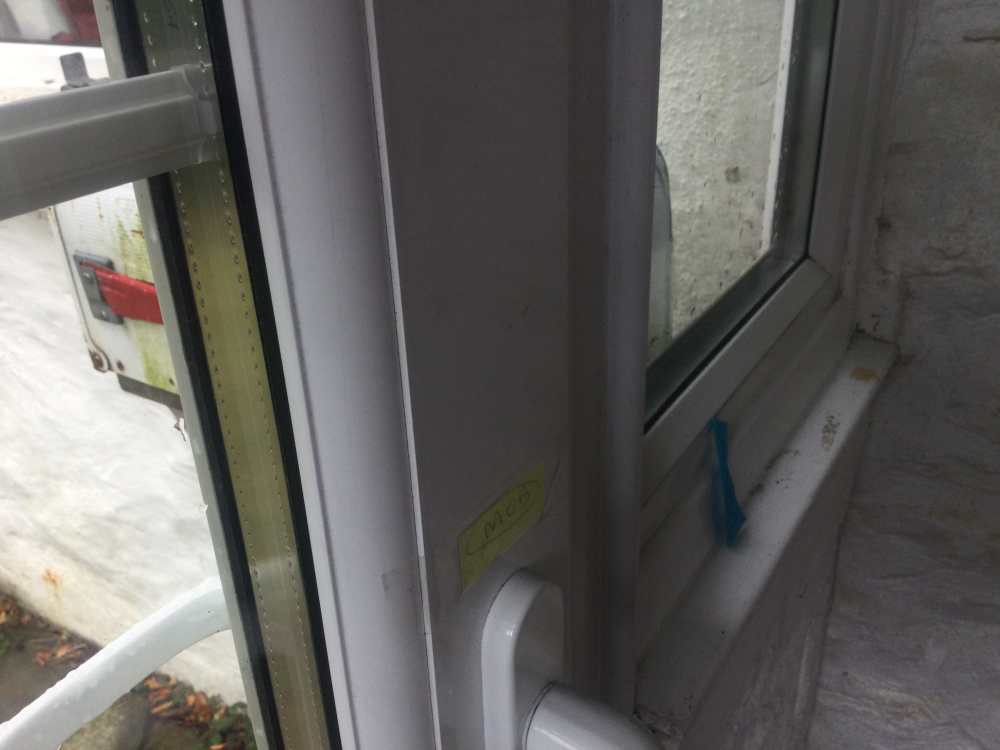
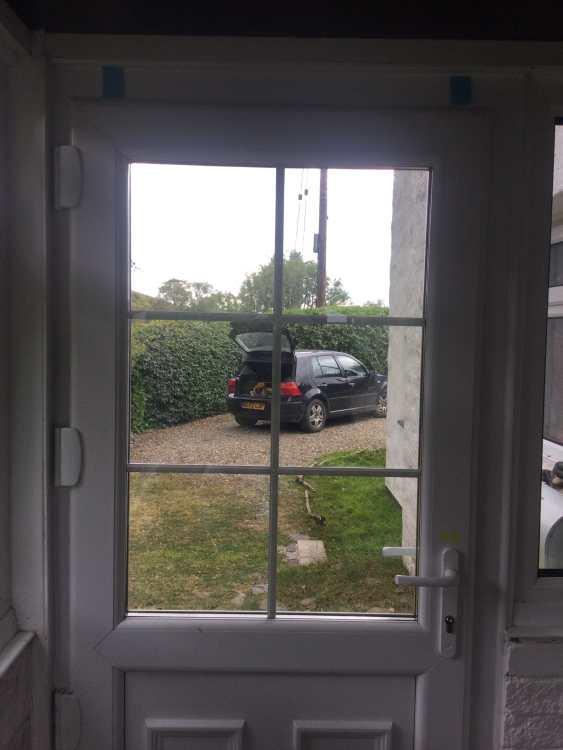
You can see here, nicely highlighted in a bright white vertical line, how my door beading is set in by 2-3mm, unlike a typical window beading I have here, you can see in the background (top of my blue marker) which is flush.
-
Thanks for that rick. But none of those could possibly fit. The gap just isn't sufficient to get any in & around the nut bit enough, to get any traction on it. They'll get on say 2mm but slip off. I've gone back to the idea of toe & heel, very tentatively.. but I just cannot get the bead out. No way on god's earth. I did so before on my windows (how tho I can't recall) but the beading in flush with frame edge. So once something pushed in the gap, you can lever &/ or tap the bead away. But my door beading is set in by 2mm. Meaning I don't have anything to lever the bead against. Been trying for an hour & absolutely no way. I'm not risking a tool that levers against the glass: no. I'm not risking a £100 new door pane, no security & rain into my door for a week just to shift the door up a few mm's.
-
Hi dpm.. I just can't get a spanner in here, so I don't -believe- it's meant to be a 'functional diy tweak bolt'. Anyway, if the only way is to take whole glass out & pack it, levering up etc.. then I've got the help on here. I really need 2 people to be safe doing that that you see & no-one here at all to help. Thanks chaps.
-
Hi marko.. thanks for that- the best clip of this I've seen. I am a bit reticent about cracking the glass, & the cost of spacers/ 3x tools.. is a £chunk for me. I just want to rule out if there's any way I can adjust the hinges, first, before I resort to this toe & heel job. On the inside hinge I have 2x small allen screws I can access, & one central bigger screw I cannot access. Does anyone know what these 2x small allen bolts are for?? Surely they have a purpose. Thanks, zh
-
Hi there dpm, no nasty catching on latch bits thankfully. Only at the door plastic at the bottom, clashing on the steel rim of the cill. I understand this -does suggest innitially- that the door's simply gone out of kilter & drooped a tad on the lockside. But you see the house's upvc door & windows, along with 2 extensions, are clearly not a pro job. A decent-effort amateur job, yes. But an awful lot of sub par (even to my amateur stds). Eg WC timber doorframe badly not vertical so the door just closes irritatingly whenever you open it/ EG white silcone to fit the last window trim bits looks like a child's done it! So my hunch is, the chaps's just not hung the upvc front door very well ~20 yrs ago. Thanks Zoot.
-
Hi rick, that seems complete sense to me. Which I've just done.. & both measure 79-1/8". Hmm. So although I understand the idea of the toe & heel fine, this does kinda confirms my hunch that it possibly isn't the tweak I need to do. I don't want to 'stretch' the door 'wrong' just to solve the issue: that doesn't seem too sensible an approach.. unless.. I can 1st confirm door has sunk down on -just- the lock side. I think it's surely safer to at least -try- the hinge adjustment method.. if I can find a way to access the tweak-screw that is. Four hinges isn't gonna make the job easy tho. Why even diddy jobs seem turn into a building mind-meld for me?! Argh! 🙂
-
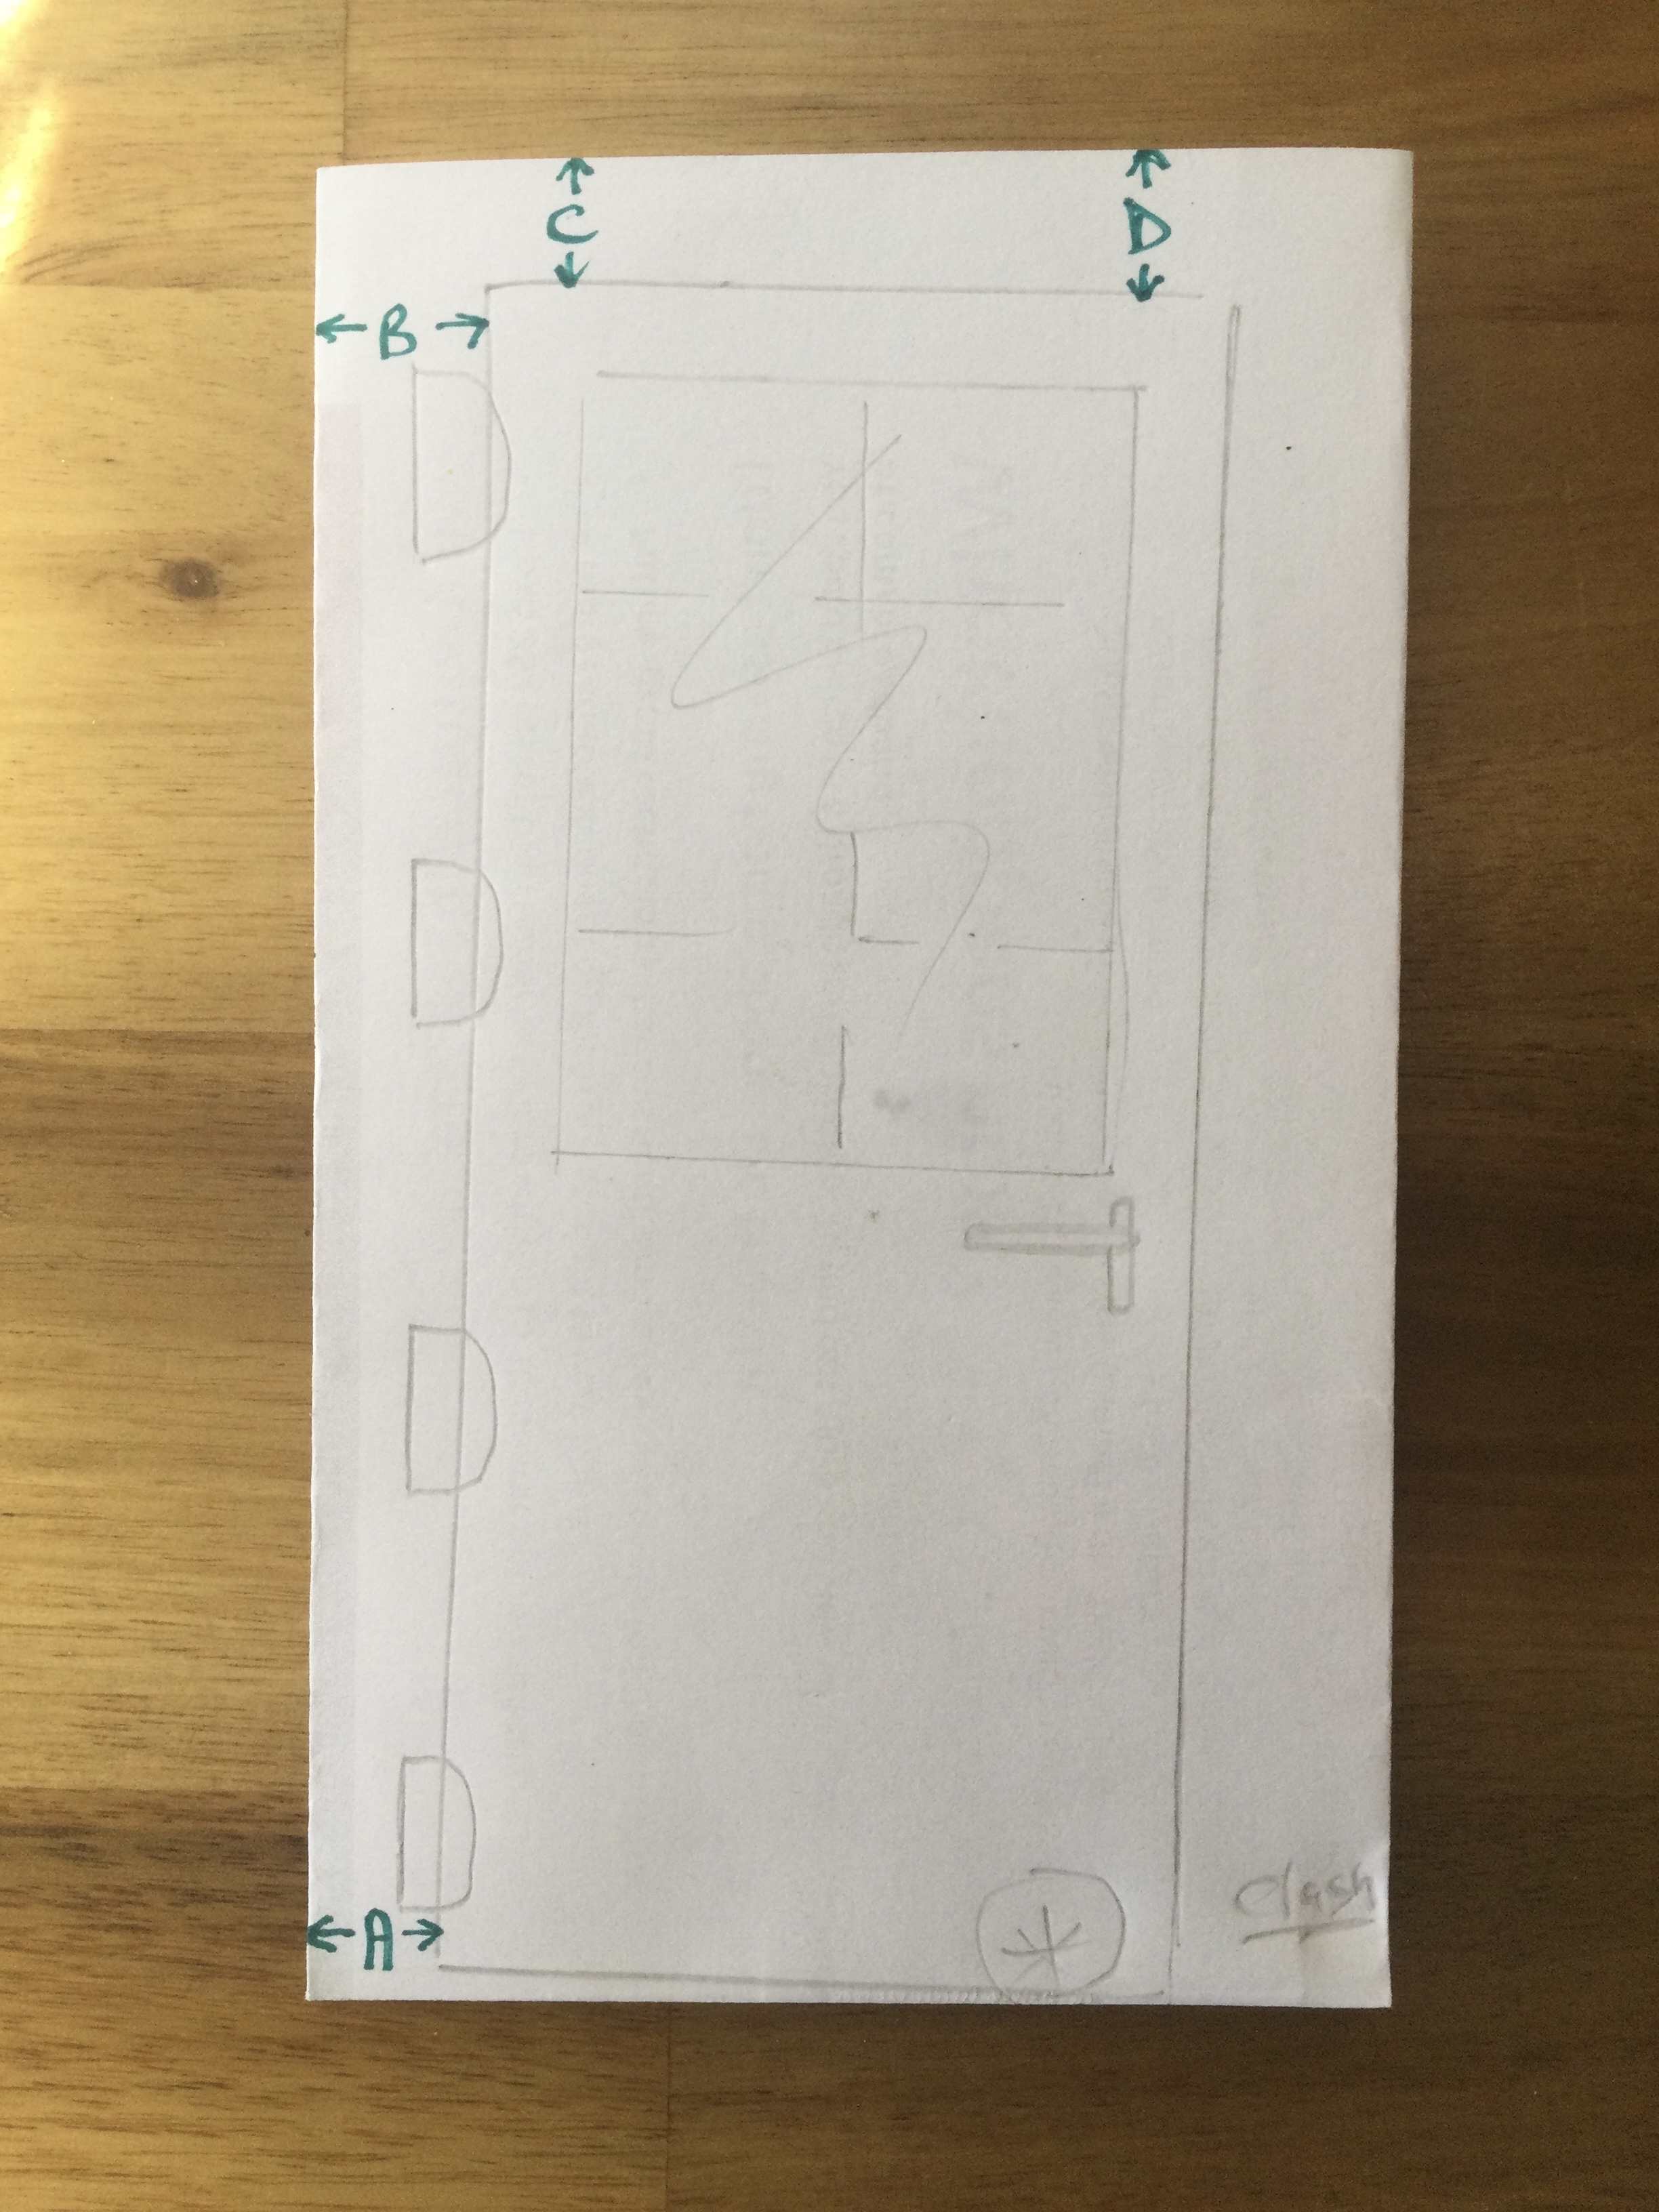
@ProDave Better sketch: the tilt is exaggerated yes, but this is still what everything tells me, is the basic situation I have. IE. If A is 5mm less than B, & C is also less than D.. doesn't that tell me that the door is square, & the whole thing just needs levelling.. rather than trying to 'reform' the door shape via the toe & heel idea-?

-
Hi ProDave, yes I realised the hinges I drew weren't right.. but still the door as a tilted [yet still square] rectangle which just needs the whole thing repositioning level (ie the whole thing) idea is effectively shown in my scribble. You see this is simply what I see, by standing back & looking at it. I don't see any odd corner angles: my cabin hut door.. yes has your one-side droop badly & very obvious standing back. If I were to adjust the hinges, say if there were obvious allen bolts I could get to, the hinges would -still- stay in the exact place they are in a vertical line.. just the door rectangle will change, from a slightly tilted one (which -is- simply what my eyes see, & blue markers confirm) to a level one. So I'm still not entirely sure if it's a hinge adjustment, or this strange toe & heel idea, because I don't have a huge square to tell me if the door is fractionally a trapezoid, or whatever the term is to describe an oblique rectangle. Continually puzzled.. zh
-
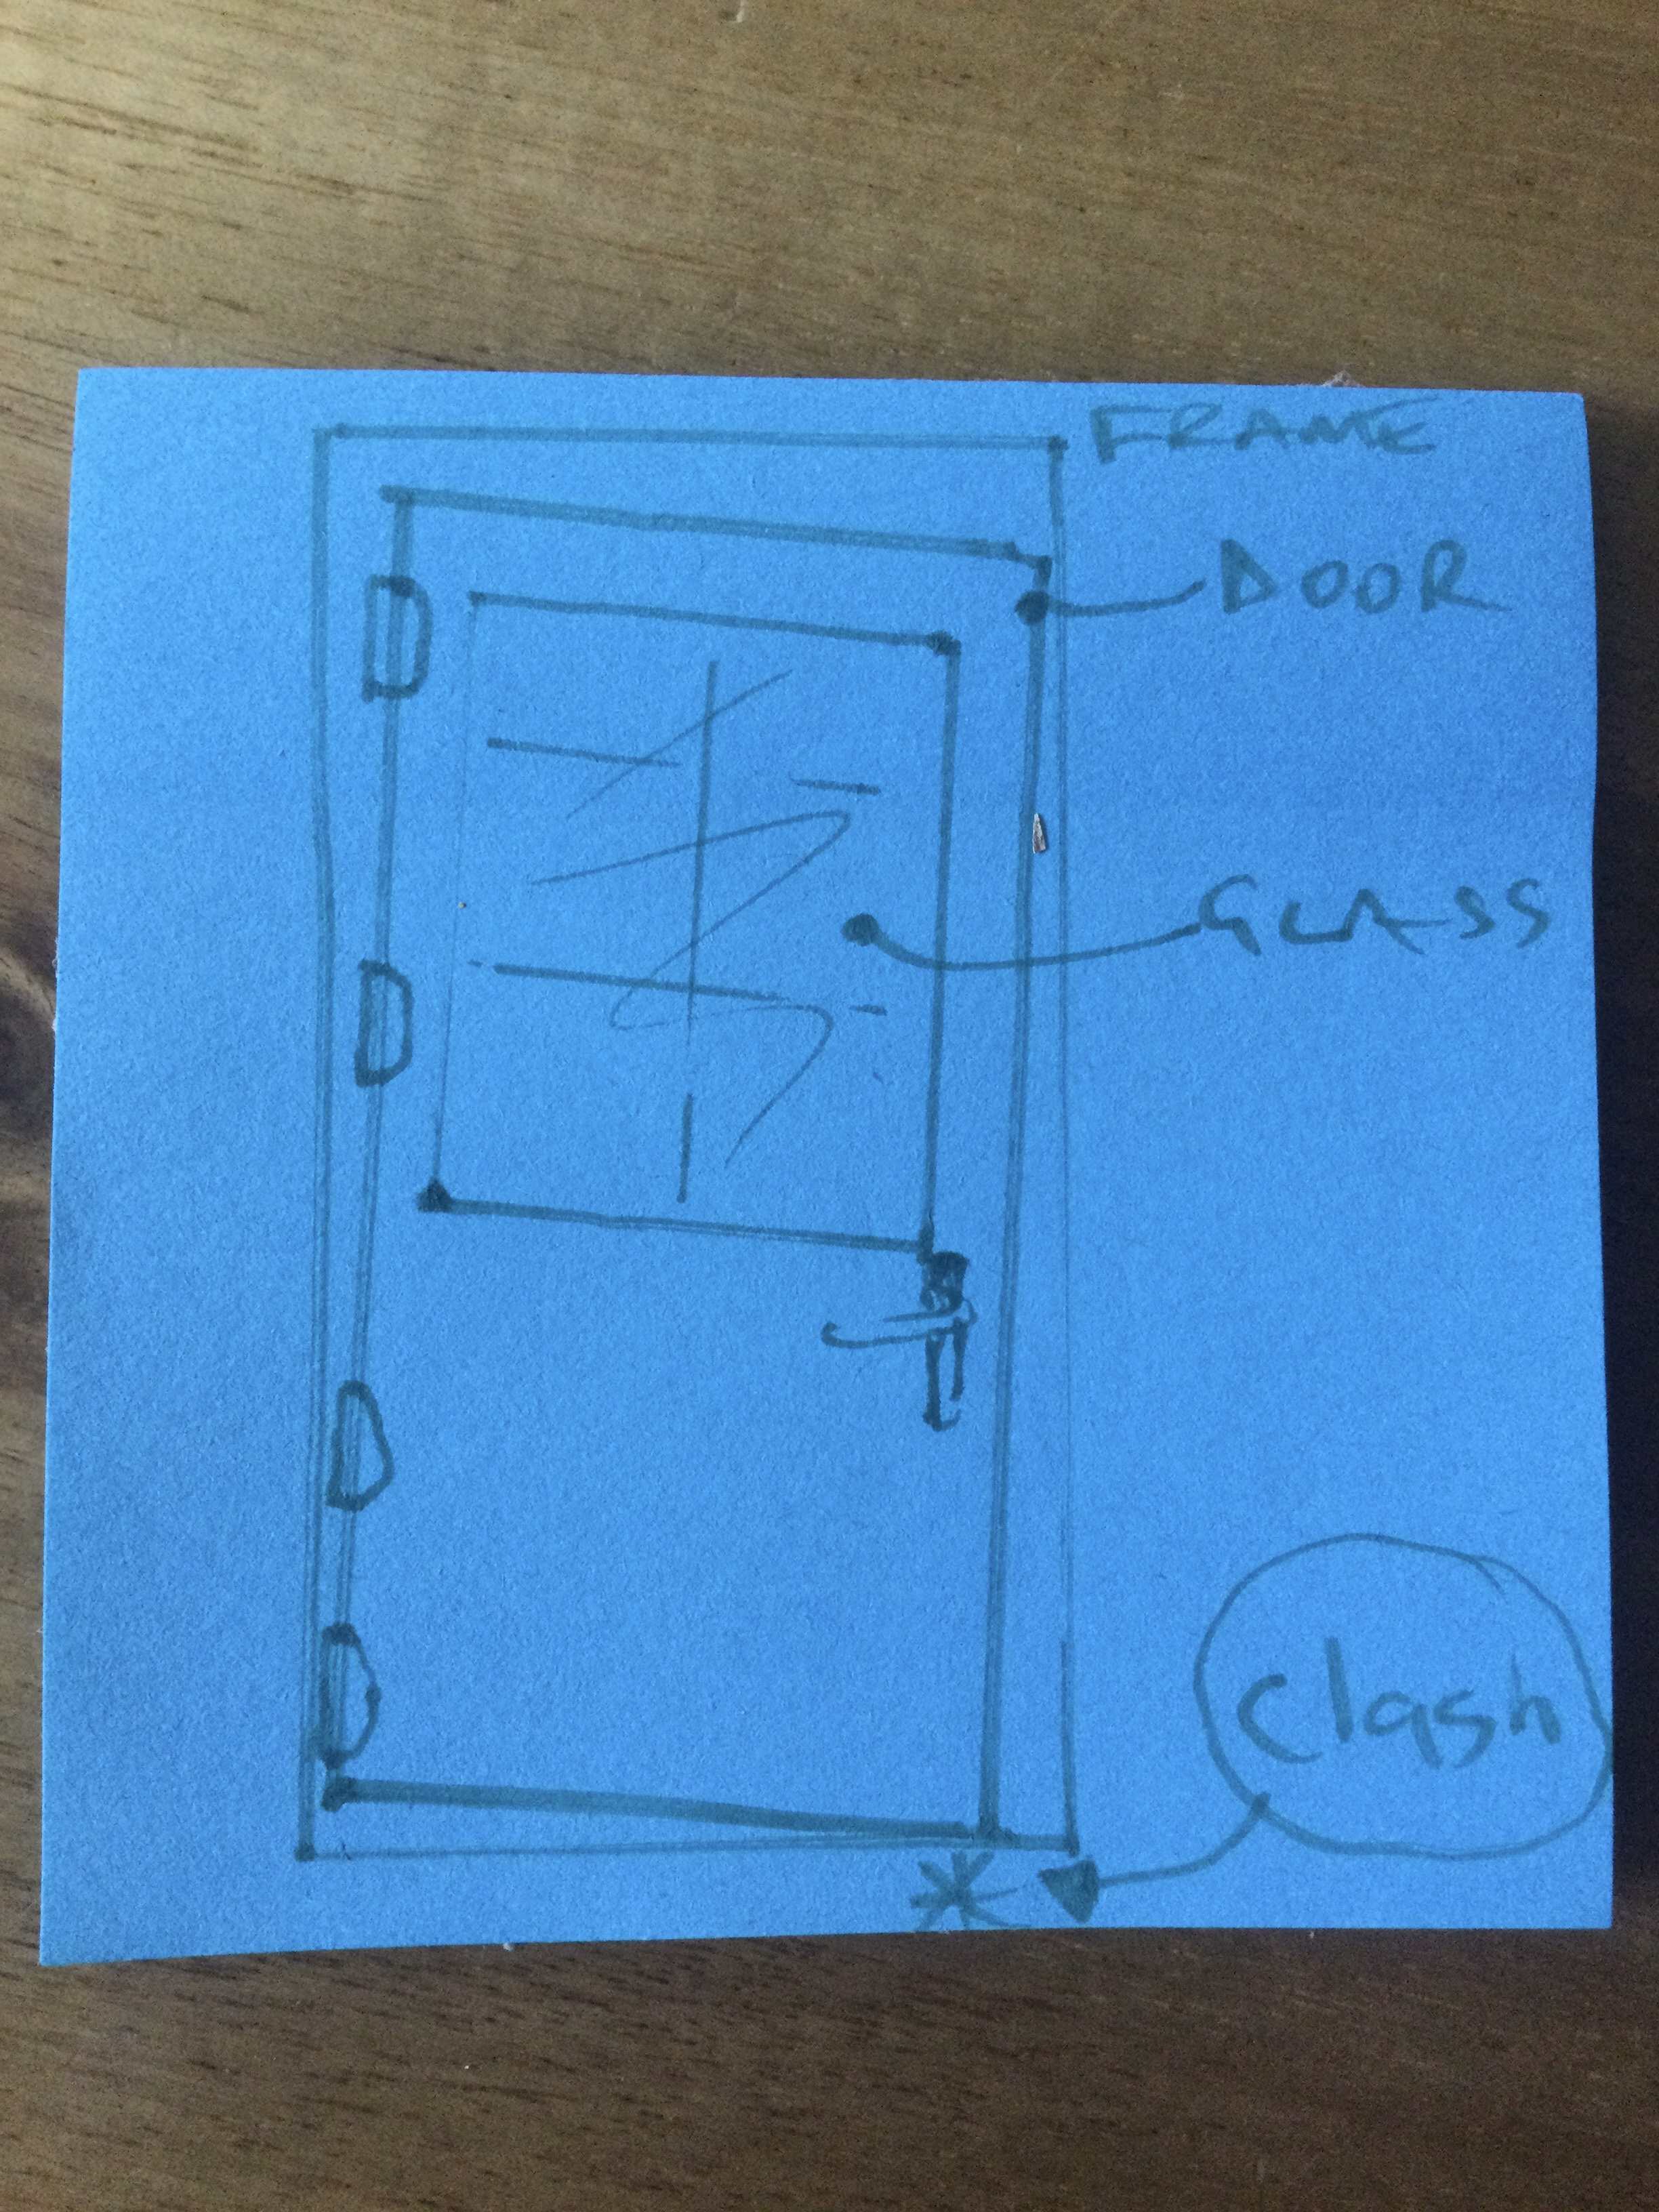
Hi Rick, thanks for that- it's exactly this simplification that I kinda need (unlike you all- building xyz is tricky to get the innitial gist of I find.. but once I do, it's downhill). Aha, so the door "frame" that being the actual outer section of the door, has become out of shape. I can't see how that is, as it looks square, no tiny gaps in the plastic corners telling me so, & the glass within square relative to it too, & don't have a huge square to put on to tell. I have looked at toe & heel videos now though. But what I can't understand is how levering the gap above the glass bigger, to fit in packers to lift the top of the door up a bit, doesn't just as much push the glass down. And how the glass seems to magically stay perfectly in place, & just the door outer "frame" part of it moves up. But understand the principle that however this magic trick actually works, this is the method I need to do, to solve my clash issue. I just always like to understand it first: invariably this takes me a heck of alot of time. Thanks, zh
-
This is exaggerated obviously, but it shows the principle:

-
Hi Big J, I really can't afford £100 to fix this- it's a diy tweak, or it's left as it is. Yes I'm sure I posted some pics of my workshop? Benches/ worktops made, cheapo placcy tool wall hanger things. It's great (remarkably cool in the recent heat, & reasonably 'warm feeling' in the winter without CH used too). Only trouble is, as soon a it was completed, my workshop work has dried up. Urgh.
-
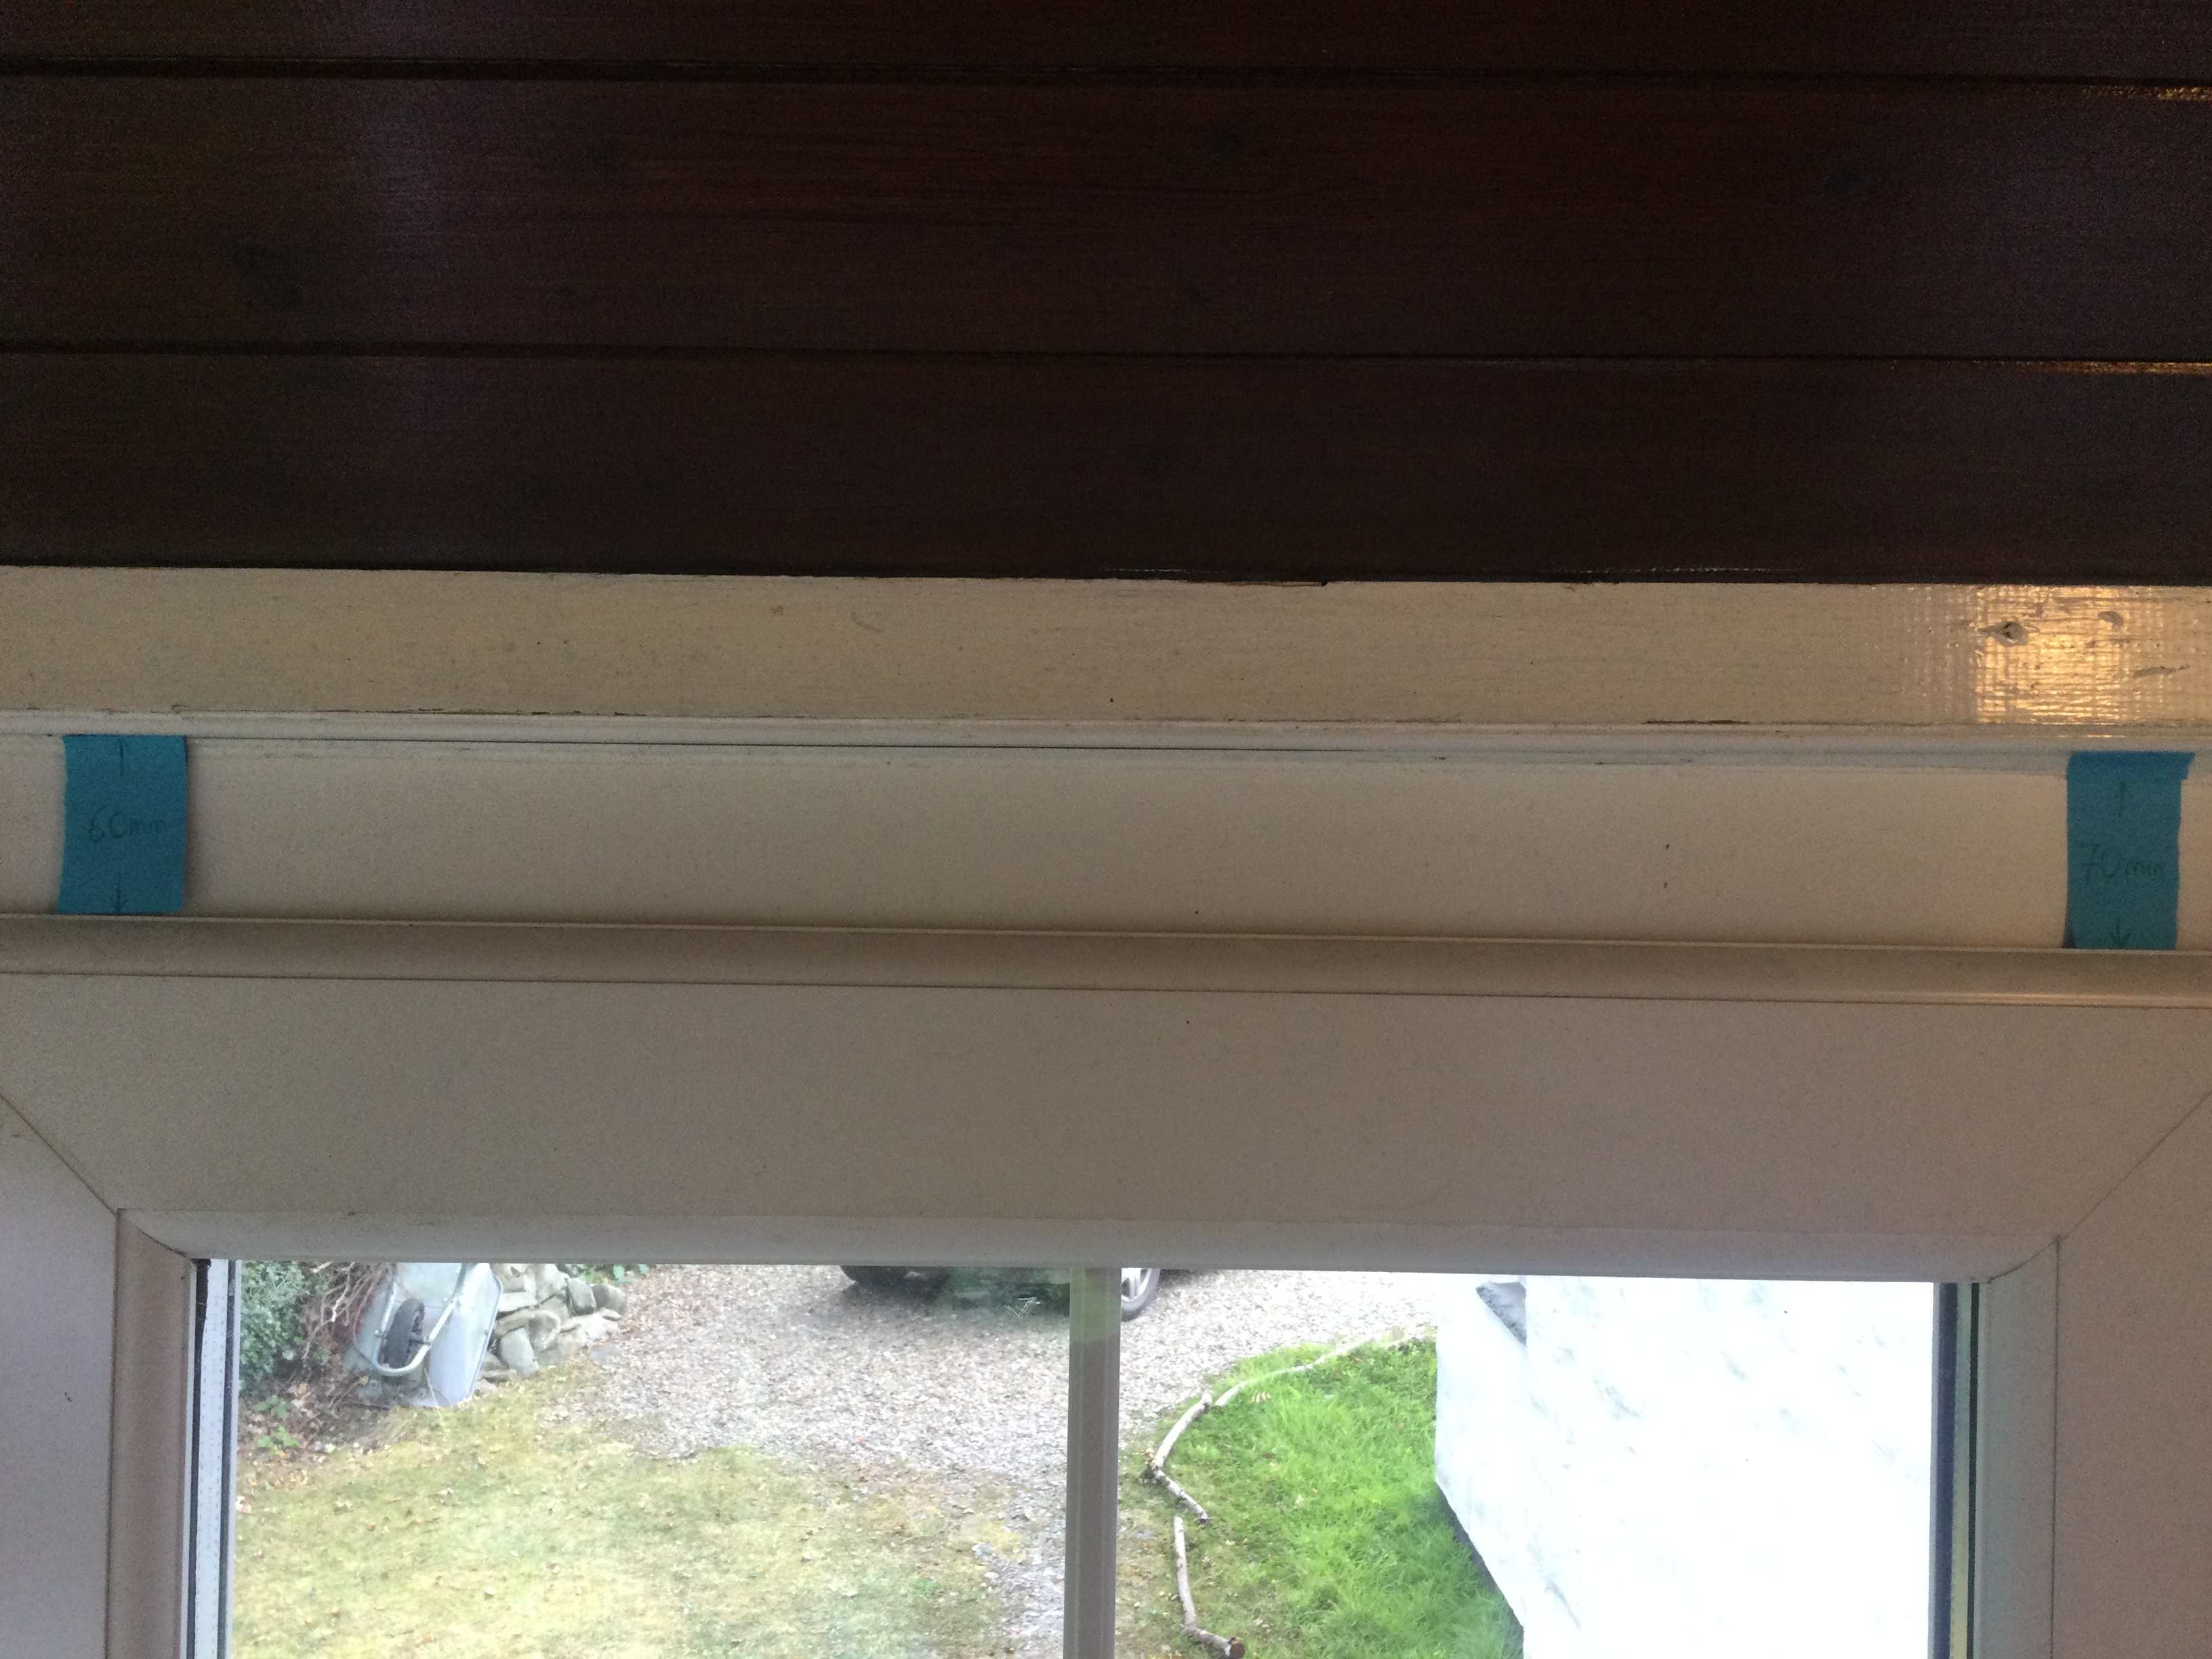
@ProDave Apologies but I'm not understanding. I think my description &/ or my photo above didn't show what I intended. Ok in this photo below, I have two blue markers. On the L one you may be able to see I've written 60mm, this is the height distance between the top of the door here & -let's call the following bit horizontal- the timber rail thing above the door. On the R blue marker, I've written on it 70mm. The Height from door here, to timber rail thing above. I've also made this one physically a taller blue rectangle for clarity. Also I hope, you can actually see an angle discrepancy between the timber bit above the door (again let's call this horizontal) & the top of the door: the door dips down Rightwards, compared to the fixed timber bit above. So, clearly with 10mm difference L to R, the door frame, is simply in need of adjusting to horizontal. I don't understand how repositioning the glass section (which I know how these fit in/ done this job on my windows) within will make the door frame's position around it, any different.

-
@ProDave Two blue squares top of door. LH one is 60mm high. RH one is 70mm high. Door dips down twds R.. hopefully my photo also shows the slant R, relative to the frame:
-
Hi ProDave, yes. But just raising the whole door up vertically, will cure the problem but still mean the door is on slant (horizontally). So surely I just need to make it horizontal, IE raising -just- the handle-side of the door up (not the whole door) in order to avoid my door clash at the sill. The clash is on the handle-side, the sill below. The hinge side is the correct 5mm gap. So my door has fallen down twds the handle side.