Barnboy
-
Posts
180 -
Joined
-
Last visited
Everything posted by Barnboy
-
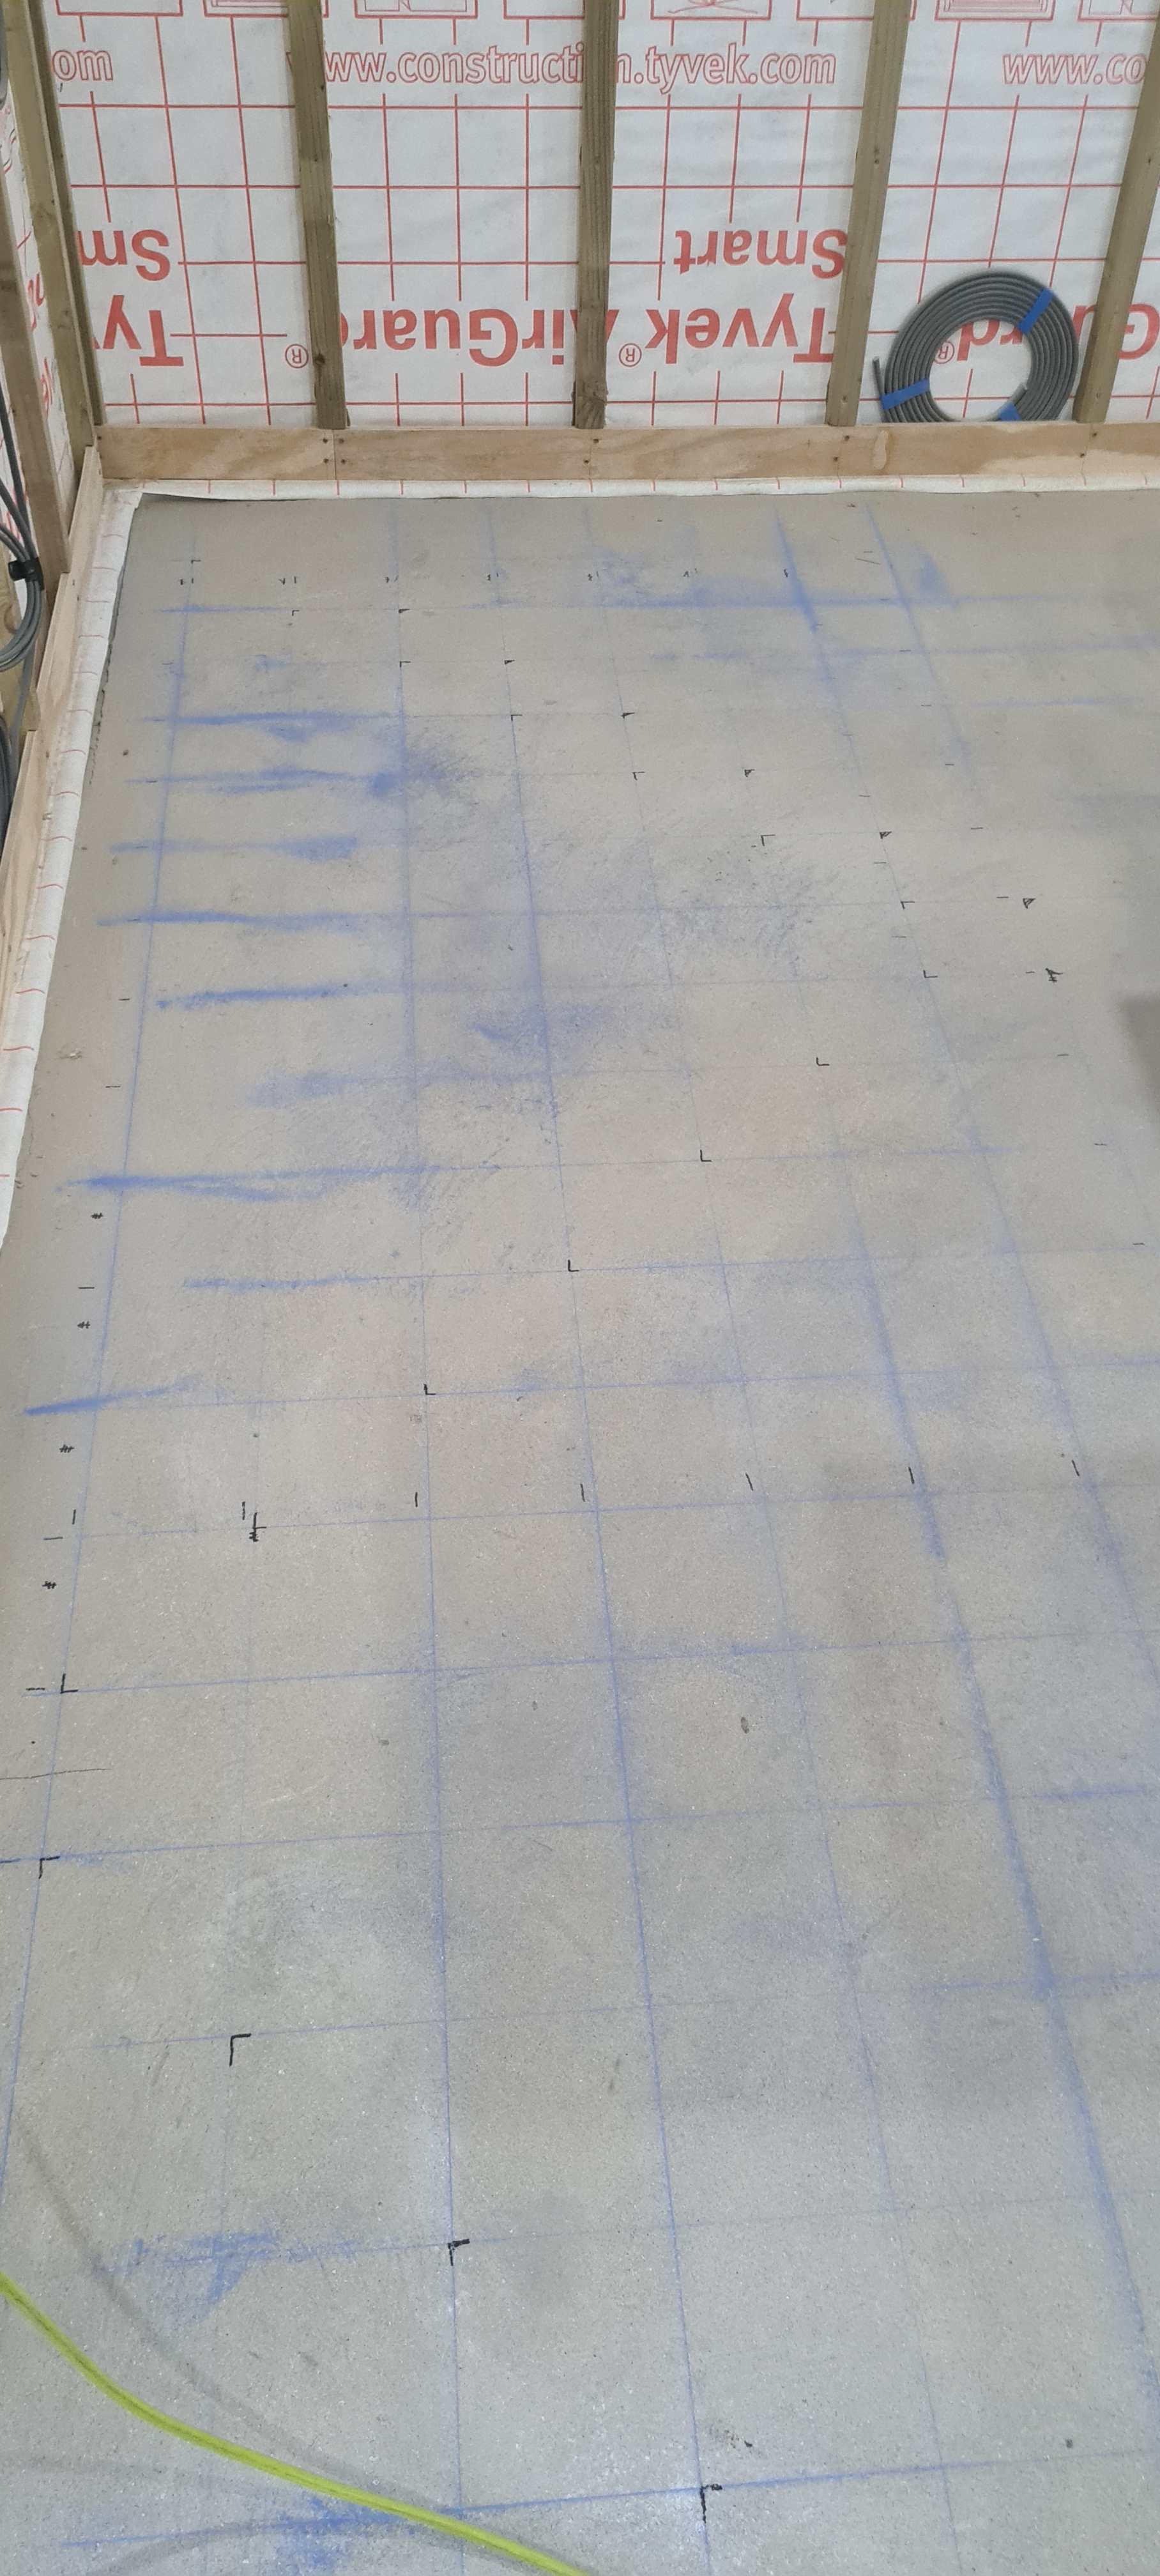
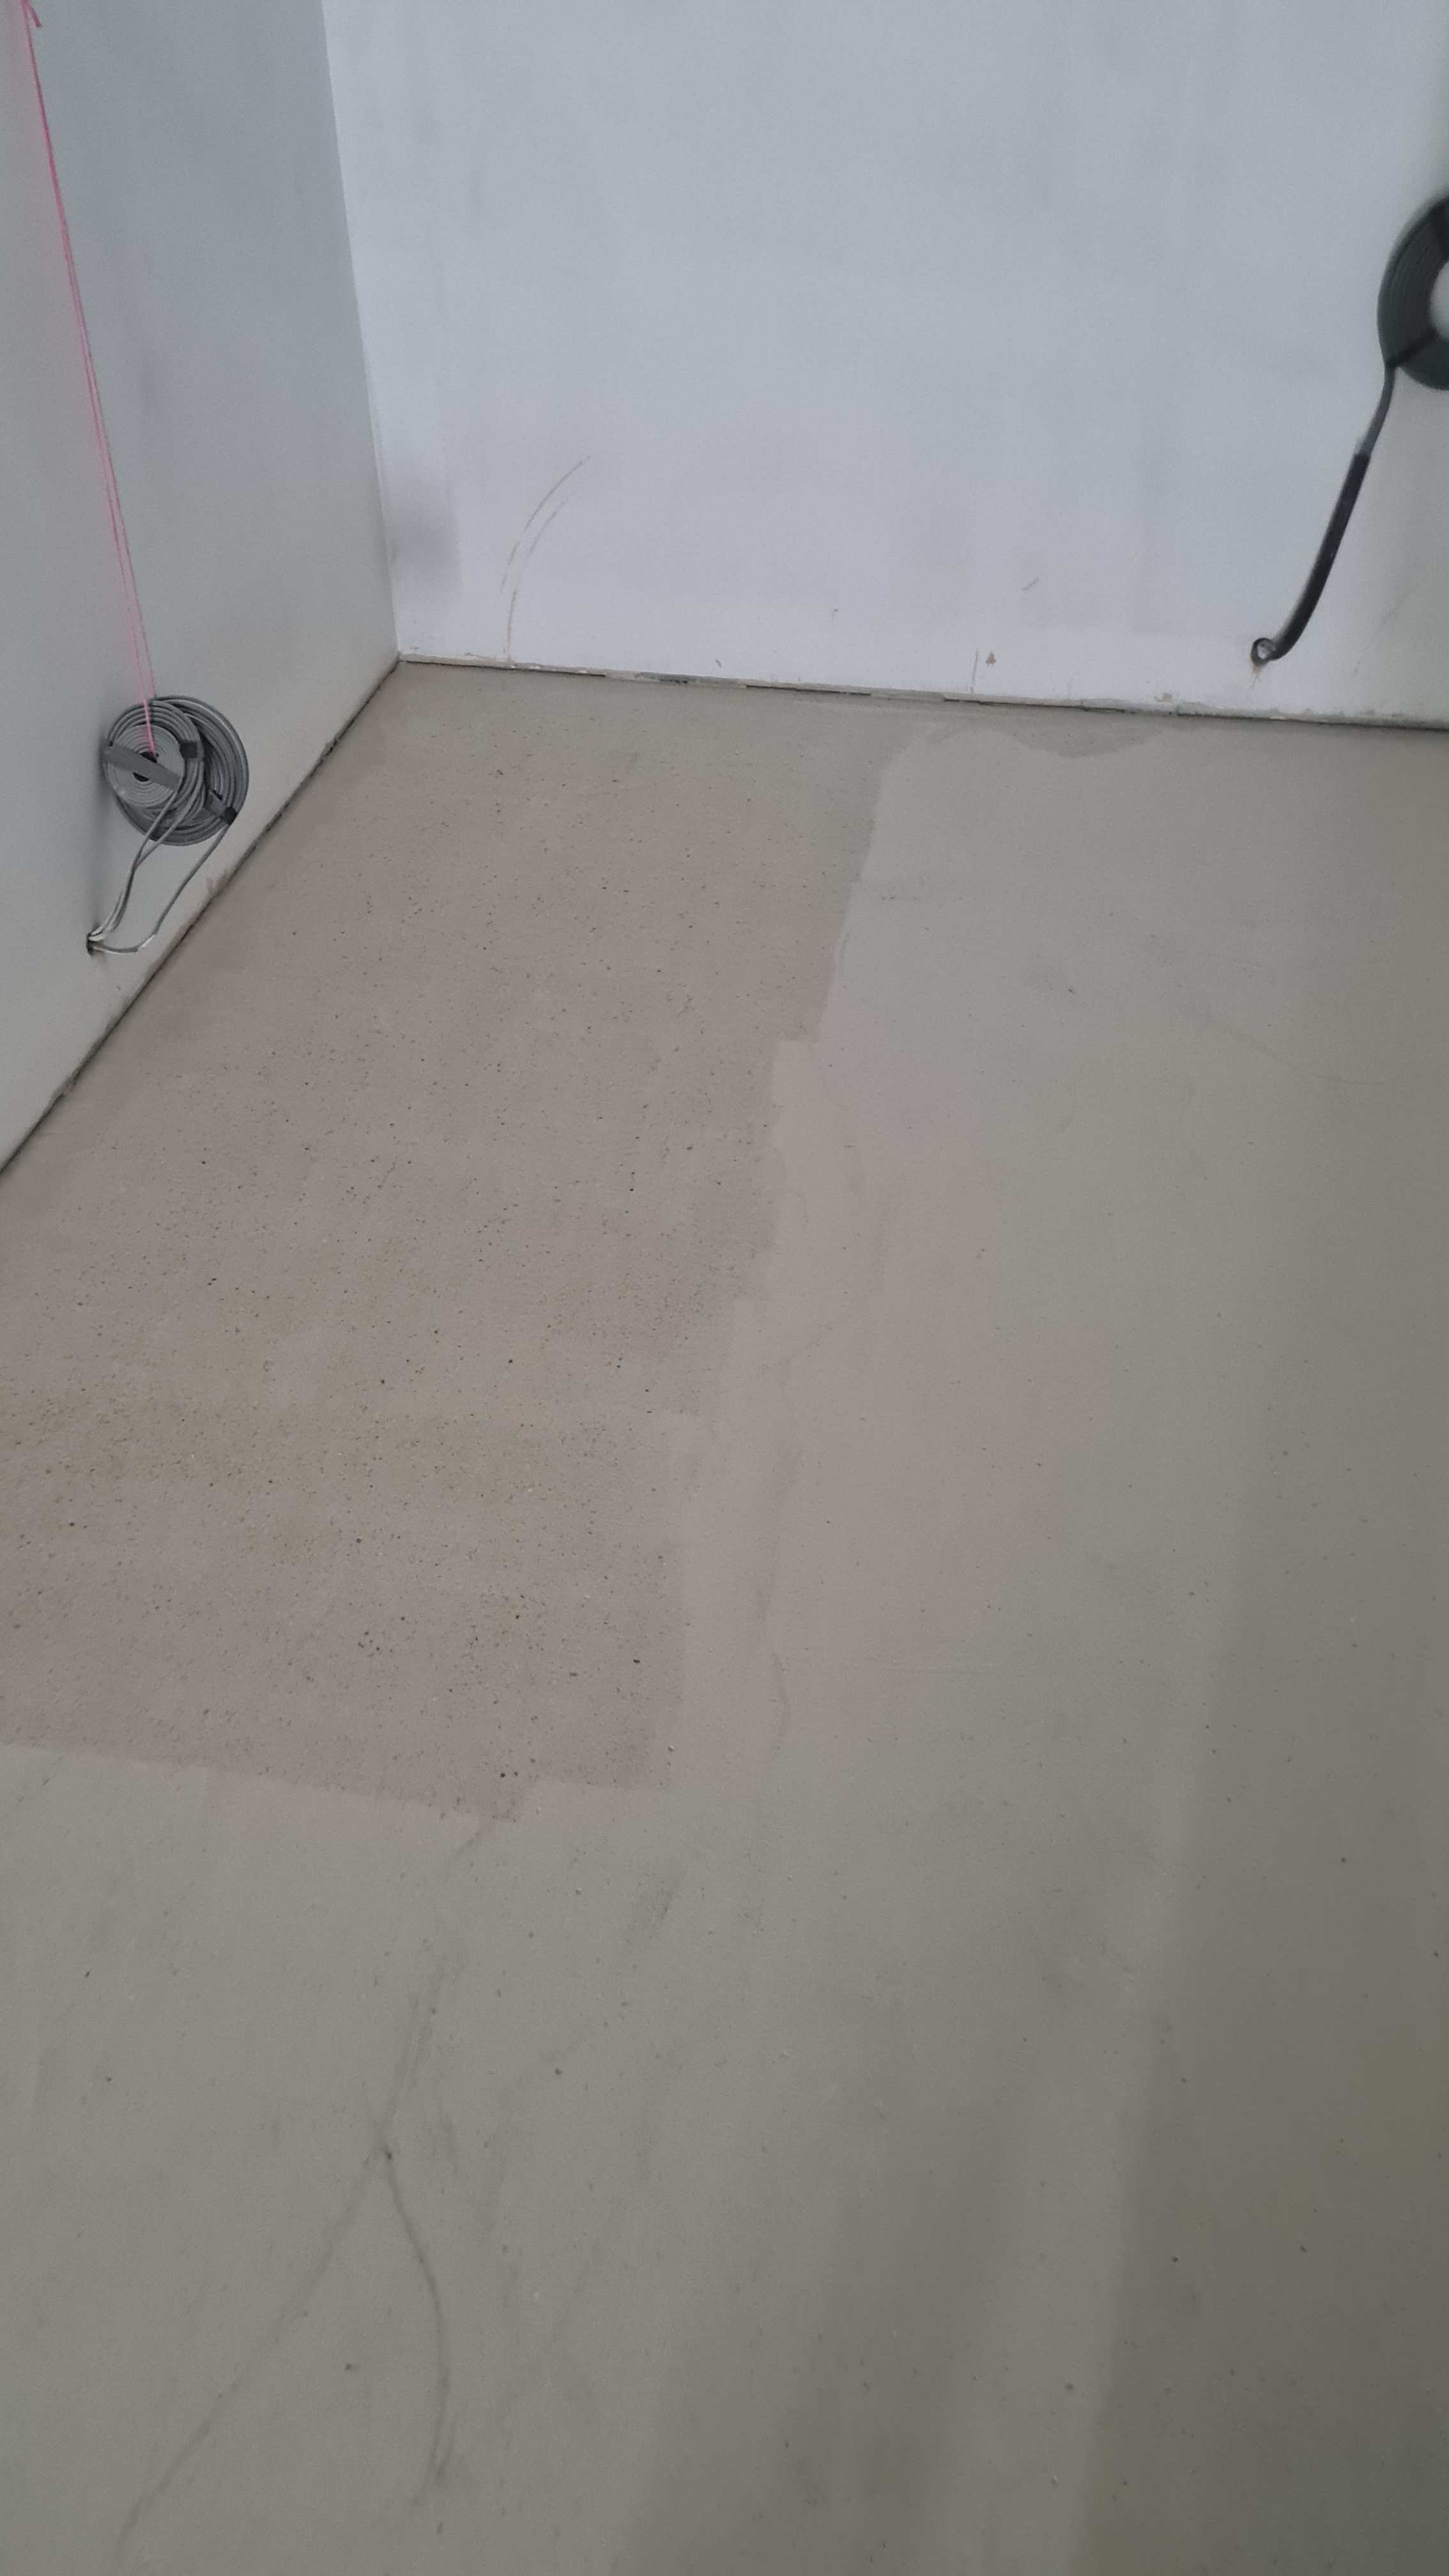
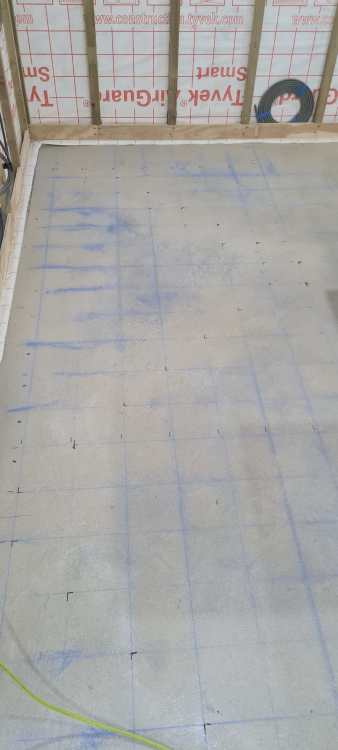
I marked my perimeter at the required spacings, then ran a chalk line from mark to mark to create a web pattern. Next I took a permanent marker and followed the web around each room marking the turns of each loop. Once I was happy I had the correct layout according to the designs I took some line marker paint and drew each loop out over the challk line, turning ay each marker pen mark. Once everything was drawn out and I was happy, as I was fixing onto concrete I marked and fixed down the pipe clips and started laying the pipe out from the manifold starting with the furthest loop from the manifold 1st and working loop by loop back toward the manifold in each direction until all loops were fixed down.

-
Heat pumps. Any negative points about 3 phase?
Barnboy replied to saveasteading's topic in Underfloor Heating
I've already looked at these, they're too long. If they would fit over the recess left from mine they still wouldn't fit as I had to make a recess to be able to get enough insulation into the reveal.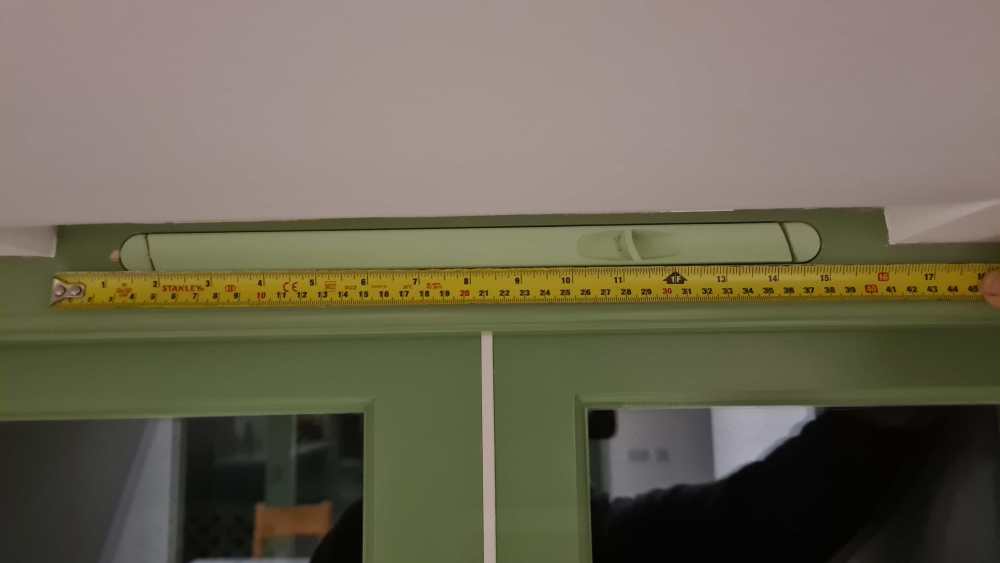
-
Heat pumps. Any negative points about 3 phase?
Barnboy replied to saveasteading's topic in Underfloor Heating
Only source of heat is from body, cooking and showering. -
Heat pumps. Any negative points about 3 phase?
Barnboy replied to saveasteading's topic in Underfloor Heating
https://www.ironmongerydirect.co.uk/product/trimvent-xr16-upvctimber-window-vent-recessed-352-x-16mm-white-906766 I think that these are the trickle vents that we have, I've looked and can't seem to find a humidity controlled replacement, I think that they are the cheapest the Joinery company could be bothered to find. -
Heat pumps. Any negative points about 3 phase?
Barnboy replied to saveasteading's topic in Underfloor Heating
We never had an air test as I've converted a barn and our regs don't require one. I wouldn't mind getting one done as I think that I've done as good a job as possible, but it's money I don't need to spend at the moment. A combination of indoor clothes drying and fresh air, outside humidity has been between 70% and 100% for the last month here and I've got the dehumidifier set at a target of 60%. -
Heat pumps. Any negative points about 3 phase?
Barnboy replied to saveasteading's topic in Underfloor Heating
All I can say is that I didn't do MVHR as I'd never heard of it and it wasn't spec'd by what we now know as our out of date architect. By the time I understood it I had most of the house boarded and plastered, I now wish I'd have made more of an effort at the late stage to fit it. We've got trickle vents, we don't open hem in winter as they cause a draught, but they still let air in and we don't have any heating yet. I've been running a dehumidifier for the last 6 weeks as once the temp outside dropped we had condensation on the double glazed windows in the morning. I'm now pulling about 5 ltrs of water out of the air every 24hrs or so but have no condensation. I'm trying to look into a way of retro fitting MVHR now, even if it's only 1st floor as that's vaulted to the downstairs hallway. If I were you I'd put it in whilst you can, don't get the main unit yet if you don't think you'll need it, but put the ducts in and blank them In a central location ready for when you realise you should have installed it. -
If its an anhydrite screed like ours then 1 day per mm minimum, comission you ufh too and then moisture test. Ours was down fo far longer and I couldn't believe the amount of moisture that still came out of it when I commissioned the ufh, our windows were dripping with condensation, you dried them and they were dripping again before you'd finished each window.
-
You could go back to the cave man system and lower it on to some lengths of round bar, roll it forward slightly on the rollers, then when the chassis passes the back roller, take that back roller around to the front and keep going, swapping back rollers to the front until you're out of the shed.
-
If I were you I'd make your builder rectify this to as the original drawing shows. If the dpc is just glued/taped, whatever to the blockwork, at some point you're going to get a leak and water ingress into your house. Get it done now rather than leave it and wish you'd have done it once it's leaked. Your builder has messed up, it's up to him to rectify things.
-
They don't need sticking to the floor, but do you fit these isolation strips / tape between the pan and Wall?
-
@Nickfromwales What about wall hung toilets ? I asked a 2 local pluming merchants today who both said that they'd never heard of these tape /strips .
-
@MortarThePoint I noticed something similar looking in the diagrams for my wall hung toilet but couldn't find anything resembling this stuff as there was not any text in the instructions to tell me what it actually was, just drawings. I tried putting some Armaflex tape on the back of the loo pan as an isolator but it had too much give in it and the loo flexed when sat on. @Nickfromwales I'd be interested in your thought on this too please, as my bathrooms are about to be siliconed so I can still easily fit some to my toilets if I need and can get hold of some. TIA
-
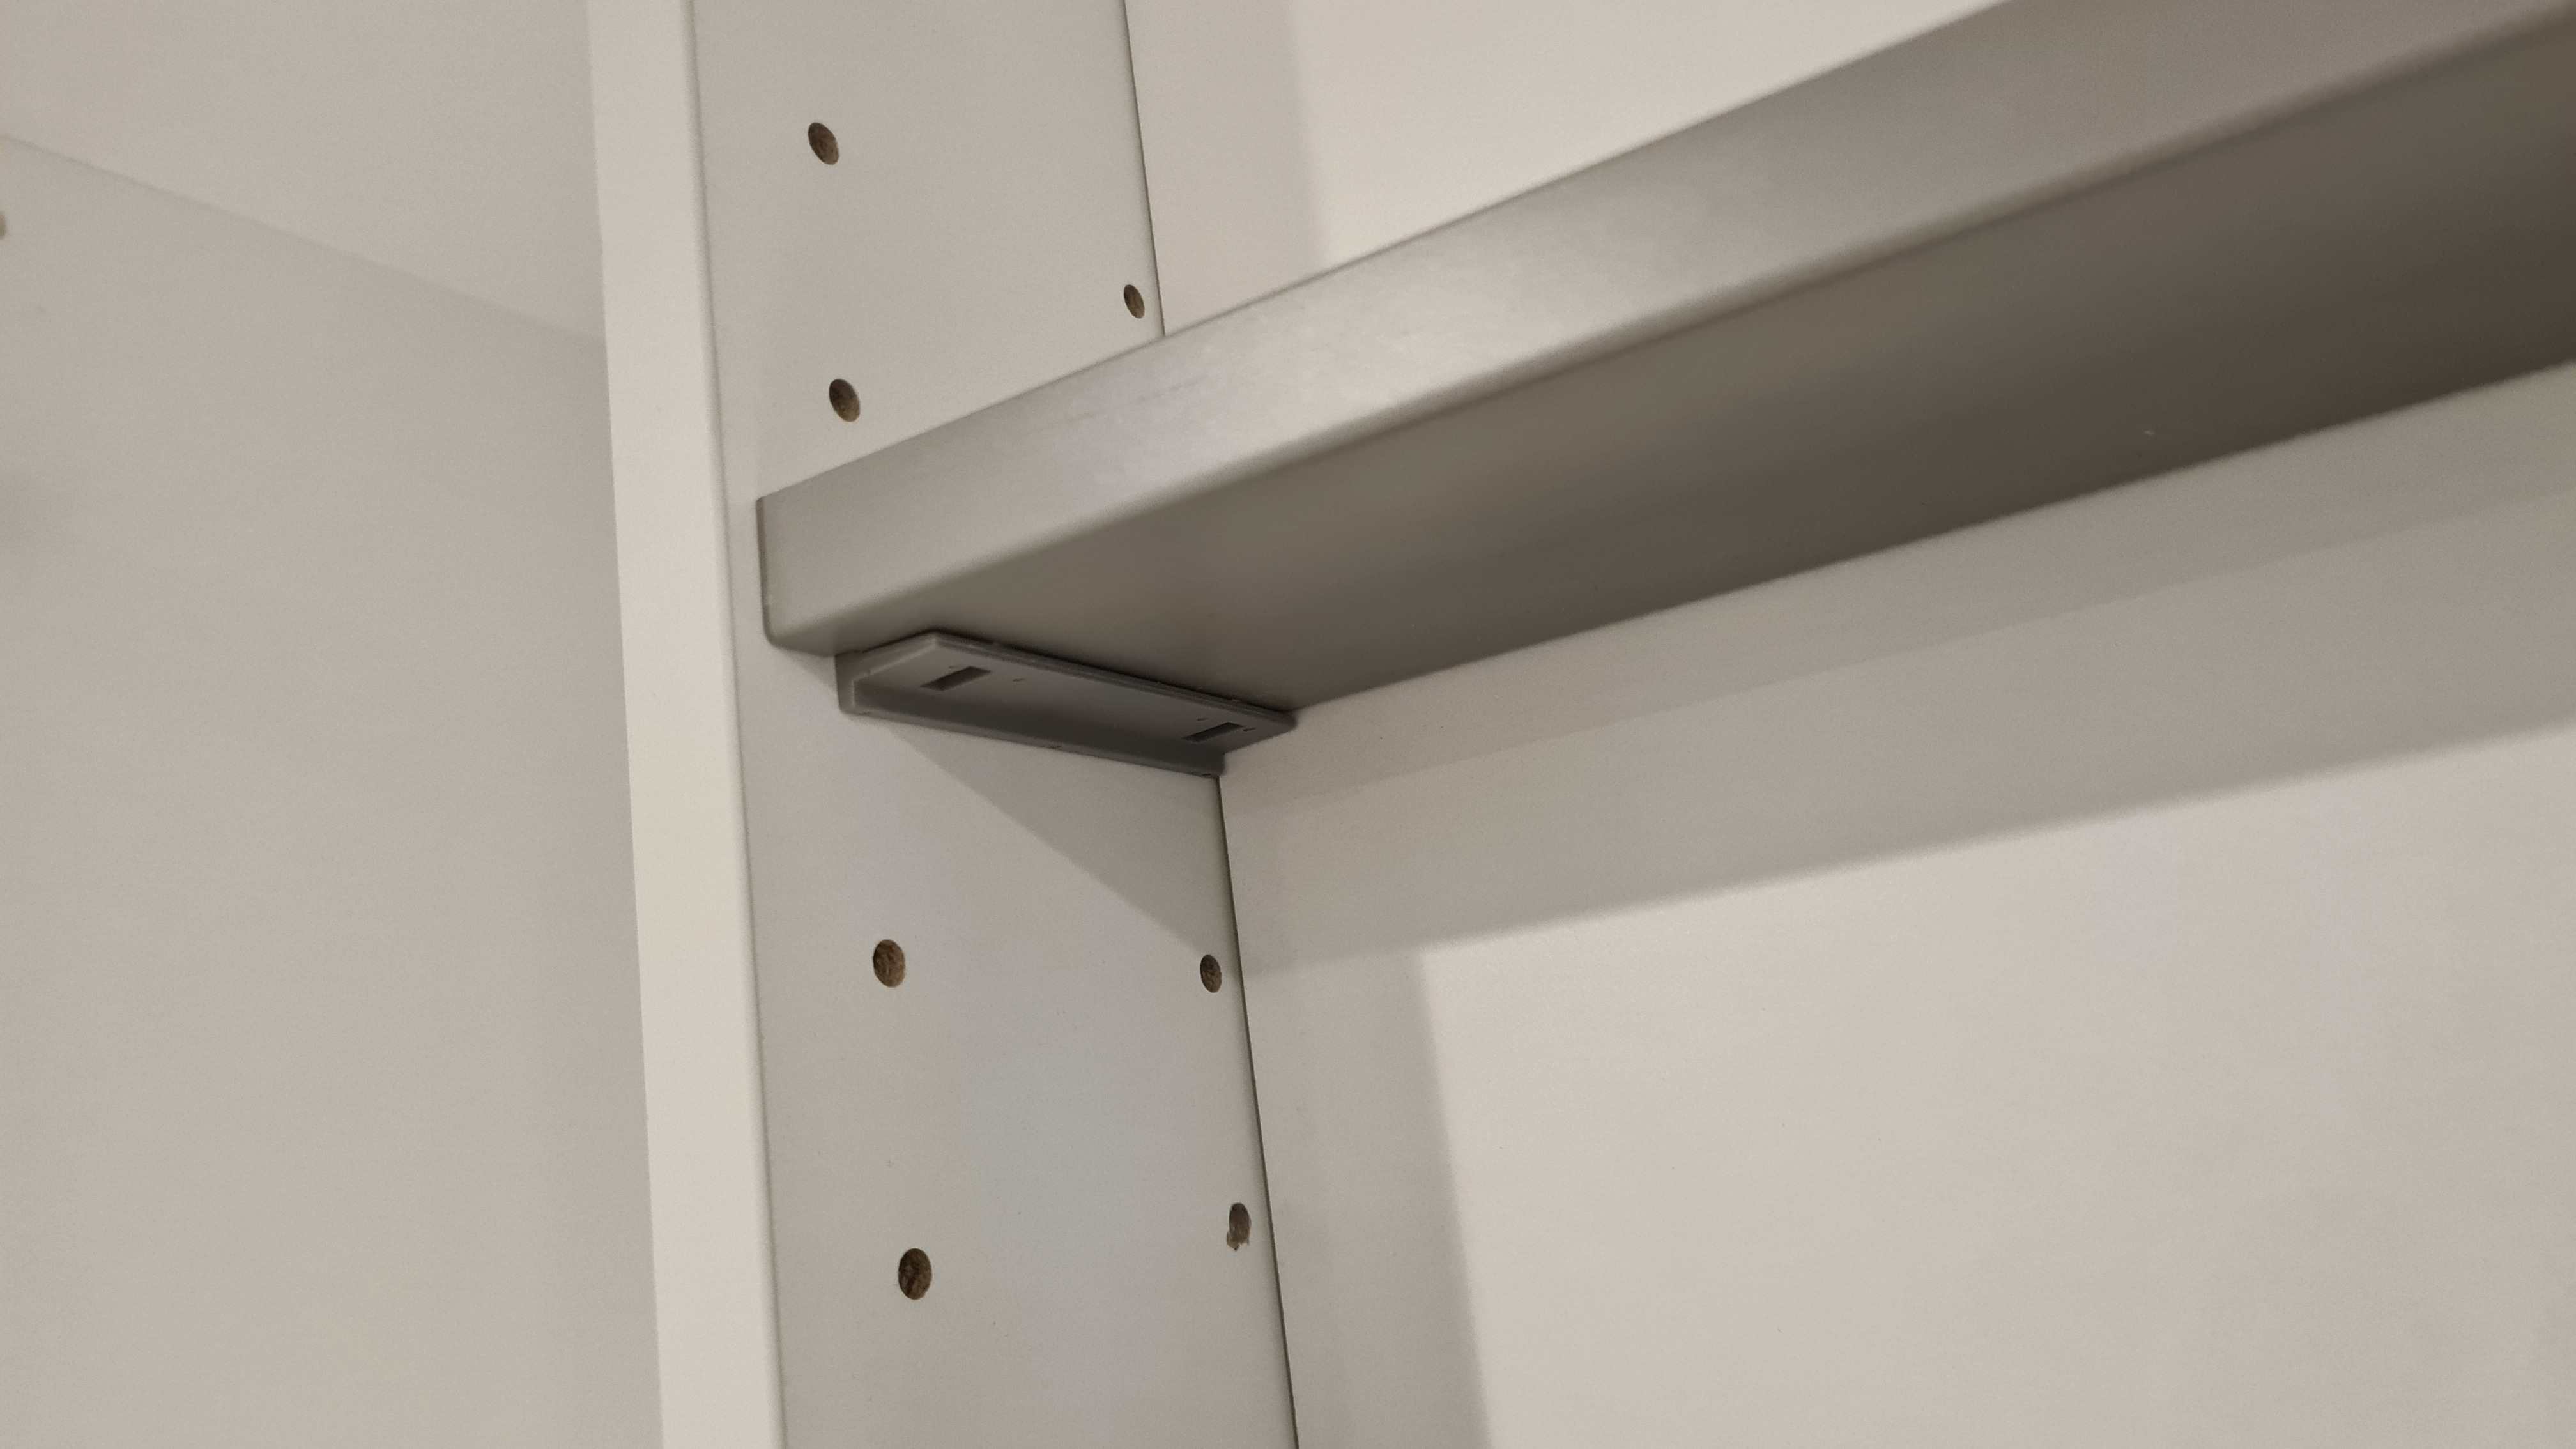
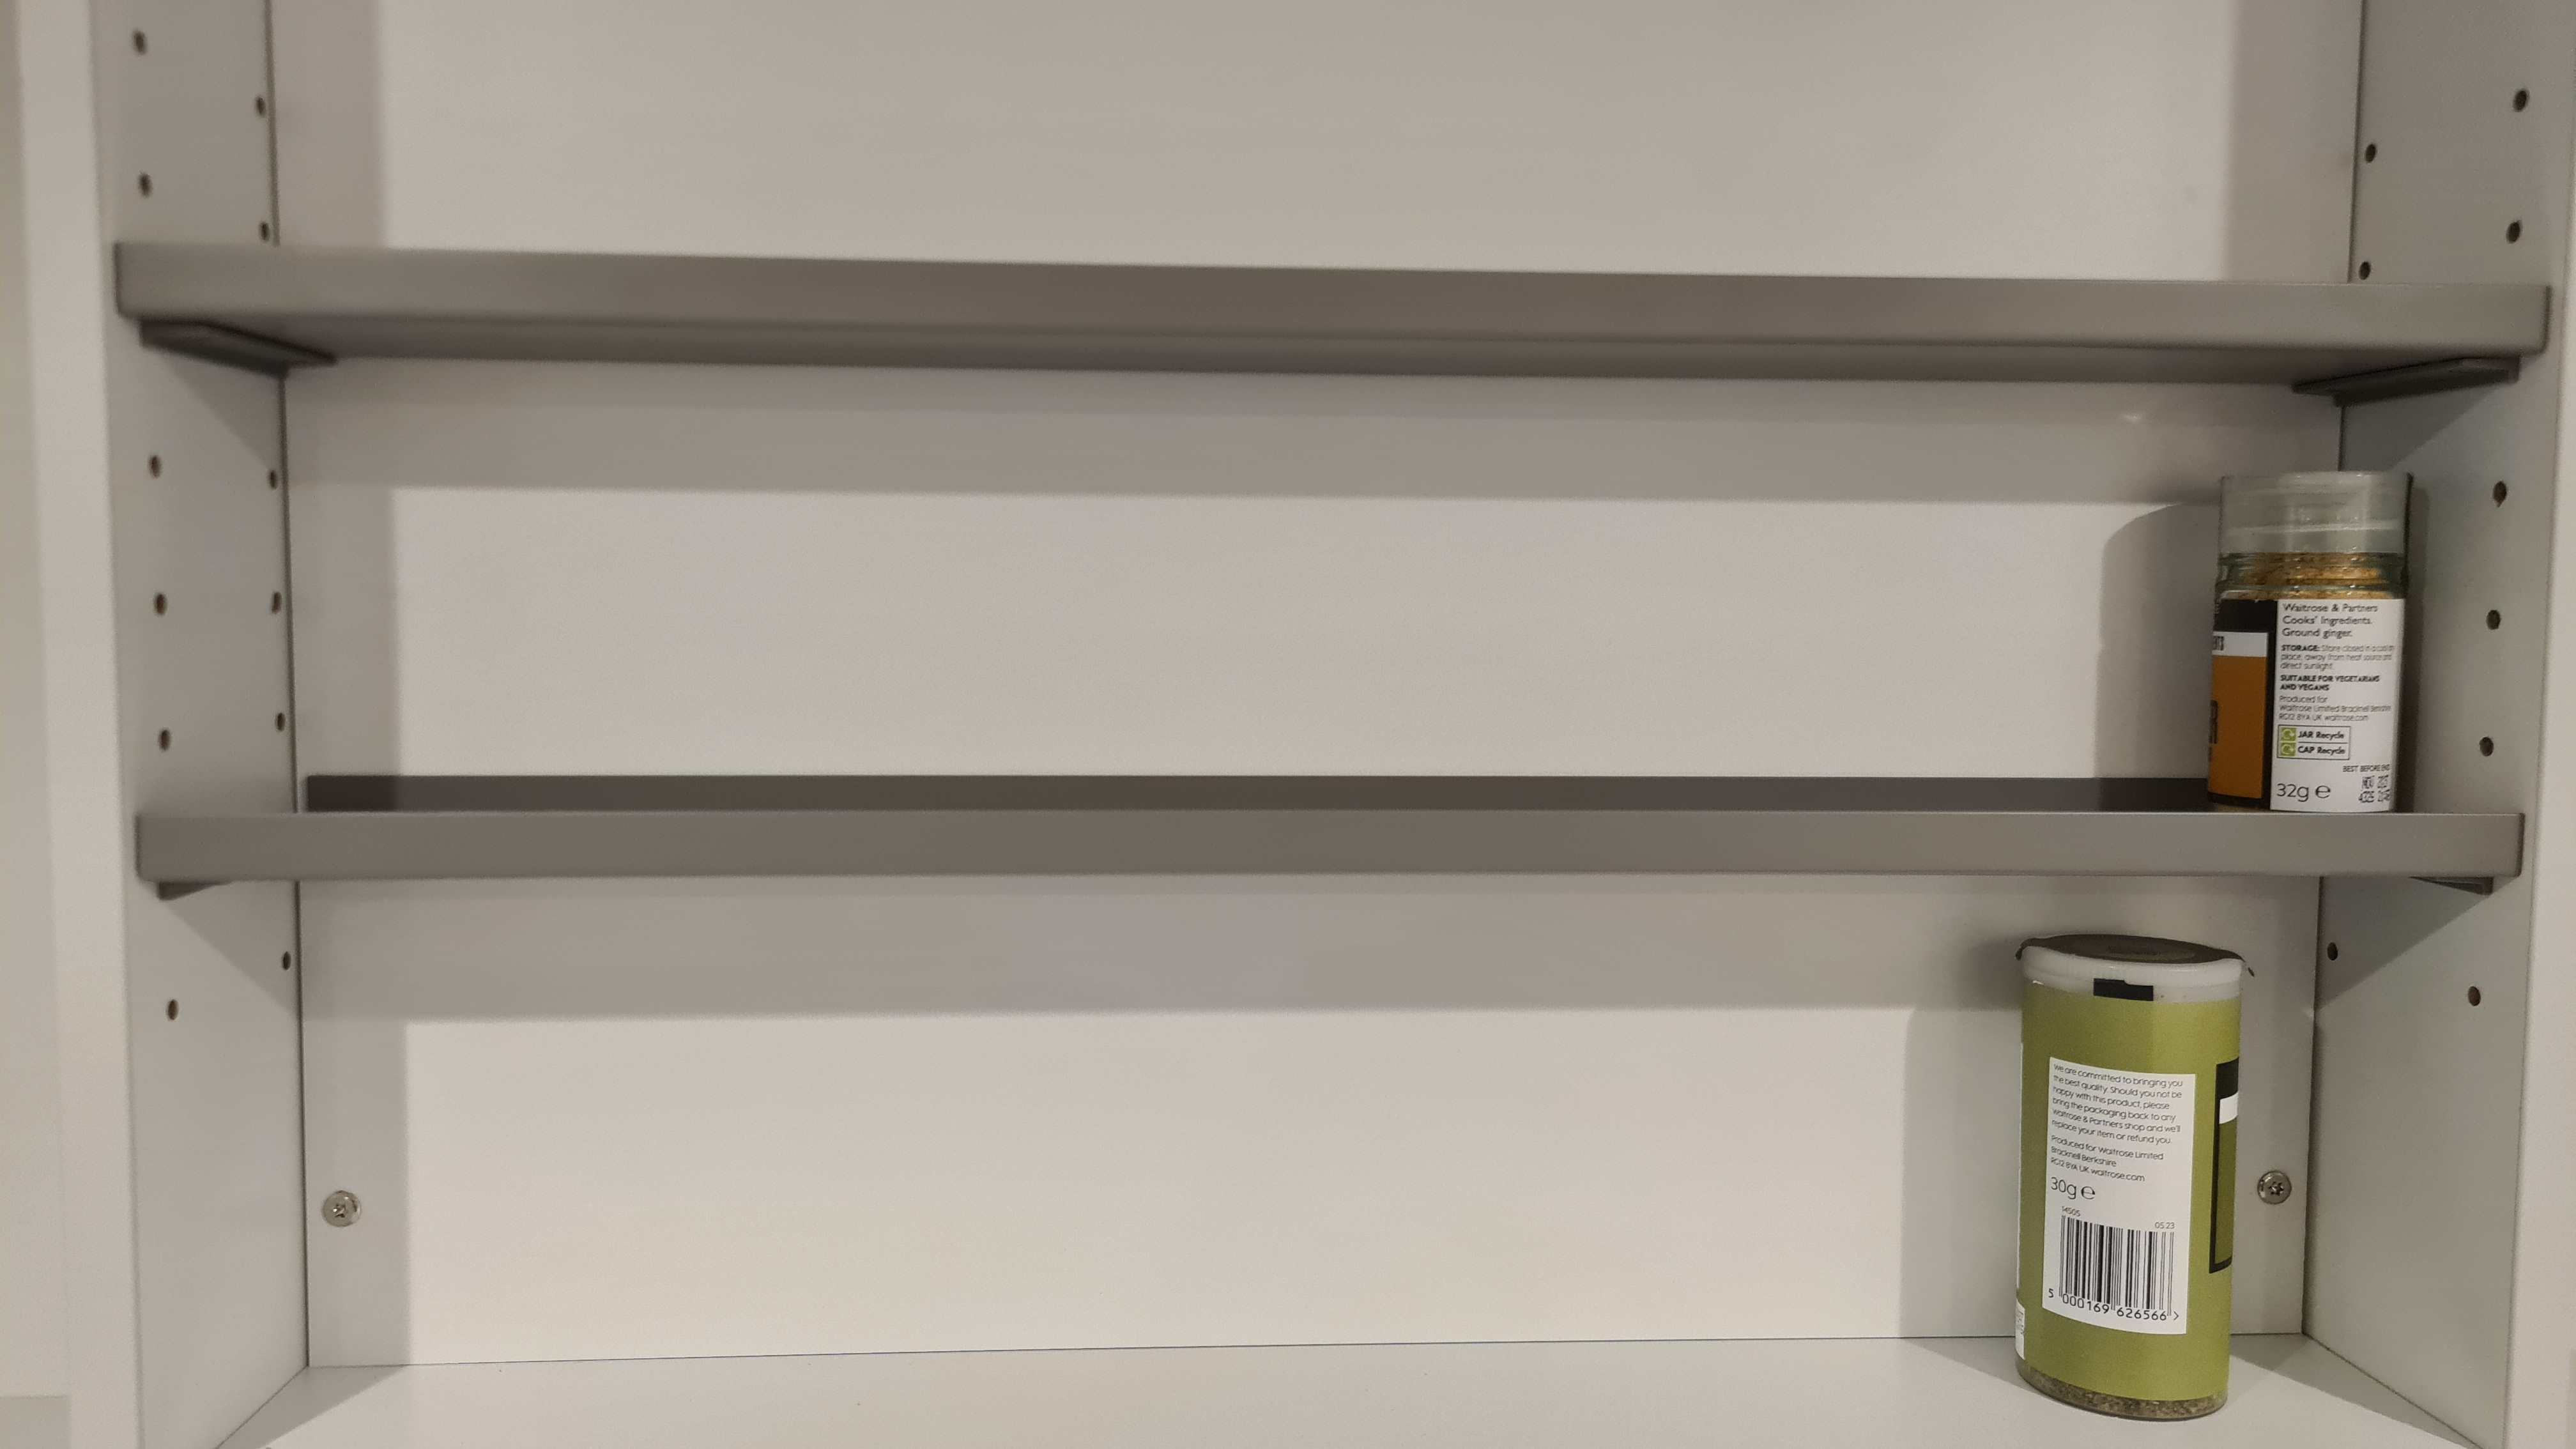
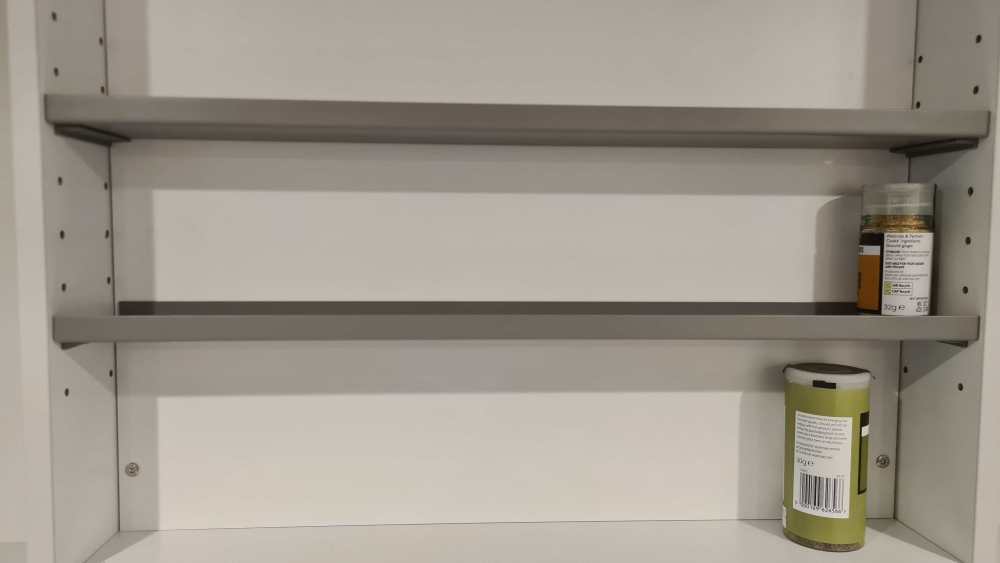
As promised, These are the 2 shelves fitted, along with plastic end brackets.

-
I managed to getbhold of Schuller who were very helpful, although slow. It turns out that these are spice shelves for above the hob in the extractor cupboard, there are some little plastic ends to fit them into some dowel holes, I'll add a photo for anyone in the future once I've wired the extractor and put the panel back in the cupboard.
-
I was thinking something to do with the dishwasher but there's nothing in the manual for that either.
-
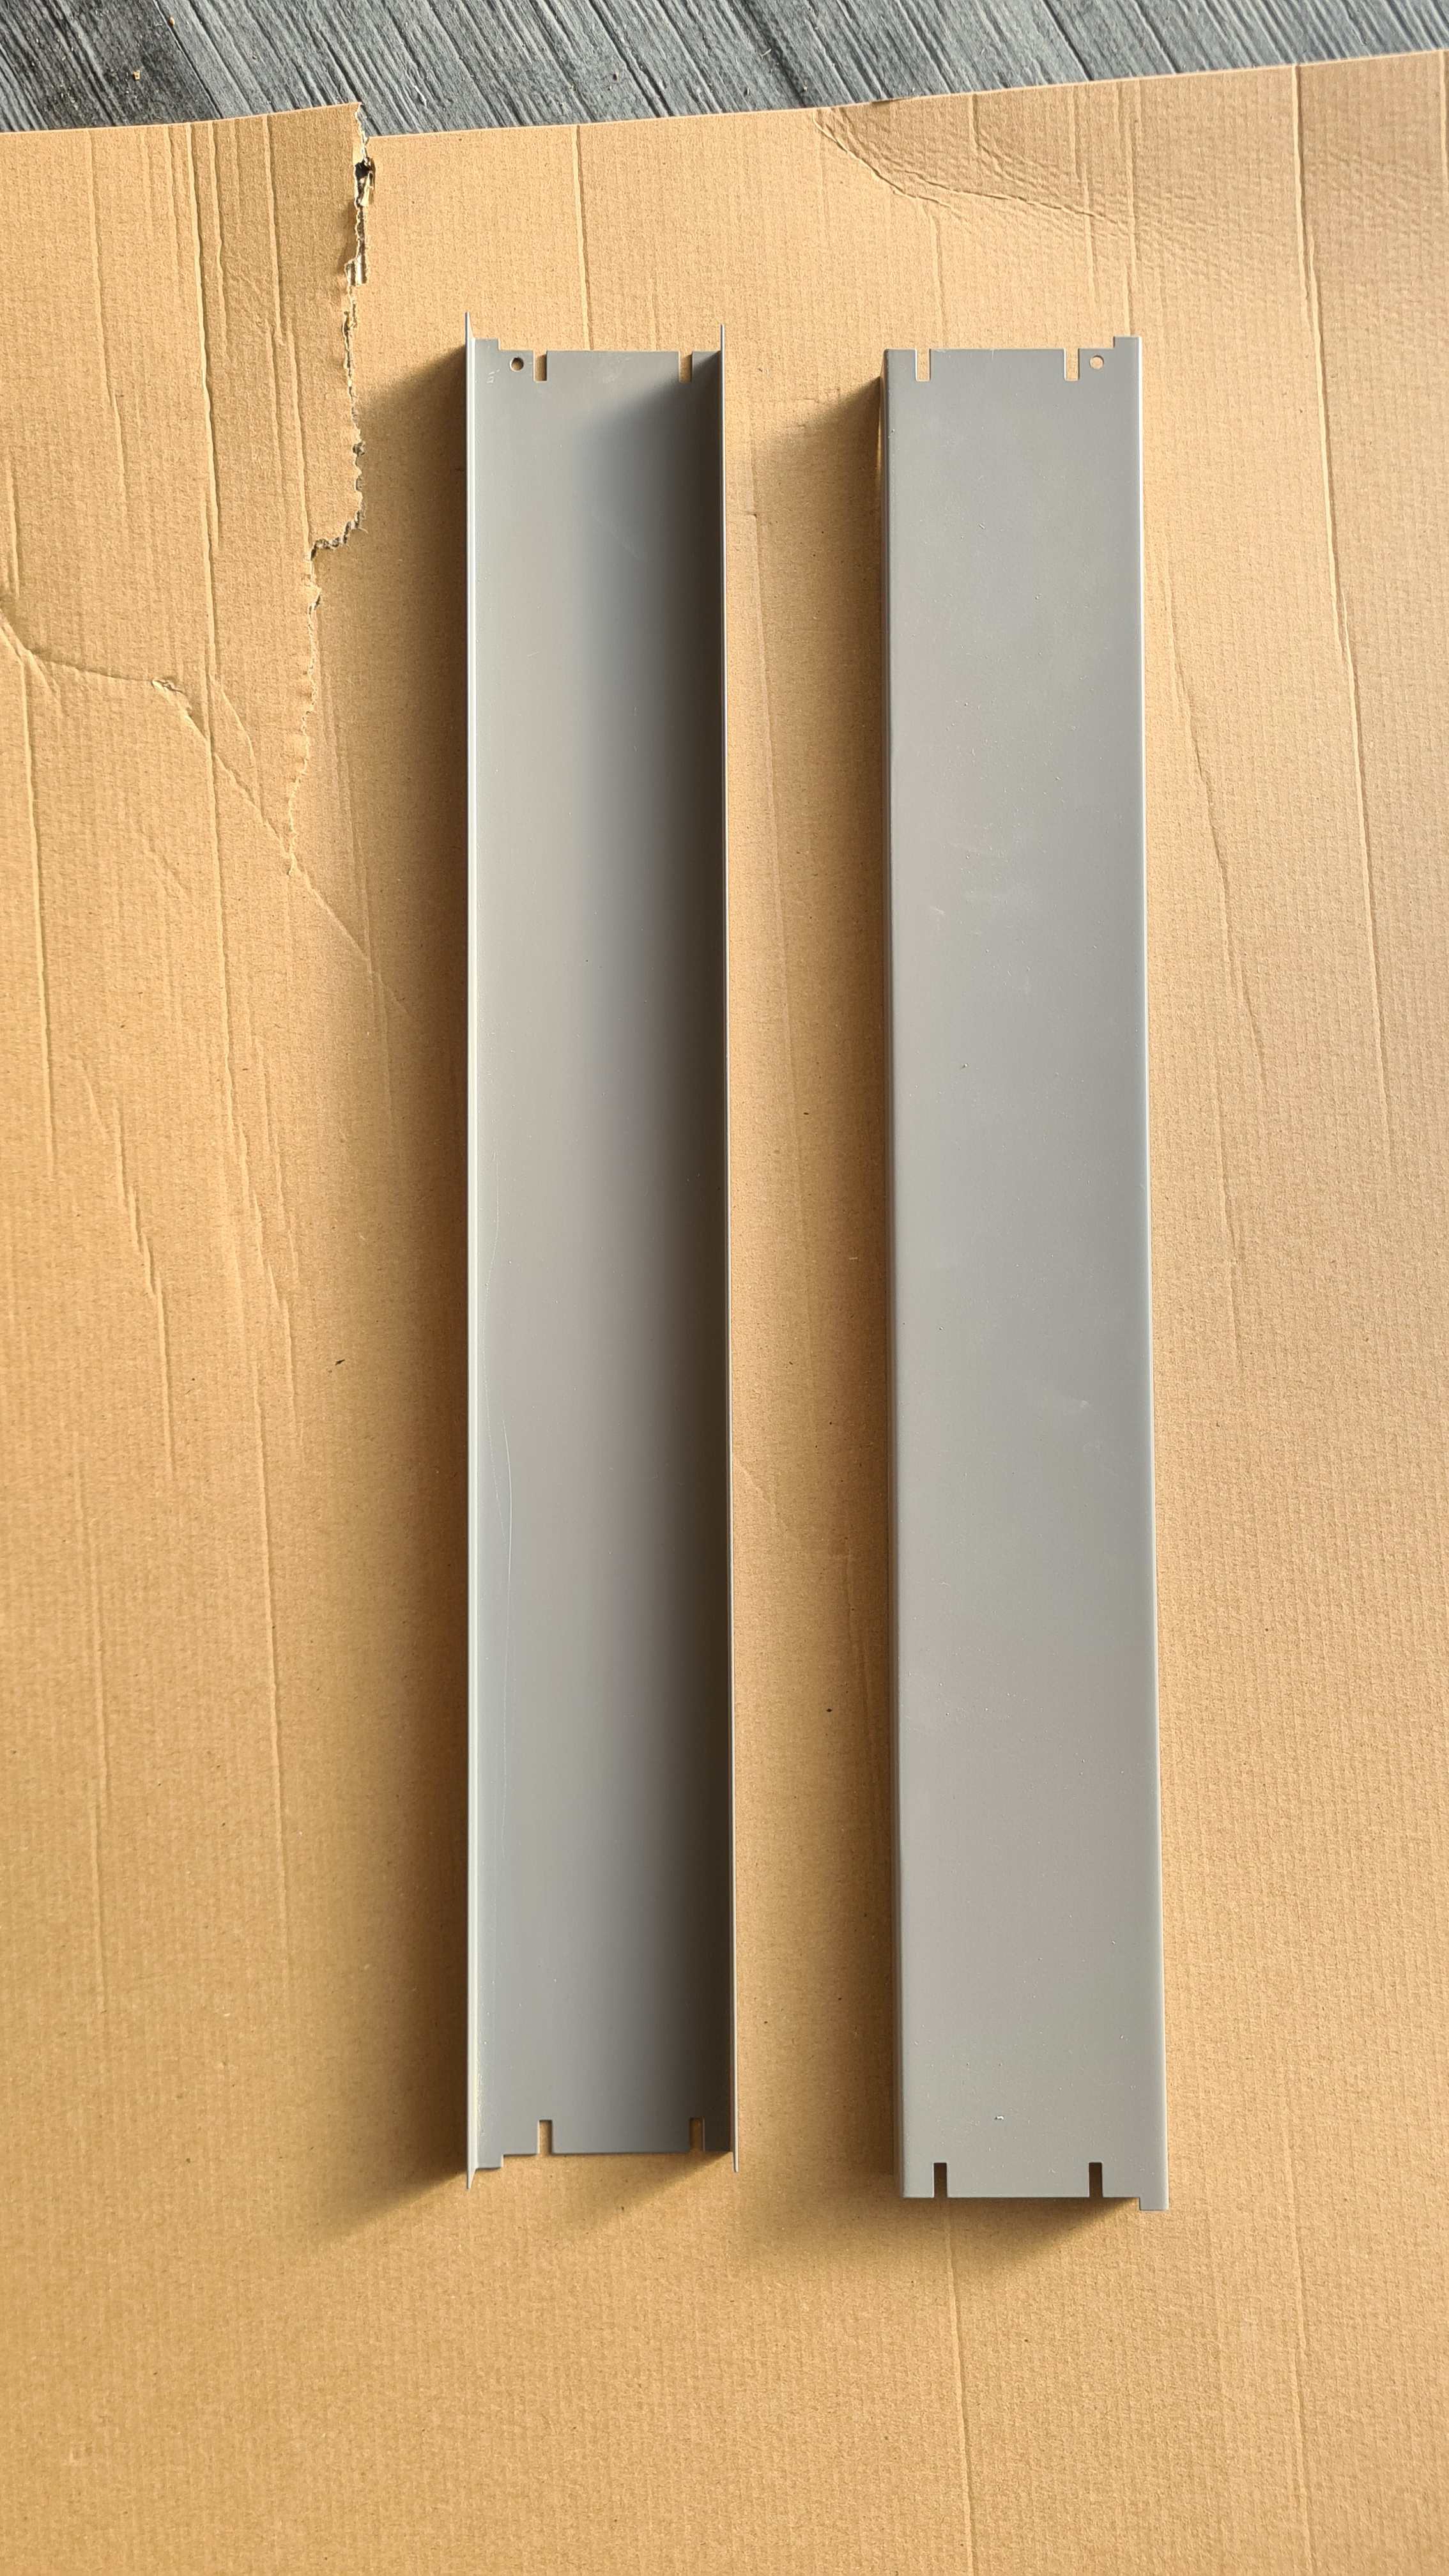
Can anyone help identify these pieces for my kitchen please ? The booklet and paperwork that came with it don't seem to show them anywhere and there are not any numbers on them to Google them myself. They are metal pieces and measure 80mm x 560mm without the small tag. They won't fit on any of the draws as they are the same length as the carcases full depth. Anyone recognise them ?

-
Trusted ct1 it is then. I think that there's a plinth so I'll bond the end support panel with some batten and give a blob to each back foot. Thank you
-
There's going to be a quartz worktop, so plenty of weight on top, I'm only thinking about the problem as the instructions show to screw down through the feet on the draw units, but I suppose the manufacturers have got to cover themselves incase you put a lightweight worktop on.
-
I've just laid out our units after having them in storage for nearly 4 yrs and have realised that as part of our breakfast bar / peninsula, which is 2.8mtrs long we have a 1.2mtr set of draws at the end of it which will be filled with crockery. My problem is how's best to secure this from tipping without screwing into the floor which is filled with ufh pipes ? There will be a support panel running across the back of the units and an end panel, I'm also thinking of screwing 2 battens underneath the full run of units to tie them all together securely and some good dollops of ct1 under the feet, what more can I do or will this be enough ?
-
I was once told to put ufh pipes everywhere to allow for future redesign and then lay off cuts of kingspan under the kitchen units to stop the heat rising up into the cupboards.
-
I had hardly any dust whilst grinding, the skirt on the machine kept it down, the only time there was dust was when I swept everything up.
-
https://images.app.goo.gl/uKd67 The one I hired was the same as this link, it had a disc of cutters rather than individual stone like the Husqvarna I've used before which was a handfull and nowhere near as clean finish as this one was.
-
This is my anhydrite screed after I'd taken a floor grinder to it and started hoovering after 3 rounds of sweeping. If you zoom in on the hoovered patch you can see that the aggregate has become visible and looks more open.

-
Make sure you seal the joint before painting, the rust is coming from between the 2 pieces of metal so you need to stop moisture getting back in there, otherwise it will happen again.
-
The rust showing is caused because the 2 metal sections have only been tacked together and then painted, leaving the joint open to ingress and unprotected. You need to clean the area with a wire brush on a grinder and then if it's a structural joint, weld it fully, if not structural, seal the joint with a good quality paintable sealer or automotive seam sealer, before painting.