
the windy roost Amenity Block - Part one

Entry posted by Jenki in Amenity timber frame.
2420 views
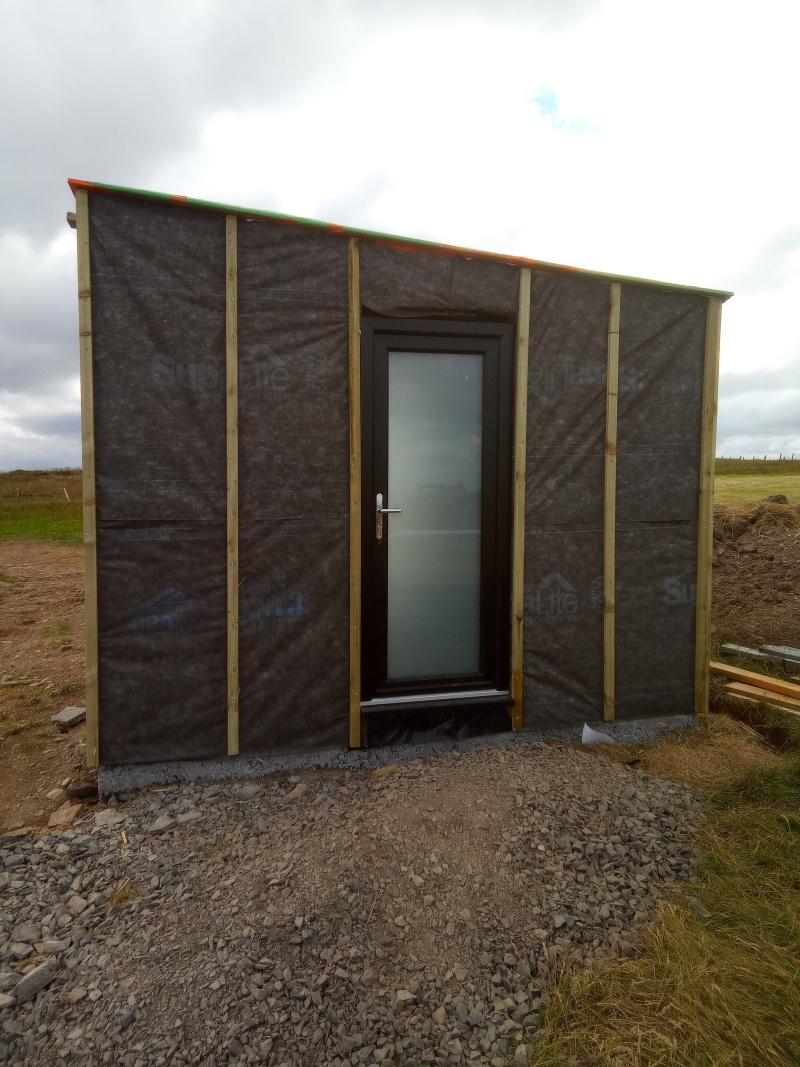
To finish my 22 days on site. I started timber framing, decided to start on the amenity block, as this will initially be for our washing machine and dryer, plus some storage. My aim was to get water tight -ish. before I had to get home for the weekend.
The poly tunnel (constructed this visit) - is my cutting shed, I set up my chop saw and worked to my cut list.
This was proof of concept on my build plans, and it needed tweaking, the roof to wall junction has been modified and will work, but I want a better / neater solution for the cabins.
here's my first attempt with the Binno camera.
The wind picked up (20mph with 35mph gusts, so I needed to get some structure and racking boards in place, so the camera set up didn't happen day 2.
I left site with it wrapped, and with the vapor barrier on the OSB roof. (with some 6x2 to reduce the wind uplift. I'll need BC to have a look before I put the insulation on the roof, as I want the insulations and rubber to go on on the same day.
This block and the cabins will be clad in Scottish Larch.
There's a gap above the door, that needs the final framing to be finished, but generally happy with the result. so far.
-
 3
3
0 Comments
Recommended Comments
There are no comments to display.
Create an account or sign in to comment
You need to be a member in order to leave a comment
Create an account
Sign up for a new account in our community. It's easy!
Register a new accountSign in
Already have an account? Sign in here.
Sign In Now