Part 4 - Foundations Stage 2 - Stones/Sand/Insulation
Quickish update only because I seem to have run out of hours as now we are building, balancing family life and a full time demanding job.
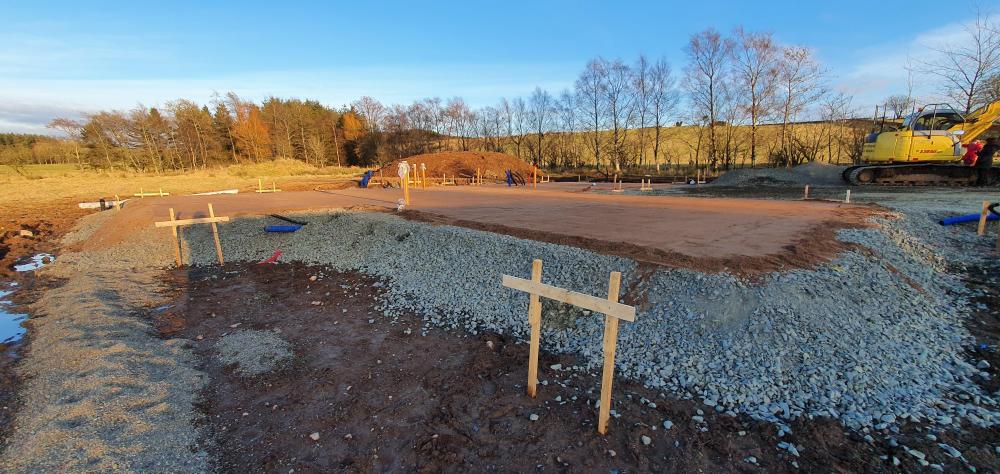
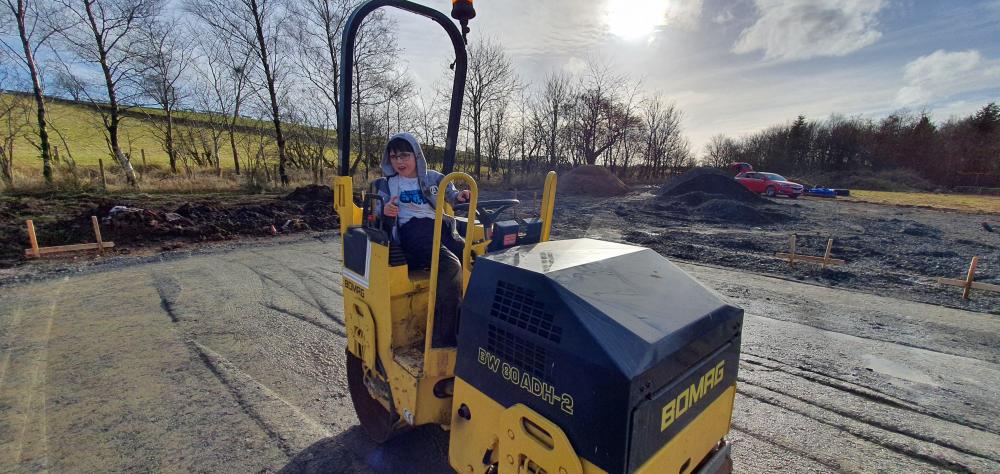
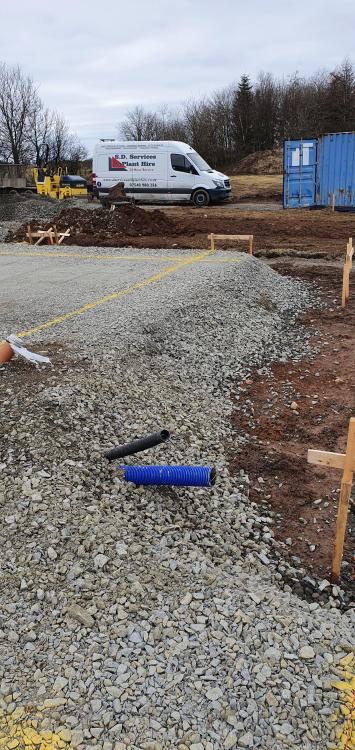
So after the last update, where the stone wasn't really getting solid. I ended up getting it dug out, it was bothering me too much and I was completely worried about it. It was no major issue the boys dug it out in an afternoon, then put dry type 1 back in there and compacted down and built the levels up no hassles. We had a full dry week so it made a massive difference and they were able to get along much much quicker.
In between the stone drama I had the surveyor on site and we set up profile boards to set out the corners and main walls internally that I needed to reference off for ducts. I set my boards up so that the string lines lined up with the lower portion of the insulated foundation once I came to the stage of setting that out. Doing it that way worked well.
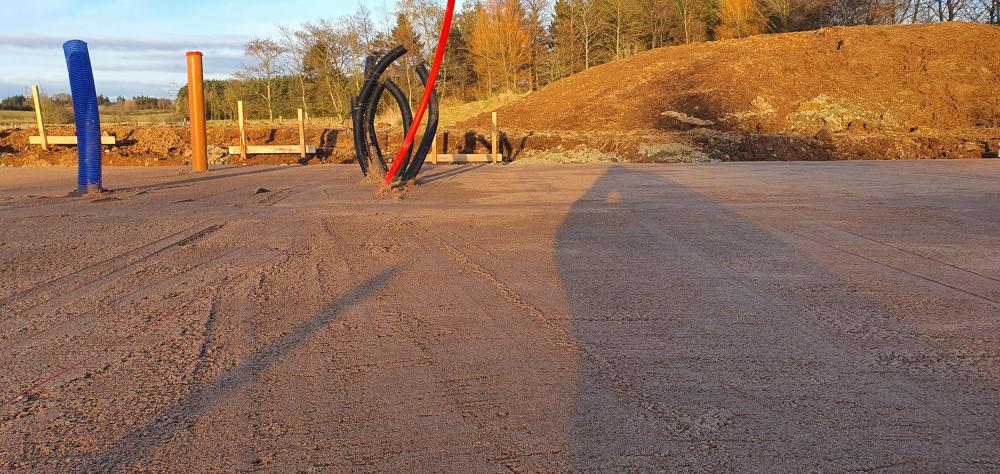
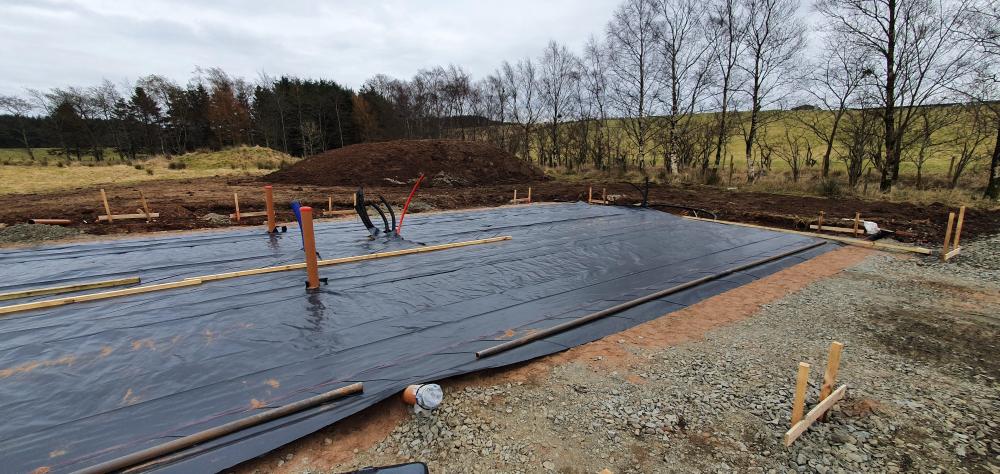
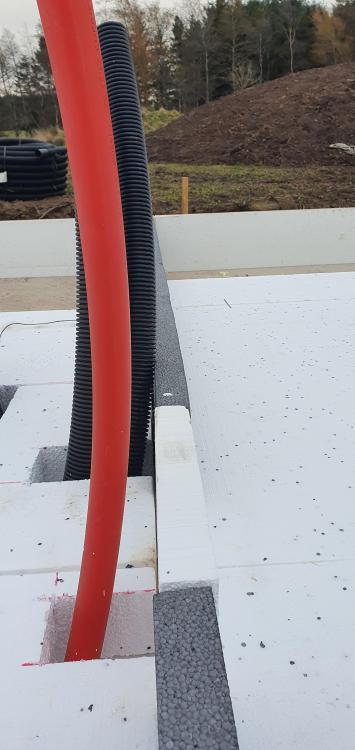
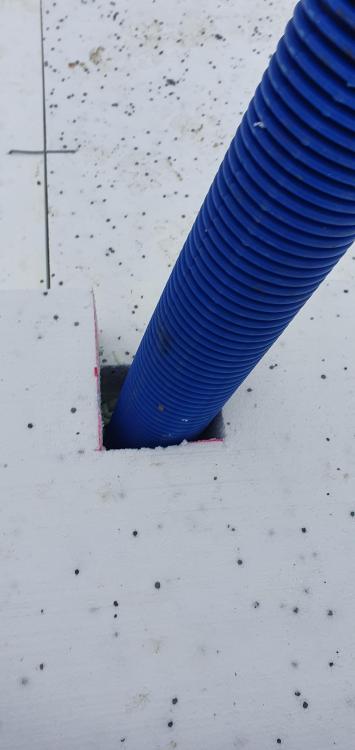
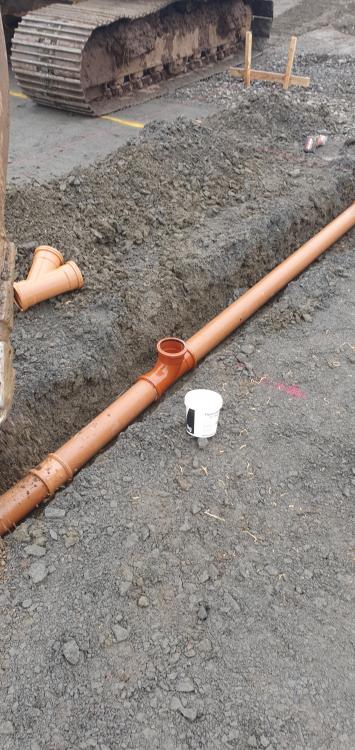
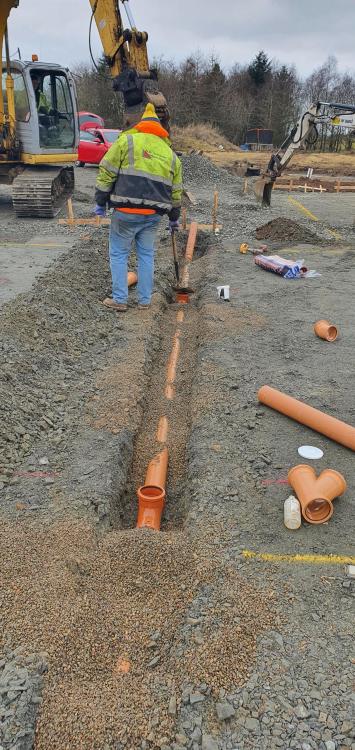
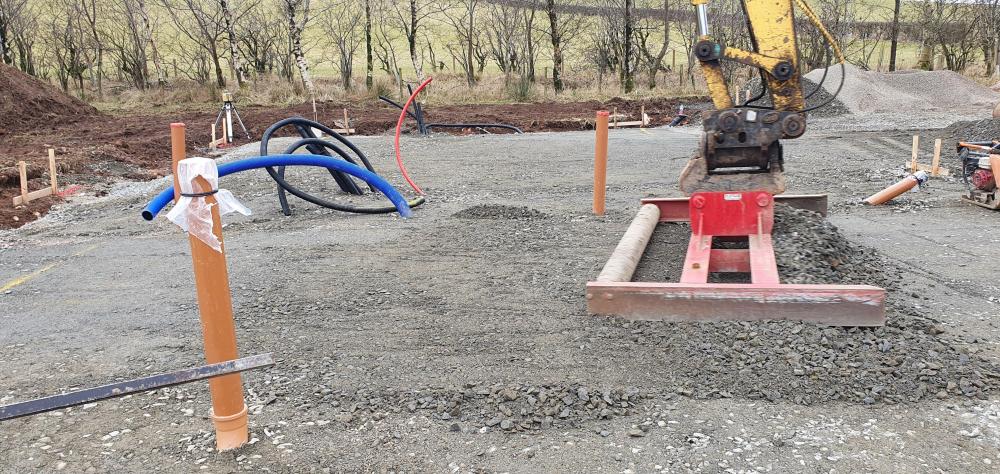
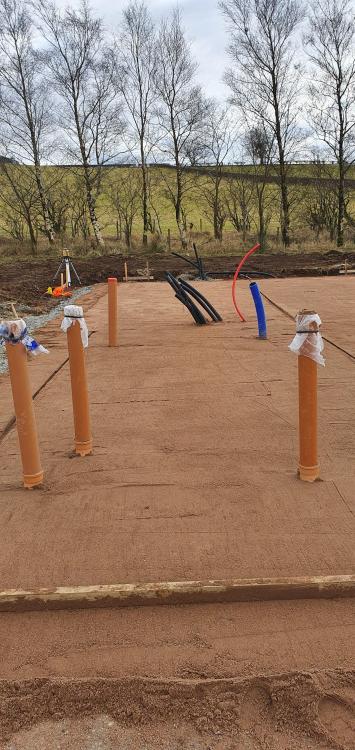
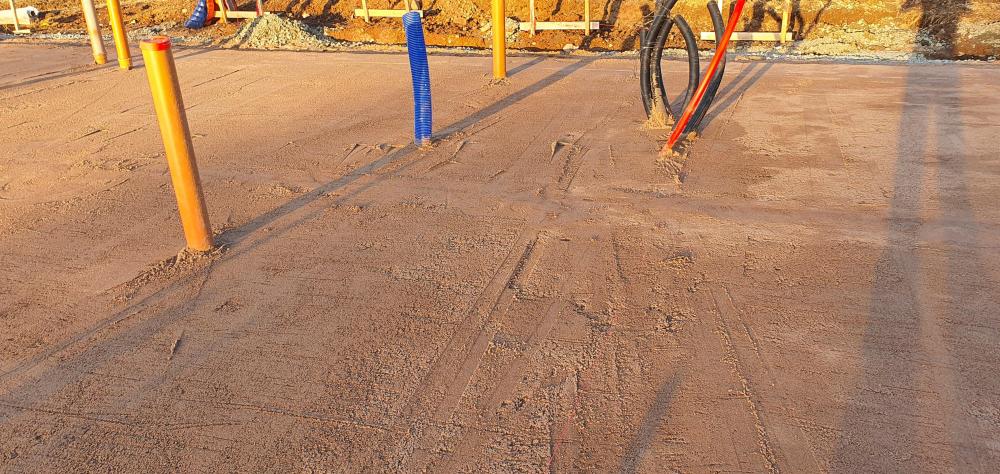
They built the stone up to level, then we cut all the ducts and drains in. The groundworkers took my layout for the drains, then done what they wanted to do in instead, which worked better. They didn't fancy using the rest bends but I insisted in some places. They did prefer to use Tee's which seemed fine. I wasn't too bothered by this point. The ducts ae all mm precision hoefully along with the drains so they all pop up and I spent A LOT of time planning the plant room.
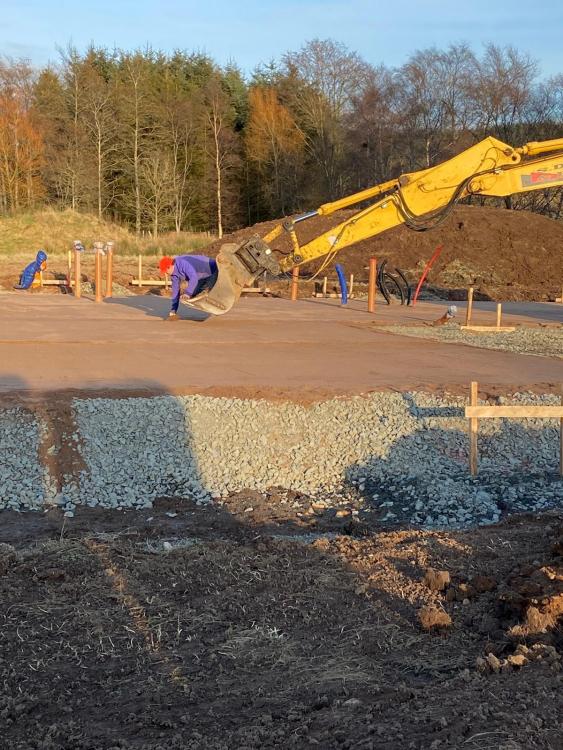
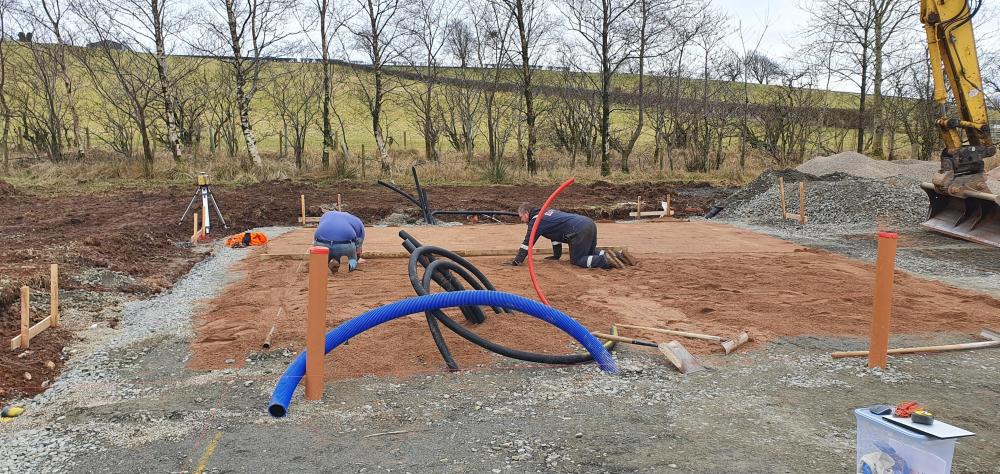
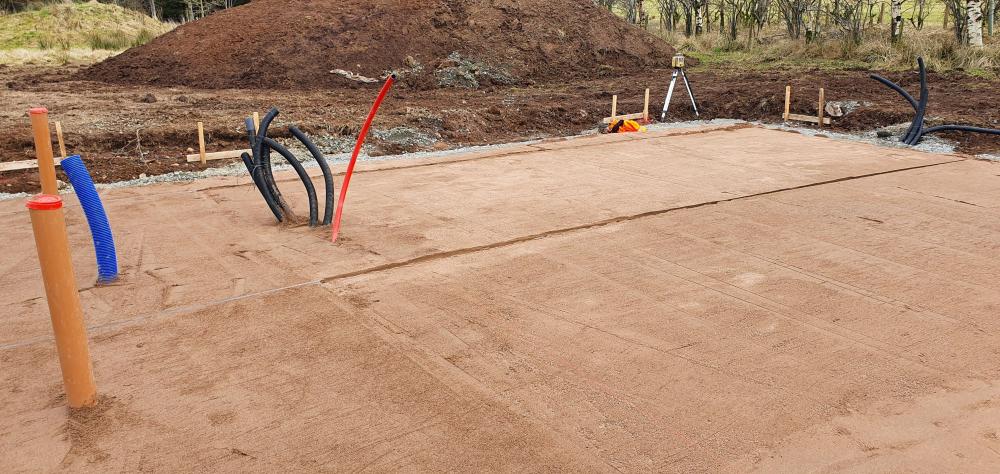
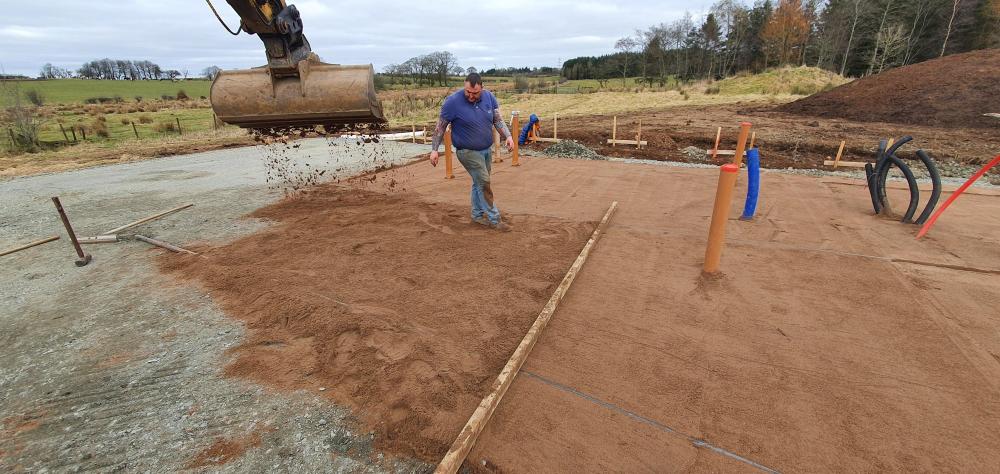
Then we screeded with 50mm sand. I used steel pipes for this and we set them up with the laser. It worked well and we had it screeded with 50mm sand in an afternoon. I used concrete sand for this which was wet but worked fine. That's a picture of me in the bucket of the digger doing the bits out in the middle. None of us could deal with leaving a hole in the middle.
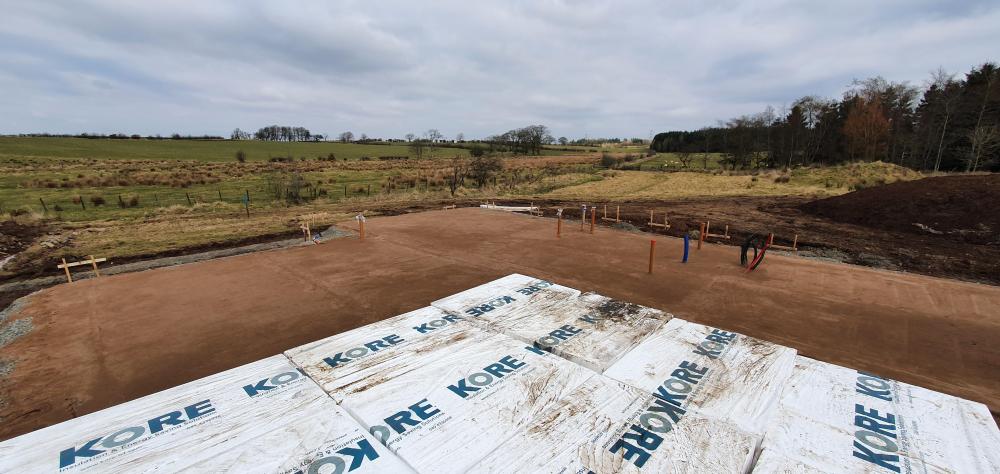
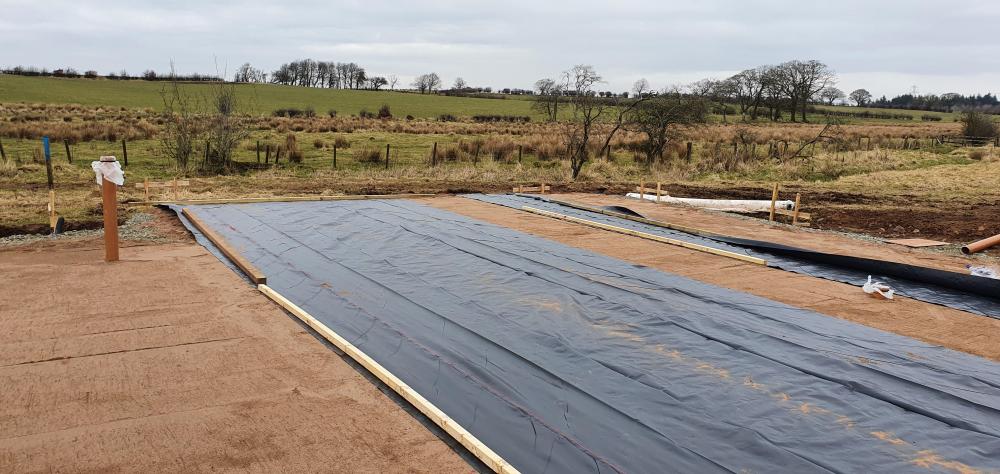
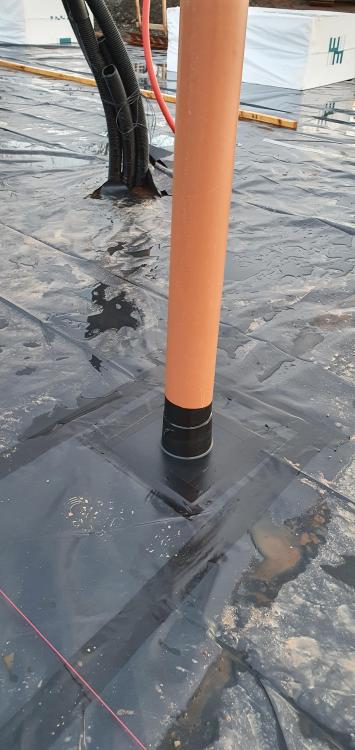
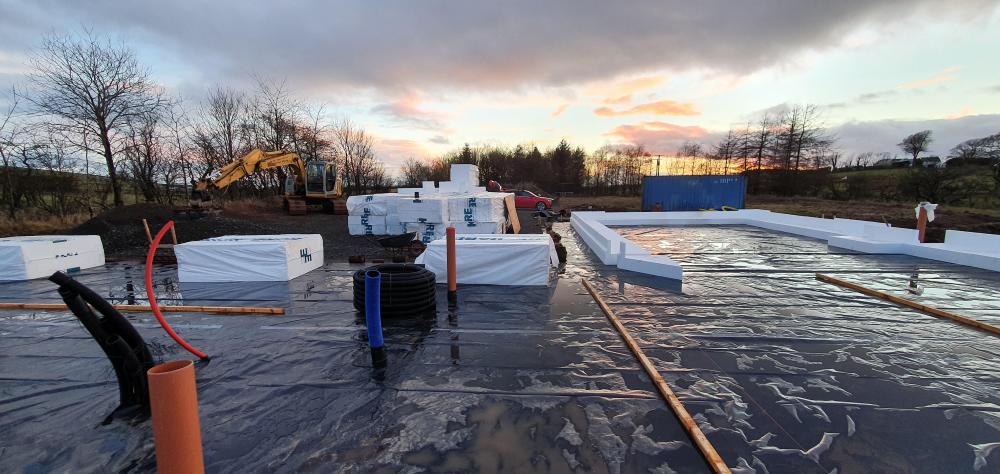
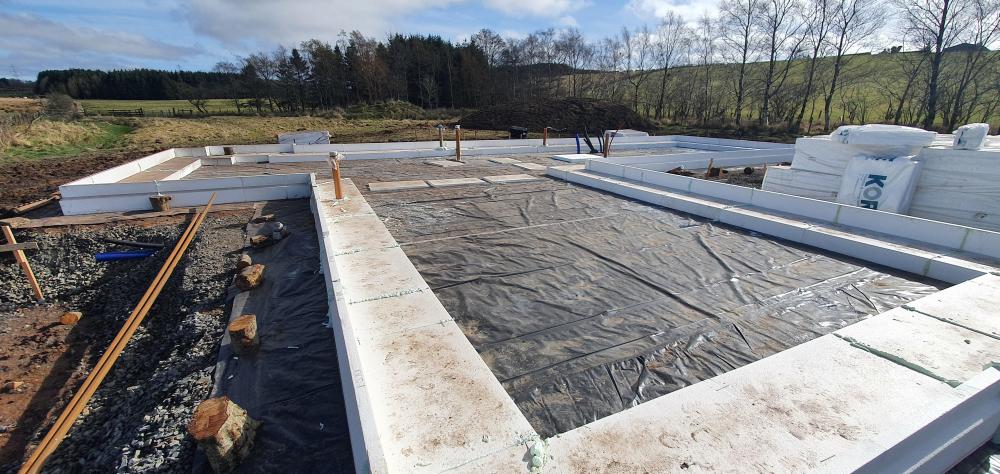
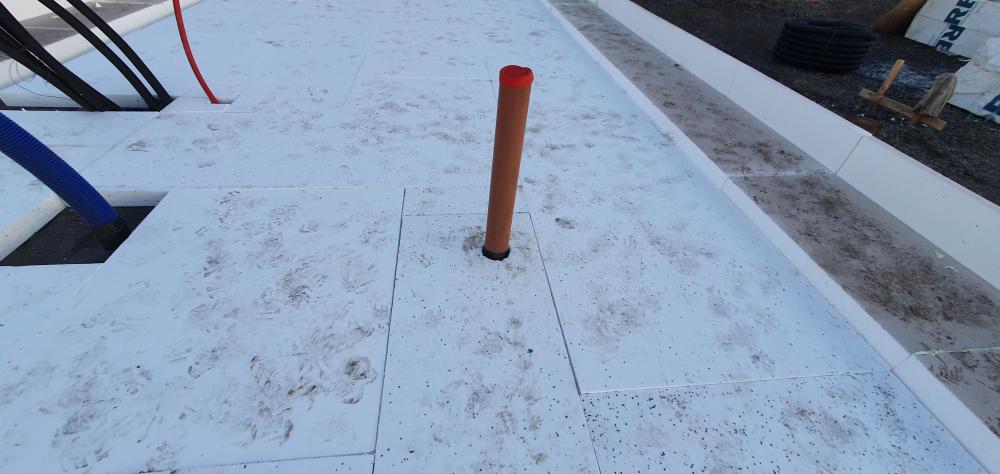
I got straight on to the DPM after this. My system has the DPM placed under the Kore insulated foundation. I did this all myself and had worked out all the joins on CAD befroe hand. It's easy to lay that way, albeit I hadn't anticipated the PITA it is to not walk on the sand but lay the DPM and then not walk on the DPM is impossible as i want it to stay level. I used OSB boards to move about most of the time. Cutting round drains is a pisser with the DPM, alsowhere you have 4 ducts popping up next to one another in a bunch it is also a complete pain. I did big cuts to get it over and it took forever to patch. I used top hats where possible and taped them in but there was some dodgy joints around where multiple ducts come up in a bunch - Those have been foamed to death now the insulation is down.
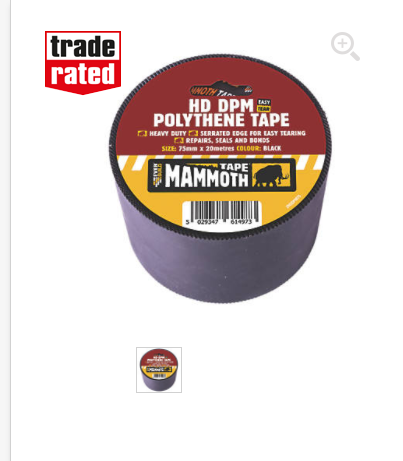
Things to note - the Visqueen DPM is good, their double sided tape is good. I actually kept it in a cooler with a hot water bottle to keep it malleable as it was pretty cold when I was doing it. Their single sided tape is absolutely shit, do not buy it. Toolstation single sided DPM tape is also shit! However the Screwfix DPM tape is mega, stick like mad no matter what. really impressed with it. here:
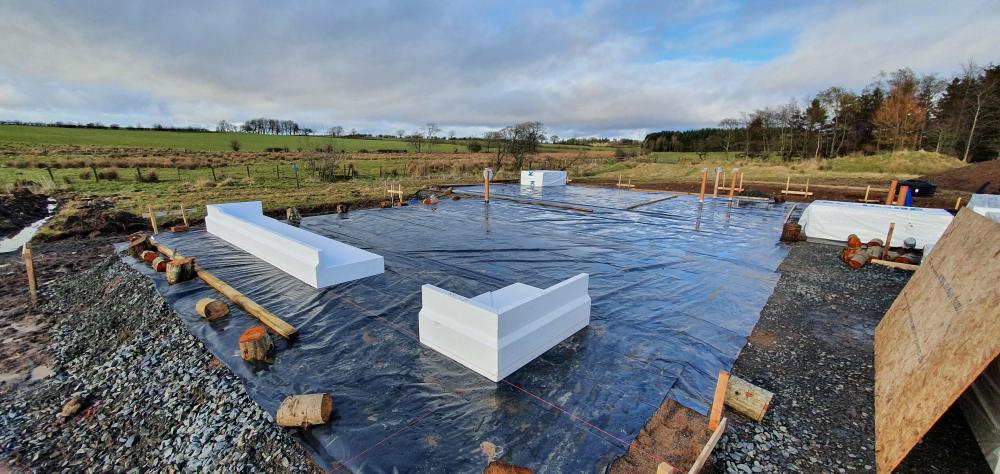
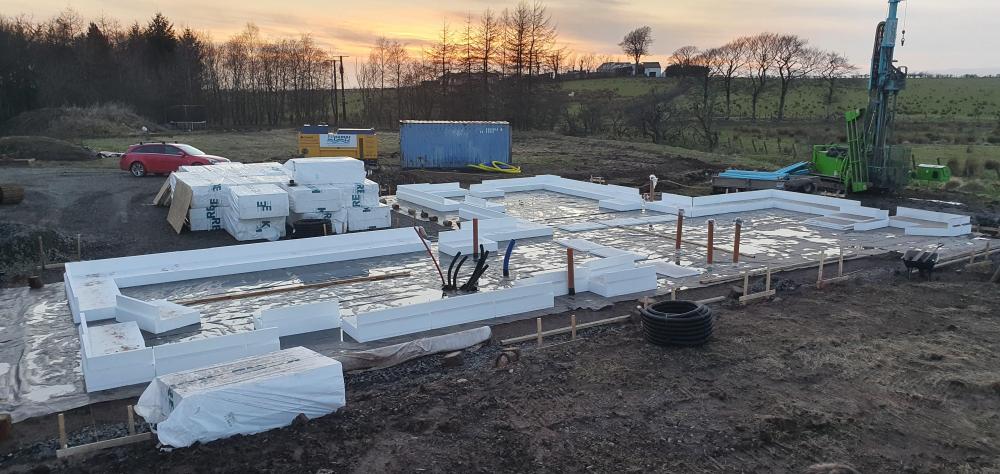
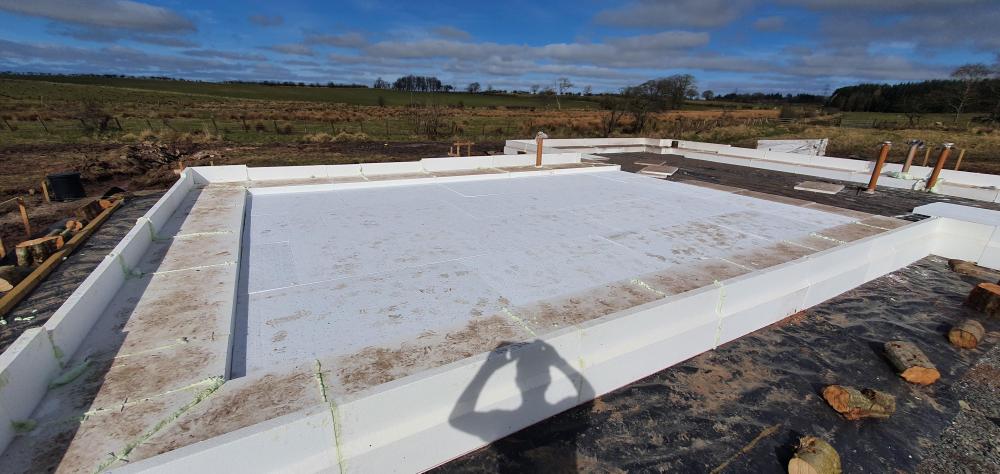
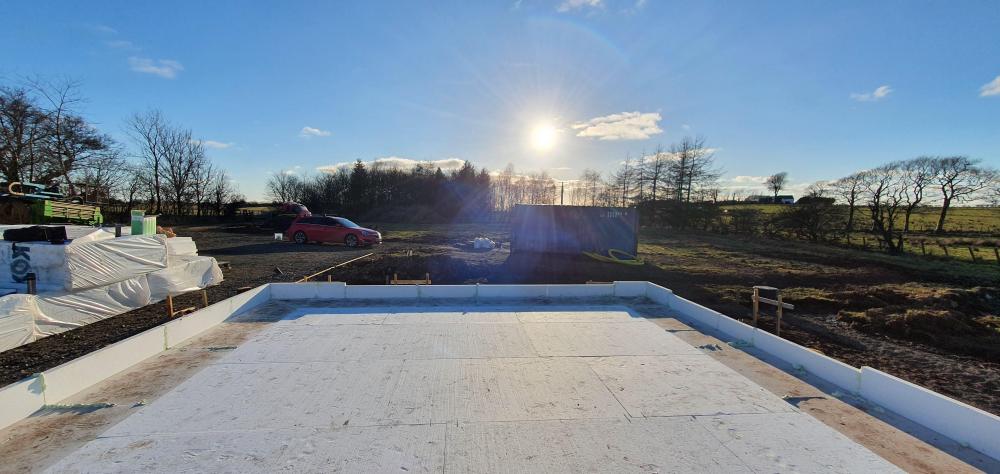
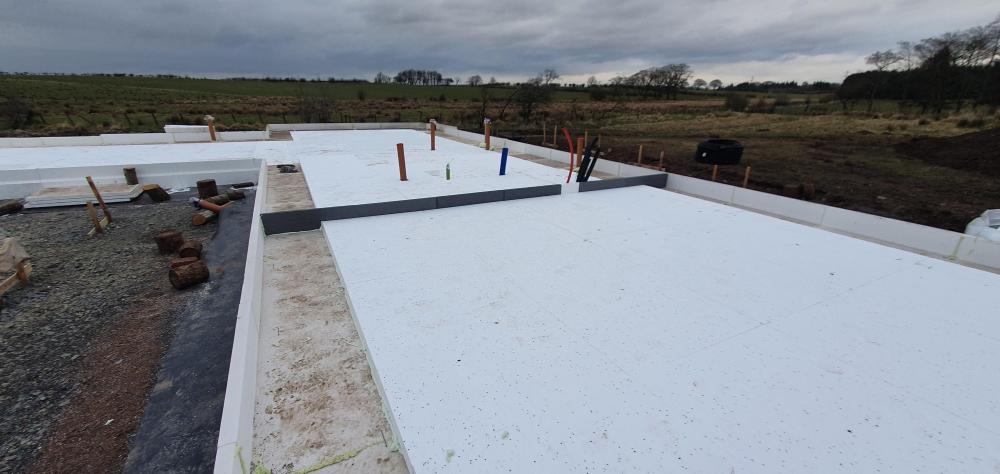
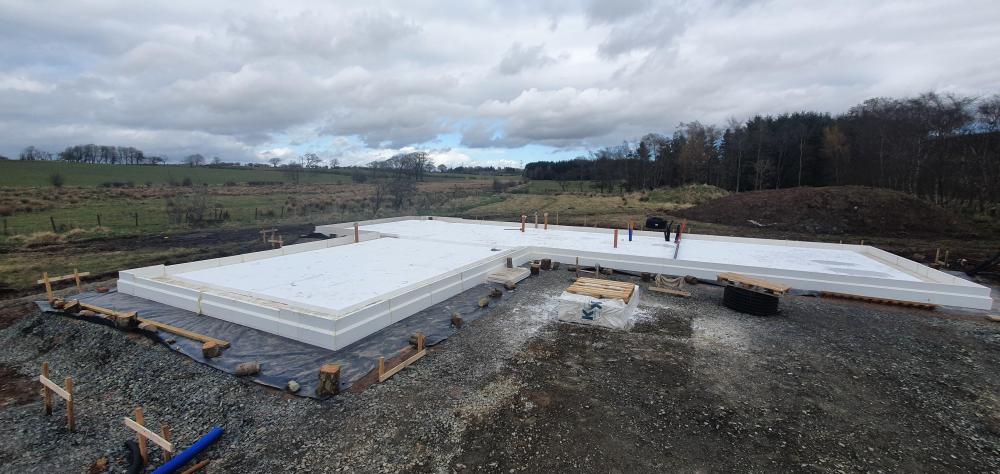
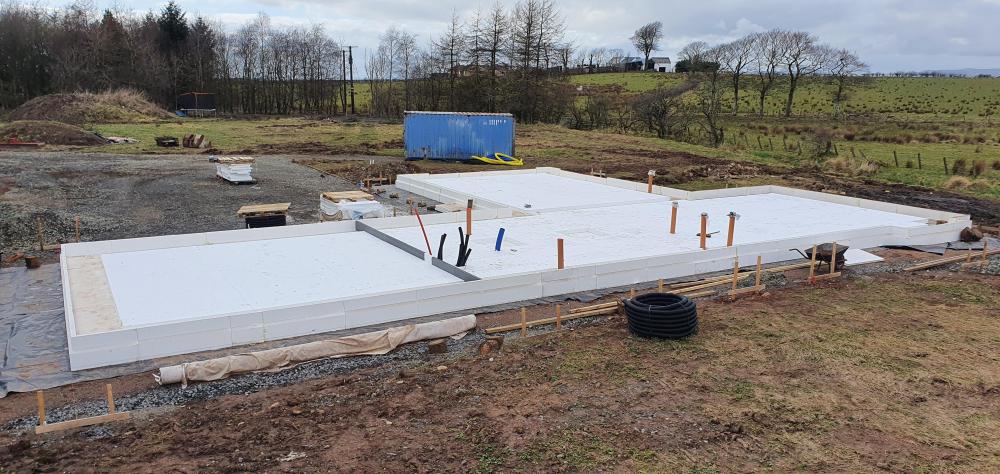
So once DPM was done I got the insulate foundation down and got started.
I took some advice from @LA3222 as albeit straightforward it's not bang on. I was expecting something more highly engineered and don't get me wrong it is of high quality but some bits are a little longer and few mm here and there and some cut slightly off the square which means a good bit of adjustment. But works fine.
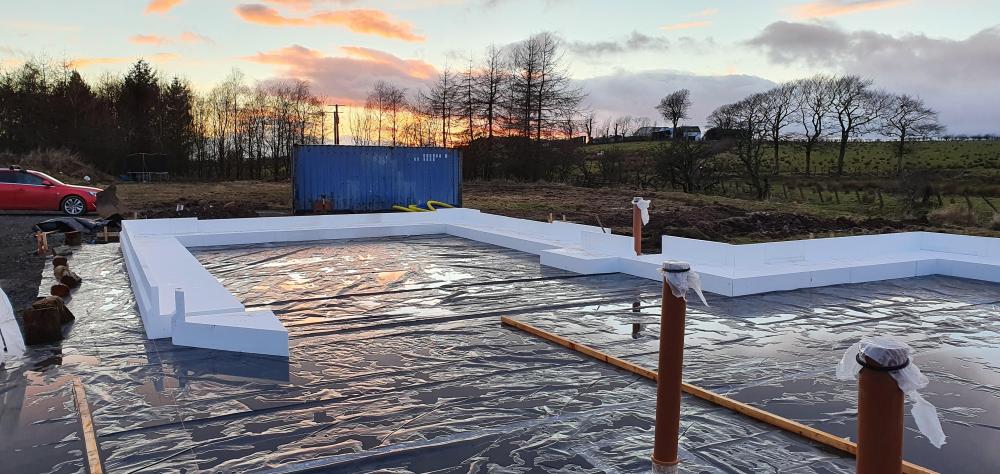
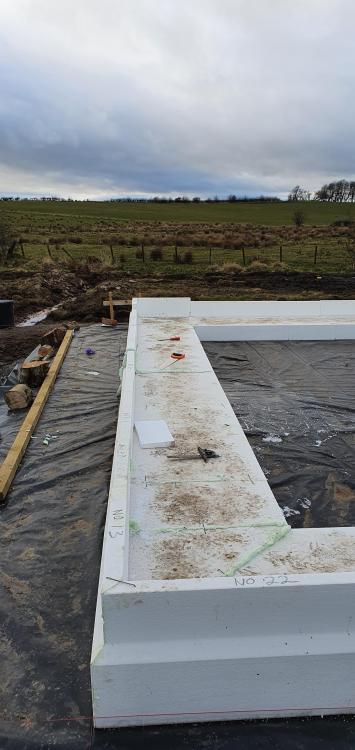
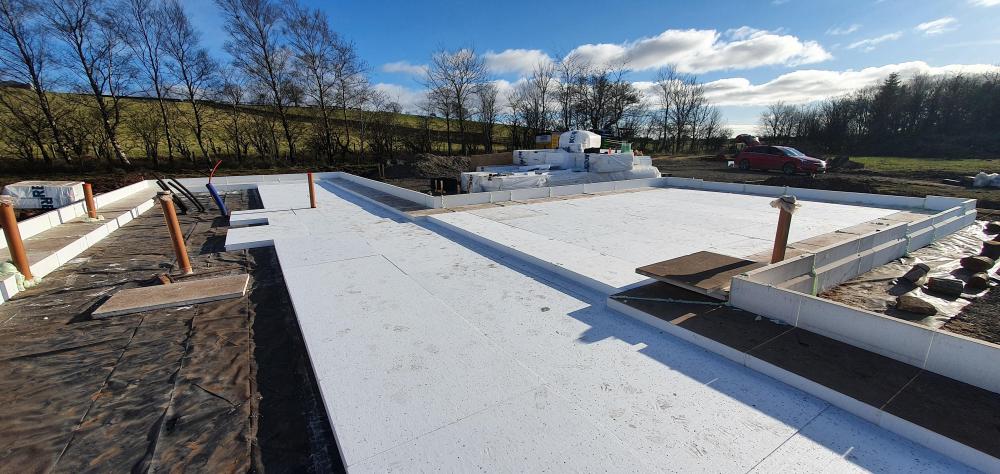
I set out the corners first, then loosely laid it with my profile board lines. I then ended up taking a middle section out each line to get it to the right lengths and adjusted from there. I checked the lengths and squareness and procrastinated about it, ovethought it and all sorts, I didn't trust my tape as I could stretch it however much i wanted. I then ended up moving it all about and doing all sorts, one thing was apparent was the internal diagonals KORE/tanners can get relied on exactly due to the manufacturing tolerances mentioned above. So you just need to get them square tothe same size and as long as it is ballpark it is fine.
I set out again and used the outer lengths, then I bit the bullet and called the surveyor back. He took 250 off me....stayed for 45 mins. Only to confirm I was pretty much bang on. I was 0mm out in some corners (bare in mind i set up with tapes over 20m) and 3-7mm mostly. Two corners I was 20mm off but i knew that as a profile board got knocked. All in all gave me plenty confidence.
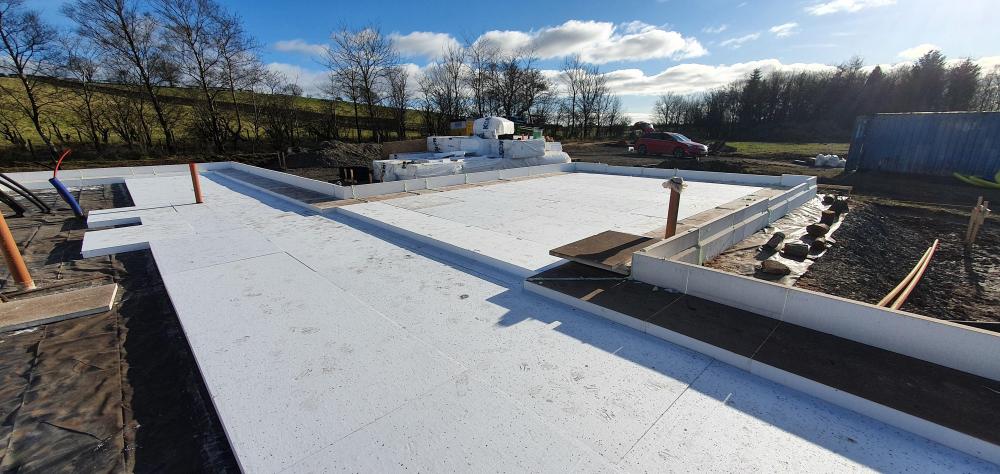
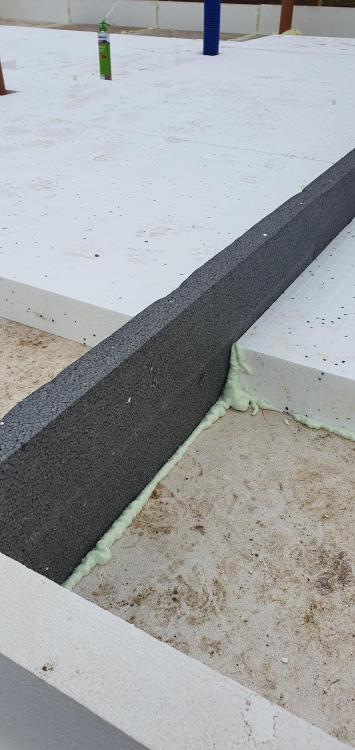
I then proceeded to pin the edges and then I finished filling in the three internal layers last night. Took me two full days (sat and sun) and then three nights. I used the U pins, I found them good, i started with the PU foam but found it too hard for the edges and thought it woudl take a while. So I pinned it, then filled holes with PU foam.I used PU foam in all internal joints though as that was easier.
Cutting through the EPS 300 is a PITA but planned well it's ok. I'd avoid drains in the out sections next time.
If i get time I will put more effort at the insulated foundation installation details, but knackered tonight after the last 5 days at it and doing my normal work.
I've been writing down things that I would change and I'll list them in each blog post to provide a hint for a step!
Lots of pics attached as normal.
Lessons learned:
1) It is is wet - buy the type 3 stone
2) Listen to your groundworks guys if you trust them - they wanted me to add big stone down the bottom to help it drain...I didn't want to. We should have.
3) Dont buy the visqueen DPM tape, waste of money.
4) Don't be cheap and by the pro nozzle for the foam gun, It's only 20 quid. I didn't that was a schoolboy error.
5) Don't buy the bahco £19 wavy 'insulation saw' it's crap and near impossible to use with the KORE stuff Ditch it and just a normal saw. It's messy but much much quicker.
thanks for reading.
-
 12
12


.thumb.jpg.301e85271fddda7e5f78a249be3cd9fb.jpg)
8 Comments
Recommended Comments
Create an account or sign in to comment
You need to be a member in order to leave a comment
Create an account
Sign up for a new account in our community. It's easy!
Register a new accountSign in
Already have an account? Sign in here.
Sign In Now