
Flooring 1

Entry posted by Thedreamer
3255 views
Most of the internal work to date has focused on insulating the suspended timber floor and with this completed our joiners could come back and put down the sub floor.
We considered two different materials for the subfloor:
22mm OSB or 22mm Chipboard.
We decided to use chipboard as it was 25% cheaper then OSB. Plywood would have been another option but this would have been more expensive than the chipboard as well.
To do this job we needed just over hundred sheets of chipboard, 2800 Spax screws and 6 bottles of expanding PU foam glue.
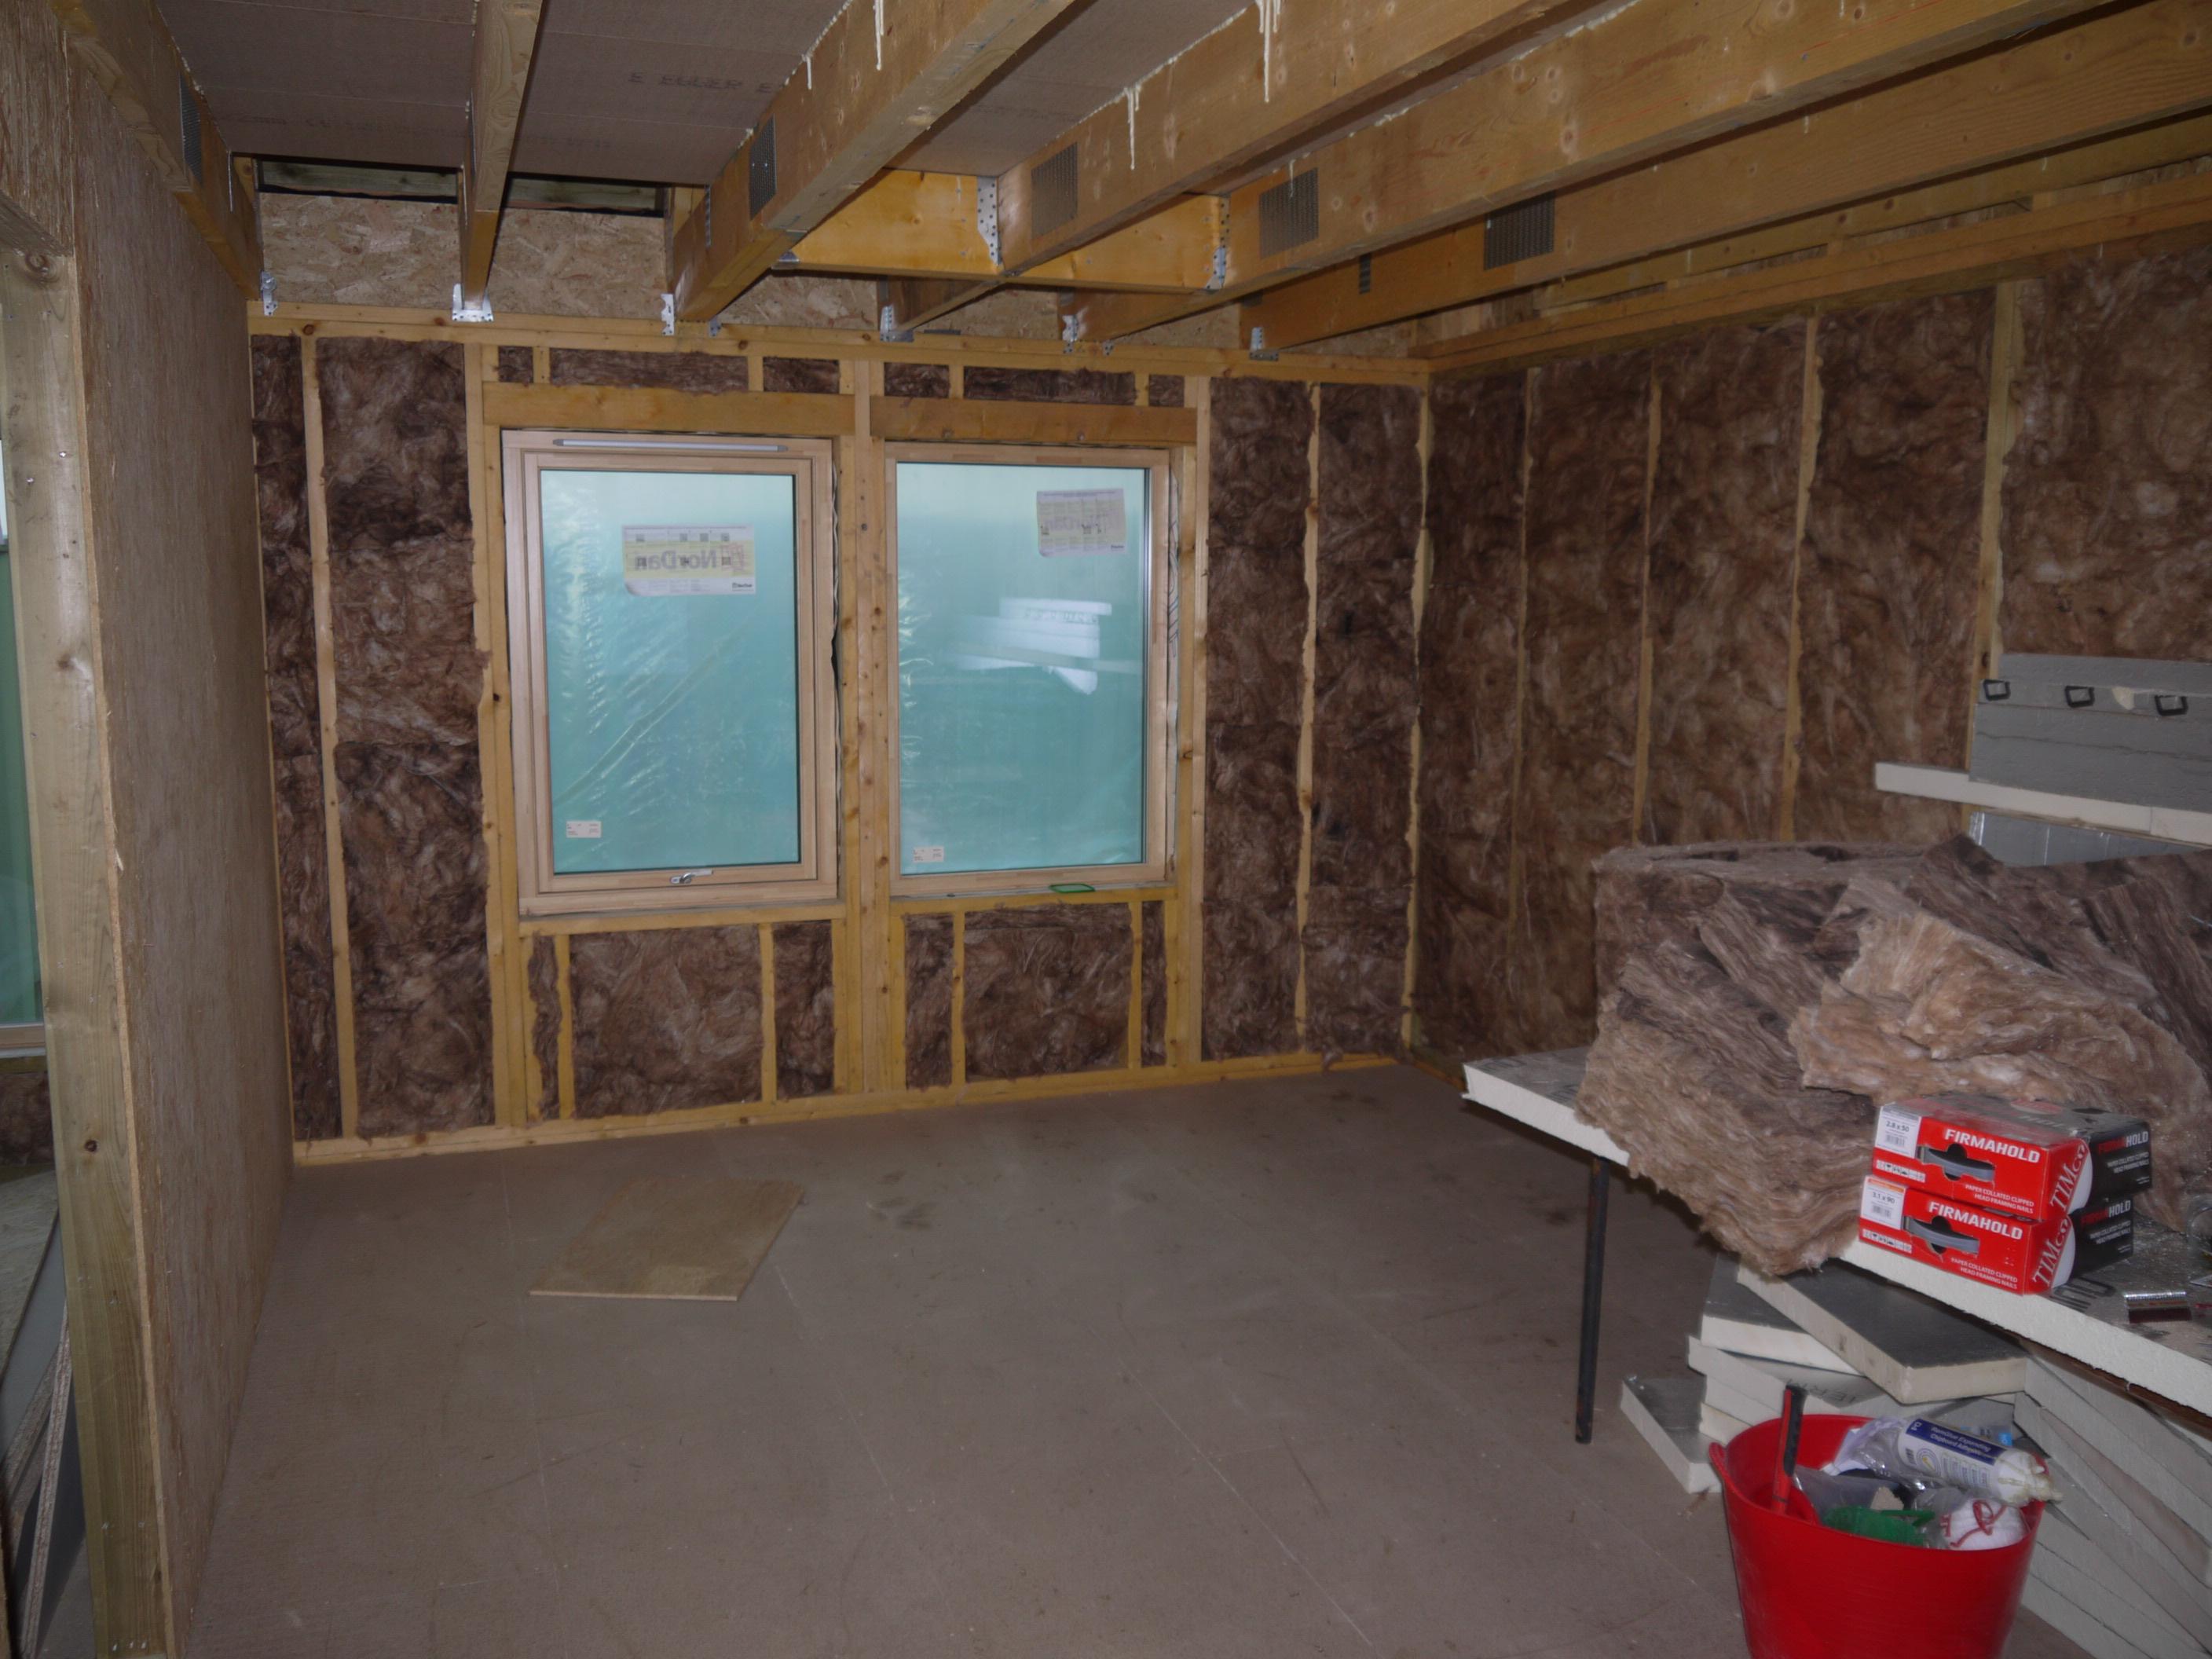
Whilst our joiners were on site they also attached some ply and osb boards to the internal load bearing walls. This will provide additional racking strength to the house.
As I can walk around all part of the house here are some photos:
The porch and utility room

The kitchen/dining room

Living room which has a part vaulted ceiling and the eventually the French doors will lead onto a decked area.

When this is framed it will be a bathroom, hall & stairs
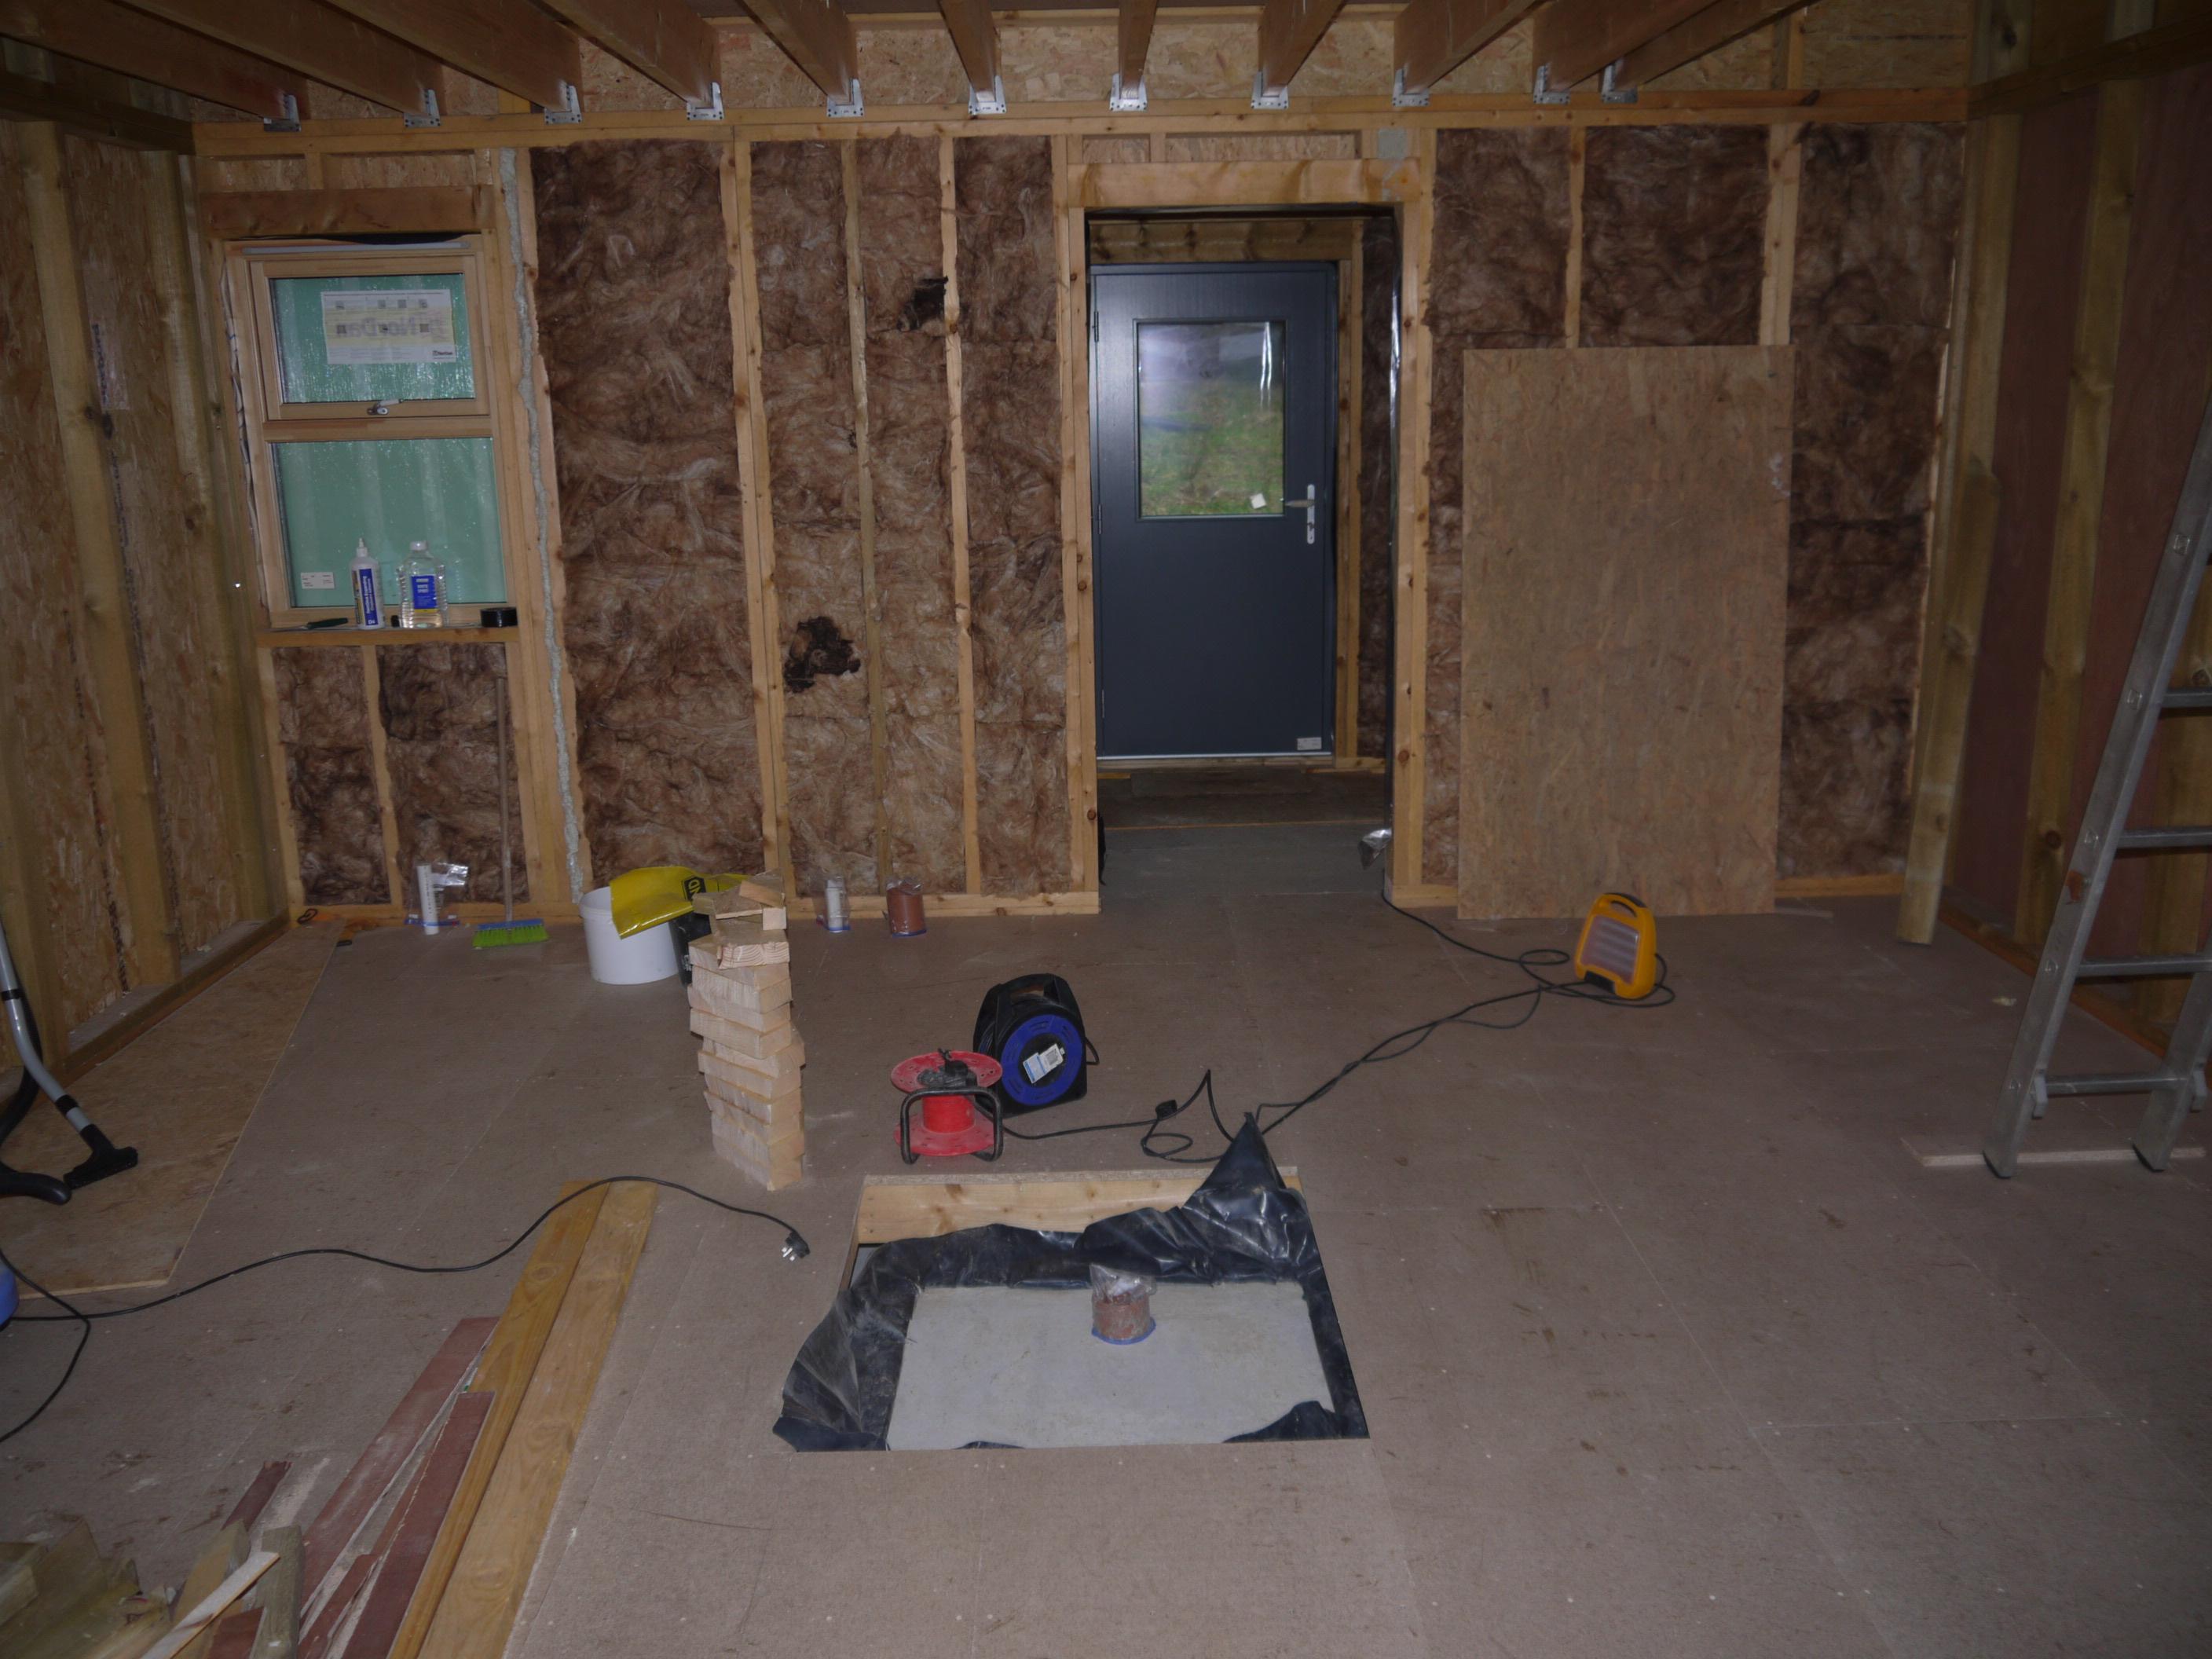
Master bedroom and en-suite
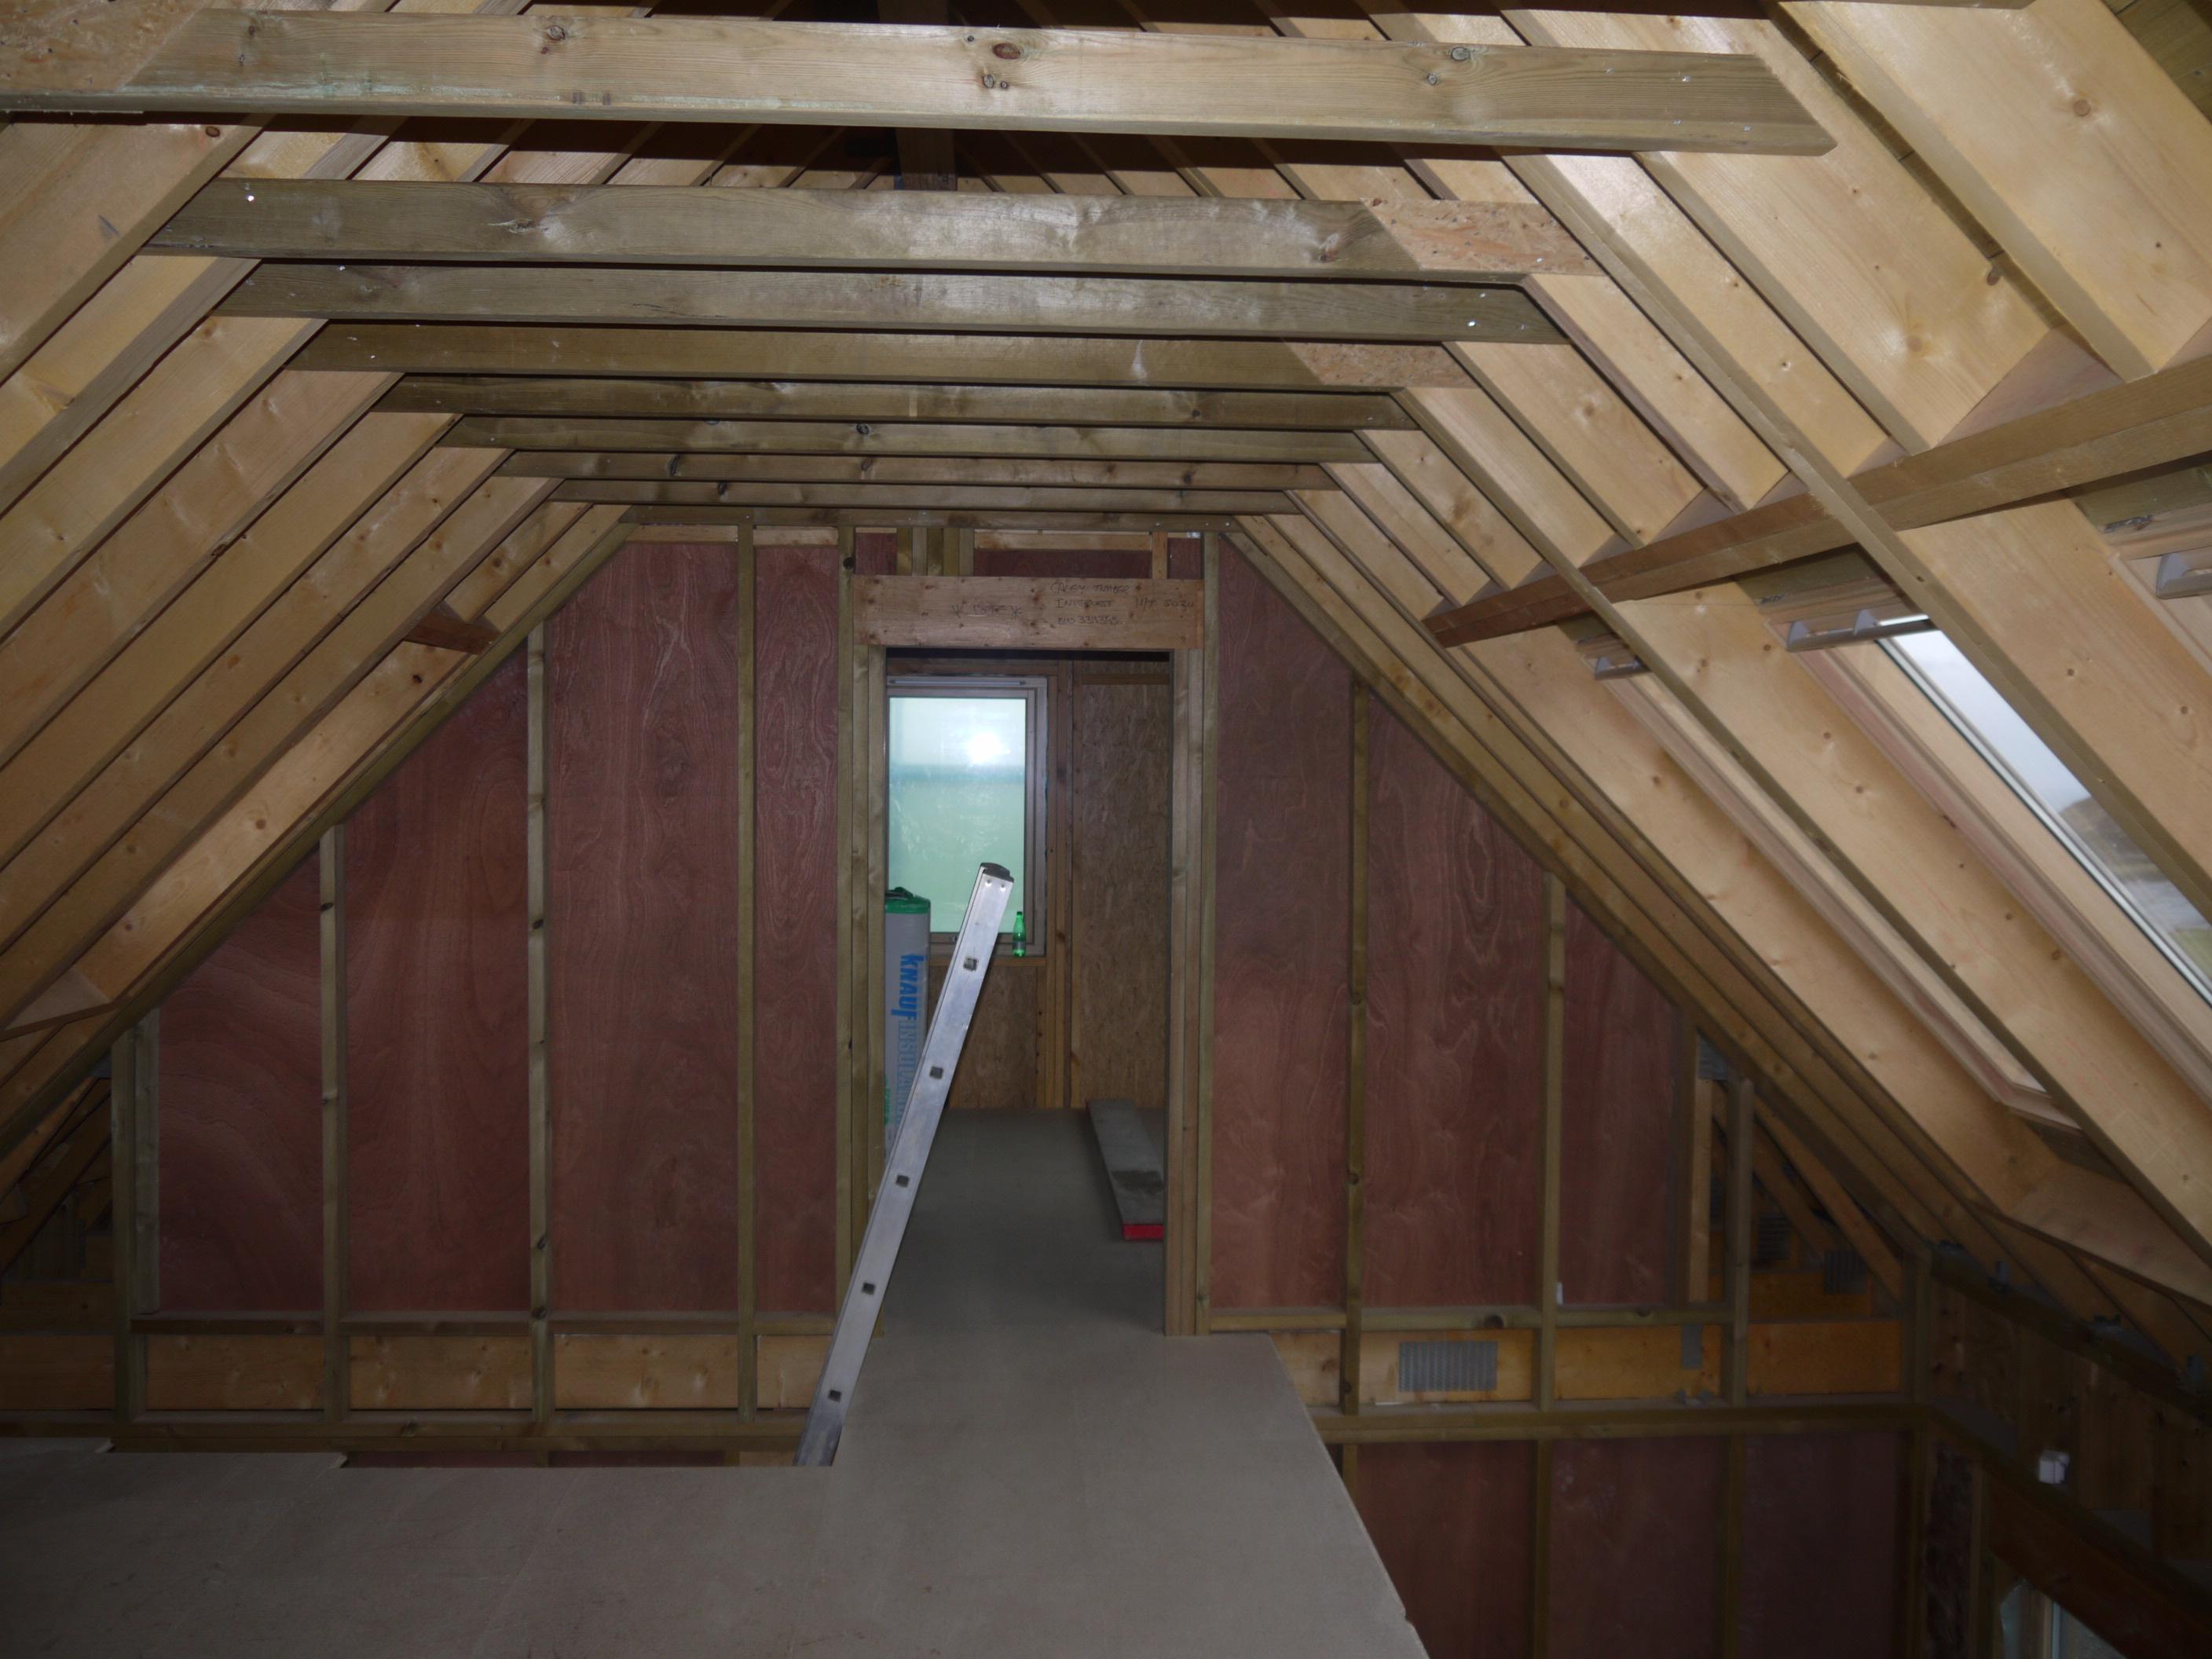
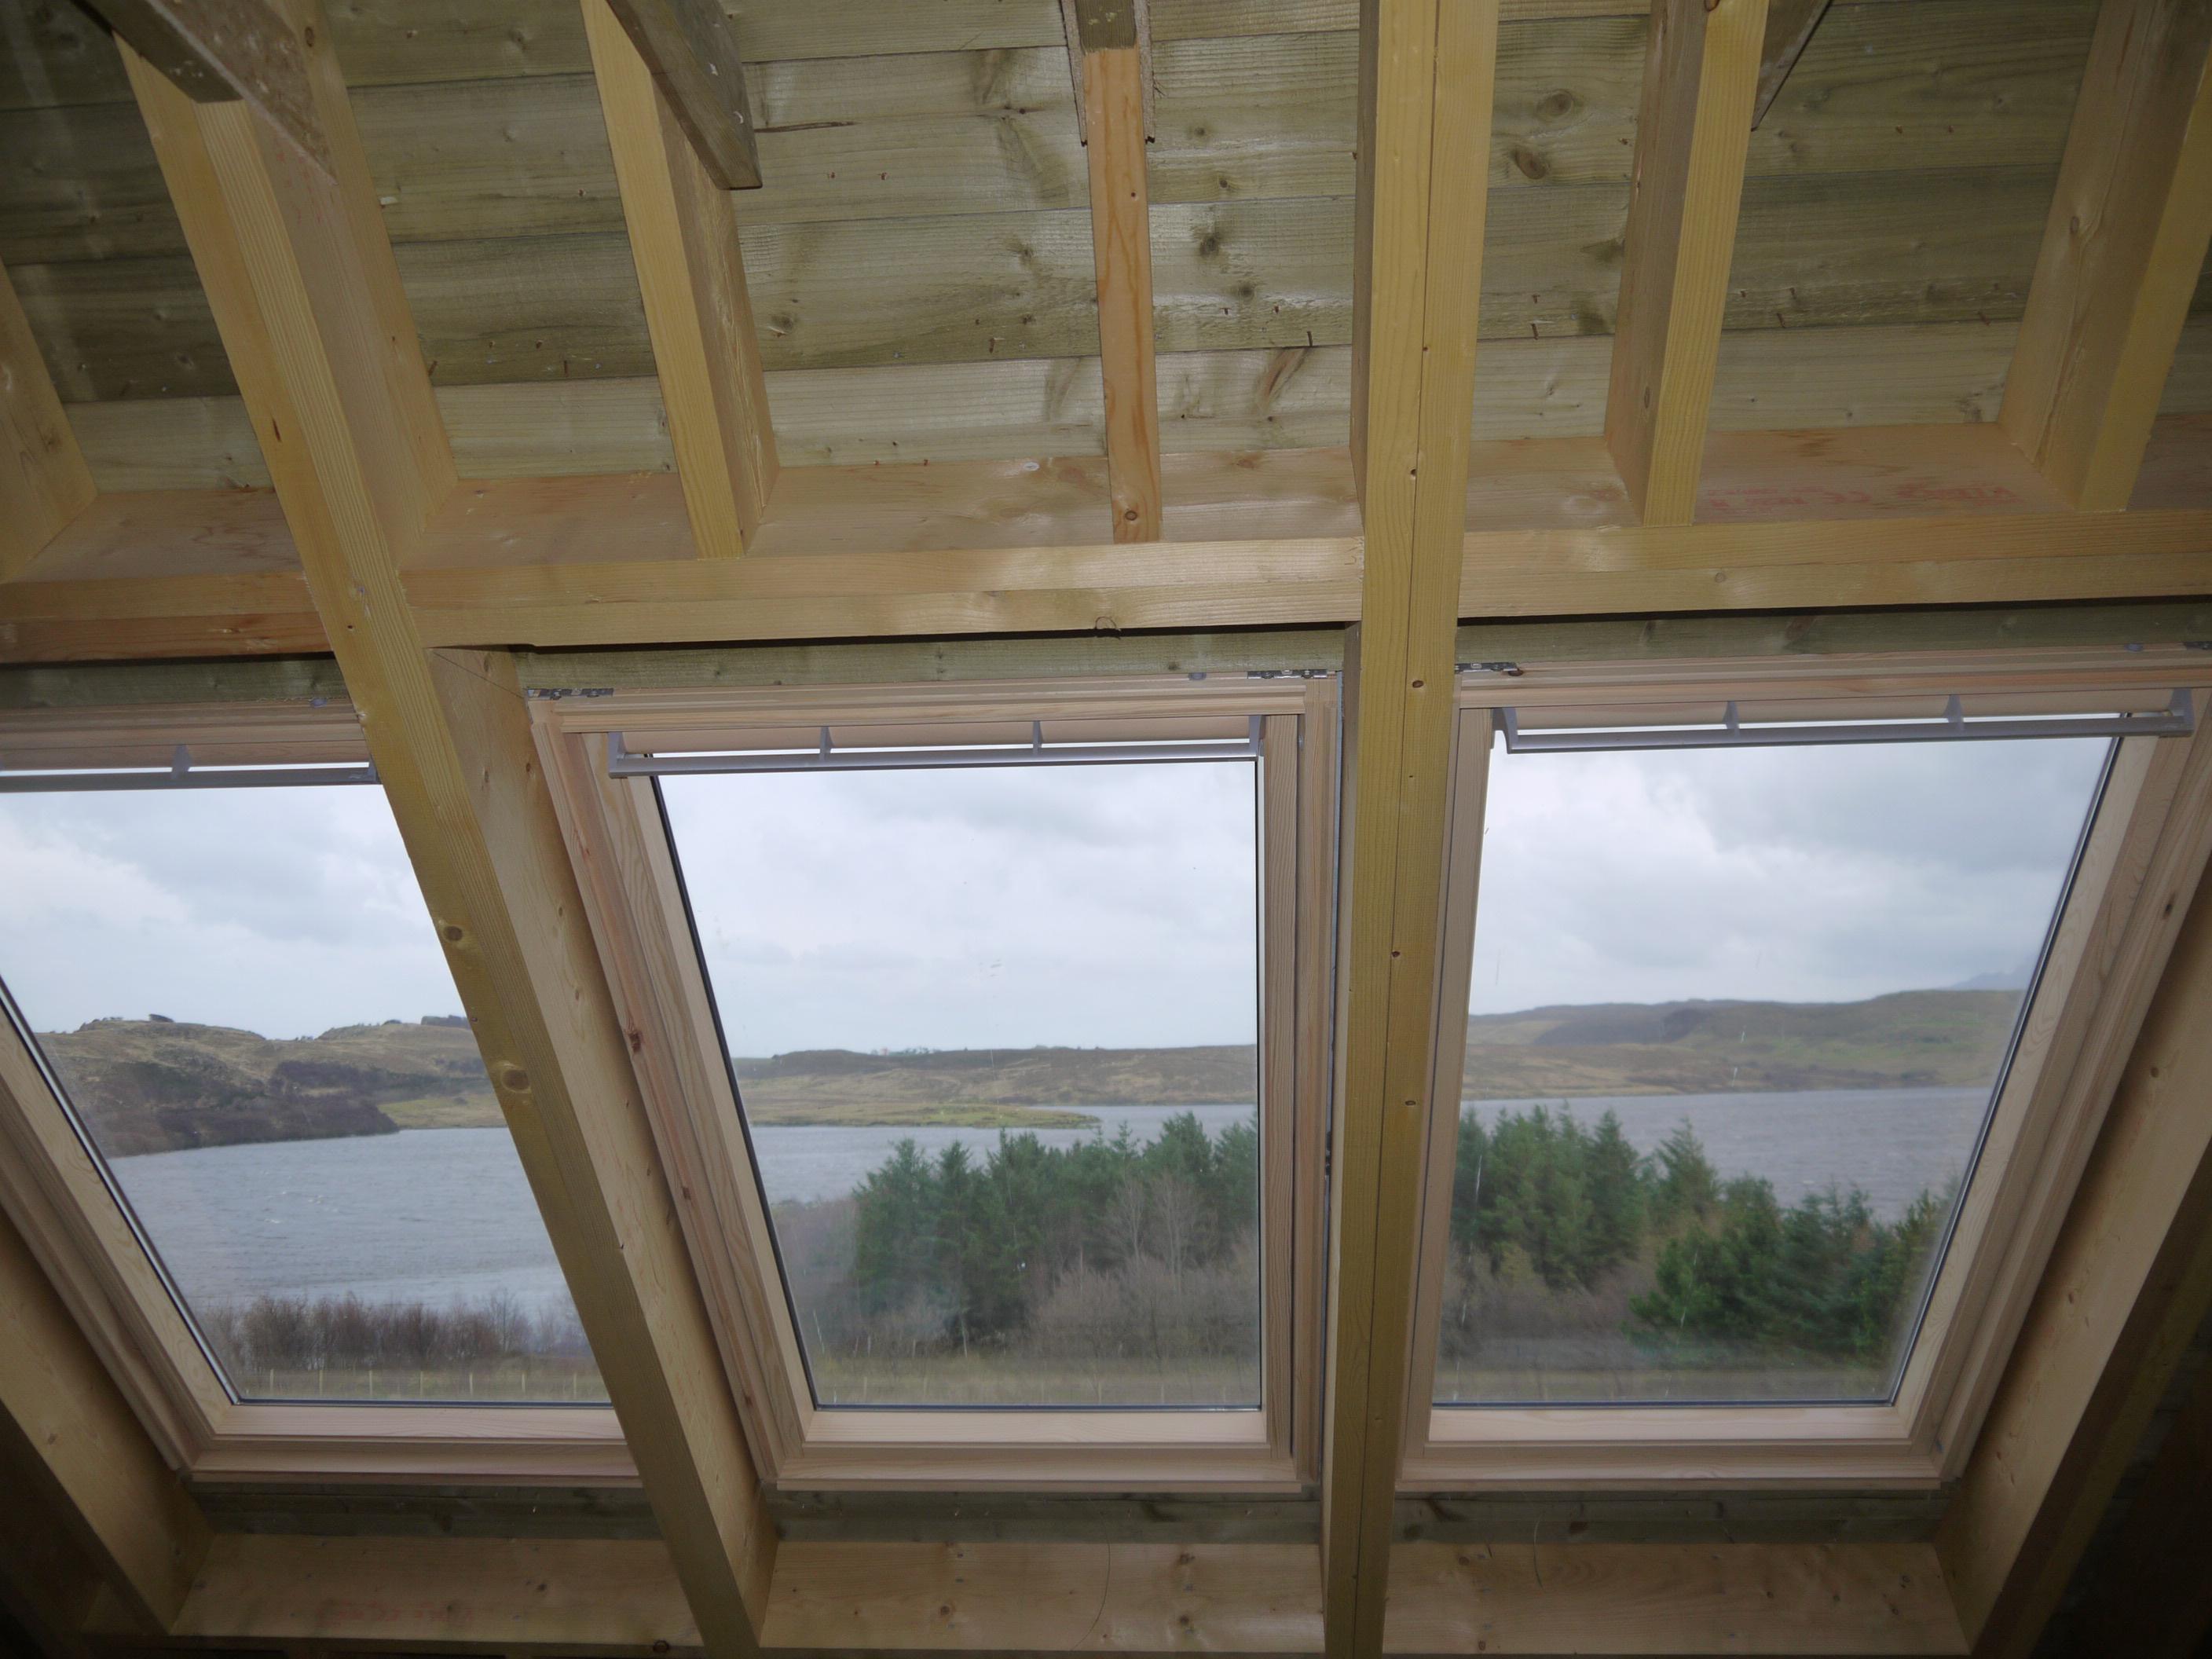
And upstairs:
Two bedrooms on the gable ends.

A key feature of these rooms is a PK10 top hung velux.
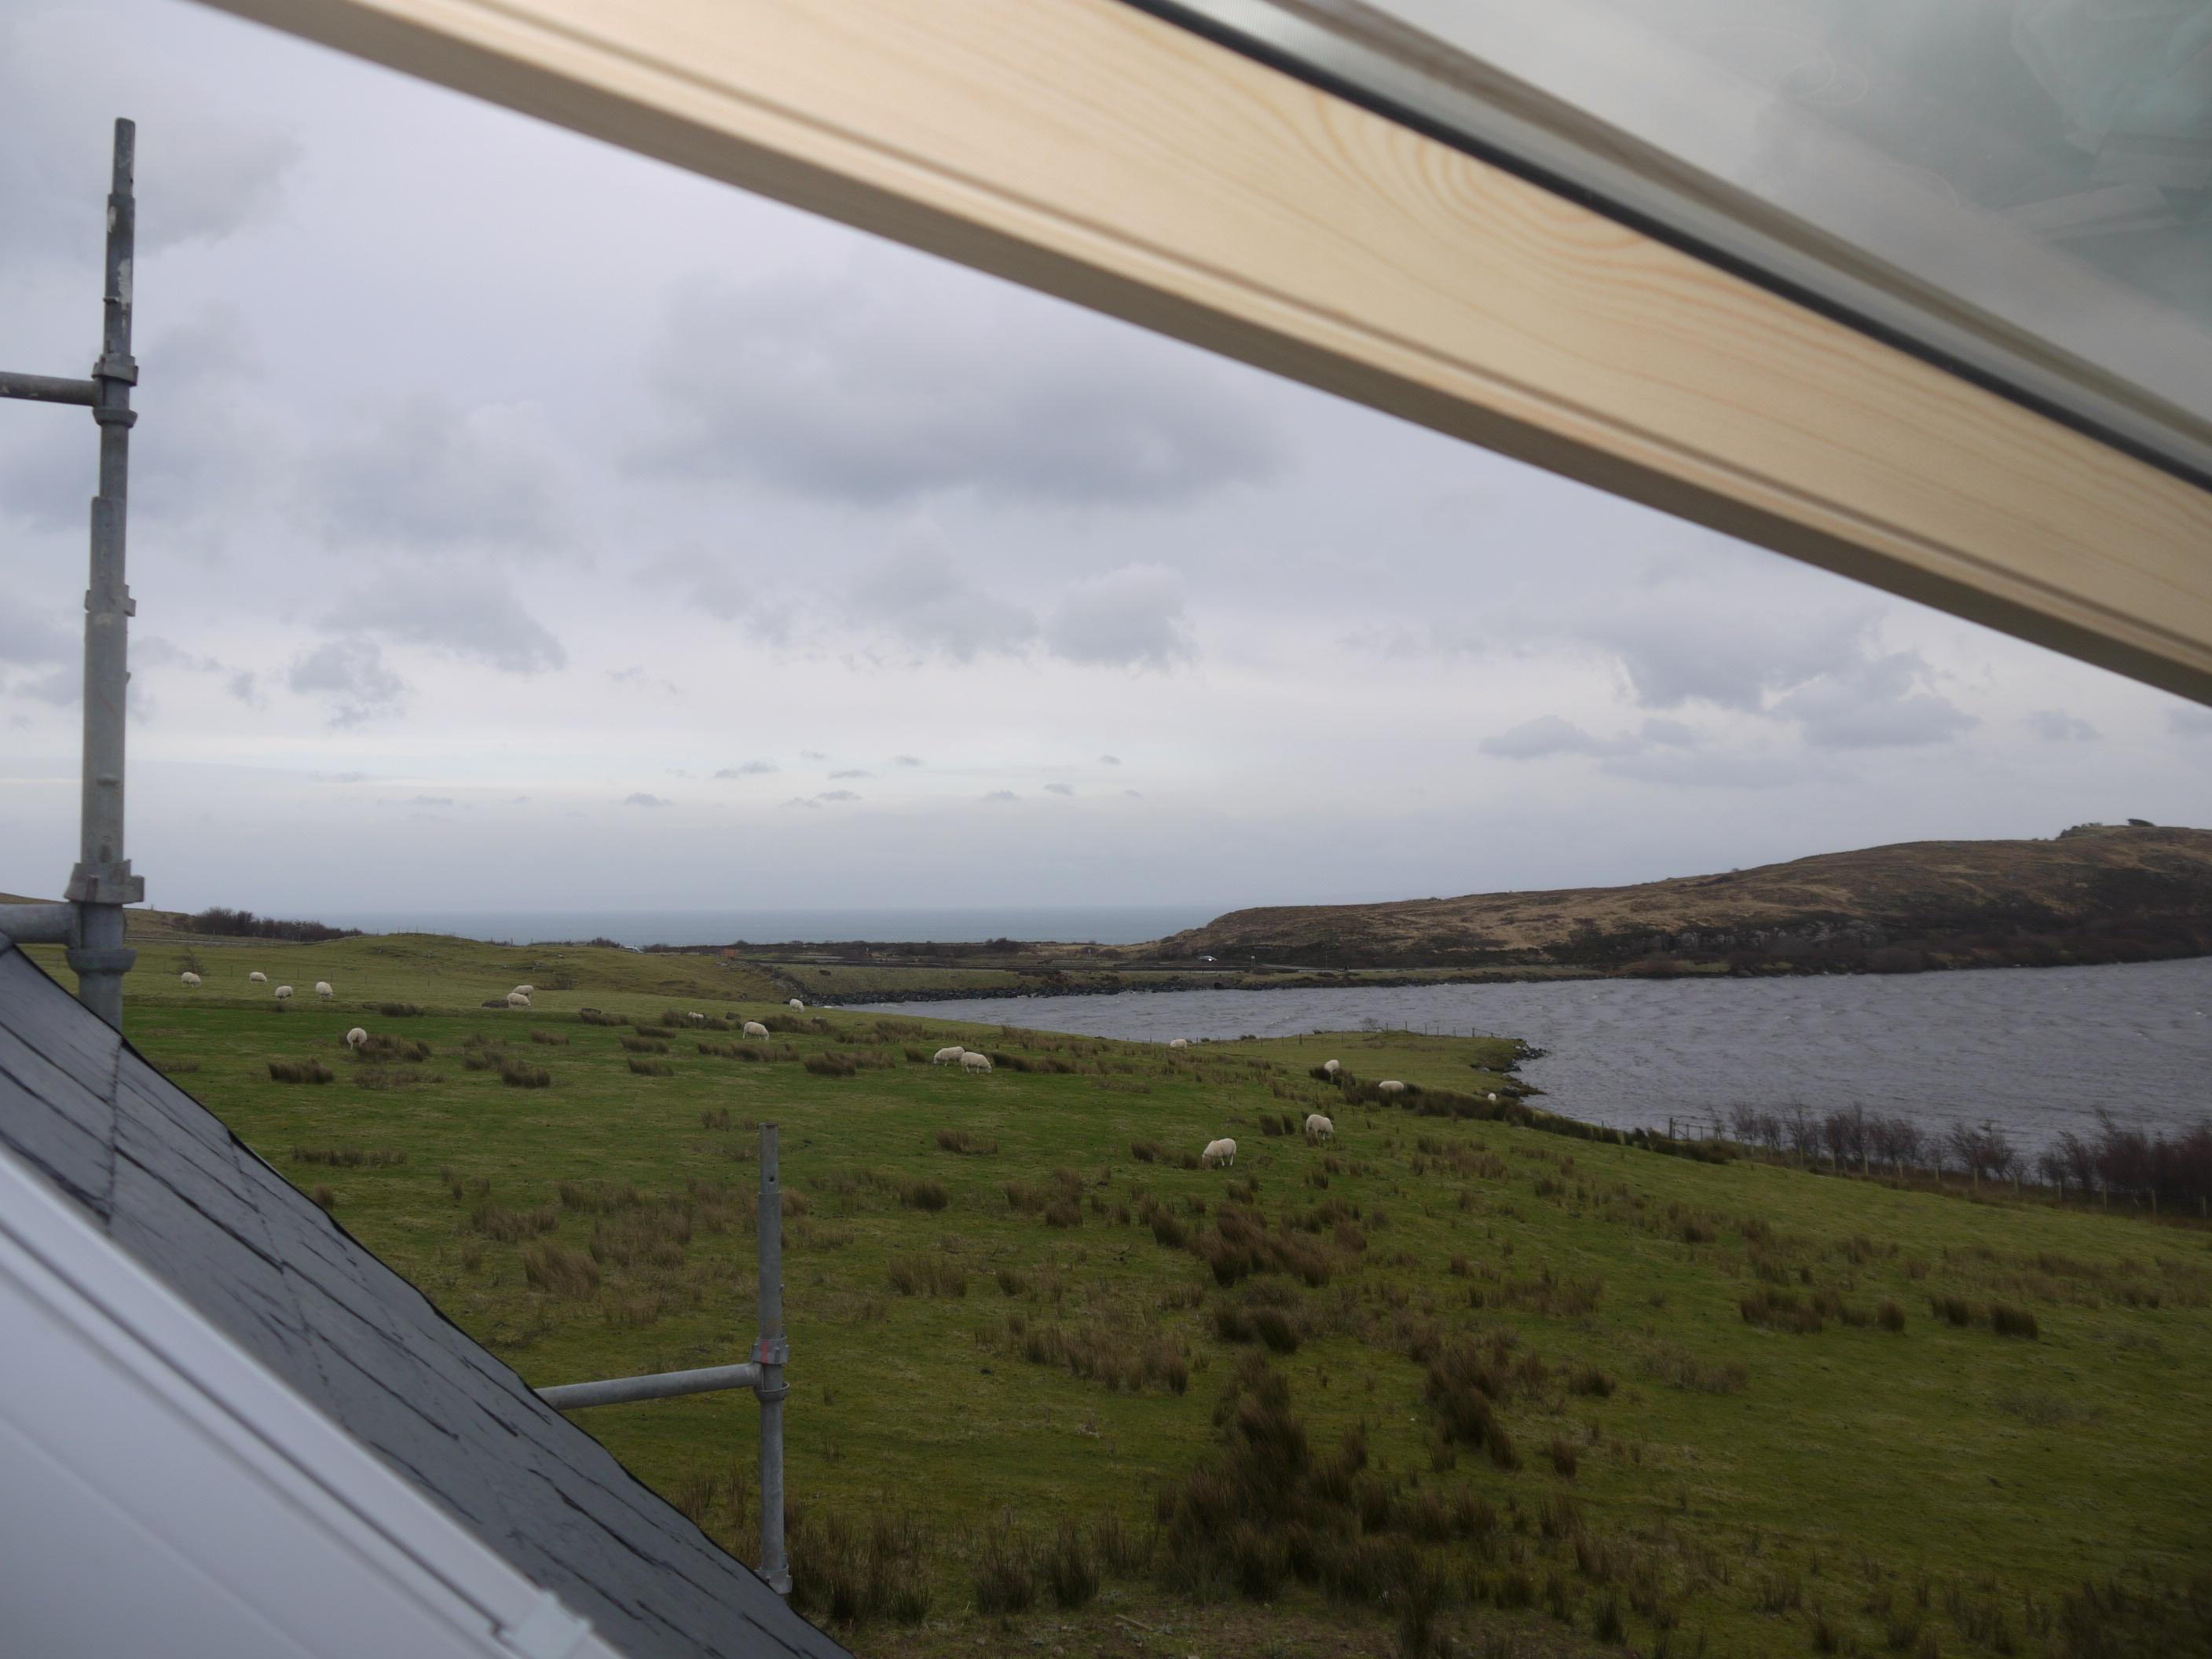
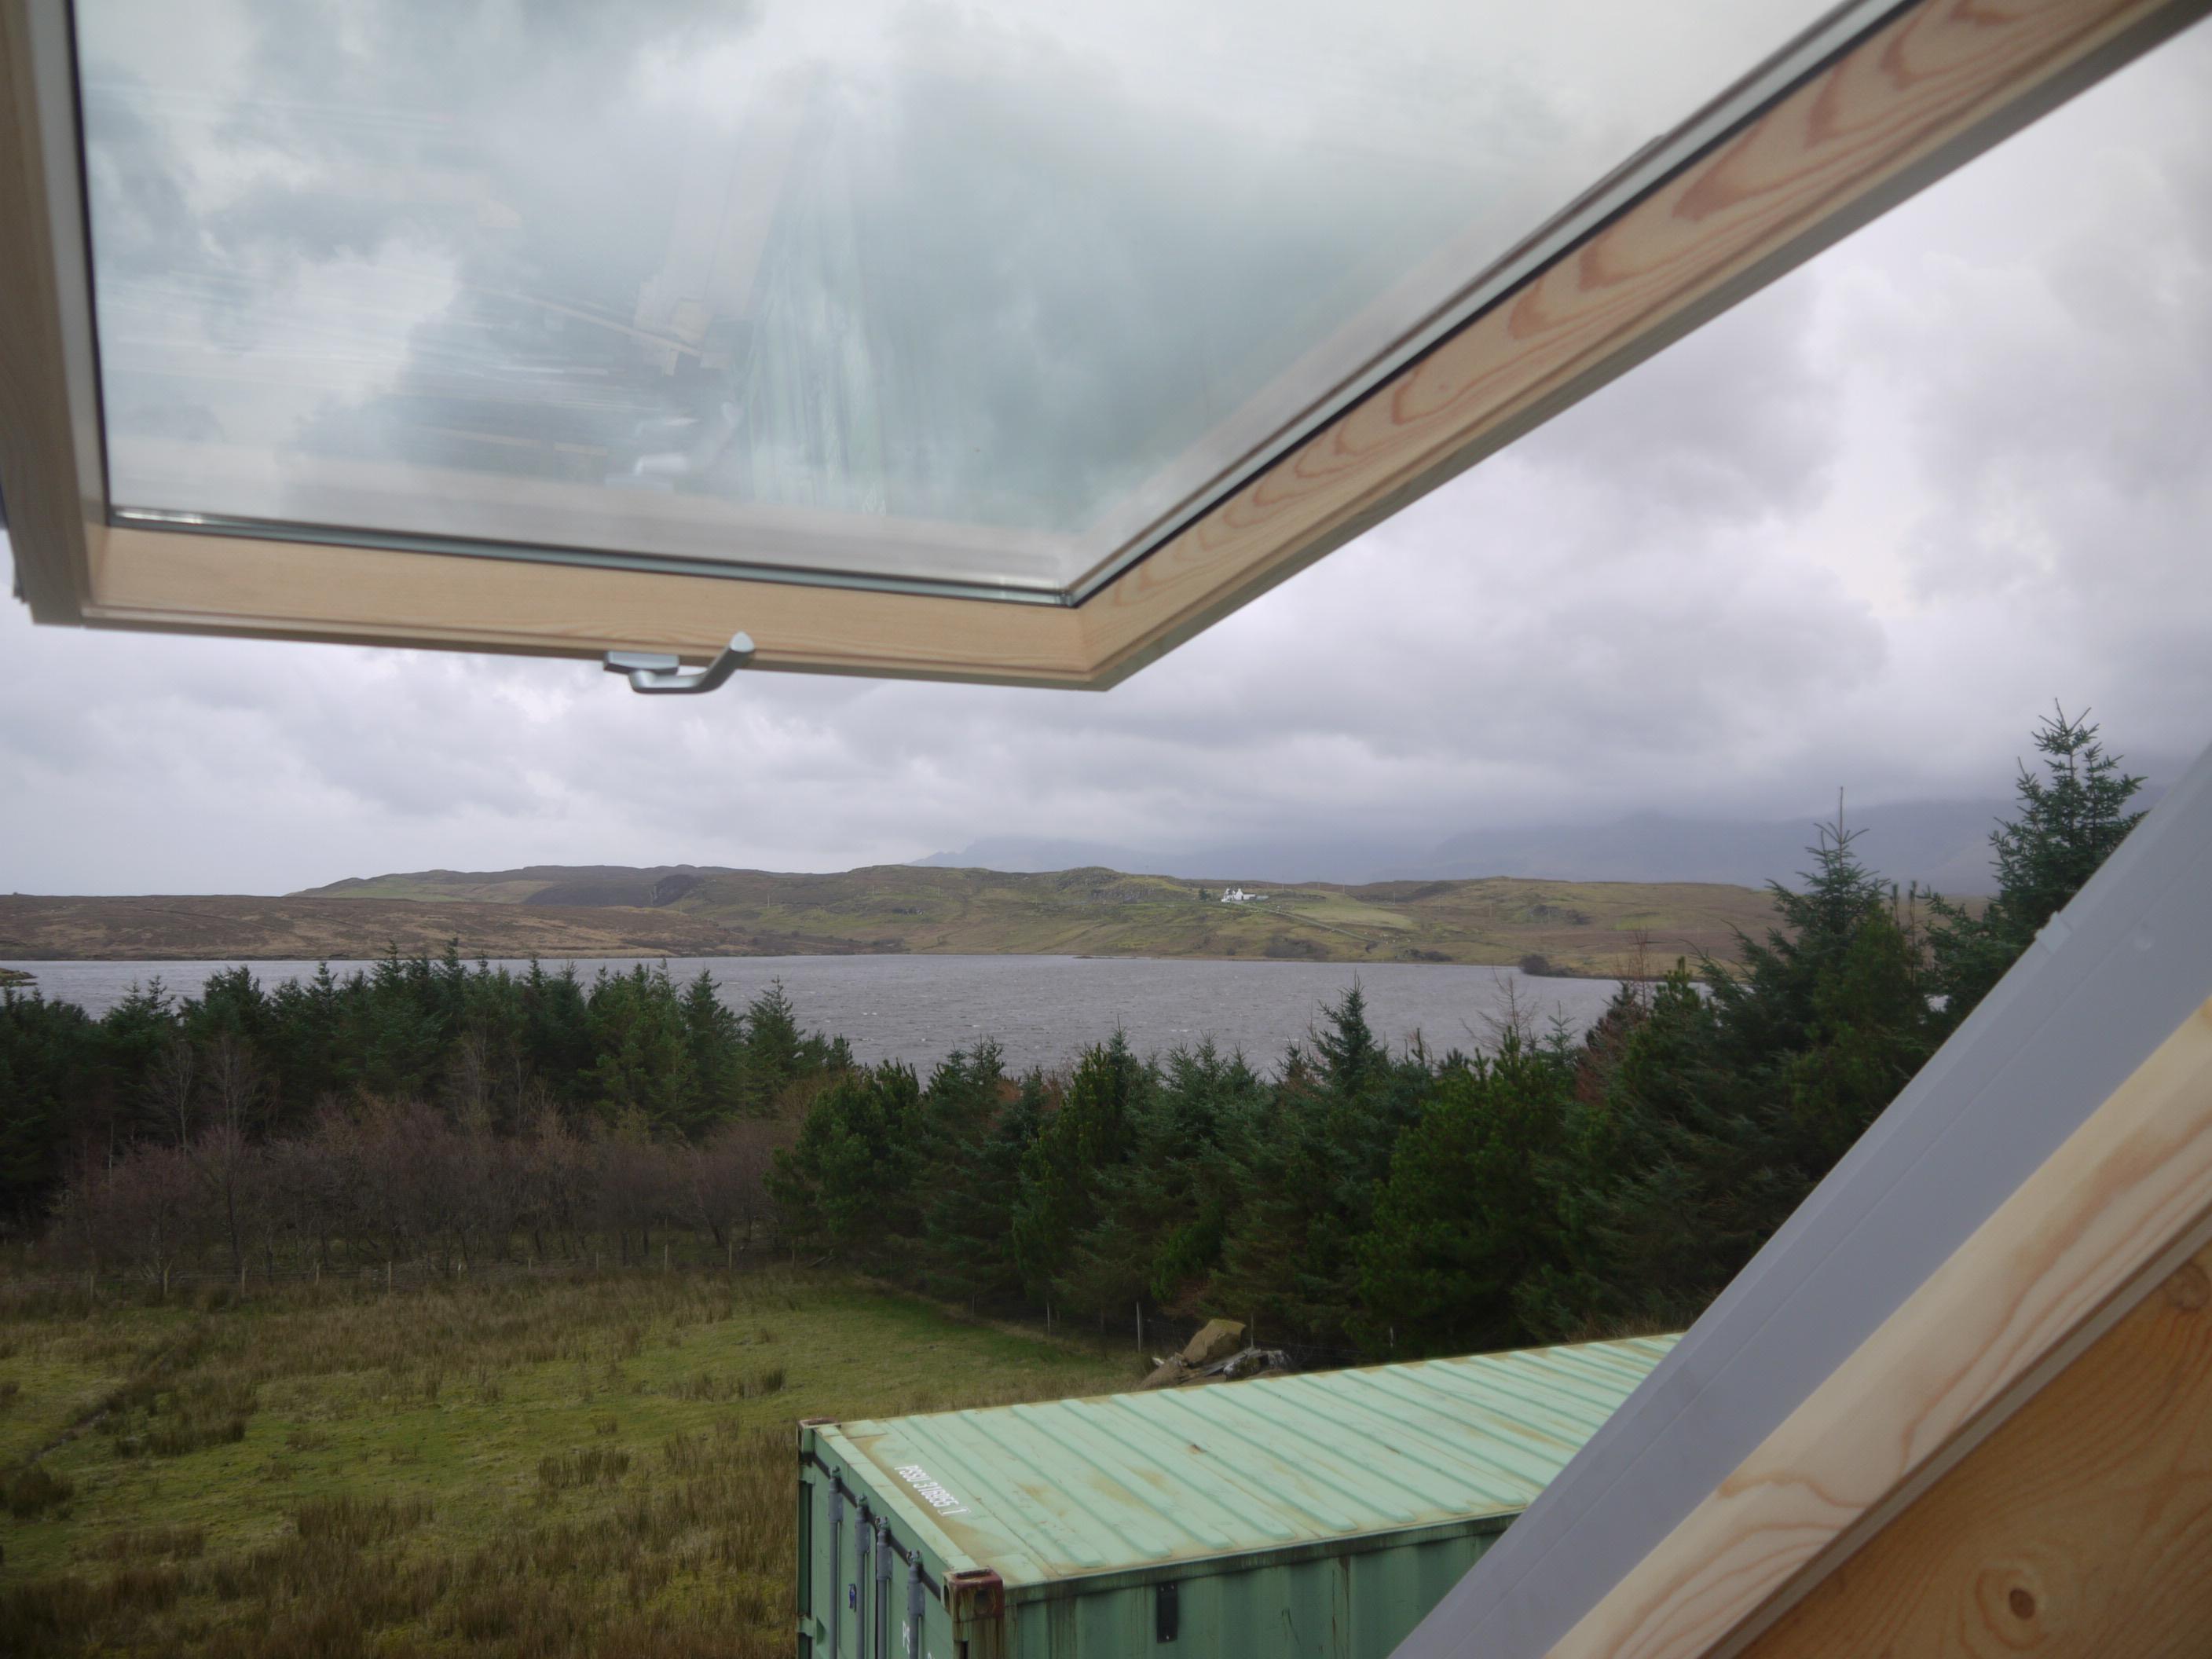
The middle sections between the gable bedrooms will be a wardrobe, WC and a storage cupboard. This area has three PK10 veluxs.
Having a floor down feels like a big step forward for us.
One of the benefits for me is that I now have space to store materials within the house, as previously it was very awkward as often these had to be shifted around numerous times to complete a single job.
The next job is back to insulating, this time in the rafters.
-
 8
8
4 Comments
Recommended Comments
Create an account or sign in to comment
You need to be a member in order to leave a comment
Create an account
Sign up for a new account in our community. It's easy!
Register a new accountSign in
Already have an account? Sign in here.
Sign In Now