It's been over a year since we finished our home and I thought it would be good time to reflect.
We have not had any major snagging issues with the house.
The only product which required some additional work was the LVT flooring, we found thermal expansion was causing some warping. This has since been resolved with the addition of two expansion joints.
In my last blog post I discussed how we were heating the house with just a wood stove during colder times of the year. I
I have found during our self build that we have gone against the norm for what you would expect a new self build to contain.
One area was how we would heat the house.
The main concern I had as we entered the winter was whether we did the right thing in disregarding the need for underfloor heating and radiators.
I have found that during the day we do not need to heat the house as having sufficient true south facing glazing provides the solar gains to heat the
This will be the last entry for our self build blog.
Our plan
We originally commenced a self build as there was no affordable housing for us to get on the housing ladder.
The approach for the self build, was whether we could build a better-quality house than what we could purchase from a developer for the same cost. This was later refined to achieving a lower mortgage if possible.
For the self build we decided to split the project into three chunks
Following on from the last entry we had our final inspection and were on the cusp of getting our completion certificate. A few final documents were uploaded and a certificate was received from building control.
We had built a house.
A few final jobs were completed following the last blog entry.
I order 20 tonnes of gravel from a quarry on Skye and then barrowed it down the access and spread it around the house.
I also had enough to put som
We had our final inspection yesterday and building control were happy with the house. Just awaiting on an EPC certificate and we should have our completion certificate next week. We had a little tidy up before the inspector arrived so probably the ideal time to upload a few pictures.
Hello,
It’s been around two months since we moved in. After a brief period of enjoying the summer and the new house we have made a push towards getting our completion certificate.
We got our air test which came back as 3.33.
We got the property registered for Council tax, pleased the assessor rated the property as a band D.
The last bit of major building work has been the construction of the ramp and decking. We always knew that because of the grou
There was not much in the way of progress from the last entry as we were already close to moving in.
The plumbing was completed in the last entry and connecting some final electrical fittings was done soon after.
After a decade since putting in outline planning it was time.
Our furniture delivery has taken longer than anticipated and we are living with a bean bag for the living room seating and a mattress on the floor for our bed. But we are here.
The fir
In the last few months work on the house was on hold because of the COVID 19 pandemic. With the rules starting to be relaxed we have now been able to make some progress.
A few months ago I posted on BH about being a bit concerned about the bath being a tight fit as it’s 1800mm and the distance between the wall was 1802mm. Not sure how the plumber got it in but happy that it fills the space.
The bath is made from Carronite so it should feel more rigid when sho
It’s coming up to a couple of months since I last posted.
With the upstairs now a contractor-free zone, we soon had many Ikea flat pack kits to construct for the kids bedrooms.
Our joiner fitted the utility worktop and units in February and we have since been applying oil to both this and the kitchen worktops.
The last bit we needed done to be able to get the house hab
Since the last entry we have completed the upstairs. This area consists of two bedrooms and an open plan play area landing.
Carpets were fitted after the Christmas break.
Lights, switches, sockets and fire alarms have now been installed.
My wife is working her way through the rooms downstairs. Painting, caulking and tidy up plastering work. We are really happy with how this is coming together.
The temporary su
Hello,
Another post and another year of self building.
Since my last entry we have made some progress in a few areas.
I previously mentioned some trouble that I had with the treatment tank.
We choose a Tricel model as it is widely installed on Skye and the local merchants all suggested it. The alternative was a rotating one with moving parts which I was keen to avoid. Other models were getting costly to be delivered and would require some f
Starting to put in the exciting stuff.
The stairs measurements were taken back in August and we then had to have a good think about what type of timber and finish we wanted.
The vaulted ceiling had a bit more structural work and being the most interesting feature in the house and we decided that this would be good place to invest in a high finish and we decided go with a solid oak stairs and balustrade with toughened glass panels.
Like many self builders we h
As we are building on a croft with an area of woodlands, the stove was a consideration at the initial design stage and we wanted it to be at the very heart of the house. As well as being the focal point of the living room, it was also considered from a practical point of view as to how the heat would be distributed throughout the house, as often I have heard that a stove can overheat well insulated rooms, resulting in a waste of money and just really something to look at.
The work l
Time for another update.
Most of our work this month has been focused upon finalising the kitchen design, stair, stove etc.
Tangible work on the house has consisted of the taping and filling and fitting the last bit of ducting.
Not terribly exciting, but it's all progress. Here are some photos.
Next up I need to resolve an ongoing treatment tank problem which will be covered in a separate entry. We hope
Time for another update.
Our joiner has pretty much finished the plaster boarding.
Here are some photos of the progress made.
Kitchen/dining room
Our bedroom. Our joiner has started to construct the internal partitions, we now have an ensuite and some cupboards.
Living room
Triple velux arrangement
Upstairs kids living room
The sparkie had done his bit and we were now waiting on the plumber.
Not much to see here just your standard first fix plumbing.
We had a couple of dust sheets removed before the scaffold went down. It was great to have our kitchen view back it had been almost a year.
Moving onto the ducting I had previously ordered.
A 45 degree bend was deemed easier to fit so now I got to get that ordered.
We al
With the rough casting having completed its two month cleansing period, I was keen to get painting.
I started with a roller but found it to be ineffective in getting into all the nooks and crannies, therefore this was going to be a brush job. Most of the time was spend dealing with the edges near windows, cladding and soffits. The use of insulation sheets provided a good screen to any paint gone in the wind.
I concentrated on the gables first and was able to use trestles
We are now working our way through first fix for the self build.
Our electrician has been busy drilling holes and threading many reels of cables around the house.
The other area where we have made some progress is the ducting system.
I’ve never ordered ducting before and it took me some time to order all of the parts and then have them to delivered to Skye.
This came into two deliveries, both times some of the items were d
The last entry was back in February when we put down some much needed flooring and we have made some progress on both the interior and exterior of the build.
The first job was insulating the first floor.
Two layers of 80mm quinn therm was then fitted between the rafters leaving a ventilation gap to the sarking/breathe membrane.
A final layer of 25mm quinn therm layer on top with a service void.
For the flat ceiling we used a couple of
Most of the internal work to date has focused on insulating the suspended timber floor and with this completed our joiners could come back and put down the sub floor.
We considered two different materials for the subfloor:
22mm OSB or 22mm Chipboard.
We decided to use chipboard as it was 25% cheaper then OSB. Plywood would have been another option but this would have been more expensive than the chipboard as well.
To do this job we needed just over
As the winter weather has prevented us from moving forward with the rendering and other exterior work we have been working on finishing off insulating the suspended timber floor.
We had a short wait for the plumber to install some drainage below joist level, once this was done it allowed us to finish off fitting the insulation boards. We then used expanding foam along the edges of the boards to ensure no gaps.
The next job was fitting the frametherm as the se
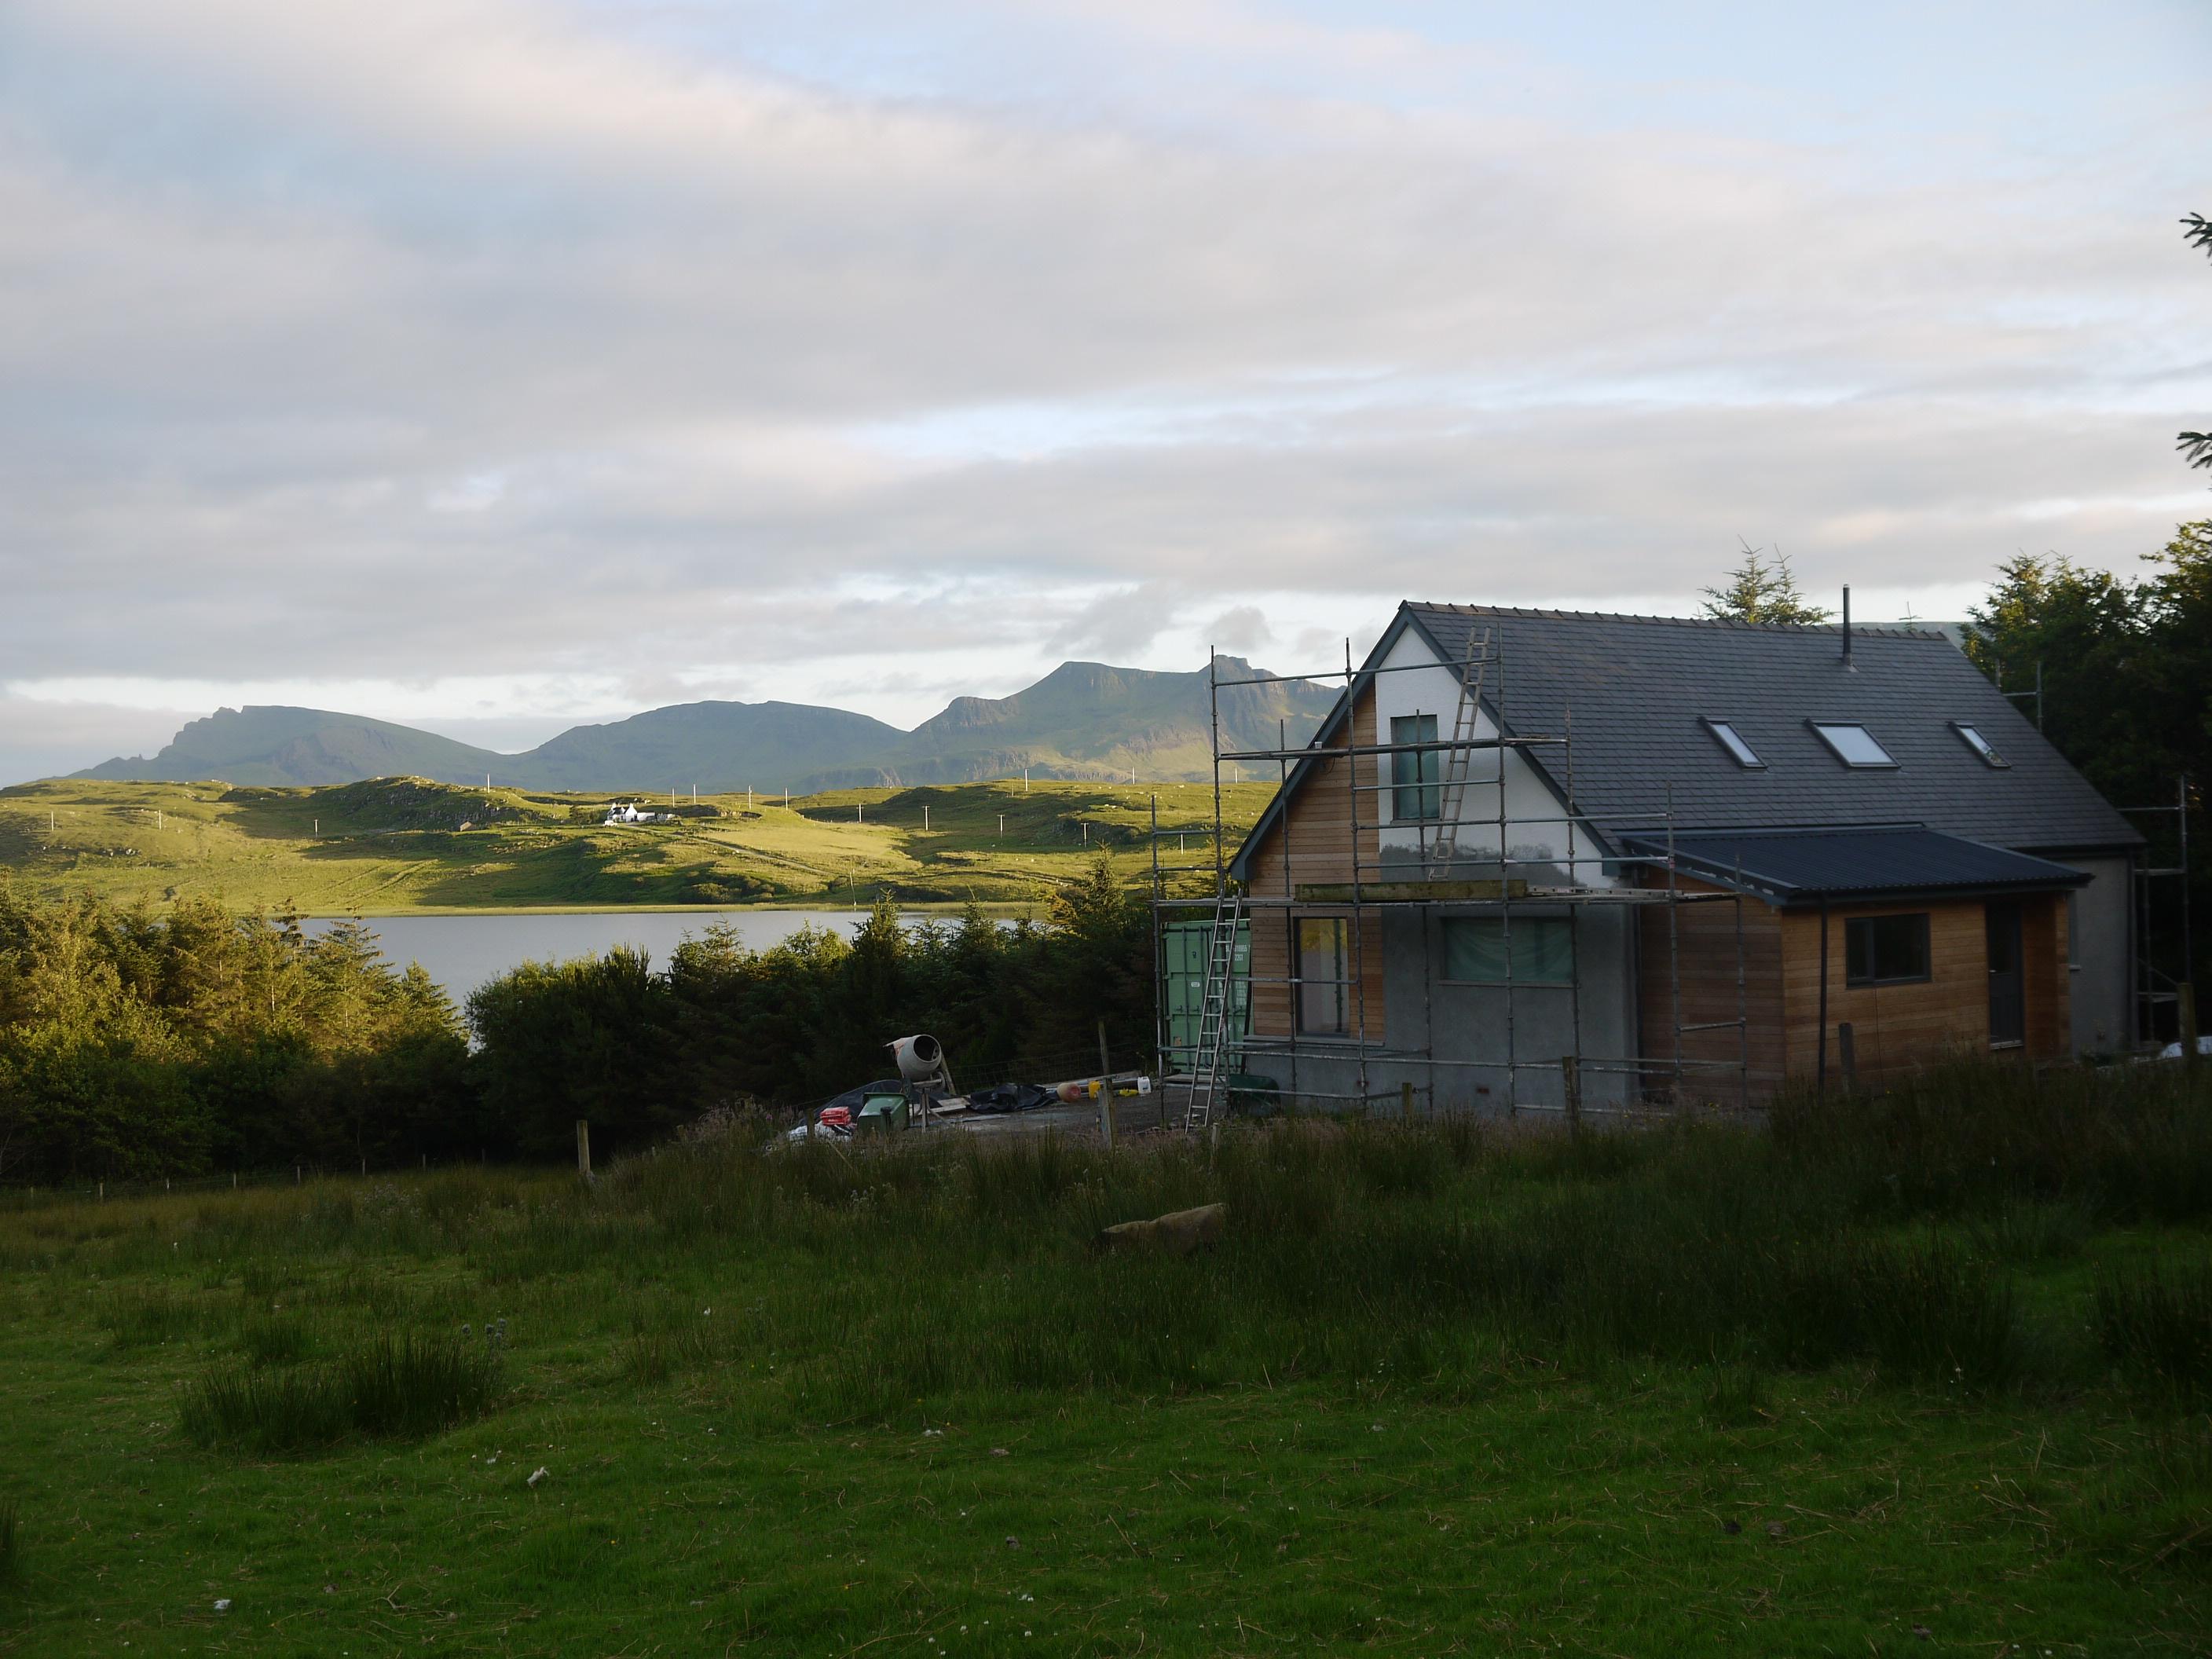
Our efforts in the latter part of 2018 was spent on getting the exterior properly wind & watertight. With just the render left to do, we could now concentrate on the insides.
Starting to insulate the suspended timberfloor was the first job to do.
We attached some little bits of timber to the underside of the joists, which will keep the insulation boards in place. Our primary insulation for the groundfloor is Quintherm 65mm (another two layers of insulation will be add
Following on from finishing our blockwork a few weeks ago, our brickie came back the next week and fitted the concrete cills.
We then had a short wait before before our joiners could come back on site and fit the remaining Siberian larch cladding. Here are some photos.
The next exterior job will be rendering, but with the winter weather it might be some time before this can be done. Our attention will now be concentrated on getting the house to 1
Our blockwork started three weeks ago. This was always going to be weather dependent and it was mixed for the first two weeks in November but since then we have had a really good weather window where its been calm, sunny and not too cold which allowed the remaining work to be completed.
Our brickie was fitted a temporary gutter which could be taken off when required.
This gable end is where the prevailing wind comes down off the mountains, we have shelt
In our last blog entry we completed the roof.
Guttering was one of those areas in the build that I had never really given much thought to. After doing some research, and asking on here, we came across cast iron effect guttering from Brett Martin. Unfortunately the lead time to get the guttering to Skye was quite long (3-4 weeks). When the outlets and fascias finally arrived, the actual guttering was missing having been lost in transit. We had to order it again, waiting another three