Jump to content
  • entries
    53
  • comments
    404
  • views
    14779

Whoosh!


vivienz

2437 views

So not much happened on site today.


Hahahahhahaha!


Just kidding - the 'whoosh' of the entry title refers to the speed of the upper floor going up.  Just amazing.  Equally, though, it could refer to the rotor blades of a Royal Navy lynx helicopter.  Huh? Let me explain.  For some time now, ever since the slab started going down, in fact, there have been a couple of navy lynx helicopters that seem to have a regular route (I assume from RNAS Yeovilton as it's not that far away) passing not far from our site and they're generally over at least once a week.  Since the slab started going down, their fly-pasts have become a little closer each time and a little slower.  This afternoon, a single lynx flew over.  I mean right over.  Like, directly over head, banking steeply around the build at a very low level right over.  I'm sure I saw the pilot wave.  So, I'm just saying it now, but if MBC get an order from either aircrew or a pilot of a navy lynx helicopter, they know where to send the bottle of wine for the free advertising.


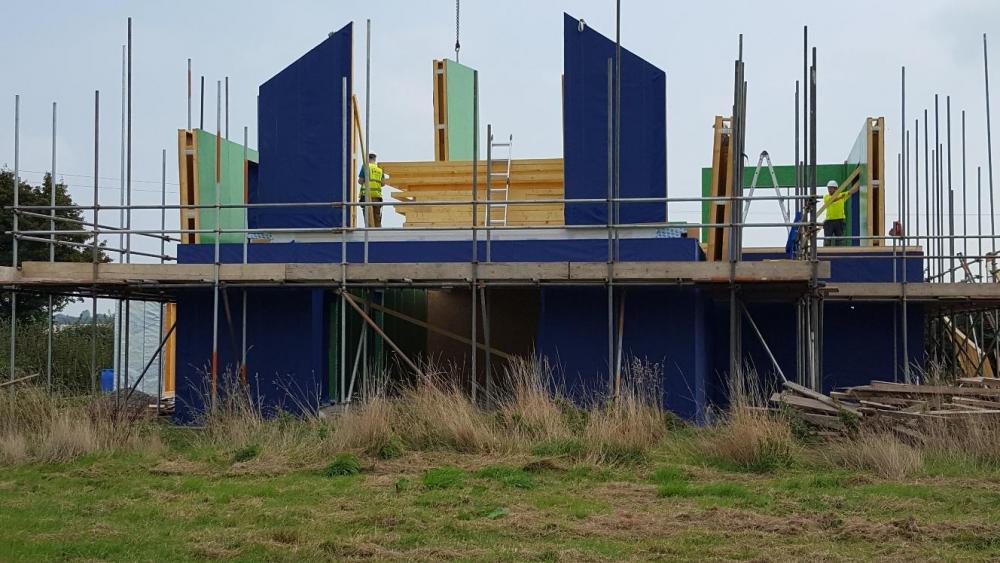
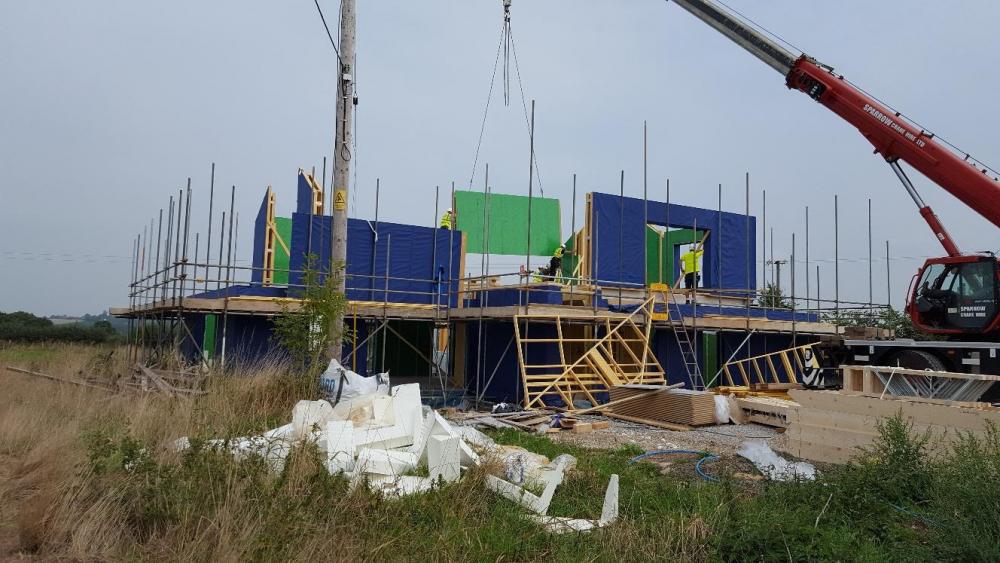
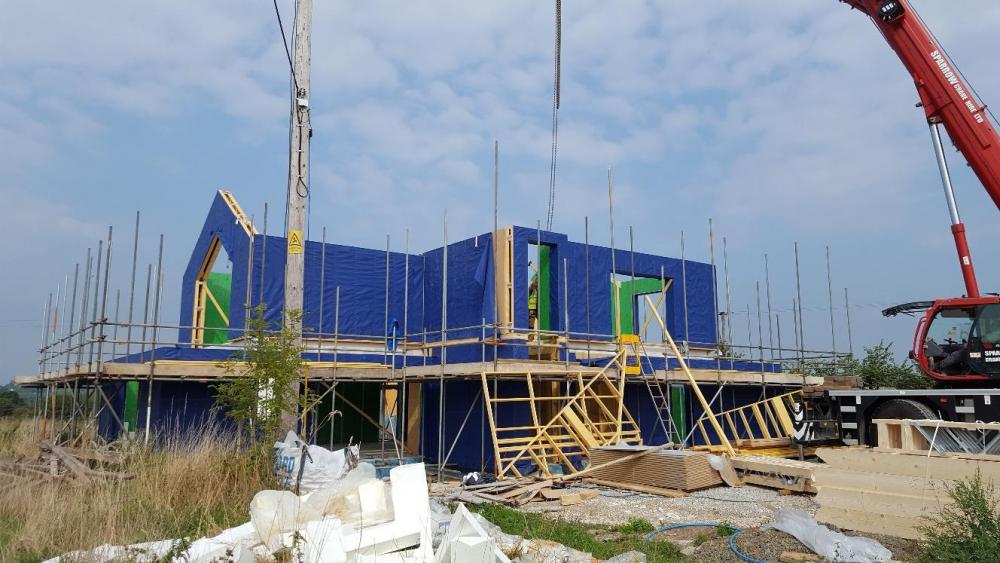
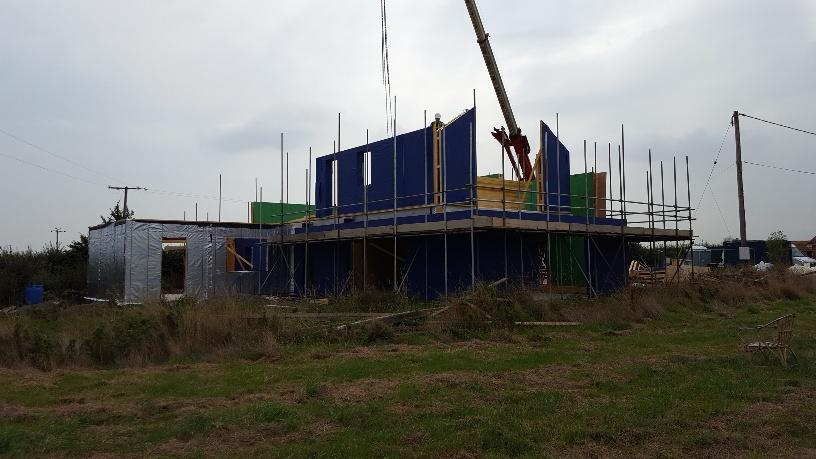
So, what did happen today?  Well, the final load of timber frame components arrived around mid-morning but the crane and MBC were there from early doors this morning, busy putting into place what was already on site.  First in were the south east and north west corner walls.
 

496594041_southbedroompanel.jpeg.7ed294ea1e0b83e2defbf4b8329ef2f2.jpeg


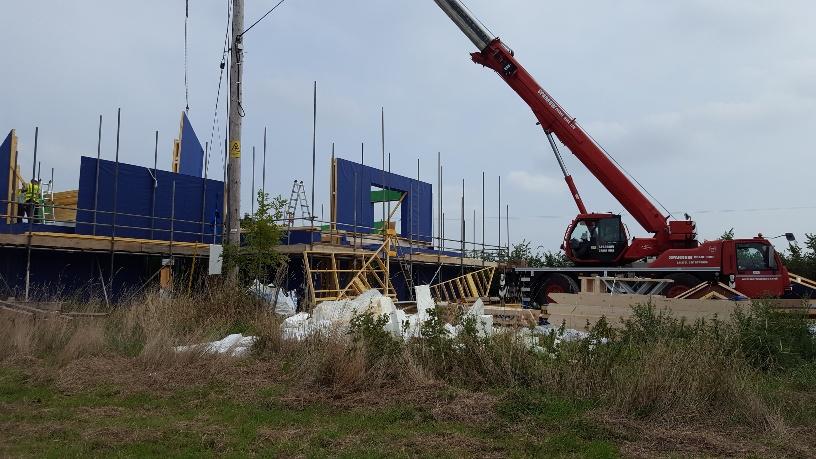
Then came the walls either side of the east and west gables:786131904_Eastgable.thumb.jpg.f97bd29def39593155c39eef94579f6a.jpg
 

147411014_Westgable.thumb.jpg.b6472d022180659614001ba99832fecd.jpg


Once the adjacent walls were in, the gable steels were craned in:


1452438357_Westgablesteel.thumb.jpg.42d99061c3ae741dda04fbcc1bcbd1dc.jpg


The east gable was done a little differently.  The steel was put in first, then the timber section placed on top:


1715888811_Eastgablesteel.thumb.jpg.23708728daa9e5af96458235dd46fda7.jpg


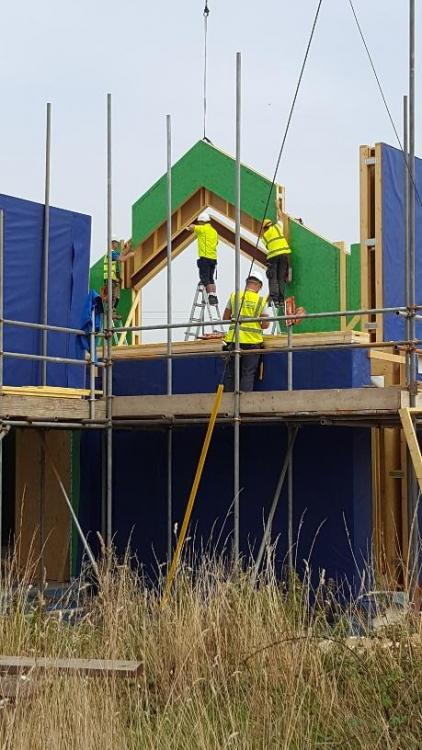
Here's a closer view of the east gable steel being worked on:


1147904483_Eastgablesteelcloseup.thumb.jpeg.ca60bce5a037ead0edc2cfd64dd03d38.jpeg


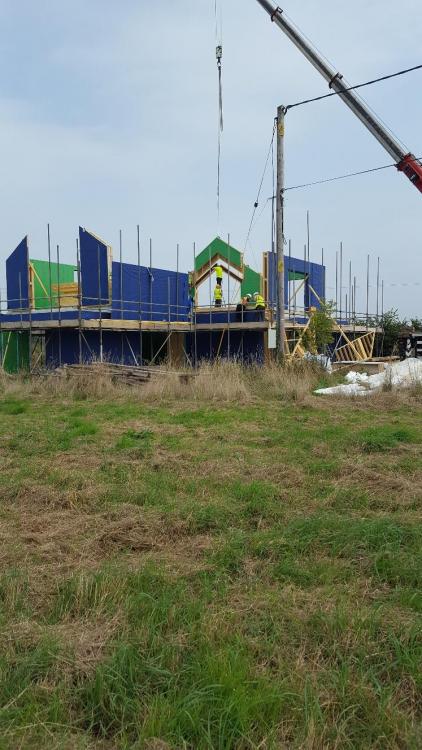
And here's one of the big side wall panels being craned in:


1362614347_Craningin.thumb.jpg.ff8cb16d93454b80aa4701d43e5098f3.jpg


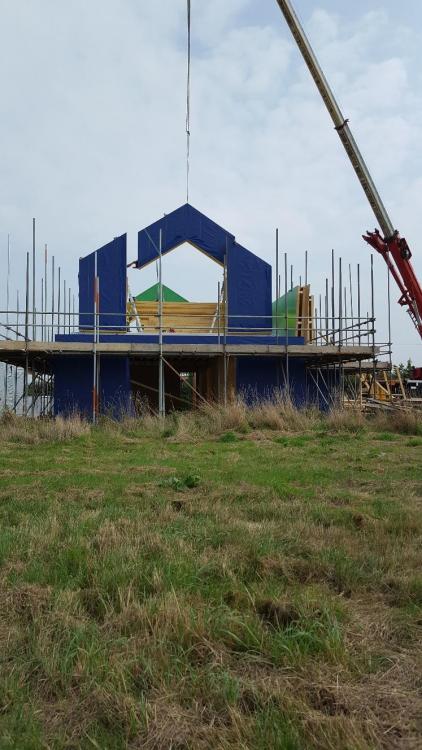
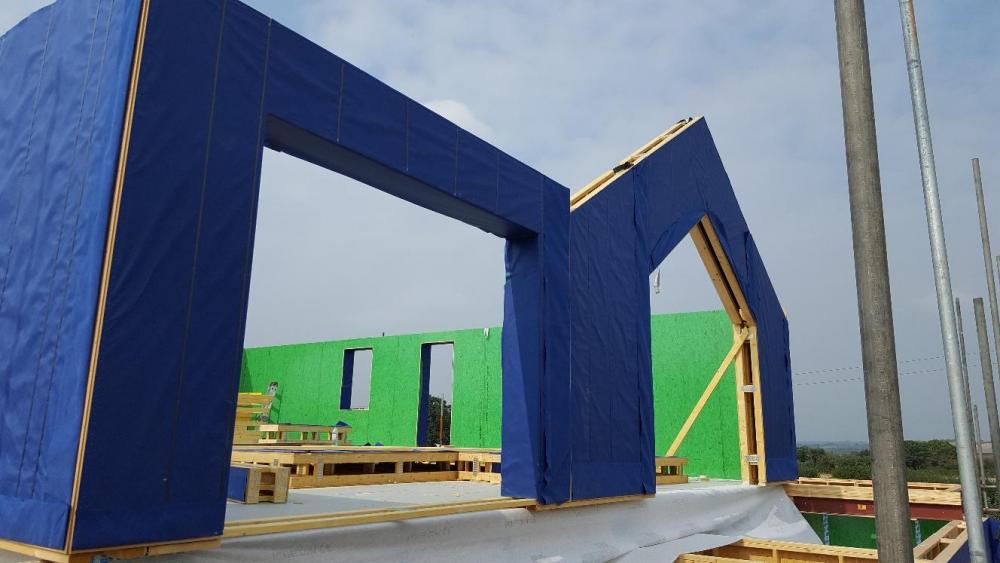
Then the slightly different design for the south gable.  This doesn't have an apex in the glazing, so the section is done differently.


173547290_craninginsouthgable.thumb.jpg.bb730b18ec89d231e5cc31bd9570aa9d.jpg


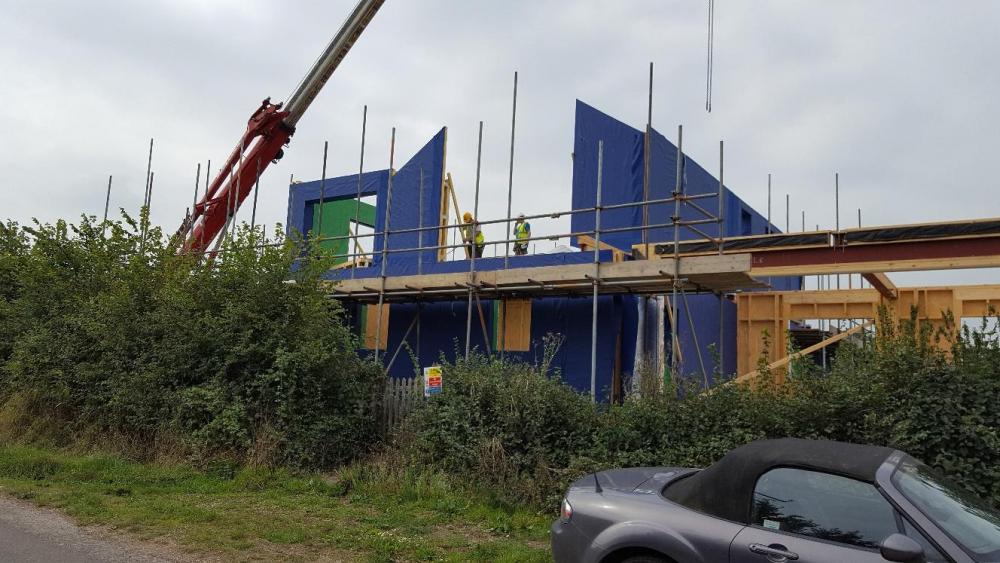
Once the team broke for a late lunch, I scampered up and took a couple of photos from the scaffold for a different perspective:


710739336_ViewfromNEscaffold.thumb.jpg.485a7a52803f2e0d5819dfb0aa2438c1.jpg


By late afternoon, the full height opening for the stairwell window was all in and work was starting on the internal stud walls.


1521415426_Lateafternoon.thumb.jpg.ad0ad98a0f834a6baef044c7dc93f6ec.jpg


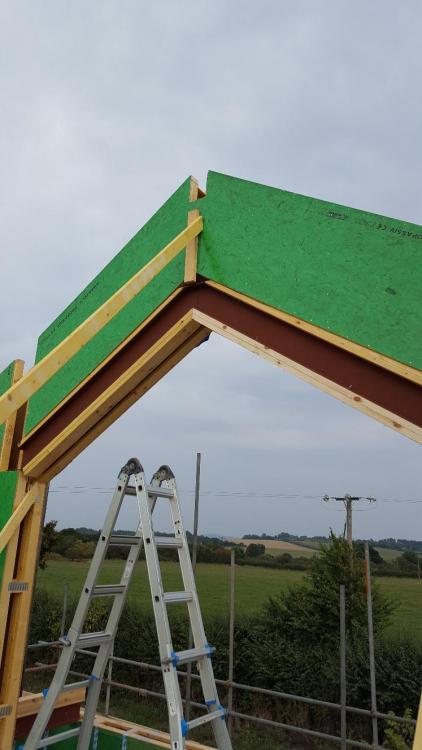
As well as the internal walls, the guys were prepping the top of the gables to receive the roof beams that will go in soon by cutting slots in the very top of the apex692636983_gableslotforbeam.thumb.jpg.0b5858411f8b0a4f0b5d3bddc72330d0.jpg.
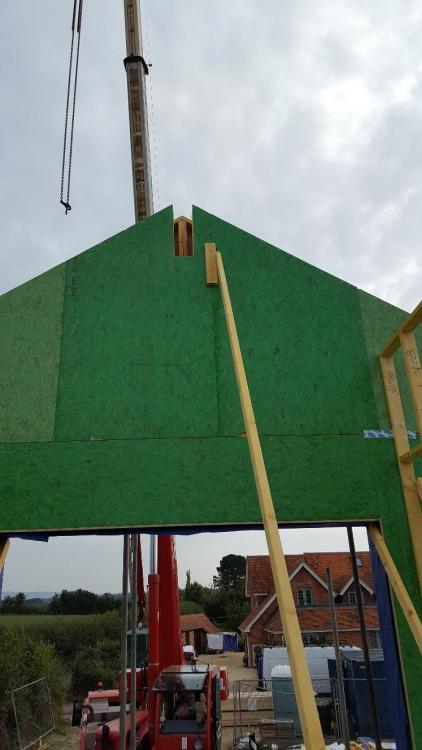
 

92942319_bracedgableendslot.thumb.jpg.eb24fdc132d17e5bbe2118c59f06848d.jpg


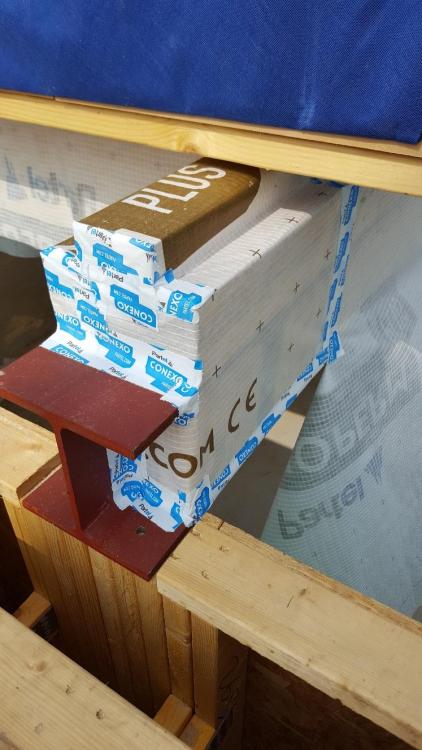
Final pic for today that I know will excite all you construction fans, is the treatment of the steel beam ends and the glulams:


1581482354_tapeonsteelend.thumb.jpg.2e434b8401cf3511f9763f428398e127.jpg


So, what next?  Well, the scaffolders are due back tomorrow to put the second lift in place and make any adjustments that the MBC team need to do the final stages of the timber frame.


In addition, I'm still chasing down and getting more roofing quotes as my solar PV installation is due on 26th September and I still need to get the eaves course and velux windows sorted by then as I'm pushing my already extraordinarily good luck with the weather in getting weather-dependent jobs done that far into the autumn.  The glazing is also due that week, so I'm hoping for a good one!


I've got quite a few admin tasks to do and need to get to grips with the next section of workflow but I've been giving some attention to that today and will detail my 'next steps' in a separate post away from all this distracting timber frame porn.


Enjoy!

North upper wall.jpeg

  • Like 4

7 Comments


Recommended Comments

You did know that I used to be in charge of the entire Lynx fleet, as the Lynx Integrated Project Team Leader at Yeovilton, and the Programme Manager for Future Lynx (now Lynx Wildcat) didn't you?  Some of my former colleagues being curious, I rather suspect, especially as a couple of them came over to see our build going up.  IIRC, there's at least one other Lynx-connected individual with an MBC build, too.

  • Like 2
Link to comment

Amazing seeing it go up isn't it! Even though you read about it on here nothing can beat seeing your own go up. From nothing, to almost a house in a couple of days. Timber frame rocks lol. 


  • Like 1
Link to comment

Aha! Their secret is out now then, Jeremy! Honestly, I thought tgeir curiosity would snag them in the power lines as they came in so low!

Link to comment

Looking really good Vivien, here's hoping the weather holds for you. Those big first floor windows are going to frame some stunning views for you.


(In my Lynx days we would just nip under any power lines ?)

Link to comment

Thanks, Russel.


I'm going to ask the guys about covering the boards or taking precautions as we're due a day of heavy rain on Saturday.  Plenty of time for it to dry out, but I've seen too many puffed up egger board seams now to want to avoid this, if possible.

Link to comment

Looking at the glue lines is a good way to check if you will have any issues - if they are swelled up and foamed properly then there won’t be a problem as the glue will have sealed all the edges. A sharp floor scraper will clear them off when they are properly cured. The problem usually occurs when they aren’t sealed on cut edges around openings and similar - brushing on some glue will help. 

  • Like 1
  • Thanks 1
Link to comment
1 hour ago, PeterW said:

Looking at the glue lines is a good way to check if you will have any issues - if they are swelled up and foamed properly then there won’t be a problem as the glue will have sealed all the edges. A sharp floor scraper will clear them off when they are properly cured. The problem usually occurs when they aren’t sealed on cut edges around openings and similar - brushing on some glue will help. 


I'm on my way out there shortly, so I shall cast my beady eye over them.  There was plenty of foamy stuff over the board joins yesterday, but I didn't realise the significance of looking for it foaming over.  Thanks, Peter.

Link to comment

Create an account or sign in to comment

You need to be a member in order to leave a comment

Create an account

Sign up for a new account in our community. It's easy!

Register a new account

Sign in

Already have an account? Sign in here.

Sign In Now
×
×
  • Create New...