

A little less conversation...

Entry posted by vivienz
1854 views
...a little more action.
The piles started going in today and it was a glorious sight to behold after so much waiting and anticipation. It was, in fact, very understated for piles; these are, after all, mini piles, but there was so little fuss and hassle that it was almost underwhelming. Not quite, though.
I may just happened to have mentioned before that I'm on clay. Well, I'm on even more clay than I thought. In fact, you would be hard pressed to find anything other than clay on my site apart from a few meagre inches of topsoil where the garden used to be. Although these are mini piles, they still go down to 12m in some positions and all that came up off the augur was clay. Yellow clay at the top, dark grey clay from about 2.5m downwards.
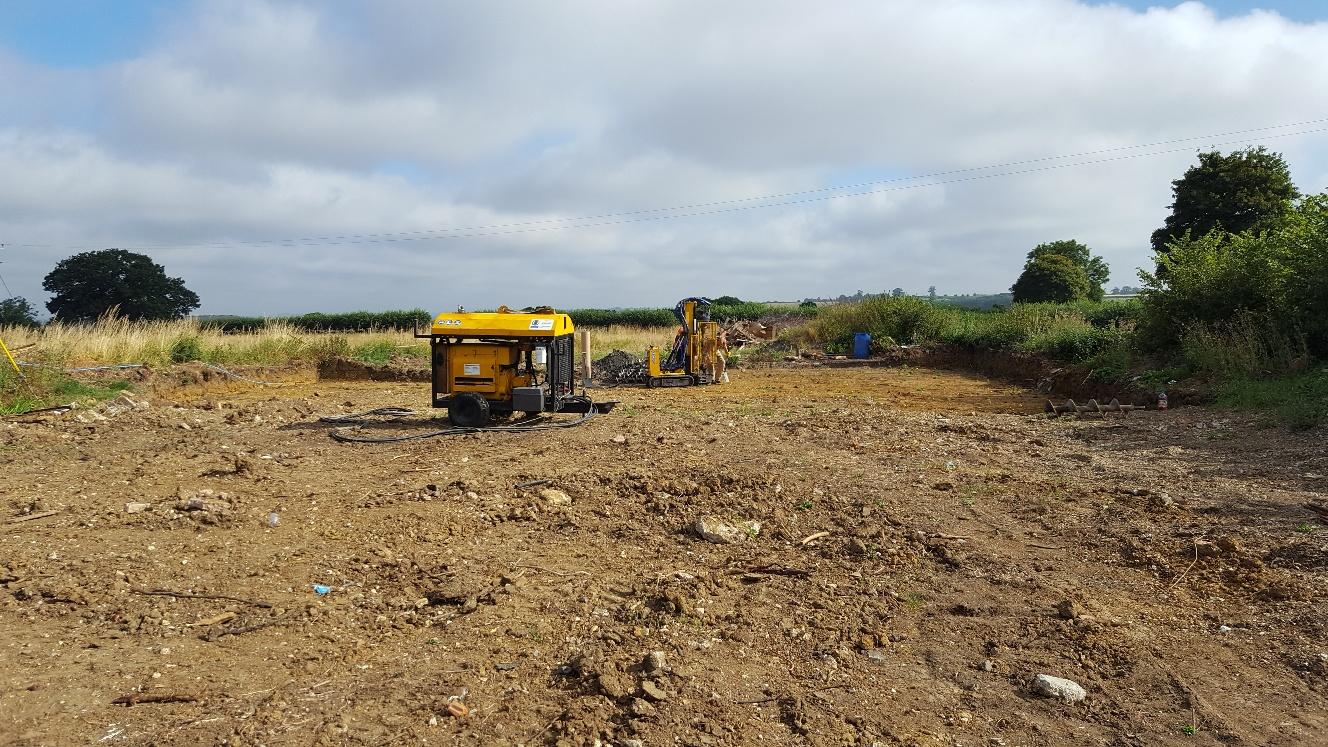
So onto a bit of technical stuff for the piles. They are being put in by Advanced Mini Piling Systems, who are based in Bath, and they're very nice chaps. I have 34 piling positions and these were set out by a surveyor on Friday afternoon. Late Friday, two of the piling guys dropped off the rig for an early start this morning and that's just what they did, about 8am. Now, don't ask me questions about loadings and things like that; I can probably find out if you really need to know, but I take the view that as I've paid an SE to work out these things for me, I'm not going to double up on the effort and fry my brain in doing so. Actually, if I come across the pile schedule I can post it if anyone really wants it.
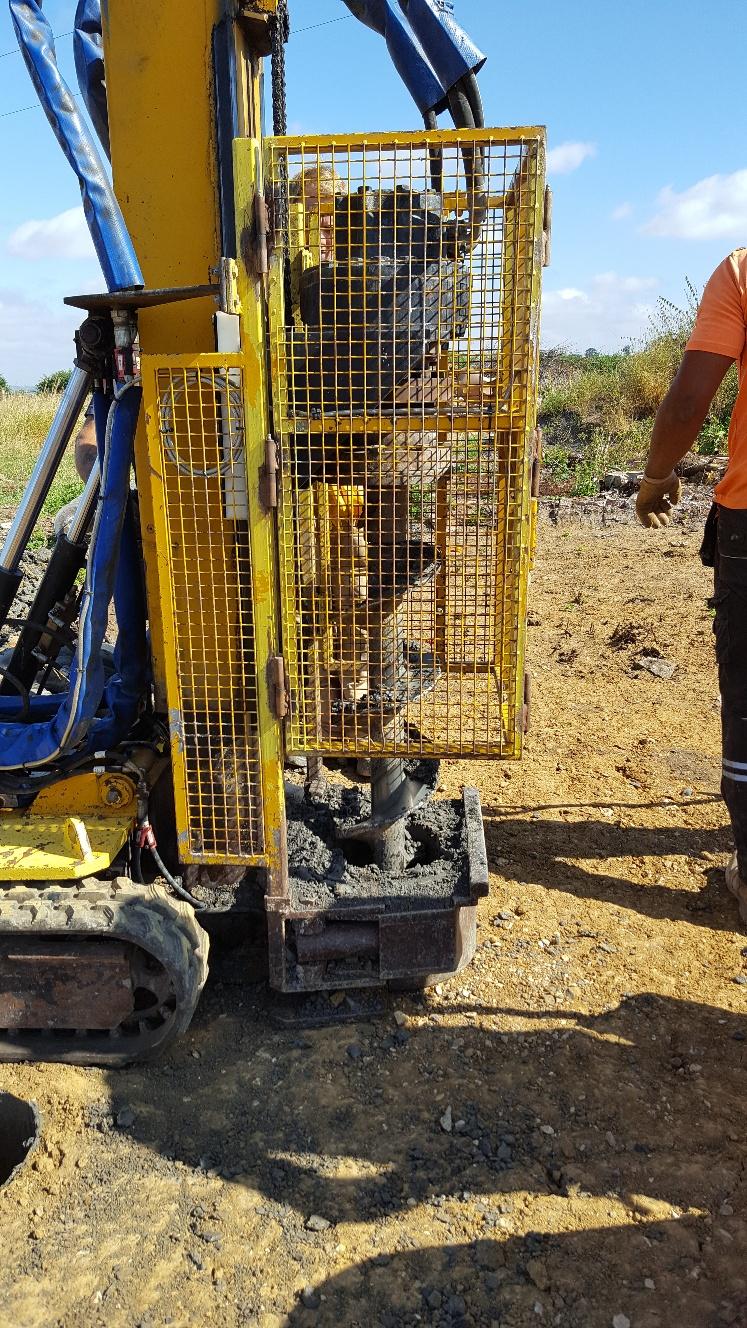
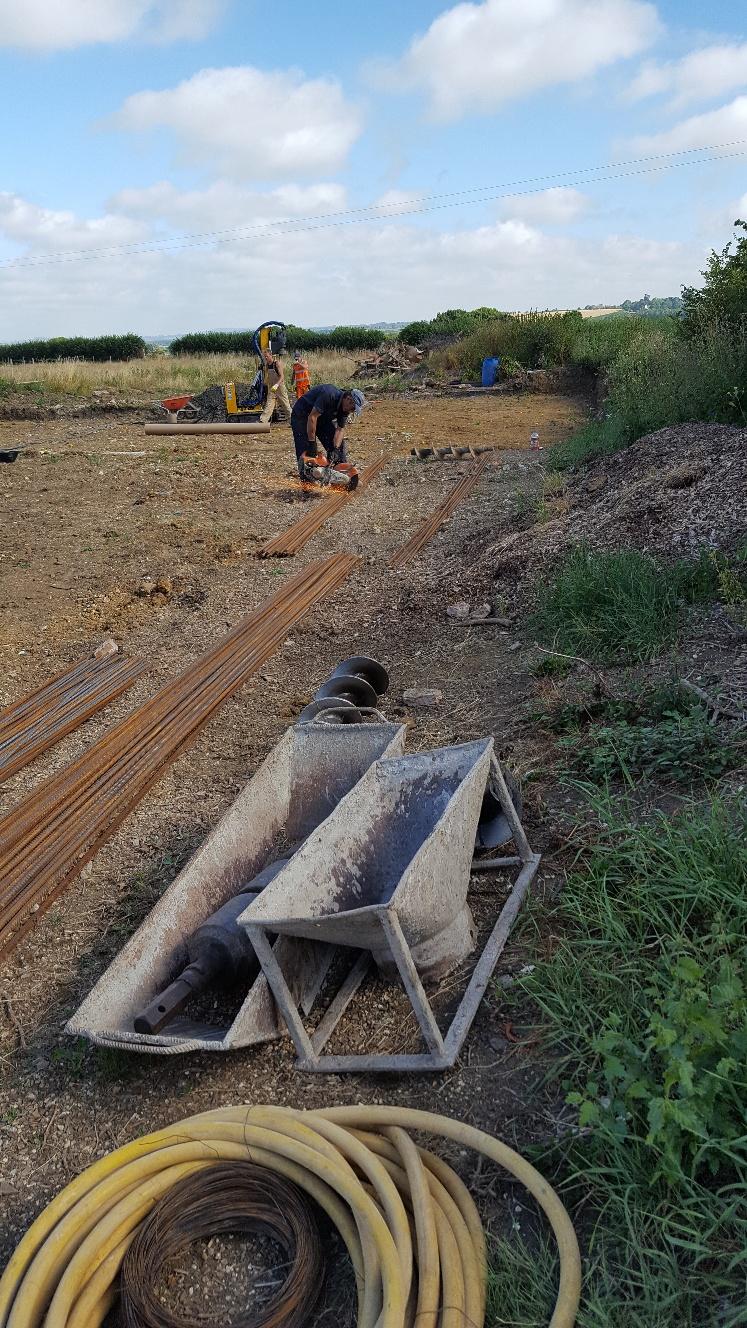
First up, the rig is moved to the piling position and the hole is augured out to the specified depth, with the augur being cleaned of debris as they go. Because my clay is so dessicated, it came away from the drill with no problems and no difficult cleaning was needed. The spoil was just shoveled out of the way of the piling positions.
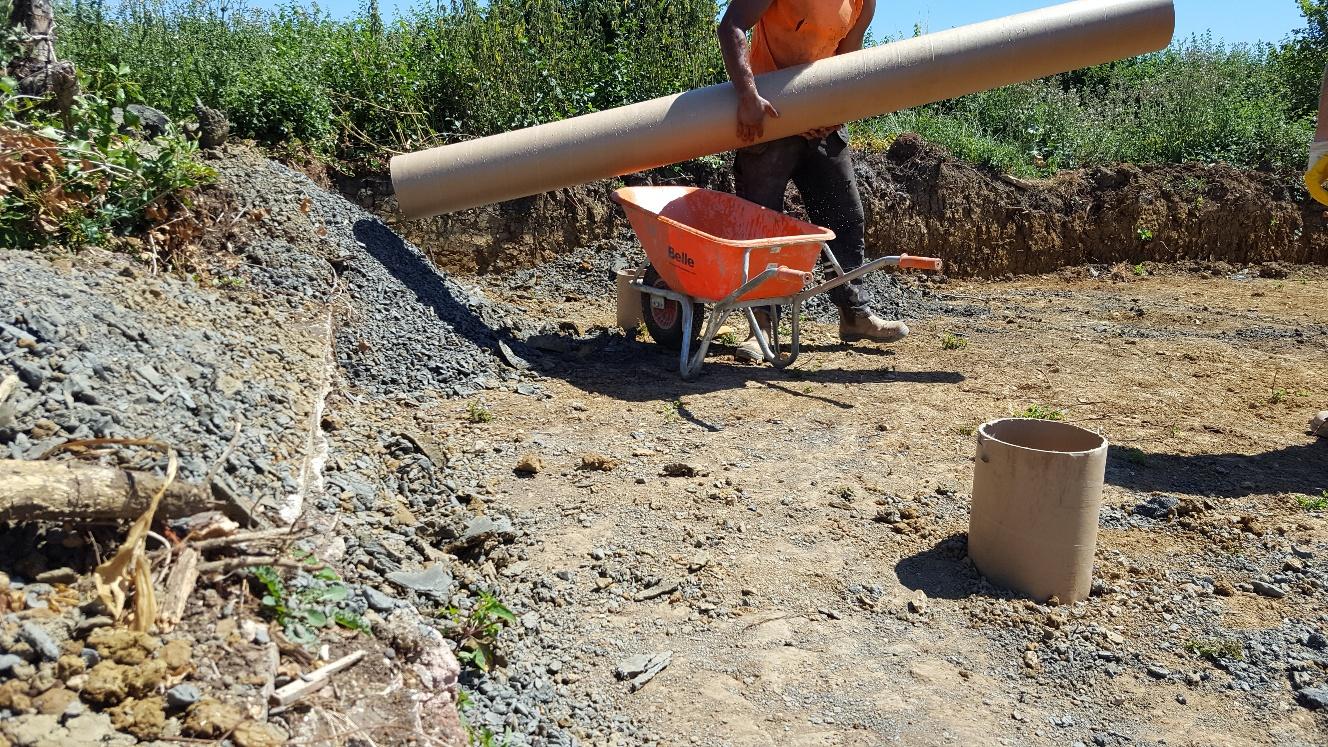
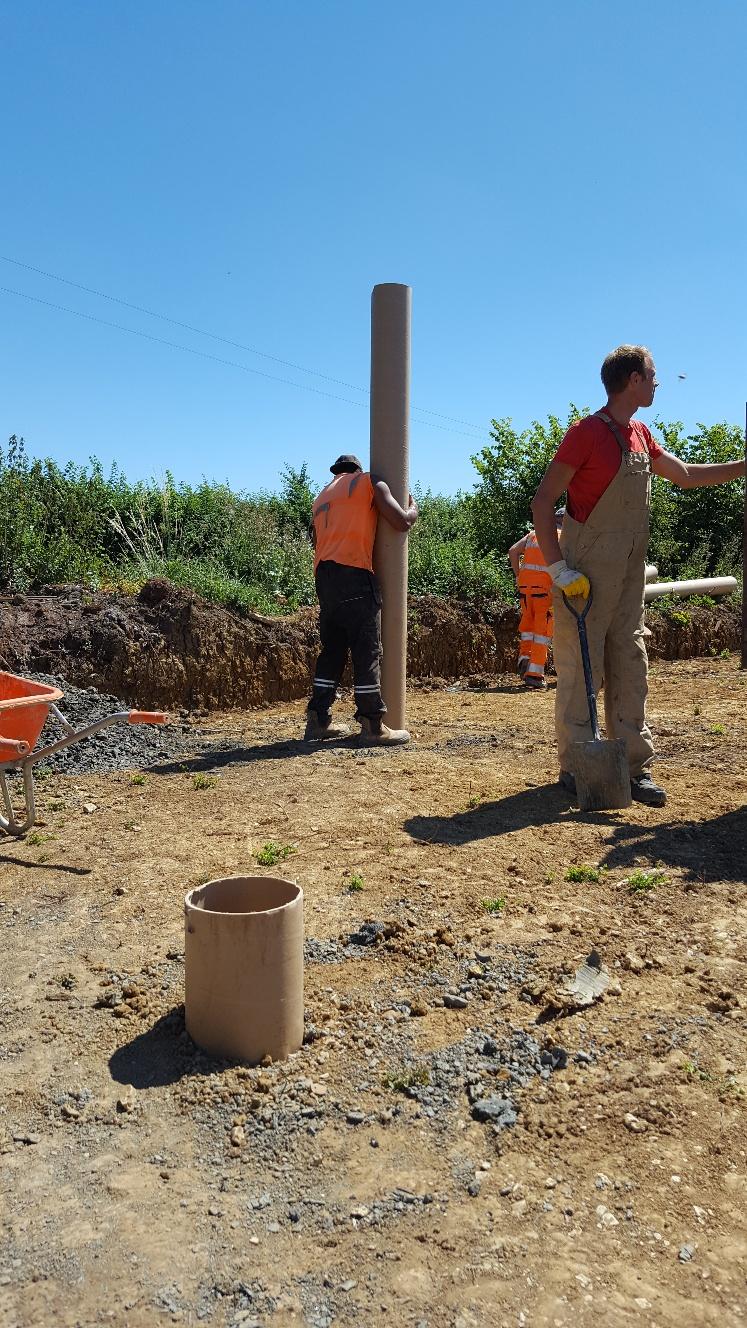
The top 3m of the holes are lined with an anti-heave sleeve - this looked like a giant tube of plastic impregnated cardboard and I suspect that's exactly what it is. I understand that they can, at times, be tricky to put in. The team tried to put the first one straight into the hole and seeing someone balancing on one of these to try and squish it in was quite amusing, but ineffective. The solution was very simple - before inserting the sleeve, it got wetted down with water and they dropped right in. The sleeves are a few mm smaller than the hole, so still a tight fit, but the water lubrication worked well.
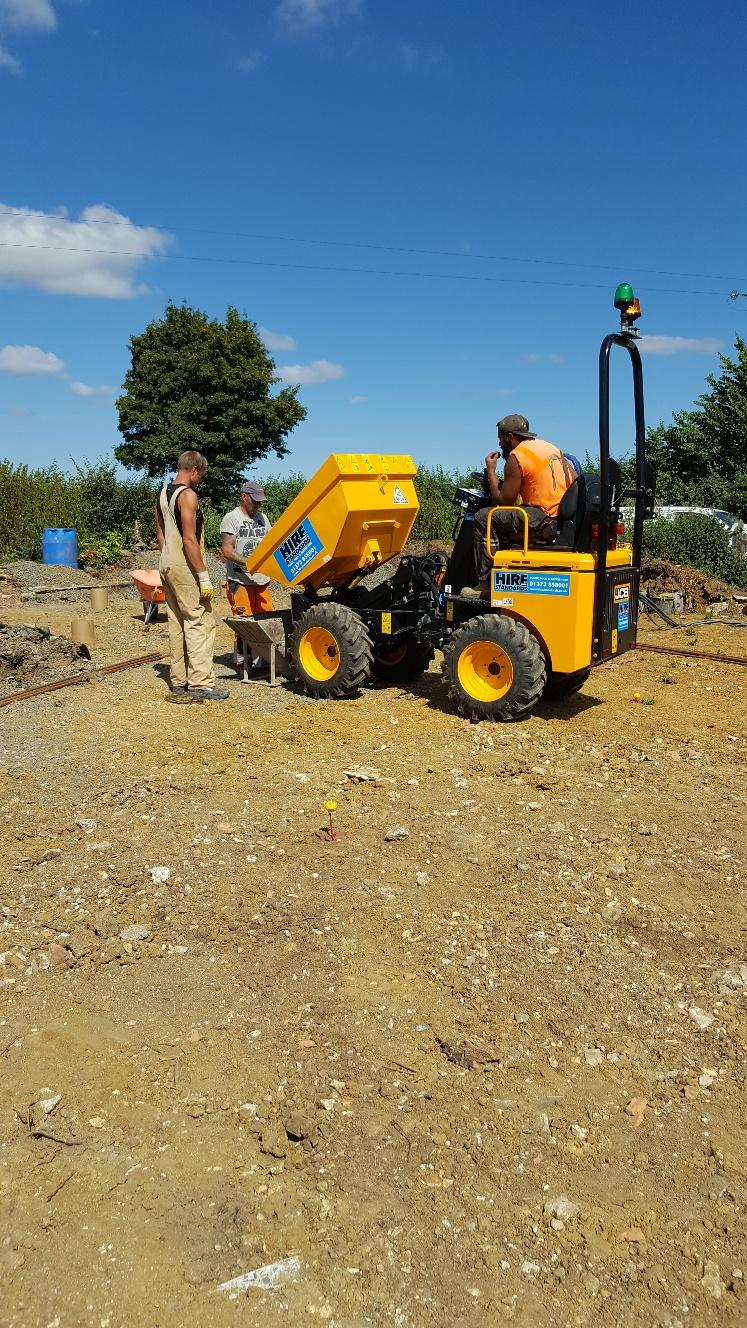
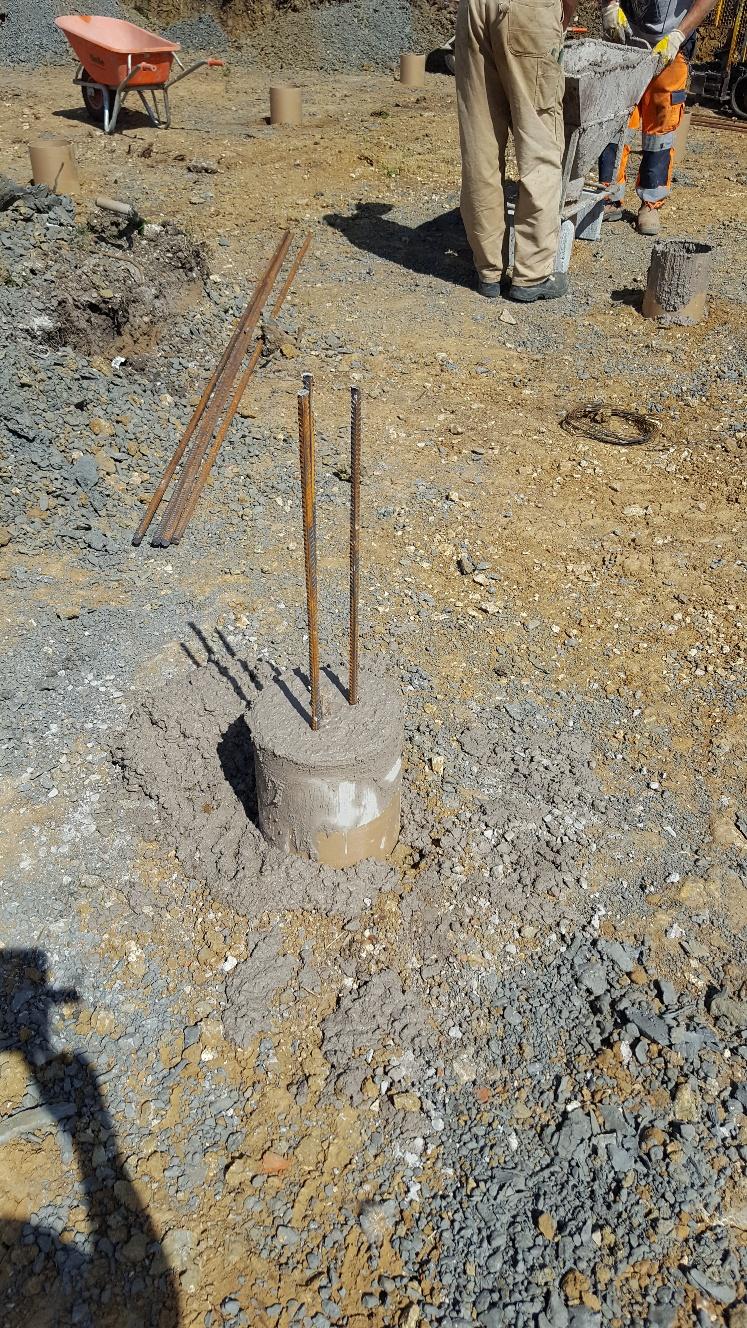
The concrete lorry turned up mid-afternoon. The drilled holes and sleeves aren't left open overnight, they are always poured and filled by the end of the day, with the rebar inserted. The concrete pour was equally straightforward. A dumper truck gets filled with enough concrete to fill one pile position up to the top of the sleeve, the rebar then gets inserted, tied and pushed in all the way. Rinse and repeat until all the positions are finished. Once the concrete has gone off, the rebar will get tied into mesh. Judging by the rate they're getting through the work, the job should be finished on Thursday or Friday morning at the latest.
I will add a word about the dumper truck and, in general, the diminutive size of the equipment. Because everything is on a smaller scale, they were able to negotiate the site and all the piling positions that were down and I only saw one squashed pin. Larger equipment would have run the risk of burying everything, if only to manoeuvre around, but this system was very nimble and capable. The combination of smaller kit and the dry weather also meant that I was able to completely avoid the need for a piling mat, which wouldn't have been cheap.
I'm chuffed with how the work went today and just hope that the remainder goes as smoothly and no one gets heat exhaustion - it was punishingly hot on site today, even with the strong breeze.
Now, what you've all been waiting for, the photos.
-
 8
8
2 Comments
Recommended Comments
Create an account or sign in to comment
You need to be a member in order to leave a comment
Create an account
Sign up for a new account in our community. It's easy!
Register a new accountSign in
Already have an account? Sign in here.
Sign In Now