
Plasterboarding newbie and the lounge loses its floor.

Entry posted by TheMitchells
5208 views
Some of the plaster of the bedrooms was very loose and severl months ago, I stripped these areas, leaving any sound plaster. However, this has left me with very uneven walls.
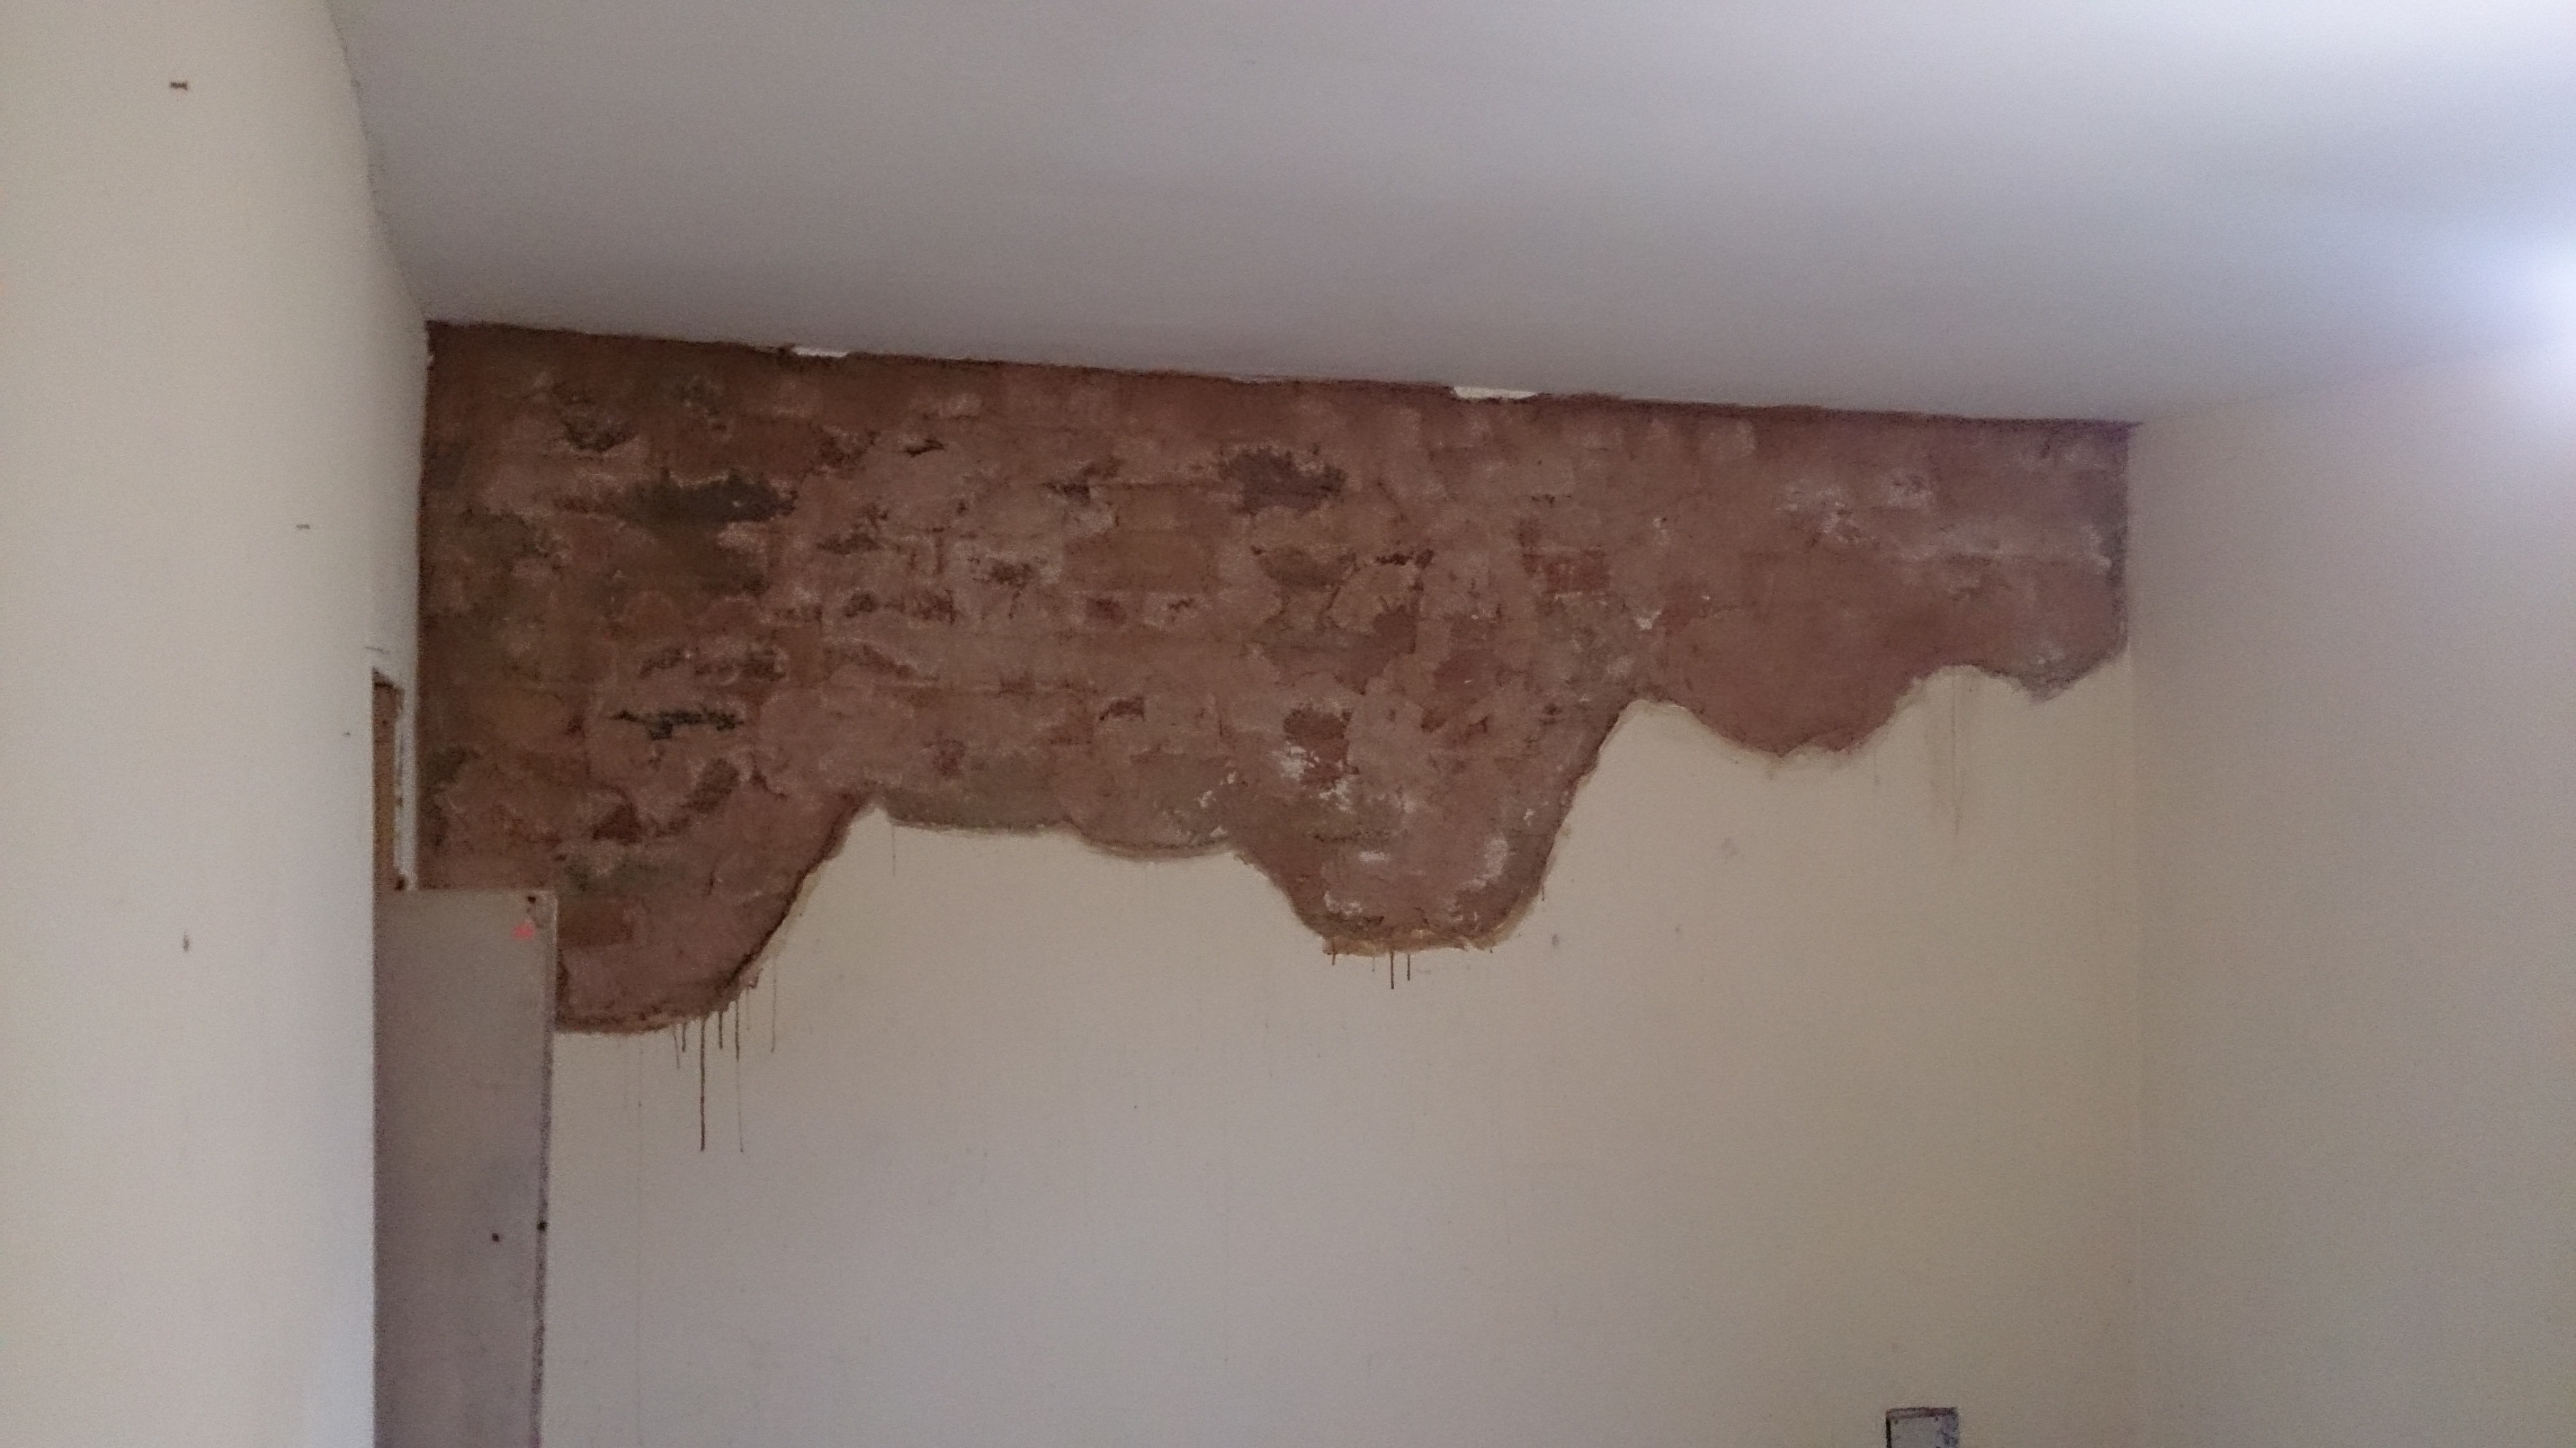
The plasterer suggested that we apply plasterboard to the walls and then he'd come in and skim over, making it all look nice (hopefully). But before we could apply the plasterboard, I had to get the walls to the same depth or the dots/dabs would be huge in some areas.
So I decided to use the pieces of plasterboard I had and stuck them onto the wall, before using Hardwall plaster to fill the gaps.
It may look a little strange but it seemed to have worked.

Okay - it might not look pretty and I am sure there was probably another method I should have used, But it was all I could think of. and all I had to do then was fill in the gaps ready for the PB.
We got a stack of 1800x900 delivered as these were not too heavy to carry and we didnt think the larger ones would actually fit up the stairs. so after manhandling them into the house, (down the alley and along the path, one at a time!) and I had watched several HooTube clips of how to fix PB, I was ready to have a go. I even had bought a hawk to go with the rest of the tools. But as I am sure you all know, its not as easy as it looks. Mixing the adhesive was okay but getting it from the hawk, onto the trowel adn then onto the wall was impossible. It all ended up on the floor! So I swopped for smaller tools - the trowel for holding the adhesive and my faithful wallpaper scrapper for applying it to the wall. Worked a treat. The only thing was that the dots and dabs were a bit smaller and so there were lots of them.
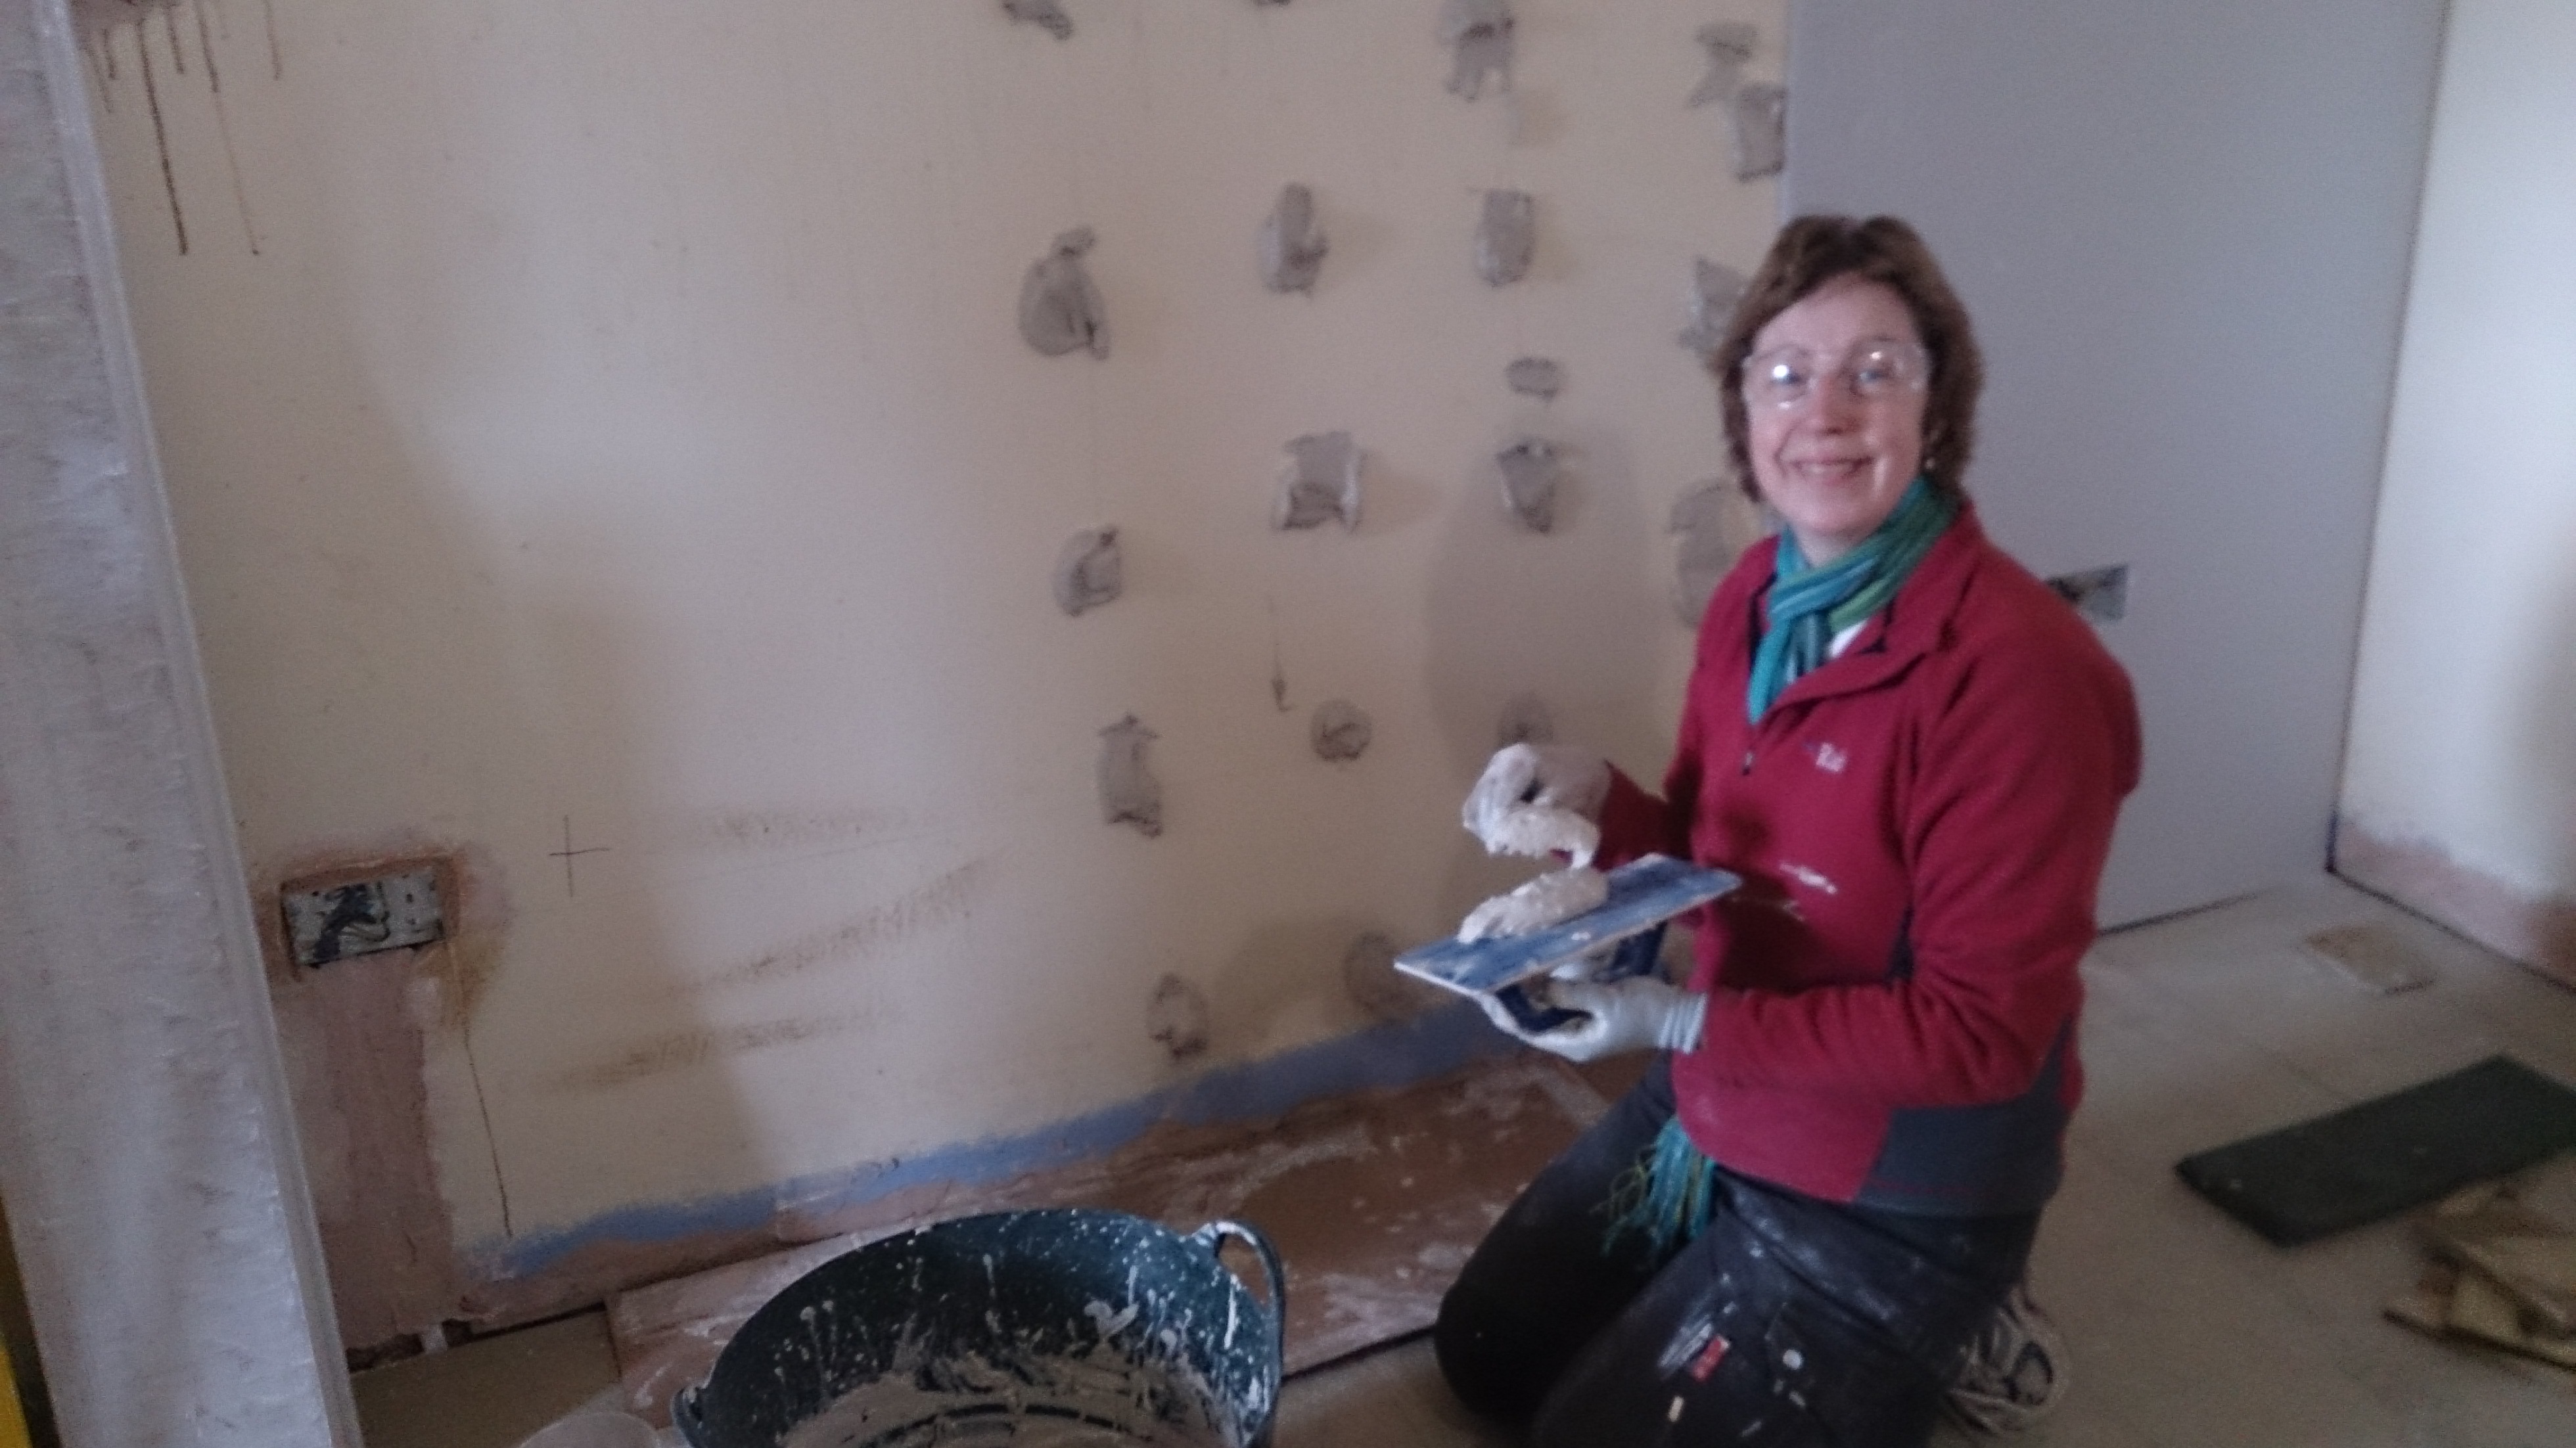
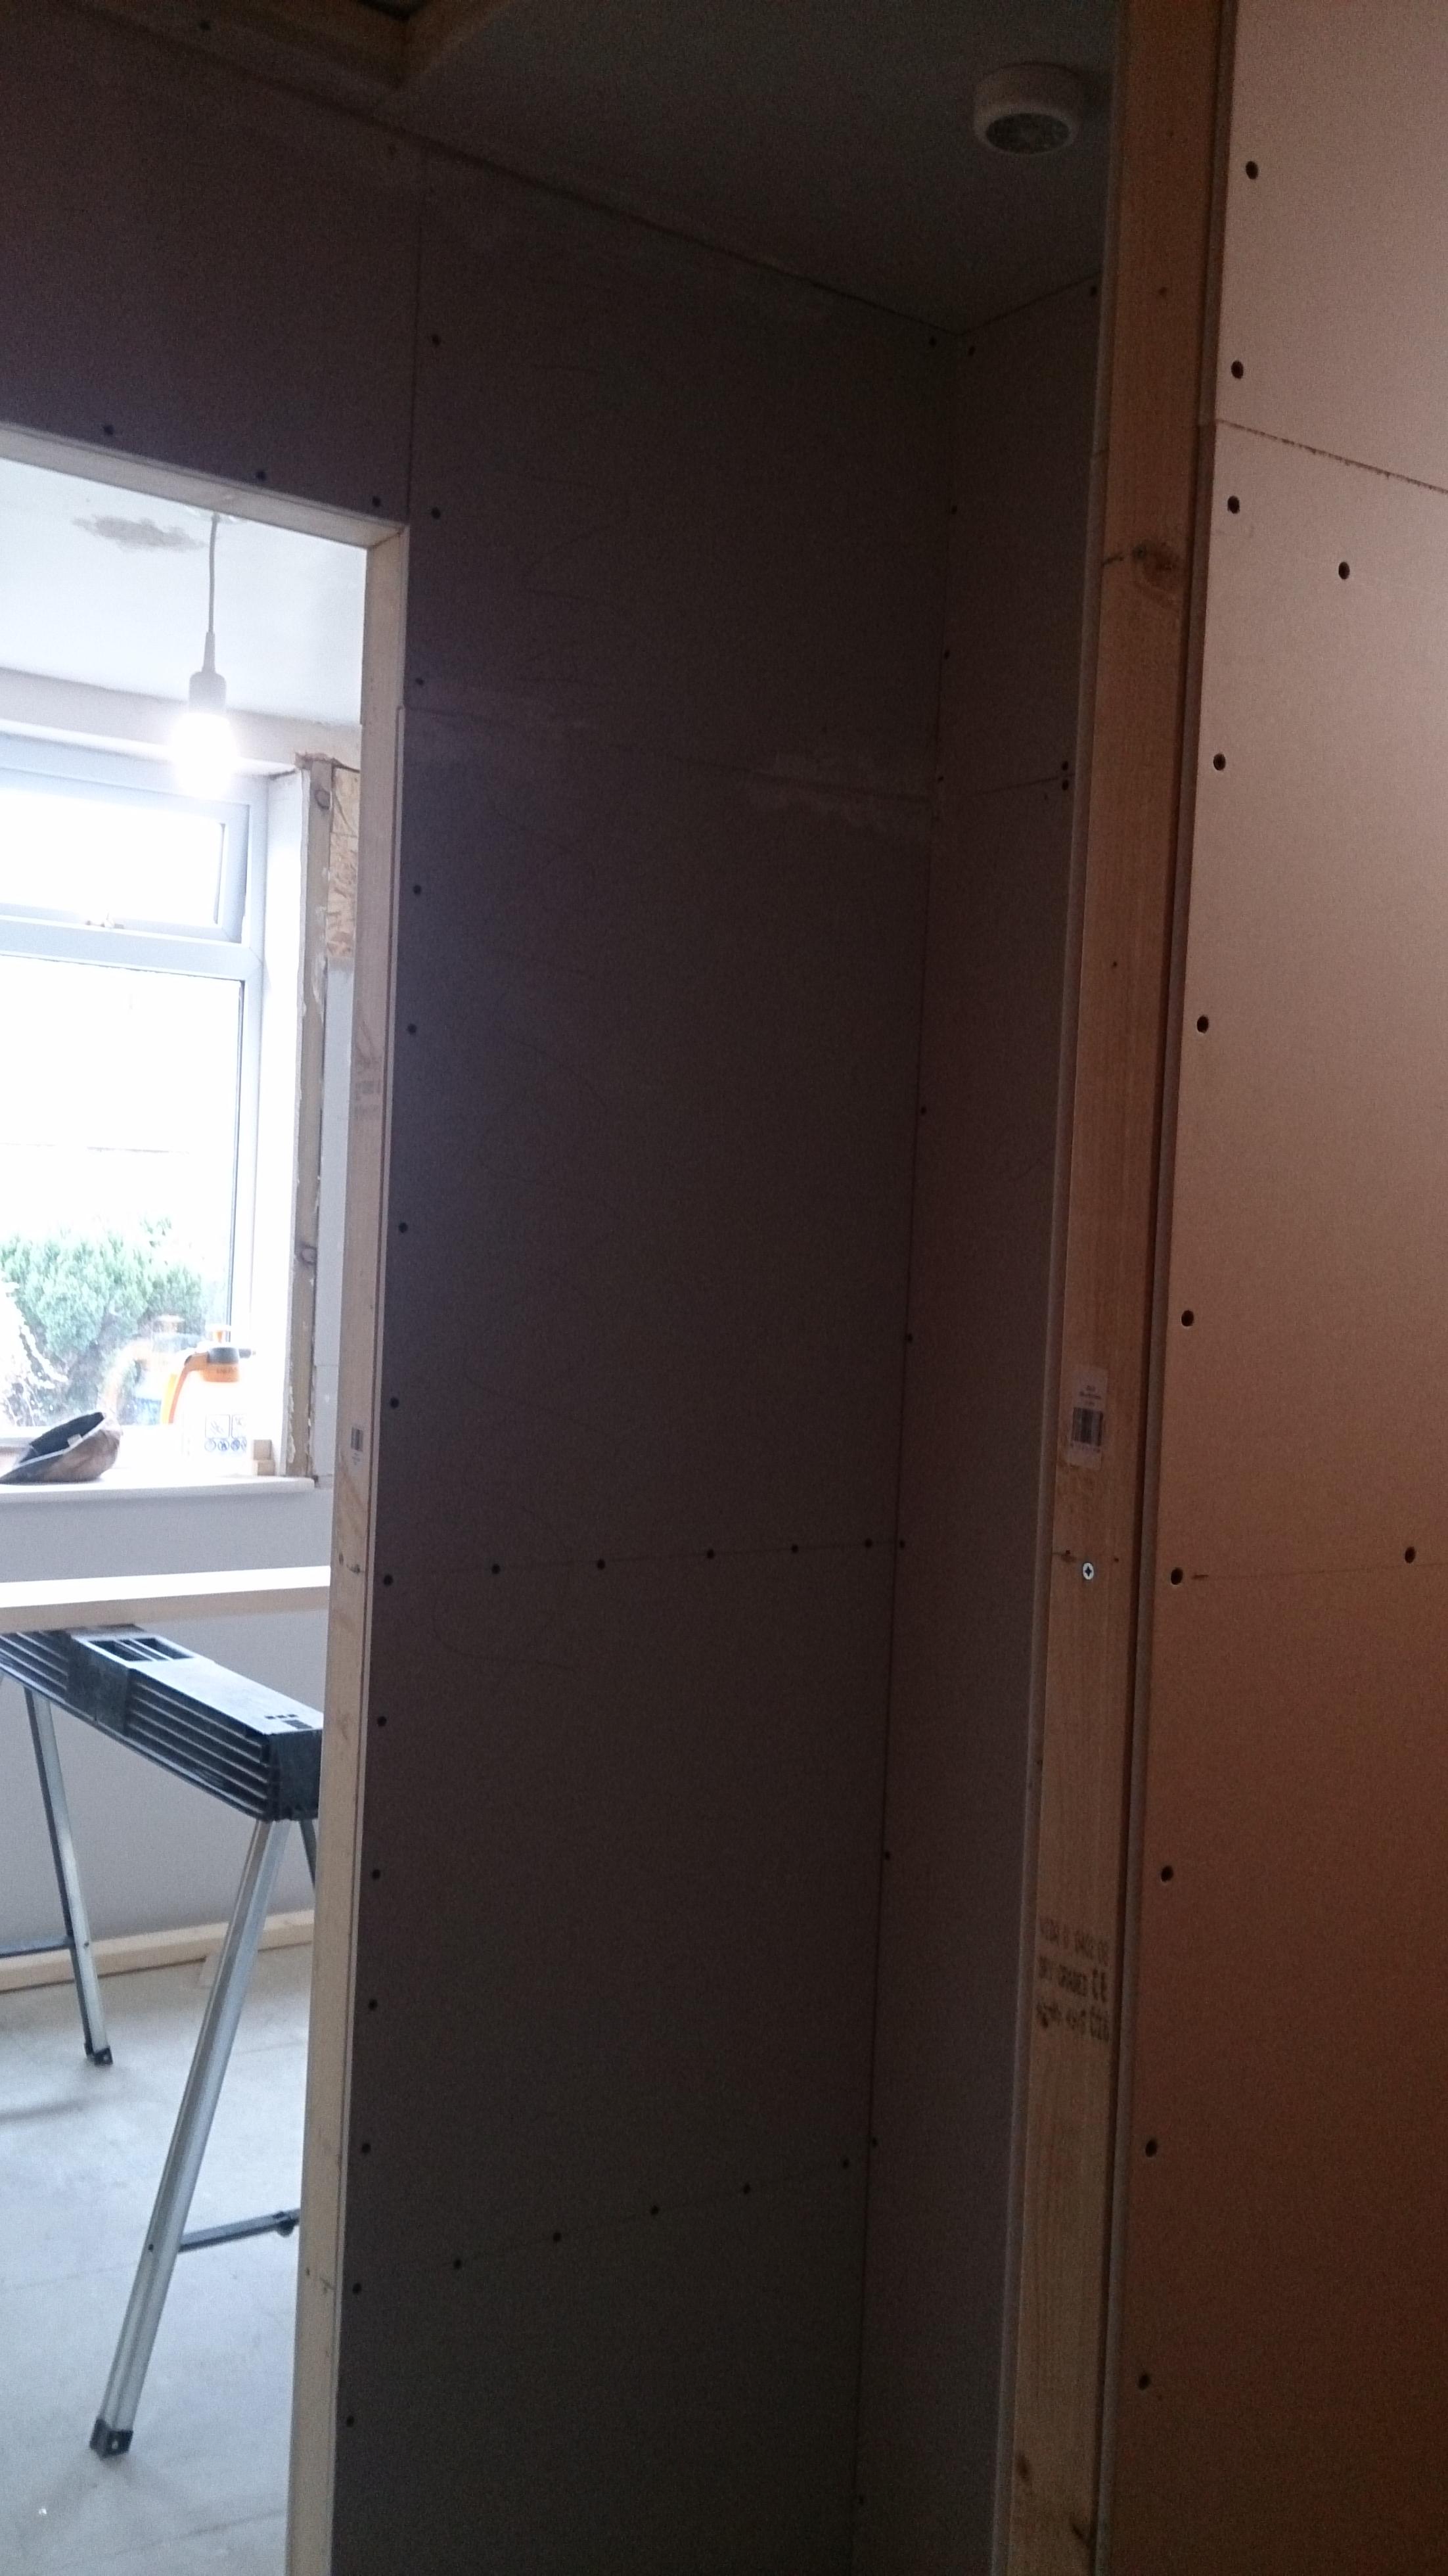
Dont laugh! This was my first wall and It worked; the boards stuck like glue and once dry, it was all completely solid. I did get a bit better and even started making sure all the edges were sealed by the adhesive, particularly around the sockets and ceiling join.
The same wall once finished
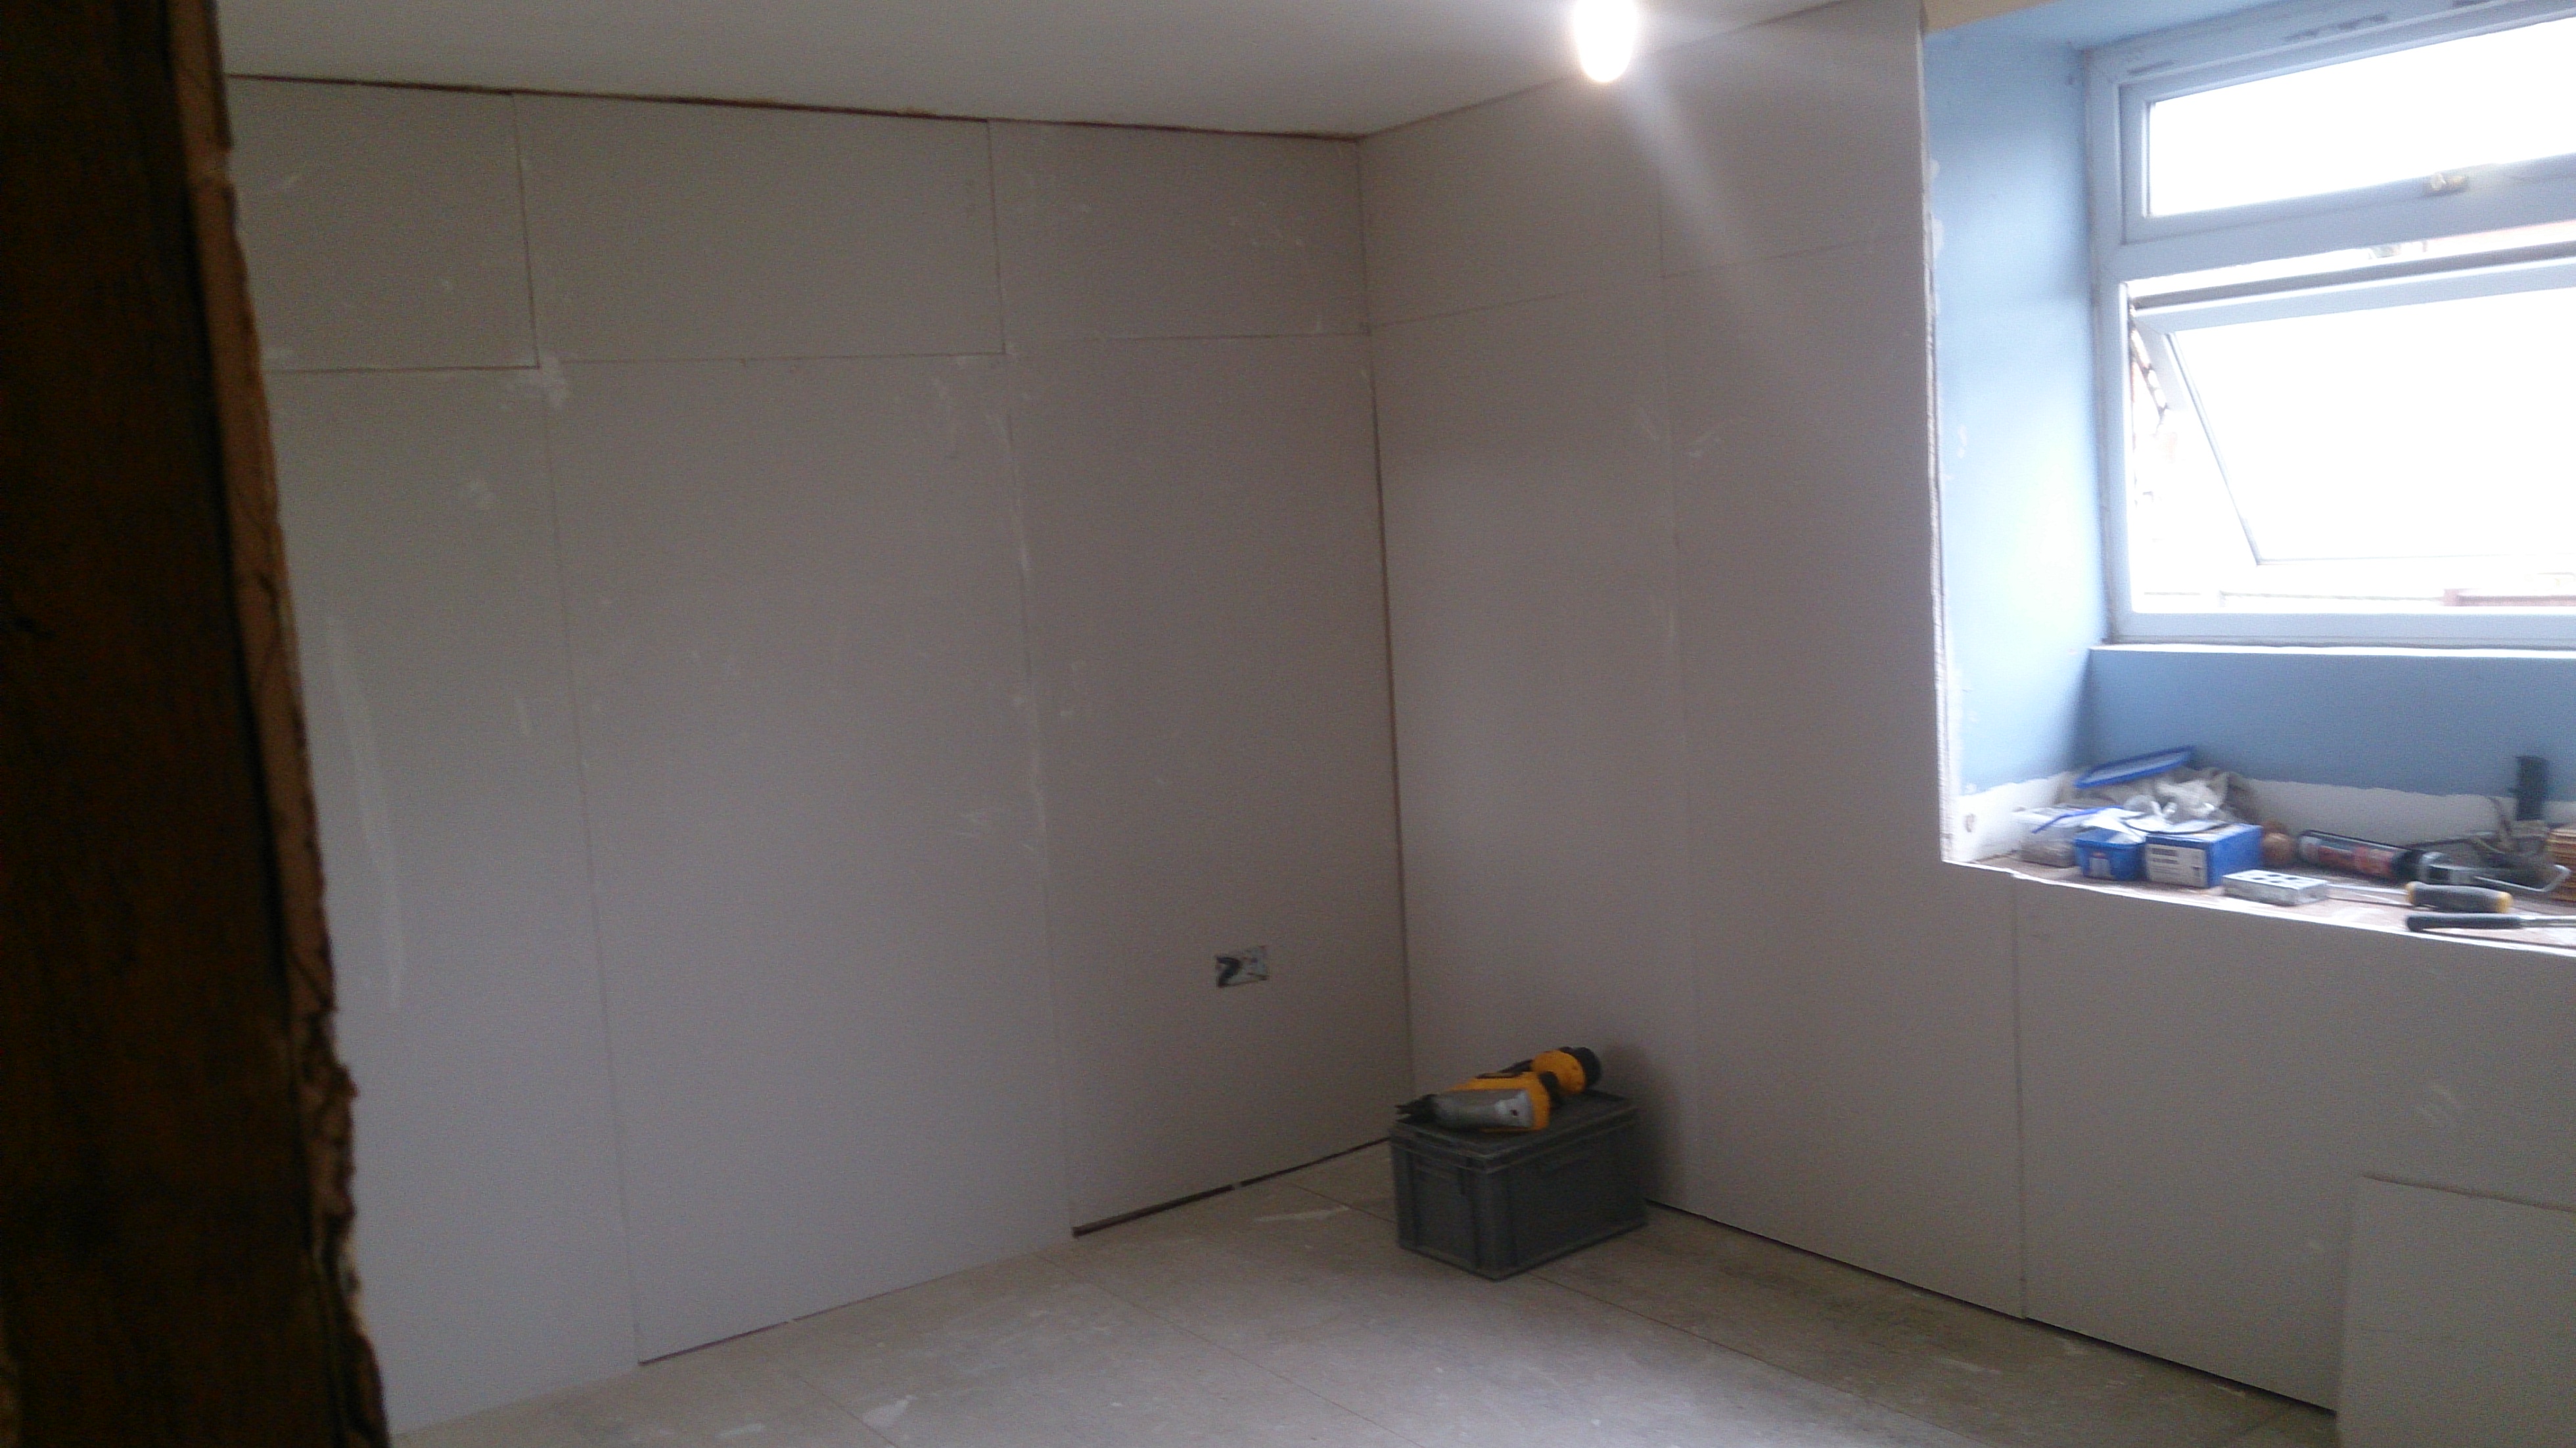
We even have made a lovely cupboard on the landing - ideal for hoovers and stuff.
We are now waiting for a plasterer to come and give a quote to come and skim all the walls and ceilings, hopefully making it all look pretty.![]()
So after many months we have pretty much finished upstairs, apart from the painting and fixing the radiators after its been plastered. the next job is the big one which we've sort of been dreading! The lounge floor!
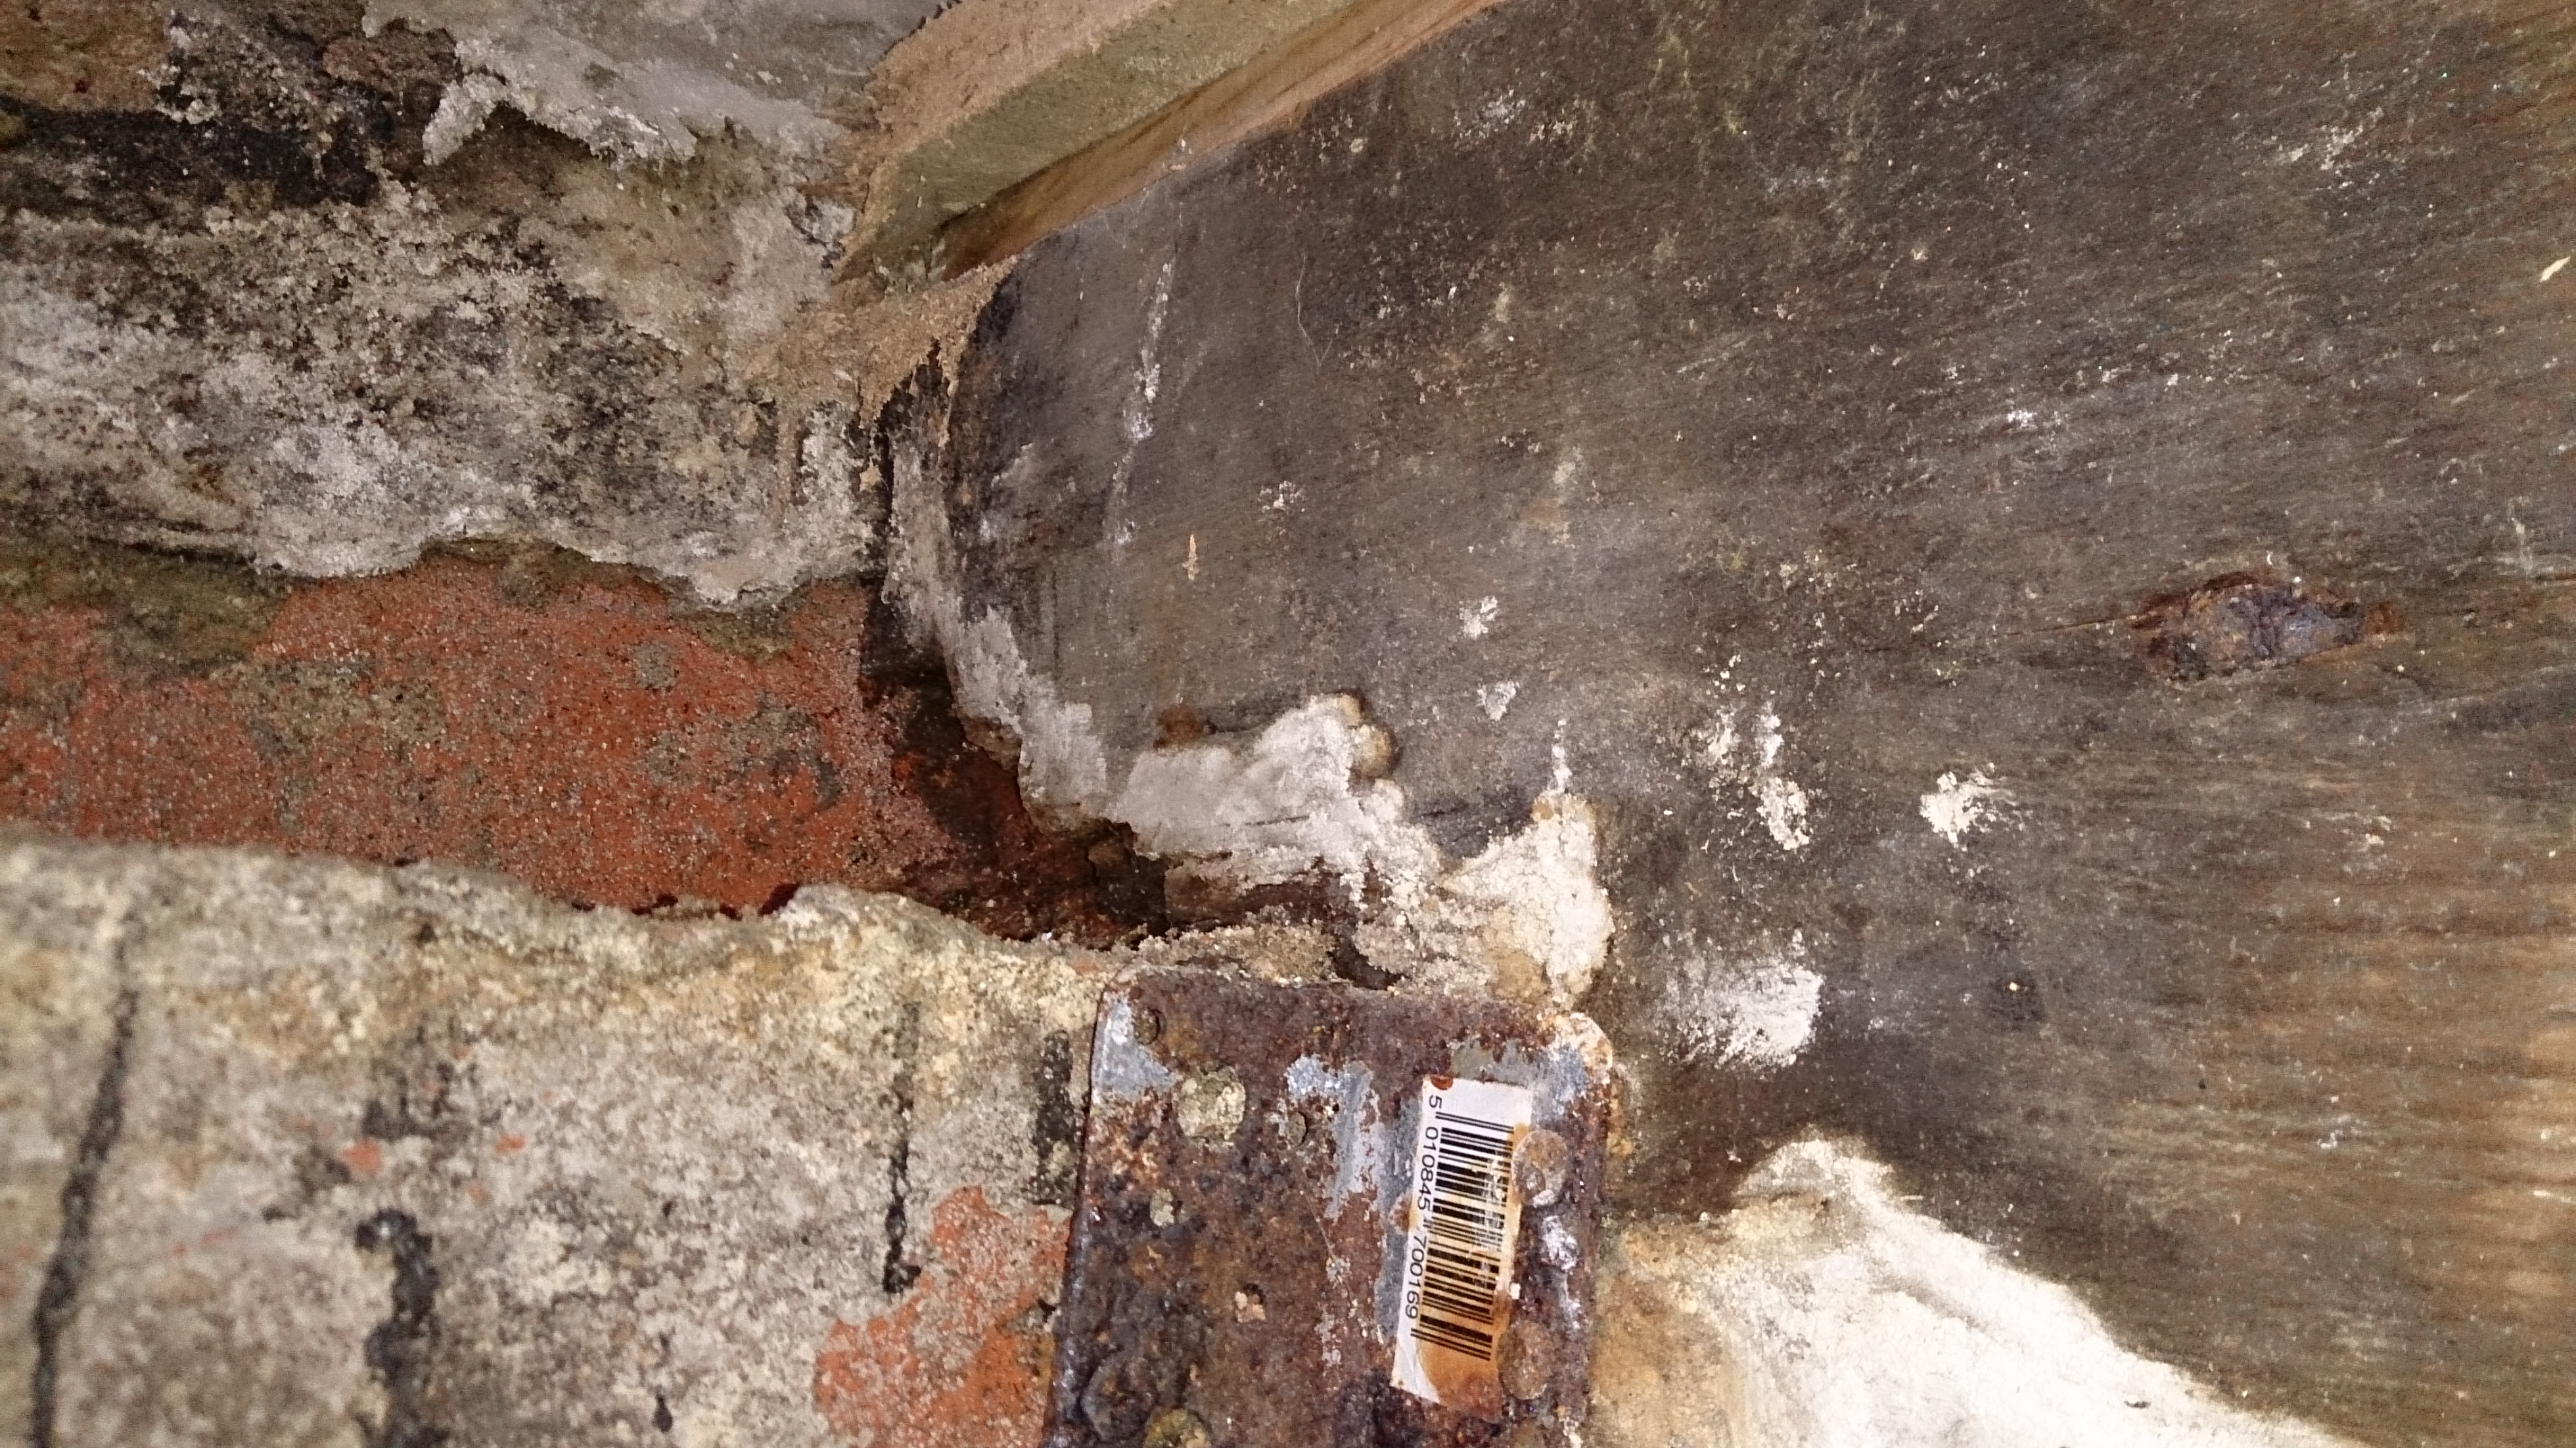
When we had the survey done (nearly a year ago now), it was highlighted that some of the ends of the floor joists, where they sat on the exterior alley wall, were rotting and needed replacing. we just were not sure how much would need doing or how we would do it. But we'd give it a go.
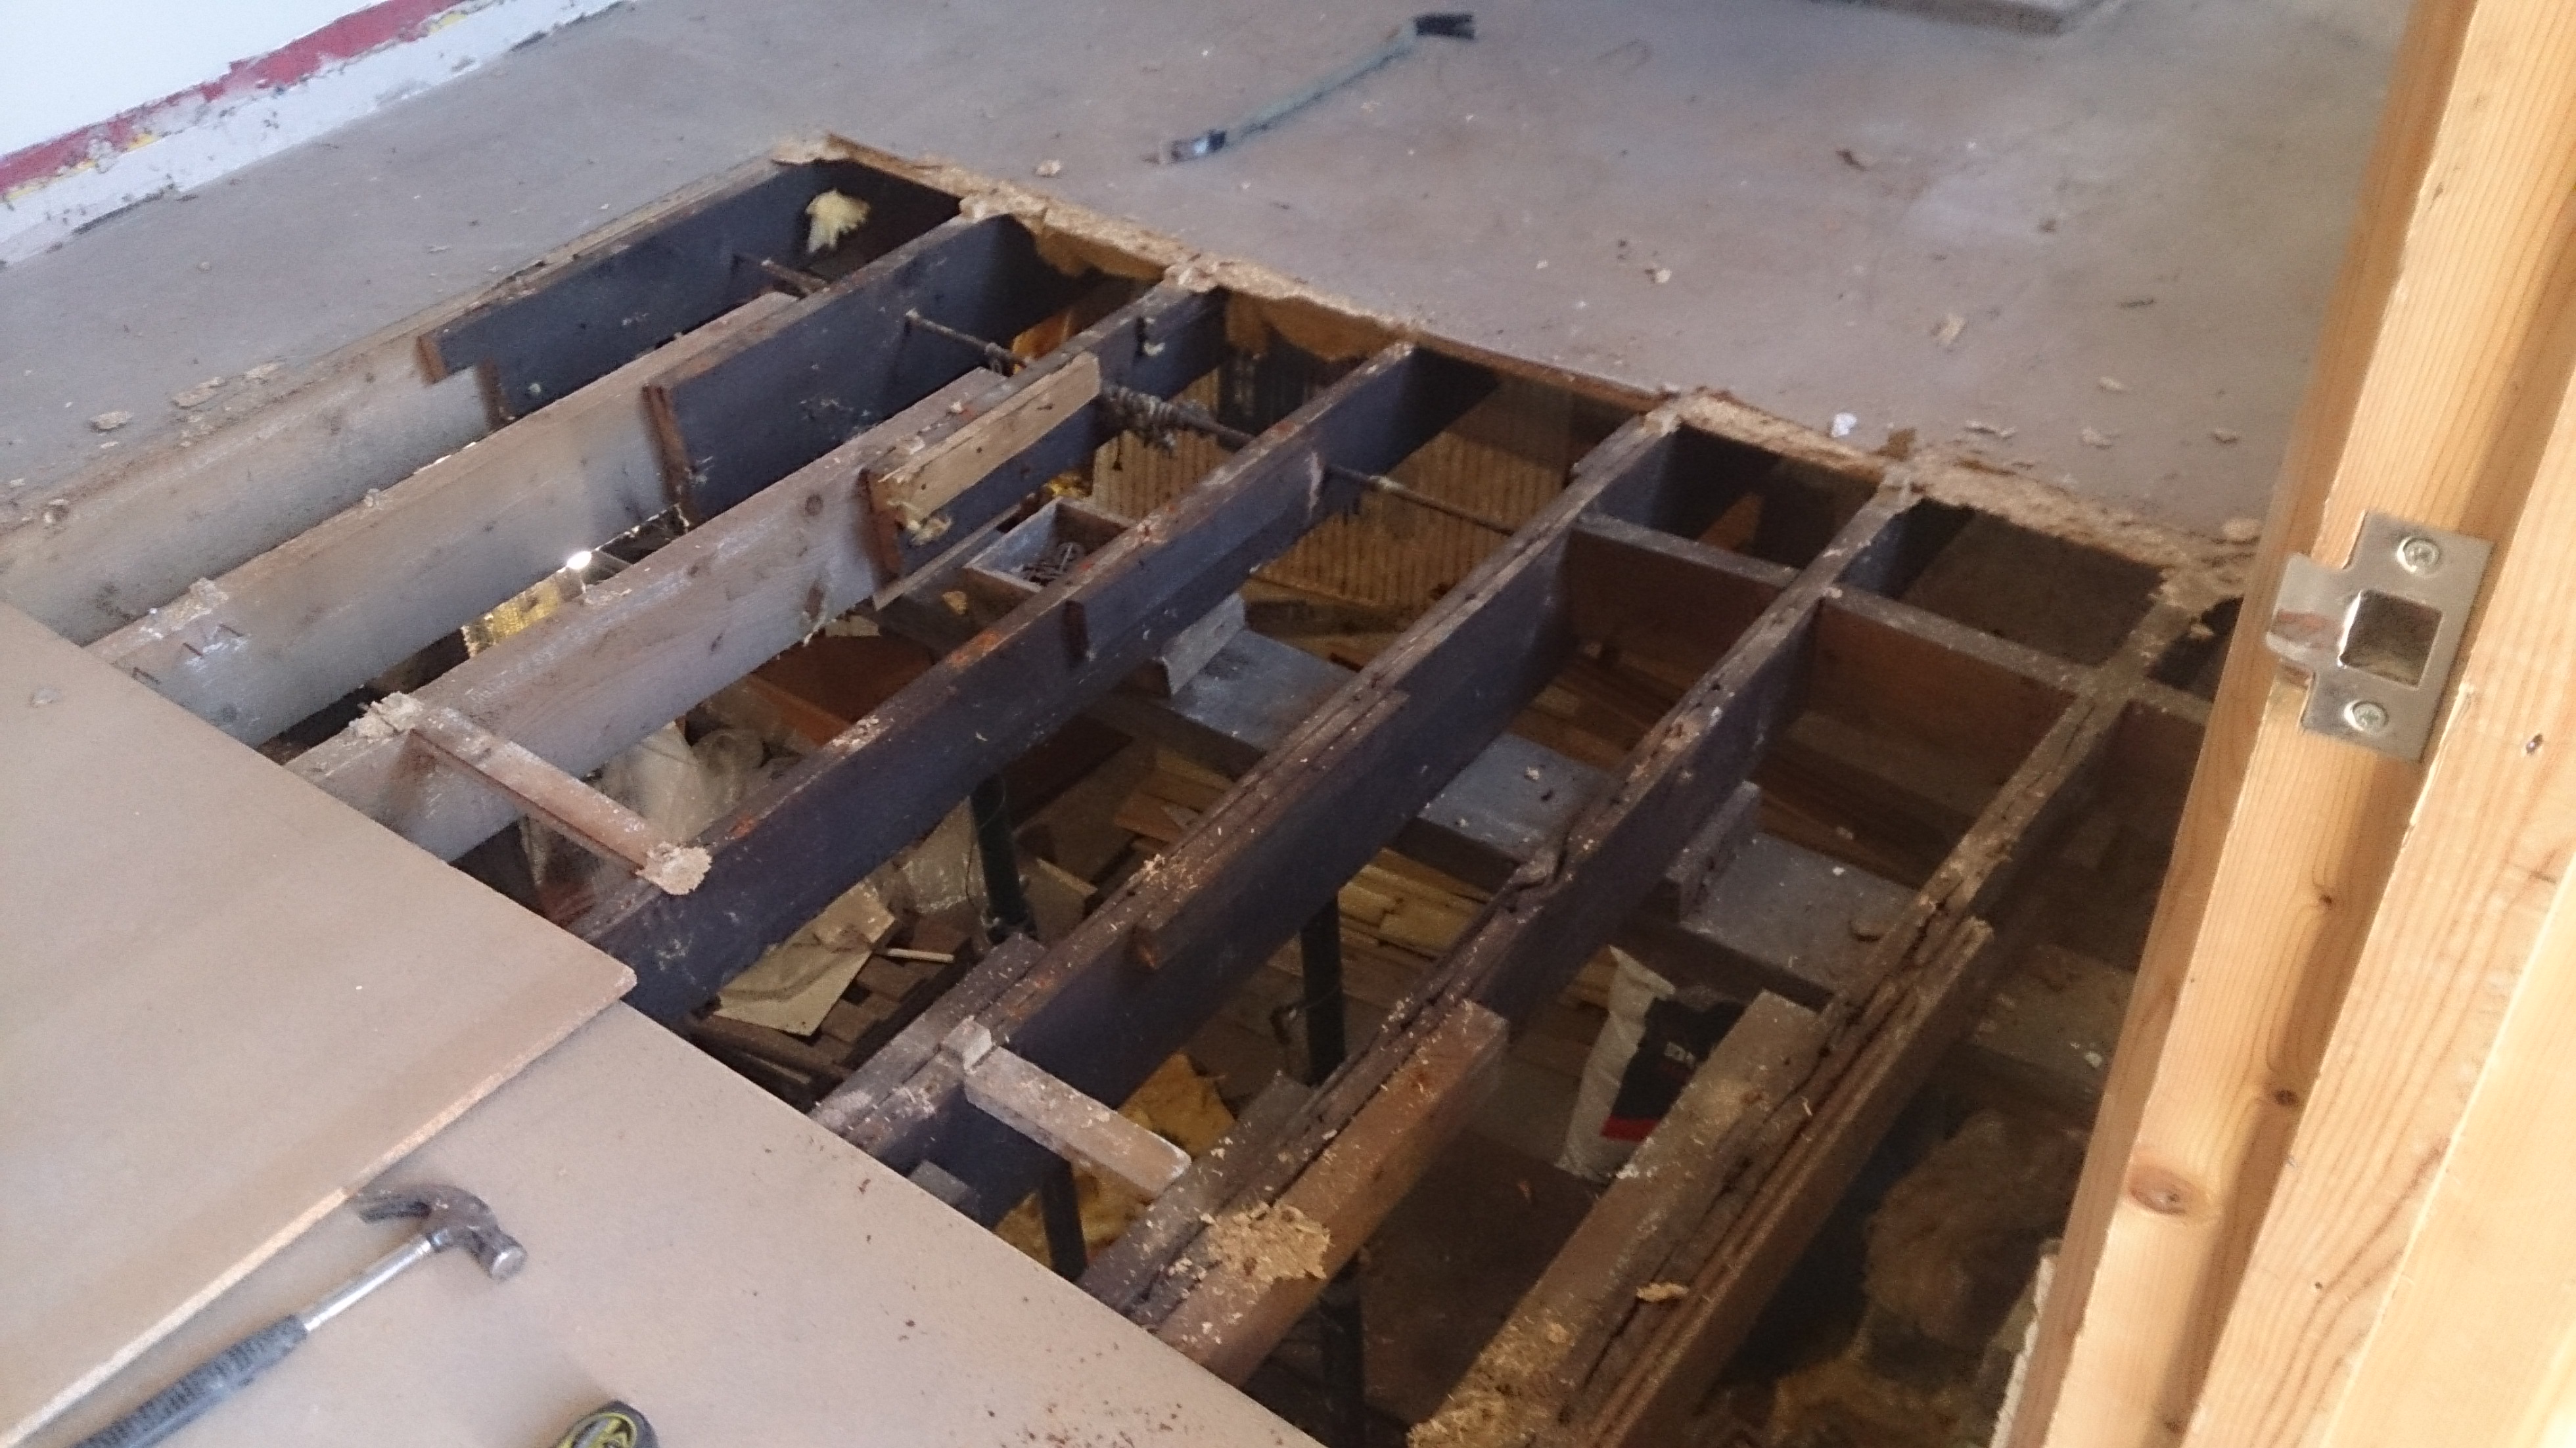
First job was to take up the floor.

It started with pine tongue and groove, follwed by silver thermal bubblewrap sheets, help down with upside down gripper rods ontop of the chipboard.

As we lifted it, we were surprised by the amount of mould on the boards, under the insulation. But I guess we should have expected it. that corner of the cellar below was always damp and they had fitted rockwool between the joists which were sodden. So I guess the chipbaords and the joists were always going to have issues with damp.
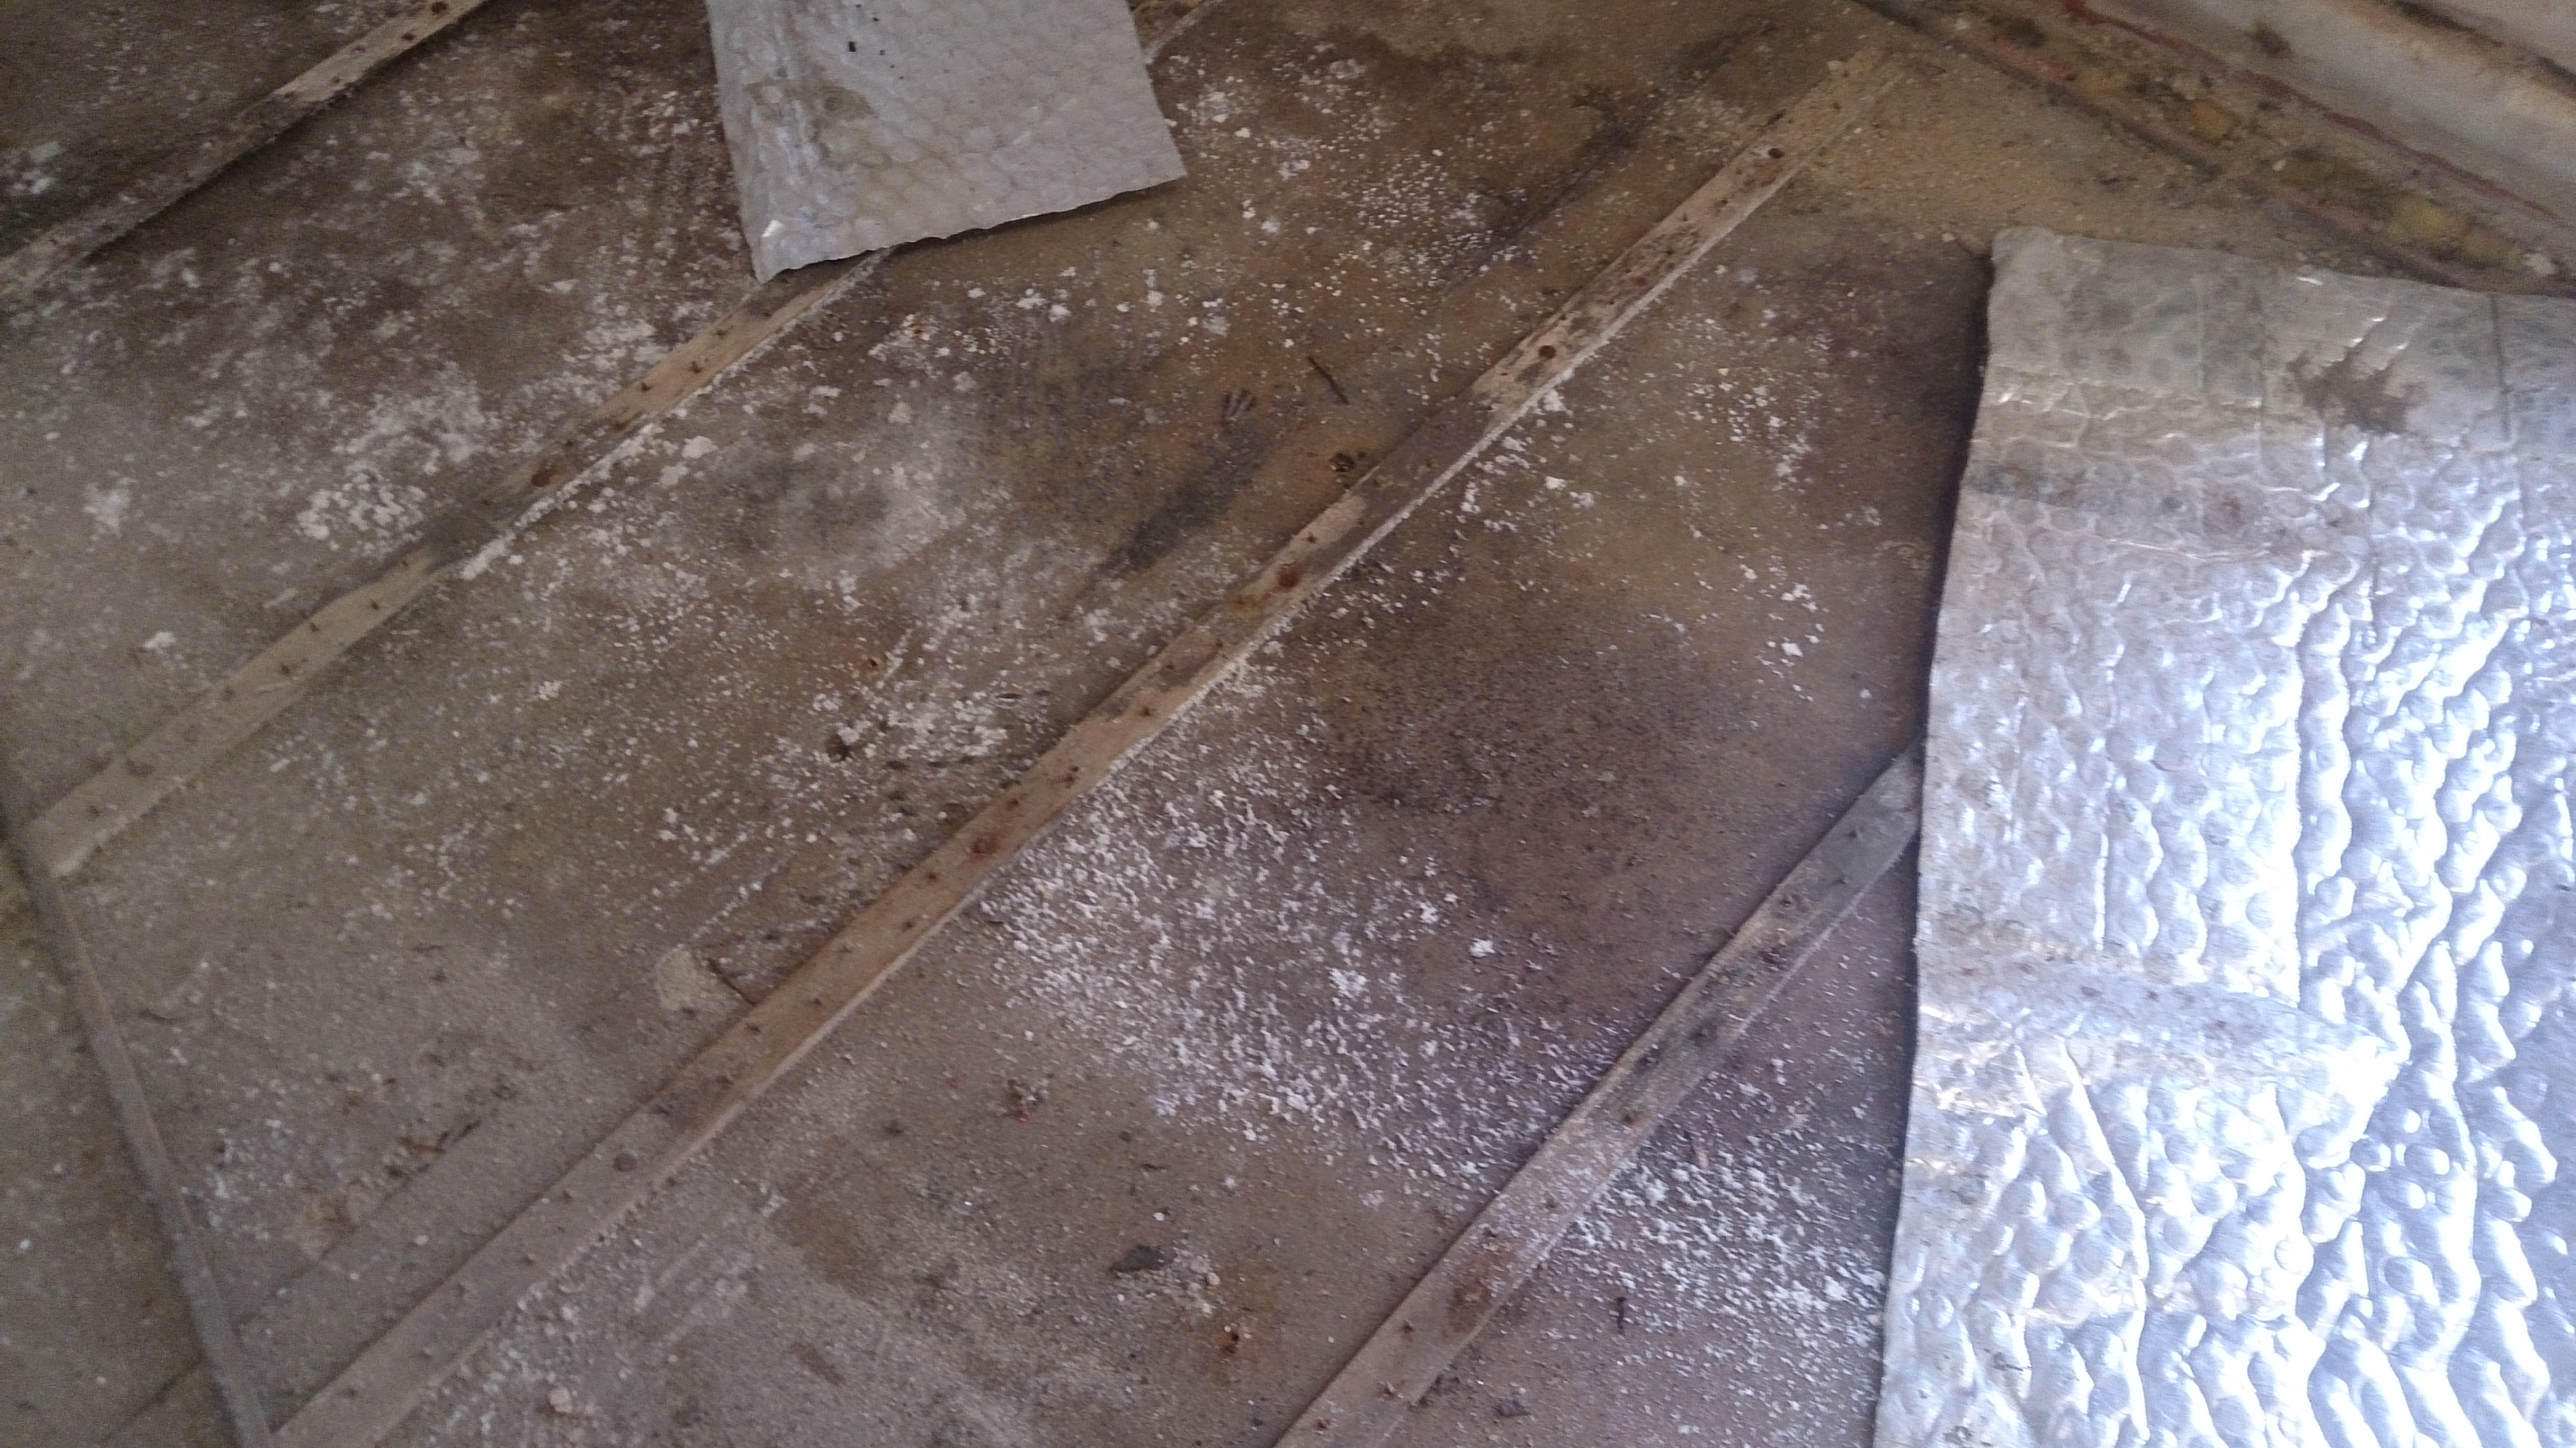
We could pull up the chipboard with our hands around the front door, it was so damp.
As we lifted the floor, we could check the conditions of the other joists and luckily the ones on the firepace side were all okay. There was a very large cross beam on which all the joists were supported which was supported in turn
by two accro props and a very large lump of wood, which was stood on the damp floor, so had a very rotten base.
We could see where many bits of wood had been added to the ends, underneath, alongside the joists, anywhere extra support was needed. it was a real mishmash!
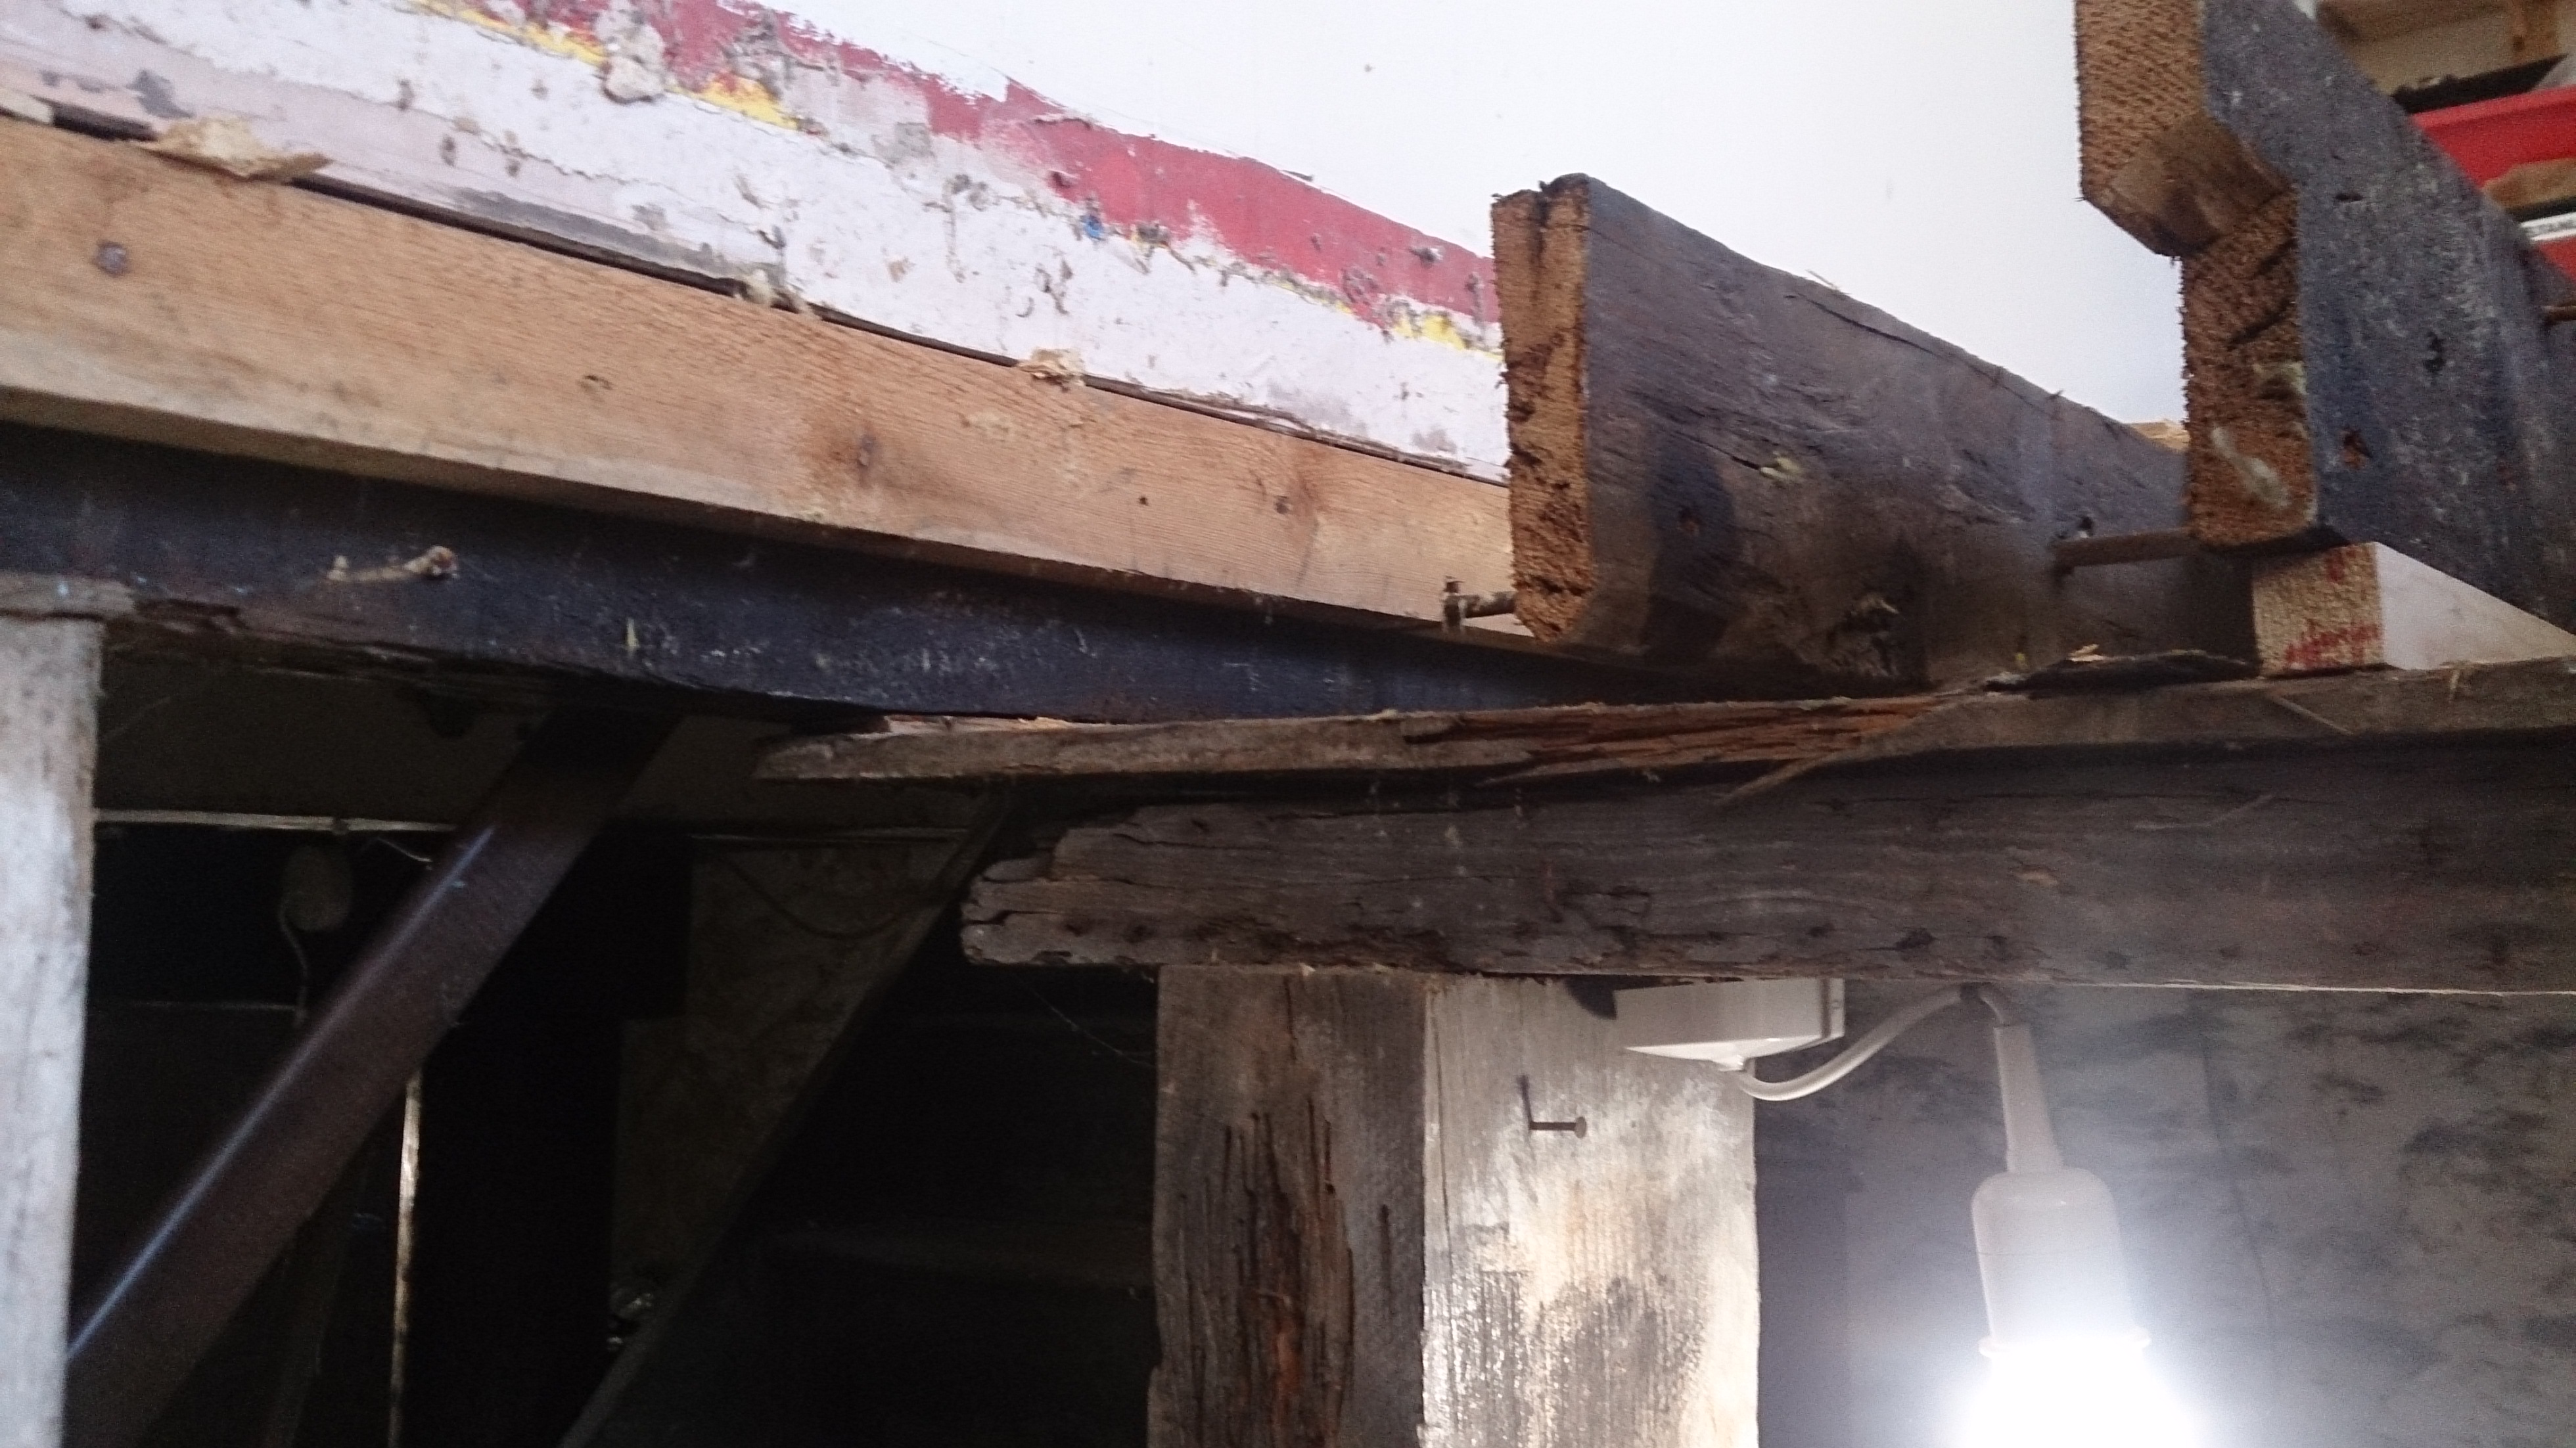
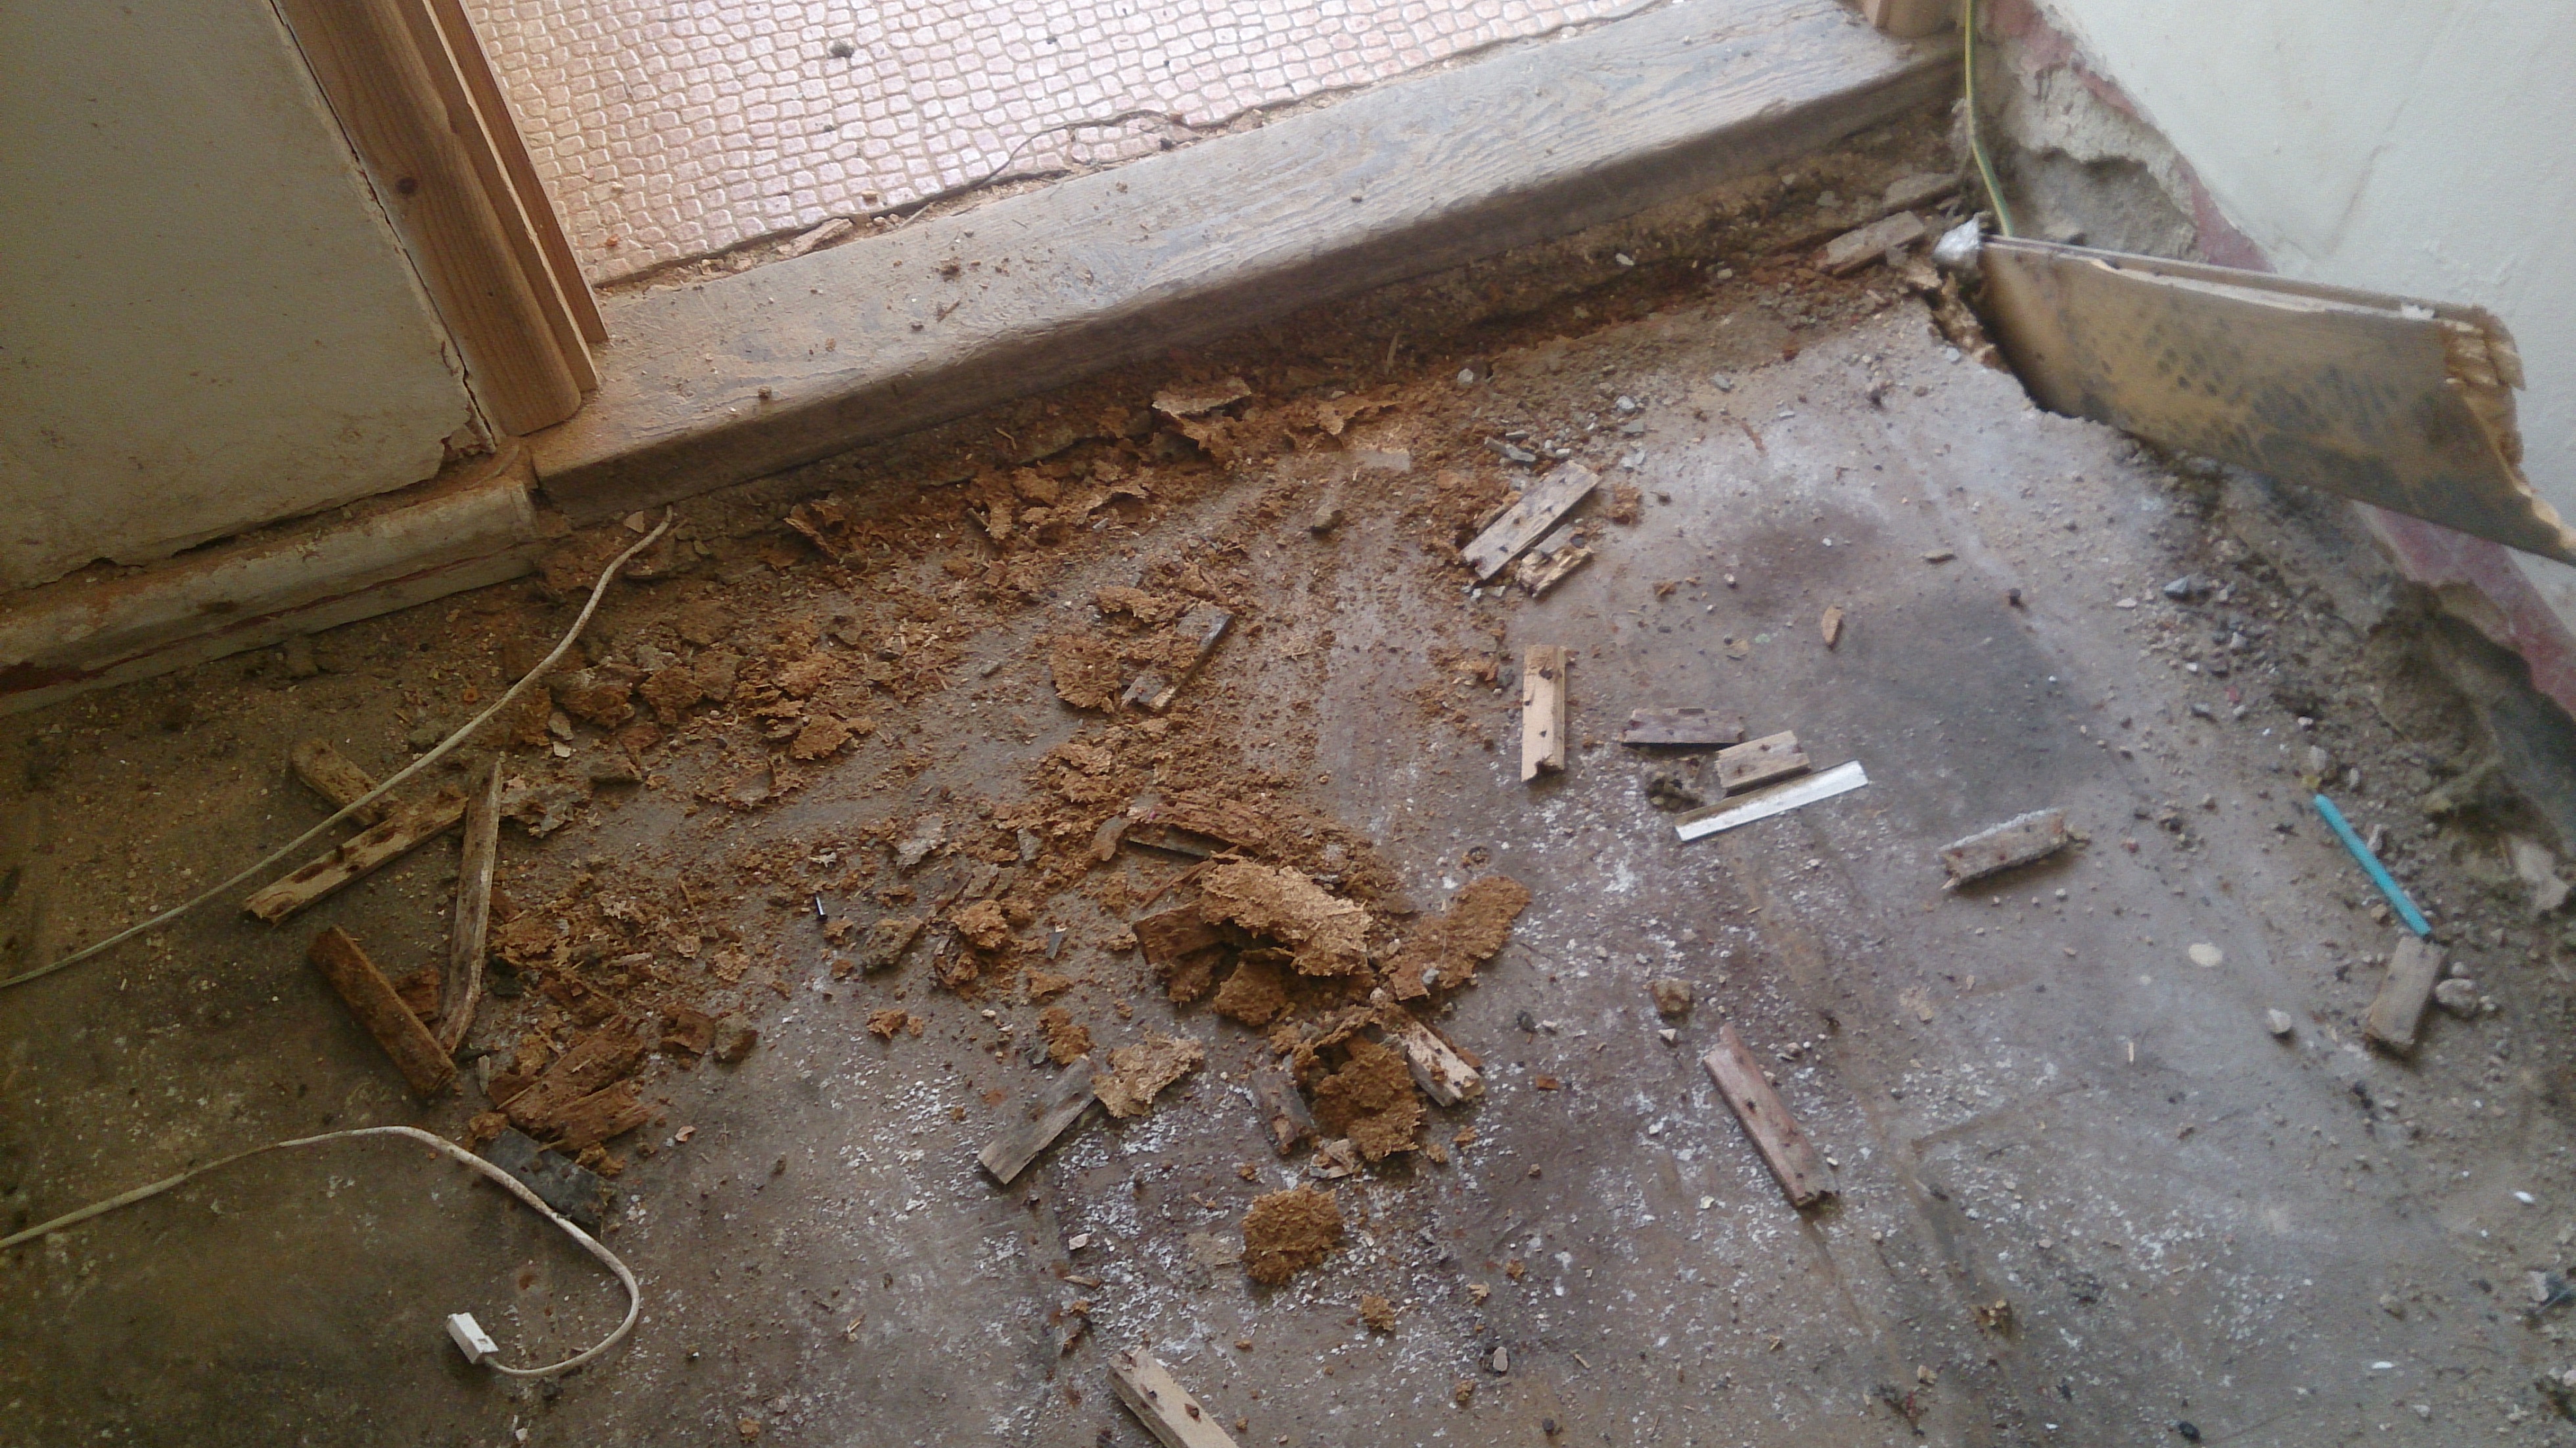
We decided to add a new joist, across the middle of the floor which would allow us to get rid of the accro props. And replace all the beams at the alley side of the room, which had the most rot. I popped to the shop for milk and when I got back, the whole front floor had gone. access was now via a ladder! ![]()

After cutting our new cross beam, the OH used joist hangers to attach all the cut beams. The far end was to sit on the wall, where that loose brick is, sitting on a damp proof membrane with the other end attached to another structural beam, next to the stairs. However, that wasnt looking great so we plan to add a wooden prop once i have created a brick plinth for it to sit on.

Okay, it isnt attached on the photo - I'll get one of that on Monday![]() But it is done and looks so much better. all the rubbish beneath is gone and the accro props are only supporting the new beam till the new prop is fixed in place. The end on the wall is fixed on an engineering brick with dpm around it. so hopefully this beam will not rot in the next few decades.
But it is done and looks so much better. all the rubbish beneath is gone and the accro props are only supporting the new beam till the new prop is fixed in place. The end on the wall is fixed on an engineering brick with dpm around it. so hopefully this beam will not rot in the next few decades.
Next job is to attach the rest of the new beams and hope the floor is level. It wasnt to start with so any improvement will be a good thing. ![]()
More photo's next week after we fit the new periscope airbrick thingy to give additional ventilation to the cellar, and fit the new joists so we can actually walk in from the front door without falling into the cellar.
10 Comments
Recommended Comments
Create an account or sign in to comment
You need to be a member in order to leave a comment
Create an account
Sign up for a new account in our community. It's easy!
Register a new accountSign in
Already have an account? Sign in here.
Sign In Now