Search the Community
Showing results for tags 'lvt'.
-
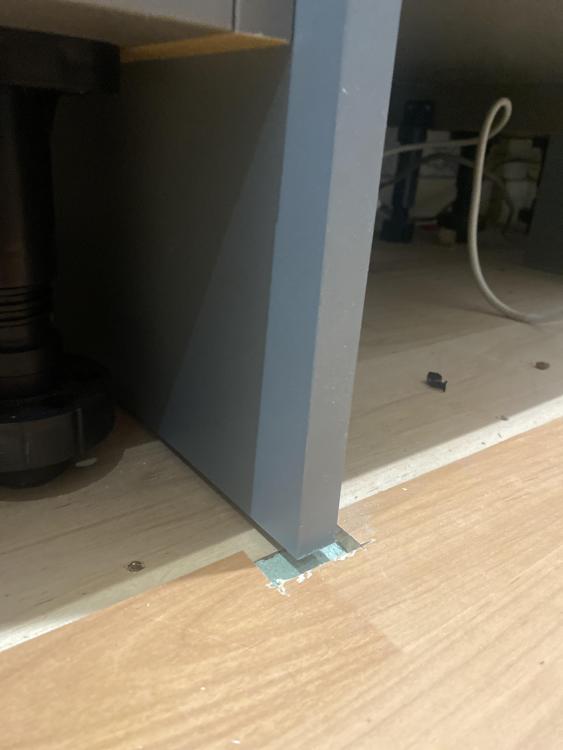
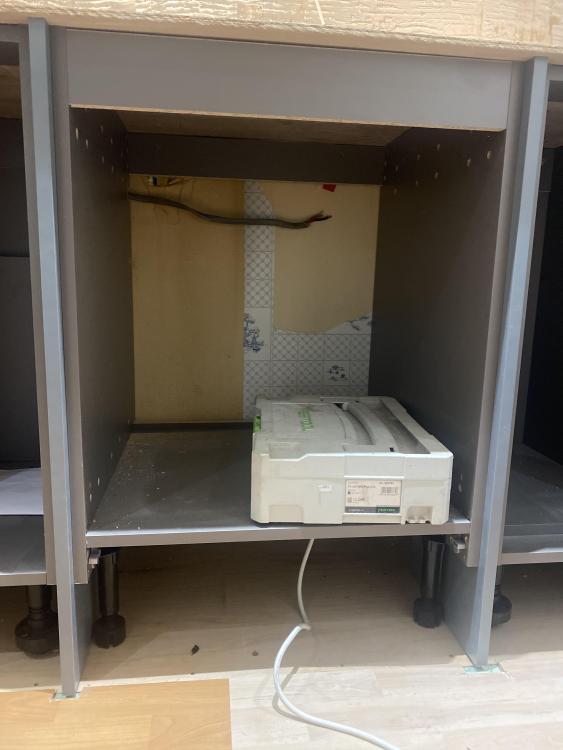
I’m looking to install herringbone LVT click flooring. How do I fit it under these decor pieces that go to the floor? My kitchen fitter has installed them to a height so they will land sitting on the finished flooring (so I’ll be working with a gap of 5.5mm underneath once I remove the existing laminate floor). DIY job or PRO?
-
Morning all, I'm after some advice as to whether it would be worth putting in a wet UFH system in our 1950s house that we are renovating, and if so, your thoughts about fitting LVT on top. The house has an old garden room extension at the back which we are opening up to make a 5.7x5.6m kitchen-dining area. There will be a vaulted roof over the old garden room which approximately half the kitchen-dining space will be under. We are planning to put some insulation into the old garden room as we don't think it has any at the moment. The house is built on suspended joists with approximately 600-700mm of void space under the original house and 250mm under the garden room. The joists are only 100mm deep, spaced 400-450mm apart. We were thinking of battening from underneath, adding 75mm insulation and finishing with 25mm UFH and dry screed mix. We ideally don't want to raise floor levels due to the lower ceiling height in the original part of the house. Finally, the house faces west and gets quite a lot of sunlight in the afternoon. We are also having 3 velux windows, bifold doors and a window looking out to the garden. 1) UFH vs two big radiators. Which would you get in this scenario for our project? We want the space to feel warm when we need it to but don't know what would be more effective. Would we lose lots of heat under the house? 2) If we were to get UFH then how would you finish the flooring to lay LVT? We were thinking of having 22mm chipboard, then 6mm ply, then LVT. Does that seem about right? 3) We'd like a herringbone LVT pattern but were recommended not to go for larger tiles due to the larger gapping that would occur in sunlight. Does anyone have experience of this? Thanks for your advice, I really appreciate it!
-
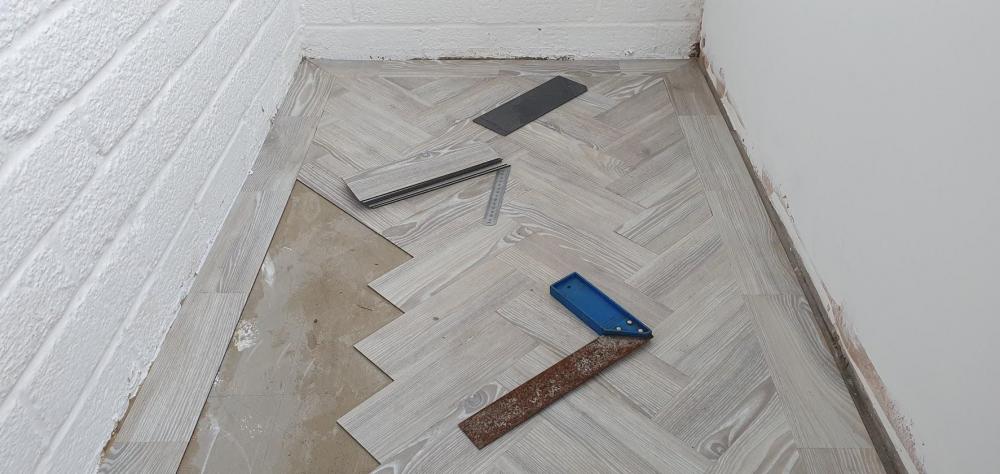
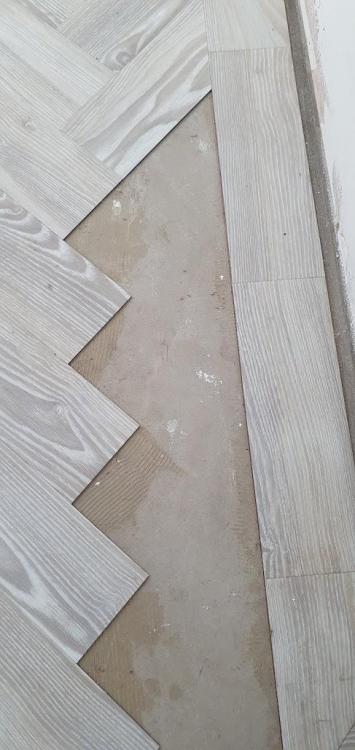
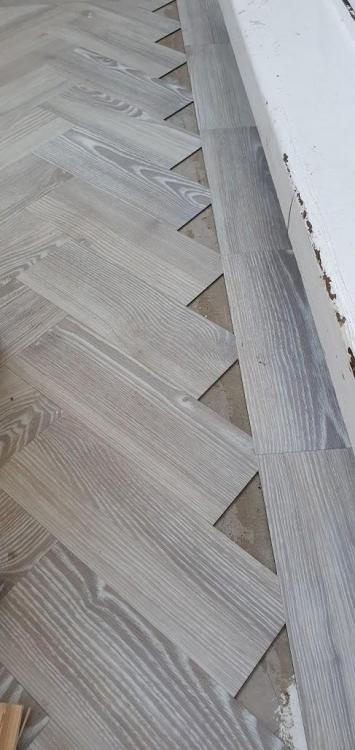
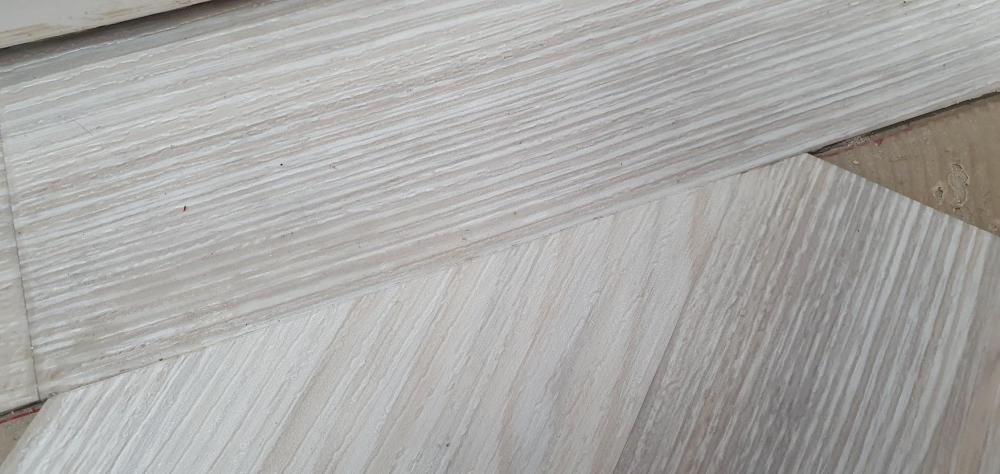
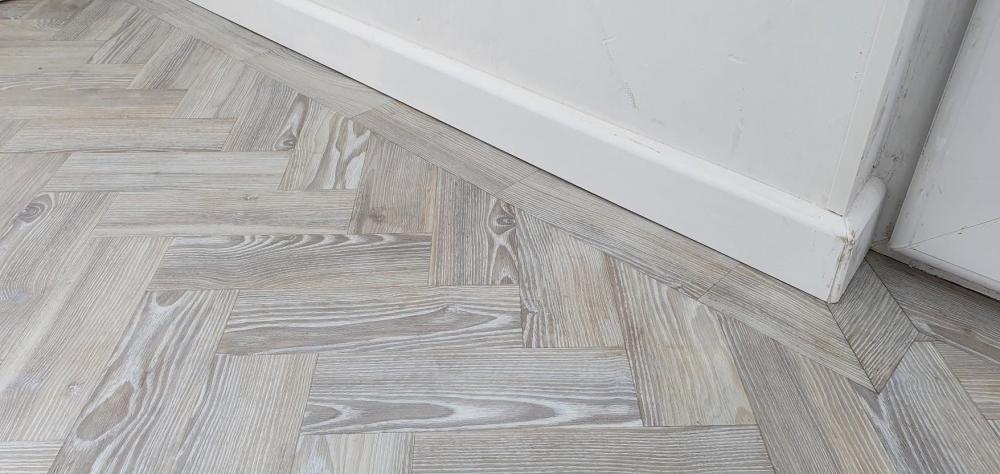
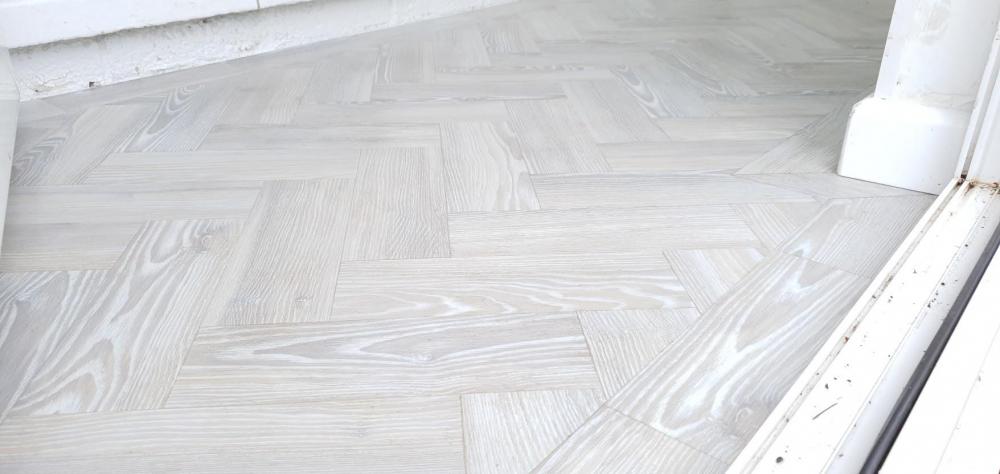
I wanted to add some info about Amtico/LVT as I couldn't locate much when I was searching previously. We are going to specify Amtico for our whole house downstairs (130Sq.m) however had never actually had any so wanted to ensure we liked it before committing to FFL's to suit this as it is considerably thinner than tiles and has a big impact as we are doing an insulated foundation and no screed to pour at a later date. The reason we were veering towards this is, we didn't want engineered wood as it will mark - I know you can rub it down etc. But I have two young kids and we are in the country etc. We didn't want tiles throughout either just as it's cold underfoot, albeit we have UFH, but we still preferred not to have it. Hence Amtico fitted the bill on paper being warm, high wear layer etc. I wanted to try it out for 4-6 months before finally committing. I bought a box of White Oak, Spacia to fit in my current porch. £70 quid off ebay, with another 30-40 in levelling compound and adhesive. I levelled the floor which was about 9mm out in places with Mapei renovating self levelling from Screwfix. Worked really well and easy to use. I then spent an hour drawing up the design in ACAD just to make sure it was all correctly laid out. I was doing a parquet style. Originally I wasn't going to add a border, but after laying it out for a test. The fact that two of my walls ran off, made it look bad. So i added a border which finishes it off better. It took me ages to to lay it out, I must have quadruple checked the measurements to get it right, making sure cuts were in the right places and would look good etc. Measure twice..cut once all that Jazz. I was using the smallest size (76 x 228mm). I laid out the border first, lots of cuts here and tapers as my walls are off. But allows you to then start with an inner square where you have fixed all the running off issues. Then I laid the parquet effect. The main planks are easy, but if you get out of shape butting them up it can run off a little so be mindful of this. My first few cuts were a little shabby, and left spaces. However once I got going I could cut them to match perfectly with no spaces. There was a trillion cuts to take......around the edges as I had the parquet effect, but finished up really well. I'll see how it fairs over the next 2-3 months with the abuse of being the porch (dirty, wet, stones etc.) When I was laying, I put some extra glue in the shoddy cuts to fill the holes but it looked rubbish and just made all the dirt stick there. So after a couple of days I used Colorfill (for kitchen worktop sealing) in grey in any tiny spaces. Worked really well and fill them perfectly to cover up my initial amateur-ish cuts. All in it took me 2 full days to lay that floor (not including self levelling), my knees were dead (no pads). I'm no stranger to DIY, and very practically minded but it's the first time I've laid a floor that's stuck down with adhesive (I've never tiled). It has told me to add a cost in for supply and fit in our main house budget now as I think 130 sq.m might break me....this was only 2! If anyone is looking for costs it's 50-80/m^2 supplied and fitted for Spacia or signature series (that is the final price with zero VAT) 50 being simple plank laying, with 80 being basket weave, parquet etc. Which for me seems to be reasonable. This is Glasgow area Some pictures below. Ill try and update in a few months with my experience.

