Mr Blobby
-
Posts
536 -
Joined
-
Last visited
Everything posted by Mr Blobby
-
This sentimental love of coal power is rather amusing. Having woked at several power stations over the years here's some differences to consider. In a coal power station there is a coal plant, that is run by a team of staff constantly unloading coal froom trains or ships and moving it around a pile and then loading it onto conveyors into the main plant buiildings. The coal then runs along a conveyor, through a pulveriser and blown into the furnace. This heats up a boiler to create steam to drive the turbine. There is then the various de-sulphuristaion and nox plants to run, and a team of chemists to constantly monitor the emissions. Then there is the ash that comes out of the other end and needs to be disposed of. Some of this is sold to the cement industry but most of it ends up in landfill on which the station pays landfill tax. And there is a lot of ash. To start up a coal plant from cold takes about a day to heat up the boiler and synchronise. Ramp times are slow. This is not very useful in an energy system where generators need to be flexible and responsive. Units that can synchronise and ramp up quickly, run for 20 minutes and then desynchroise are king. Generators that stay on and run at constant load are of little benefit. They displace wind power (that is effectively free) when its windy and can't ramp up when it isn't. (hint:nuclear) Running a coal power station requires lots of moving parts, a lot of land, and lots of people. It is contunuously labour and capital intensive. And dirty. It is simply not economically viable to run a coal power station compared to gas. A gas power station has one guy in a control room. He presses a button to start and stop the turbine. No emissions, no ash, no coal plant. And it goes from off (windy) to full load (not so windy) within minutes.
-
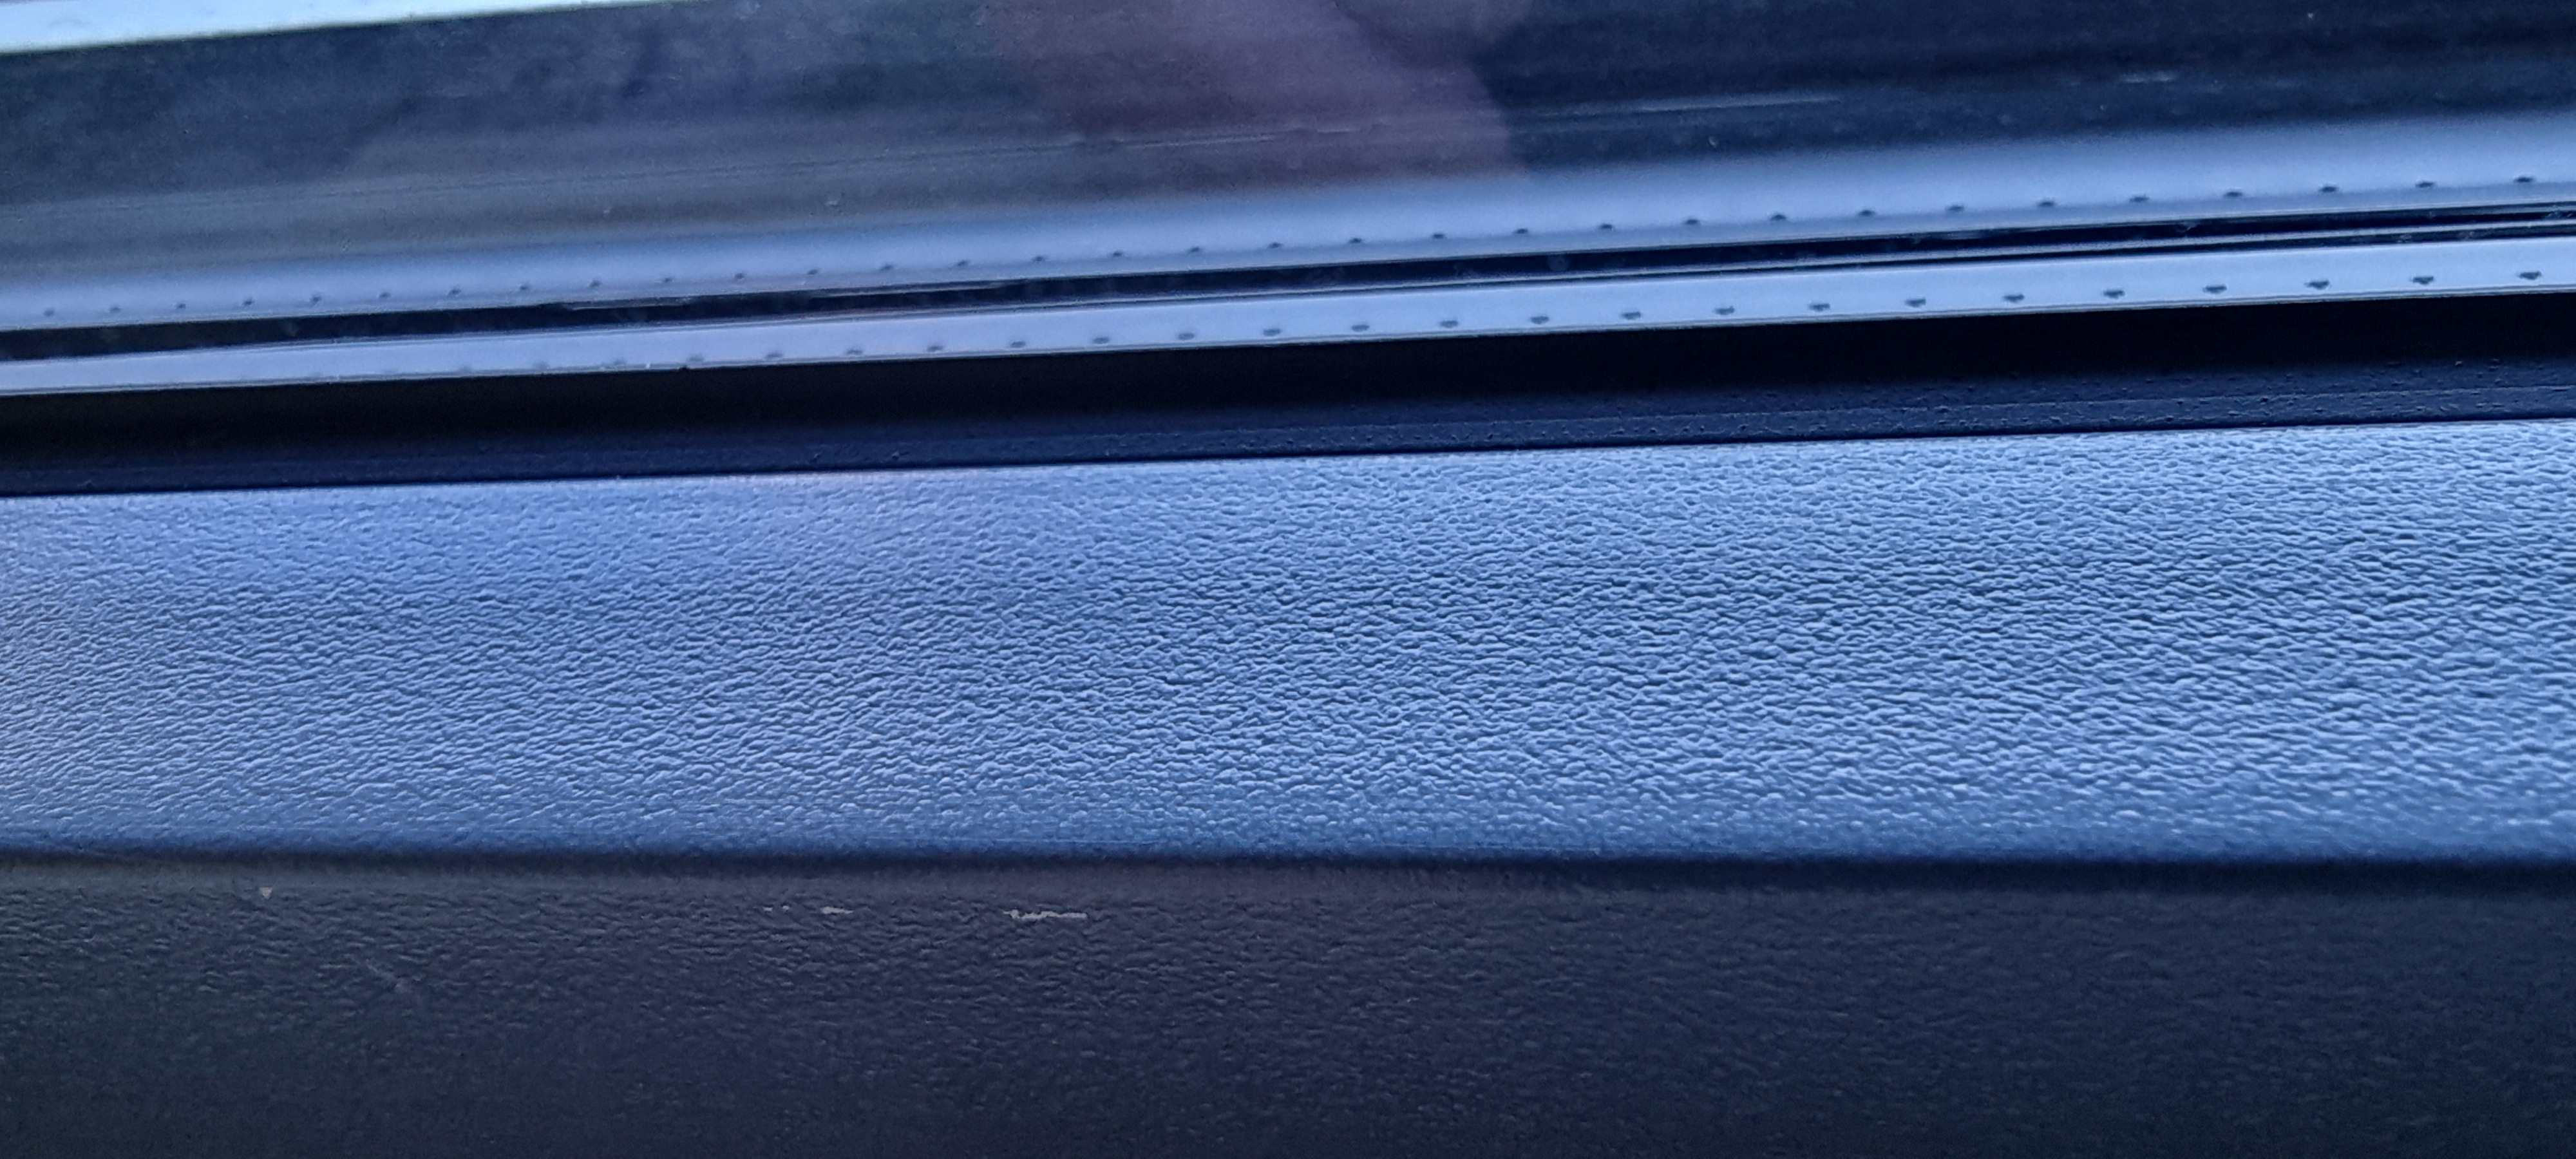
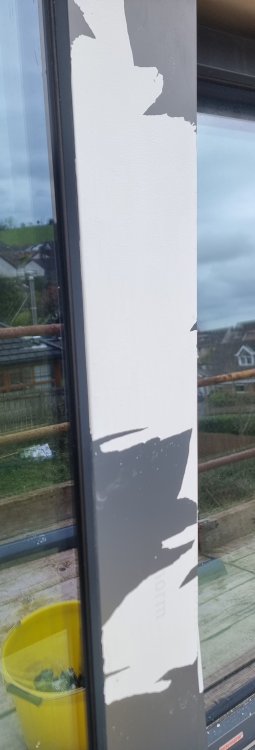
The protective film on our aluclad frames has been on for about two years. I went to remove it today. Oh dear. North facing wiondows are ok but on the (many) South facing windows are a nightmare. The film has dried out, is brittle and does not want to come off the frame. Is there any easy way to remove the film, or do I have to spend the next week scraping it off with my thumbnails millimetre by millimetre ? 😫
-
Not all panels are the same. Two differences I think, colour and size. Some are all-black, and some have the wires showing. The latter are cheaper. AFAICS the panels you are looking at have the visible wires. Then, in the all-black category, some, such as JA solar are emarketed as all black but up close you can see the wires. The other, like the N type, from AIKO are all black with no visible wires. Which I think look awesome, if that's relevant to you, and also not too expensive. In terms of size, 1750 is traditional size. 500W panels tend to be bigger at 1950, but the power per area is not really any better. Yes, I never understood how having cells on the underside of the panels to ostensibly acheive a higher power rating was anything but a scam.
-

What numbers do I need to size a heat pump?
Mr Blobby replied to Selfbuildsarah's topic in New House & Self Build Design
400 litre tank if we can squeeze it in. I think the new Telford 400l HP tank is less than the old 750 diameter so it may just fit but the pipes behind will be inacessible (note to self: Get a square plant room next time, not a long thin one 🤦♀️) Yes lots of PV but SWMBO has asbestos skin and showers only on boil setting. If the water is ever cold then my ass is grass so will get the 7kW for extra cooling and a quiet life, even if that means a bit of extra cycling. Interestingly enough I think the 5kW and 7 kW panasonic monobloc look to have the same internals but a different flow rate to get more heat out. -
What numbers do I need to size a heat pump?
Mr Blobby replied to Selfbuildsarah's topic in New House & Self Build Design
Just to jump in here as our heat pump will be ordered before month end... Our PHPP model gives a heating load (PH) of 2.8 kW. Heat pump will be also used for DHW and cooling. Planing to have open circuit, no buffer, no zones. We have two choices, 5kW or 7kW. Which one's best? -
On the ground floor we have a few inches of airtight paint beneath the wet plaster covering the join between wall and floor. On the first floor we have membrane (aka Tony tray) around hollowcore slabs and plastered into the wall above and below. So far so good for airtightness. 🤞 But soon the fixing skirting boards will be fixed. With nails. This will of course make lots of nail holes through the (airtight) plaster into the blockwork. Is this going to have a significant impact on airtightess? And if so, is there a better way to fix the skirting?
-
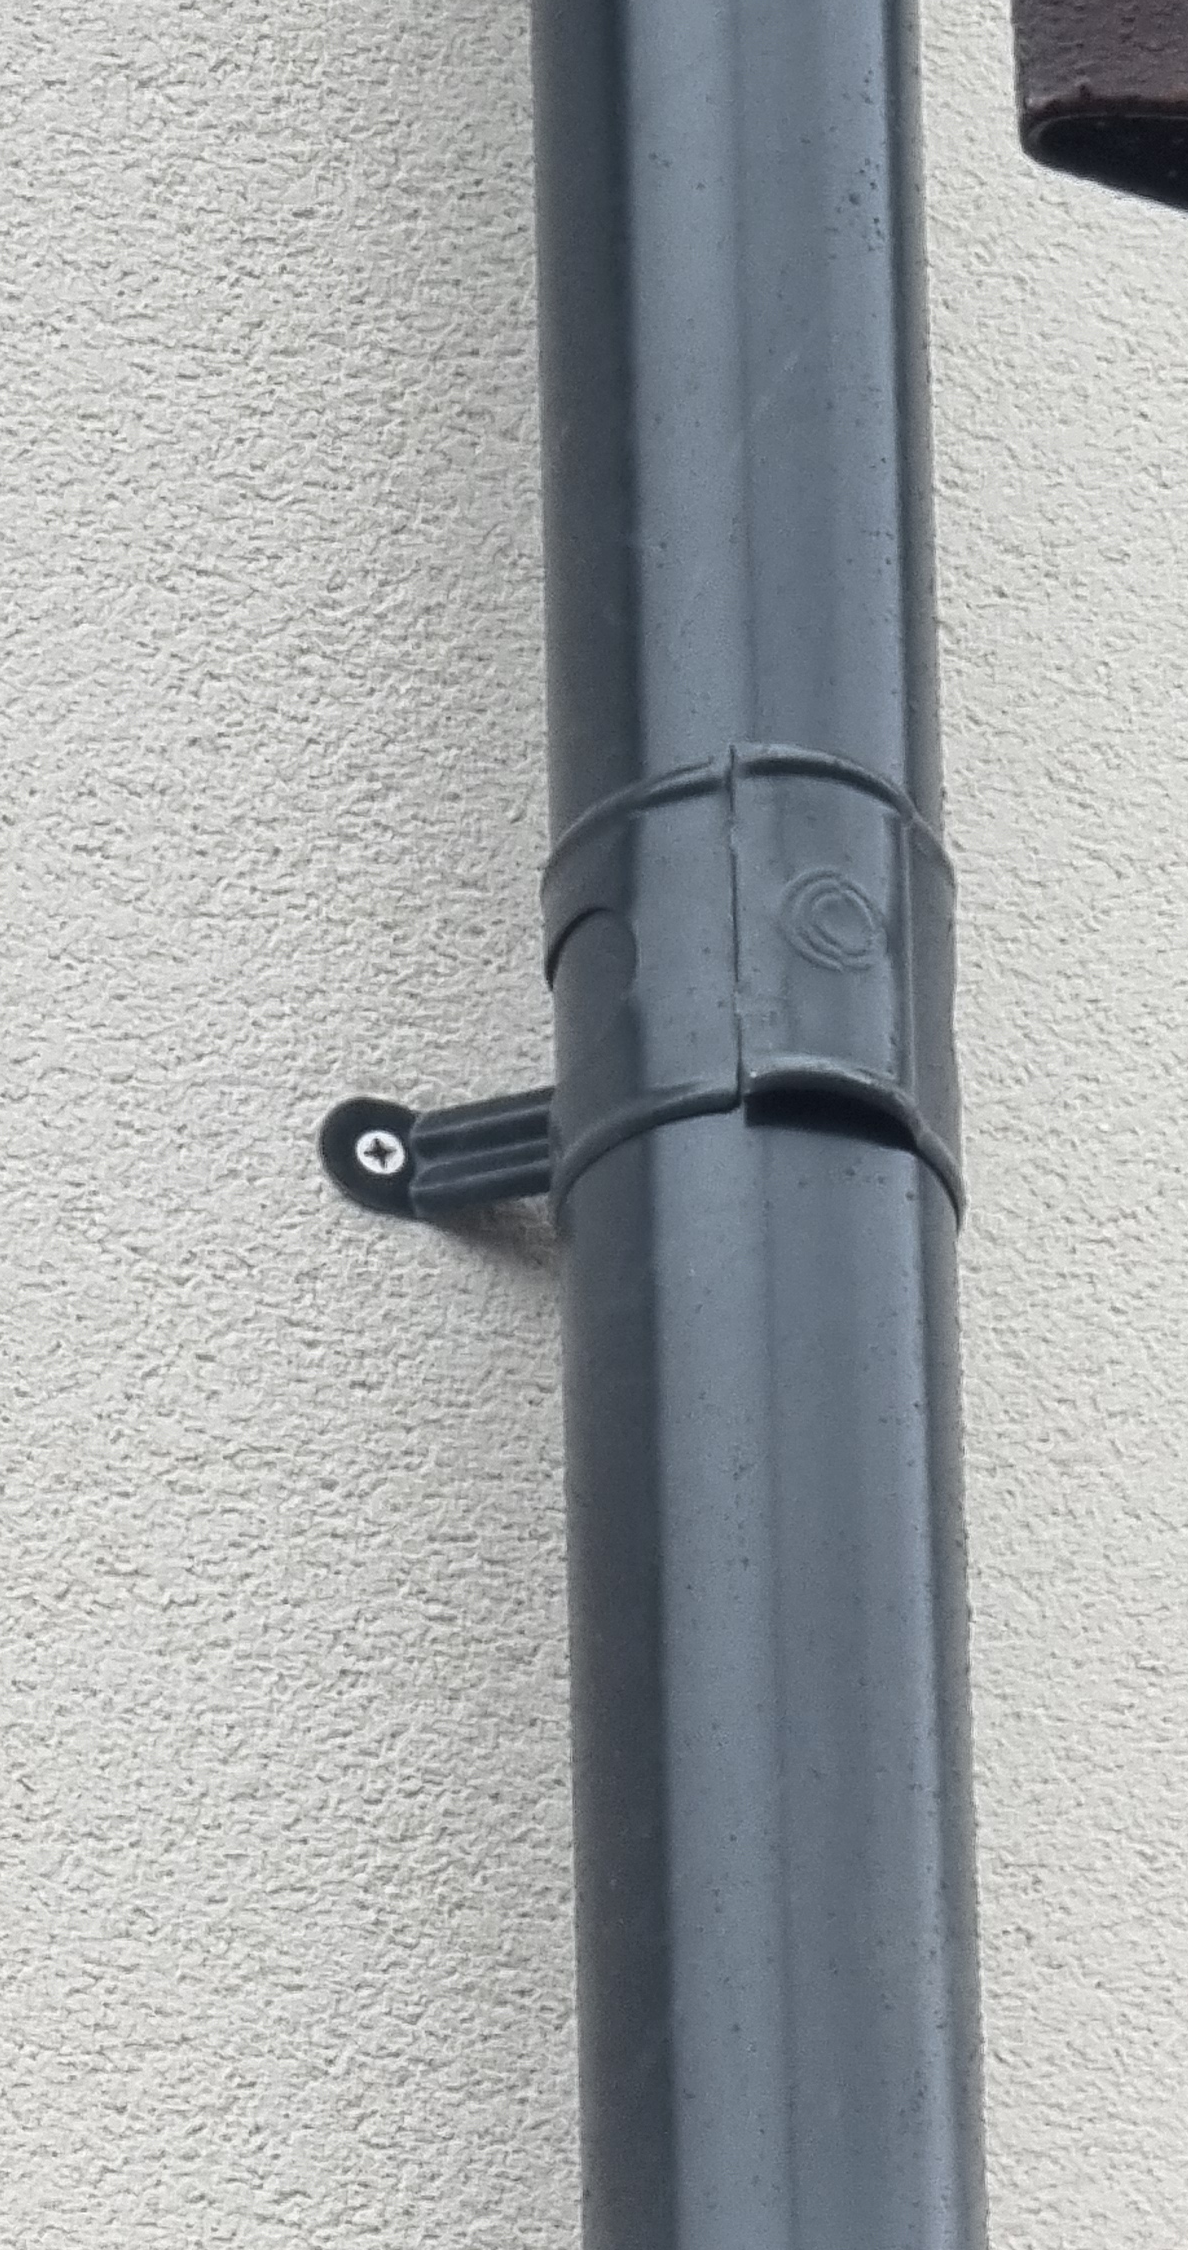
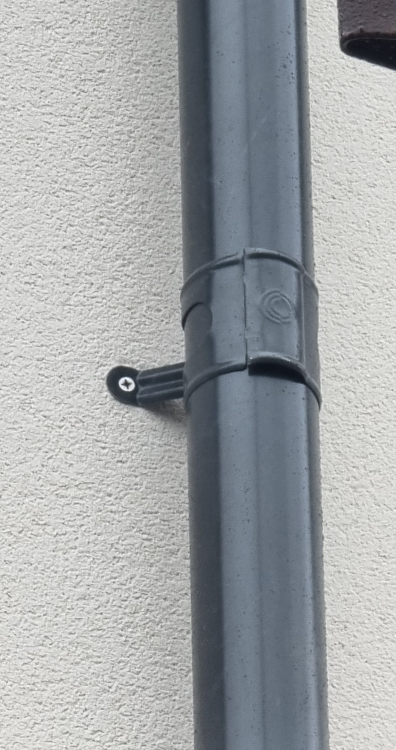
Less than 20 years for rust streaks I should think, and yes I was insistent that the screws must be stainless for this very reason. I did check the screws on site rather than just take their word for it. The screws will be powder coated, but they will not be ready until the end of next week. Which is not going to go down well with the builder as he has scheduled the joiners on site Monday to finish fitting the guttering. Oh well.
-
I would quite like these screws to be the same colour as the brackets to be less obvious... Ok, so, the root cause is we should have got 150 guttering instead of 125, to have only one downpipe on the front, but that's another story and a lesson I have learned at my own cost. 🤦♀️ Powder coated screws or just paint over the existing ones? Or am I just being OCD to want to colour match the screws?
-
Done. I've been assured it will be fully repaired. I wonder if my definition of fully repaired is the same as the renderer's 🤔
-
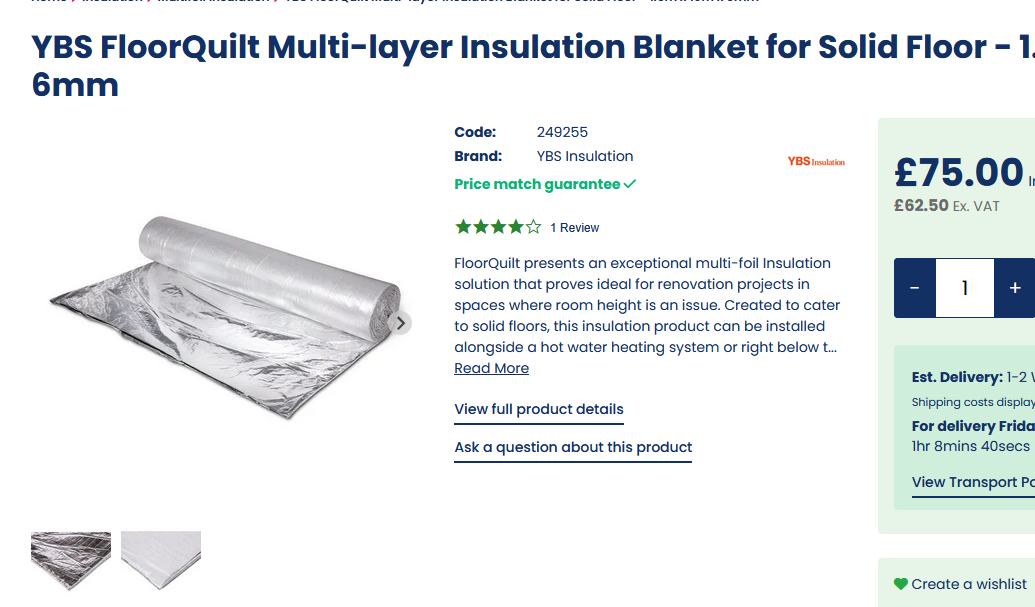
Just been told that this is the actual product... fqml1.5m10m6mm---ybs---product-guide-1671023508.pdf Apart from the acousitcs I remain unconvinced of any benefit. (except maybe for stopping the screed from falling down any perimeter gaps) Am I crazy to think no insulation is actually better anyway?

-
Good point, thank you.
-
Yes, if by grouted you mean filling the gaps between slabs with dry-mix concrete. That was done a long time ago, and before blocks were laid above FF. Sorry, I should have been more specific, the gaps of concern are around the perimiter, where the slabs run in the same direction as the walls. There is maybe a cm or two gap in places. To my lovely plastered walls below. Not having done this before, I imagined the sreed to be liquid enough to run through the gaps, maybe it doesnt?
-
In the next few weeks the screed will be going over the UFH pipes on our first floor hollow core slabs. The original plan was to have 50mm insulated screed, attach UFH pipes to that and then 50mm flow screed on top. The hollow core slabs are however higher on one side of the build meaning that the screed depth in this area will be too shallow for two screeds, and so now we plan to install just flow screed without any insulated screed. Which I'm ok with. Just for context, we have a passive standard block cavity build. The first floor UFH may be used more for cooling in the summer than heating in the winter and so I'm not too bothered about insulating between the hollow core slabs and the UFH pipes. The screed installer has suggested foil insulation under the UFH. I'm not convinced it will be at all useful because, firstly, I think there is no requirement to insulate the slabs from the UFH pipes, and secondly, I think superfoil is a cr4p insulator anyway. But of course the screed company would normally install this because normally there would be outragous heat loss through the floor slabs. As you can imagine, my suggestion to omit insulation is met with shock and disbelief. Am I crazy to go naked, with nothing between screed and hollow core slabs? (which leads me onto a second question. I have been told that if there is no foil insulation, then there is nothing between screed and slabs. No PVC sheet laid out under the screed, just perimeter expansion, which seems odd, as the screed is going to pour down the sides of the slabs (there are some decent gaps) all over my lovely plastered walls below. That can't be right, surely there needs to be someting to hold the screed?)

-
Not paid for this yet. Its been raining every day since it was applied two weeks ago hence not seen the renderer since. I'm pretty sure he will try an ddo a small patch on this where it is coming off the wall and leave all the washed out parts in place. What's really annoying about this is that when it was lashing down with rain I asked them if they planned to cover it and they just ignored me and carried on. Said it would be fine. What a waste of time. Our builder agrees it needs to be fixed but is downplaying it and I get the sense it will be patched up at minimal effort. I think I'll send him an email now.
-
A lot to unpack here 🙄 A lot of the renewable incentives were closed to new entrants many years ago. In Northern Ireland, where the renewables incentives were excessive, the cost to each electricity bill is £31 per year. More than it should be, but not exacly the end of the world. Conventional thermal generation plant is also paid not to generate. This is not a new thing restricted to wind trubines. In Northern Ireland both conventianal thermal plant and wind turbines have always been limited by transmission constraints and paid not to generate. Grid energy storage is not really a thing and is not the solution for transmission constraints nor for excesive generation. Here in Ireland we don't have any of the GB nimbyism. We don't think they are ugly, Irish wind turbines are onshore at half the cost of offshore turbines. Far more birds are killed by domestic cats than wind turbines. There is twice the risk that your petrol or diesel car will catch fire than a wind turbine. Eighty percent of the worlds cobalt is from industrial mines without child labour. And cobalt-free batteries are available. There is no shortage of farm land here and farmers I know with wind turbines on their land have never complained about their dairy herd being imacted. Grid energy storage is never going to be the principal balancing mechanism for intermittent renewables. Never. Frequency regulation and vanity projects, maybe, but that's about it. Why would anyone pay millions of pounds to build a giant battery to supply a few seconds of power, or even dispatch a gas turbine, when demand side agreements reduce demand for a fraction of the price. Commercial agreements to manage demand have been in place for years with DSUs and (in GB) smart meters to adjust demand. After the capital costs are covered the energy from a wind turbine is at zero cost per MWh to the turbine owner. The challenges of intermittent supply have been well understood and planned for. Ireland has no nuclear generation. 50% of Irish electricity generation is from renewables, and that is almost entirely from onshore wind turbines. Curtailment is almost always restricted to overnight when demand falls off a cliff, but the increase in EVs means more overnight and off-peak demand management is possible through smart meters and TOU tariffs. Overnight generation in Ireland, when EVs are charged, is often from 80% renewables. More EV charging is good for grid stability, it reduces curtailment and every petrol car off the road is an easy step to reduce vehicle emissions by 80% and move towards net zero. 😏
-
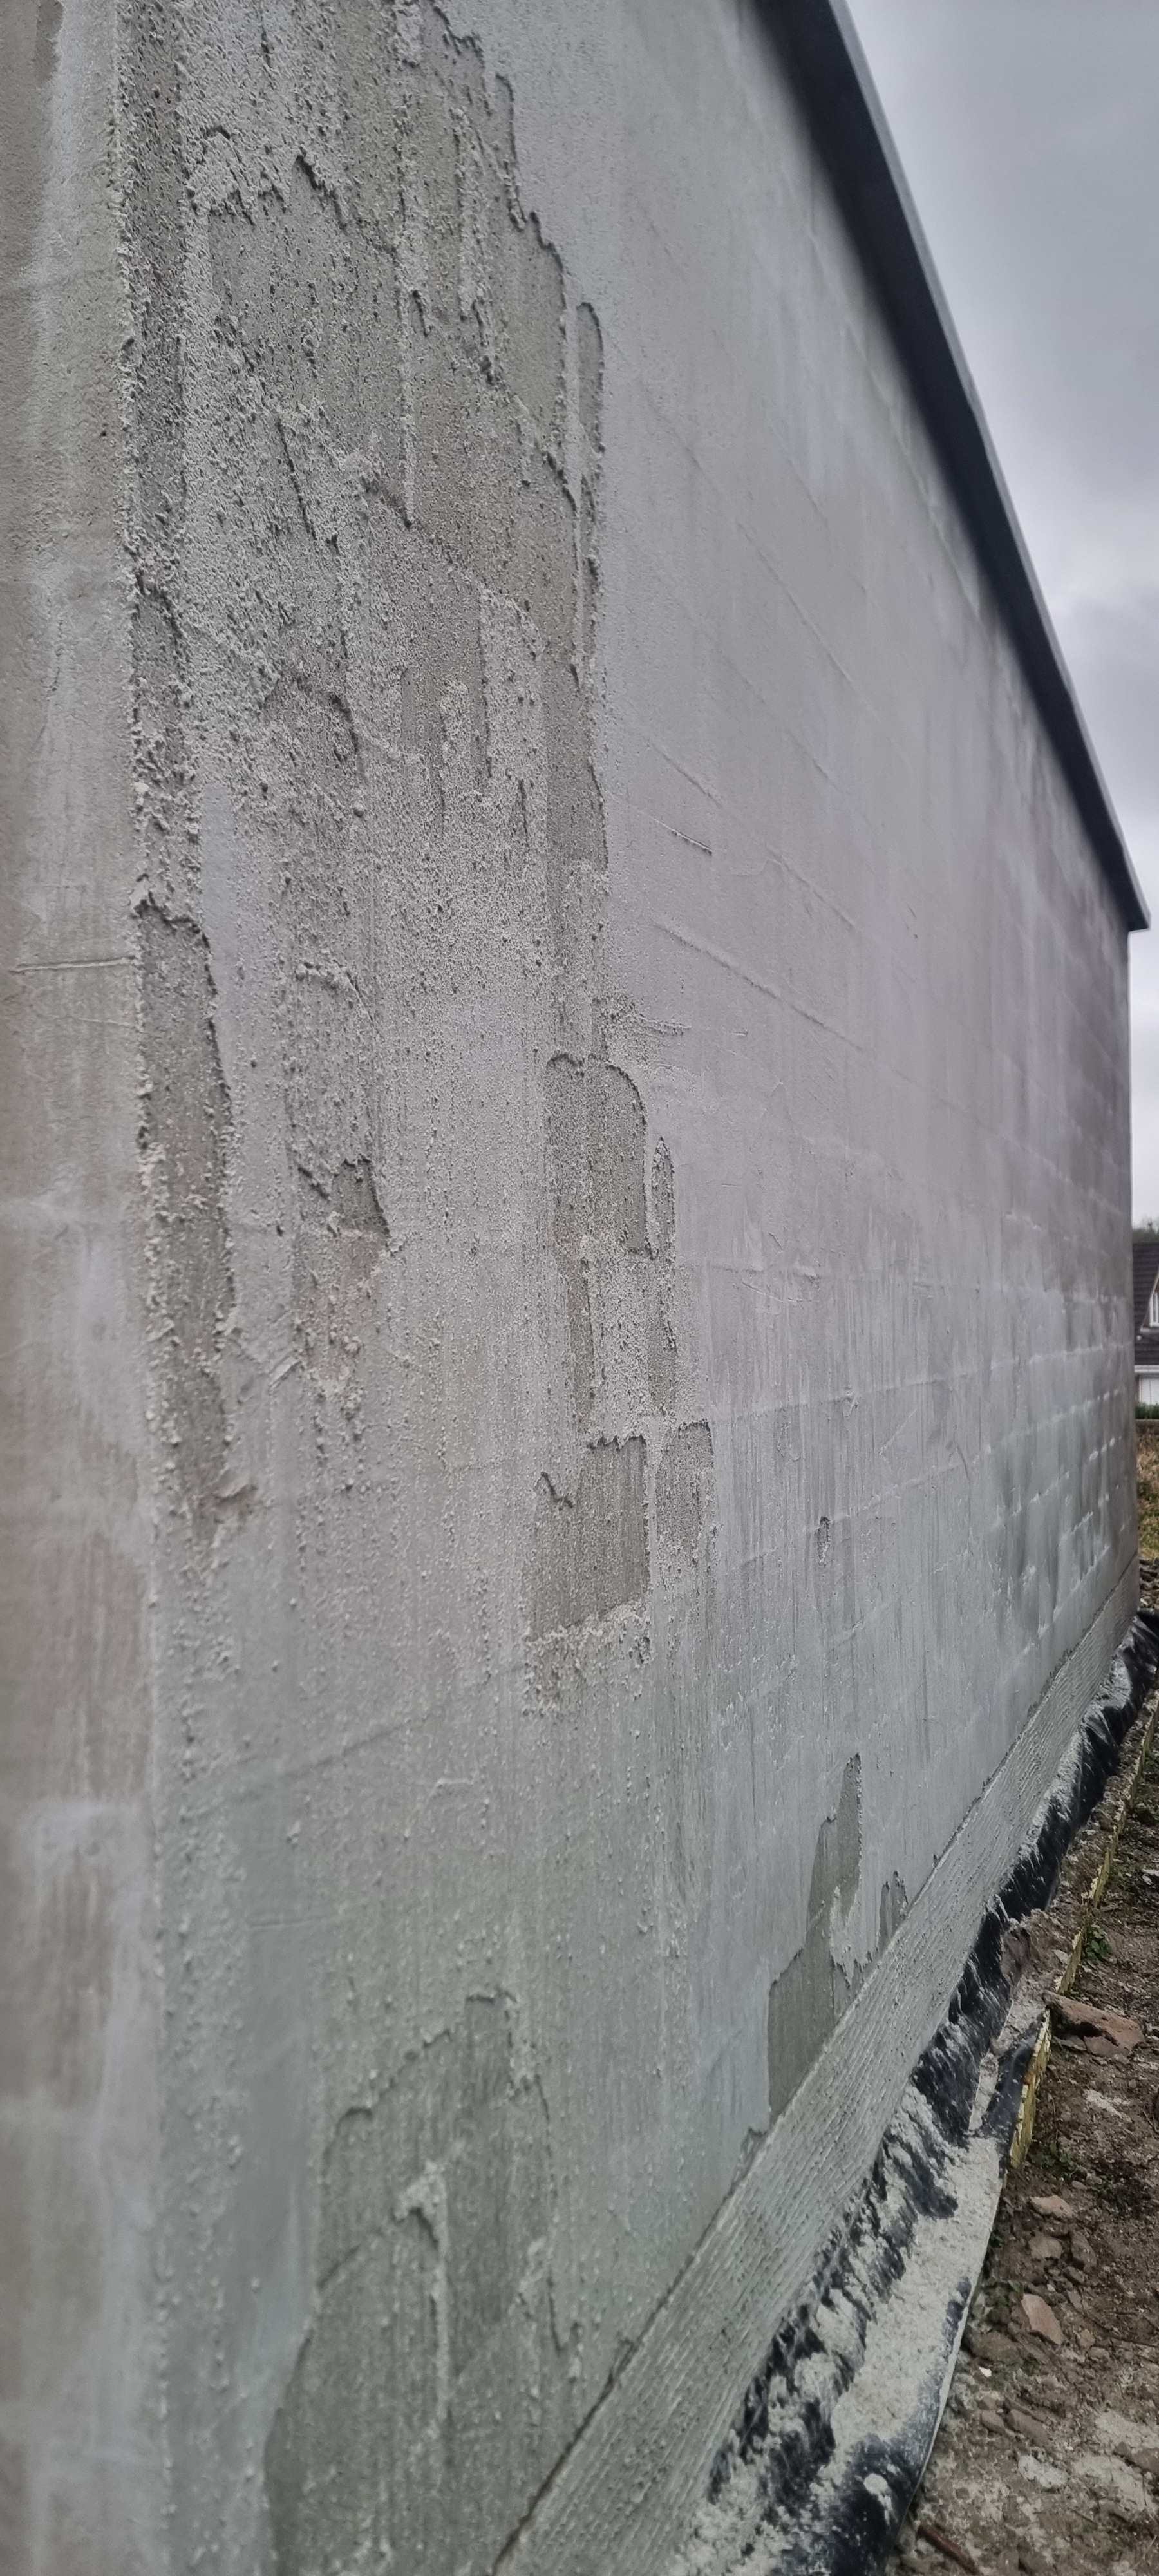
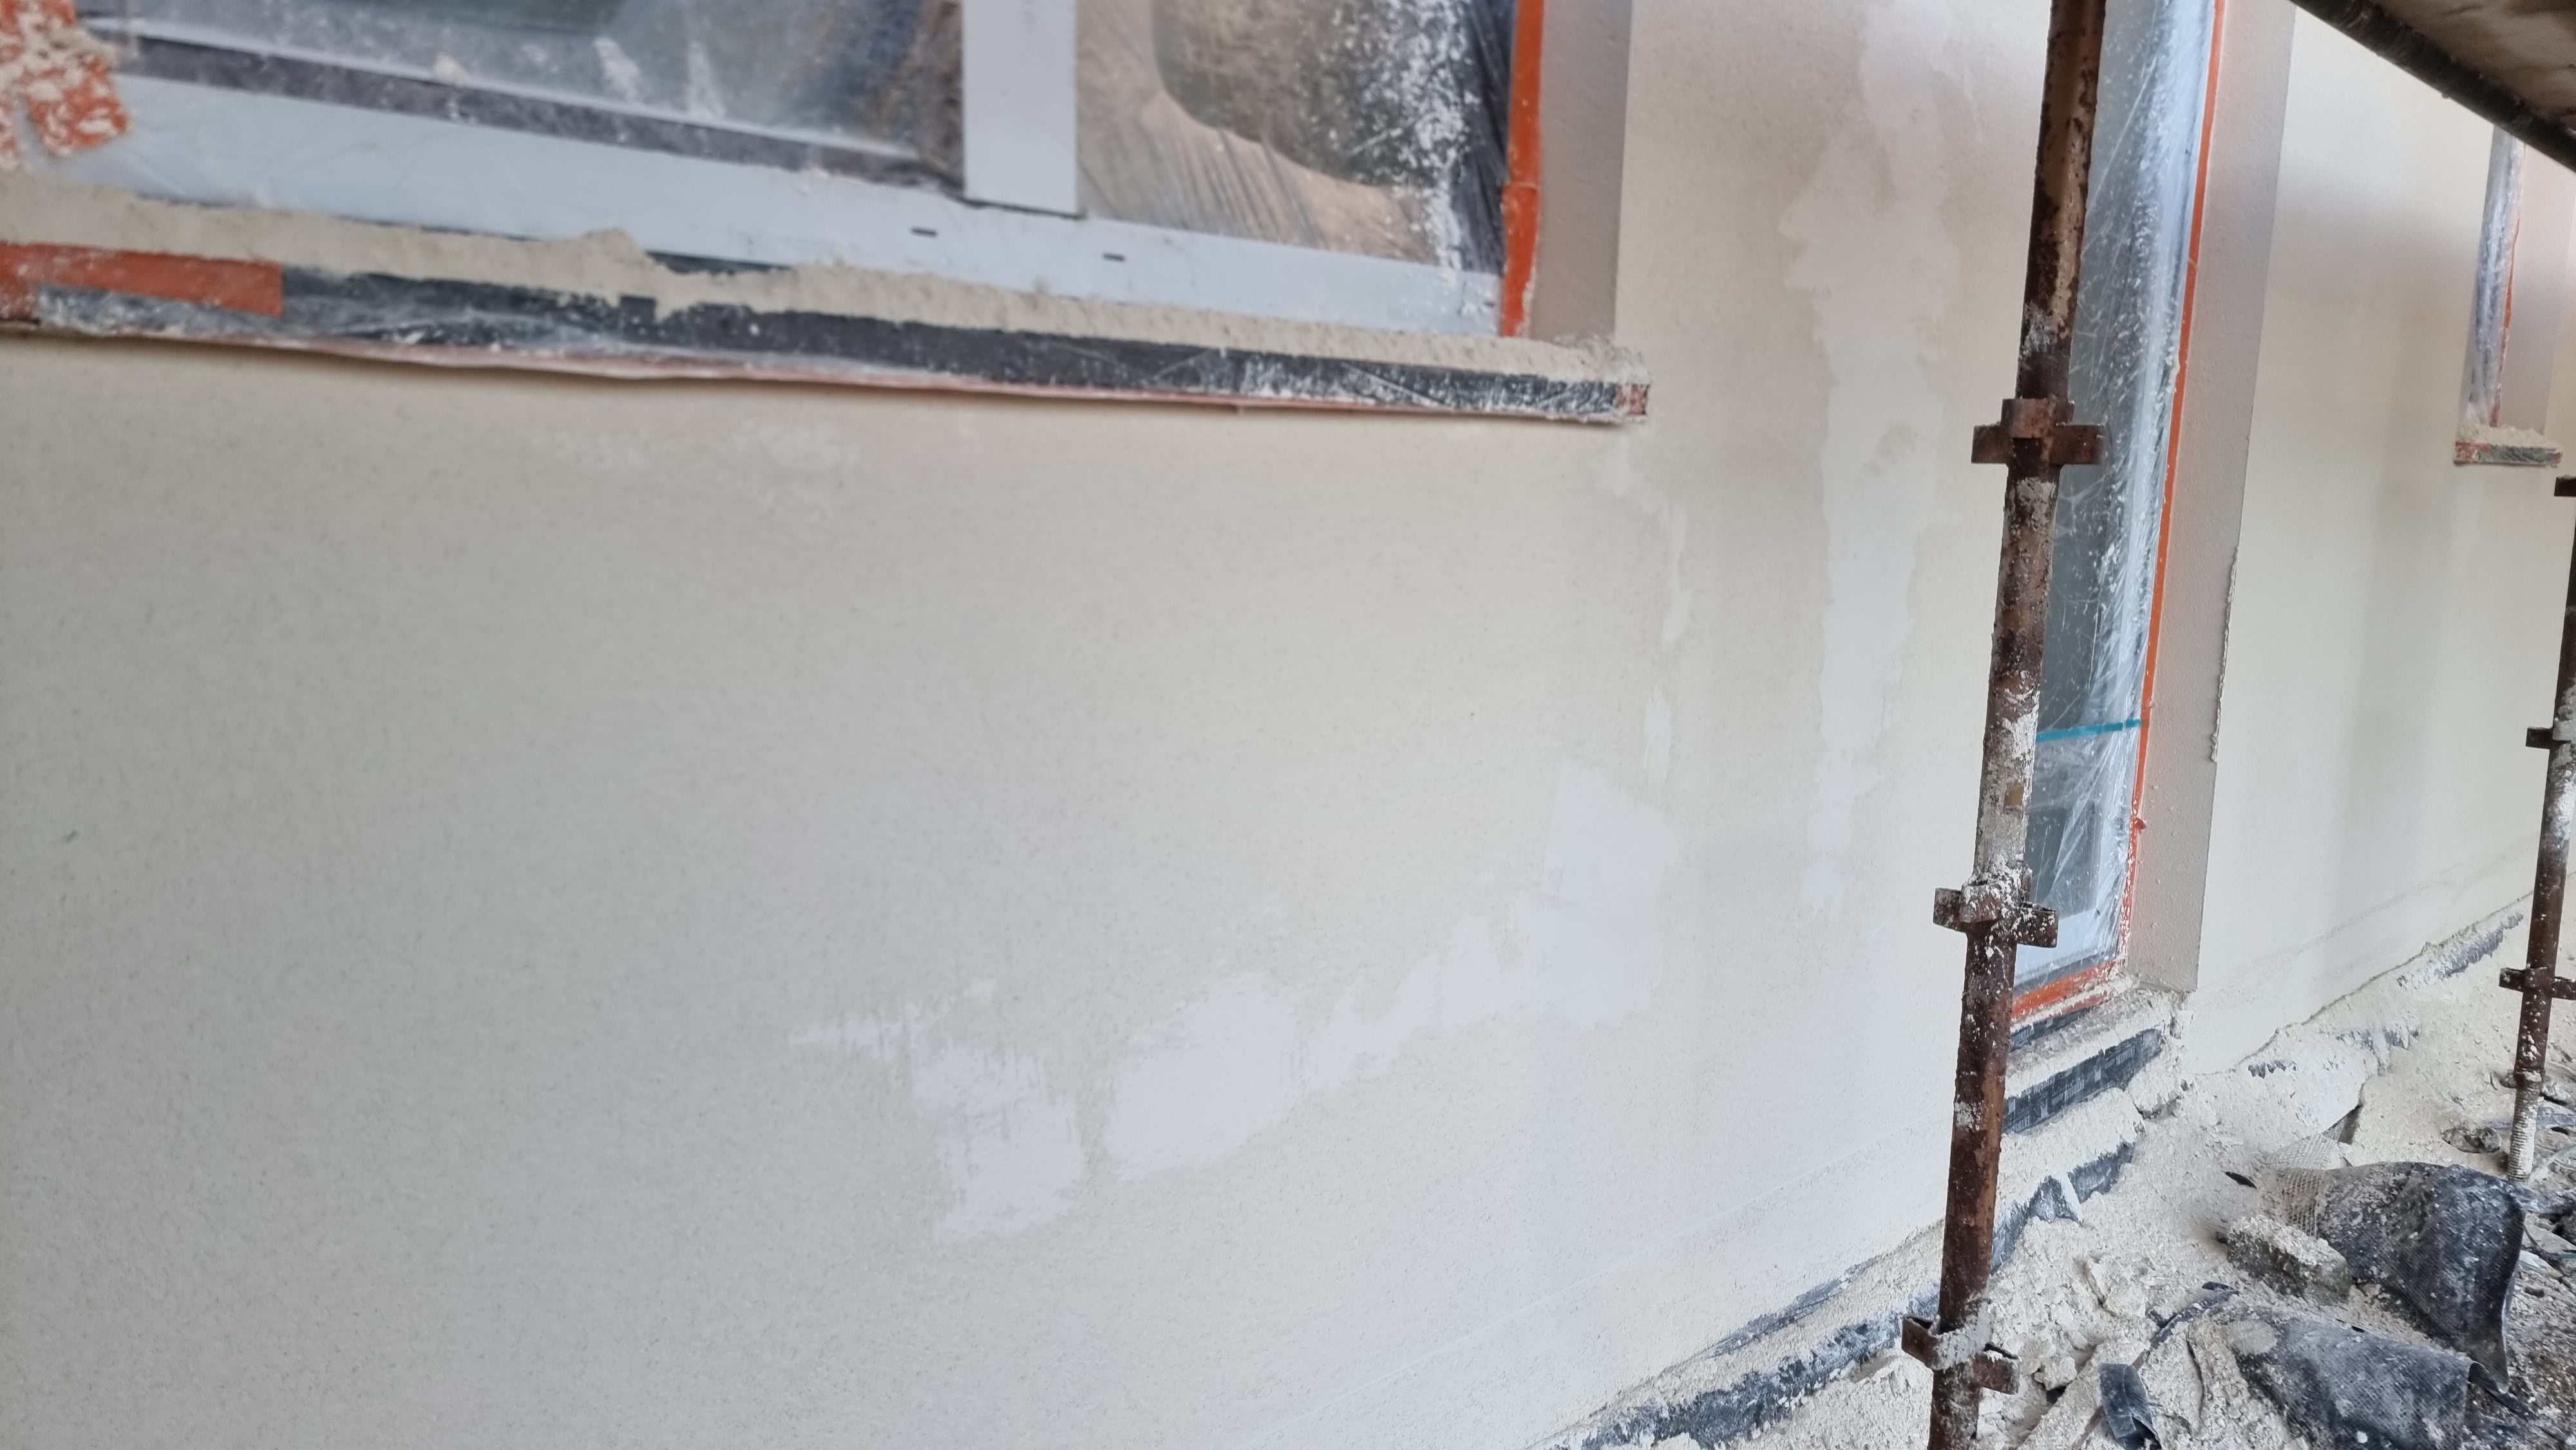
All of it, or some of it. Builder thinks most of it is ok. Lot's of salts on the surface and light patches, is this just aesthetic, or will the mortar be weakened? Also, I asked for the base coat to have a break at the dpc to not bridge it. My builder rolled his eyes, and insists this is nonsense. Render scratch coat is always applied as a single coat over the dpc to the ground. Bridging the dpc seems wrong to me, is it?
-
HP12 base coat was applied on garage wall in the rain and now looks like this They told me it would be fine when I pointed at the skies during application. Of course they would say that. But it's not fine. In fairness this base coat is just to seal the blockwork before battens are applied and cladding over the top, but even so, it looks like salts all washed out all over. Bill has arrived. What do I do here?

-
Internorm KS430 sliding door seals question
Mr Blobby replied to Mr Blobby's topic in Windows & Glazing
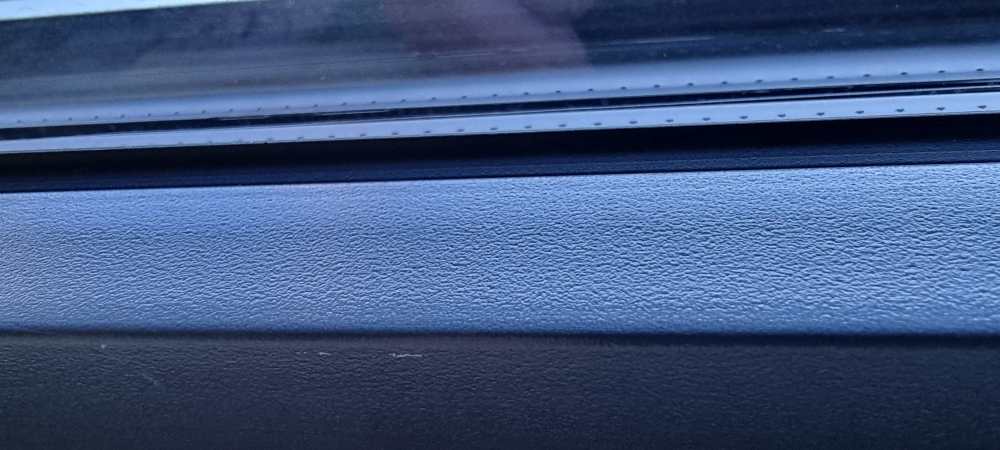
Indeed, the condensation at that end (condensation only appears when the humidity is in the 90s because of plasterers, while close to zero outside) of the window could be for any number of other reasons. The gasket is a bit depressed below the glass for a few mm but I don;t think the fitters are going to remove the massive glass pane just to rectify a stretched gasket. Although it would be better if it was not all stretched and bumpy, and it will probably annoy me forever, refitting a big bit of glass for a small bit of aesthetic is probably asking a bit too much. But it would have been nice if they didnt stretch the gasket. -
Instead of the standard pendants over the kitchen Island with easily changeable GU10 bulbs, we are instead installing a single rectangular LED bar. This has to be ordered yesterday but first we need to decide bulb colour because it will probably be difficult to change in future. The plan is to have 3000k lights almost everywhere else, so some warmth to the colour, but is 300k too warm for task lighting over the hob on the island, where 4000k may be better to see if my baked beans are boiling? Never had an island before and we have a combination of bulbs over the broken hob in our current rental pad. What do people on here like to have over the hob? 3000k or whiter?
-
Internorm KS430 sliding door seals question
Mr Blobby replied to Mr Blobby's topic in Windows & Glazing
I met with the fitter yesterday and he dismissed my concerns about the gasket on the fixed pane. The slider gaskets are all concave and very neat and uniform, while the fixed pane is convex and horrible looking. Fitter told me its a different gasket on the fixed pane so I think I'll ask internorm directly. -
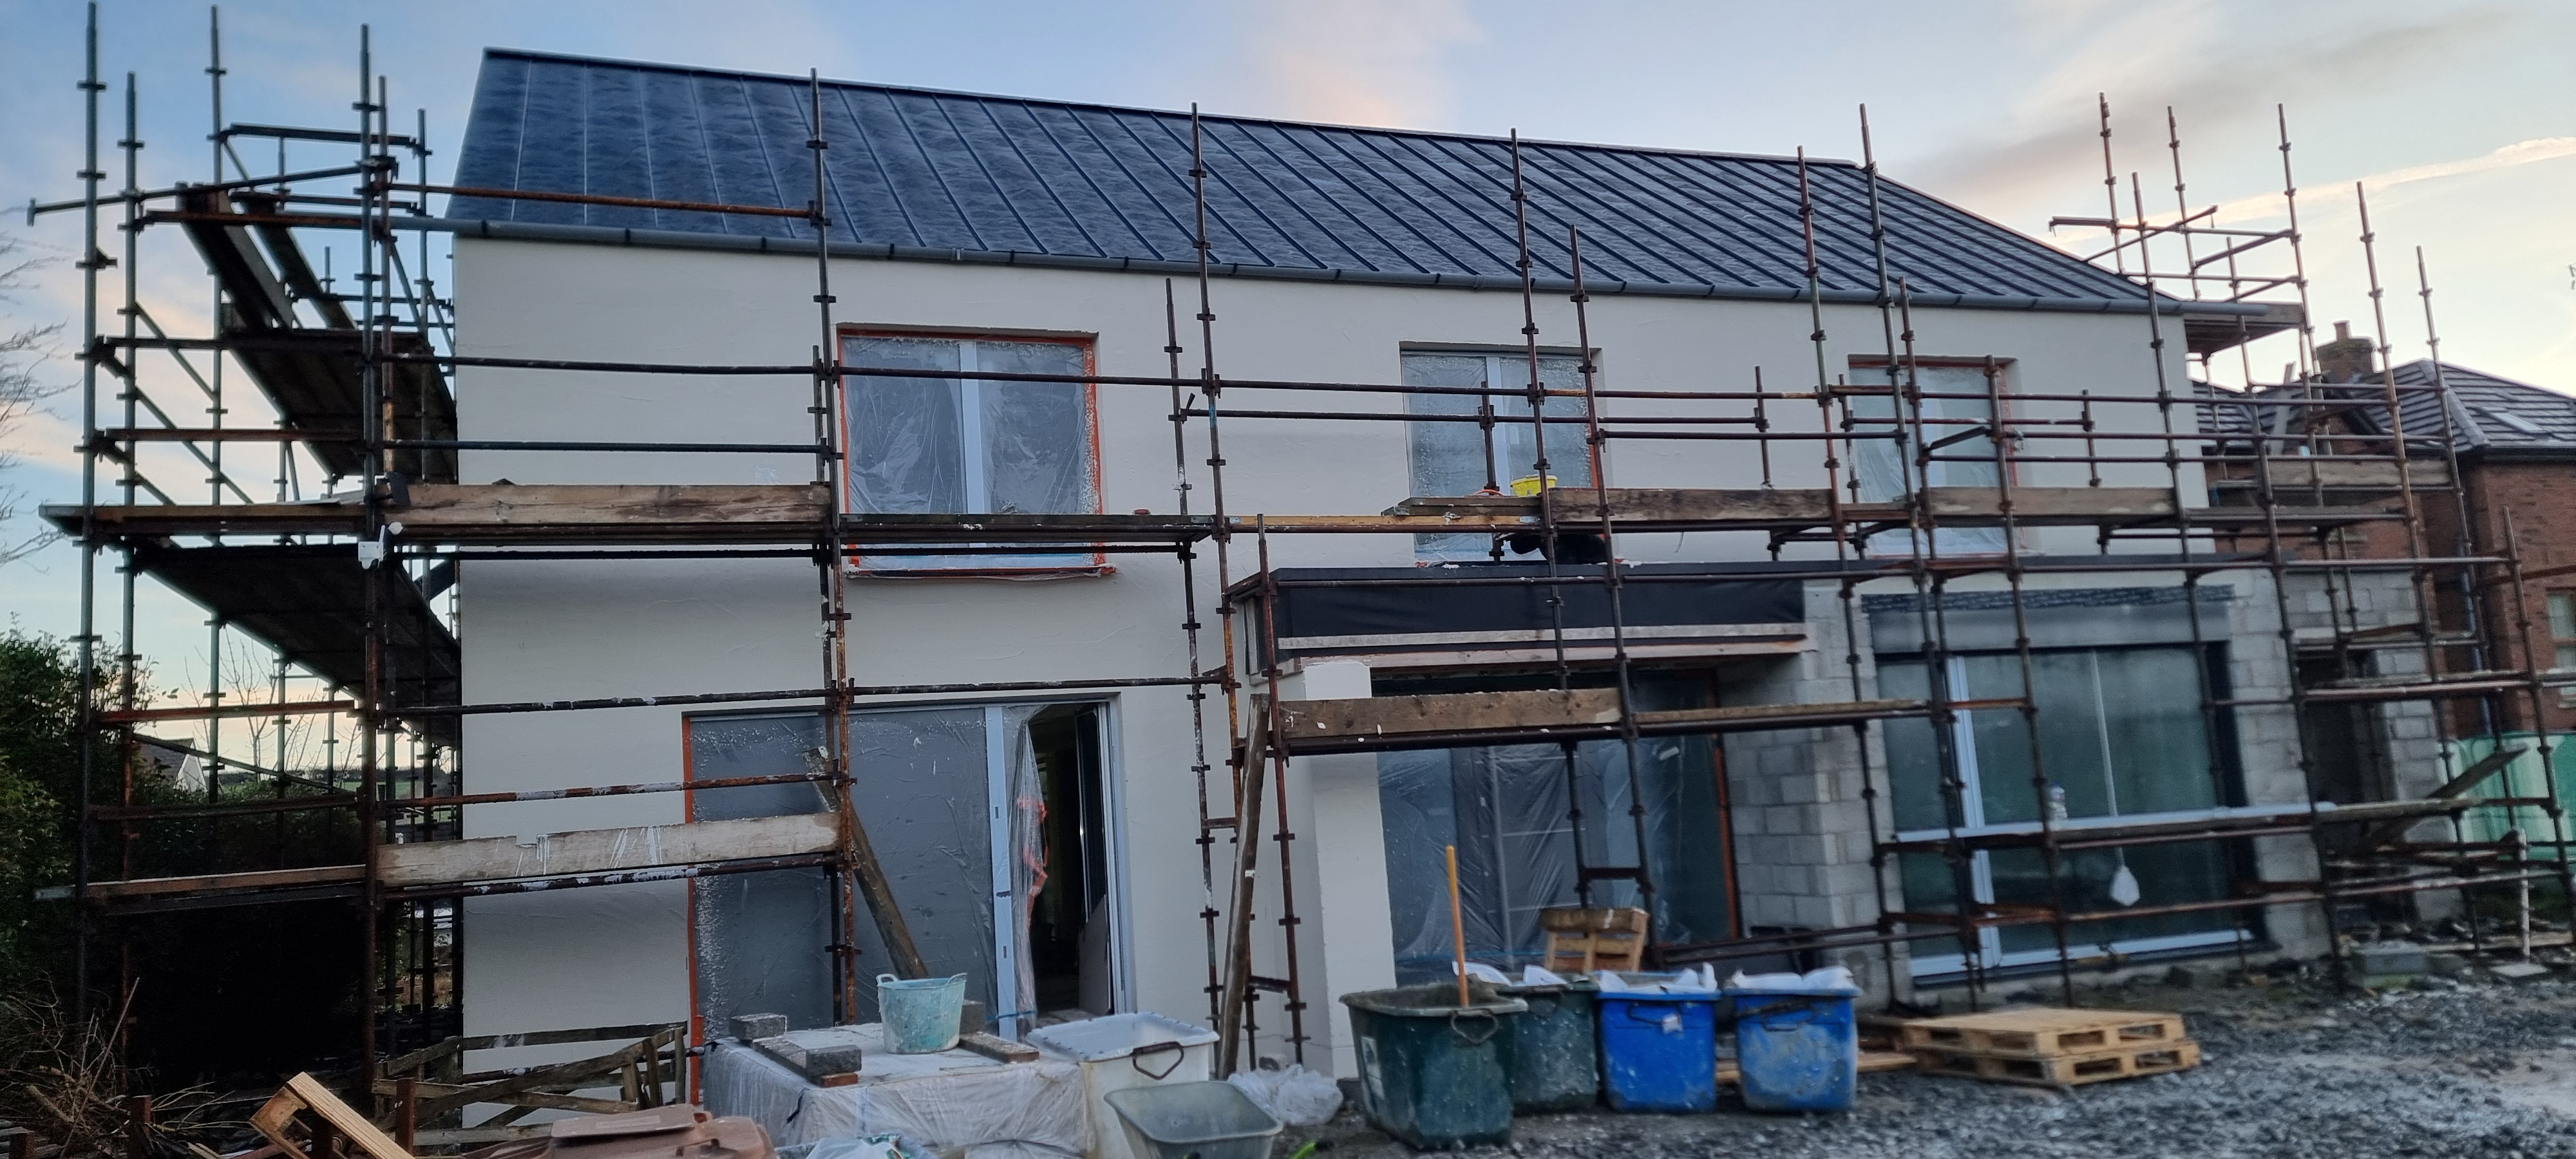
Spraying krend is fast, one day of spraying covers two walls, then the naxt day scraping and spraying. With this weather, my nerves are left in tatters 😬
-
No, no cover. Rain and frost at night. Renderer seems unphased while I would have put it off until wamer drier weather. But that would have been April 🤔 and renderer wants to work. Checked on site this norning and everything looks good, but I wouldn't know bad render from good if it looks the same. Thick frost on the roof, renderers scraping below 🤞

-
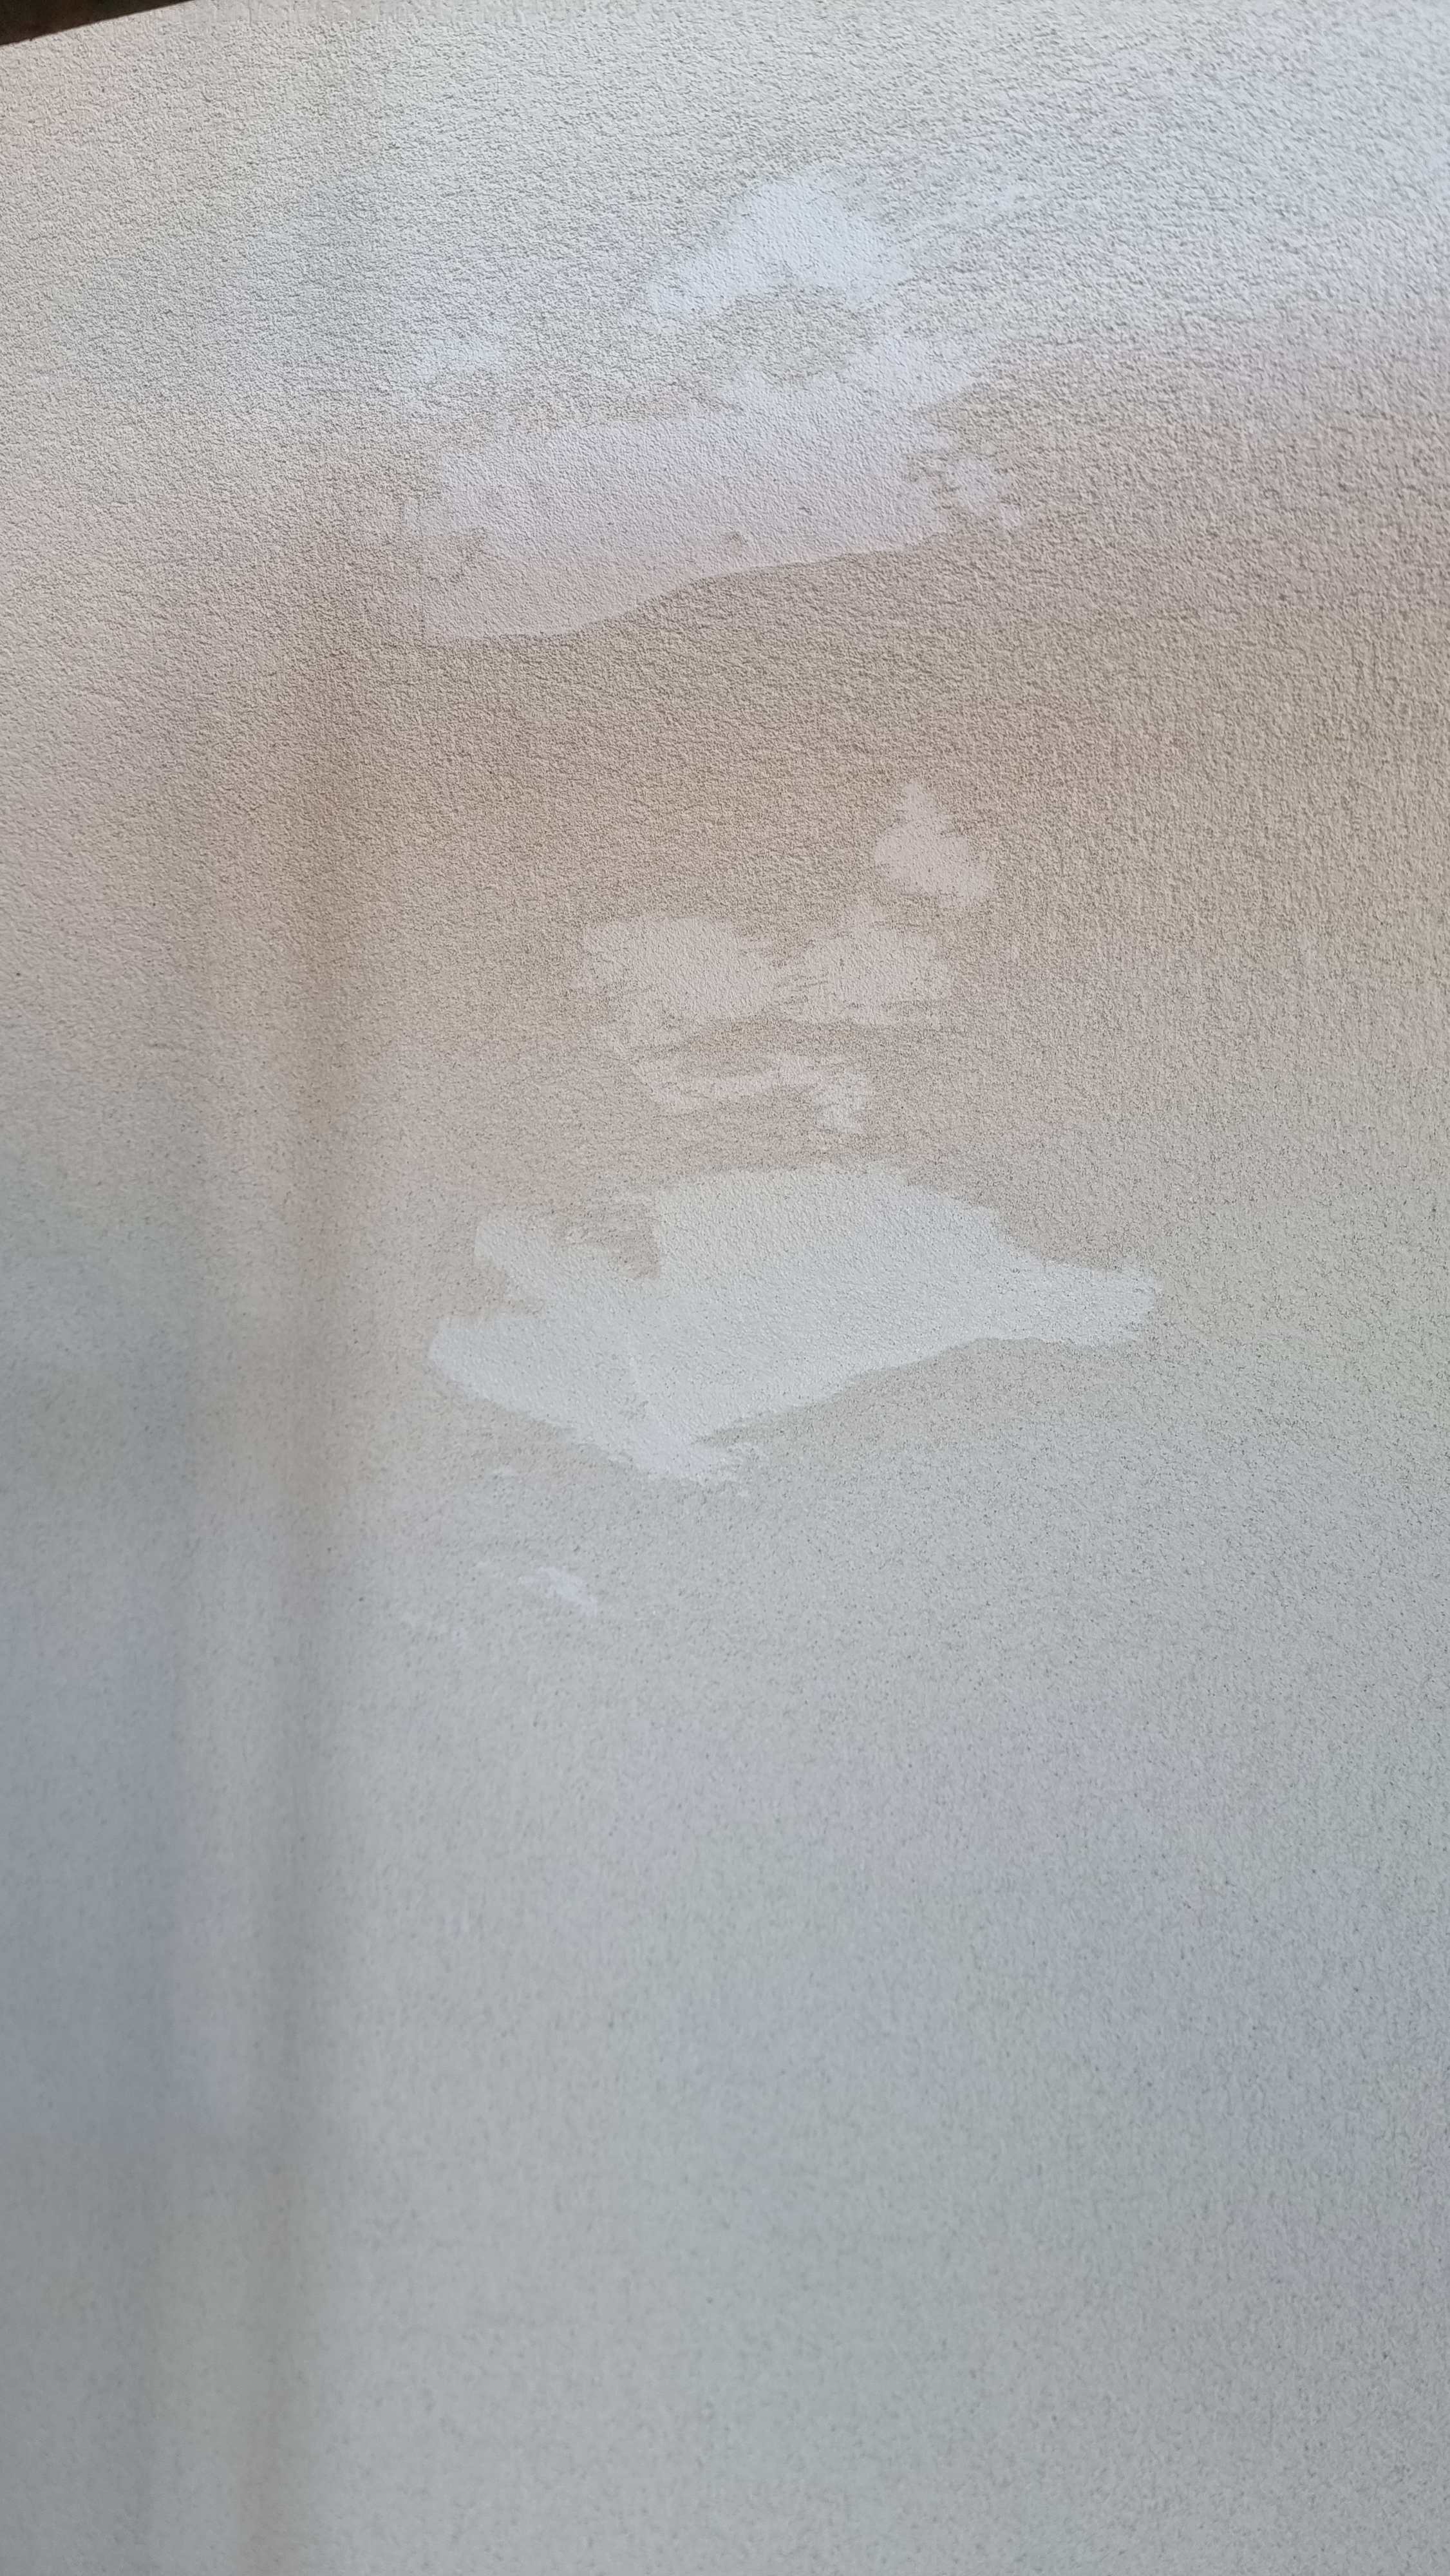
yes, smooth I asked the renderer about the bald white patches at lunch time and he said it had not yet set and so they hadn't finished scraping it. He told me it wasn't water damaged and will be fine. I was rather skeptical about all this, but, to my amazement I went back to check the same wall a few hours later and all the marks have gone. In fairness it was about 4 pm and light was fading so I will take another look tomorrow, but it seems like all the smooth white patches have, to my amazement, all dissapeared. I will ask the renderer if he patched it up to fix it. Not that he would tell me of course. Now my concern is that after today's spraying the temps have dropped to zero. Hopefully todays render doesnt get frost damage 🤞
-
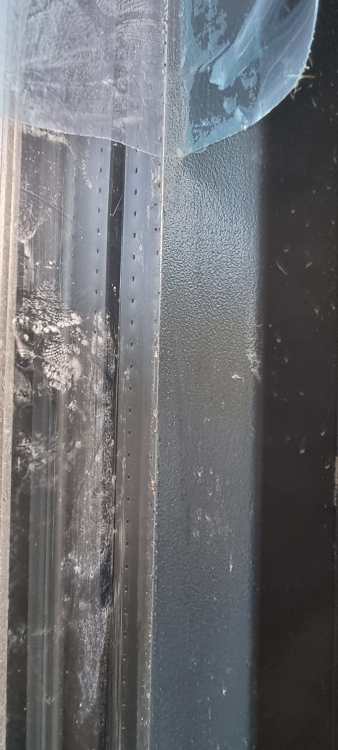
Another thing that's weird, is all our internorm fixed pane windows have a gasket between bead and glass, like this But one window has no gasket, which doesn't seem to cause any problems but seems a bit odd. Like this... I'll ask the window fitter when he arrives if this is by design 🤷 Anyone else have this feature?
-
I was surprised when the krend installer sprayed the walls yesterday when rain was forecast. Two hours after spraying it rained fairly hard for a few hours. Which is a shame because no rain is forecast today and its no colder. Render team back on site rubbing down and the back wall is like this in a few places. ... Is this just part of the normal drying process and to be expected or is it more serious rain damage and should I be concerned? Thought I'd ask here before I ask the render guy.