shirebuild
-
Posts
8 -
Joined
-
Last visited
shirebuild's Achievements
New Member (2/5)
3
Reputation
-
External wood paint or wood preserver for battens?
shirebuild replied to Thorfun's topic in General Joinery
The gaps are pretty unnoticeable until you get closer. I would have had them bigger but felt it didn't look quite right up close (i.e. when sitting on the future patio) and also nervous about increasing exposure of the membrane to the elements. Ooh good to know, yes it will be interesting to see how the gaps behave at different levels of moisture. It is a timber frame and yes there are counterbattens to bring it out to the correct depth for the windows. The first floor is bigger than the ground floor though, so on that elevation pictured, the upstairs overhangs by 60cm. At the front it's just over 2m. -
External wood paint or wood preserver for battens?
shirebuild replied to Thorfun's topic in General Joinery
There are 8mm gaps between each plank of timber and depending on which way the sun is shining you can see the battens through those gaps to a greater or lesser degree. Now it’s done I feel it was 100% the right decision to paint em. @Mr Punter not sure what you mean about getting the cladding to line up with the brickwork? -
External wood paint or wood preserver for battens?
shirebuild replied to Thorfun's topic in General Joinery
Just circling back to share that we painted our battens in Bedec matt black Barn Paint - https://www.brewers.co.uk/product/BN041305C We laid them all out on pallets and went hell for leather with paint pads - it took a while but not as bad as expected! We were strategic about which sides we painted for which section/height. Some we did 3 sides, some just one/2. They have just finished installing the horizontal cladding and it looks great (IMO)! Just moving onto the vertical now so we'll see how that turns out.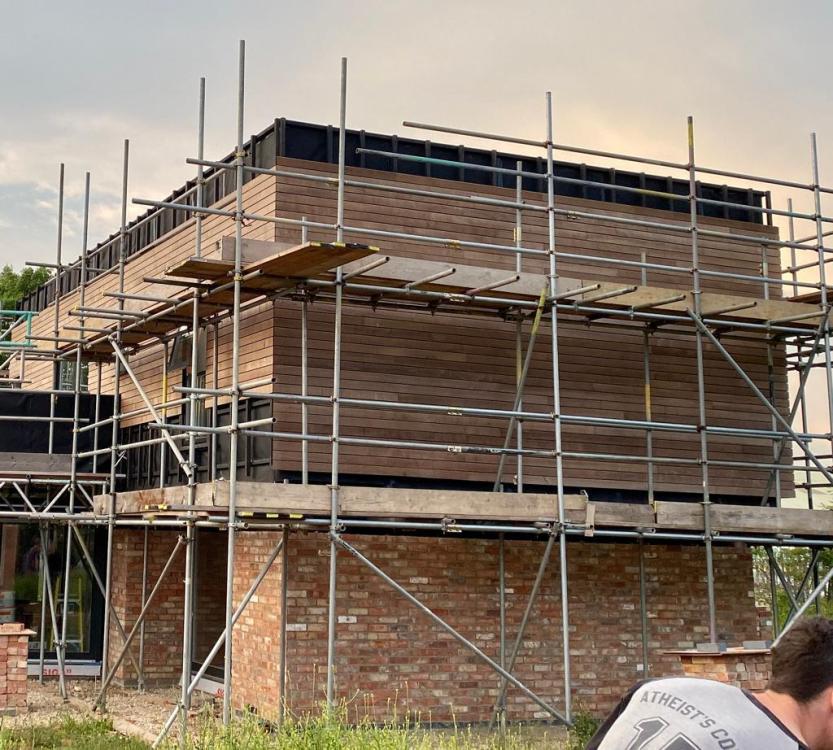
-
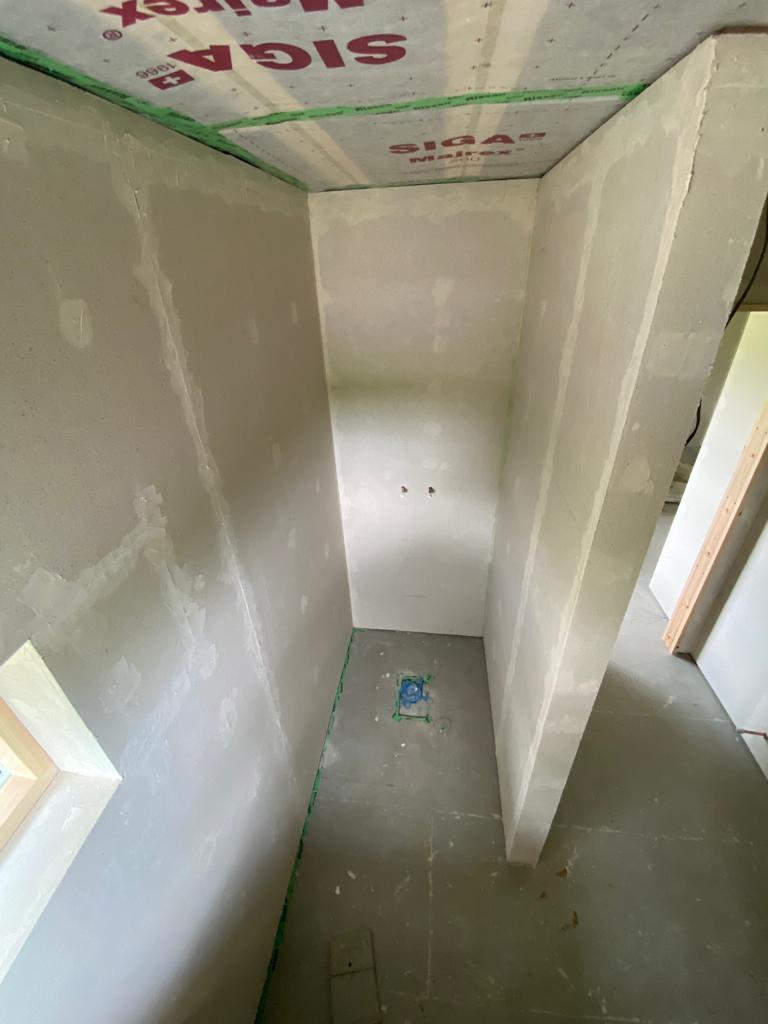
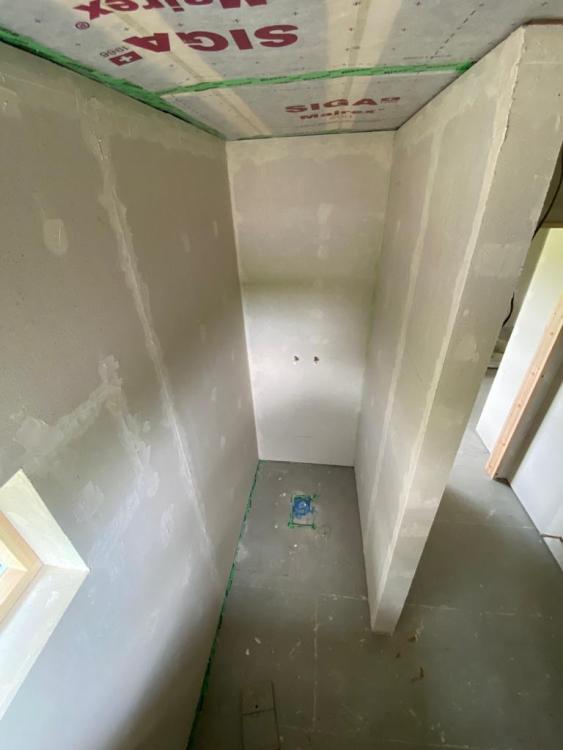
Wow, @simonD this thread was *exactly* what I needed!! Thanks so much for taking the time to post. We are just gearing up to microcement (also using Cemher) our own bathrooms and are getting particularly worked up over how to get the join between the shower tray and the walls suitably watertight. I would be really grateful if you could share some more detail of your experience to help me out - getting this area well-sealed is obviously crucial! Our proposed buildup is as follows... FROM FLOOR UP: Cabershield Plywood (6mm) Mapei waterproofing membrane (lapped up the walls 150mm - distance chosen somewhat arbitrarily - happy to be corrected if anyone has views) Stone resin shower tray (fixed in with flexible tile adhesive) WALLS - the whole bathroom is already boarded out in Fermacell Additional layer of Fermacell (15mm) will go in the shower enclosure once the tray is in place, coming down to meet the shower tray and be sealed with silicone bead. We were proposing to put Fine Surface Treatment on the second layer of Fermacell, then prime and microcement per the instructions. Any input warmly received! Photo below..
-
External wood paint or wood preserver for battens?
shirebuild replied to Thorfun's topic in General Joinery
Oooooh. I guess I'll know the answer once I find/don't find a suitable paint!! Thanks. -
External wood paint or wood preserver for battens?
shirebuild replied to Thorfun's topic in General Joinery
Hey @Thorfun - what did you go with in the end for treating your battens? We're in the same boat right now! -
What's the issue? Help Please ?
shirebuild replied to canalsiderenovation's topic in Air Source Heat Pumps (ASHP)
Thank you. It's PV not solar thermal so I suppose we want to go somewhere in between 170 and 300. Am I right in thinking there's a trade off between using the cylinder as a handy thermal store from PV when the sun shines VS using unnecessary mains power to keep excess water heated when its not? We are 2 adults now but will be 3 or 4 within 15 years! -
What's the issue? Help Please ?
shirebuild replied to canalsiderenovation's topic in Air Source Heat Pumps (ASHP)
I have searched but I can't seem to find any reference to having a larger cylinder if you have solar, is there a discussion somewhere else about this someone could point me to please? We are planning a 170L cylinder with a 6KW ASHP (Ecodan) for a 3 bed / 2 bathroom house so would be curious to read! We'll also have solar/Eddi diverter and want to make sure we spec it right!