ash_scotland88
-
Posts
300 -
Joined
-
Last visited
Everything posted by ash_scotland88
-
I've refitted our WC after flooring went down, all good no leaks but I feel like some bolt accessories where missing. Should some sort of washer be fitted between the wc pan and bolt/screw connecting it to the floor? Or is the metal on porcelain ok? I've re-used what the plumber put in place.
-
Perfect thanks. I would have said it would have been an M2. Looked around half an M4 anyway...
-
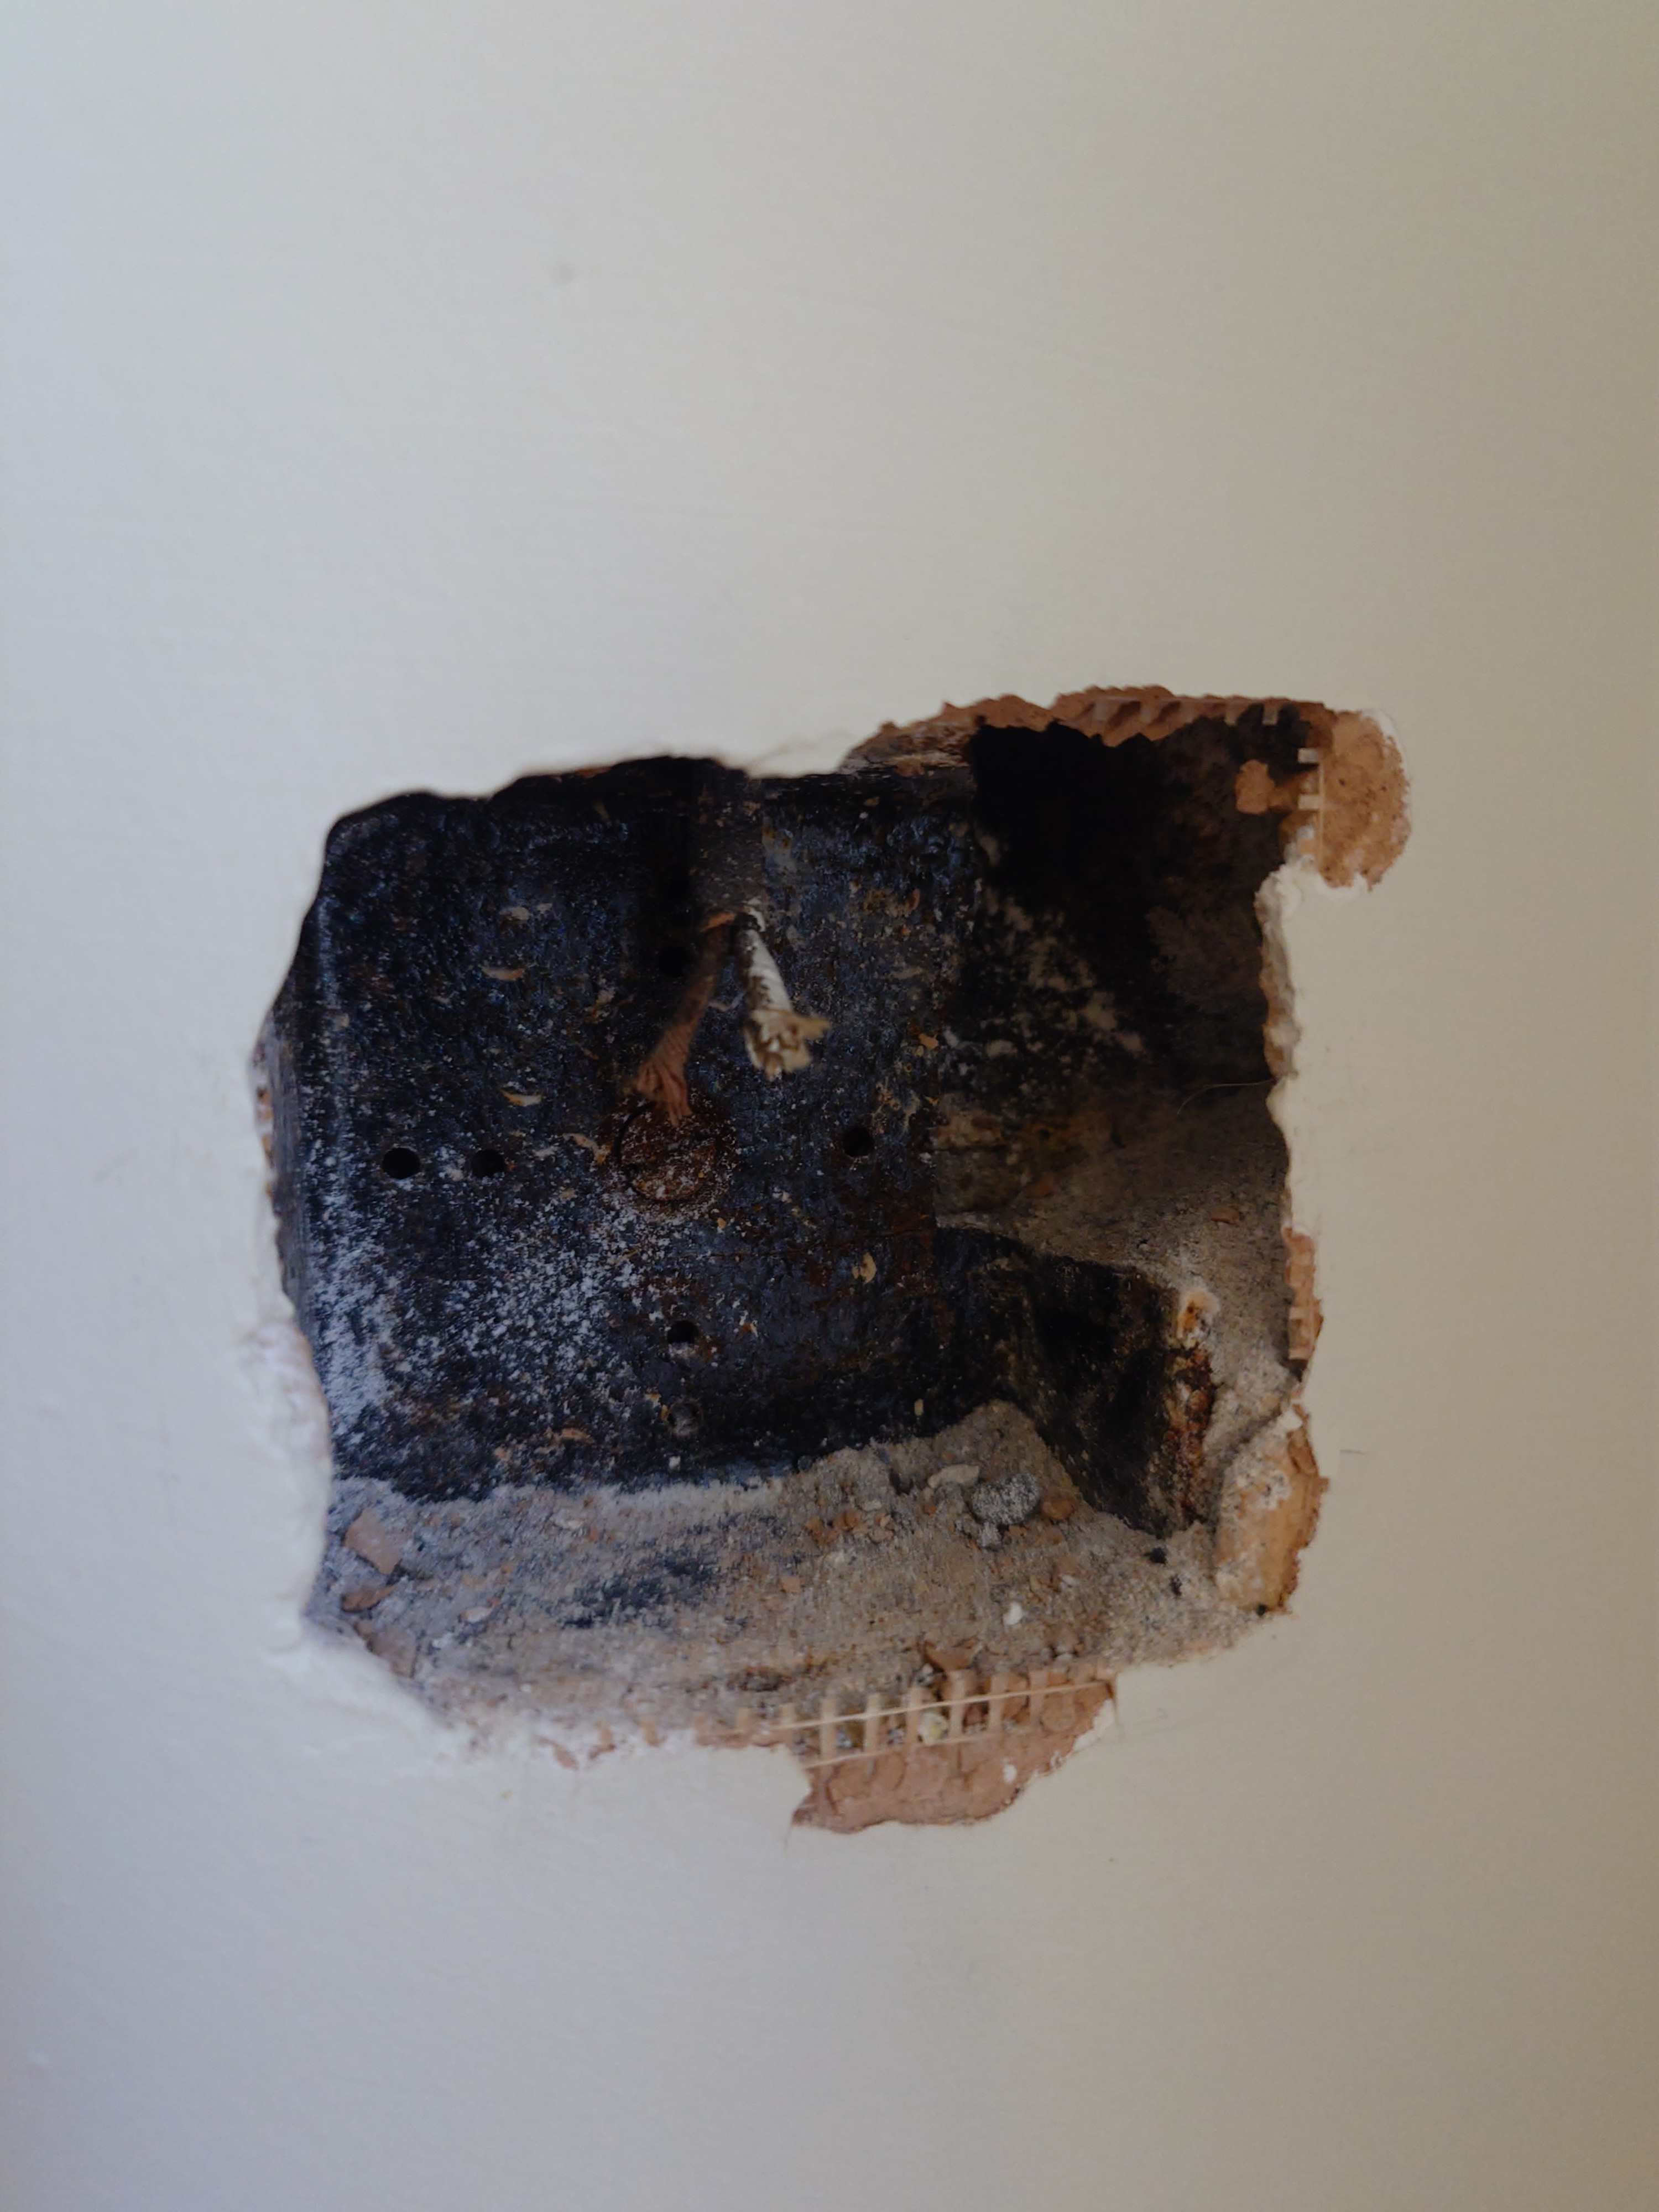
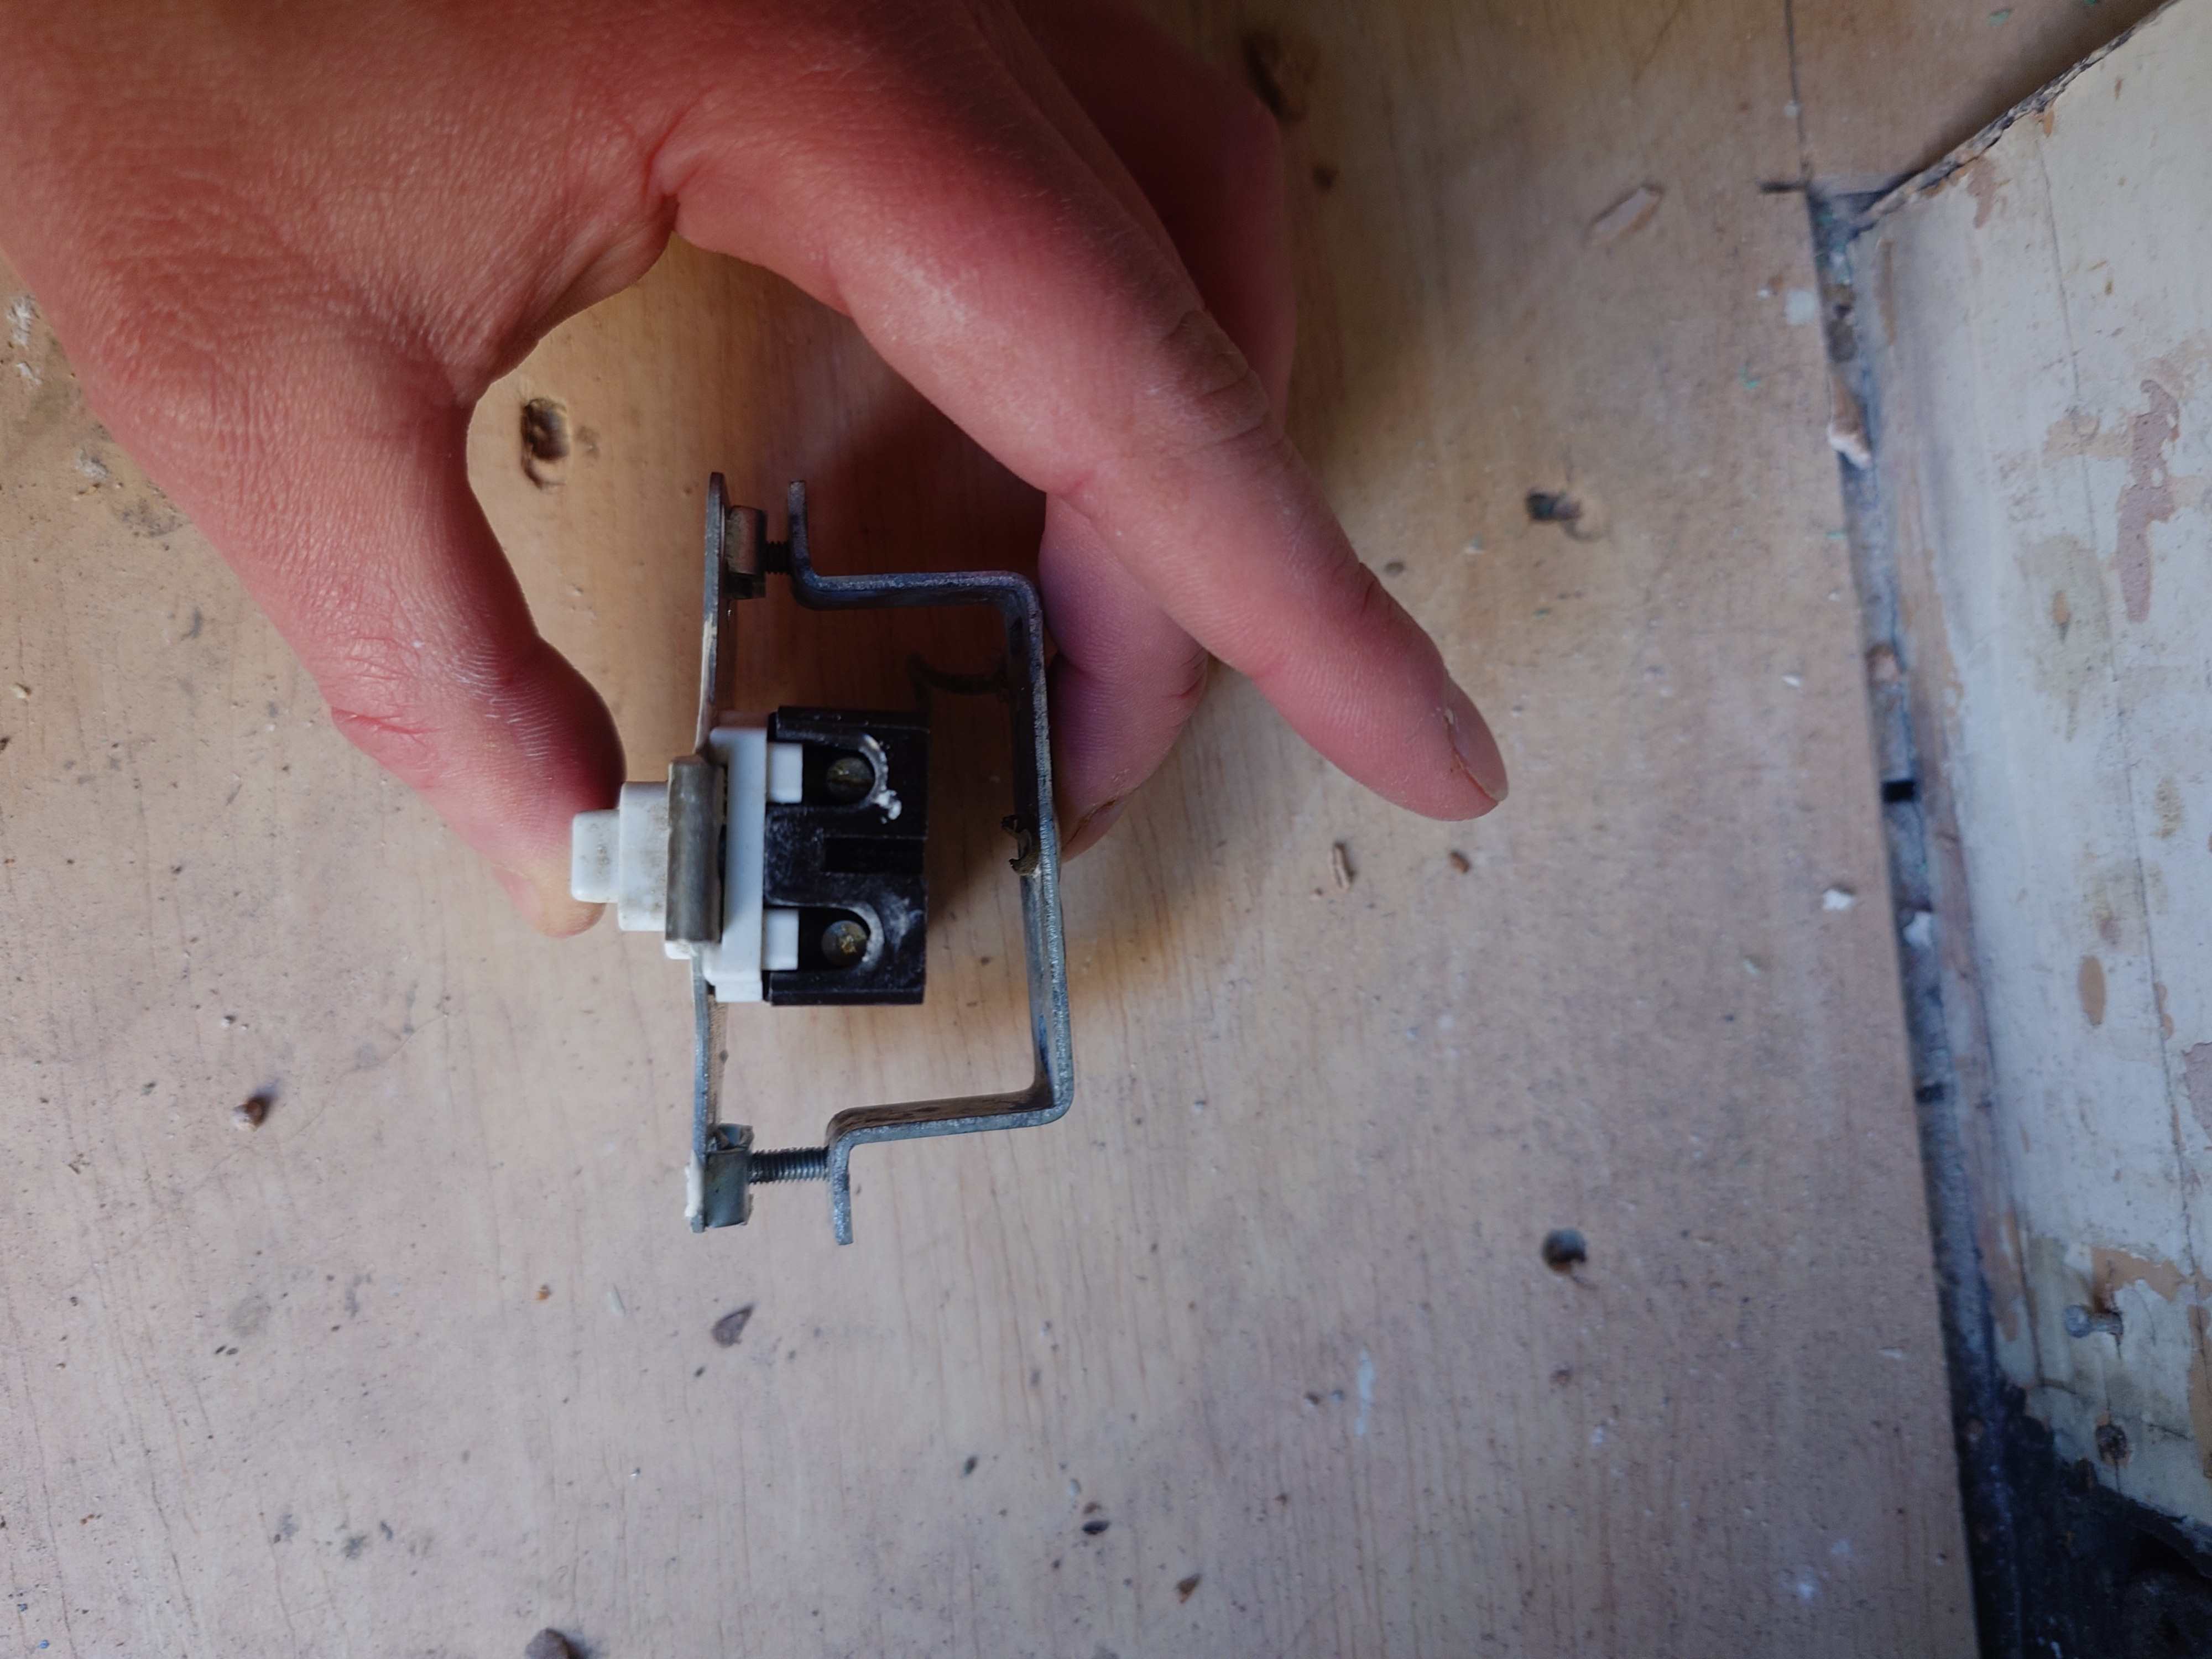
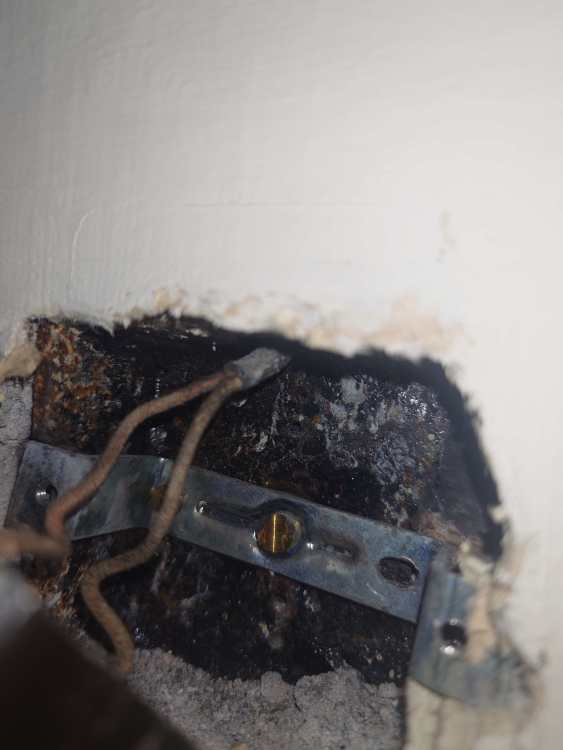
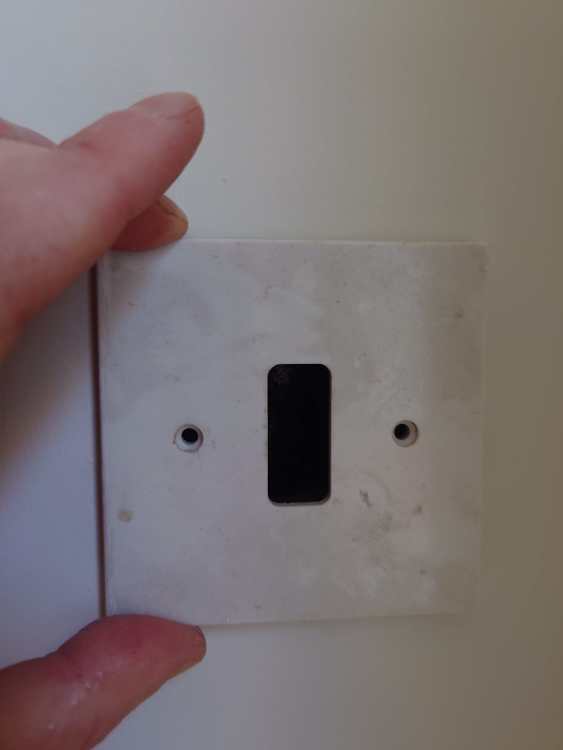
It was how to fix it as I couldn't see a way how with a damaged box and build up of plaster. I've now found how it was done previously. Looks like I need to find a tiny no doubt imperial screw... I thought it had been more secured than that. And don't worry not 240v and currently whole system is disconnected and off the wall.
-
Fyi - I'vele not resized images so may be a tad large. I've went to refit a butler bell after some renovations works. Between the spark accidently removing and throwing it in the skip and plasterers being rough casters by trade (yeah for subbies -_-) what's left isn't suitable to fix it back to. There's half/ three quarters of the old back box left in the wall. I can't remember if it was part smashed before work began, but I doubt it. The grid plate is an old version of MK3621. Any feasible solutions for re-fitting? Old back box looks like it's 53mmx53mm internal. One of many small details of a long list I've been left to deal with.


-
Caulks and sealant removal
ash_scotland88 replied to ash_scotland88's topic in Bathrooms, Ensuites & Wetrooms
Thanks, yeah I read about mechanical removing before hand. Worried as it's a brand new bath (omnitub). Caulk for rest of bathroom ok? -
Couple of questions. 1) is decorators caulk ok to use in the bathroom to fill in gaps of trims and facings? Obviously not in a wet area. It'll be primed (123) then oil gloss'd 2) joiners (not plumber) put a sealant badly around our bathroom. It's also on (moisture) MDF panelling. What can do I do remove this safely? It's a weird brown/grey sealant. Plumber is also at a loss why they did, did it badly and did half a job on patches... Hoping to remove it, get the boards painted, then reseal in a reasonable white.
-
Looking to order a caporra ceiling hood, the exhaust is rectangle from the motor. I am presuming it's easier to core through the house with a circle it'll be neater etc etc, even with builders employed than trying to form a rectangle shape in brick/brick. With that in mind when should the shape change to circle? From the motor, before the exhaust? Not at all and tell the builders to get on with it...
-
I'm wondering on techniques how this may be typically done. Property is brick/brick and filled cavity. I've read of running the cable in the cavity, which itself has potential for problems with damp and difficulty when cavity is (partially) filled. Obviously there's up to the soffit and into the attic, down into the solum or horizontally to enter at an other point. But in an ideal world the cable wouldn't be on show from outside, both for aesthetics and but more importantly saves tampering with the cable. I'm not sure if I'm being overly cautious/ paranoid to have a channel and conduit in the interior walled, with the cable exiting from ceiling/floor void level. The ceiling will be coming down anyway and other plastering works. Externally it's probably an ideal height to install a camera or two. So, yeah, any thoughts?
-
Looking for a sound out as I know there's a bunch of knowledgeable lot. I have a butler bell system I need to move, it's an electric 1930s one. I've lifted the floorboards above and can see it all (bell cable and power) going down into a conduit feeding the system. Power to it, I think I may be able to get away with reusing the existing, as I'm moving it closer to CU and it looks like it may be powered directly from it. If not wago box with trimming existing and extending with new. The bell cable, there are 10 bells, so 20 connections. Looking at CEF I was thinking about 2lengths of the 12 core SY control cable. But unsure of thickness (don't have a caliper to measure existing), the system is powered via a transformer, am I safe bets going for 1mm or think I could get away with 0.75mm. Two separate lines instead of one for ease, i still need to check sizing under counter battens. To make the connections I am looking at the 24way alarm junction box from Amazon. I've not been able to find anything else. Any thoughts guys?
-
Removing Baxi Burnall
ash_scotland88 replied to ash_scotland88's topic in Stoves, Fires & Fireplaces
Thanks RobLe. I was convinced the basket was hung in the opening. I've got in mind the other one we had removed was the same, but all drawings online show it should be recessed into brick. I should be able to nip under the floor to inspect this one before any works commences. I know the ventilation is just to the solum. But yes, heatloss is my big concern. Good bit of natural ventilation but you can feel the draft even with it shut and chimney rammed with wool. My final plans is to keep it minimal, no idea what with and how. But the classic clarence arch is a mottled beige with brown speckled. -
I want to do, the perhaps sacrilege thing, if removing a Baxi Burnall. Issue being as it's recessed into the floor and the hearth is tiled level to the floor we'd like to keep the hearth the same. Anybody removed one before? I'm not even sure what to expect. If anybody is nosey to know why, it's a fire in the to be dinning area. We'll probably only ever light it when we host, that's if we remember to do so in enough time. 50% will have their back to a fire complaining they're too hot and the other 50% can't see it. Looking to put something more manageable in for ambience.
-
Hate these posts on FB hence trying to remain anonymous here.... Also first post in a long time, hi team! 👋 Works are (without posting plans) Internal chimney removal, upto first floor only steels are 2x length with 2xcross bracing about 3500long. External slapping, taking to two window outer edges. Steel 3200mm. Non supporting brick wall removal, including returns for cupboards 3500mm. Strip and fit kitchen, including electrics and plumbing Removal of 1400 non supporting wall and infill of door. Strip and fit bathroom, including electrics and plumbing. Ceiling heights are roughly 2500. Priced the kitchen and bathroom stuff side, and a cost for bi-folds supply and fit. Any ideas what to expect for the rest? Obviously I'am missing out details like insulation, board and plaster but will be done too.
-
Semi-planning front door improvements for the summer. https://ibb.co/QFtHvqb Image is our current step. The quarry tiles are slippy when wet, couple cracked and I think a couple have delaminated, if not here then definitely in the couple of verandas with the same tiles. Ideally needs a step too As it's a pretty big lift up. But I'm lacking ideas what to do beyond sand stone on top and render front, I doubt the pre-bought semi-circles would fit anyway so presumed a custom job is in order. But also worried sandstone is slippy when wet and icy. And a general question. What's the large tiles lipping over the front called?
-
Thanks, forgot about engineered as an option! I'm 35 and tired of building materials being faux, fake and mock and made from thin laminated of plastic with low quality effect printed on and really not offering much of a saving..... Hopefully that's my grumble over.
-
Nothing off the top of my head. There's Doc M, not applicable to us up here but a better standard for accessibility and there's usually something translatable and almost the same. There's various BS standards but no idea off the top of my head either.
-
I'm wondering what flooring options there are, and thoughts of each type? We're after "wood" (plank, in oak, exact style not settled) there's. Issue is being bathroom and bare footed I want it to feel real underfoot. We have SPC in the study (not lasting probably our poor DIY install) and as the name suggests it's plasticy to sound and feel. Parents have laminate through out at there's and again it's not a pleasant noise or sound. We're currently considering LVT and ruled out tiles as they'll be cold once the heating Matt cools down. Real wood, obvious concerns are of water damage but is there anything that can be done to protect them but it's what I would like? Sub-floor sheeting over timber joists, the original boards are beyond saving and will be worse once the room gets knocked about.
-
Thanks @Bozza it's good to know I'm not going crazy over this one detail. We've talked about having a (fake) living wall along that wall. The whole outside in, lying in the bath and looking at the trees etc so I think a half height stud would work as the "living" element will have a depth that hides any changes.
-
I know you've all been on the edge of your seats with anticipations of the bath. I was too lazy to actually put it on a sheet so have a screen shot. The 48.5 measurement is the gap that would be rquired to align the bath central to the window and unsure how to detail. https://ibb.co/6gCKKQk
-
I'll get something up later, but thanks! Didn't even think about drilling and fixing near the each of tiles being an issue. I did have the other thought that we would like a shower niche, recessed shelf. If a tile fitter could cut out part of the tile (essentially creating a U shape or a hole in the middle) or if it would best to find a niche with an opening same heigh as the tile-600mm
-
Few questions looking to get some opinions from those with perhaps experience of these musings. We are thinking about paneling to a height in our bathroom, when we redo it. Less of the rebuking of paneling please. We are thinking of using the "precast" MDF sheets for ease and cost. I'm just looking for opinions if this would be suitable for a bath panel and use of as a splash zone around the bath instead of tiles. It would be painted/glossed/sealed etc. You see plenty of examples of doing the same but I'm hesitant of longevity. We are also looking to align the bath central to a window (omnitub if anyone is nosey)and in an "alcove" which would require spacing the bath out 48mm from the wall according to CAD drawings. CAD also suggests our bath tap filler would reach the bath sufficiently if positioned direct on the wall. I see two options, either stud out the paneling full or part depth (i'm sure no-one will notice alignment off by 20mm) which would allow bath taps to be fitted onto the mini stud wall. Or creation of a shelf running the length of the bath and if doing this unsure if it would be tiles or if some sort of panel the same material of the bath could be purchased? and lastly tile sizes... We found tiles we liked that are 1200 wide, our shower enclosure would be 1200x760mm Obviously the length would be trimmed down, would it look odd having same length of tiles as the tray? I know the screen is typically set back from the edge of the tray, is this sufficient? Opinions, thoughts, inputs?
-
Thanks. I'll give him a couple of days to come forward before reaching out. Had a rubbish weekend with the house rearing unplanned maintenance and reviewing drawings and architects answer sent me over a peed off edge.
-
As the title really. Have zero faith in the SE they originally designed a solution that didn't account for coombed ceiling and in a separate room have said that we need a joist that will eat into the head space and is deeper than the coombed ceiling. Meaning a bulkhead solution. Architects only solution is a) build storage along that wall to hide it, pointless as we have a planned dressing room or make the wall wider, which would mean a wall 233wide + PB to enclose the steel.... That's also forgetting the fact we wanted the wall there to provider a larger space for bed positioning...anyway rant over now. Anyone offering second opinion would be much appreciated.
-
The flat roof access hatch/window is leaking, original to the house and barely holds together when opened as the hinges are minimal. Not that it requires opening much for access. The window/hatch is in the attic and is made from timber upstand and it appears to be the glass or frame causing the issue. Although I'm not getting up there in this weather to check. A) is there any potential repairs? ie resealing the glazing b) If going down the route of a new thing I'm guessing one larger than the current hole is ok, would be looking at 600x750 And if so any recommendations for value brands?
-
I don't appear to have any complete but play spot the difference. https://ibb.co/PQGy5VP And one of the inside comparing old Vs New https://ibb.co/pnc7Sch Although we had them remade to allow more frame to show on these windows, this required spacing bars on the outside
-
Yes, very much so. I think we still comment once a week they were the right choice- does help it's a bit of a long walk up to the house.