


BotusBuild
-
Posts
1467 -
Joined
-
Last visited
-
Days Won
11
2 Followers


BotusBuild's Achievements

Advanced Member (5/5)
689
Reputation
-
ICF window cill detail
BotusBuild replied to metalgear2k2's topic in Insulated Concrete Formwork (ICF)
Awaits inappropriate content 🙂 -
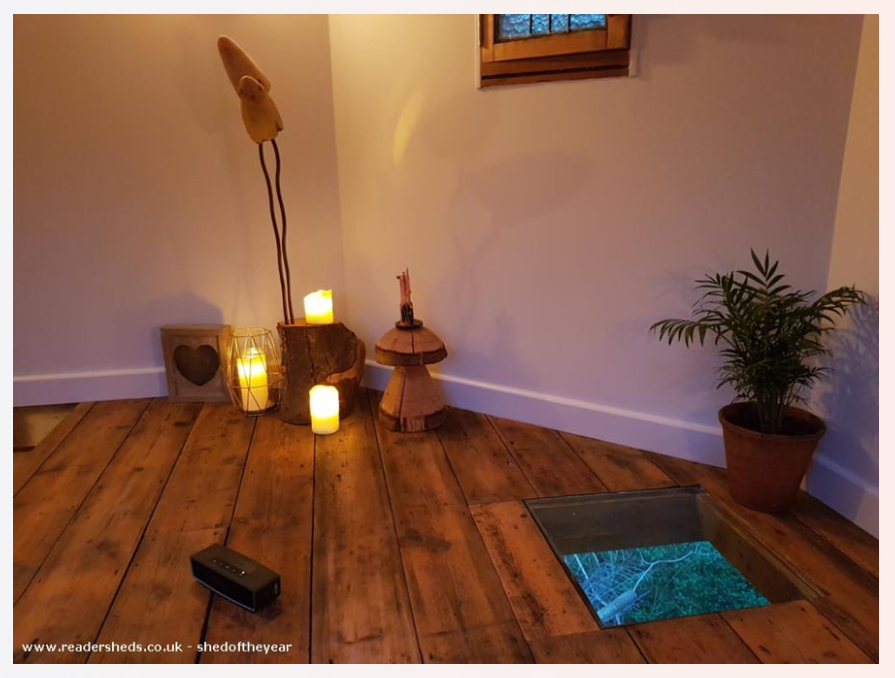
We now know where @Pocster's walk on glazing went
-
We had something similar, and then we were into 2020 and all the delays that introduced !! We smile now, and there have been other hurdles thrown in our way. Things will proceed and all will be good. Stay patient, stay positive.
-
In a non square room it took a while to decide what straight edge to start from 😀 A lot of measuring and marking to get a "centre" line, then choosing which corner should be on that line. Tips: Dry run fitting the pieces together - you may find there is one way that works better/easier for you. A centre of the room line is not necessarily the correct thing to do as you may end up with tiny pieces to fit in at the edges. Lay out 10 to 20 "rows" but only two pieces wide (hope that makes sense) to start with, then line up that "patch" of planks on your marked line, and fix it in place (glue, or several screws around the edges that you'll later take out as you add more pieces). HTH To answer some other points above, I only glued the tiny pieces at the edges so they didn't move out of place. The windows face WSW so only get late afternoon sun. Even with LVT, the angle can wander a little, but I guess not as bad as wood parquet. And yes @Super_Paulie, the struggle was real 😀
-
Yes. It looks fecking brilliant
-
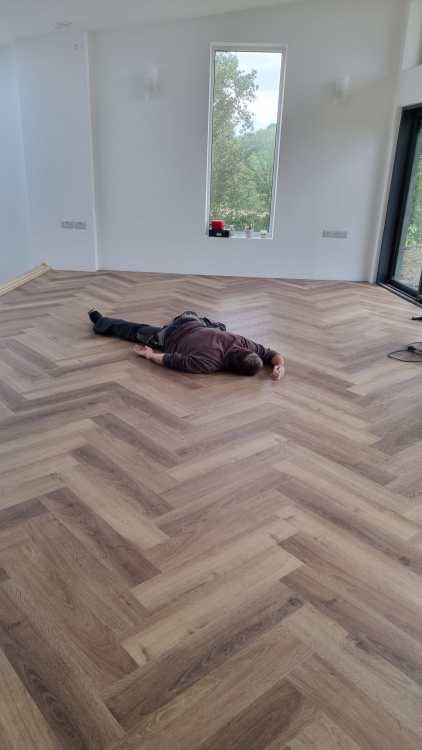
I did that in a room about 6x8m. It nearly killed me 😁 To answer OP, no gluing, expansion gap around edges. Used trimmed tile edging to cover the gap.
-
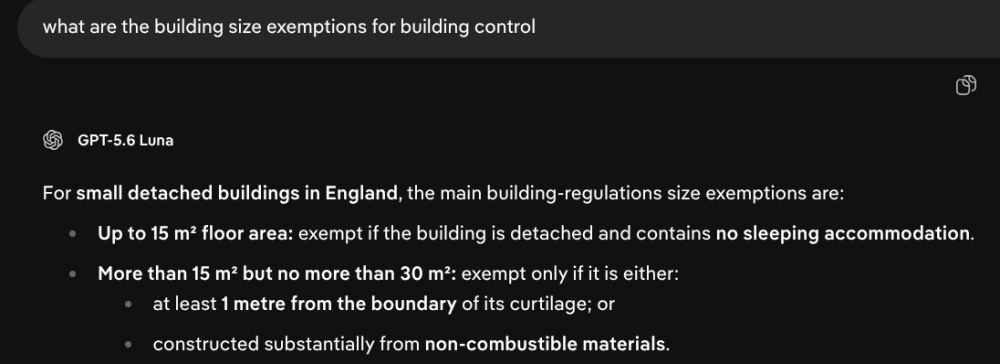
Duck.ai:- https://www.legislation.gov.uk/uksi/2010/2214/schedule/2 - See CLASS 6 Point 1.
-
For internal floor space up to 30m2, no building control required in England. Don't tell my friends about my uncalibrated tape measure.
-
Mortar bed under stone shower tray.
BotusBuild replied to andreas's topic in Bathrooms, Ensuites & Wetrooms
Yes, you're overthinking it. As long as the ribs are supported, the bit you will be standing on will be plenty strong enough. FYI - one of ours sits on a wooden frame suitably waterproofed -
Finally. Some positive progress
BotusBuild commented on flanagaj's blog entry in Contemporary Ball Ache
Good to see that things are progressing well. That DPC and insulation looks the nuts -
Welcome. Have fun with your build.
-
Glass balustrade fixing to Glulam beam
BotusBuild replied to BotusBuild's topic in Windows & Glazing
Finished, after a few false starts.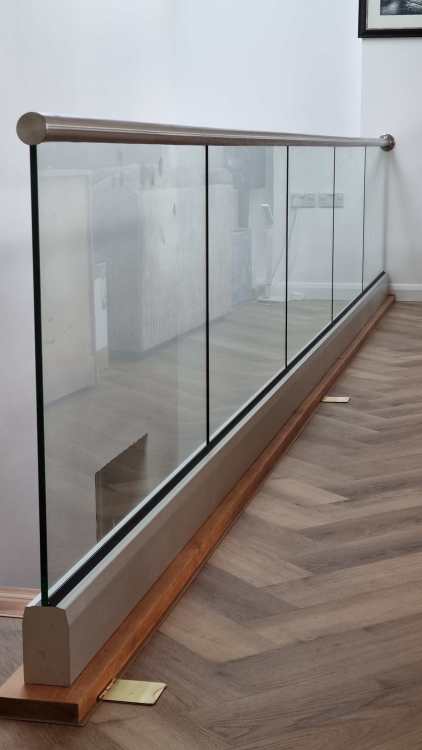
-
Here's that post I made reference to above
-
Chased in with a hot knife - I posted a video on here when I did it. Most services are in our web joist ceilings. We also have the standard 0.24 U blocks. We didn't go bonkers with AT and got a 1.8 result. I've since blocked up some major known leak points but can't be bothered with a retest. Our heating was not on much last winter.
-
Concrete garage floor threshold advice required
BotusBuild replied to ruggers's topic in Brick & Block
About 300mm in my case





