Spinny
-
Posts
933 -
Joined
-
Last visited
-
Days Won
1
Spinny's Achievements
Regular Member (4/5)
180
Reputation
-
Unbelievable brickwork , will this pass building control!
Spinny replied to Jamo73's topic in Bricklaying, Blockwork & Mortar
Presumably you do have a Party Wall Agreement in place ? And you have ensured that the eaves and gutter will not project onto your land (which is illegal) and this is clearly defined in the drawings within your PWA. Presumably there are no windows in that wall and overlooking your property ? Nor vents or external pipes ? -
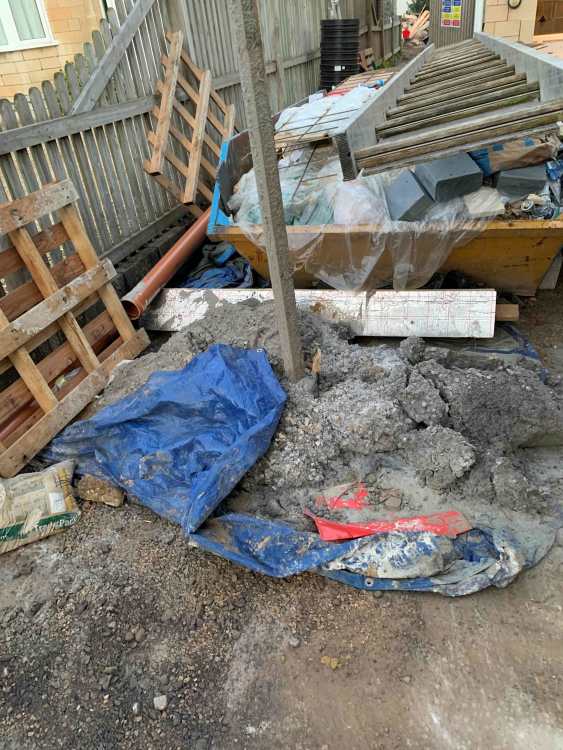
Concrete washout facilities
Spinny replied to flanagaj's topic in General Self Build & DIY Discussion
Storage yes massively important for building. Problem is you need the space you are building to be clear so you can build it. And you need to live in your existing space. We still live in chaos but by necessity have evolved a system of boxes/crates for stuff - the PPE box, the mastics and selants box, the small tools box, the large tools box, the rolls of tape box, the useful wood offcuts box, the electricals box, the smart home box, drawers with zipbags of stuff you need to find later, the 2.4m timbers corner, the cable reels cupboard, the box of sample leftovers pieces so you know what you bought 10 months ago should you need more of it etc etc etc., -
Concrete washout facilities
Spinny replied to flanagaj's topic in General Self Build & DIY Discussion
Don't worry, your builder will take good care of this issue... (It certainly won't be dumped on your drive and left for 3 months before a labourer breaks it up with a sledgehammer and SDS drill. 🤪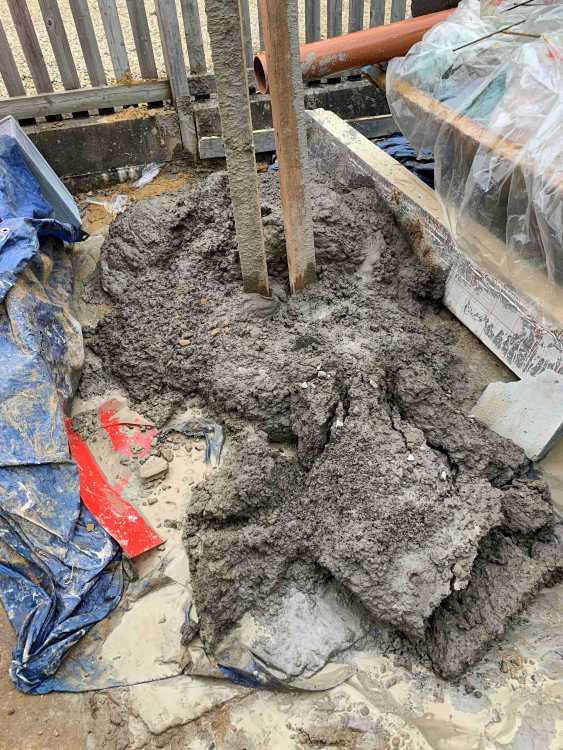
-
Neighbour one side has a scaffold tower up and is busy replacing his rotten bargeboard. Neighbour t'other side has his builder son in slowly cladding the front and rear of their side extension. I sit in the middle working with my LVT flooring guy to complete a 1000 piece LVT jigsaw without a reference picture. Busy Street - roofer, floorer, builder.
-
A sketch of your planned floor makeup thicknesses and threshold design would help I think. How big is the extension ? We had a 7.6m extension and had our bifold company measure against FFL twice - once at survey, and then again at first fit visit - their laser measurements were 11mm different between the two visits (measuring over a 9m distance), even though nothing had moved. Laser levels are not guaranteed perfect and should be subject to some periodic calibration check. Over longer distances a water level is your friend - good to a couple of mm over any distance if used carefully.
-
I am using with a Gledopto controller with zigbee with them.
-
The other way is just to fill proud i.e. across over the edge of the metal box. Then when it has dried use a stanley knife or utility knife to cut the excess filler off along the line of the metal box. I have done this multiple times as my plasterer plastered over the edges of all the boxes leaving a small hole in the middle where the box was, which I then had to cut back out to the box size again. Have seen these... https://www.amazon.co.uk/SOCKITZ-SPLATEZ-SPZ270-2Gang-10/dp/B098R5S152/ref=sr_1_15?crid=26ZIVS9GYJJ3N&dib=eyJ2IjoiMSJ9.3b-rCX7Ys2oK91thMjG_Dg69RkwjdHZhR6WJs3AIVQ8fYlHVN0mB_IjylF7IKwxUZ-g3PBujamNFuYAm_ecGUihrhJGycJivsFRux4BENEScWsjAT42VktX9F0i5MLTR352V165DFrgTU3rMefCI35VHkZSYYA7KDCiiUUw1xa_Q2linXPRjlotAGEZzwmaTNQvZbfWpLj704YS3YHj3fEAm5t2m6HBNIffoKBh_AZMSzE60rmZZpOjAtE4-6kjB-BE_1H_y5BZV5Jk5SI8wEOnvVdDQlFSCpXXn9wWfsRY.PvE2ixsZeO_V1UekfFVDmwcizgLGuu_lWP0st7vtxy0&dib_tag=se&keywords=sockitz&qid=1785161928&s=industrial&sprefix=sockitz%2Cindustrial%2C159&sr=1-15-catcorr&th=1
-
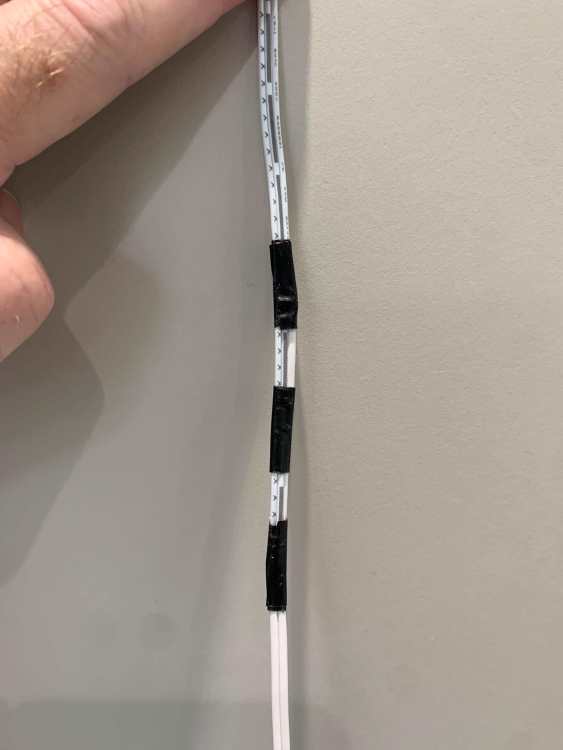
Thanks folk, I am through now. Basically am replacing a 2 strand low voltage wire with a 3 strand wire. I used some identical 2 strand wire from another LED puck I had managed to remove. I was then able to strip one of the strands/cores from each cable over a matching length and then marry up the remaining 1 core on each and tape together to make it 2 core. Hence I ended up with just 2 cores across the joint with 3 bits of insulation tape holding it together. The thinner and more flexible joint has pulled through. Now have done the same thing to attach the 3 strand/core to the end and pulled it back up through. Harrah. Time for a cuppa. (by doing it this way I have avoided cutting the existing lights from their wire which is fixed/soldered inside the light itself. So the old lights can be reused elsewhere or flogged.) (Replacing Leyton 12V 150lm recessed puck light with Sensio Hype R Pro 24V 230lm CCT, incase it helps anyone)
-
I am wanting to swap my kitchen under wall cabinet lights as I have found some smart CCT ones to fit the same circular recess. The wire runs horizontally from the circular recess in the bottom of the wall cabinet through a horizontal circular hole/channel in the bottom 19mm panel until it reaches the wall. Here is turns 90 degrees in a shallow 15mm service void to run up the wall vertically to the top of the cabinets where it get connected to power. Having trouble pulling another wire down from the top - taped on with insulating tape. Just cannot get it to negotiate the 90 degree turn. Any ideas ? Spray the join with silicon ?
-
Are you talking mortar or are you talking pointing. I only ask because they can be different and can be done at different times i.e. built with one mortar and pointed afterwards with your colour choice. Careful neat pointing not necessarily every brickie's forte if they normally lay concrete or thermalite blocks ? Could allow you to postpone the decision until you have some cladding up and can make a decision based on a larger area/perspective. I am probably over complicating and adding cost but just a random thought. I would build a larger test area too. PS you could even have the brickie build a separate dedicated piece of wall for testing pointing colour before using it on the actual build. SWMBO would say there I go again - trying to keep the receipt. (Still looking for the receipt I got from her dad)
-
Rank amateur idjiot here... I am pretty poor at this, and whenever I have to reseal the bath I always have to use masking tape down both sides of the joint. If doing it that way the 2 things I have to watch are 1/ make sure the sealant is as thin as possible at the point it squidges out onto the masking tape to minimise the small edge step you get when the masking tape is removed and 2/ Remove the masking tape before the sealant goes hard with a steady continuous pull with the tape angled away from the join. To get it off I would guess that it may be best to use something to cut the silicon film along each edge of the joint so that when the film is removed it doesn't pull on the main seal line. I would suggest maybe using a test piece to replicate the issue and then experimenting to find a removal approach that works best. (a) Suggest SWMBO has a girls weekend away and then use the opportunity to catch up on a few DIY jobs involving silicon, so to speak. (b) Accidentally damage the seal line with your screwdriver whilst doing another job, ask to be punished and promise to make the perfect sealant good again. (c) Explain where it went wrong and then leave the country.
-
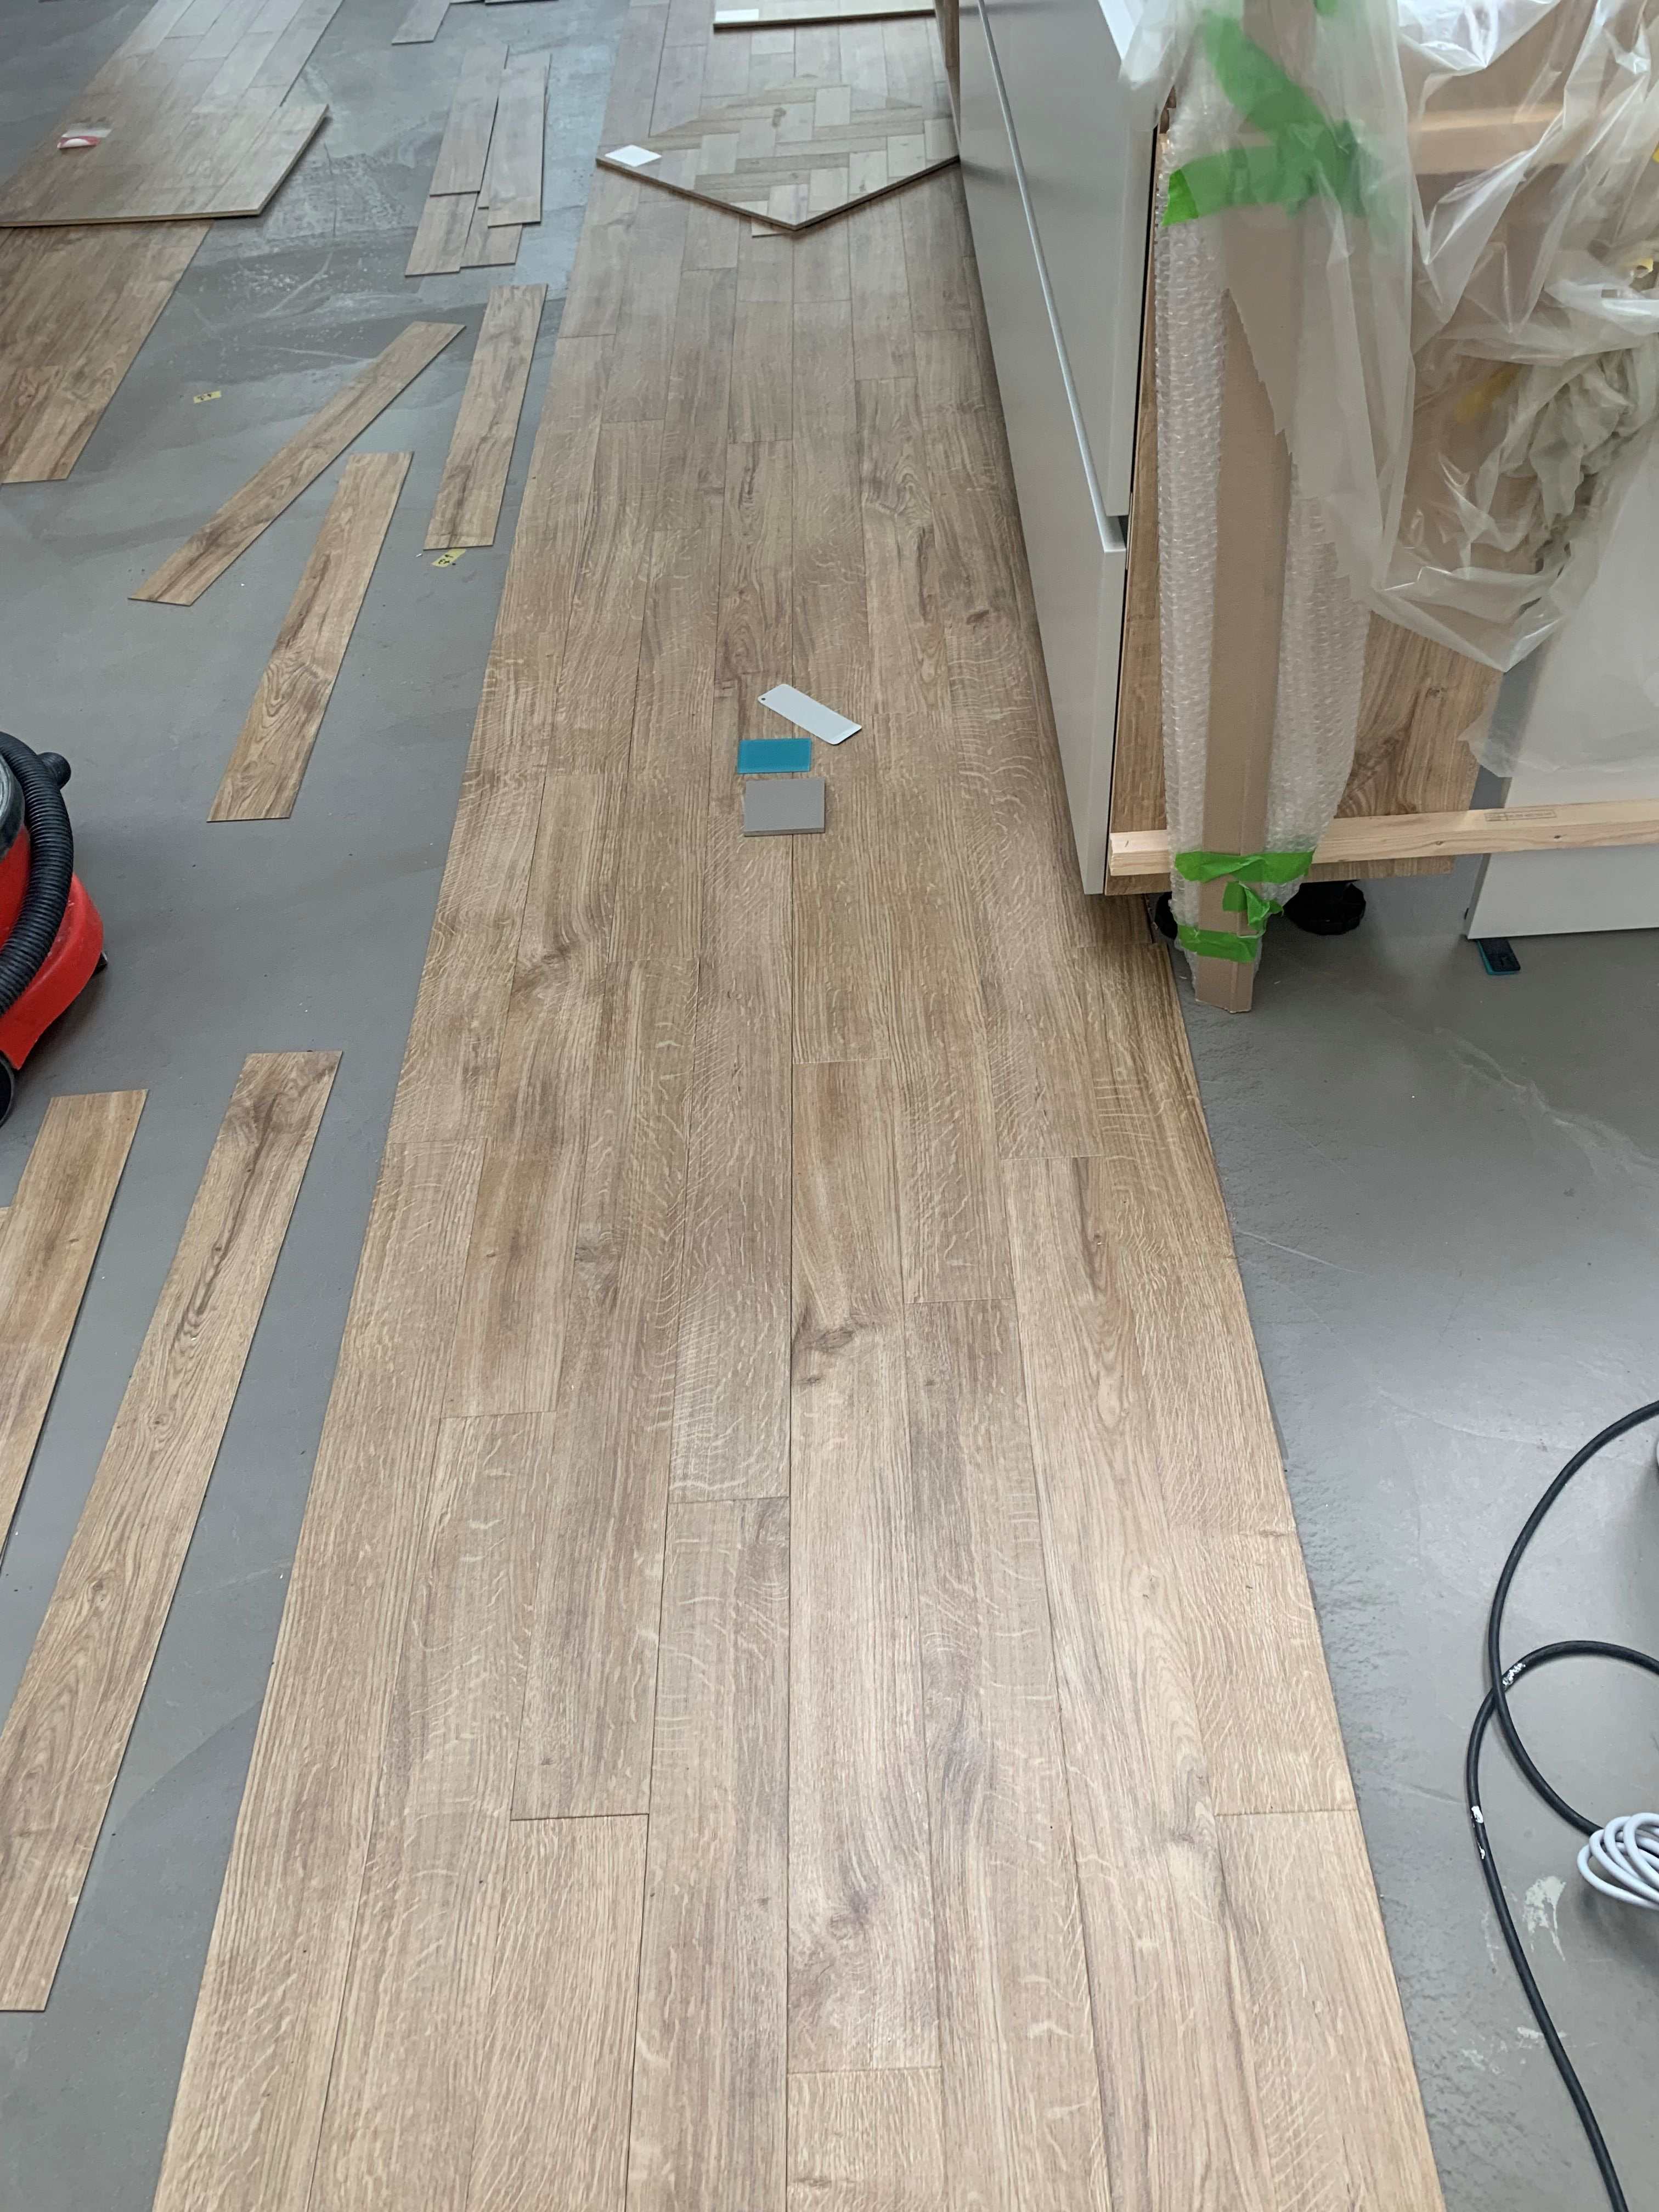
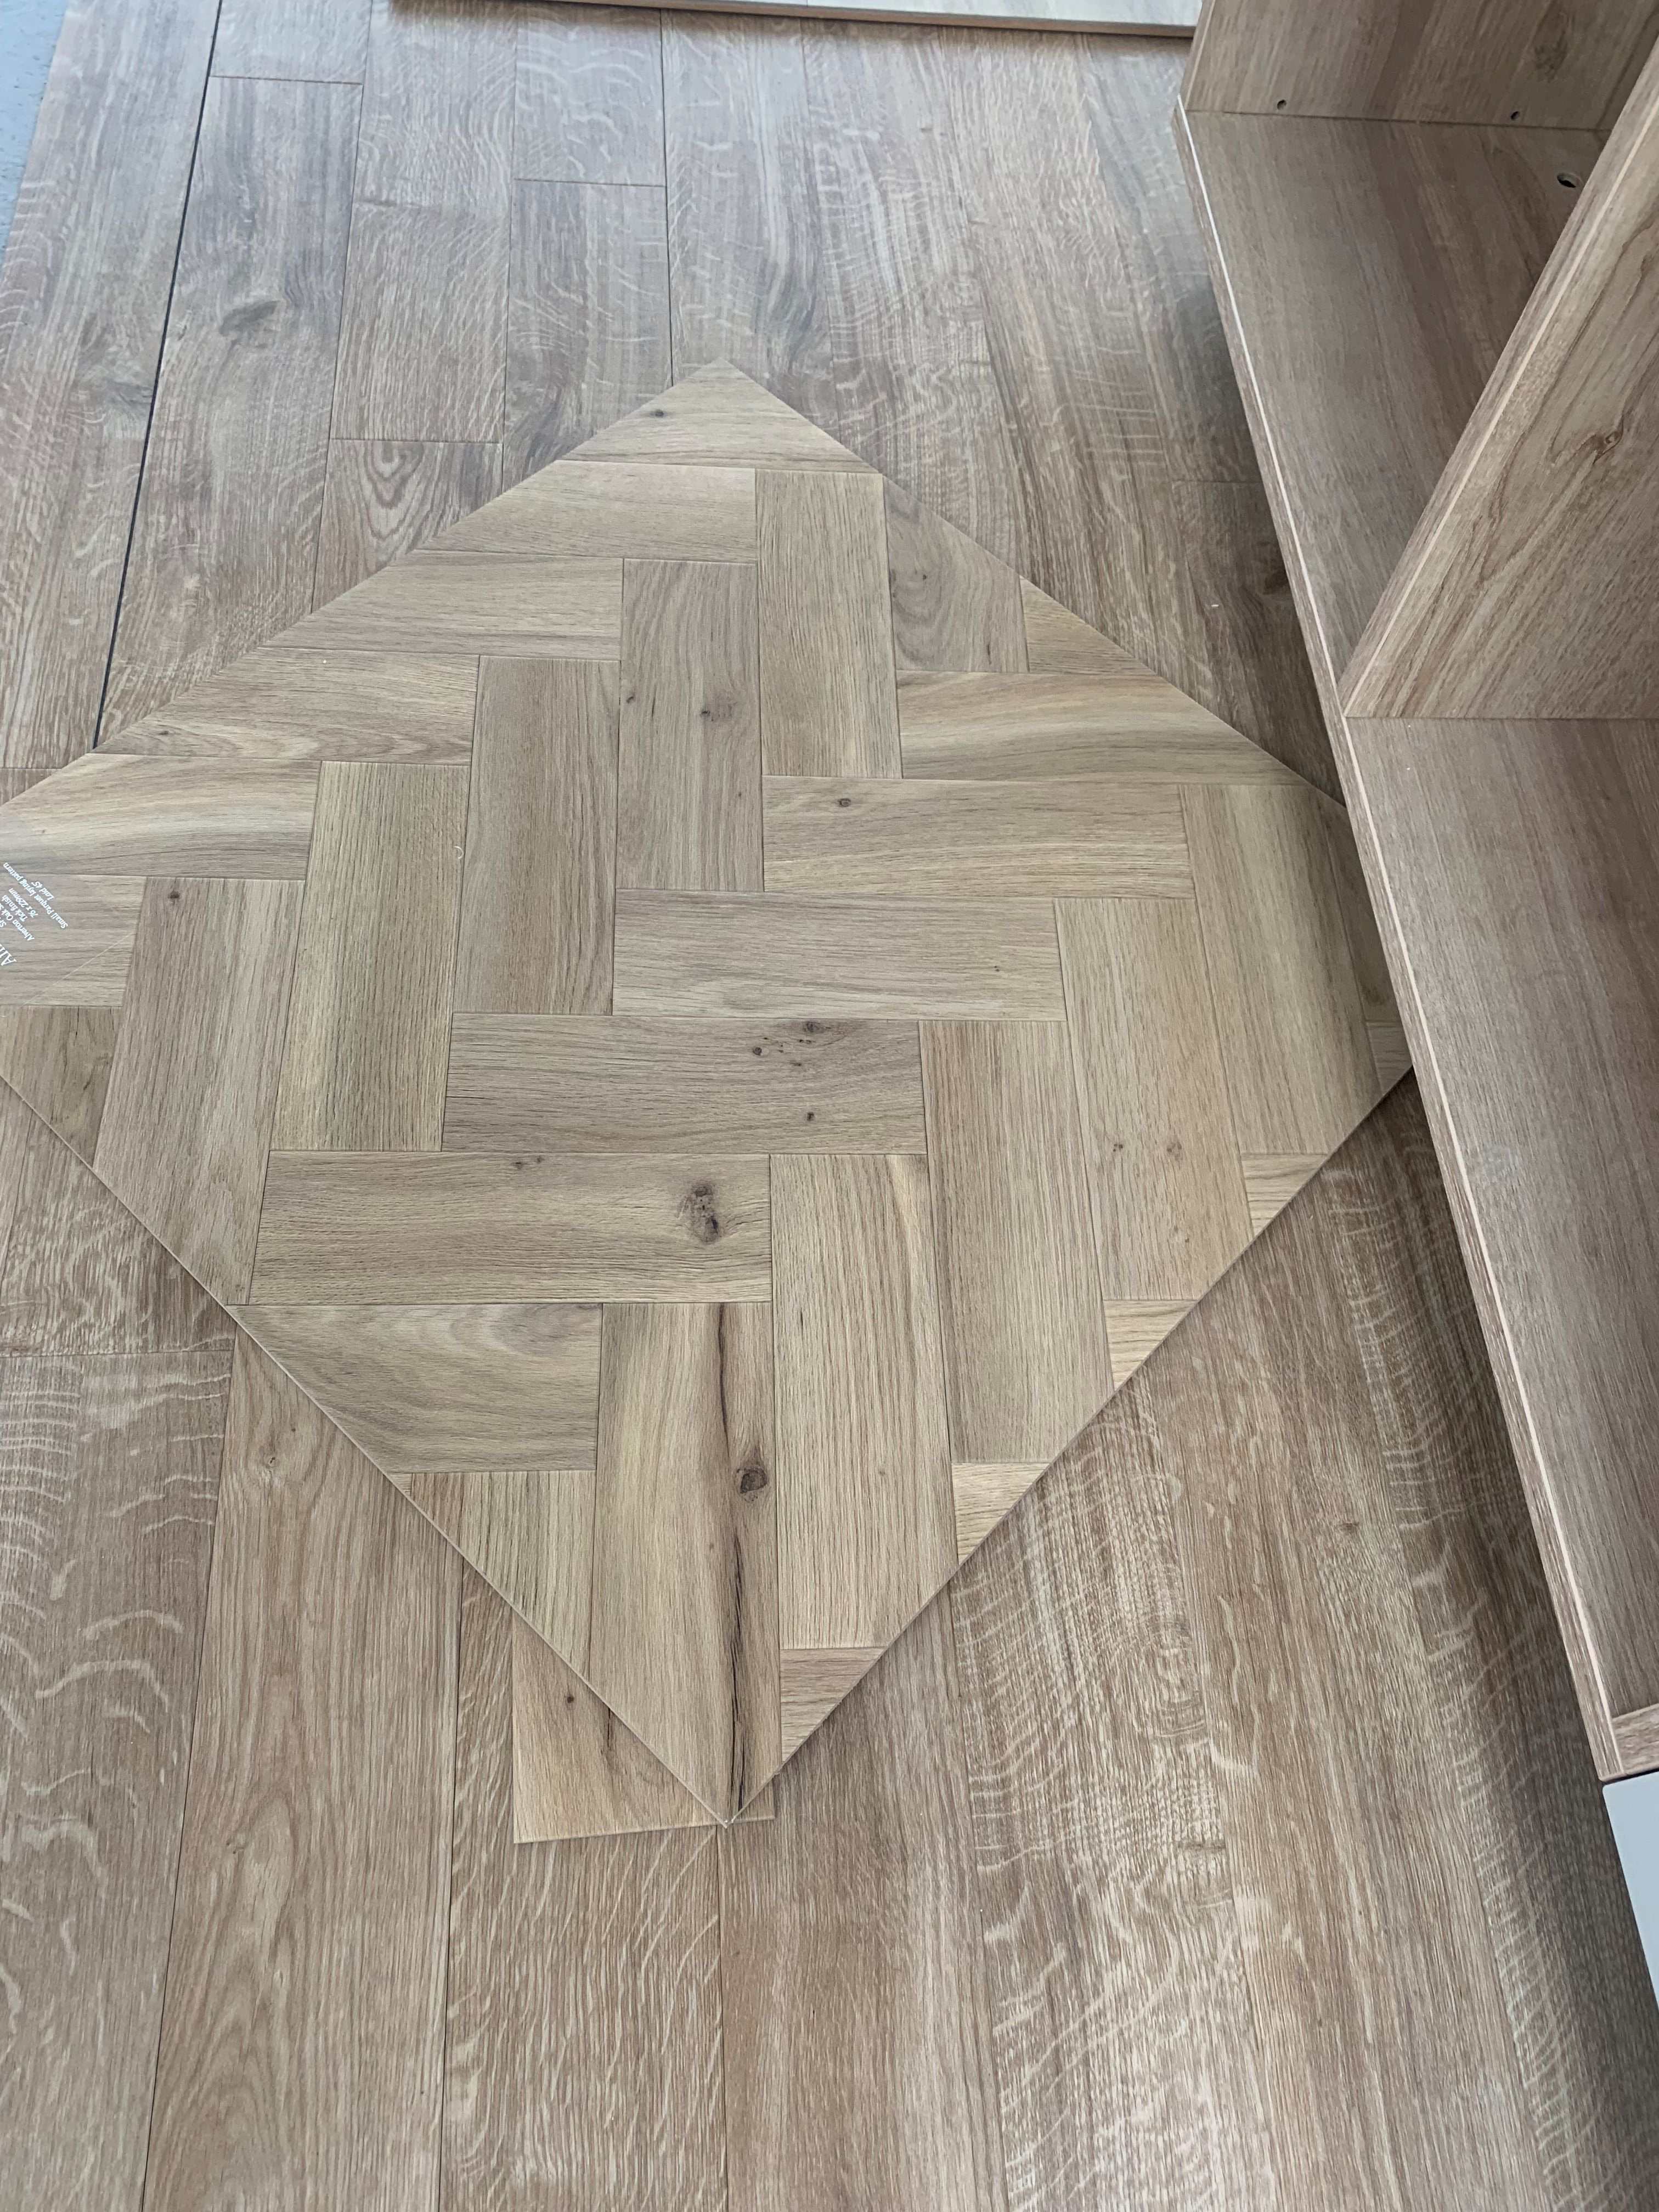
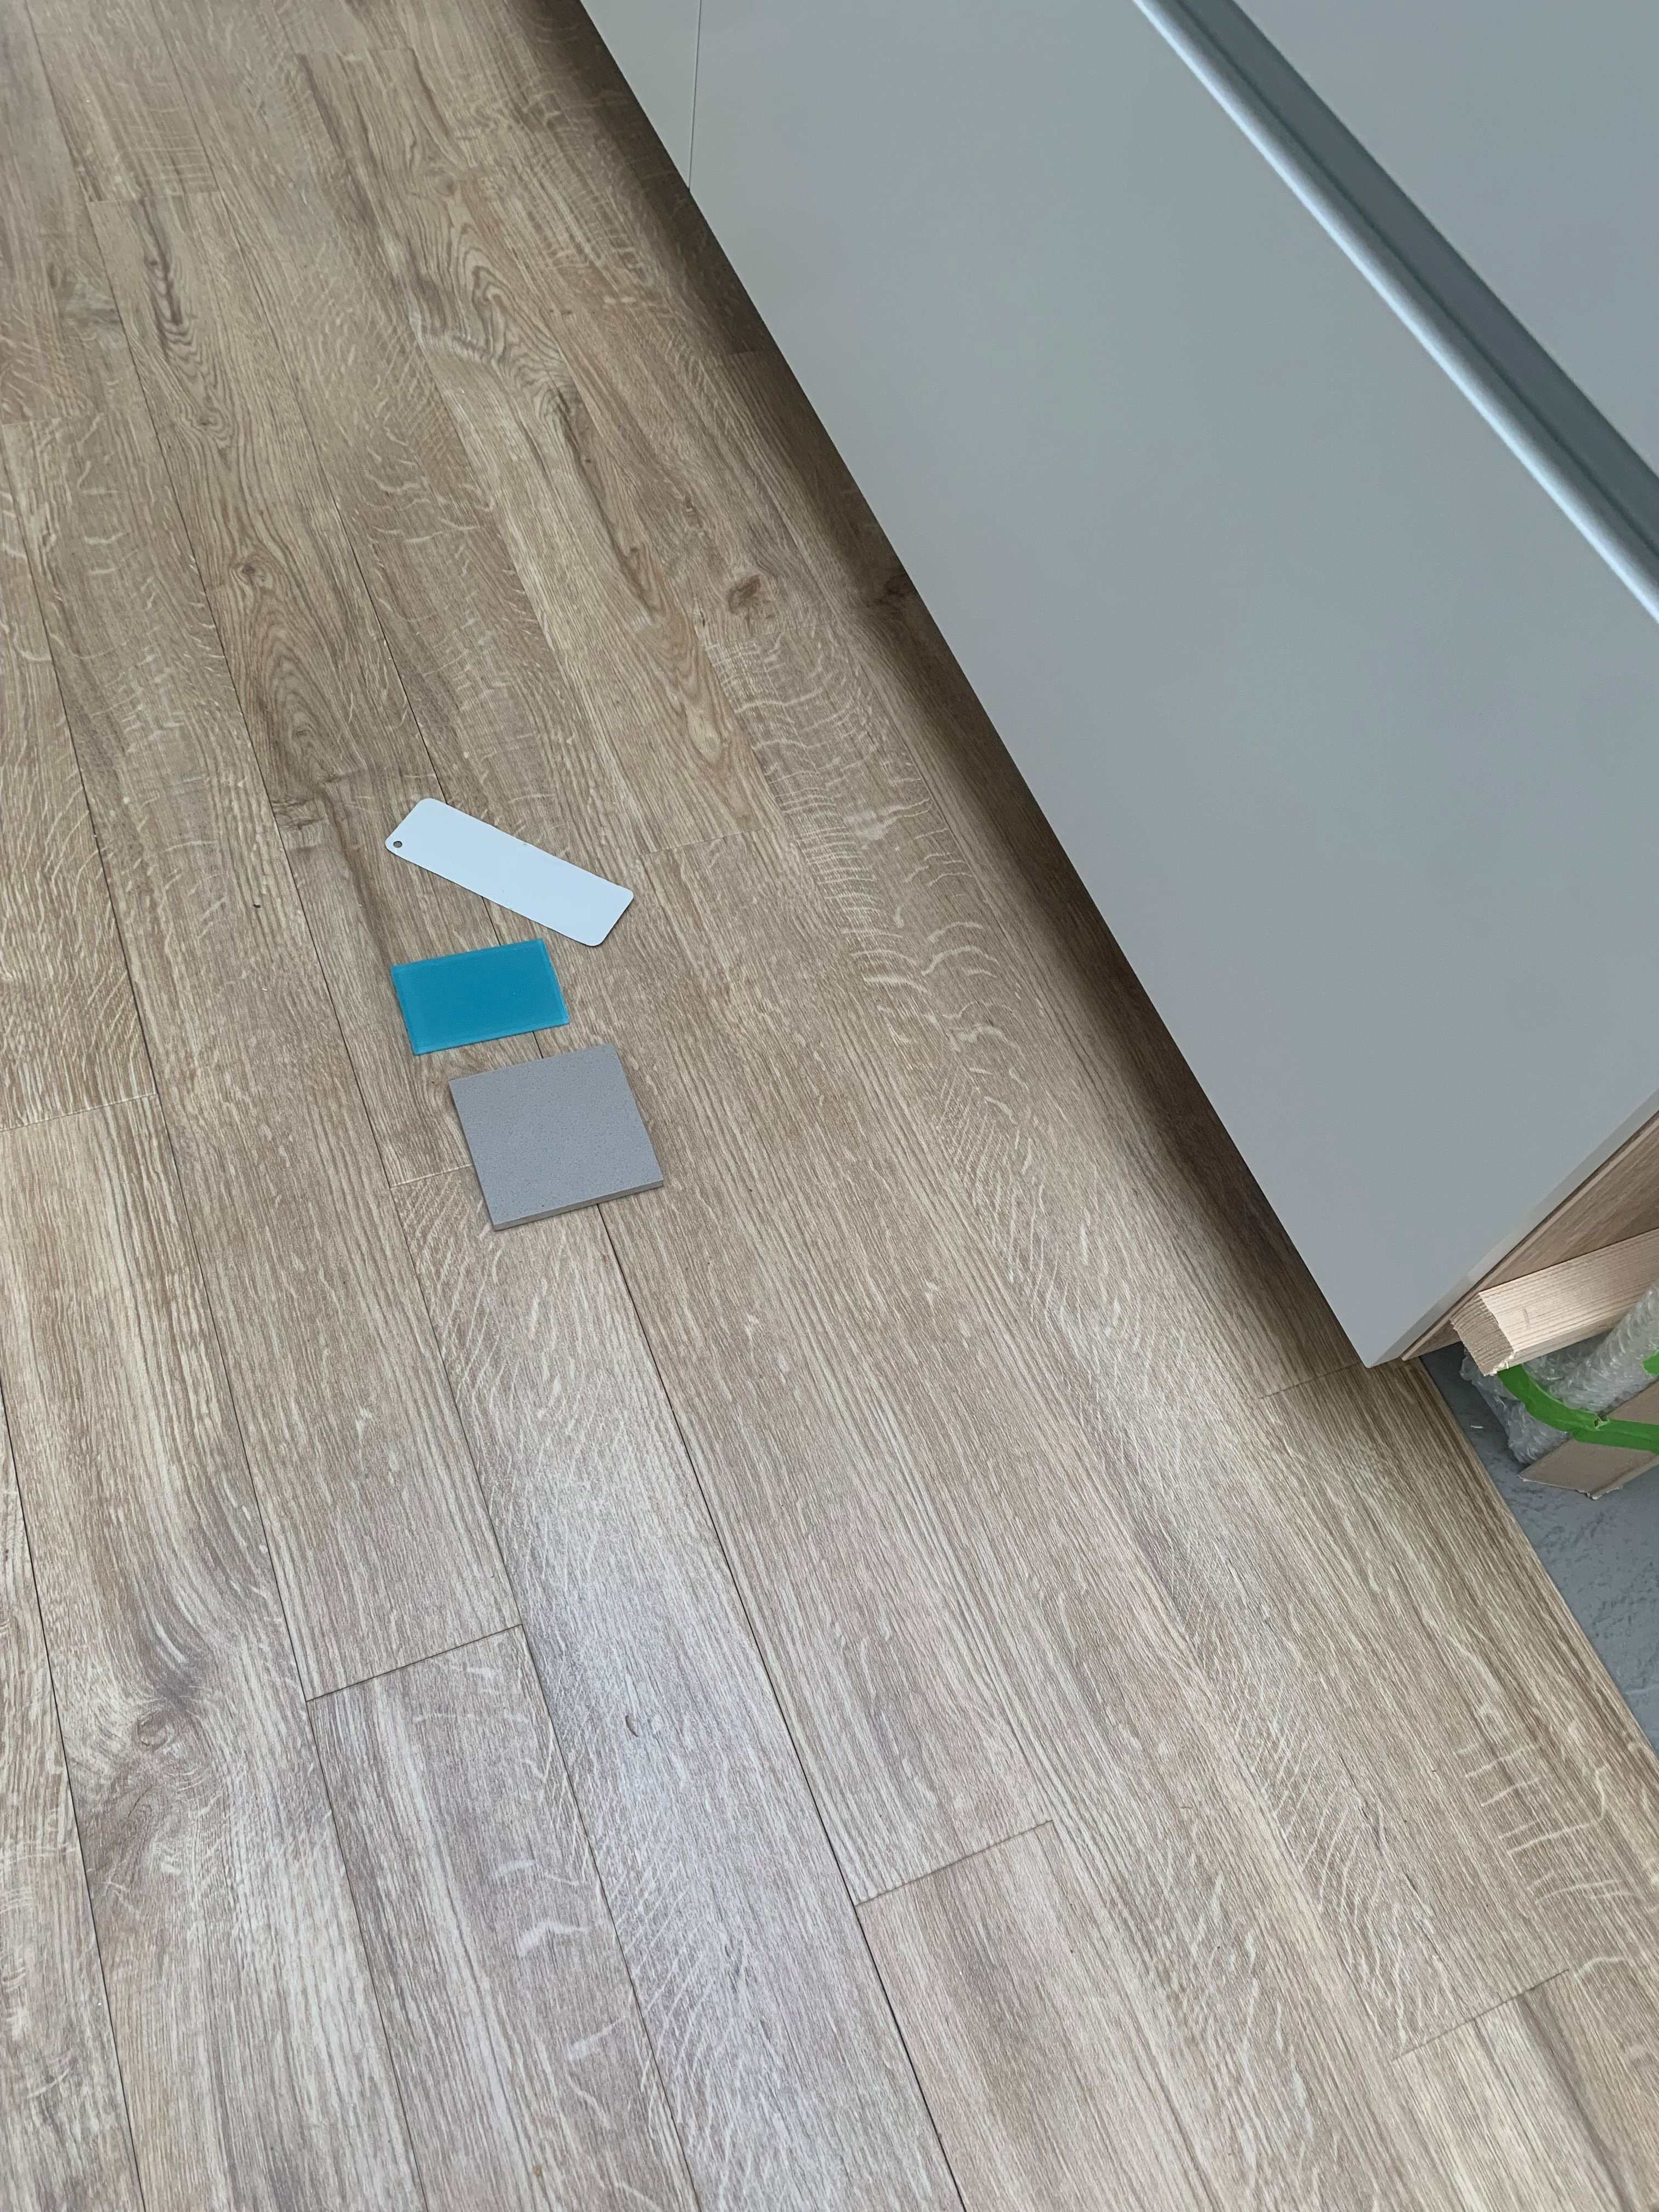
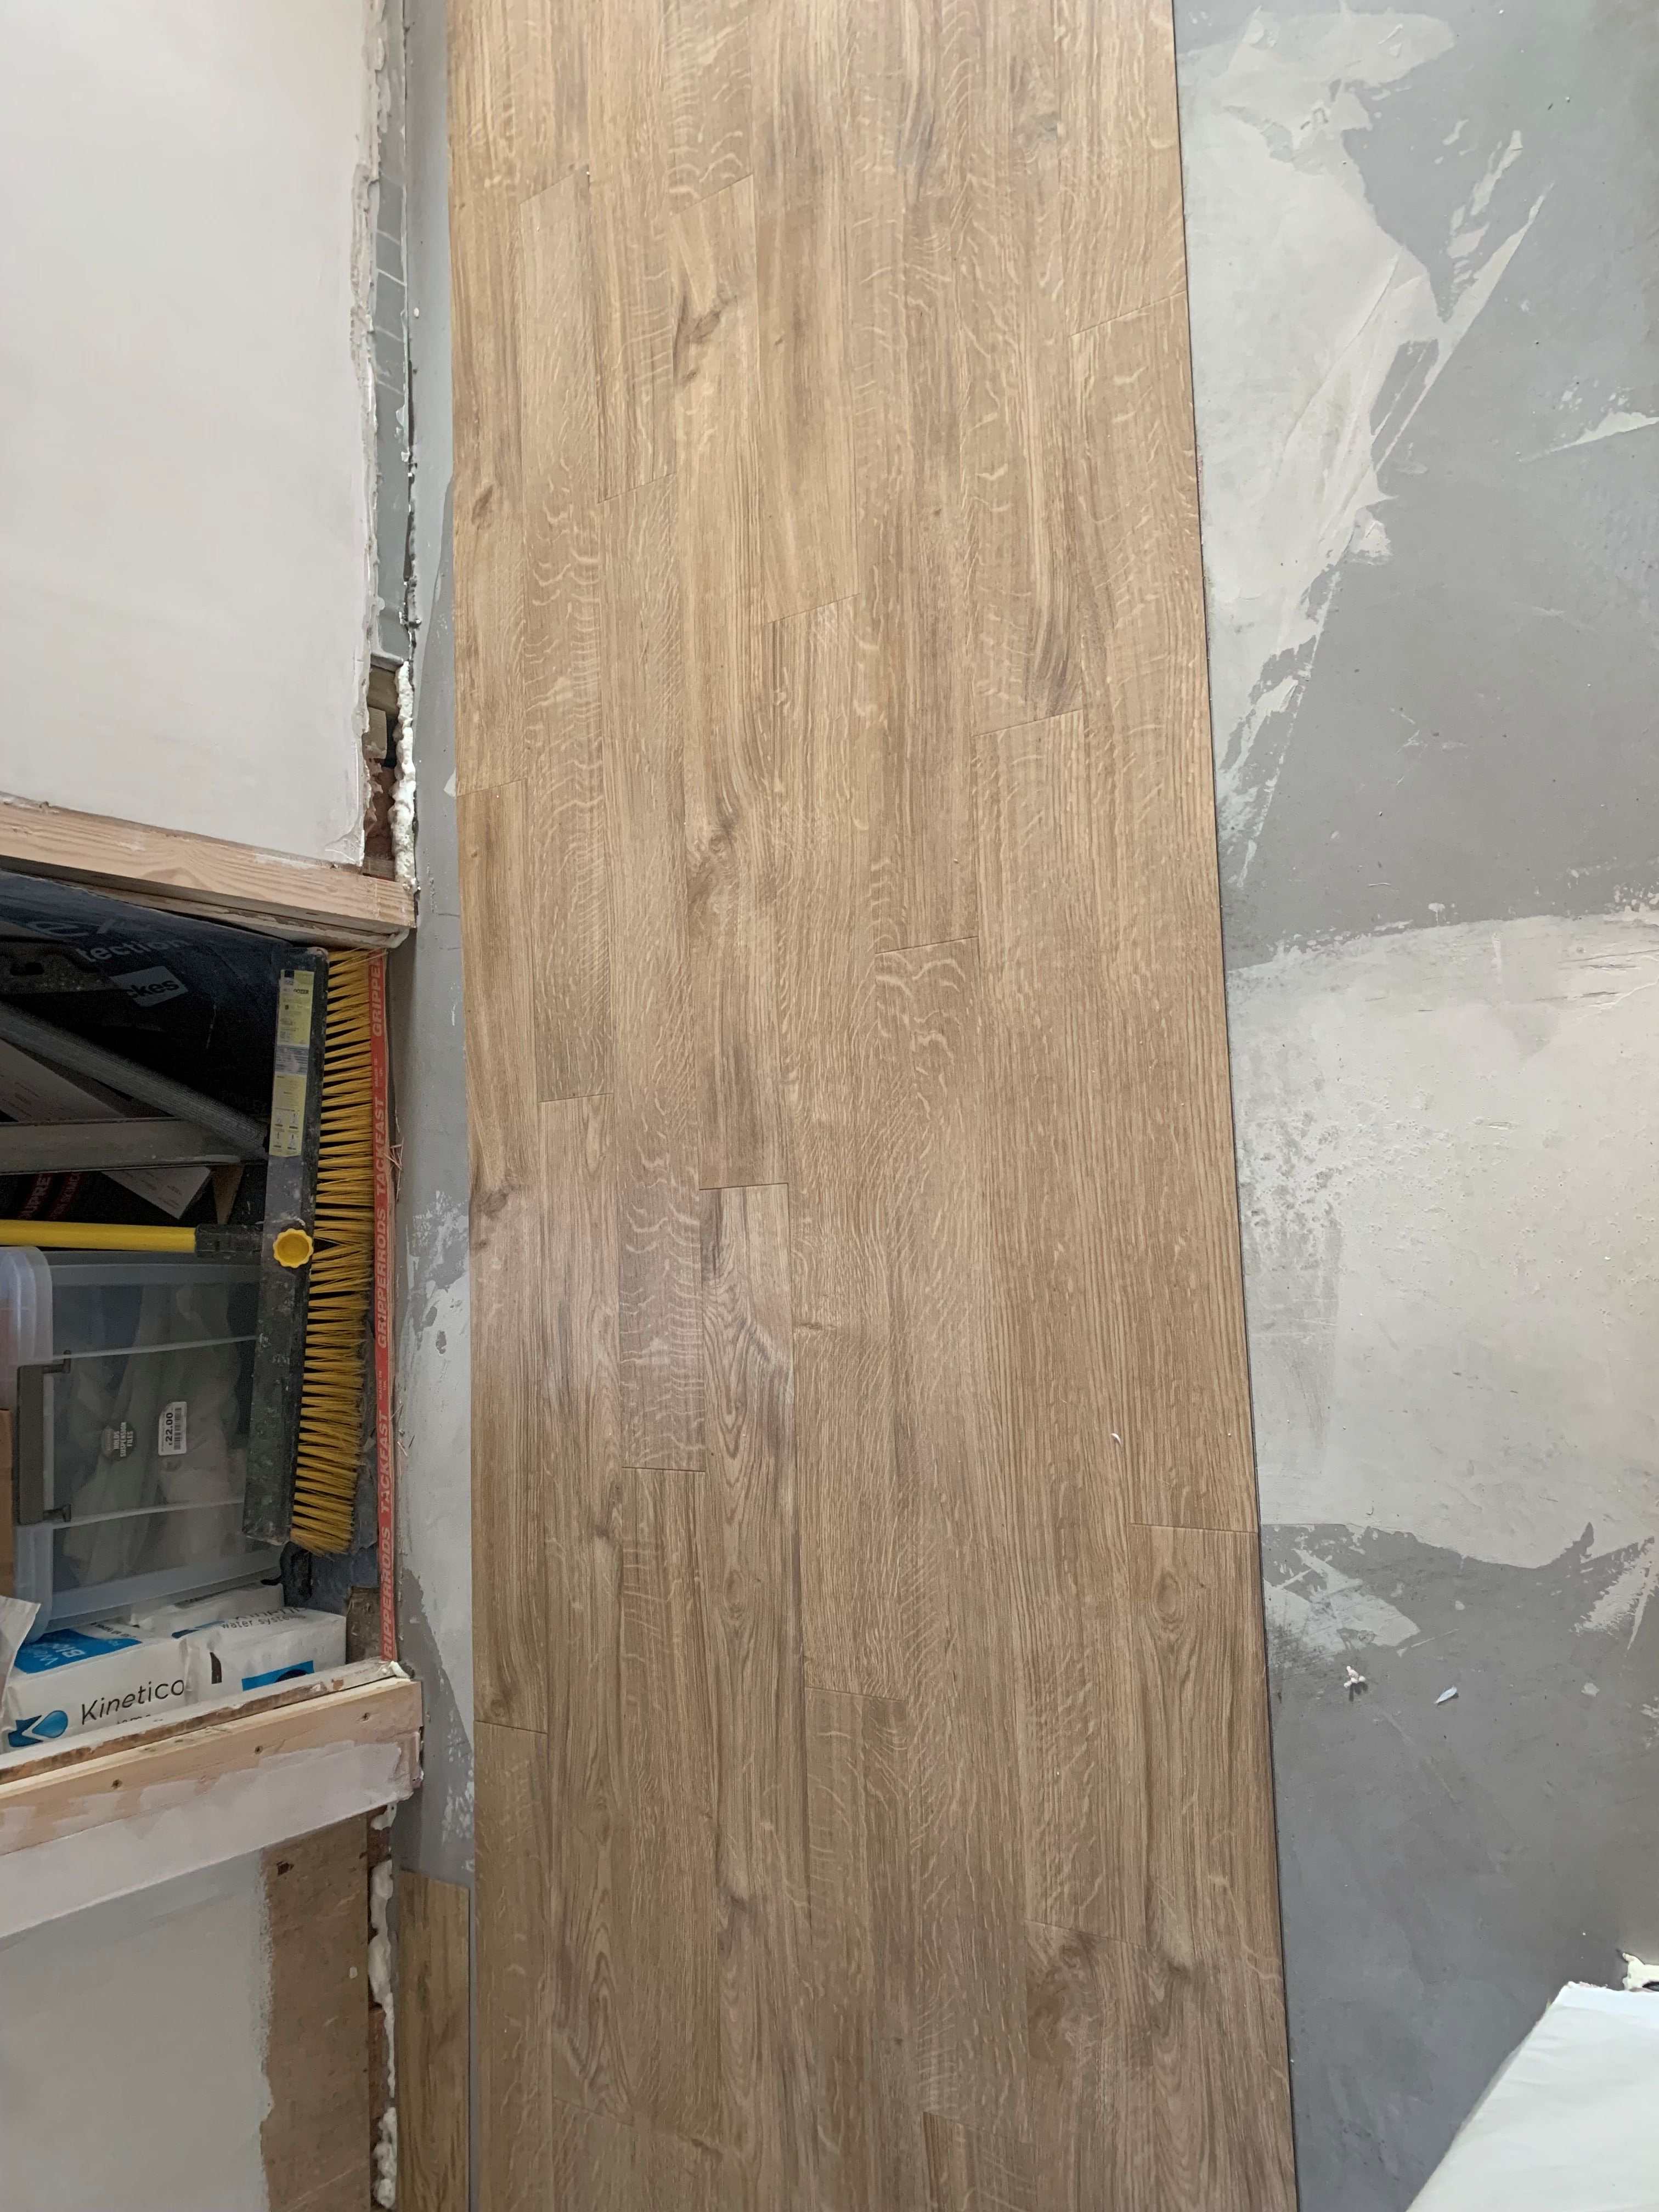
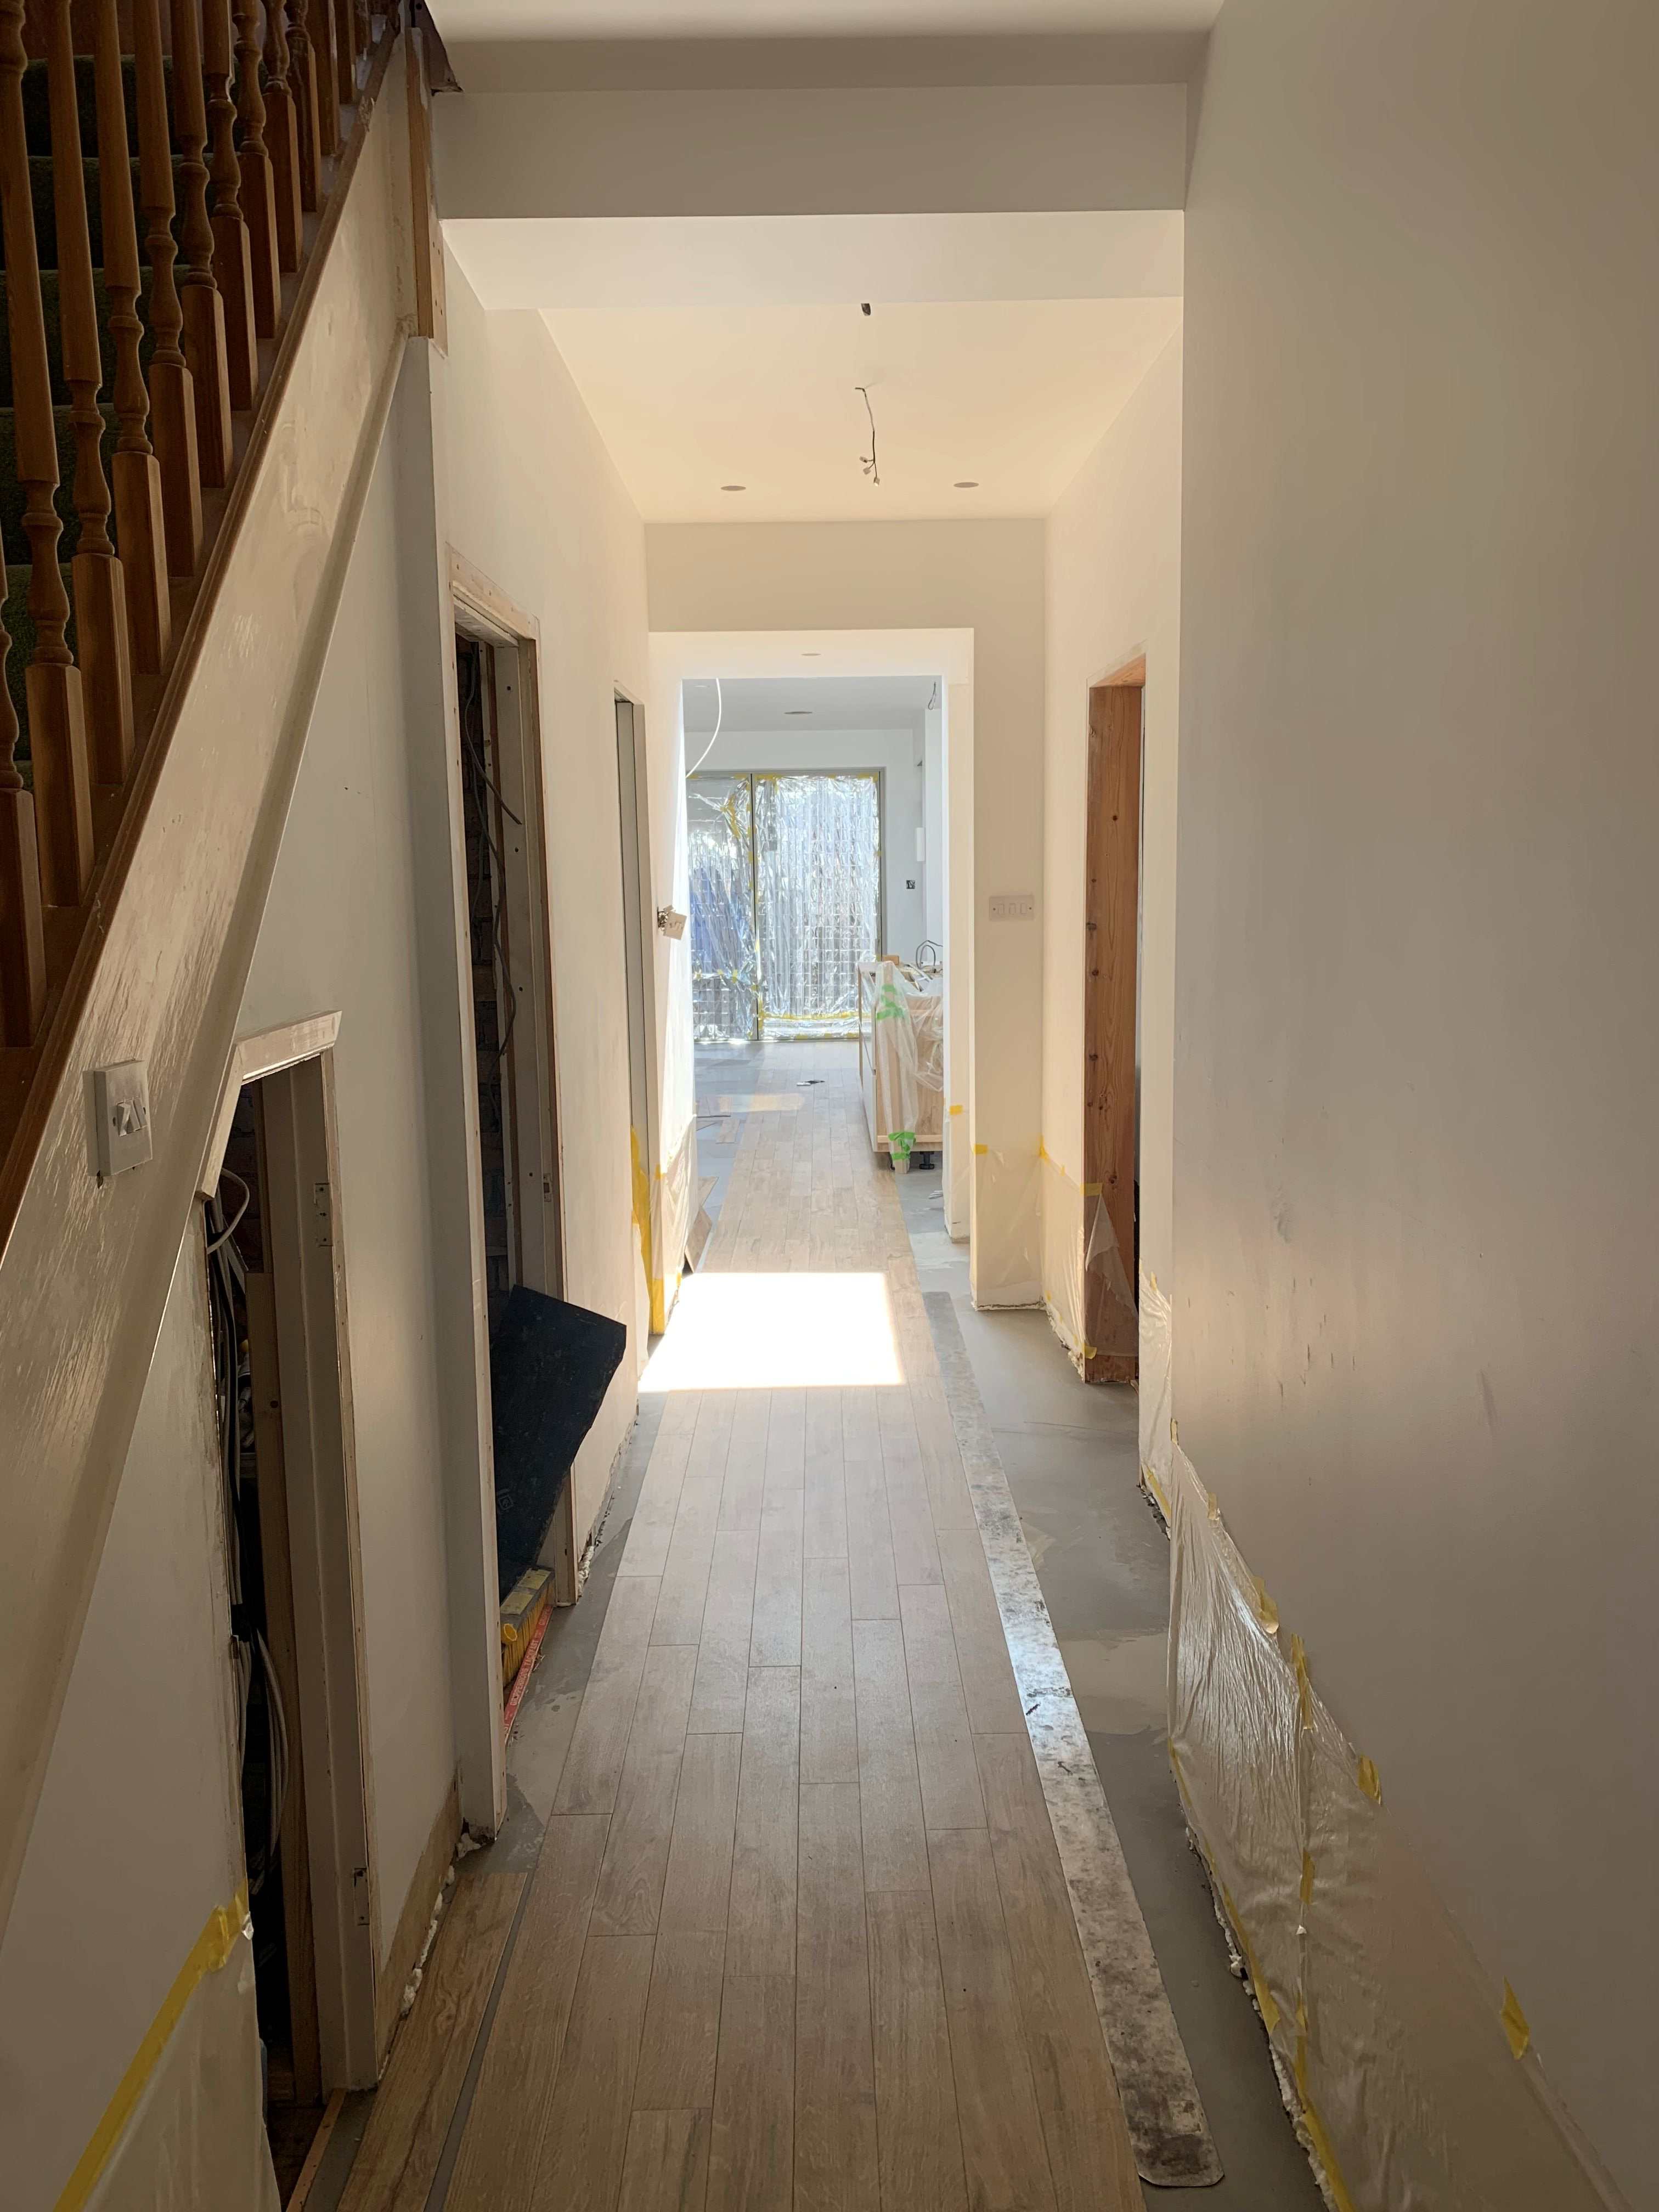
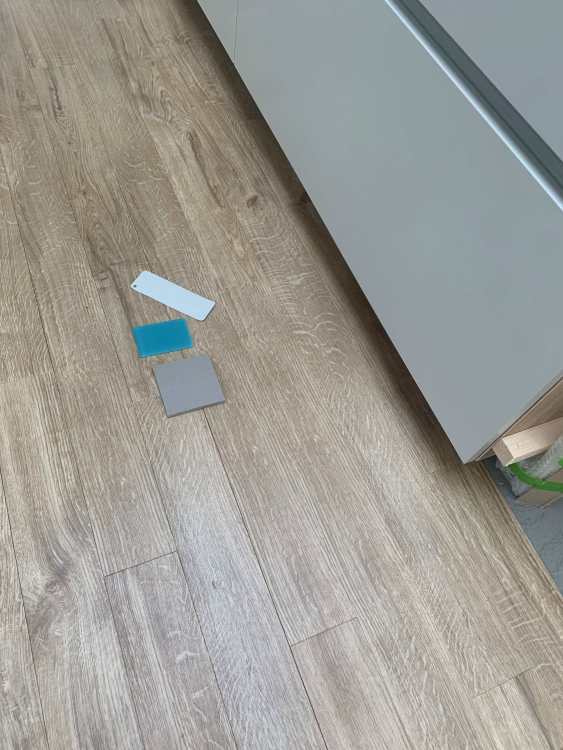
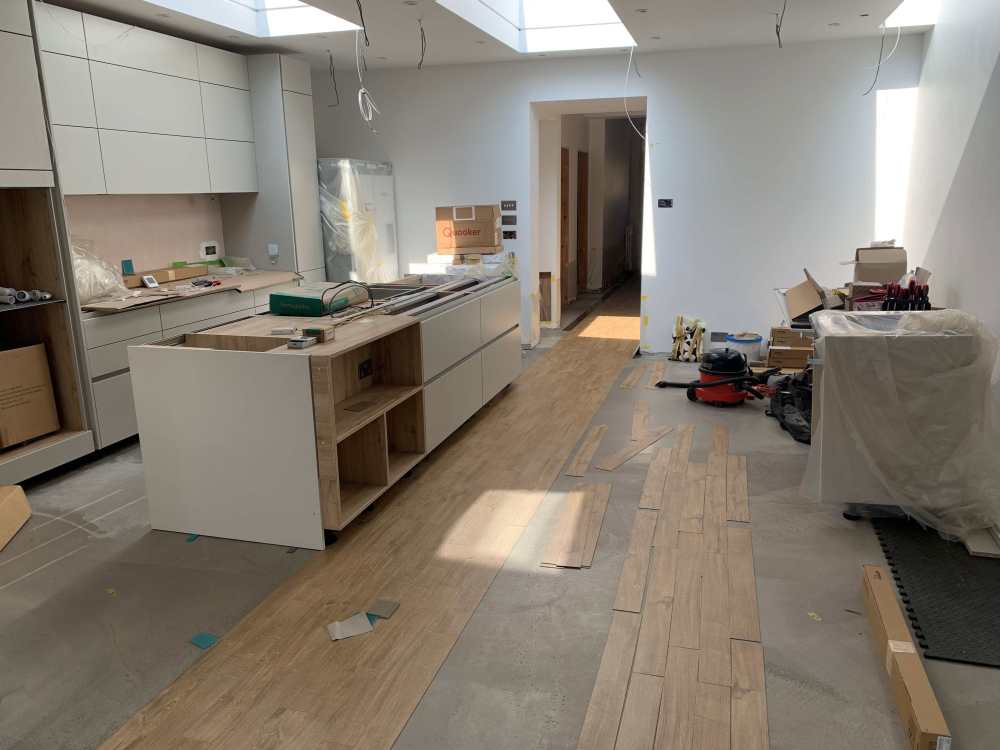
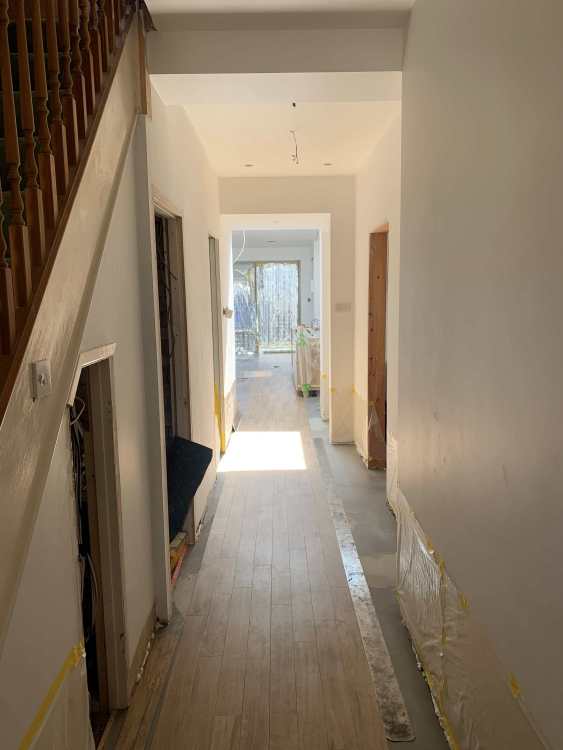
So we have been going around the houses, but I think we are coming back to where we started ! Young fitter laid the central strip 4 tiles wide on Tuesday and was happy to transpose tiles I had loose laid first. Has done a good job I think. Just one place where you can see a curved line reflecting the light and running fingers over it shows there is a small ridge running across the planks - he has agreed those tiles will need to be taken up and relaid. Seems unclear why the ridge (about 50mm wide) is there - whether it is the floor finish or some excess adhesive. Seems to follow a curve like a trowel would. He has loose laid another central strip 4 tiles wide alongside for me to rearrange as I see fit. Overall the current layout looks better than the first go, but still has a tendency to look marbled as much as planked when viewed over a distance. Not that keen on that, and so we took a rain check on laying more to go around the Amtico range again to see if there might be something better. Only found 2 alternatives, both Spacia, somewhat lighter in tone, and a 1 week wait to get even 2 boxes to lay out - Amtico completely control distribution and pricing, nobody except them holds stock. Only signature has a larger image area. Twice the price and we cannot find one we like. No featured oak in Signature, and generally speaking the designs/colours are a little more artificial and processed looking for our taste. Going with the fashionable parquet or herringbone layouts would hide the limited image size more, but we always wanted to emphasis the straight through line and feel these layouts may perhaps go out of fashion again. As time has ticked by I have grown more accustomed to the Spacia featured oak, and as it is more mid tone than our alternative of Alverton Oak or Westmere Oak, will probably hide dirt/marks better. So likely to continue with that this week now. I attach some photos and welcome any more comments though. I have some wider 184mm plank featured oak - interestingly in a box of 9 planks there are only 5 unique planks (or 1.2 sqm). So even less scope to manage repeats. I see no reason why Amtico should use such small image sizes in 2026 in the digital age. I can only suspect they have done it the same way for 25 years and have lost zeal for continuos improvement. Large open plan rooms is a long standing trend now. Digital image handling is now trivial. By not having any large floors on show they conceal their weakness, but ultimately evasion is never a good business plan. I have used ChatGPT to investigate other LVT makes and Moduleo seems to have the biggest pattern repeat, but have seen some mixed reviews. Yes I have become like a mum's net poster here, fussing over detail that may soon be forgotten if we ever finish. But in posting at length maybe someone else will find the factors in our deliberations might influence their own decision making. I would certainly encourage people to buy 2 or 3 boxes of an Amtico wood design and lay it out on their floor before making a final decision.


-
Cracks visible on internal walls
Spinny replied to barneybedrock's topic in General Structural Issues
I would say look to get a proper SE report/survey that is going to give you thorough worthwhile information and the opportunity to sue the inspector/report writer/SE if they say it is ok but turns out to be a major problem. I believe many 'house buyer' type surveys are designed to minimise cost and often have their content based on a minimal cosmetic viewing. All comments then end up being heavily caveated with multiple get out statements and clauses. So if you buy the house and it falls down you cannot take any action against the surveyor. Any offers can and should be made subject to survey. Surveys are frequently used to renogotiate offers downwards of course so that the seller effectively pays for remediation work. Ask the vendor/owner explicit questions (these should also be covered by any conveyencers questionnaire too) - when did these cracks appear ? when did you last decorate this room/area ? Are these cracks getting larger ? Show me your evidence - prior photos etc ? Have you had this looked at by an SE and if so do you have a report ? Have you repointed and repaired external cracks ? Can you show me prior photographs ? Knock on the neighbours door(s) and ask them if they have any cracking ? Caveat emptor - I'd say it should probably be a buyers market at present but who knows. -
Spot on, and ditto on whether a small accurate spirit level was used to make sure they are horizontal. Without some care you can get them where even the adjustable lugs won't get them level. It is surprising how sensative the eye can be to whether 6 inch things are level/upright. (shhh pocster)
-
I have used acoustic putty pads behind my sockets and you can certainly get intumescent putty pads for fire proofing. Most pictures tend to show these fitted to the inside of the electrical box, but I fitted my acoustic pads (which came on a cuttable roll) behind the electrical box (i.e. stuck to the back of it) because I wanted to maintain the full depth of the box. There are some here...just from googling, I used a different supplier so can't vouch for this supplier, but shows what they are like. https://www.intumescent.com/pfp-putty-pad-ceukca?gad_source=1&gad_campaignid=8682518824&gbraid=0AAAAACpUb5PpD68Wx8-X1TucCMNFlnZV_&gclid=EAIaIQobChMIupKjuKjtlQMVf6JQBh1s1x8bEAAYASAAEgL9IvD_BwE I generally had access to the studwork/wall structure before boarding and preferred to fit metal back boxes. My lighting ones are generally extra large and 47mm deep for smart modules. I only fitted acoustic putty pads where I felt the wall structure needed it like stud walls and had blockwork outer walls. (PS It was speedline I used as shown here, stated as giving up to 2 hours fire resistance as well as acoustic, but from this random link seem to be discontinued. I found the roll easier as you could cut to any length ( https://www.insulationhub.co.uk/product/speedline-acoustic-putty-pads-3-6m-x-178mm/. It may be that the self adhesive version of Tecsound MLV would be similar and cuttable to size but check the fire rating vs what you need.)