
8ball
-
Posts
218 -
Joined
-
Last visited
-
Days Won
1
Everything posted by 8ball
-
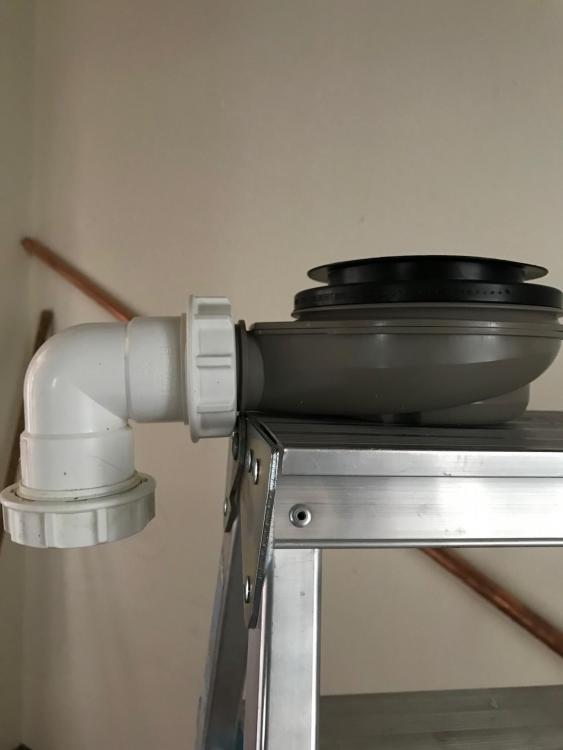
The tight arse I'm not spending any more money solution is to take some time and get the 40mm compression fitting and reduce the collar size by a few mm's with my multi tool ?
-
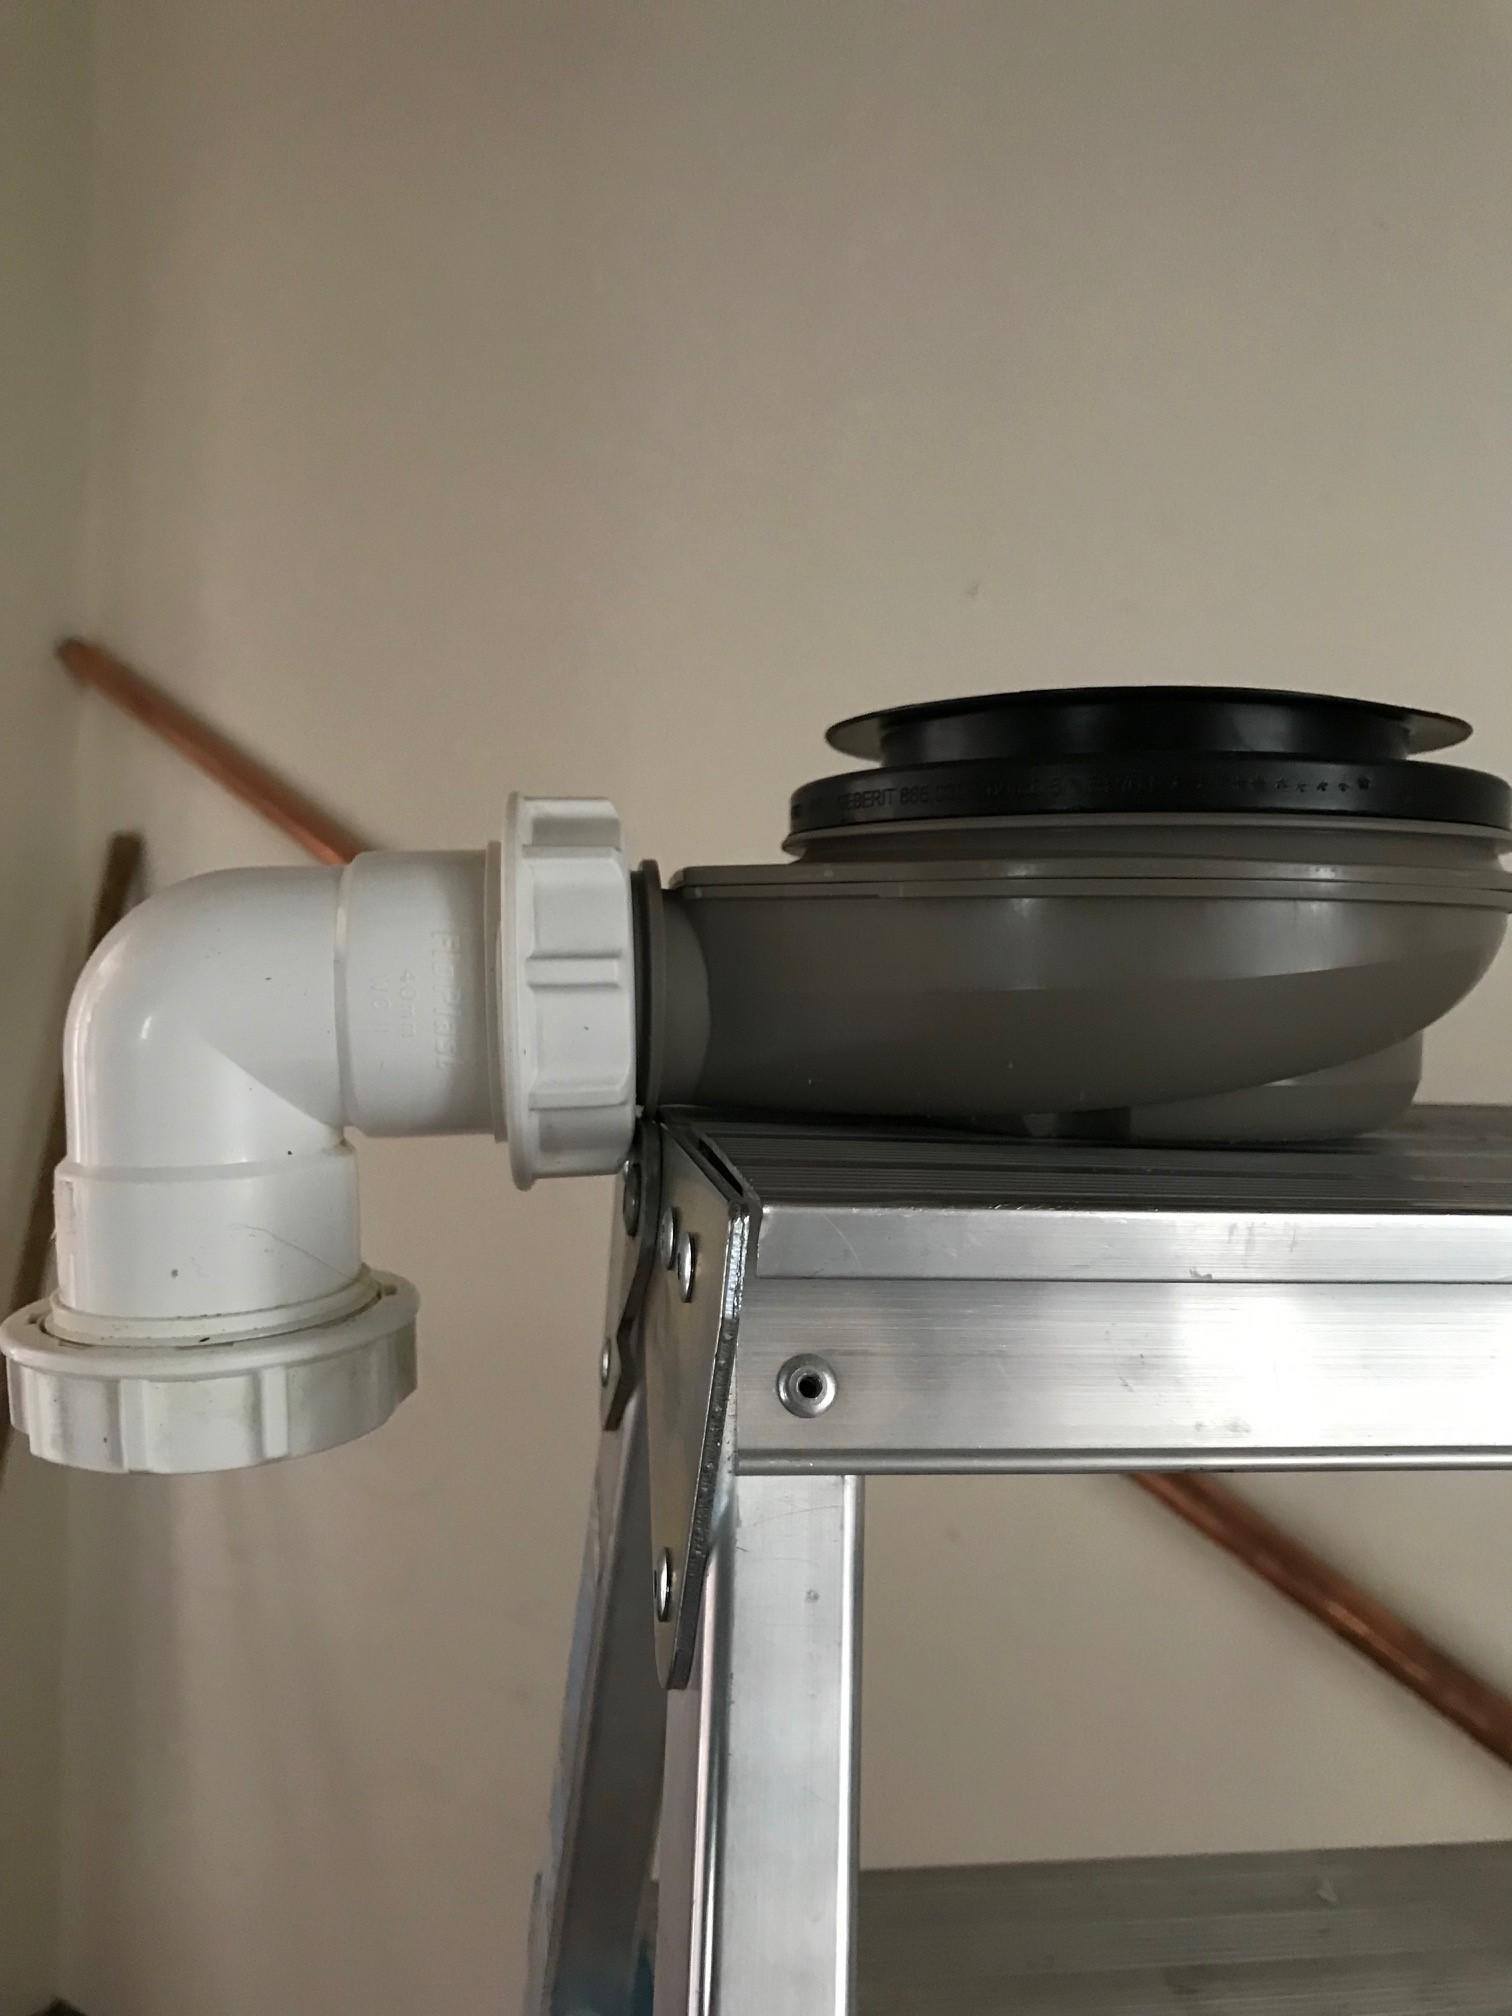
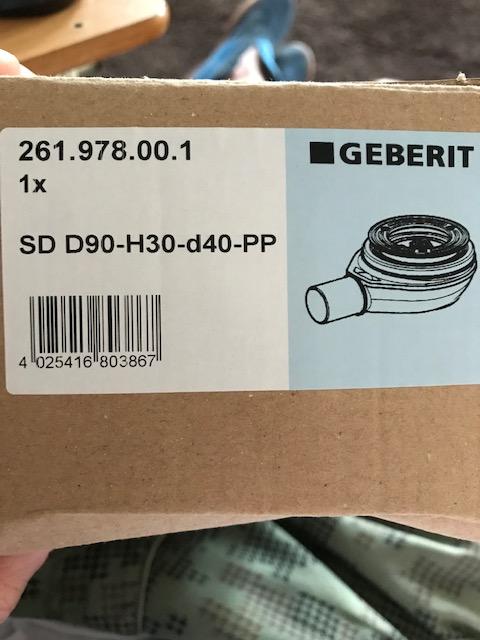
So got hold of some pushfit fittings from Screwfix yesterday and they are too big by 1mm ? Geberit OD 39.8mm Floplast pushfit pipe OD 40.9mm the 1mm I thought would not make much of a difference but the Geberit exit pipe flaps around like a d**k up a shirt sleeve. My own stupid fault for not taking the Geberit with me, ah well. Does anyone have any other ideas please because I'm about to send this thing into the back field
-
I must admit in the future I don't think I'll buy Geberit, I had to is this situation because the shower tray manufacturer insisted on this model
-
Thanks for the info and fast reply peterW ?
-
After your comment I wanted to find out the reg's for distance needed before a 90 drop ready for the perminant plumbing in the future but could not seem to find anything...what does MIs stand for in your comment please?
-
It was a bout £40 and yes the reviews are terrible for that company but I was fobbed off by some dude saying they are under new management and all the problems will be ironed out...pah
-
I got it from a company called Flush Bathrooms, ah well you win some you lose some eh
-
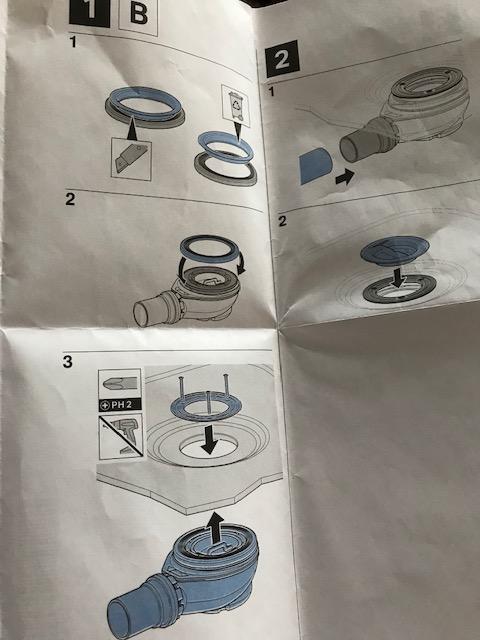
Instructions are an absolute joke and had to search around on the stupid Gerberit website for ages to find the right info No pipe I'm afraid, maybe if I'd paid another £50 I might have ?
-
No solvent due to the materials its made from. I''m the same when the pipe work is going to be locked away under a floor I like to use solvent but Geberit seem to think that other methods are fine on their stupidly expensive parts. Going to take it with me tomorrow on a day out in Banbury to see if I can find a good fitting push fit ? From my experience of manufacturers the more expensive it is the less information is available and the worse the design is. Just a temp fit up until the drainage is sorted out in the room below but thanks for the heads up anyway PeterW
-
I have a low profile Geberit shower trap and from the install instructions it requests that you do not use solvent weld so I thought a Floplast compression fitting would be fine but the collar of the compression fitting pushes against the bottom of the shower tray. Does anyone now of any waste compression fittings that have low profile collars? Stupid design :-(
-
Mad Skillz in a street stylee ?
-
I must admit my neighbour is full of s***? but he has a lot of tools?️ for loan so I put up with it?
-
Absolutely brilliant, thanks so much for the time and effort Temp I really appreciate it........Top Man ???️
-
I'm wondering how much gap I should leave between the stone resin shower tray and the bottom of the 1st row of tiles?
-
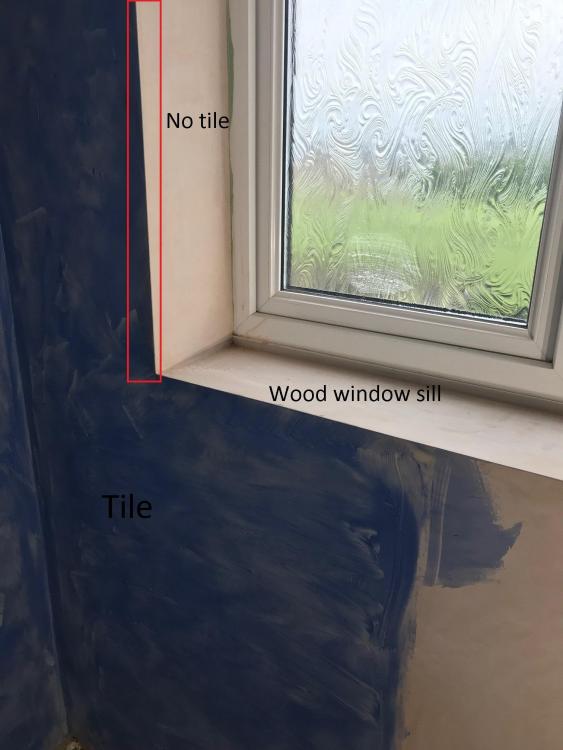
I am not tiling the window reveal and only tiling a small area to the left and below the window as in pic below so I thought starting from the middle of the long wall was the best option even though it gives me 4.9cm widths at each end. Why are the tile leveling systems not good for walls as most demos have been on tiling walls?
-
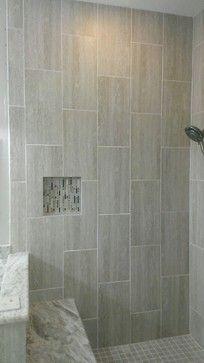
I wished I could do the batten technique but I'm installing the tiles as in the pic below I'm wondering how much gap I should leave between the stone resin shower tray and the bottom of the 1st row of tiles?
-
I've read about the rubber faced wooden block technique and sounds really good, a video on how to do it would be fantastic....hint hint ? As in my post above I think I'm going to set up a mock board outside tomorrow and have a go with some old tiles I have, just got to go for it I think and stop faffing about?
-
The tiling in question is not that much really as its quite a small bathroom and I,m only doing the walls of the shower and the bathroom floor and that's it. The walls are quite wonky even after being plastered but the floor is not too bad as I ripped the old one out and replaced with 18mm ply + noggins + glued and screwed. The walls are my main concern with the tiling as they are quite large and heavy and am terrified they are going to fall straight off the wall after a couple of hours, I'm setting up a mock board outside as the weather has got better so I can have a mess around without doing any damage so hopefully that will get me part of the way along the learning curve. I'm going with a dark grey grout as my tiles are a dark grey/ slate stone look so hopefully no discoloration in the future. As a last note are these any good for hiding the 3mm tile spacers ....oh hang on do you still use spacers if you use a tile leveling system? https://www.amazon.co.uk/gp/product/B01L4EBSD8/ref=ox_sc_act_title_1?smid=A2RQNWBS1Z4W2O&psc=1 Going to start on the long back wall 1st the do the 2 shorter side walls after, planning on starting from the middle of the wall on each occasion.

-
Hi guys, I have never ever done any kind of tiling before and my tiler cant even be bothered to quote for the bathroom so I'm doing it myself. So far I have purchased: 14 sqm of 600x300x9mm Porcelain floor and wall tiles. 2 x 20Kg bags of tile adhesive 1000 3mm tile spacers Diamond wet tile cutter 6/10mm notched trowel Laser level My neighbour reckons tiling is simple but from all the posts I have read there is more to it than meets the eye so I am looking to make things as easy as possible for myself so was thinking about using a tile leveling system such as Premtool. The thing I don't understand about the system and tiling is this, I have read over and over again about getting maximum contact with the adhesive between the wall/floor and the tile with a nice even spread of adhesive BUT say you lay one tile and insert your levelers and then lay the next tile and tap in the little wedges to align the tiles but surely this pulls/pushes on one tile or the other. I can only see that one of those 2 tiles will be pulled away from its adhesive, not completely but enough surely to weaken the contact between the tile and wall. Anyone have any advice and experience of using these systems and is it worth it for a one off job
-
No I'm afraid the tiles do not have that option, Wickes specials so just basic ? Yes the top left corner is the only corner I need to do for the reveal but yes I'll make sure I measure twice cut once, I just like making things hard for myself, I actually hate tiles and would have used panels but wifey put her foot down and the tile decision was made. The way the bathroom is planned it would look wonkey tiling the reveal and I'm using a wood sill because I have all the time in the world and cant wait for it to warp and twist so I can take it out again and burn it on the wood burner ??? Thanks for the advice chaps ?
-
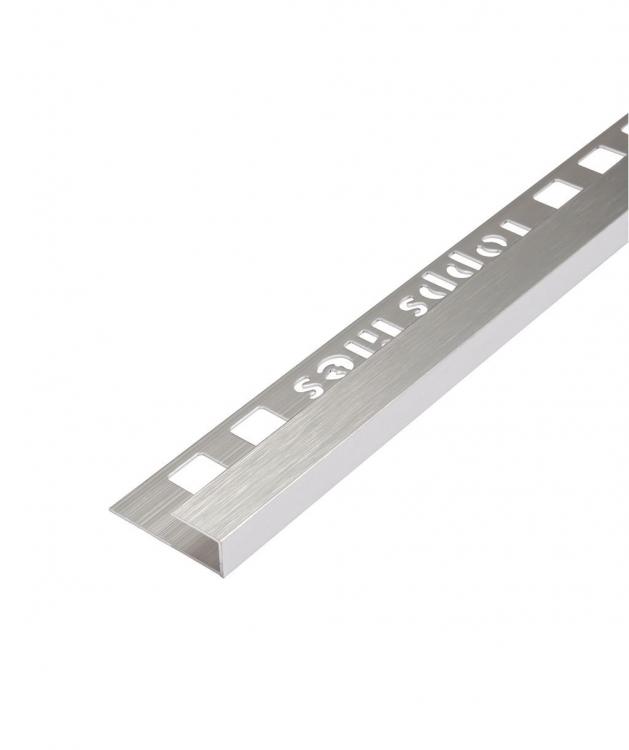
I am tiling my bathroom shower area soon and doing a bit of pre planning and had a question regarding how to finish a tile edge at the point that it meets the window reveal? In the pic below the blue tanking shows the area to be tiled, the window reveal with no tile and a wood window sill. I have marked the area in question with a red box Would I just use one of these in the pic below? I was not sure as I could not find an example online that was equal to my requirement As always thanks for any advice you give as it help so much guys ?

-

lowering a 1600x900mm stone resin tray
8ball replied to 8ball's topic in Bathrooms, Ensuites & Wetrooms
Thanks Nick your a star ? -
lowering a 1600x900mm stone resin tray
8ball replied to 8ball's topic in Bathrooms, Ensuites & Wetrooms
Thanks Nick, yes I'll stick with the 1st idea as could be a problem getting the tile board back on. Should I tank the 18mm Plywood floor? its already been SBR'd -
lowering a 1600x900mm stone resin tray
8ball replied to 8ball's topic in Bathrooms, Ensuites & Wetrooms
Just had an idea, I'm going to remove the tile backer board from the other shorter wall as this will allow me to pivot the tray from the longer edge against the back wall doing away with the 2x4 through the waste hole. after the tray is in position I'll just re-attach the tile board and seal/tank. ? -
lowering a 1600x900mm stone resin tray
8ball replied to 8ball's topic in Bathrooms, Ensuites & Wetrooms
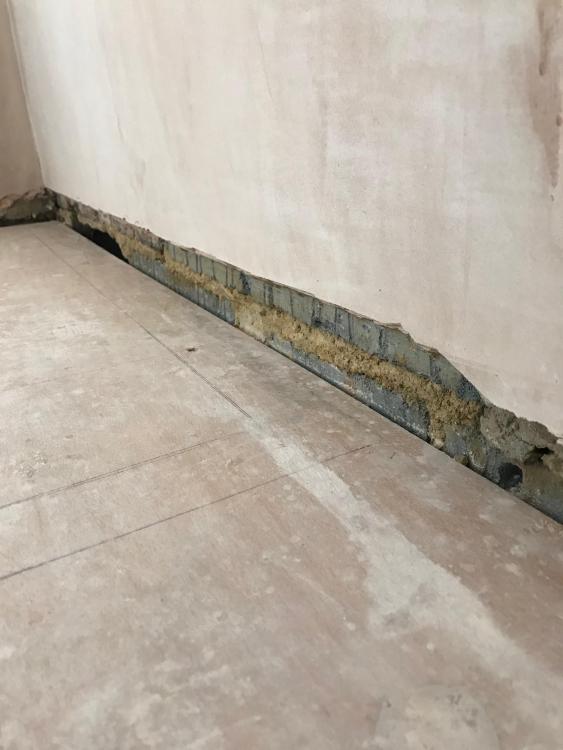
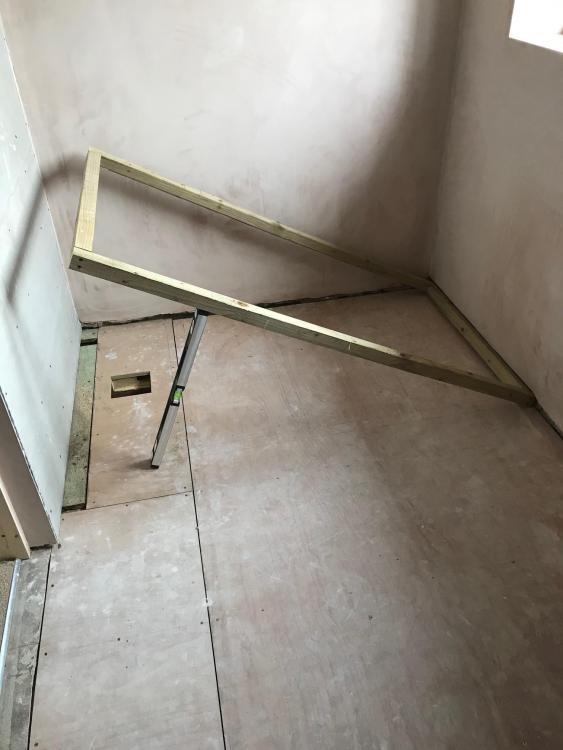
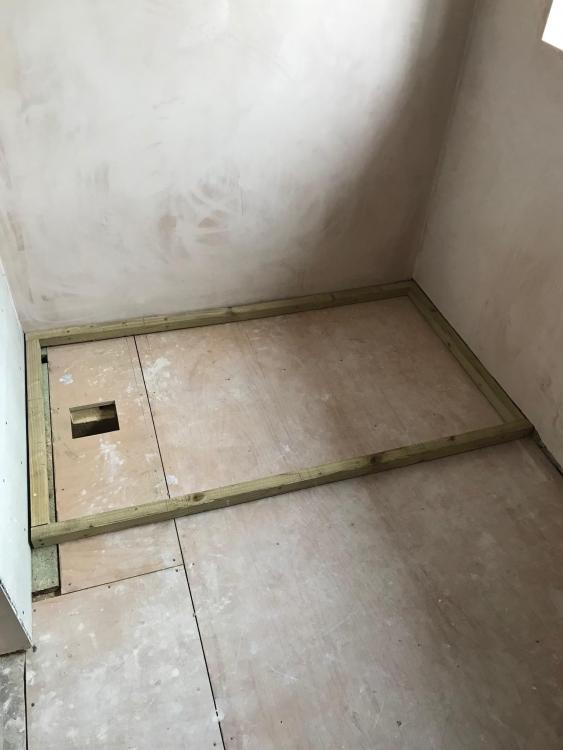
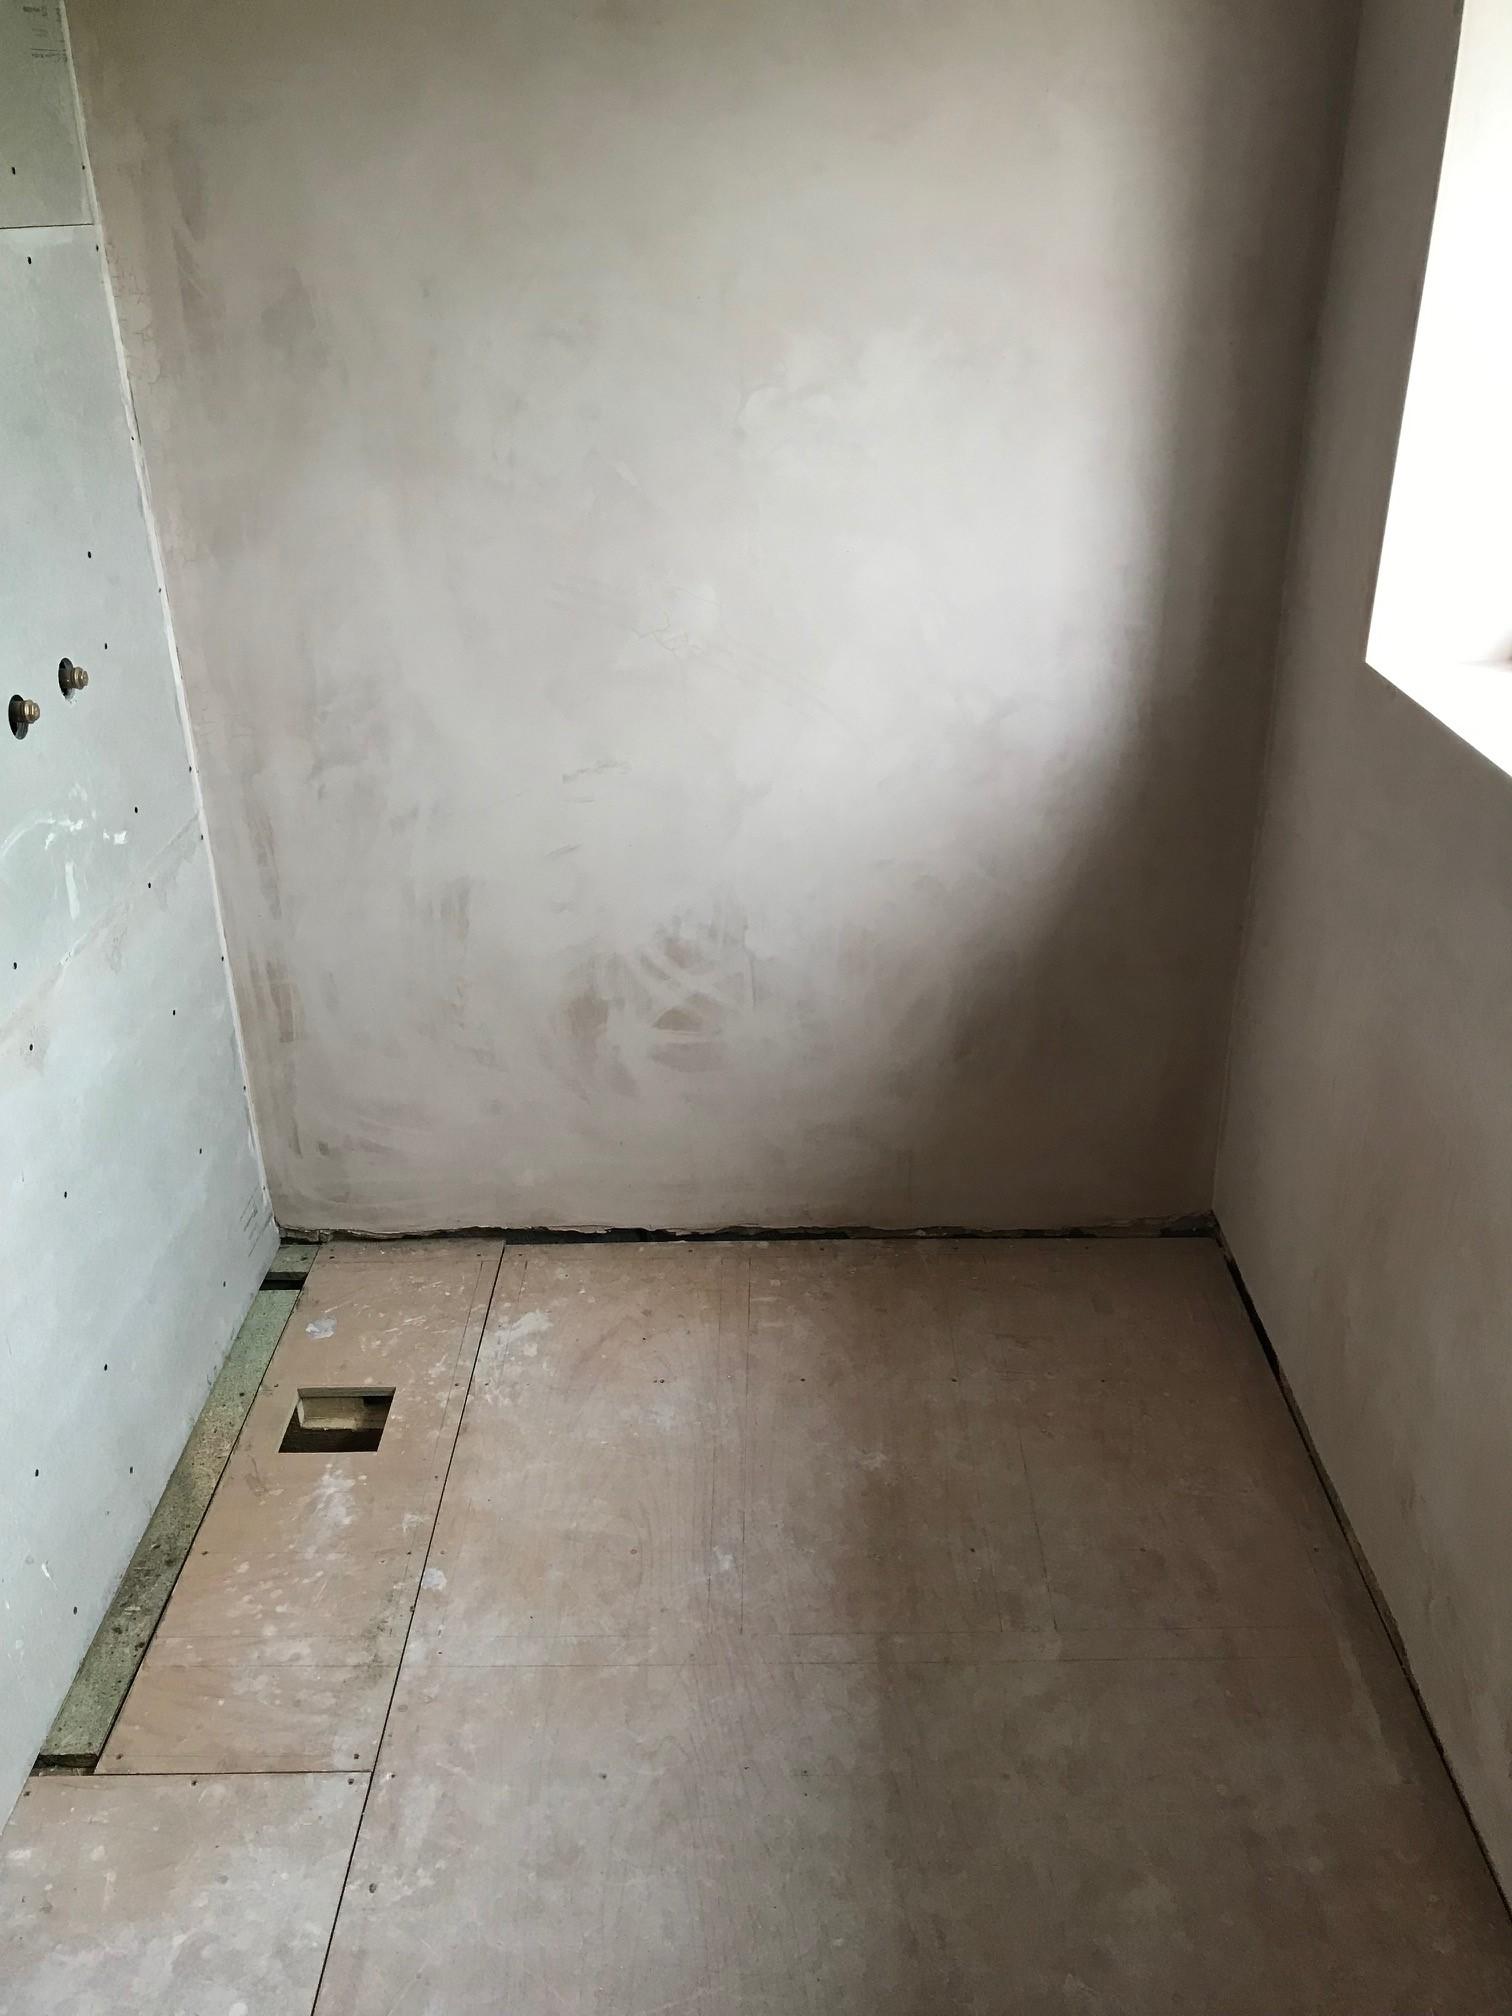
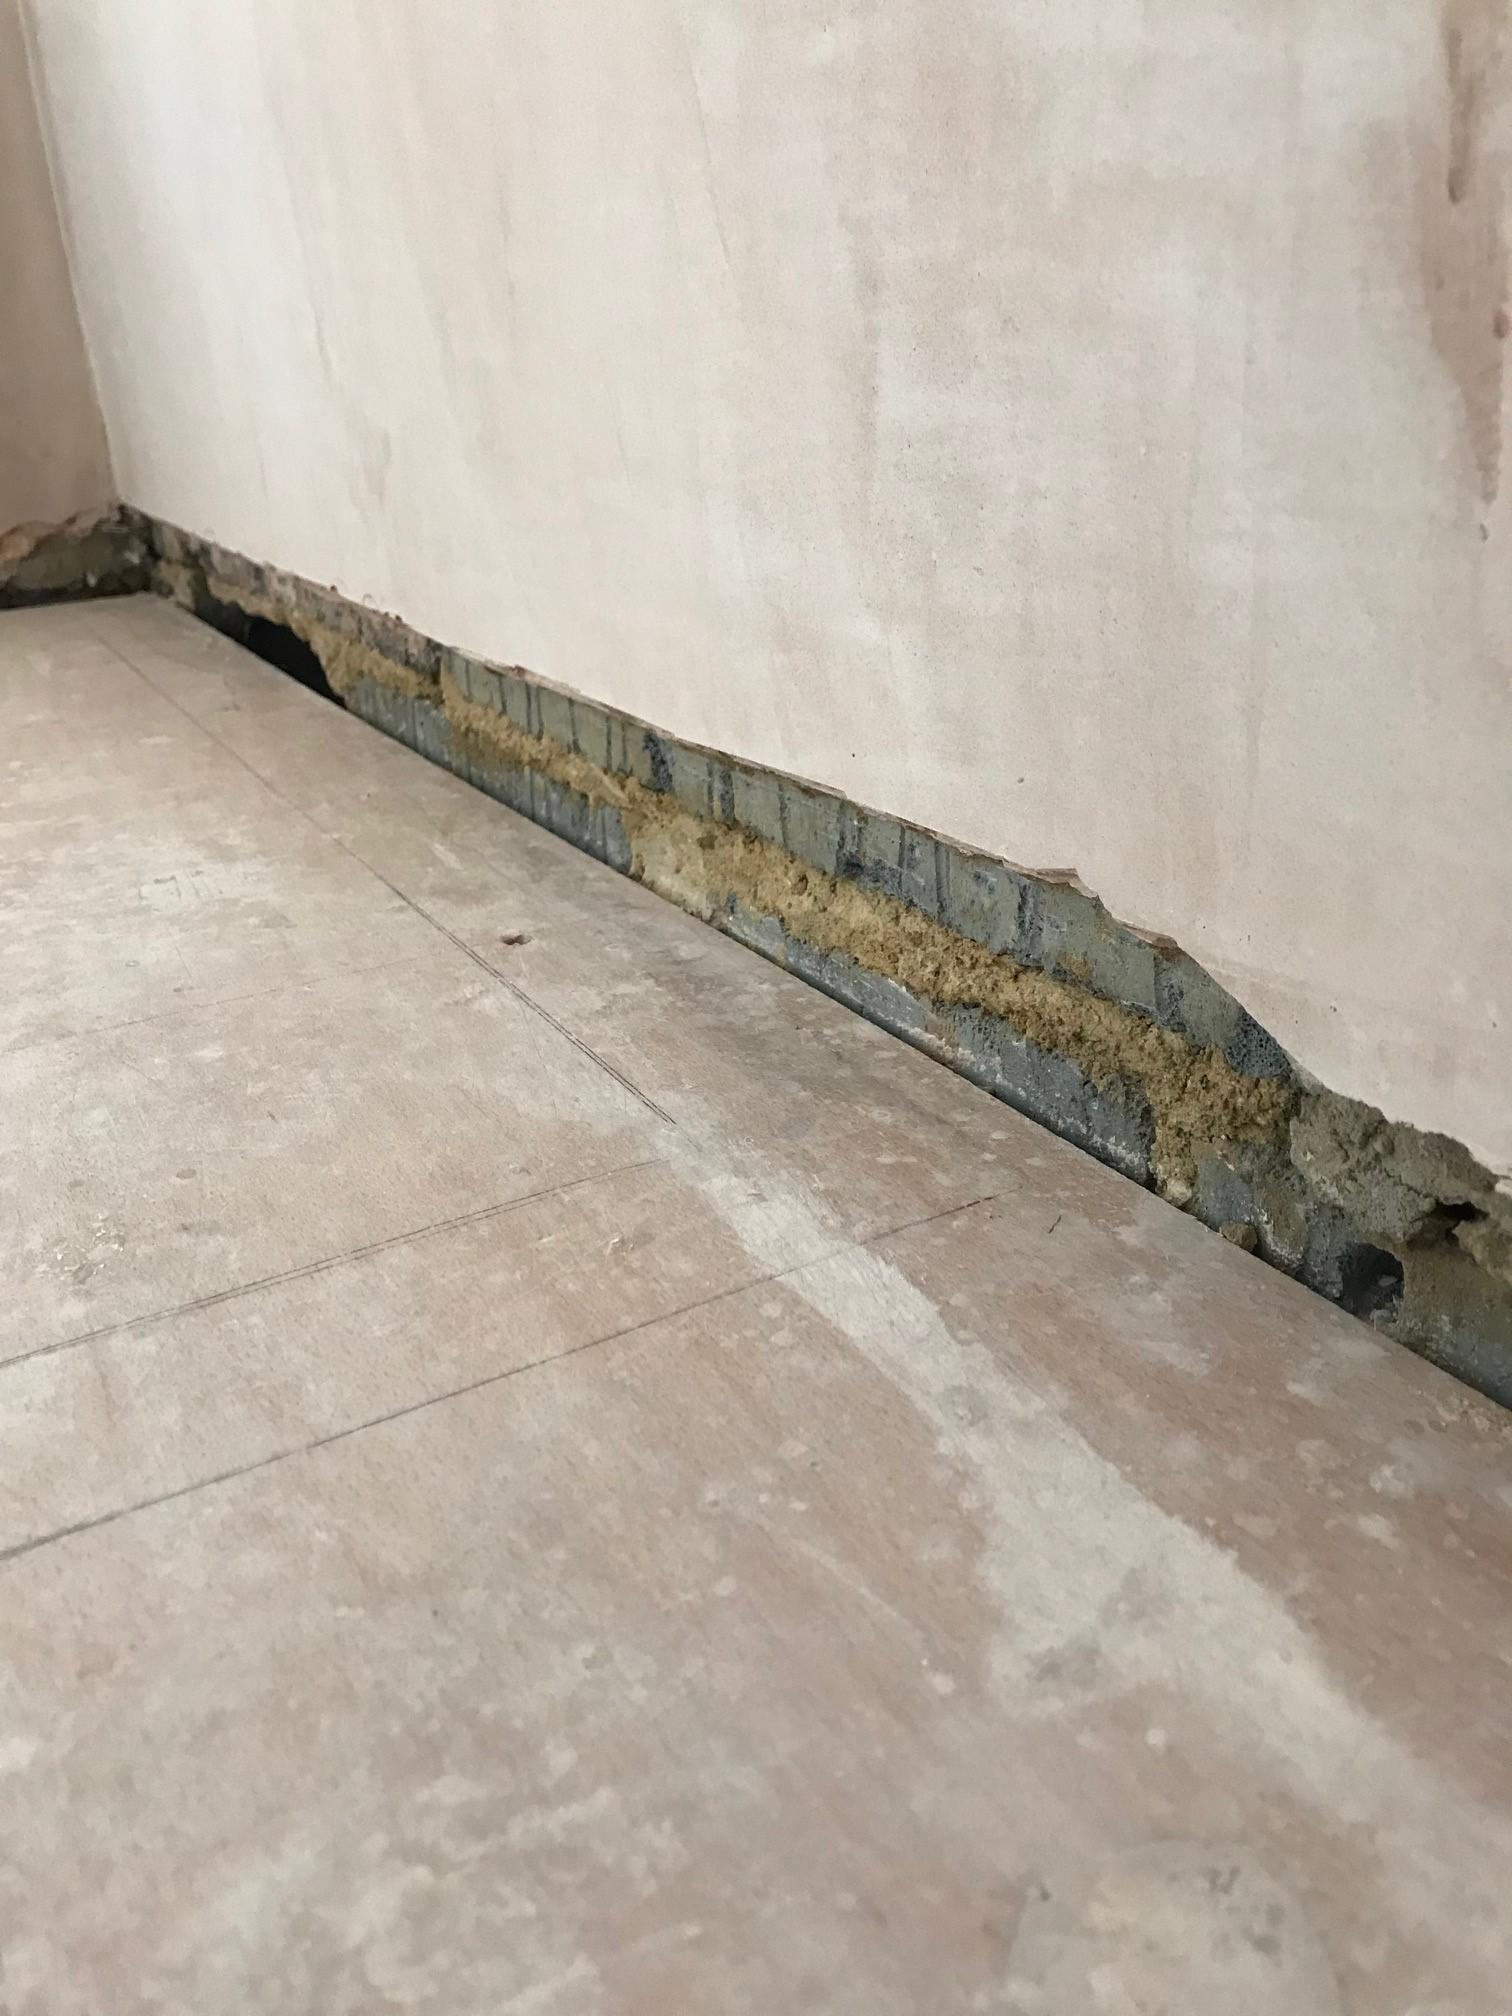
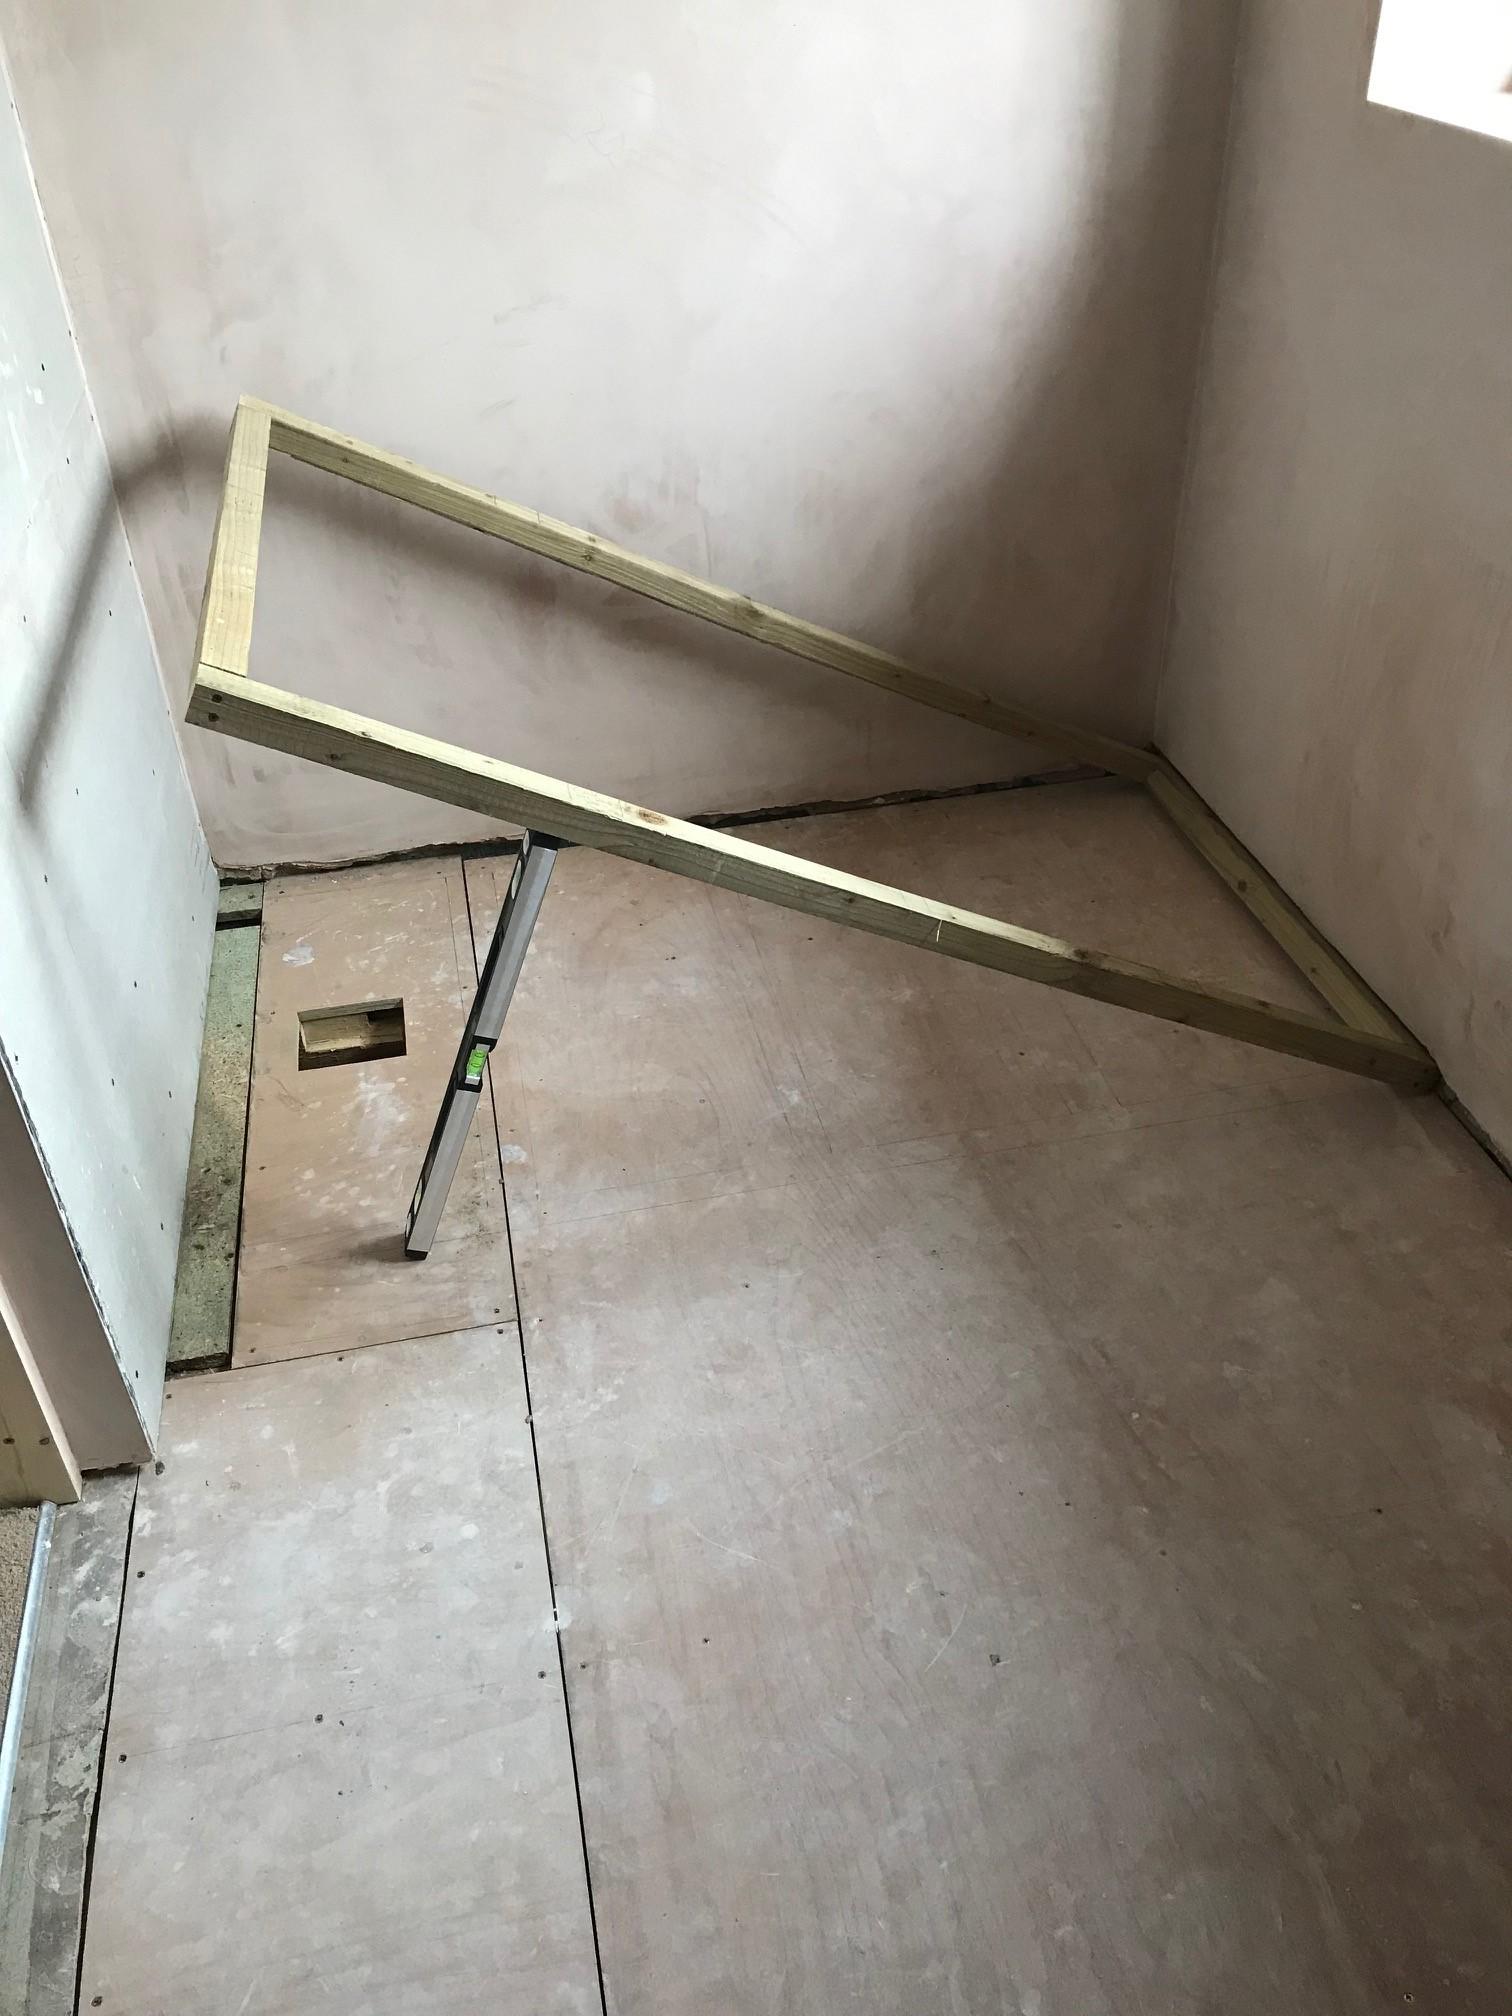
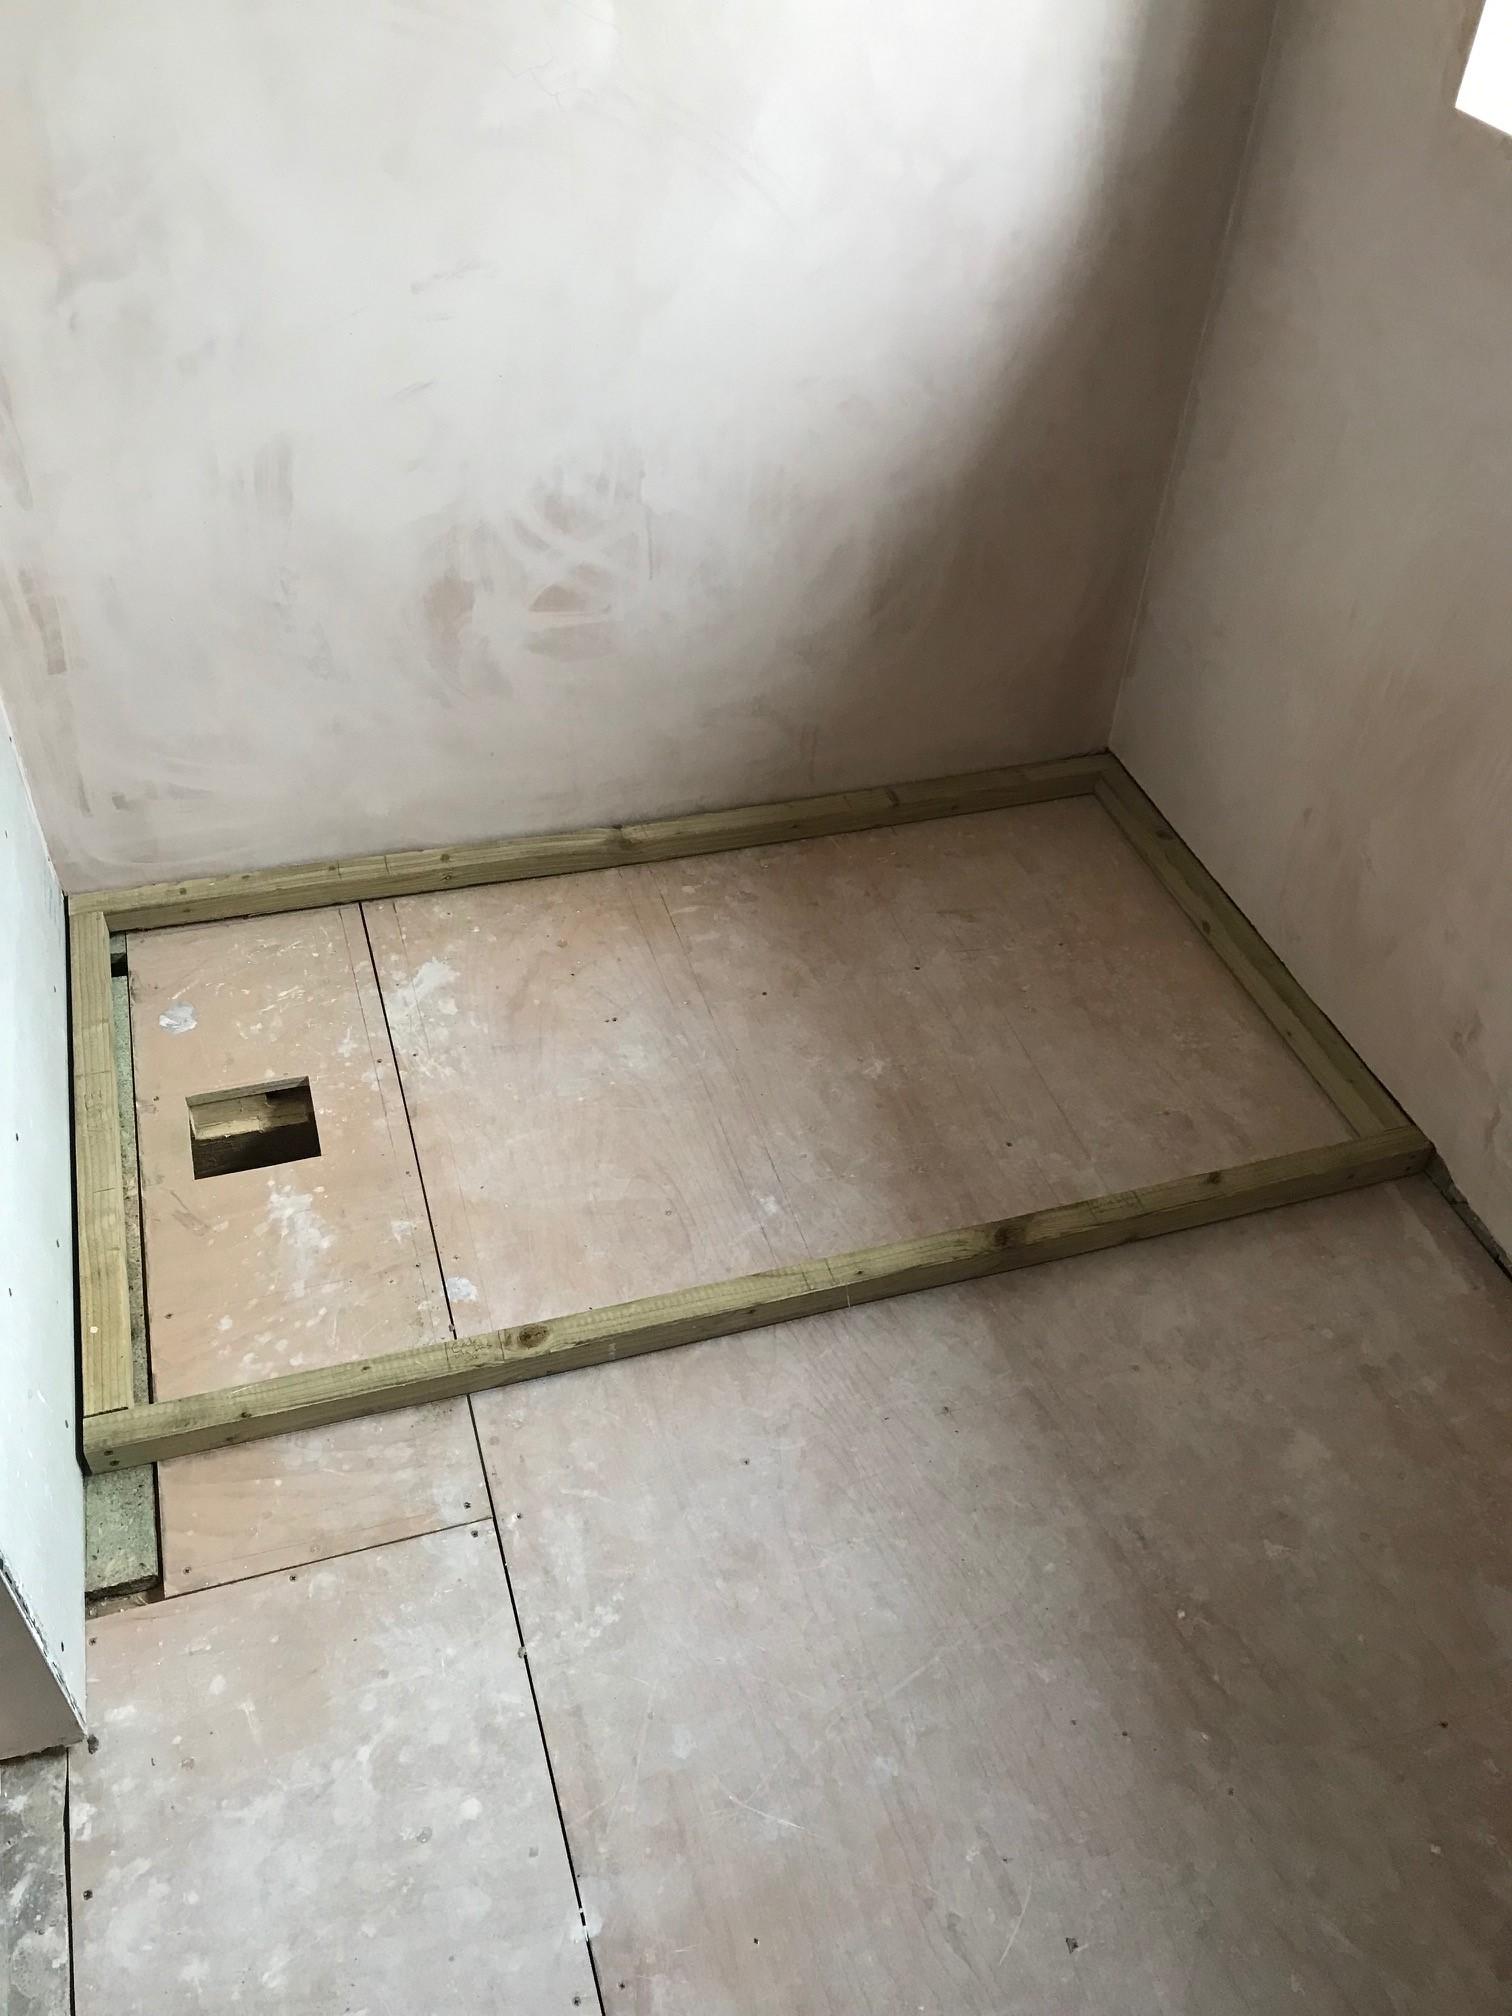
Hey people thanks so much for the ideas ? This was my original plan but the wall bows out at the shorter newly plastered end ? I know exactly what you mean but lowering all 4 props at the same time would result in whatever hair that is left on my head gone forever ? but from this idea I am going to use the waste hole in the floor to hold one end of the tray up. See pics below ? As in the pics below I have made a mock frame that replicates the tray exactly and from this I have realised that no I cannot lift vertically from the front edge as the newly plastered wall on the short end bows out. The manufacturers instructions say to use a Acetic Silicone or Polyurathane to seat the tray so was planning on using CT1. I have some Aquaseal which I planned on using on all 3 walls top to bottom and also applying to the 18mm ply floor area in the tray footprint, the plywood has already been SBR'd but the more protection the better eh ? I'm using 600x300x9mm tiles, wanted panels but wifey didn't like them. --------------------------------------------------------------------------------------------------------------------------------------------------------------------------------------------------------------------------------------------------------------------------------------------- So this is the area I'm working with: I have cut a channel just a bit thicker than the tray into short wall near the window as in pic below I plan on applying the CT1 to the floor then moving the tray end into the channel I cut and propping the tray up at one end with a 2x4 which will be poking through the shower waste hole - see pic below , I also plan on applying Silkaflex to the edges but don't know if I should apply this once the tray is down or whether to apply a small amount before lowering the tray? Once the CT1 and any Silkaflex has been applied I'll run down stairs and man handle the 2x4 post and lower the tray into position ......easy What could possibly go wrong ?