zoothorn
-
Posts
4749 -
Joined
-
Last visited
-
Days Won
3
Everything posted by zoothorn
-
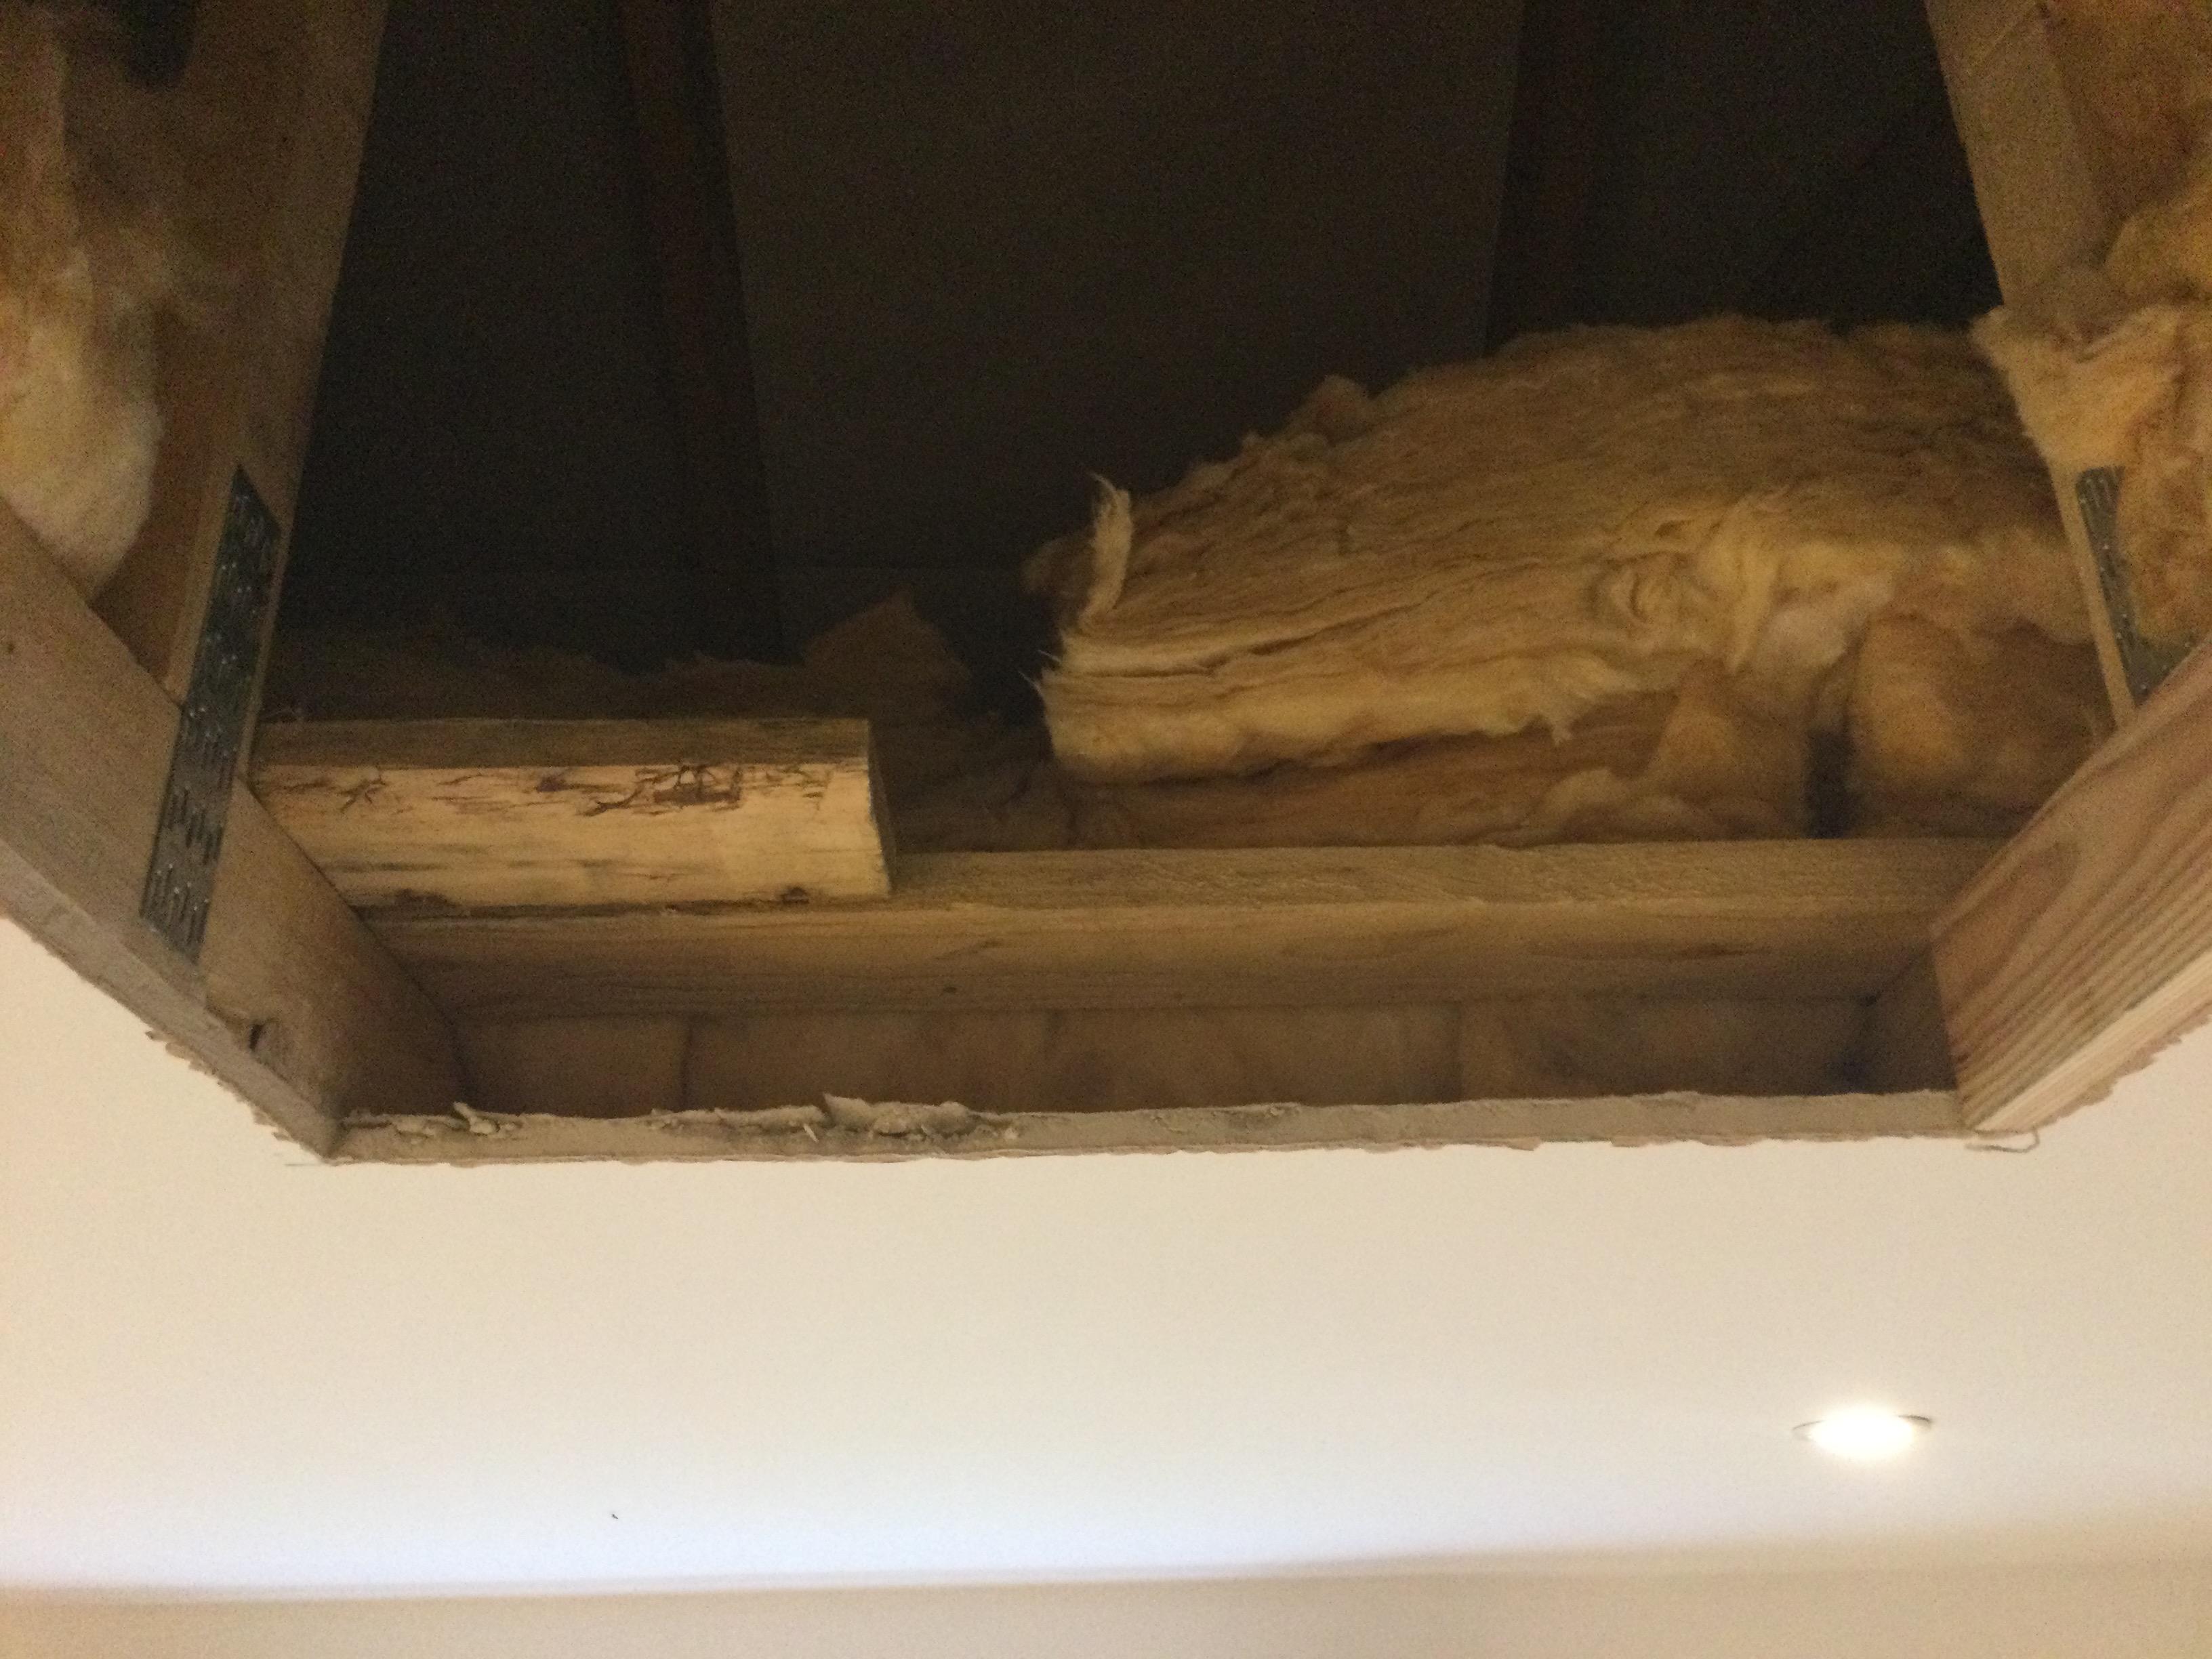
@PeterW I've just read your post above, appreciated, having actually started job before I read it.. so I've repositioned one layer of 100mm between joists. I've got to go get the 4x plant pots, so if I need more insulation/ can get this too. So afaict I've got enough orange for another layer ontop. Couple of Q's: should I push my 1st layer as far twds skielings as poss/ to meet the white roof lining, or leave a gap? (air circulation?). Basically can I stuff the tricky skielings areas between white sheet & top of wall? My 2nd layer: just to cover the joists, ie same orientation as 1st layer? not sure how I can get it up the wall tbh. Maybe last layer possibly: I think I can only cope with one added new bought layer, to lie perp/ ontop of all these orange ones running across. Im so restricted, plus its a very tricky job as it is. I'll have to do this new layer tmrw. I did find a 4ft sq area of bare pB/ no insulation (pushed aside) above my bed.. my spark's fault, he used this pB section as access to fit lights. Couldn't be arsed to pull it back. thanks- zoot
-
hi Declan. Not bought any extra yet. But I have dived in, and done the 1st layer, between joists. Awful job due to confined space. I was happy to find squirrel evidence.. bc it means it wasn't mice as I thought, IE no unpleasant 'evidence' (nut bits instead.. rather cute in fact), & no thru-way hole from old loft, fingers x'd, my main concern. But I do need to address where nutkins is getting in. These damn skieling gaps it must be, why the need to be so big.. argh. So I need to buy -one- more whole new layer/ rolls of stuff. Opinions please. Thanks zoot
-
Yup thanks Declan l'll start this plan tmrw. Before next cold snap. As its a big hatch it at least means i can start from top of steps around, and good size hole means i can get a biggish board up to lie on. But one thing: if the orange is 100mm and the joists 70mm, then is this safe to squash down 3 cm onto the pb, if i need to put boards across over where ive redone it? If you see what i mean. Also i guess once even the 2 nd layer of 100mm, laid over and along the joists, you cant then put a board over this layer spanning across onto next joist, bc it'll put even more pressure onto the 1st 100mm layer, onto the pb. If i then add another layer.. im upping the stakes even more.
-
Cos it'll cause me village hassle. Ive yet to measure the stuff accurately, for Declan's q.. it does seem to be 100mm stuff tho, but some areas stacked thick, mostly seems 200 total. It does tho leave the q of whether bco will poke his nose up here to check.. in which case you might have prompted me to get him in to tick off these two rooms. Then i could tell bco pls ask builder im scared thank you please. Then the damn balcony yet to build you see so he cant sign it off yet: in retrospect i bit off more than i can chew adding biggish supported balcony, and a juliet instead would've been alot more sensible, but.. ive got doors opening out.. c* cking the juliet redo idea up. Bllx. Does this orange stuff stuff come in 150 mm as a rule? Or 100 & multiples of i wonder.
-
Right that makes sense. You've convinced me to redo it. Omg this is gonna be awful, esp the confined area, always crawling etc. Im worried mostly really about putting a foot thru the pb. A mask can help with fibres, but steAms up glasses.. so its always eyes full of it. Urgh. Hi Peter, yes exactly this/ i saw it being done. I only saw the 1st layer of 100mm you see, im assuming another layer bunged up over it, in fairly decent fashion considering, but whole pb ceiling plus these layers done in one afternoon by his two roof chaps. thanks.

-
Understood. But what i found was altho its laid acroos the joists, bc theres another layer ontop of it, theres enoug( weight for it to sink prett6 effectively down between the joists, so very few gaps i found at all if any. why does thi# ipa£ do thes3 annoying symbols? I cant make i5 d9 it if i fkn tr6.
-
Understood joe. But the heating is working as it should, in fact at 55* its working hotter than average for this system. The rad in this room is now quite often hot, and its a huge rad, but im always cold/ the room is never warm. Ive got it to 18*, once, but rad on all day to achieve this. Usually its 15.5* say, with rads on. Its hardly worth me putt8ng the ch on, like this ev i havent bothered just used my fan heater in kitchen & early bed ( now) in this cold room (with south park episodes on ipad). You get used to it, i am used to it.. but its galling knowing a toasty room is right below me, & without any use of the heat too.. in fact i think this situation might drive me bonkers tbh.
-
I'll get this info more accurately tmrw Declan. Its a general mish mash some parts well over 200mm deep, maybe 3x layers, and all heavy enough to have sunk into & between the joists. But mostly its 2x 100mm layers it seems just fairly put perp over the joists. Not much pattern or care to it, but its far thicker than I thought to find.
-
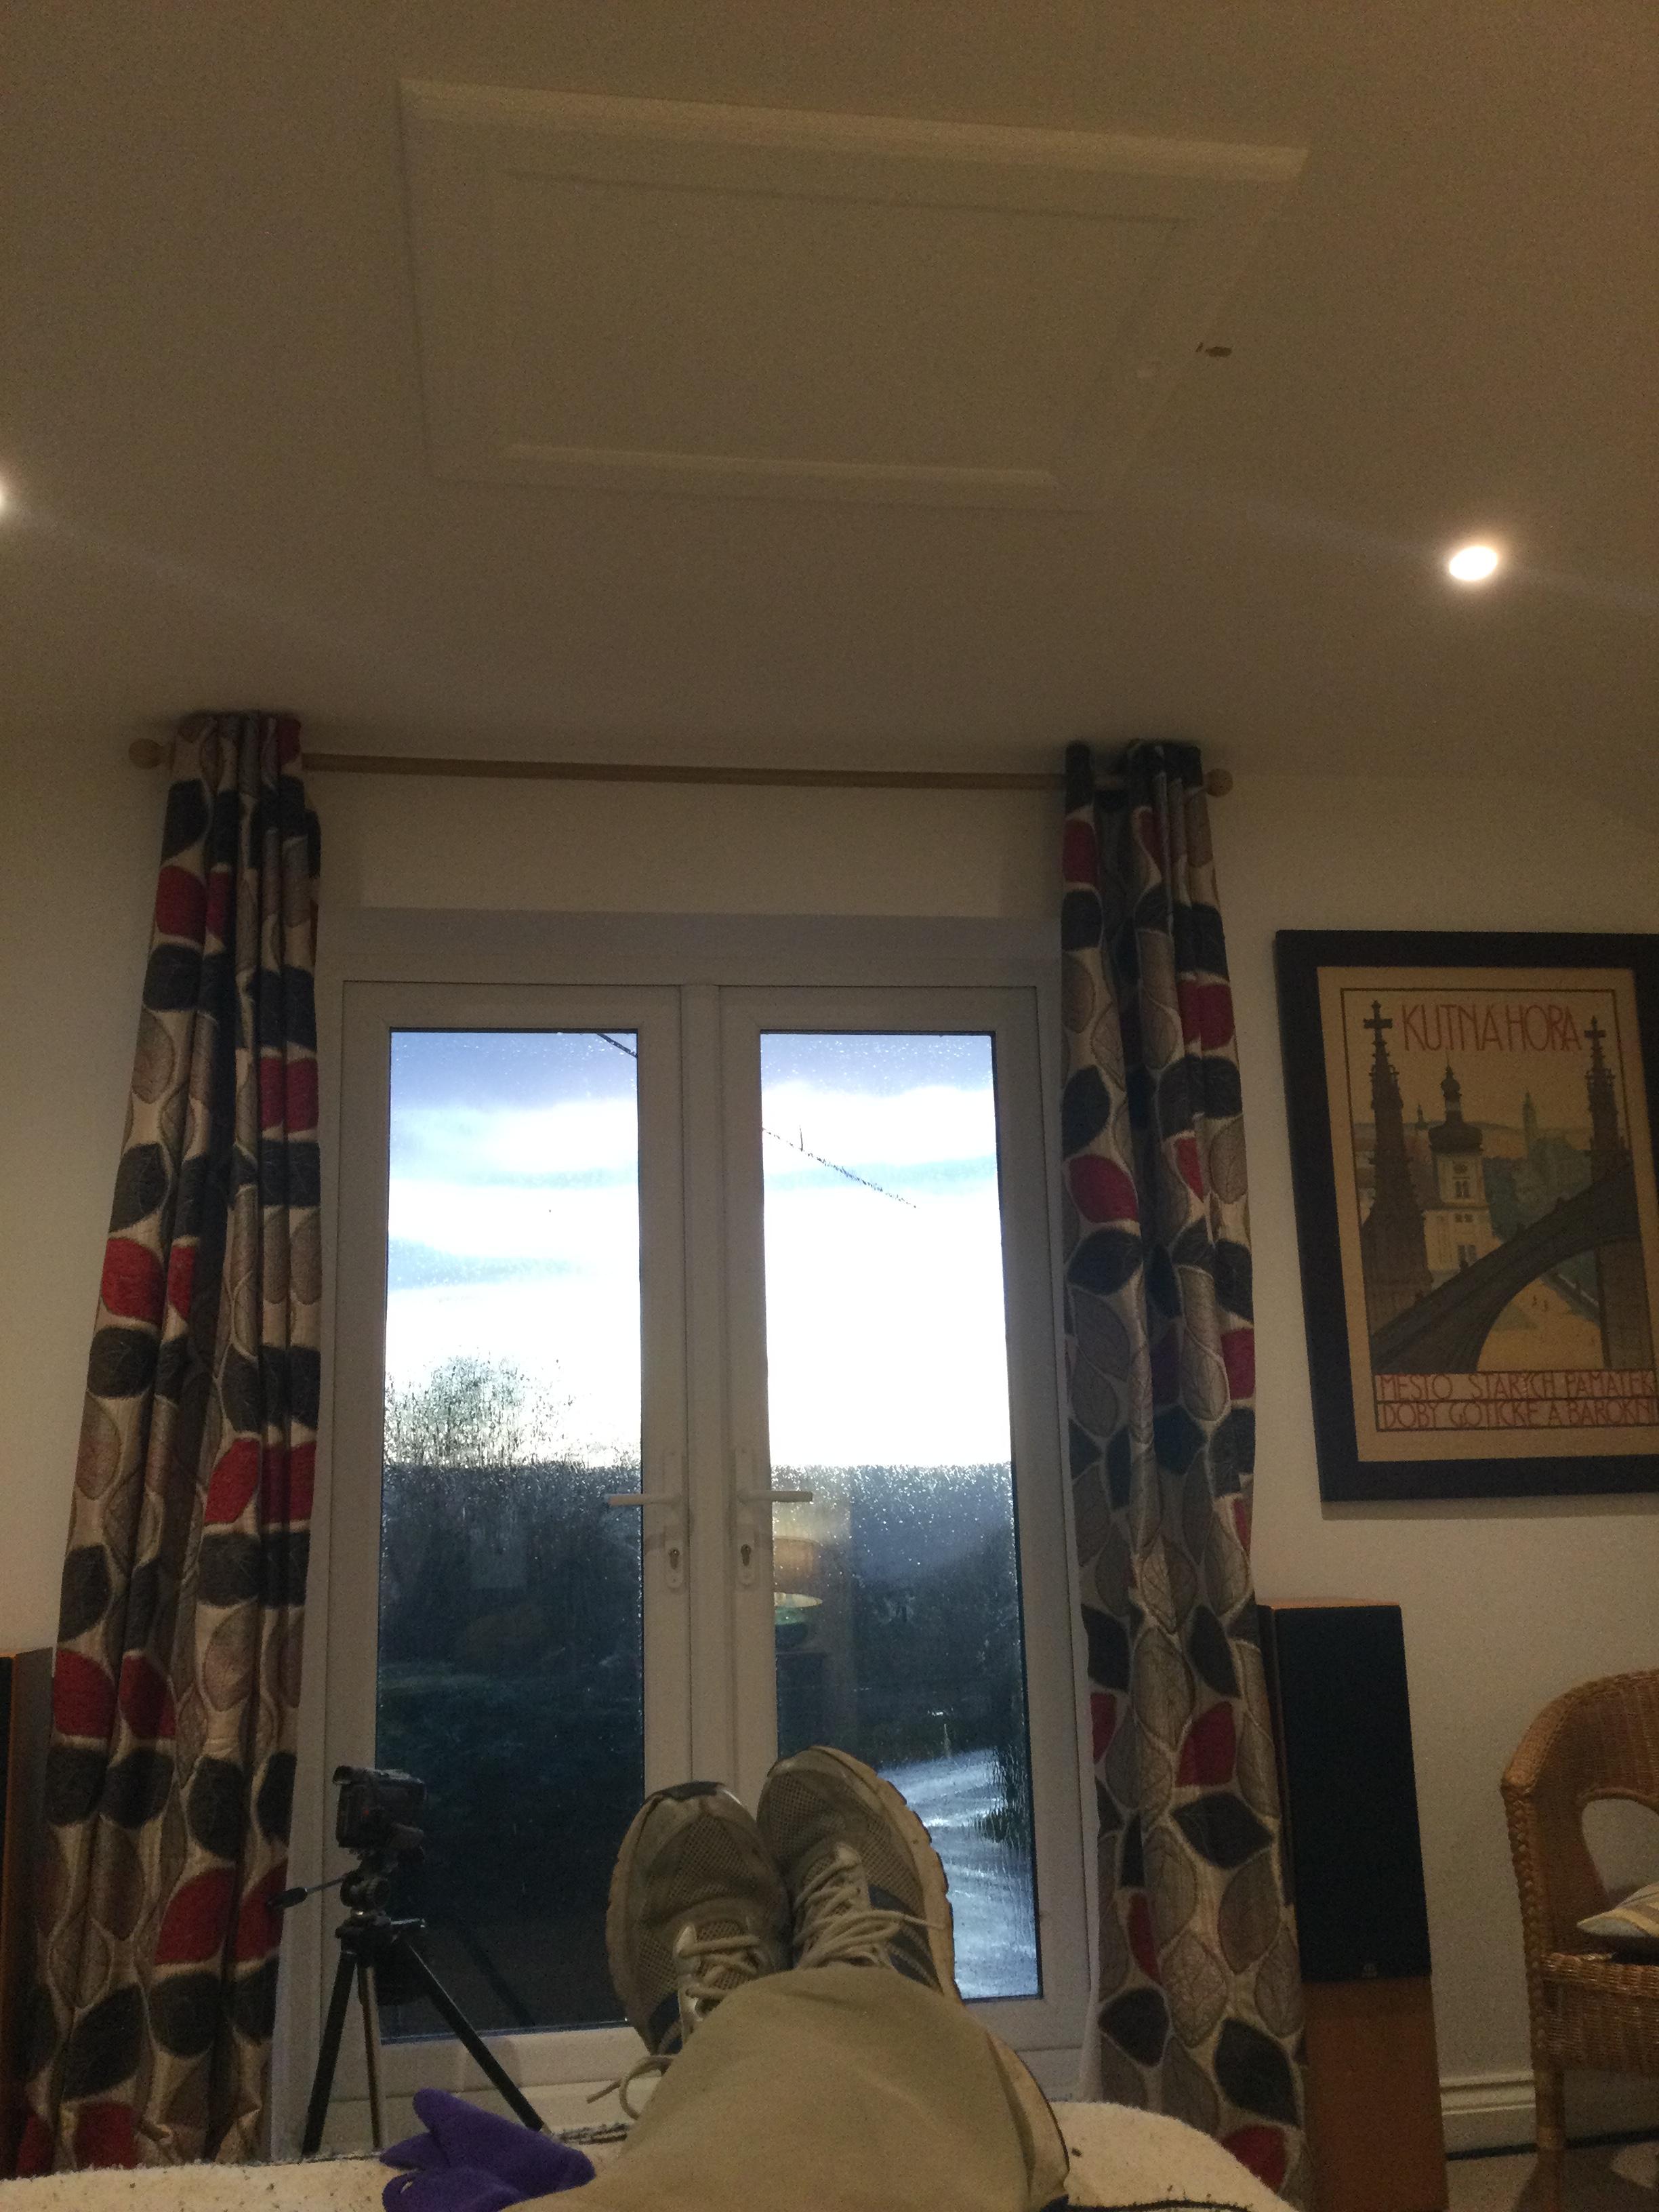
Job done Onoff. Hatch is in. Orange fluff pulled over it too. No draughts I'm sure. But that's a good idea/ will do if I buy some. I'm wondering if the dividing floor, which if you recall I put rockwool slab in, has created a cold void above it & below the caber floor.. IE cold streaming in the sides, filling this ~ 4" or so. The floor feels cold above, but, so does everything tbh. The rockwool seems to be working well as a 'containing lid' to the toasty lower room tho.
-
Well if i put any more up it'll sort of half fill the entire loft. There's so much more orange fluff than i thought you see, so im assuming now it isnt badly insulated after all, as id sort of hoped to find up there. Id think if i put any more up it'll likely show little results.. but thats a hunch. So the myster6 rema8ns as to why this room is so cold with a rad twice the size of room below. Door, yes, by putting a temp blanket up i can get a tiny bi5 of heat retained/ felt in the room. But i still have to wear hat and scarf all the time even with heat8ng on for many hours. Hence thinking i need a seriously insulated door, but im a5 a loss now. I just th8nk it'll neve4 be established, always be a mystery.. unless somehow the cold introduction can be determined, by a definitive test, but i dont th8nk there is such a th8ng. I think
-
Yes he's aussie.. but assuming cottage isnt, as i think the few comments concur, ie cottage too old to be in aus.
-
Hi Tonyt.. yes I've done just that. Got both nogs nice and solid. Done it and pulled orange fluff back over hatch. Hopefully Not ever going up there again! I just hope I havent made it less soundproof with this addition.. have a feeling it is. Live and learn. I guess i could make a hinged pb and insulation lid to bring down before the hatch is closed if so. thanks for help on this. Back to the porch job tmrw.
-
Yes thats perhaps what I shoulda done.. but Im on last leg/ got the tricky nog in albeit not ideal. I just want to close the damn thing now asap/ cant deal with the fiberglass. thx dangti6
-
Well I know most would use a tablesaw.. Id do so if I had one. I'll have to circ saw it maybe from each side/ hope for the best. Afaict the nog in this (pic)^ end doesn't need -perhaps- to be load-bearing (me being the load) bc the brace above it can do this. IE if a ladder is rested it can go on this brace, then I can stand on it too (if I ever need to- I honest;y dont think Im ever coming up here again). So the new nog below only needs to be something the hatch frame fixes to this end. So if I can get a precise 7.2mm cut piece, to squeeze in here, it can be fixed from the top/ that's all I can do. maybe 1 nail in rhs end.
-
Hi joe- I can't understand 'screw in from the backs'. All I can see how to do this, is to get a nog precisely 7.2mm in height, in order to fit in this gap, vertically. But there is nigh on 0.1% chance of finding such a bit of timber. Then if I find this, I can't see how I can get access to it, in order to fix both ends in. The only way I can see of fixing in, is from the top, down, thru this brace you can see > down into the 7.2mm H nog. But then it won't be fixed in at either L or R end.. so it won't have any solidity.
-
Here are the two braces ontop the joists

-
Can anyone help. im trying to put these two nogs in at the ends. One is feasable to do, tho how i can get access to the backside in order to get a drill driver to it ive no idea. its the other end nog i cannot see how its possible at all. Ok i have some bracing across the tops of the joists, some sort of rigidity brace thing.. and two are in exact position hampering where the nog is to go. I cannot/ do not want to cut these braces, and redo as a nog/ this will ruin idea of these braces totally. so.. can this hatch be put in without a nog one end? So it only attatches to the pb here.
-
Can someone comment on this youtube short clip. It seems to fit the way my walls are made, stone & mud, laid onto the ground. Also my rising damp which tho not too bad, I think these old 4 shell walls do suffer from, likely due to the cement render + coating ontop too, and inside seems to be thickly emulsioned, IE both sides unbreathable. https://www.youtube.com/watch?v=Q5BwgGY1N0o This is what I had sort of thought originally, this area needed, IE a lime mortar render, over the whole faces: so perhaps not repointing (because maybe the surface craggyness of the stone used wouldn't, mostly let's say, leave a particularly aesthetically decent finish.. & never meant to be seen perhaps just welsh-whited over?), more re-rendering. Any idea where this might be, ireland.. aus?
-
This makes sense. But its the underside of these header stones im most concerned about. Its replacing this concrete mortar stuff.. and the slightly rotten door frame too. What would you paint it with tho? Its covering this lime mortar stuff afaict is the thing preventing me doing this. No i get such little light in this side over winter its not worth opening them.
-
I can sort of see what you mean, but if ive got one of these offset lintel header stones split across its midrift in two, and the lower half is wobbly only being supported in place by the concrete mortar below it ( sort of wedged in between it and the frame top) then if this bit of already slightly loose mortar comes out, the lower section of this stone will fall.. then i cant see how the whole lot of these headers won't fall too if they're self supporting.
-
theyre not actually nogs, but bracing perp to and ontop of the joists. i wouldnt want to cut these, as they go 2.4 m or whatever, part of adding rigidity, i assume.
-
But I think its too high to work off the steps (2.3m ceiling h) tbh i dont even know how im able to add these two nogs, let alone stretch and add more fluff. if it should be 300 mm then Builder should come back and add 100 mm.. but he'll deliberately then side with my n'bor, cause me stress/ so its not worth it. i just need to get hatch in for now.
-
@PeterW you were right.. i only have 3.5 ft in the loft, in midpoint so i dont have room to work, also as i find 2 x 100mm orange fiberglass.. with so much just finding the rafters, repositioning it, and esp adding any more isn't a feasable prospect i dont think. So a big c*ck up putting this hatch in. Totally my fault. So, now a damage limitation exercise, just put hatch in. Ive made the pb hole. But i have existing nogs in the way/ hampering putting in the two new short end nogs.
-
Can anyone help? Having removed the old mortar stuff under the lintel, Ive found one of the lintel 'diagonal' stones (seems to be two halves, one ontop the other) actually moves a bit, IE the lower section. So if I take out the concrete mortar below it, just above the door frame, it'll likely fall.. which in turn will surely mean the next diagonal stone will too.. then the whole series (if they're wedged in together). I need to sort out this lintel area. I'm really stuck at the mo. & getting concerned. thanks zoot.
-
If anyone can help. What I seem to be pulling out, from under lintel stones, is chunks of concrete. Now I dont know if this is 'render', or 'mortar', or concrete. Or whether all are words for the same thing. The top of the door frame, where its been in contact with earth "mortar" is rotten. But only 1cm or so: thankfully its mostly sound. But whether this wood 'lintel' is actually holding the lintel stones up (I cant see how a piece of wood is meant to bear the weight of alot of stone) I don't know. I must prep this area, make sure its structurally sound, before I continue. Do I even need the builder in-? i dont know. I'm sure my welsh house name translates as 'can of worms'.