
Wall A & B1 up to damp course

 As many on this hub are aware DIY self-build is a slow and sometimes lonely process, particularly when you are a novice.
HID knows how to build, but he's never had to make the plans or decisions previously, he's just been told - dig that trench, lay that foundation etc. etc.
So, we are finding having to explore in depth every step is time consuming and pretty tricky and there is no one place with all the details.
We don't know what we are looking for - how do you know what to look for when you don't know what you don't know.
I'm an avid reader and have read dozens of building books / magazines / articles etc. etc.
But, they all assume that you are just looking for interest and that you are just going to hand over to 'an expert'
This includes the architect, SE, BC
In the last month it's been;
How to lay DPM for level thresh-hold doors.
How do level thresh-hold doors work
How do you leave the cavity under DPM, full or empty
Then there are the cavity closers, closer clips, cavity trays, level thresh-hold drains.
And, other things that I can't even think about at the moment.
But, all that aside we are progressing
Trench filled
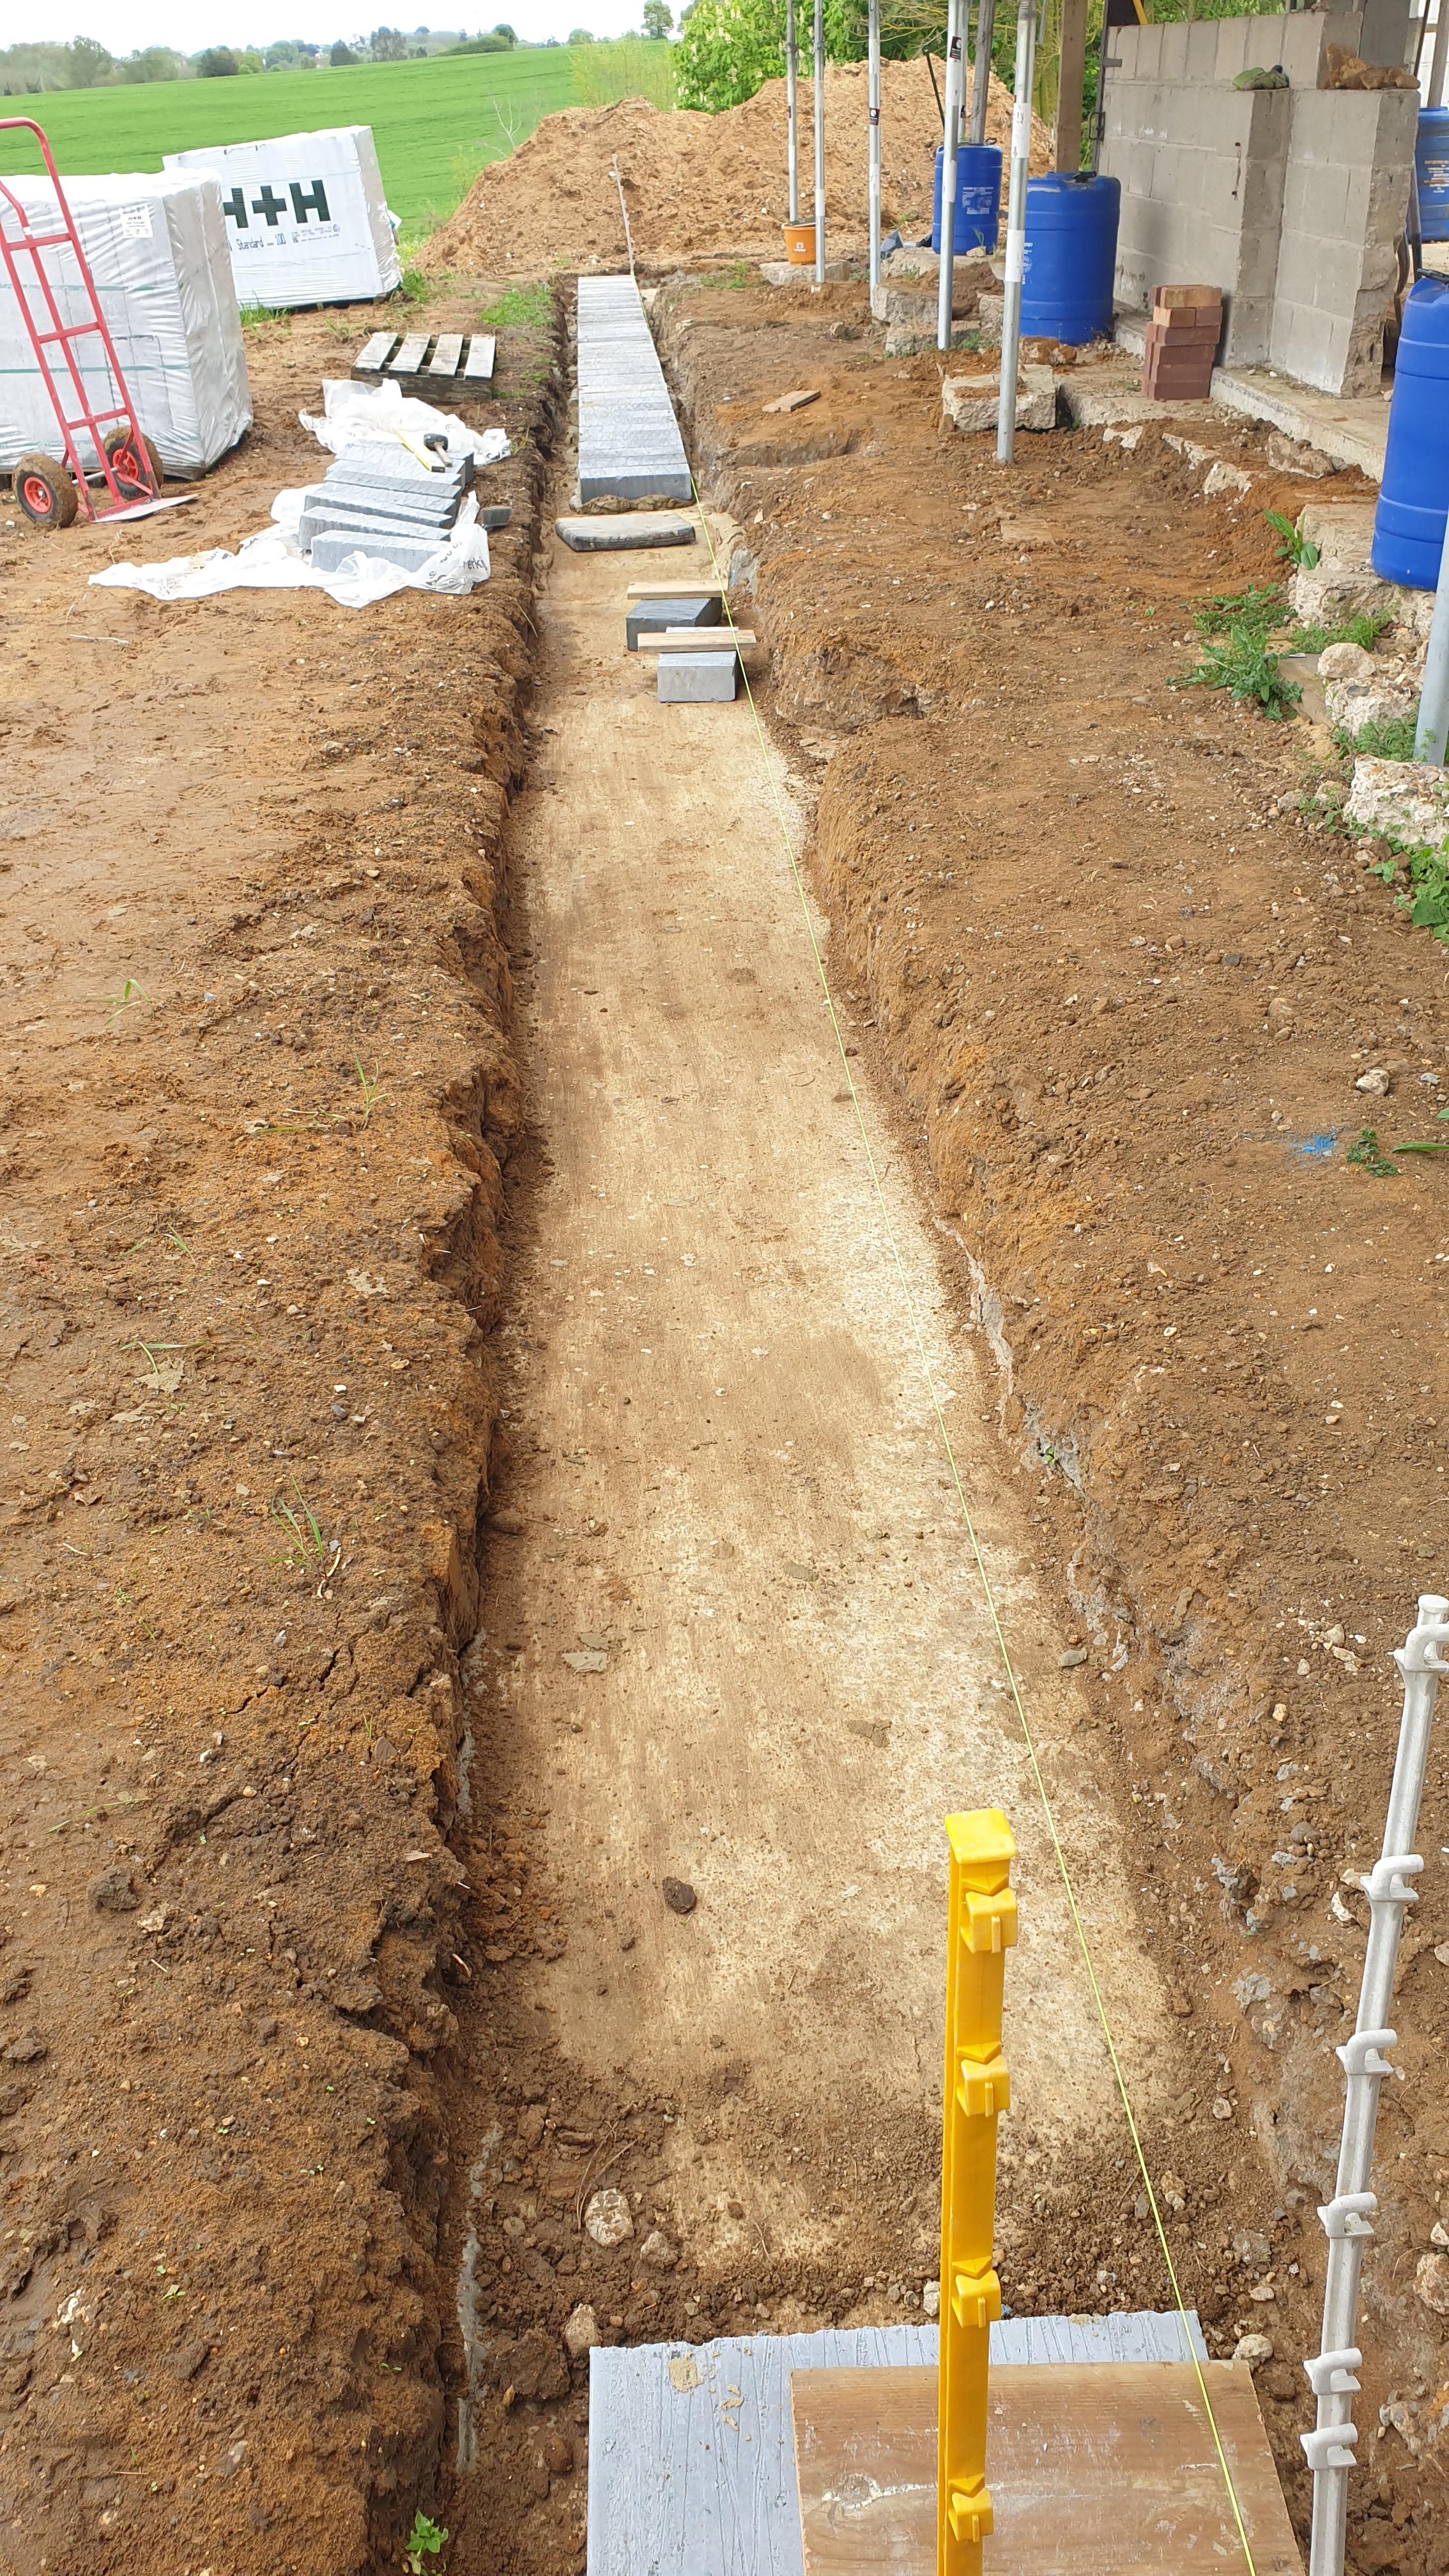
First layer of foundation blocks
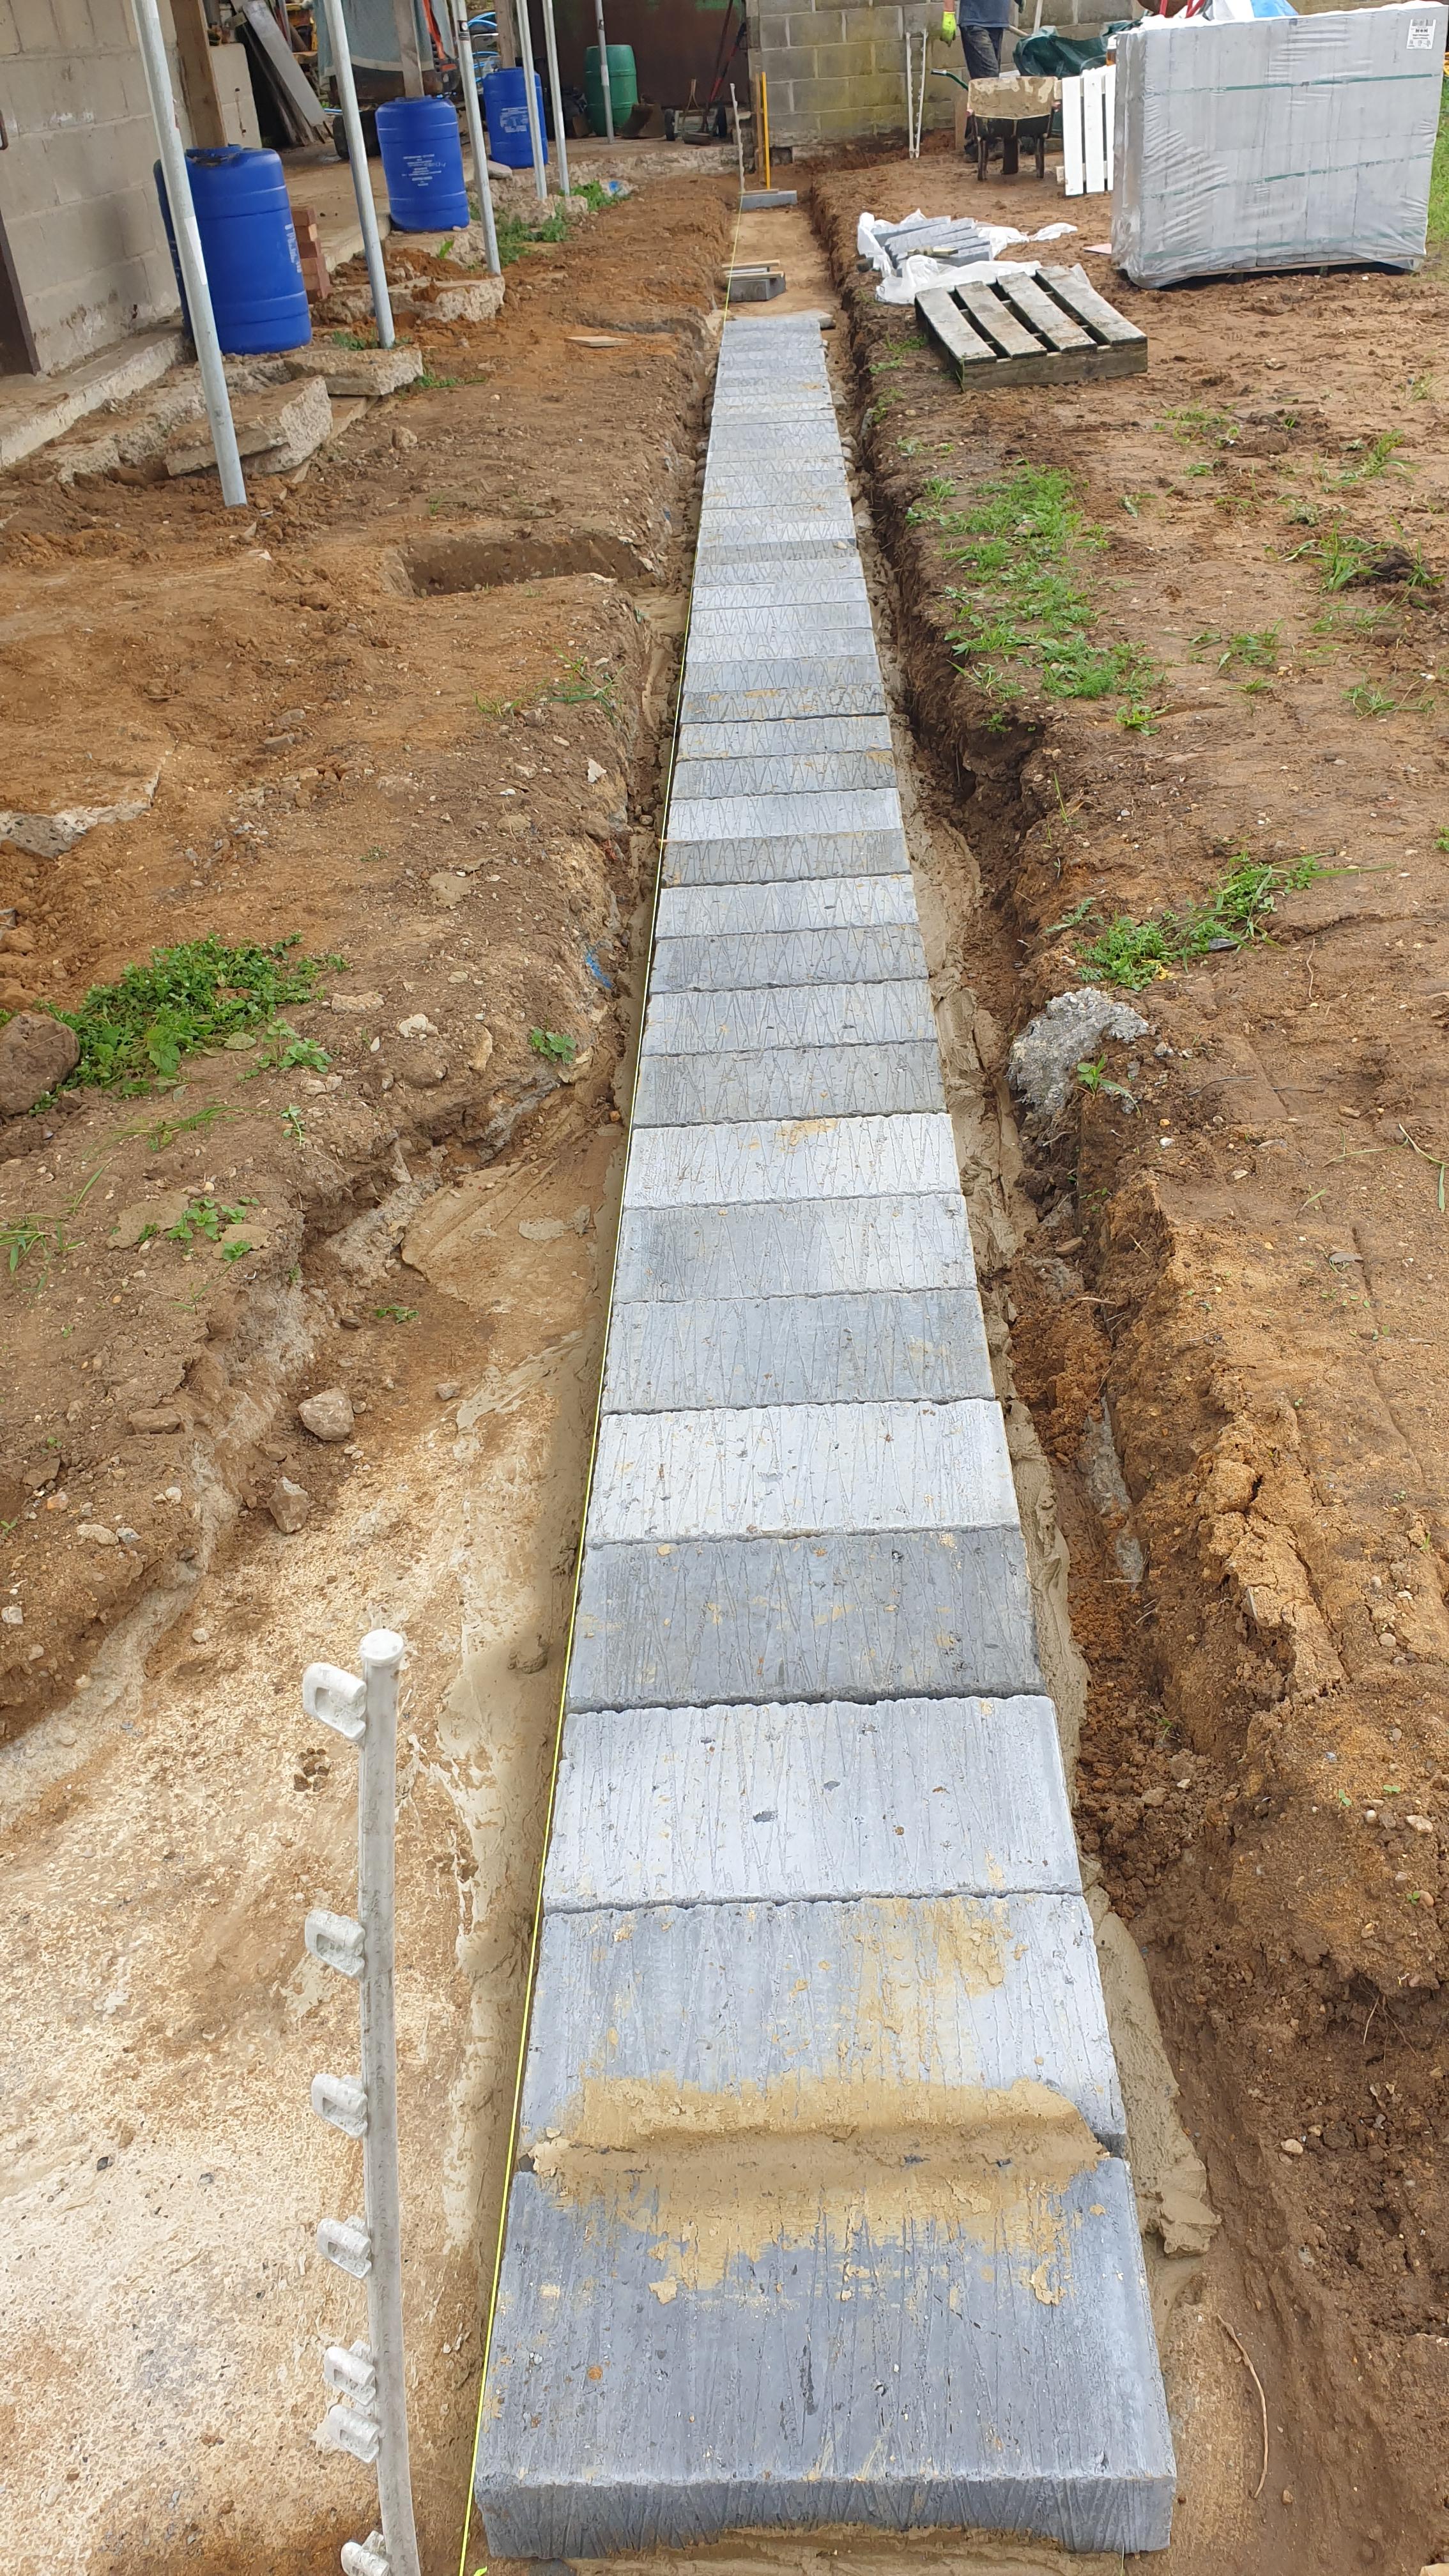
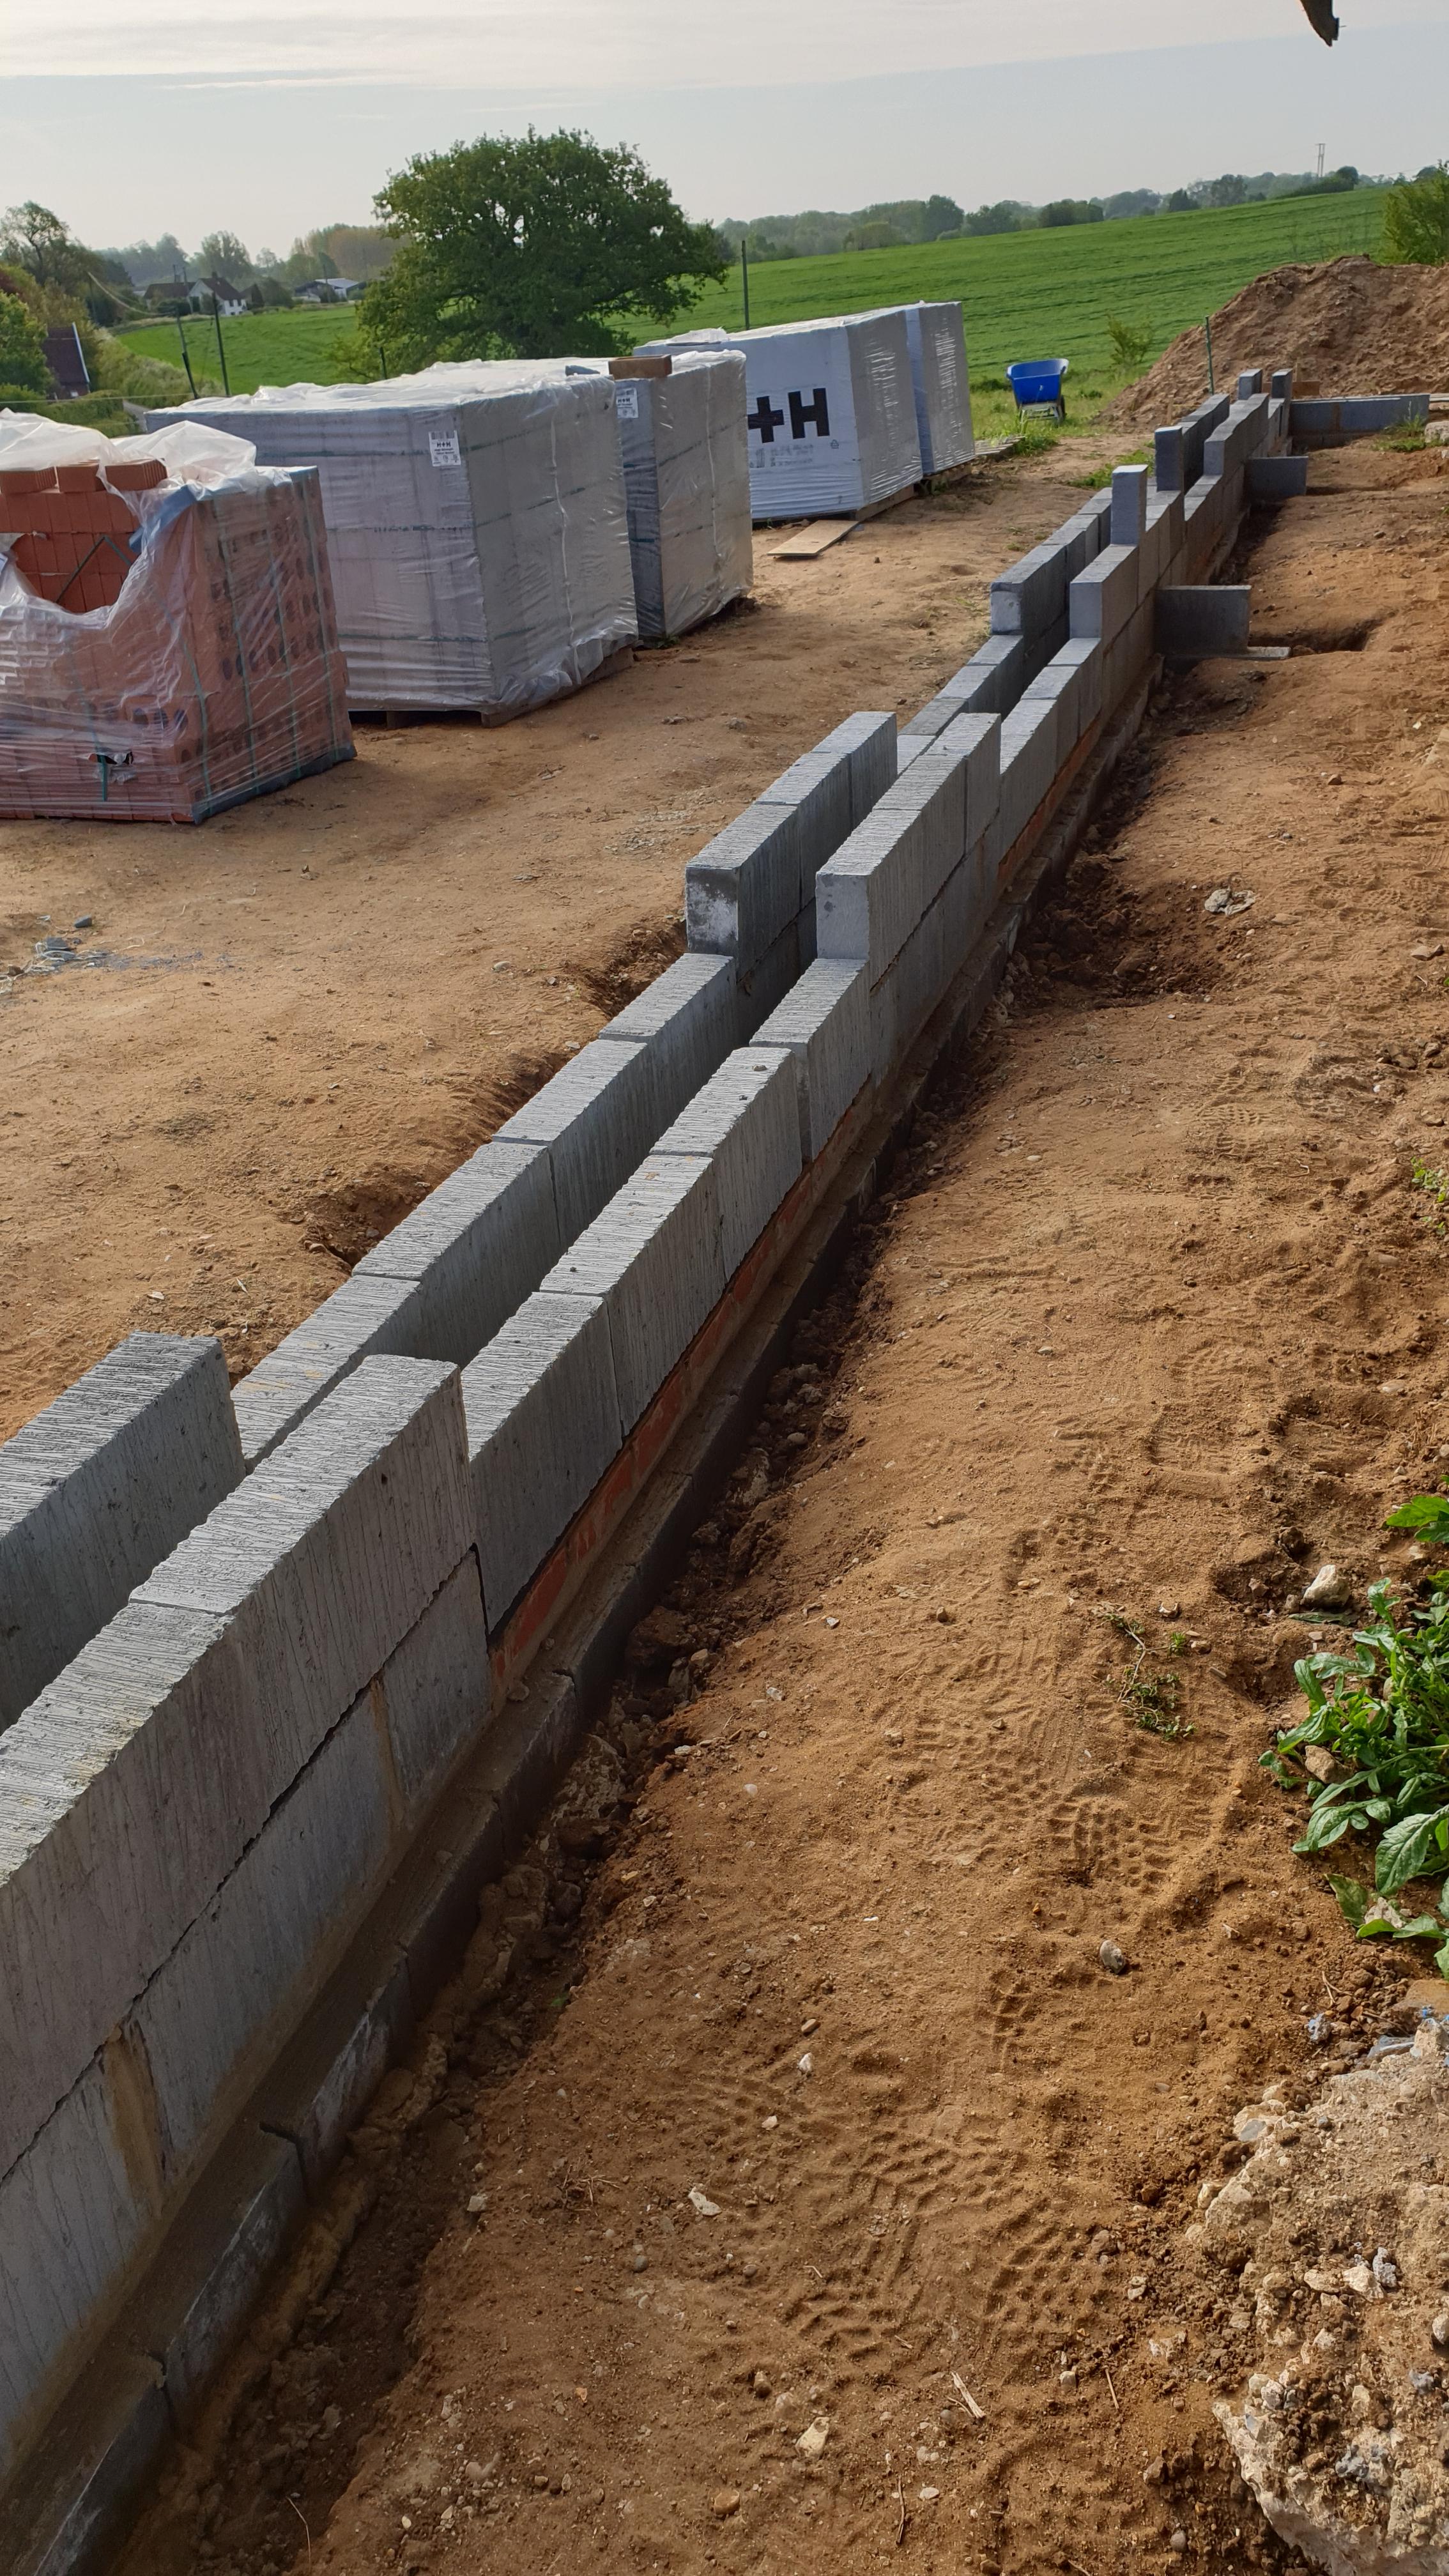
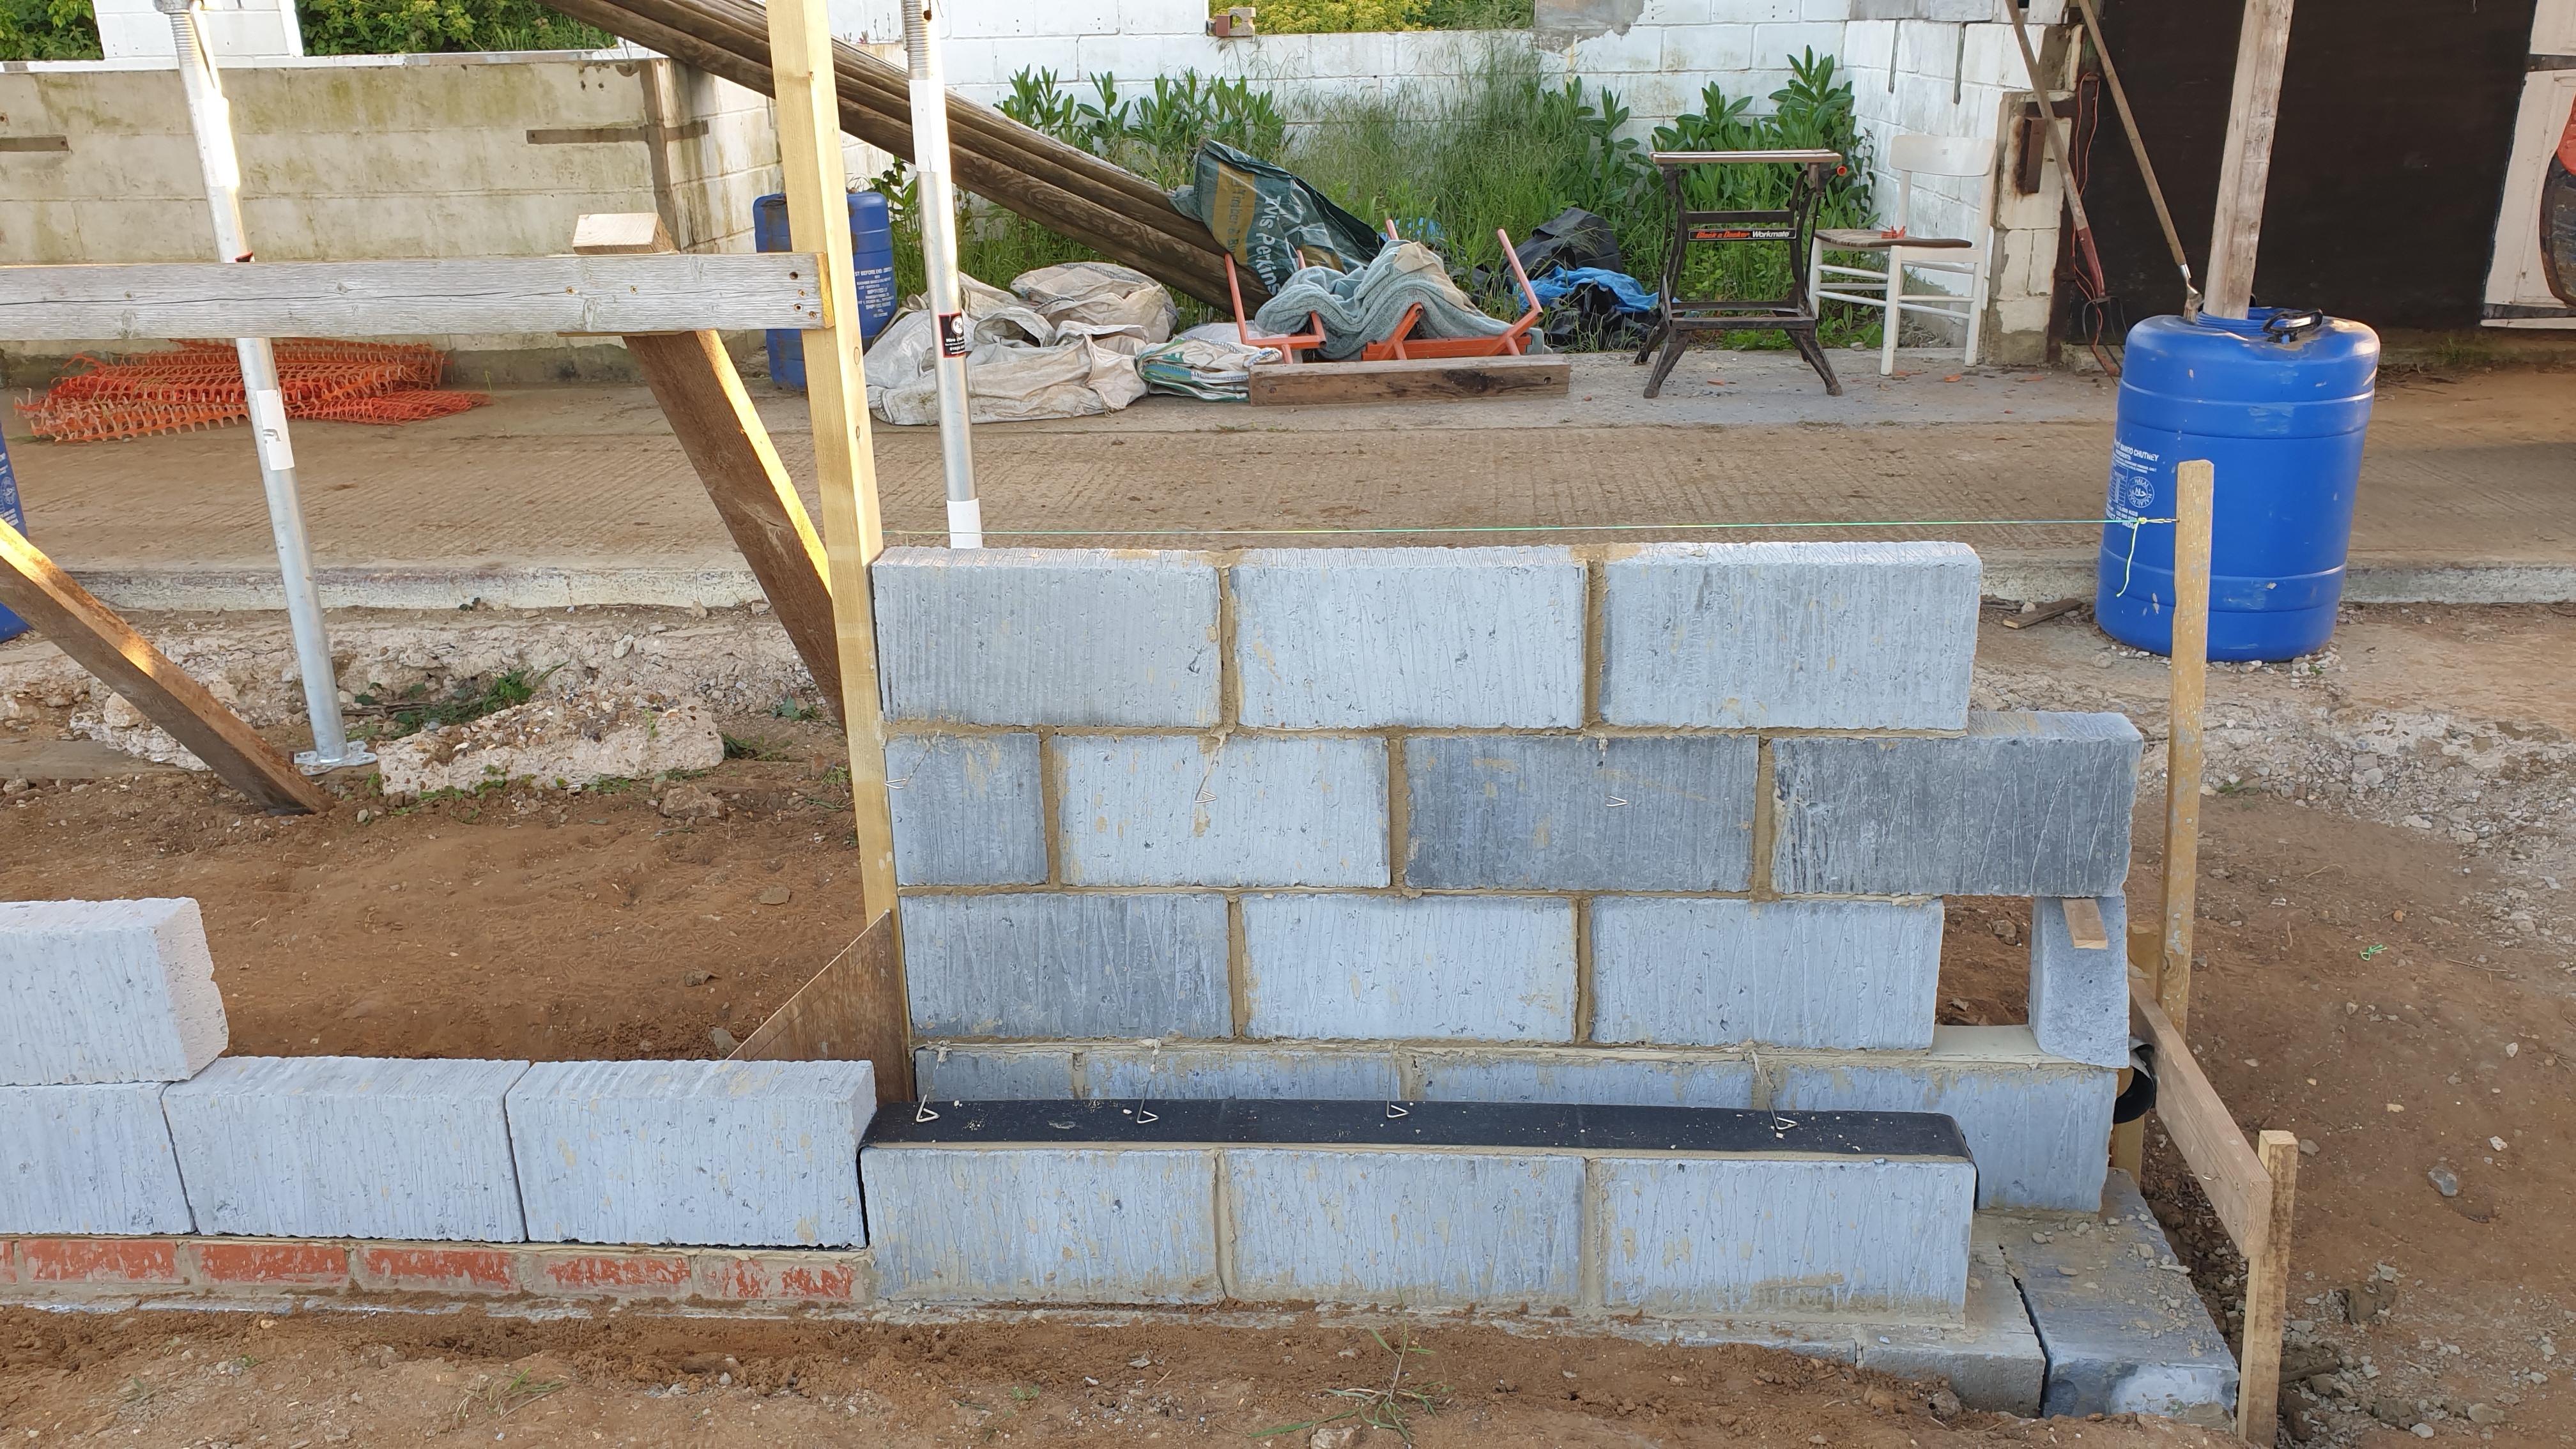
2nd layer of foundation well underway with the brick level lower to allow for the level thresh-hold doors
DPM put down , with blocks on to stop it blowing away as it doesn't stick to the mortar, another thing I didn't know that it's just held down by the wall above.
This one also doesn't show the 2nd membrane for the inside which is now there and rolled up.
Two of the temp door frames in situ, built from old wood from the barn
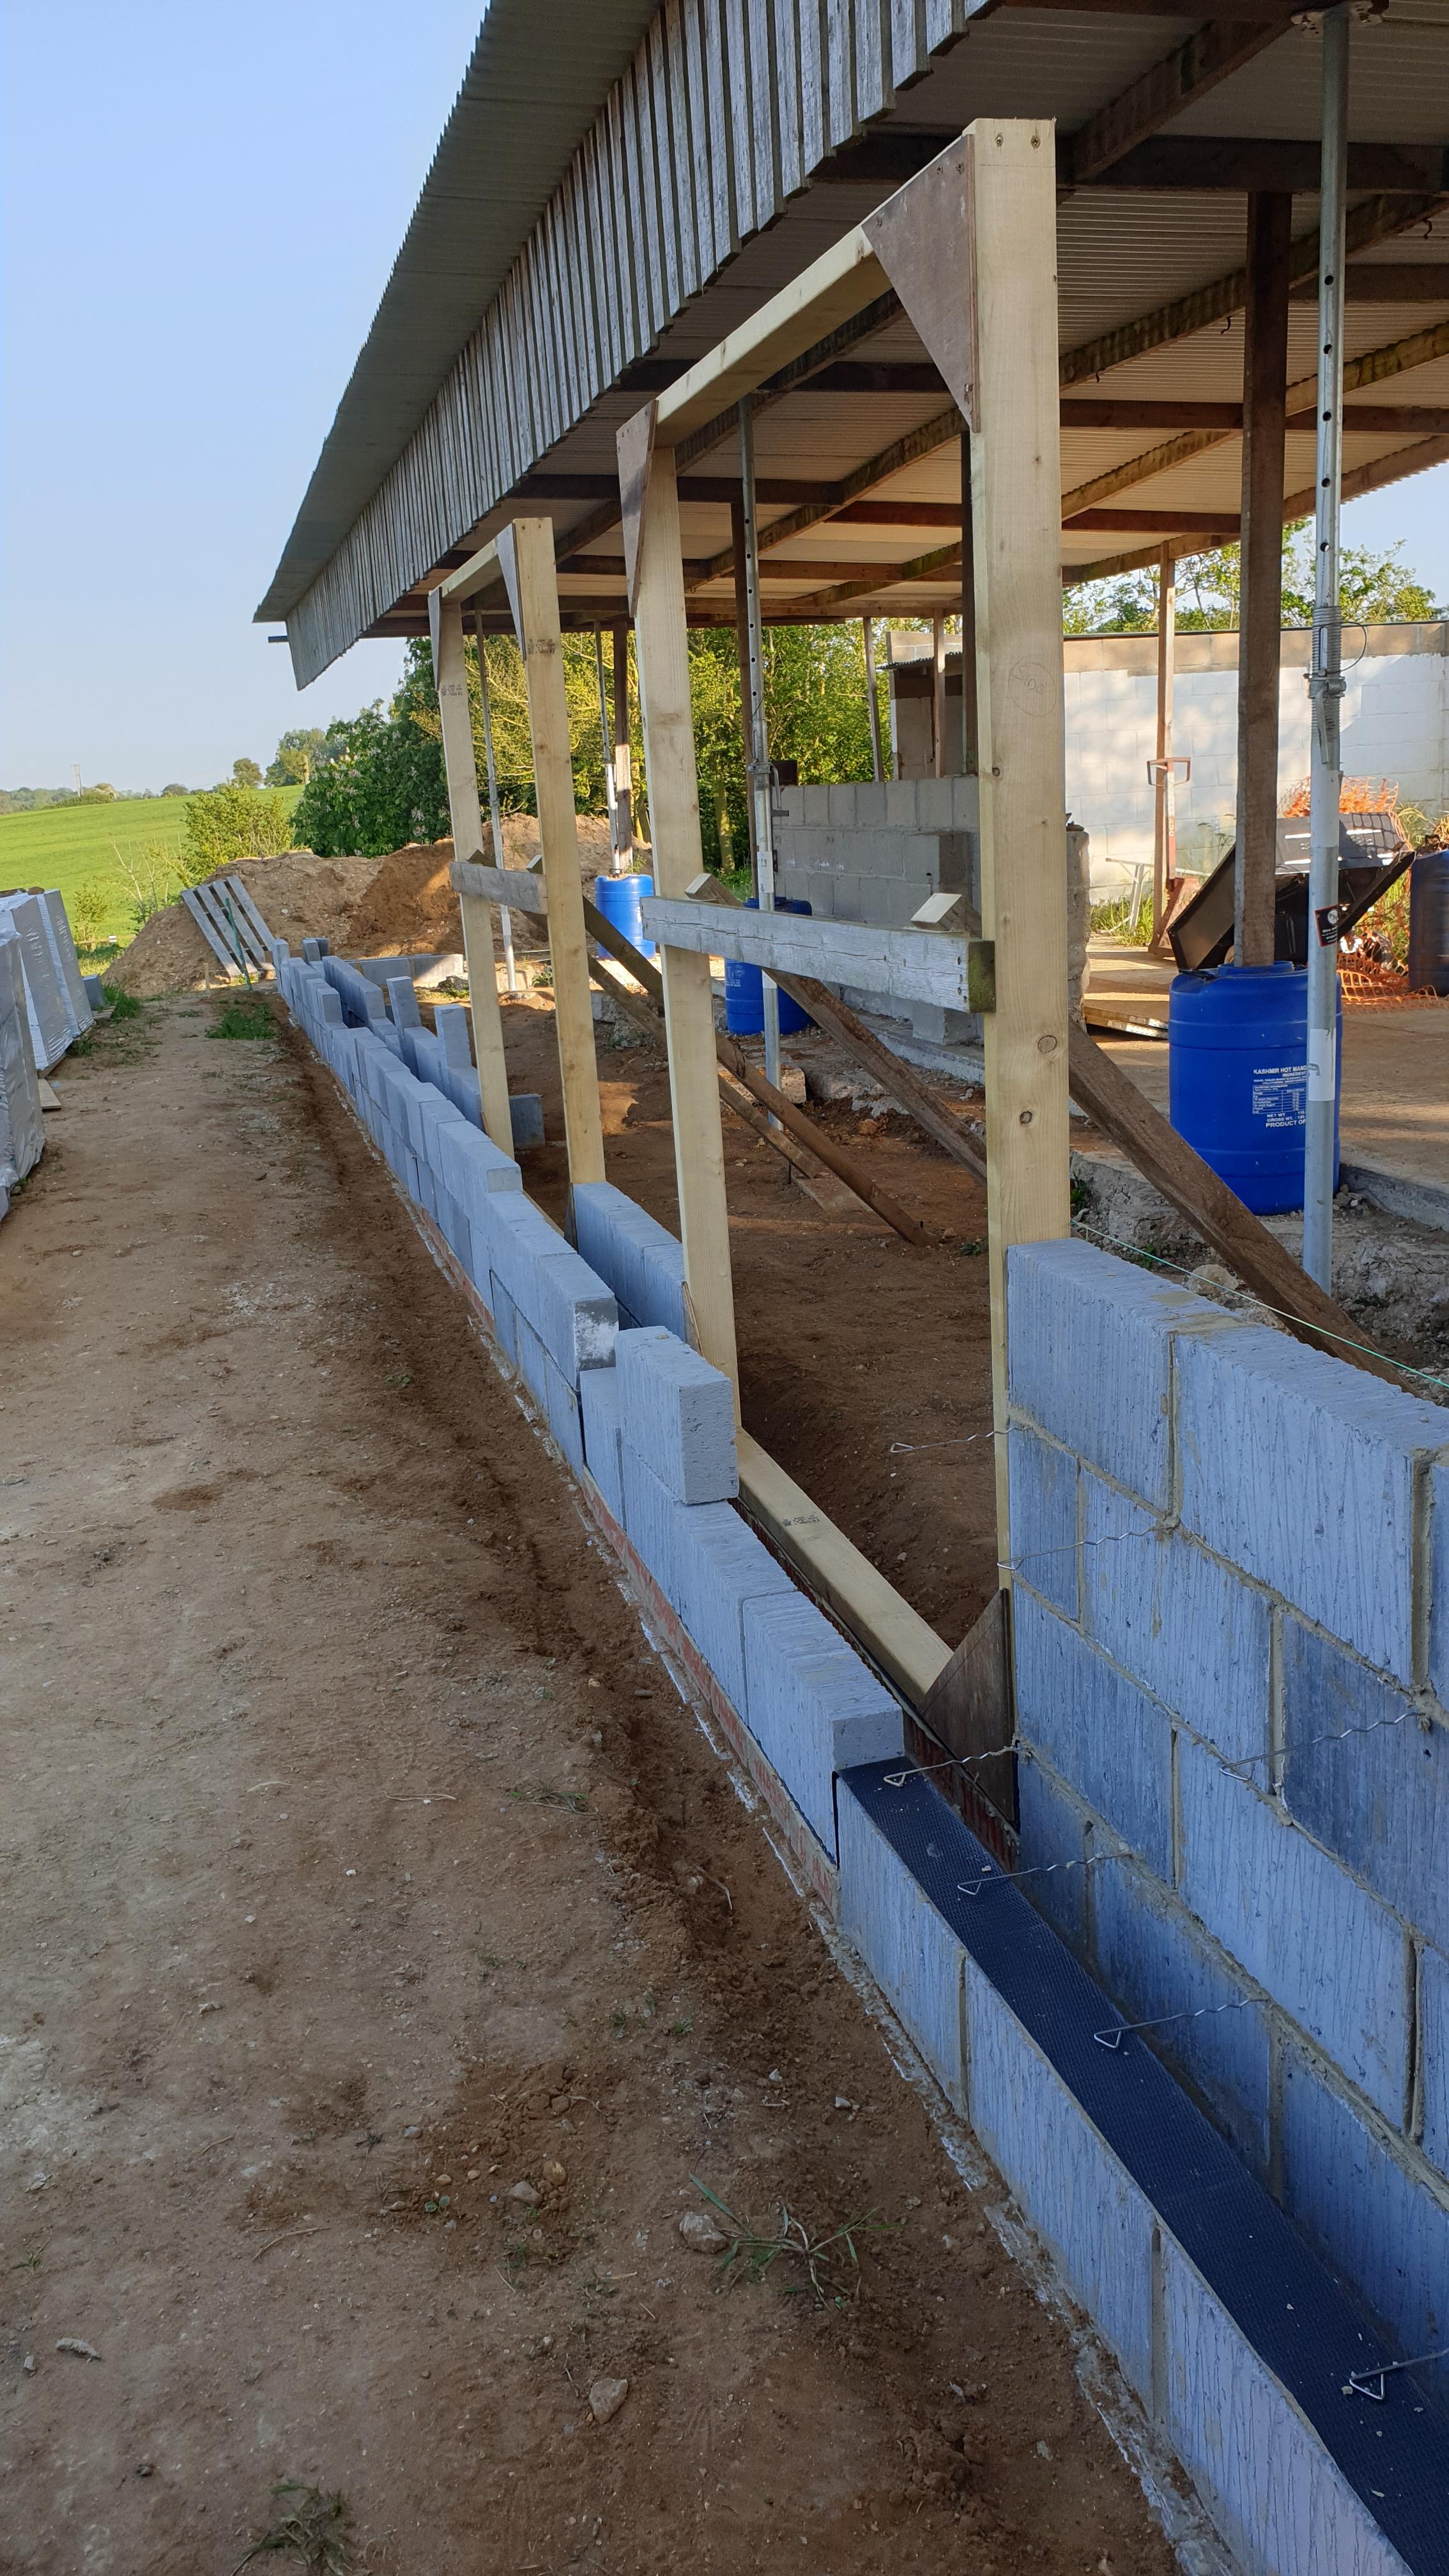
and last for now, the start of the internal wall, the right hand end carries on to join another wall which needs underpinning and a padstone, hence just keep out the way for now.
Next steps are more frames as 4 doorways along this wall,
Carry on building the internal wall up to lintel height
Then insulation as the external wall goes up.
And the cavity closers of course and lintels.
This wall (wall A) has been very straightforward as it never existed, it was the open side of the barn, there are also no drains here, just 4 doors.
This carries on around the corner (wall B1) which is also new, but that then comes to wall B2 which already exists and needs underpinning.
Progress should be quicker now, until we find out what we have forgotten and we get to the existing walls.
-
 1
1
3 Comments
Recommended Comments
Create an account or sign in to comment
You need to be a member in order to leave a comment
Create an account
Sign up for a new account in our community. It's easy!
Register a new accountSign in
Already have an account? Sign in here.
Sign In Now