MVHR Installation 2
More of the same...
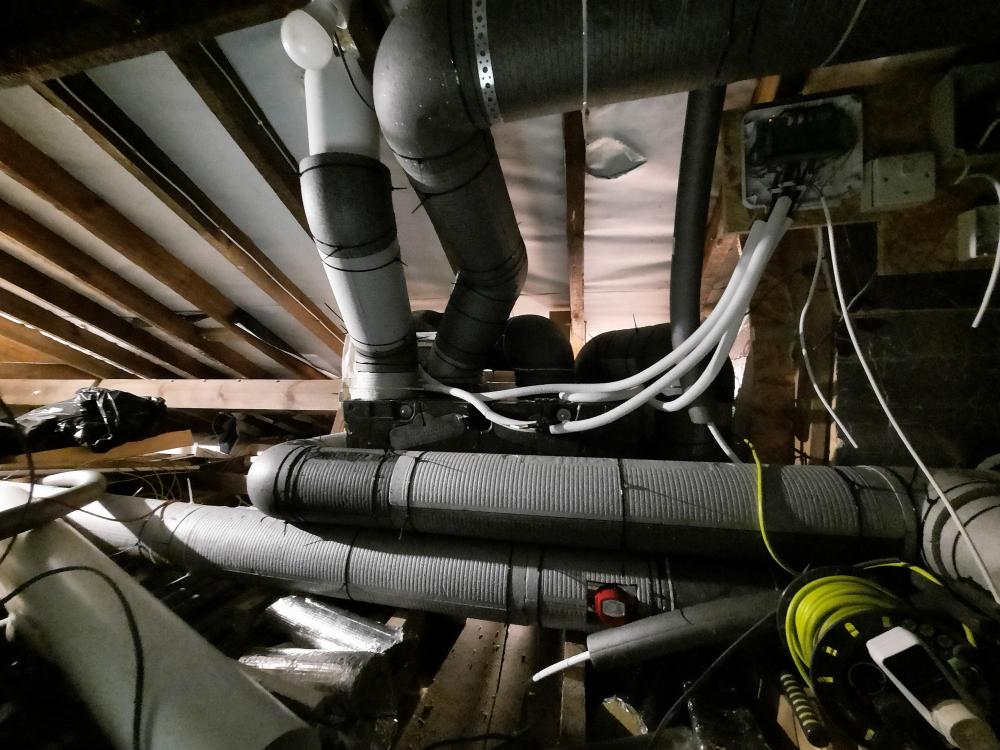
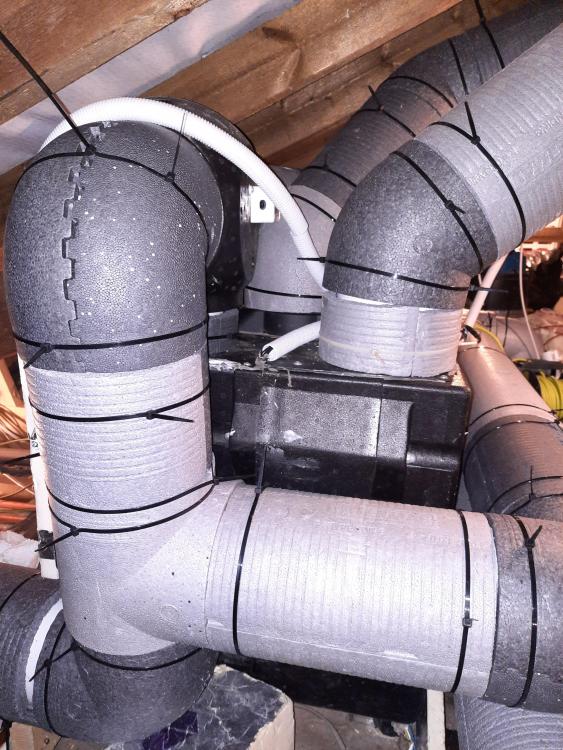
When insulating the ducts I noticed that the top of the MVHR was not insulated so I have installed flexi conduit on the cables ready to throw fluffy over the top.
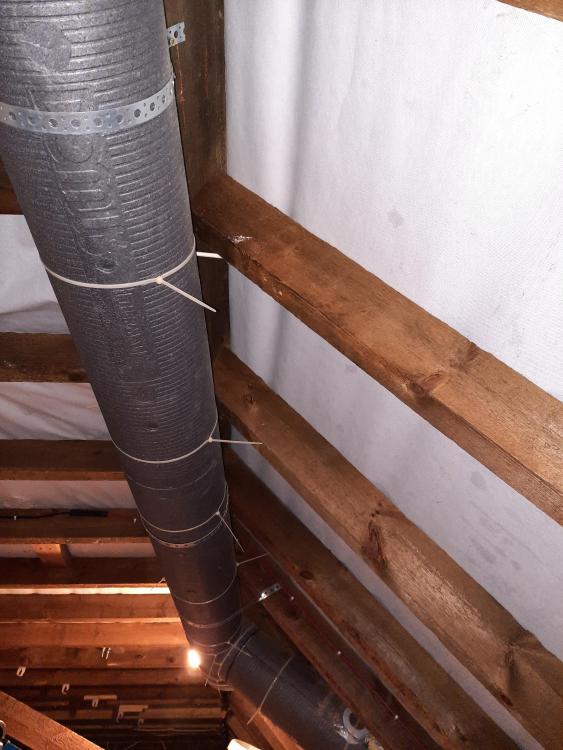
This is the inlet pipe running under the ridge. 150 diameter with insulation held on with cable ties
An installed air damper in red. More about these later....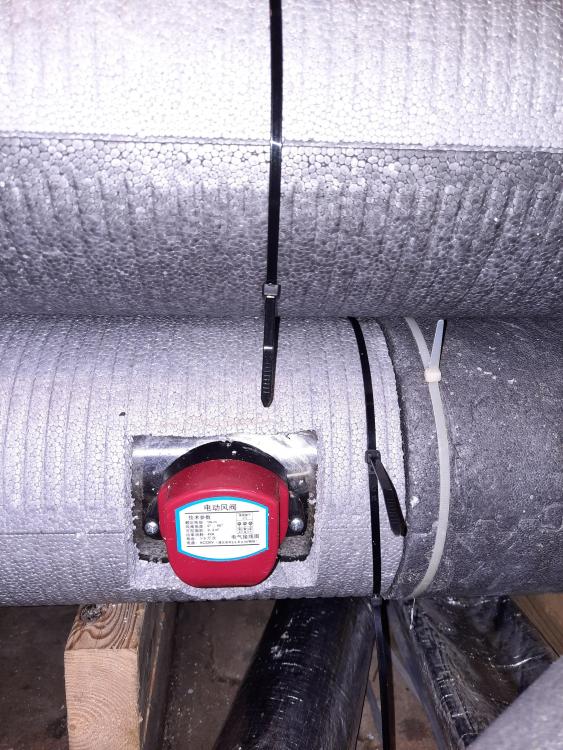
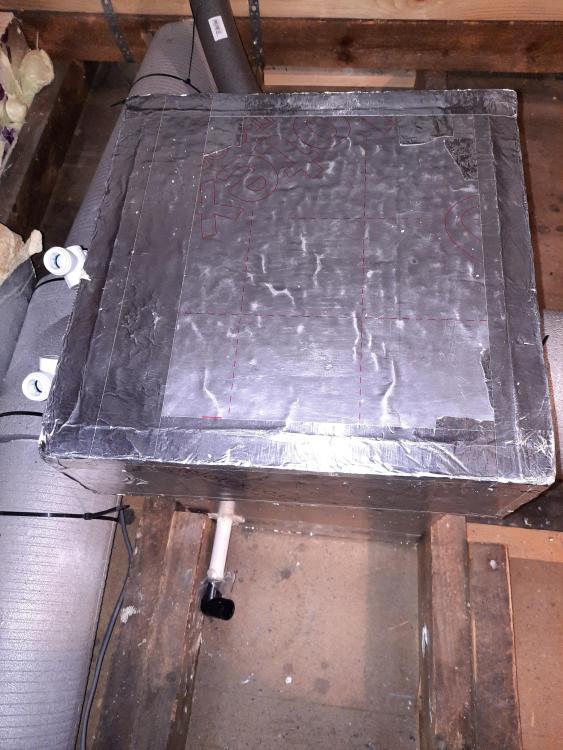
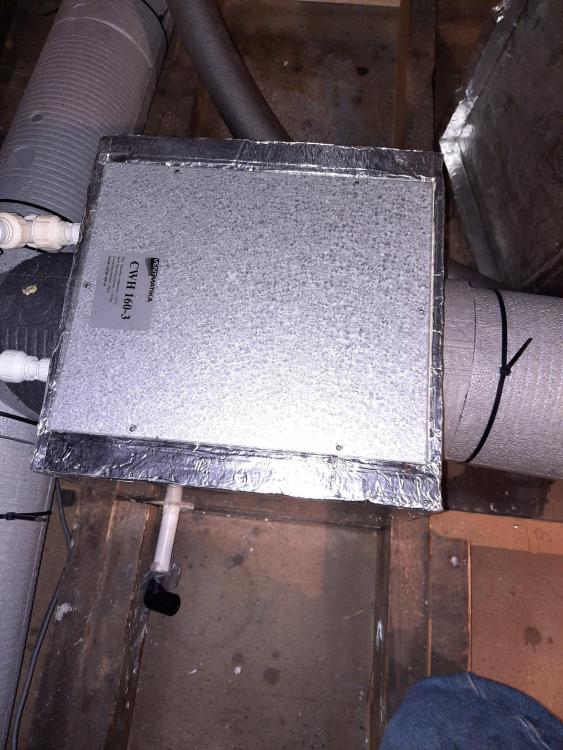
Water coil with thermal lid. Lid made from PIR.
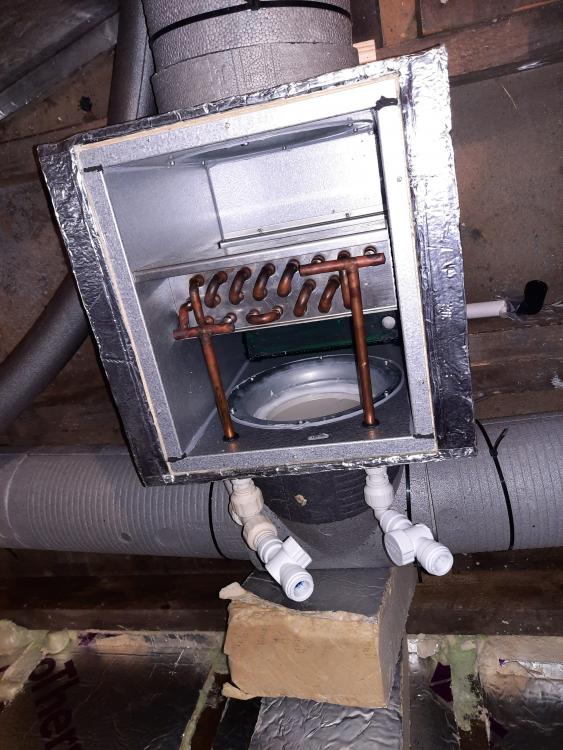
Lids off:
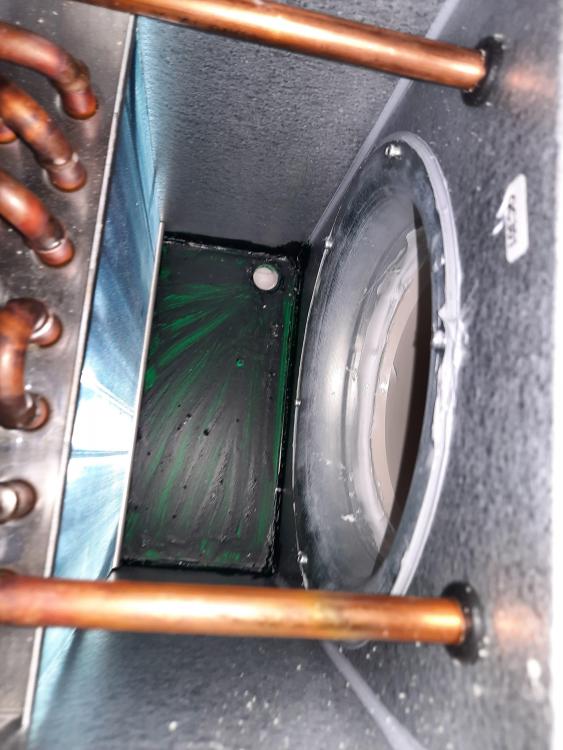
The coils had no condensation drain so I installed one in the bottom. I cut the bottom 100mm PIR layer so the bottom if the box falls both ways to the corner with the drain and painted the bottom with a protection coat of metal paint.
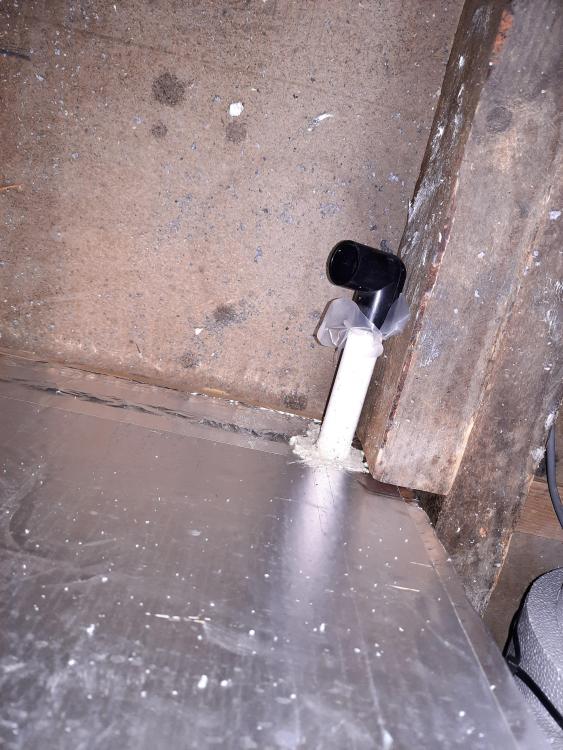
White 22mm drain pipe sticking out with temp cap off. Water trap still to be fitted...
Side view of MVHR unit. Note the black "Summer bypass" with the white block on the side
-
 3
3


0 Comments
Recommended Comments
There are no comments to display.
Create an account or sign in to comment
You need to be a member in order to leave a comment
Create an account
Sign up for a new account in our community. It's easy!
Register a new accountSign in
Already have an account? Sign in here.
Sign In Now