Part 5 - Foundations Finished (Finally)
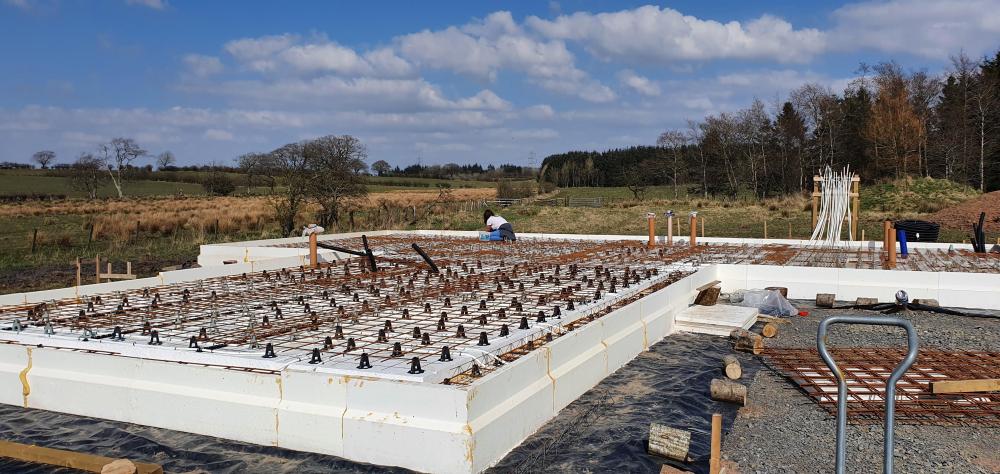
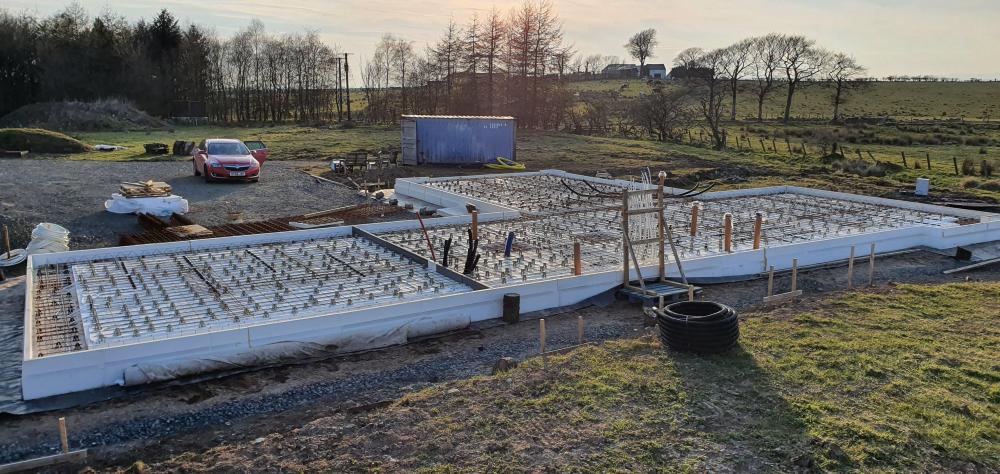
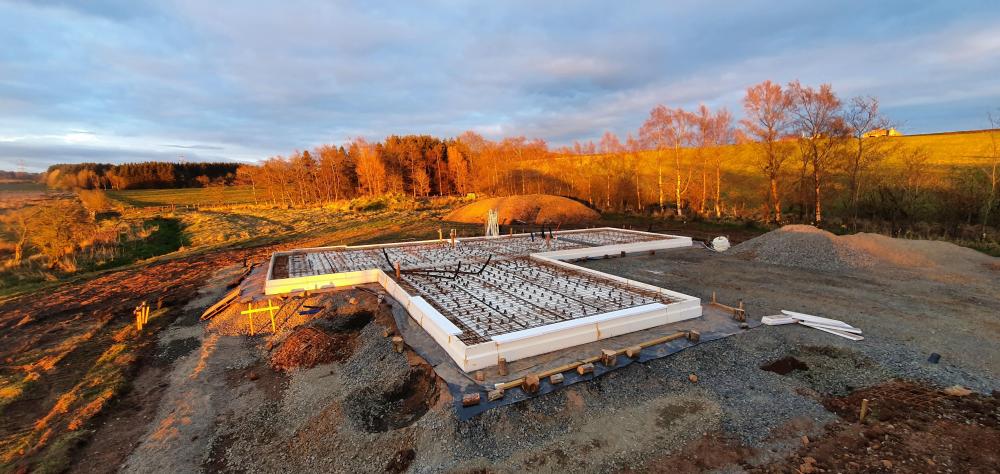
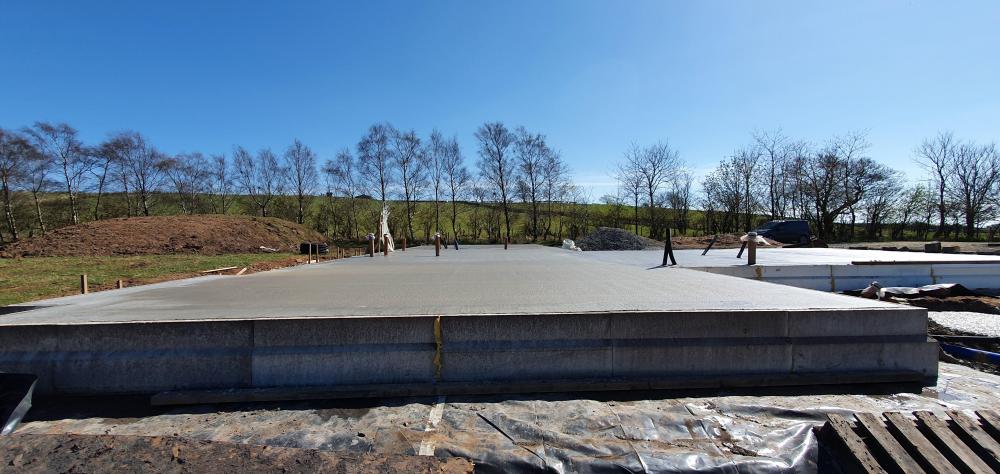
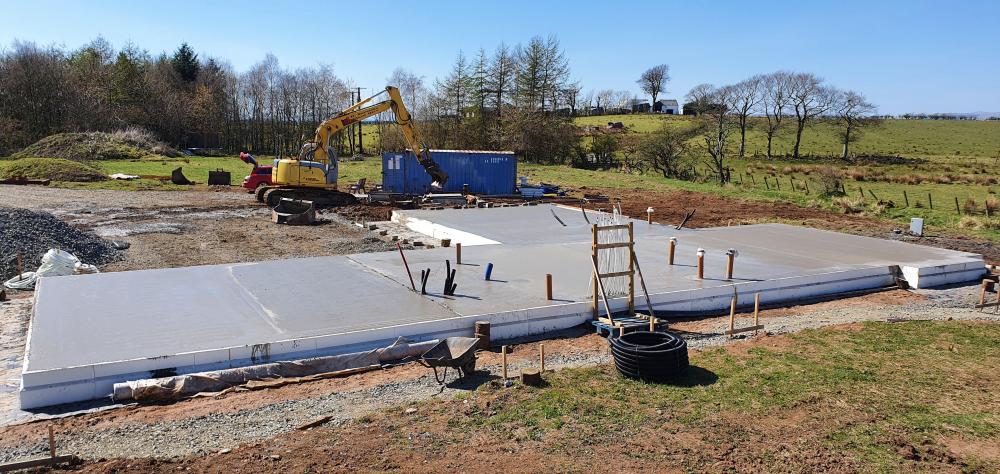
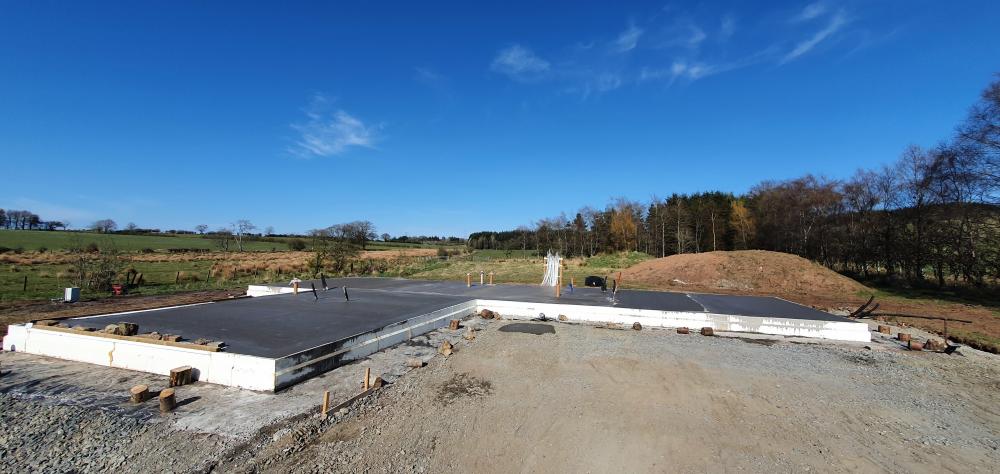
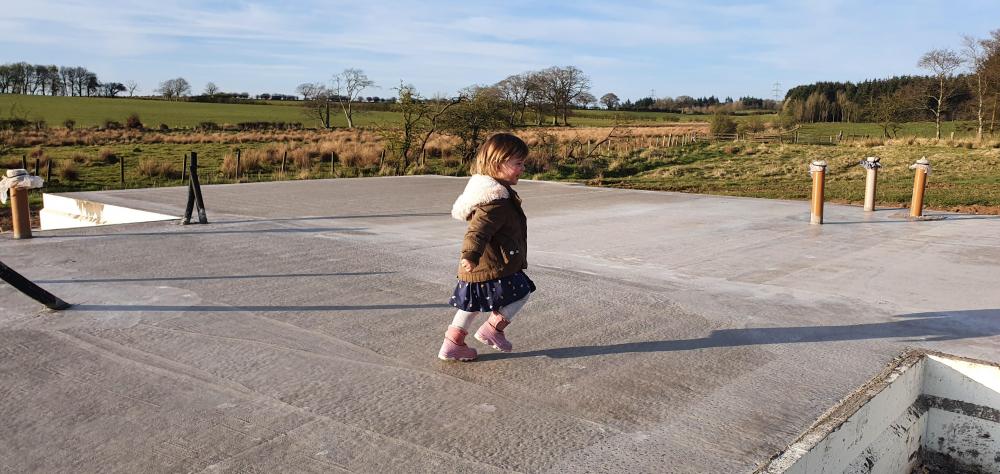
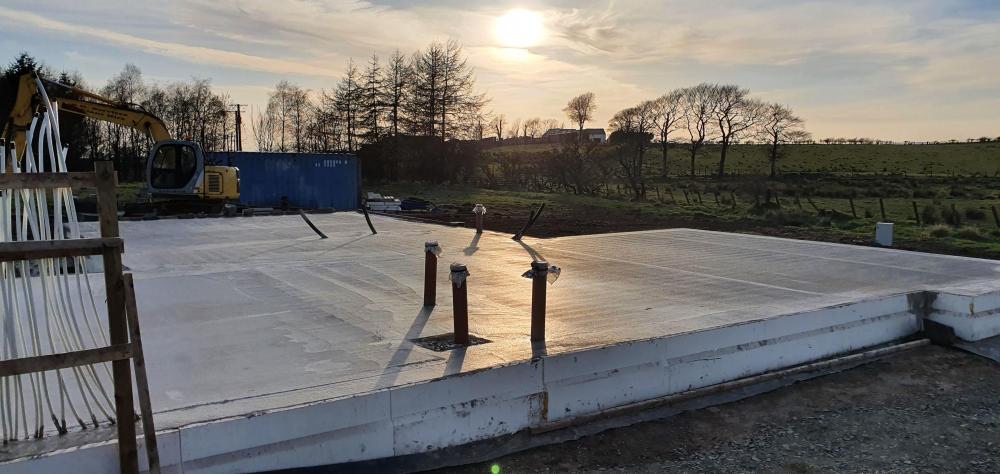
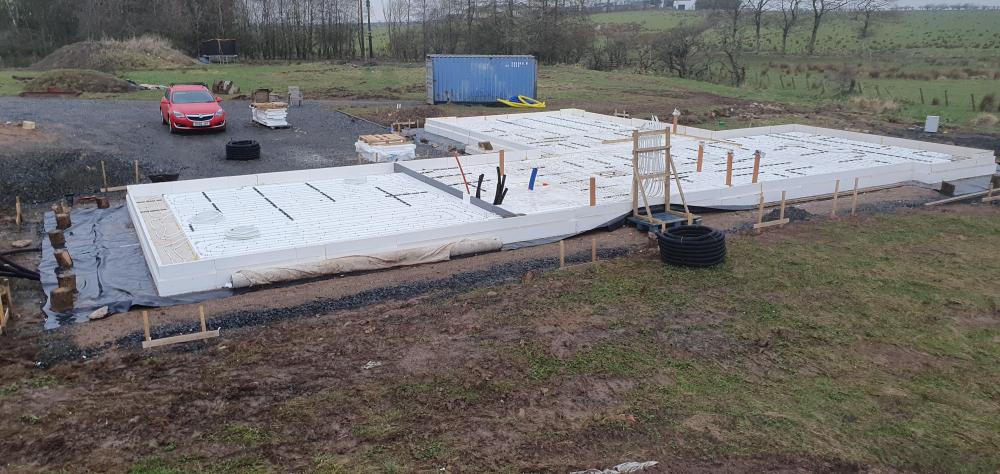
It's kind of taken me 4 moths to get here, we broke ground start of January took a while to get the road and the rest of the ground built up with the stone (700 Tonnes circa!). But we have finally done the UFH, tied the mesh and then poured the concrete.
UFH:
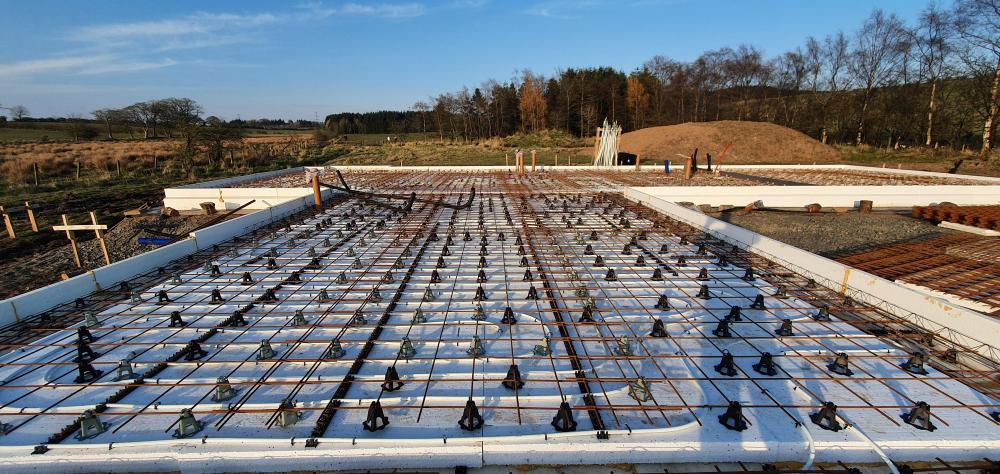
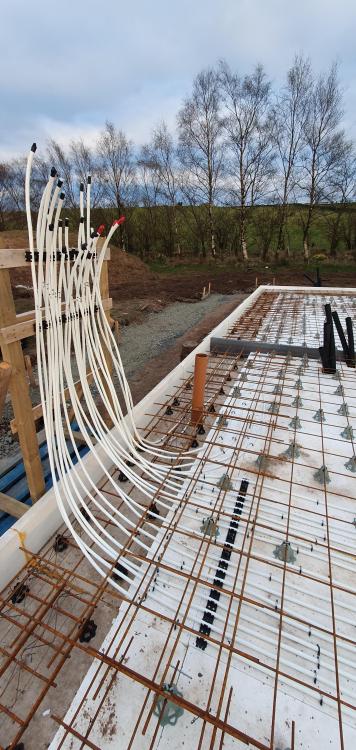
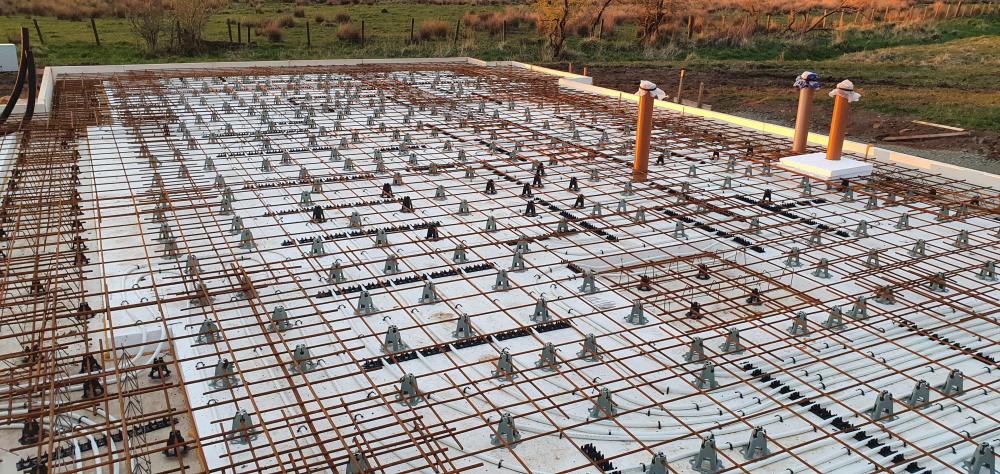
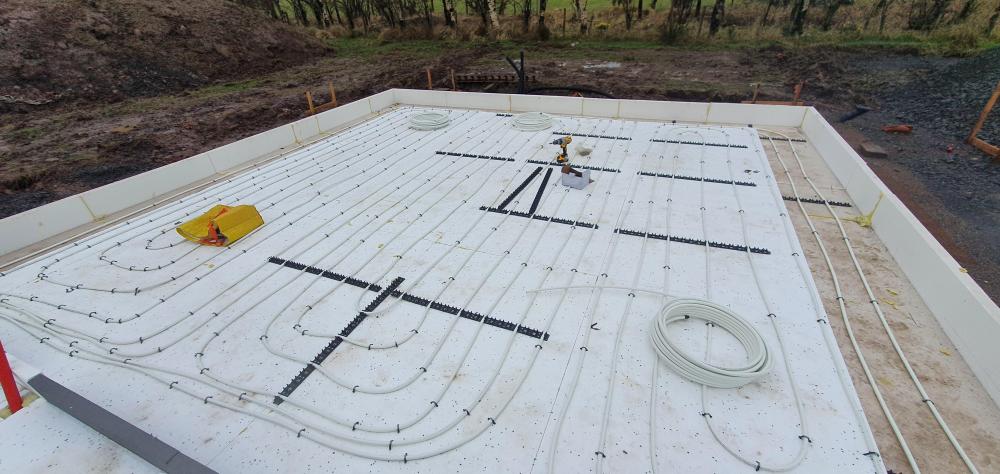
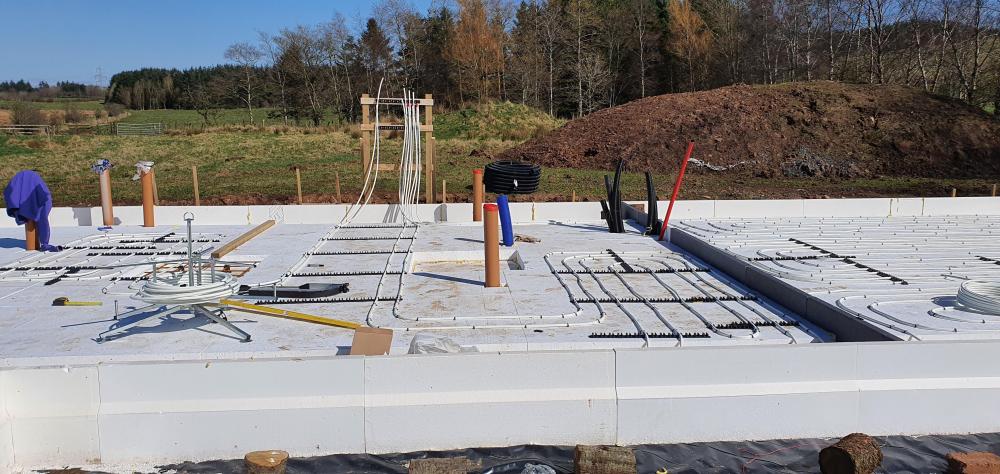
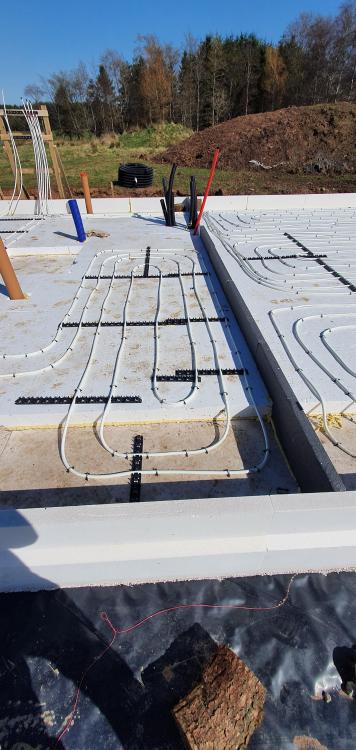
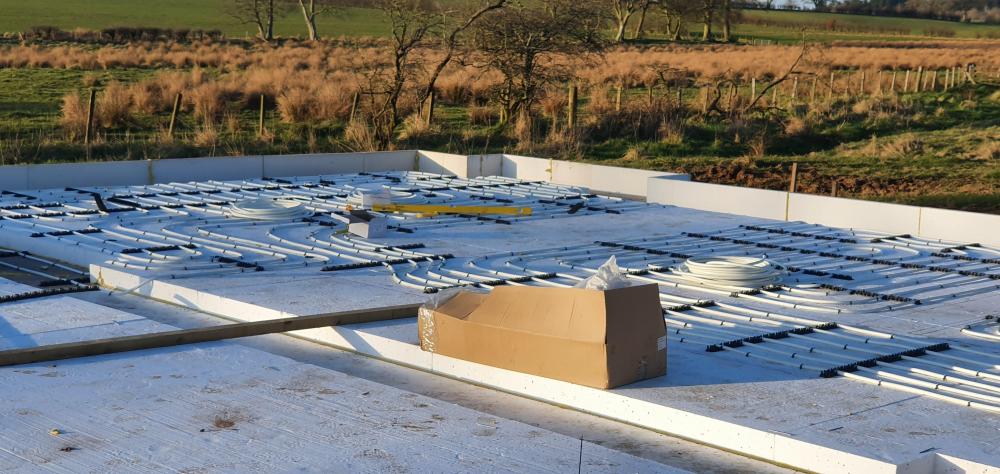
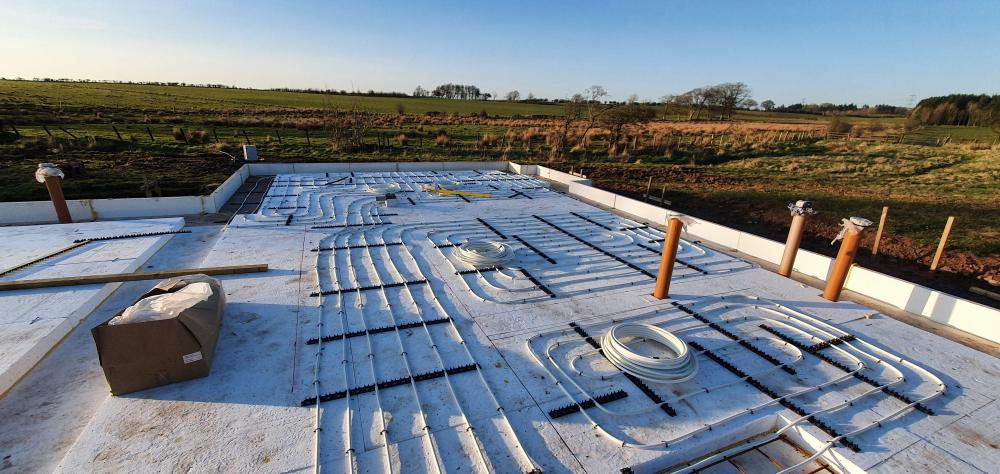
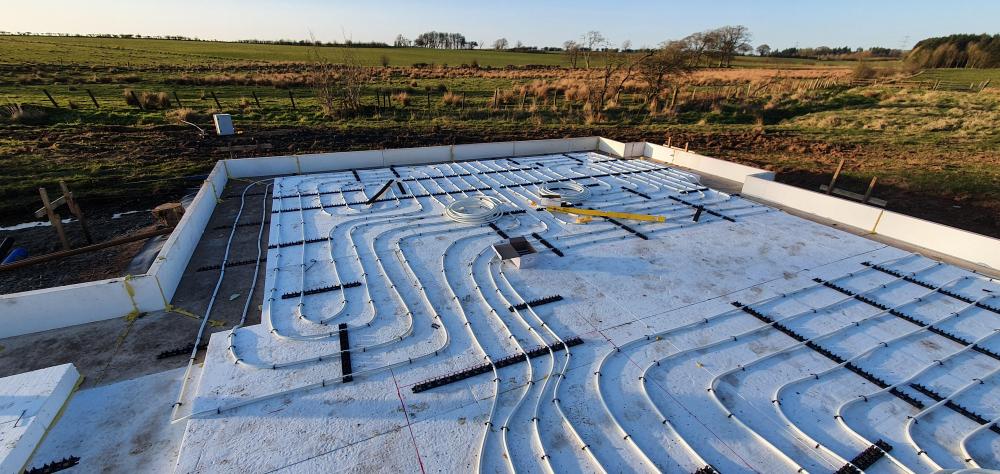
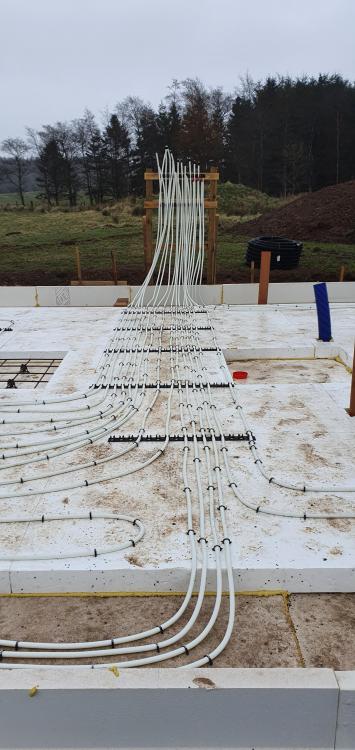
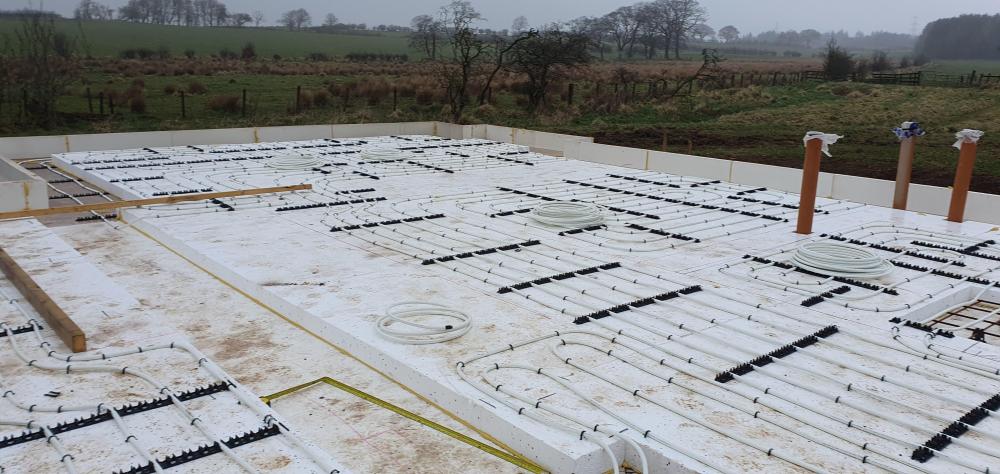
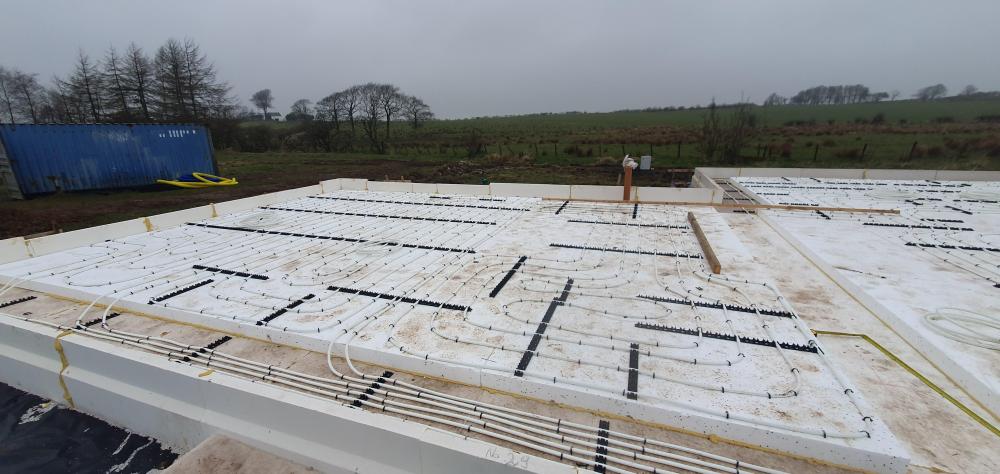
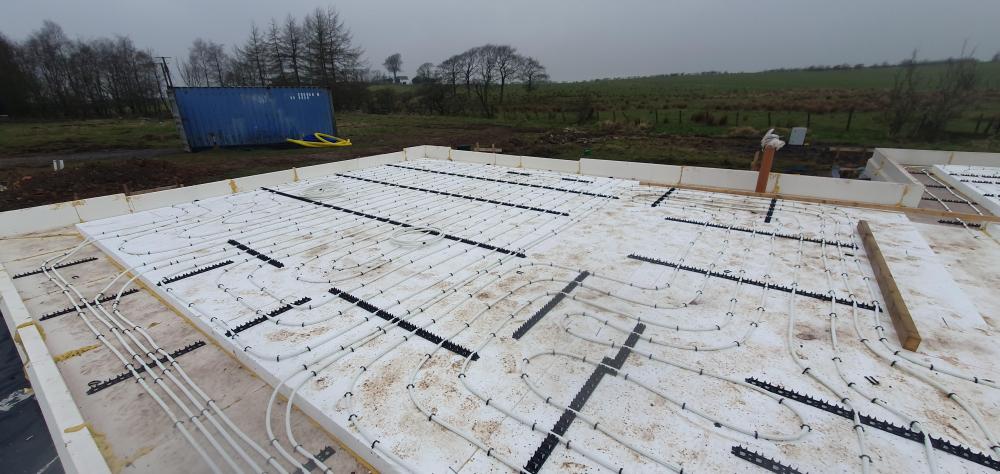
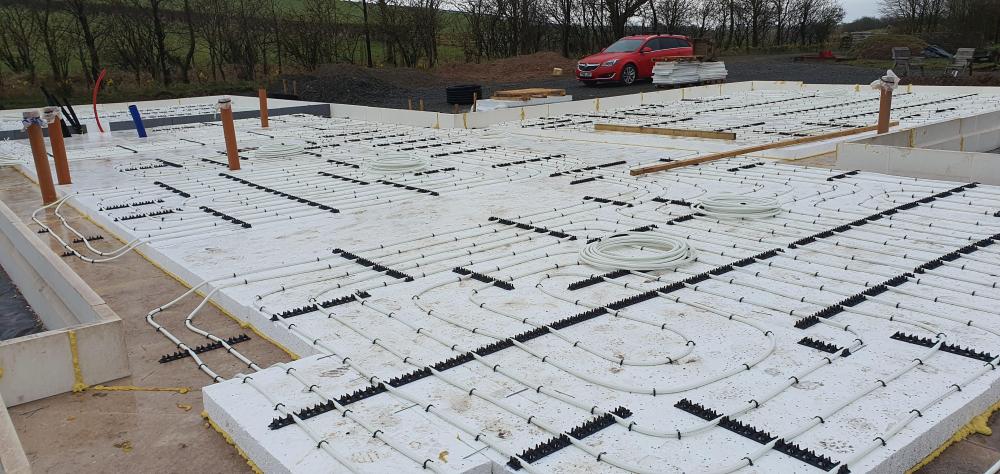
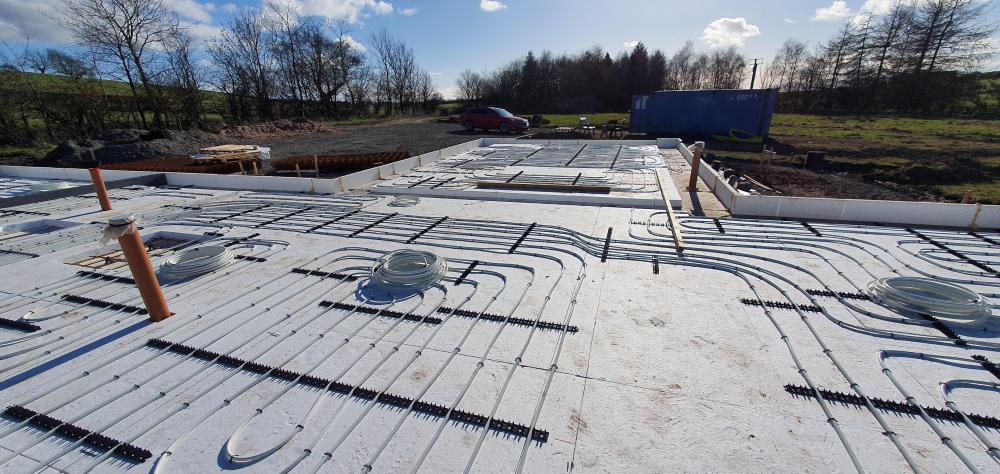
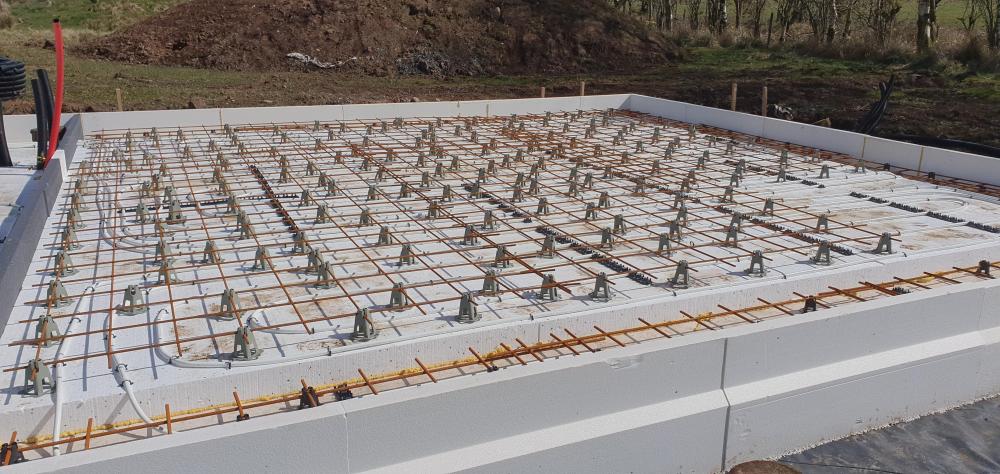
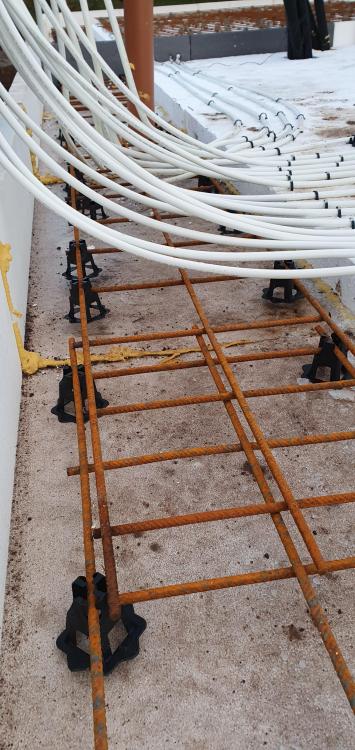
Fitting the UFH was pretty straightforward to be honest. I had 1.1km of pipe to lay, and just planned it out as per the Wunda drg, I adapted a little as I went along to avoid awkward bits but it went fine. The UFH stapler was a godsend, made it Uber easy and was just great putting it into the insulation. The decoiler also a godsend, god knows how you would do it without one of those. Both well worth the purchase.
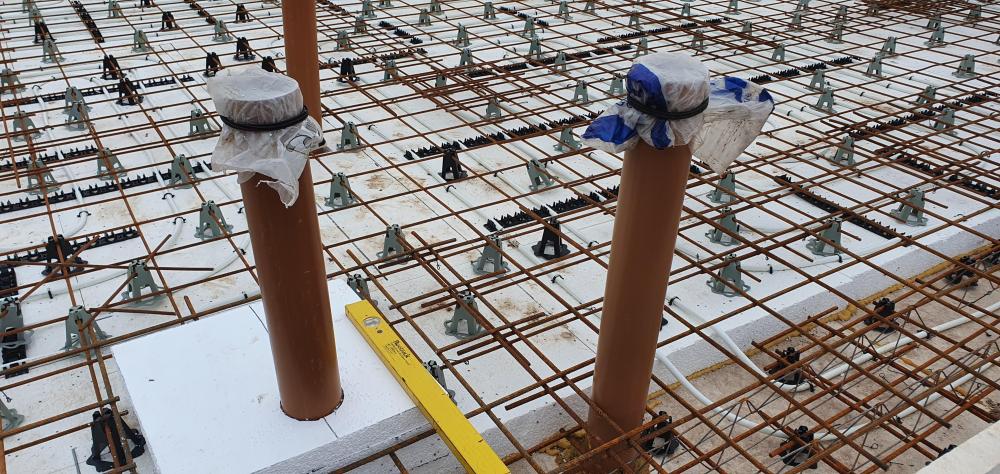
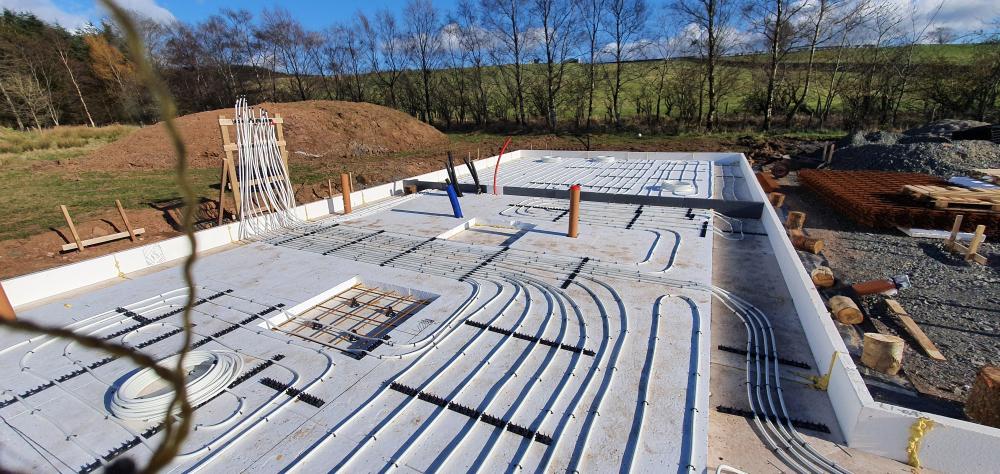
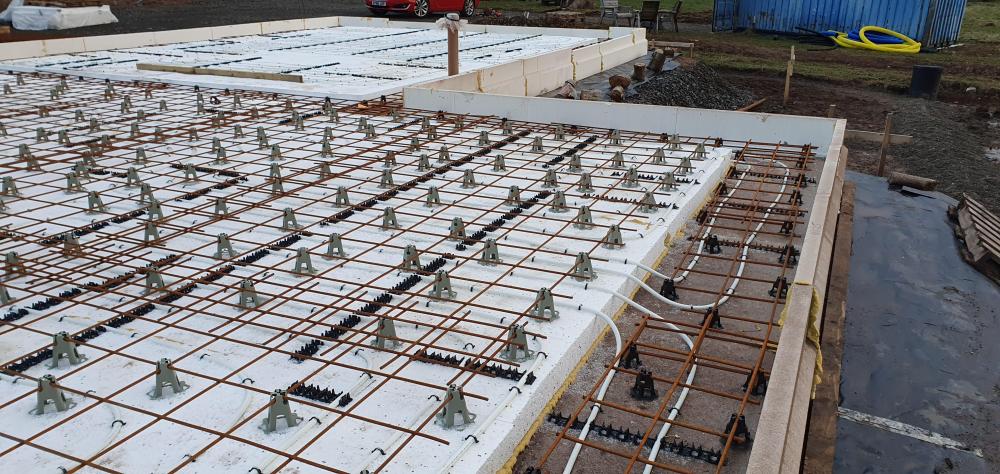
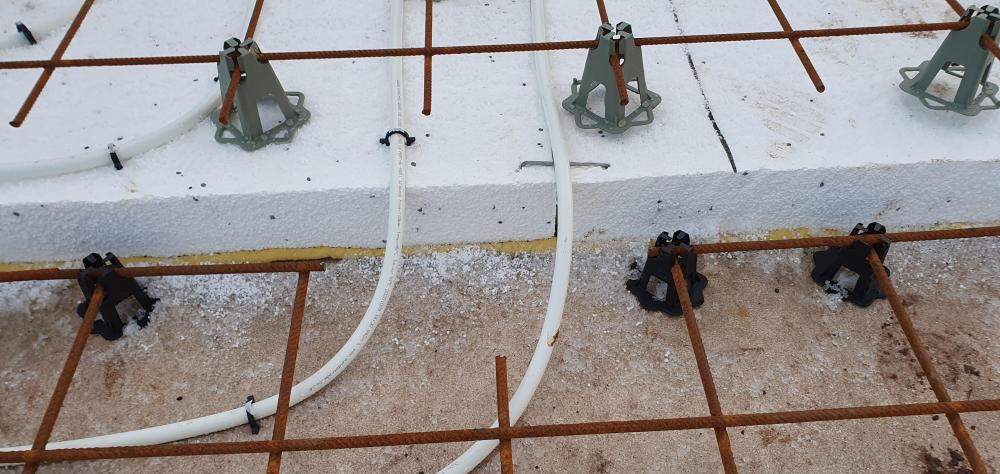
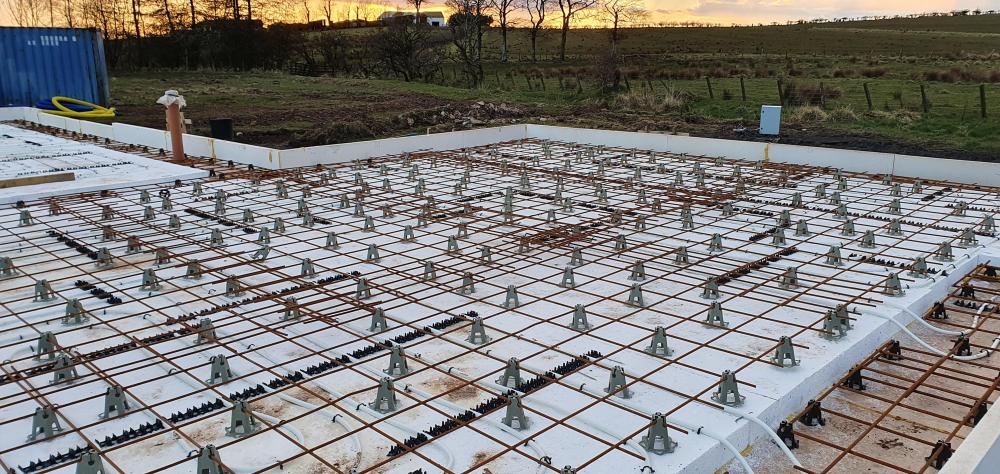
I laid pipes out in concentric layout, it gives the most even heat distribution as a return is next to a feed pipe. It was fine doing it, i started with outer at 400mm centres and then turned back to leave me with 200mm spacing. Once back at the UFH manifold point I cut the pipe to confirm it wasn't burst and got a big whoosh of air (Wunda pipes come pressurised). The only mistake i made (or remember making was the lengths. I thought i had 11 100m loops, but turns out I had 10 loops at less than 100m, then 1 loop at 101m - which they supplied a 120m length for. Of course didn't realise that till the end and it was the last pipe to be laid...purely coincidentally. I took a slightly shorter route, but either that pipe was longer than 100m (I had at least 10m spare) or the length they worked out was wrong (unlikely) fortunately it worked out fine! I also used the clip track to secure them, which works well and sticks good to the insulation, doesn't do well at loops close to it but staples there sort it. I never fitted the manifold, I just used a clip track mounted high on a wee frame I built where the manifold will go. I didn't pressure test either....or pressurise for the pour, I wasn't concerned about holes as I was the only one there and I put 1000+ castles down to support the mesh to the heavy ground workers wouldn't' squash it on top. My pipes were laid on the insulation at the bottom of the concrete well away from the mesh and any chance of people drilling through them. I'm confident not pressuring will be fine during the concrete pour - those pipes are very resilient.
Mesh:
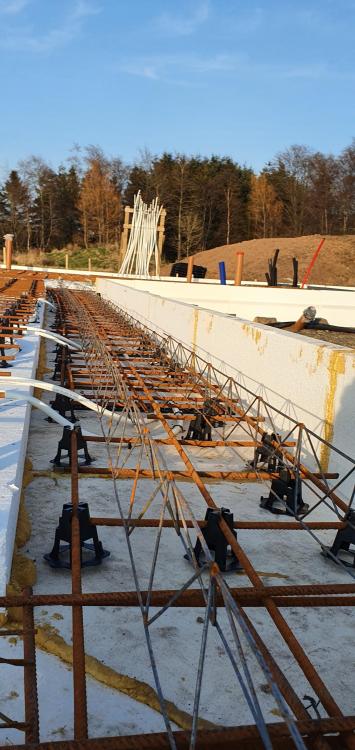
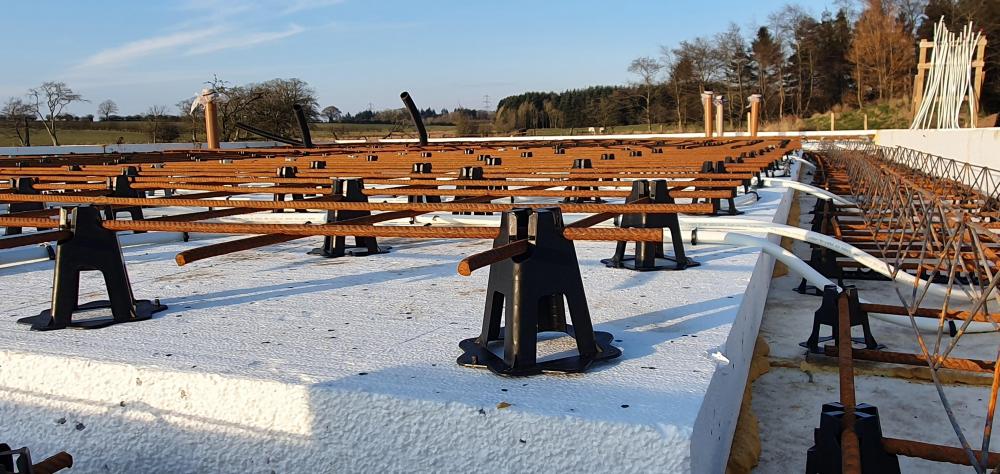
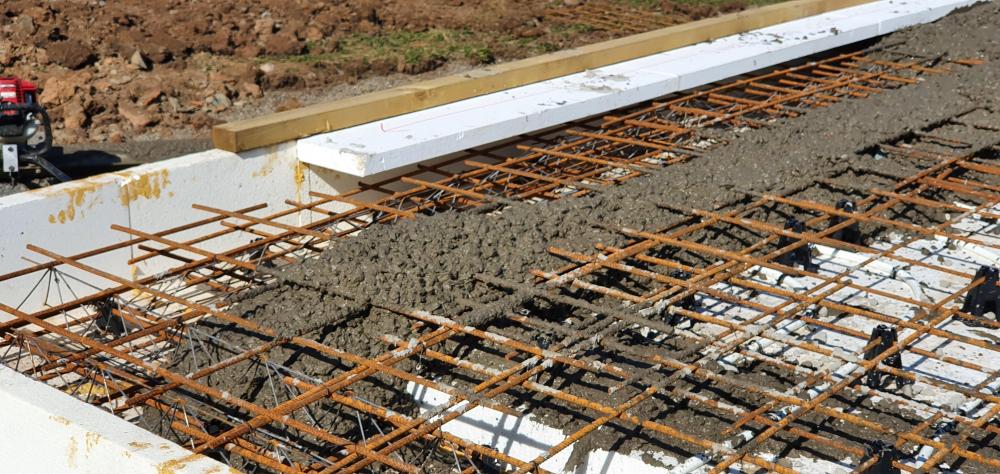
By Jesus - straightforward again, but f$ck me....the bloody wire tying loops. My back was dead..and i don't have any back issues, I was like Quasimodo bent over for days tying mesh together. I had a single layer on the main slab, with two layers in ring beam and three at sliders. I used maybe 1000 ties. The mesh castles worked well to support it and the hystools too to give the spacing. I defo didn't think about heights where your lap the mesh sheets as you end up 20-40 mm higher due to where triple sheets lap each other. So I have lots of spare hystools at 100mm.
I had approx. 360m2 of mesh to put in, cutting it was done with stihl saw (quik cut) - made life easy. I also purchased a dewalt cordless grinder originally to do this but you would go through wheels like a maniac. So that was used for small cuts and came in handy trimming bits. The stihl saw (which i own anyway) made it easy. I did buy a set of 36" bolt cutters as someone said to use that - shit idea, mega hard and I'd have been there all day using them. They done two cuts, went back in the box and were returned to Toolstation.
Rebates:
I planned two flush thresholds for my sliders - I shuttered these using the 50mm packing that came with the Insulated foundation, worked ok - But i had to weight them down during the pour. Also - I worked the concrete below the long one, but forgot the short one and it left a space which I will fix this week prior to kit going up. I also done a shuttered section at my downstairs bathroom so I can fit a floor mounted shower tray. That worked fine - just need to dig it out.
Concrete:
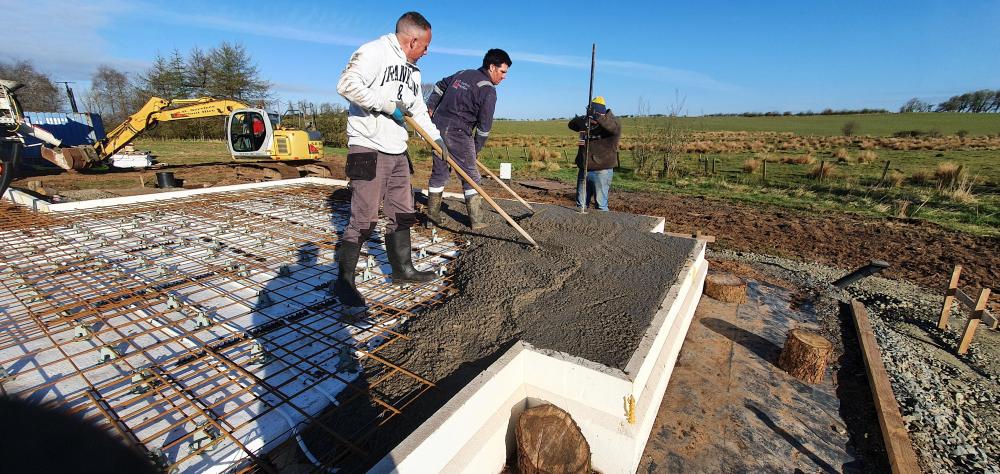
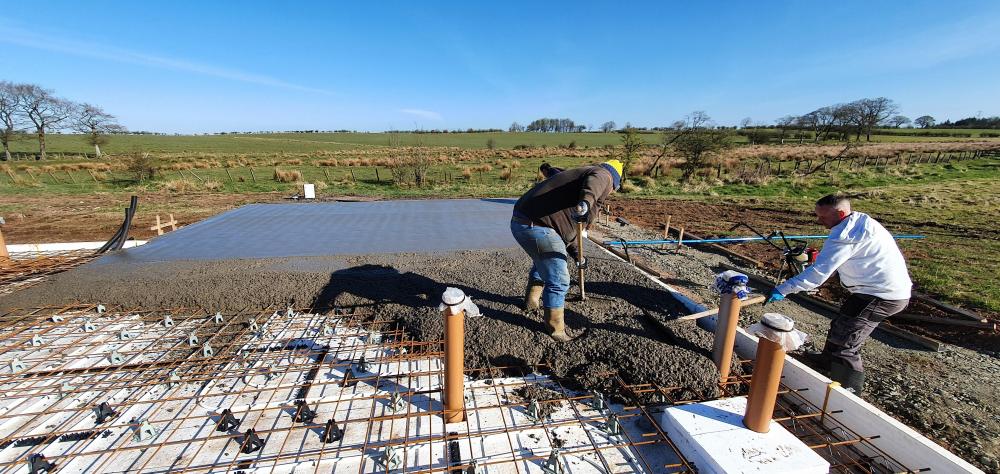
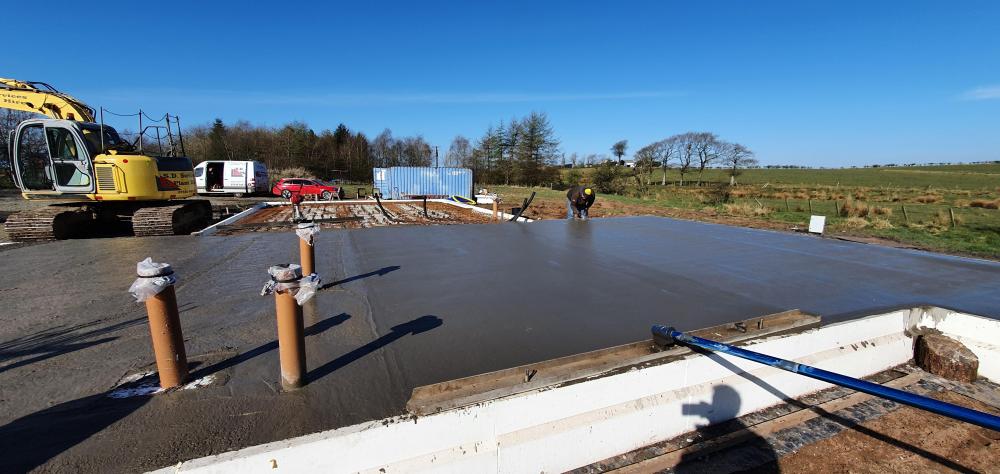
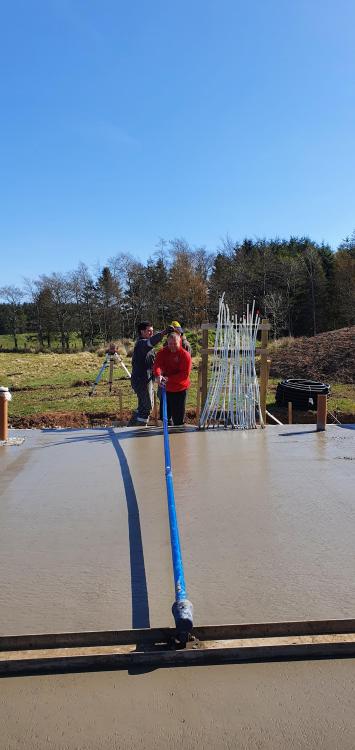
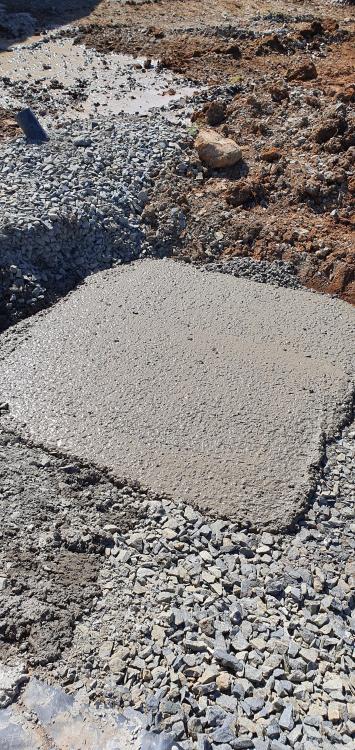
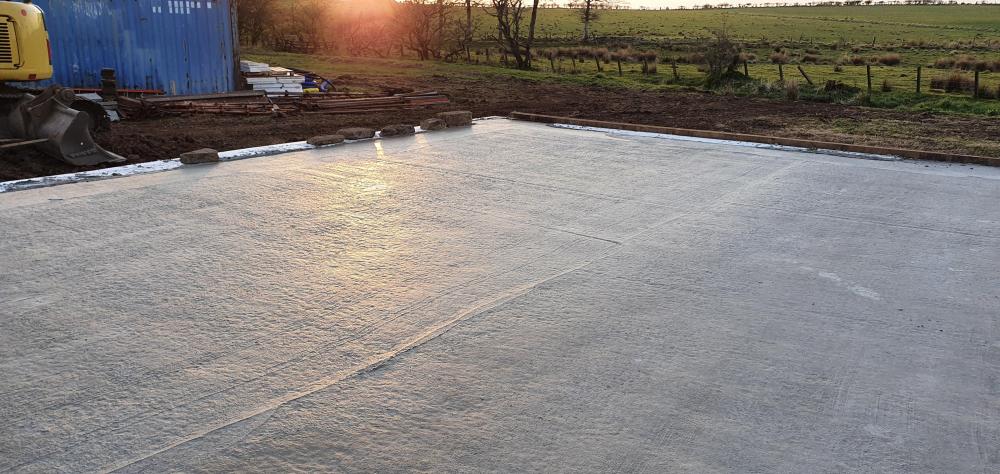
We had C25/C28 Specified but just put in C35 as it was what the guys normally use. We had a lovely day for it, 14 degrees and sunny, went pretty well. We had a bit of a delay with the last part load - which was at garage, but turned out fine. We also done the pads too and just overfilled them with extra that was left, my pad heights externally to the footprint are for posts to support my canopy and ended up different heights but I just gave the kit supplier all the heights and then are cutting to suit. They are all well below the ground anyway. I wanted to power float, but I didn't manage to get it arranged and my guys didn't seem keen. I was going to do it myself, but ran the risk of doing it for the first time on my own slab and didn't want to majorly mess up what they had done as it would have been in the evening by myself. 36cube in total went in.
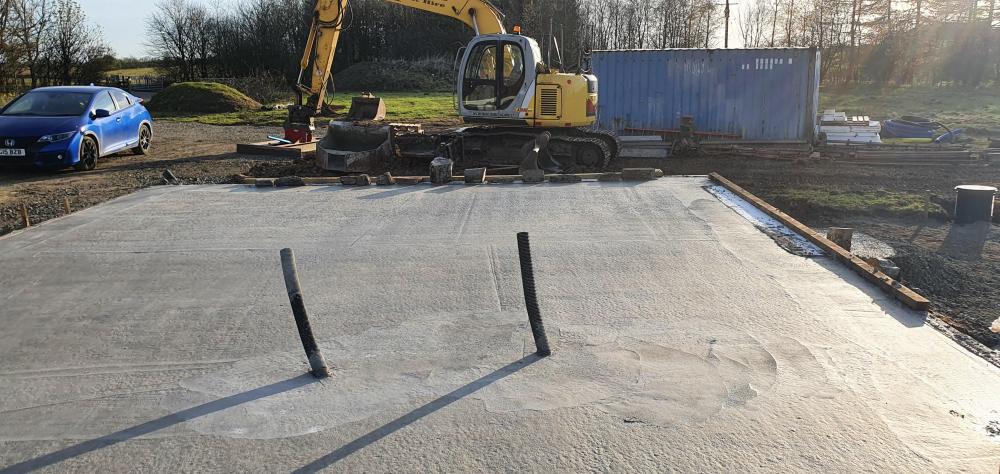
The only issue I was left with was that the boys forgot the poker. They did the vibro screed and all areas were filled, but missing the poker meant that we missed the concrete under a slider rebate. The long one (4.6m) was fine as it floated up a little so I hurriedly spent some time moving it up and down working the concrete below it, then I added stones on top to level it off. I shoudl have done this with the short (3m) one but didn't think as it didn't float up. It's no major drama, getting some concrete this week and will fill it. It'll be a cold joint but it's at a slider with no wall attached. I added ducts for the island below the mesh to we can get power there.
The day after the pour I cut a control joint and then I tried to cover it with plastic (DPM actually) but I was ill prepared and didn't have enough, so just stuck with watering it with a hose each day when I could. I did get a couple of small shrinkage cracks in the main slab where it dried too quickly (they had appeared the next morning) due to it being so sunny the day of the pour. But they are small and nothing to worry about. all in all happy.
There is lots of other stuff I'm sure I forget but it always seems to elude me when I write a blog post. I also find it hard to find the time writing them - but that's self building for you!
Pictures tell better stories! Lots included.
I'm learning to not sweat the wee details, it's ok if things go a little pear shaped. It'll work out in the end.
For now Foundations are finished and it feels good to be done here, we will backfill later and finish drains but that's in a few months. I just have DPM to fold up and attach this weekend (How do you fold up internal corners?!) prior to kit being delivered and erection starting next week. I've had two weekends off since the pour and it has been weird not being there every night and weekend.
Things I learned:
1) Check all pipes lengths and lay them out first of all!
2) Buy the stapler
3) Buy the decoiler
4) Plan all your cuts out for mesh
5) Don't bother with bolt cutters
-
 7
7

5 Comments
Recommended Comments
Create an account or sign in to comment
You need to be a member in order to leave a comment
Create an account
Sign up for a new account in our community. It's easy!
Register a new accountSign in
Already have an account? Sign in here.
Sign In Now