
Beam and Block

Entry posted by Red Kite
2580 views
Its been a few weeks since the last post but for us its not been a quiet time - we hear from friends who now watch daytime TV at a very leisurely pace - if only!!!! As we are at a point where we have a few days breathing space this is the first of several posts to catch up with ourselves.
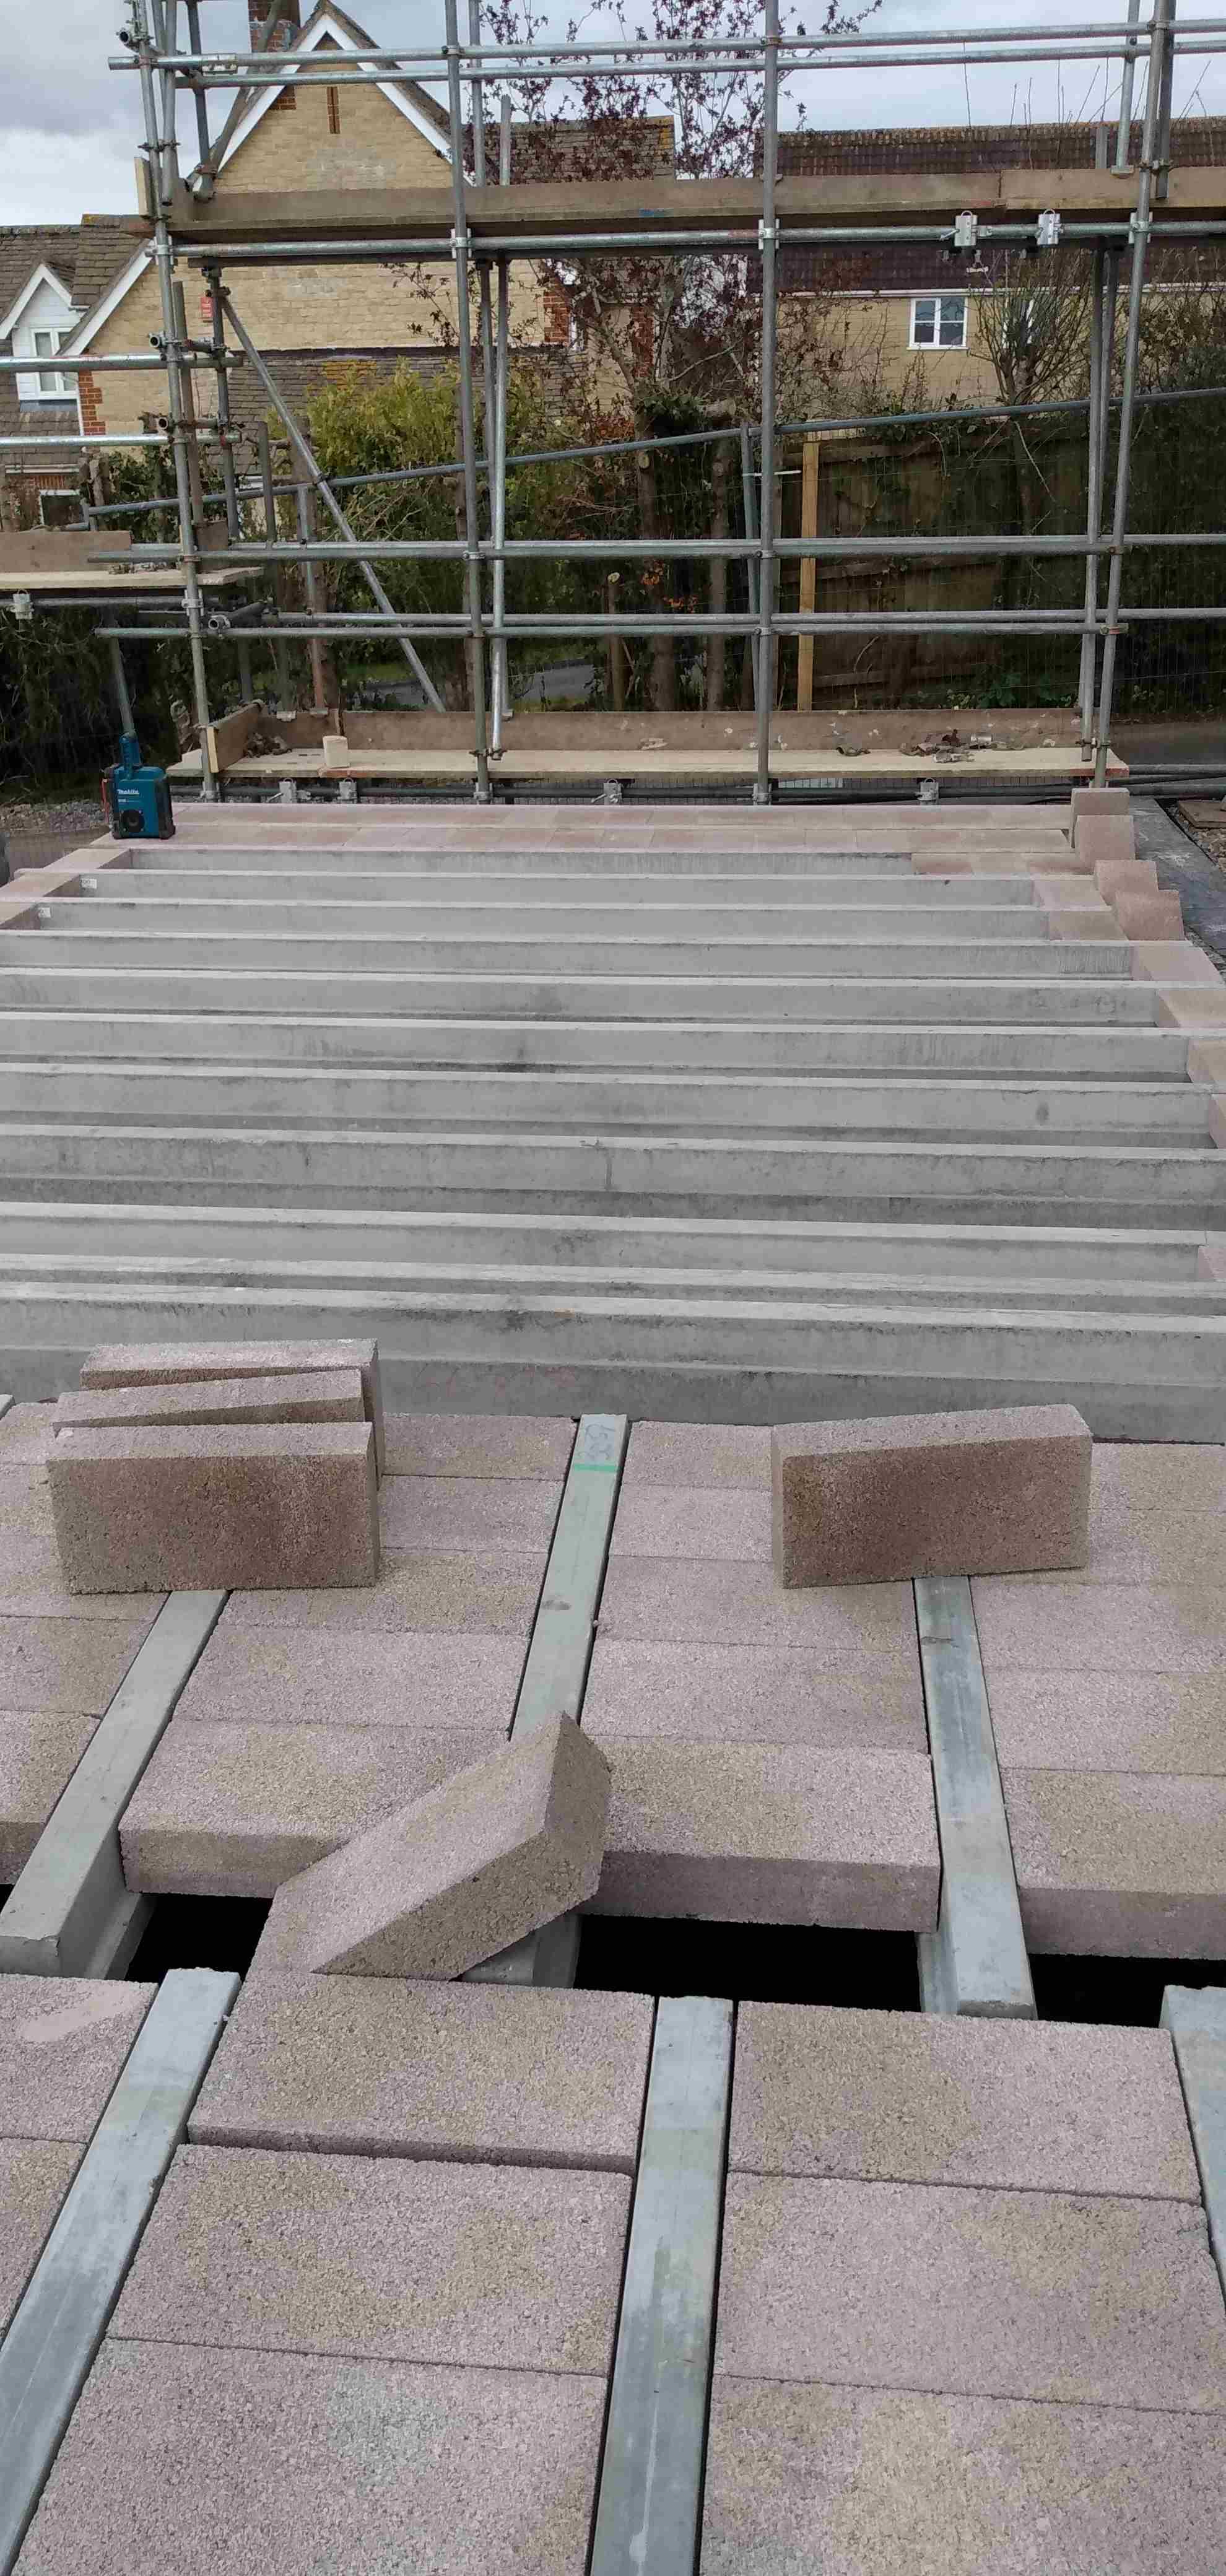
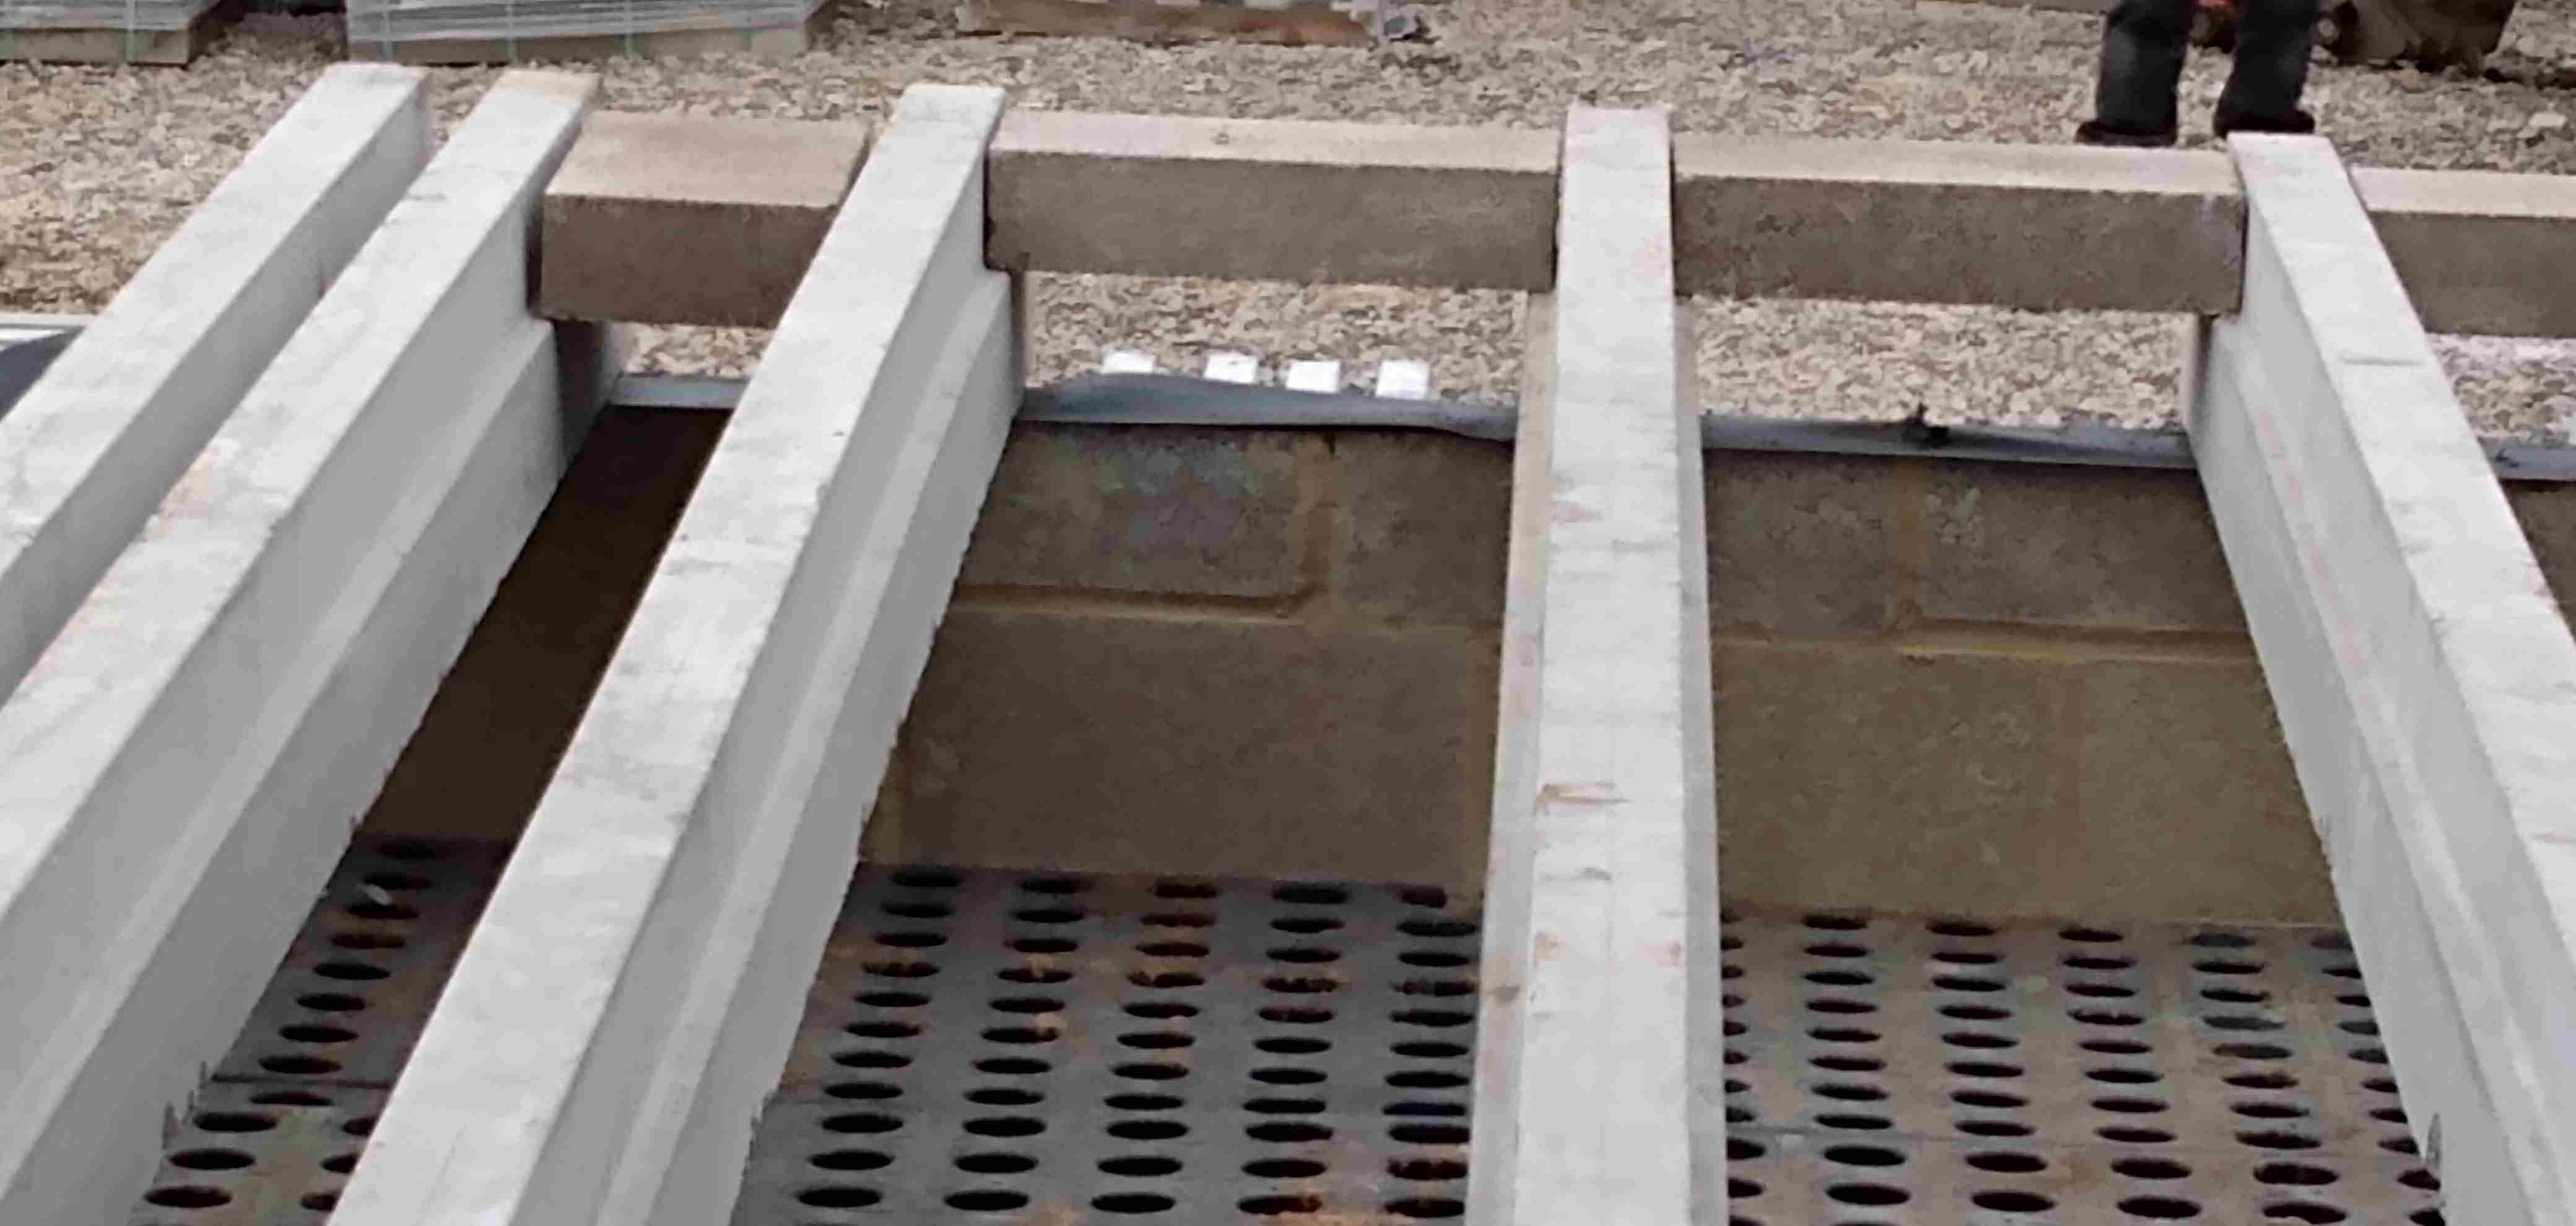
After the scaffold went up round the outside of the build in preparation for the timber frame the next step was to lay the concrete floors as a 'lid' to the basement and sub floor and a ceiling to the next floor up. This consists of long concrete pre-cast beams spaced out across the supporting lower levels and in filled with concrete blocks. This has been a bit fraught as the design is complex (as is everything in our design!) and we are on our second B&B supplier and have taken a 5 week hit to the schedule. Anyway it was on its way and you can see that the first steps were to load in lots of the infill block (hard to source in todays climate) and a temporary plastic scaffold or 'fall arrest' deck to give the guys a platform to work from and also to prevent them falling 3m onto the concrete slab. This is great stuff (if a little wobbly at times!) and you can see it being laid out as yellow plastic posts and black plastic deck. All was well until the fall deck contractors lorry demolished the front pier of the garage and brought down a load of blockwork. Luckily the steel garage lintel had not been fitted otherwise this would have been even more spectacular. So a bit of rework and it all looked OK for the steel and then the beams.
These beams are really heavy - hence the crane, but progress is amazing and they laid the entire floor in a day. Again the gremlins struck and the crane went into 'limp mode' and would only move really slowly but they managed to finish the beams and lay most of the blocks. Next step is filling in all the odd sizes of blocks and then setting out and building the 'plinth' blockwork for the timber frame to sit on - both the internal and external timber frame walls come up from the B&B floor on a level plinth. Again things on our build are complex and on Plot 1 the plinth is 250mm high filled with 150mm of PIR insulation and 100mm of screed, while on Plot 2 its 150mm (50mm of insulation and 100mm screed) - the screed and insulation are fitted at a later stage so all the rooms will look taller than they will end up. If only life was simple all the timber frame would start at this 'plinth' level, however there are some MBC steels and glulams that come down below this to bolt down to the reinforced concrete below and its been an endless and fraught process to make sure that this will all fit together seamlessly on the day - fingers crossed!
Plus there are a thermal blocks under the doors and floor to ceiling windows. There are to give a thermal break and are very strange foamed glass (called Foamglass) block that are very light and take a huge load and are really expensive, plus there are three sizes of blocks and we have some of all of them!!!! The Architect wanted Foamglass all way round the outsides of both building and that would have been great - but we really couldn't afford them! So the next bit in the video after the beams is the brickies laying a load of blocks and th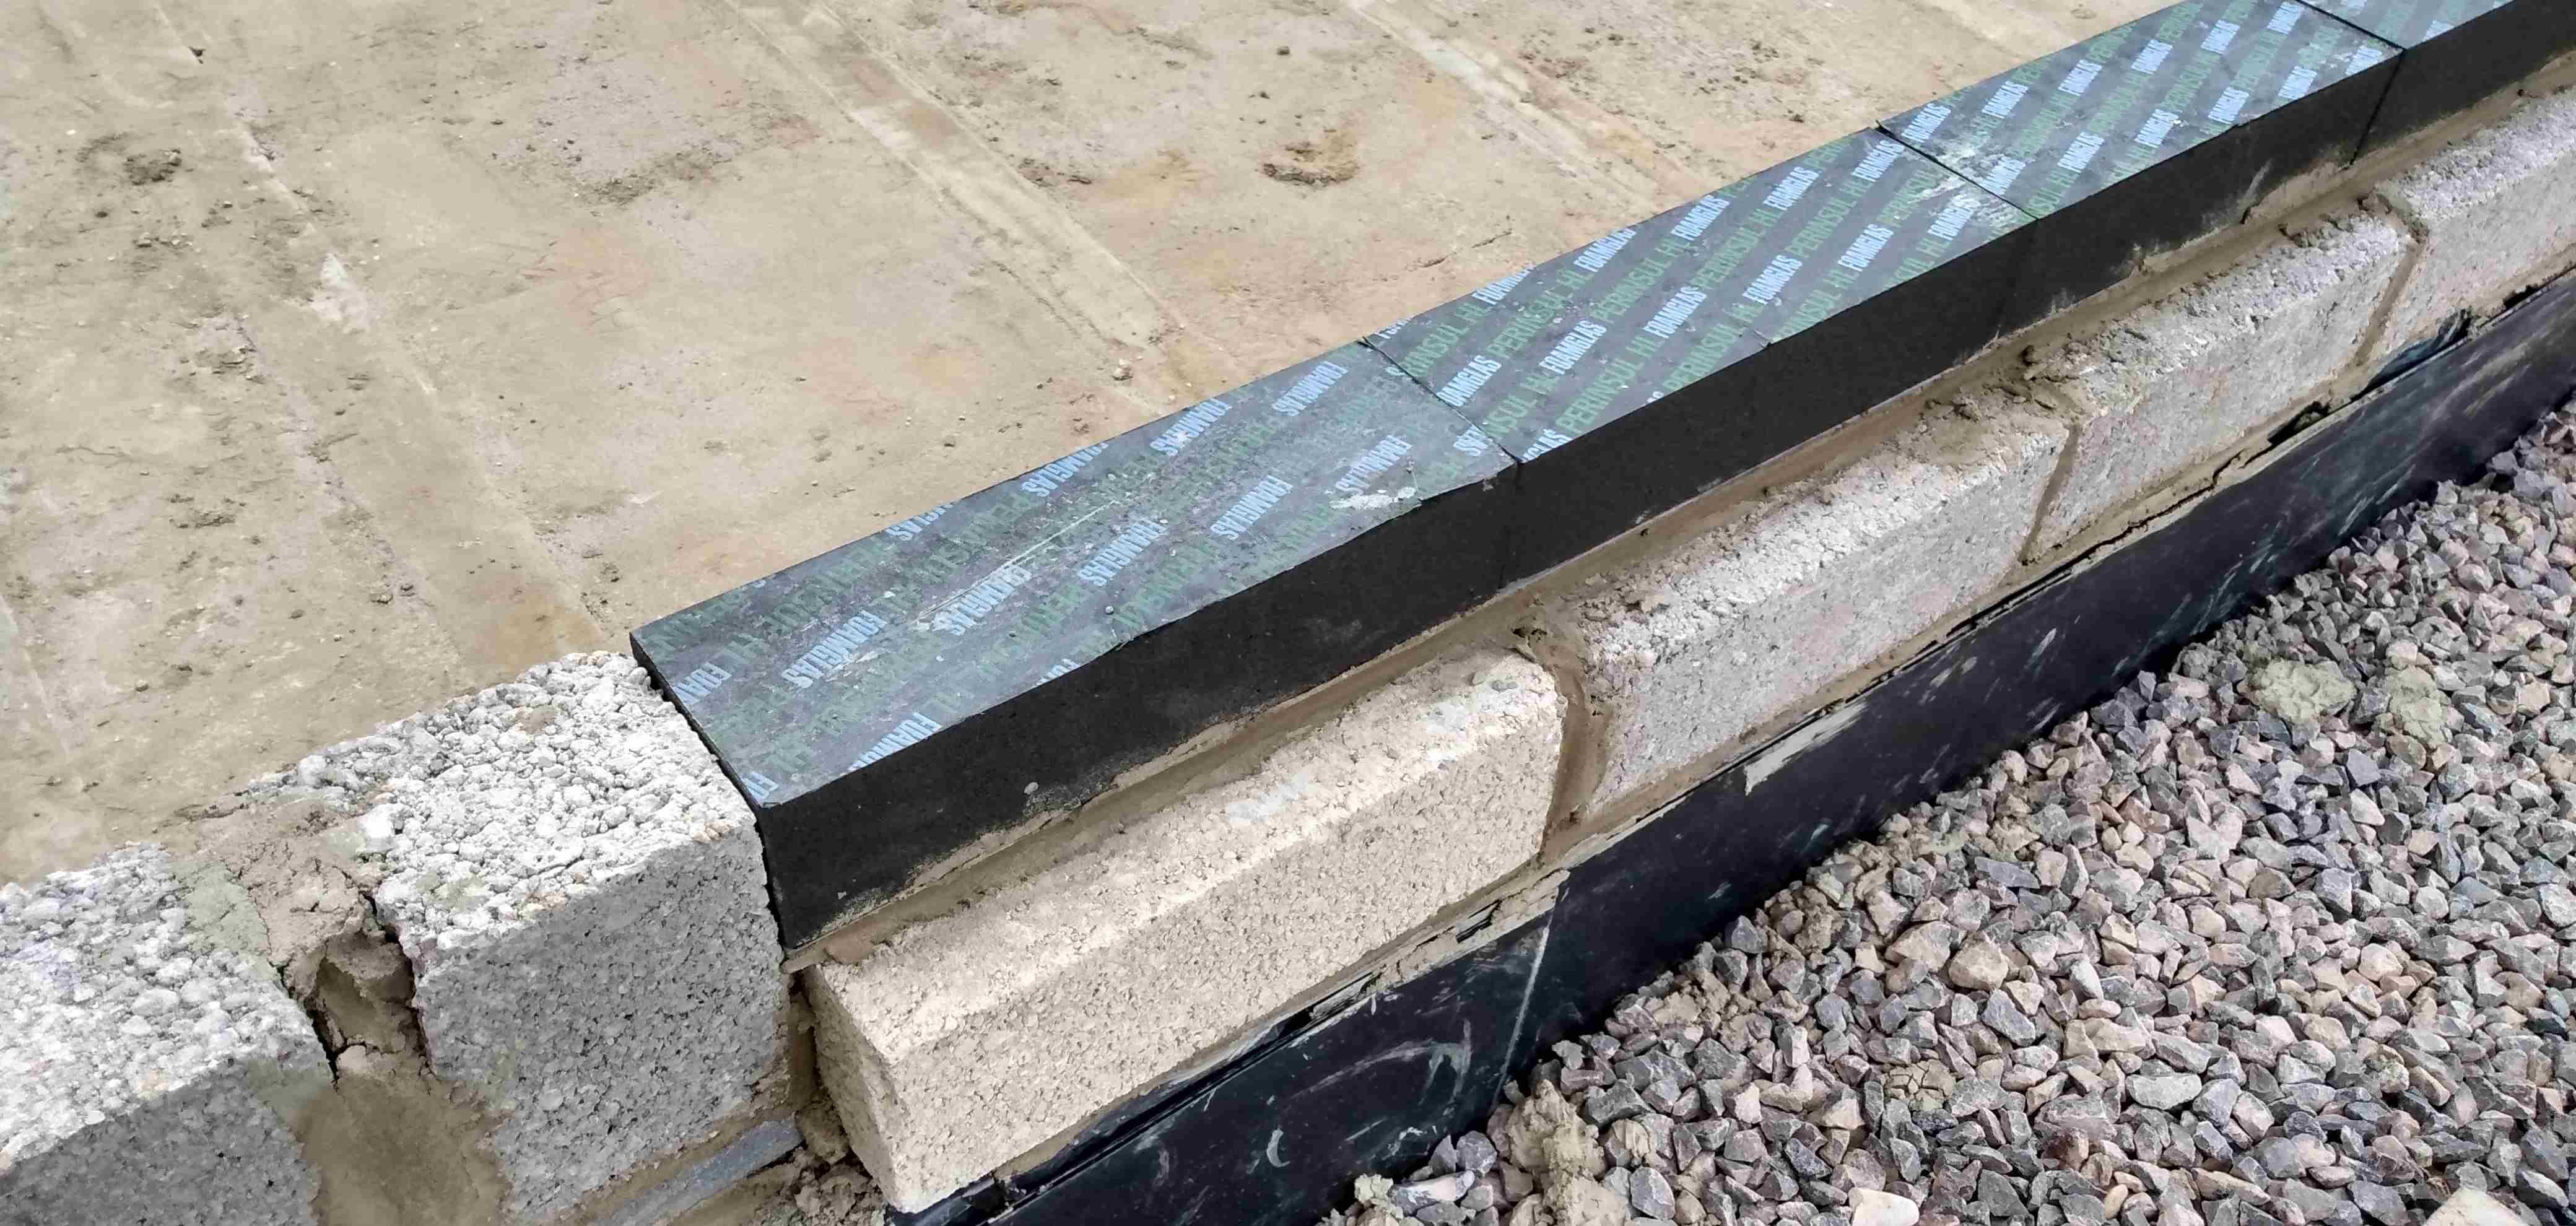 en we can see where the internal walls will come, and how the room shapes start to look: on a bare floor they seem a bit small but that will likely change as the volumes are enclosed with walls.
The last thing you see is the scaffolders back again and putting up the scaffold for the front and middle of Plot 1 - they had to work around the brickies but it all seemed to work. So for a timber frame house there is an alarming amount of concrete, steel and blockwork and an awful lot of insulation.
So finally after a last minute rush and lots of issues that needed resolving we are ready for the big day tomorrow where MBC arrive on site and start erecting Plot 1 - what a journey but this is something we have been waiting to see for months and months. So exciting and we cant wait for them and another crane to arrive with a house on a lorry.
The latest video is called Beam and Block plus all the older ones can be found here :-
https://www.dropbox.com/sh/th9f6e3cel5dm1q/AAAfsWdAH184J75bCNUUtzVra?dl=0
Our internet is a bit slow at the moment so it may take a few hours (or even days!) to sync up to Dropbox so if you dont see the time lapse video pop back in a day or so - its quite fun to see something starting to take shape above ground.
3 Comments
Recommended Comments
Create an account or sign in to comment
You need to be a member in order to leave a comment
Create an account
Sign up for a new account in our community. It's easy!
Register a new accountSign in
Already have an account? Sign in here.
Sign In Now