We're plastered
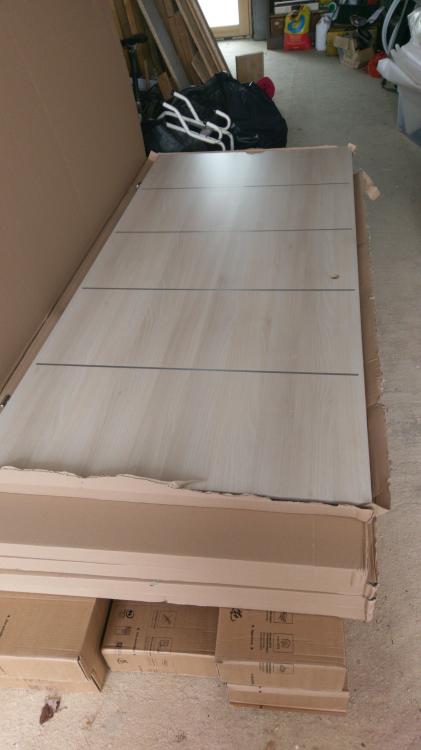
Well it’s been an exhausting and rewarding three weeks. The plastering work started on the 25th February and finished today the 18th March. Keeping ahead of Shaun our plasterer has been a real challenge and has meant we have not had a day off. Our internal doors arrived from Germany intact which was a welcome diversion, we've stored them safely in the garage until we get the painting done.
The heat and humidity that goes with plastering has been interesting to say the least in a relatively air tight house. We don’t have our MVHR balanced yet but it’s been a real life saver being able to increase the fan speed and get a surprisingly comfortable working environment. Getting the MVHR up and running early in the build is not something we had planned, but in practice needs to be done as soon as you start making the structure air tight. The filters will be trashed but it’s a small price to pay for comfort.
One things for sure getting plaster board up focuses the mind on the details of first fix work right. We had left plenty of wire at the sockets we thought but some were a close call after cables were fixed into place so they didn’t interfere with boarding. The water pipes were more troublesome. Our build uses wall plates (timber bolted to the ICF concrete) that support the joists. The wall plate is 50mm thick and ends just 30mm before the ceiling, so pipes have be bent round a tight curve, too tight. We ended up notching the bottom of the wall plates and even then some were a really tight fit.
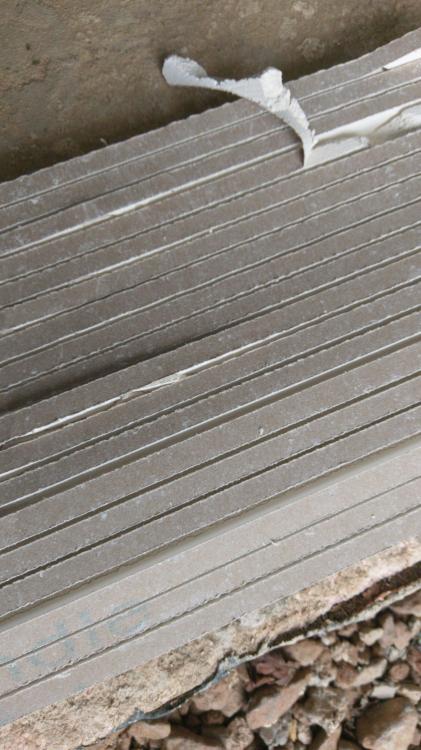
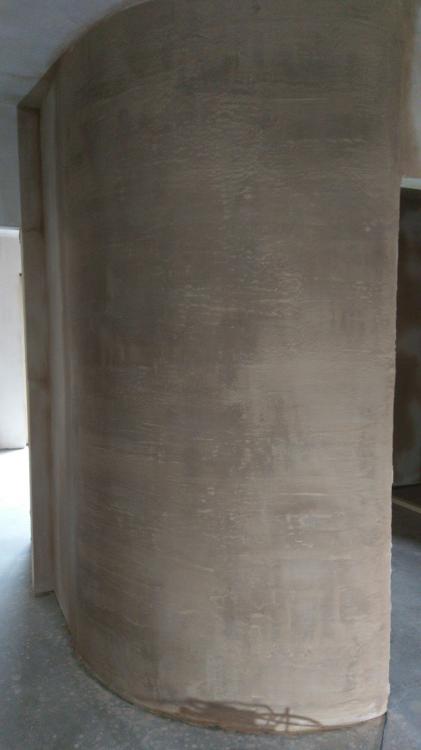
One other problem we had to overcome was a curved wall. The curve is a “design feature” and like a lot of things looks great on paper but rather more troublesome to turn into reality. The curve has an outside diameter of 1800mm. We took a look at the options and decided against using doubled up 6mm sheets of mdf as the long term stability invariably results in cracking. After a bit of internet research we found a plasterboard product “V-Cut” that looked an ideal solution. The boards are standard plasterboard cut every 10mm with a fine kerf saw. The result is very flexible in one plane, they were rolled into 400mm tubes. When it came to using them however the very fragile nature of the sheets became very apparent. Plaster board is very friable at the best of times, cut into 10mm strips makes it nigh on unusable. For example the plasterboard screw driver would simply pass straight through it. We ended up using the solvent free version of pink grip to hold it in place. The curve is in our hall so it’s exposed to potential knocks and needed additional protection. After discussing it with Shuan we decided to apply rendering mesh with a base coat plaster and then apply a skim over that to complete it. The end result looks and feels durable. It would have been a far better product if the boards were laminated with an additional layer of mesh and paper before they get cut, as it is I would not recommend V-Cut in it’s present form.
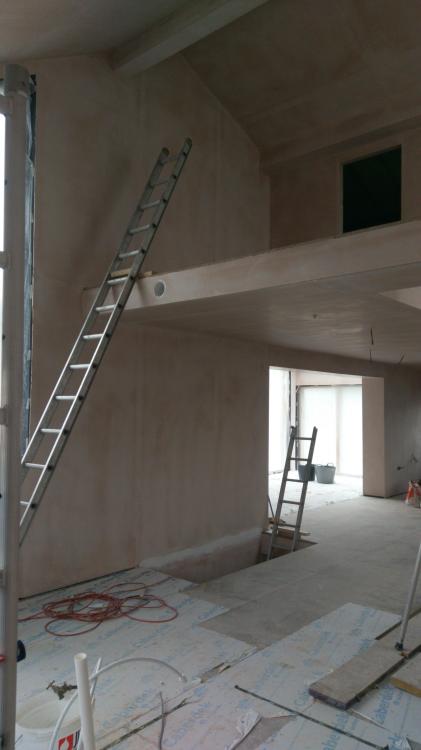
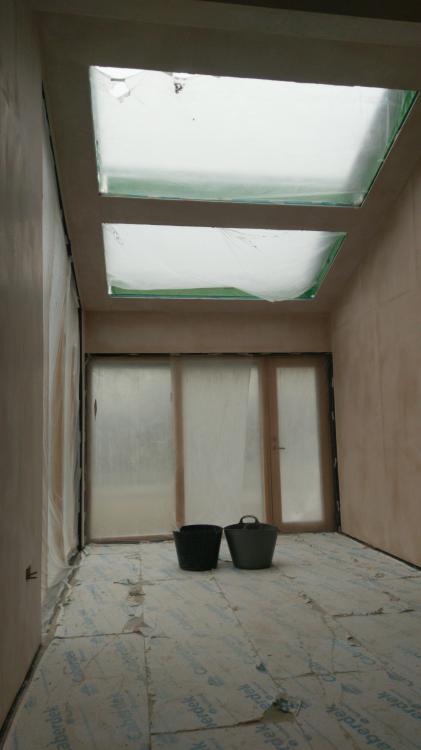
On the positive side it’s been immensely rewarding seeing the house turn from a building site into something that looks like living space. It’s quite curious how your perception of the space changes, it looked smaller and the ceilings lower before boarding, then got bigger again once plastered.
At times it’s been reminiscent of the track laying sequence in “the wrong trousers”, needless to say we’re going to take a couple of days off to recover.
Next on the list of things to do is mist coat the plaster to seal it before applying a spray of latex mat white.
-
 8
8

8 Comments
Recommended Comments
Create an account or sign in to comment
You need to be a member in order to leave a comment
Create an account
Sign up for a new account in our community. It's easy!
Register a new accountSign in
Already have an account? Sign in here.
Sign In Now