
New year update

Entry posted by Crofter
2731 views
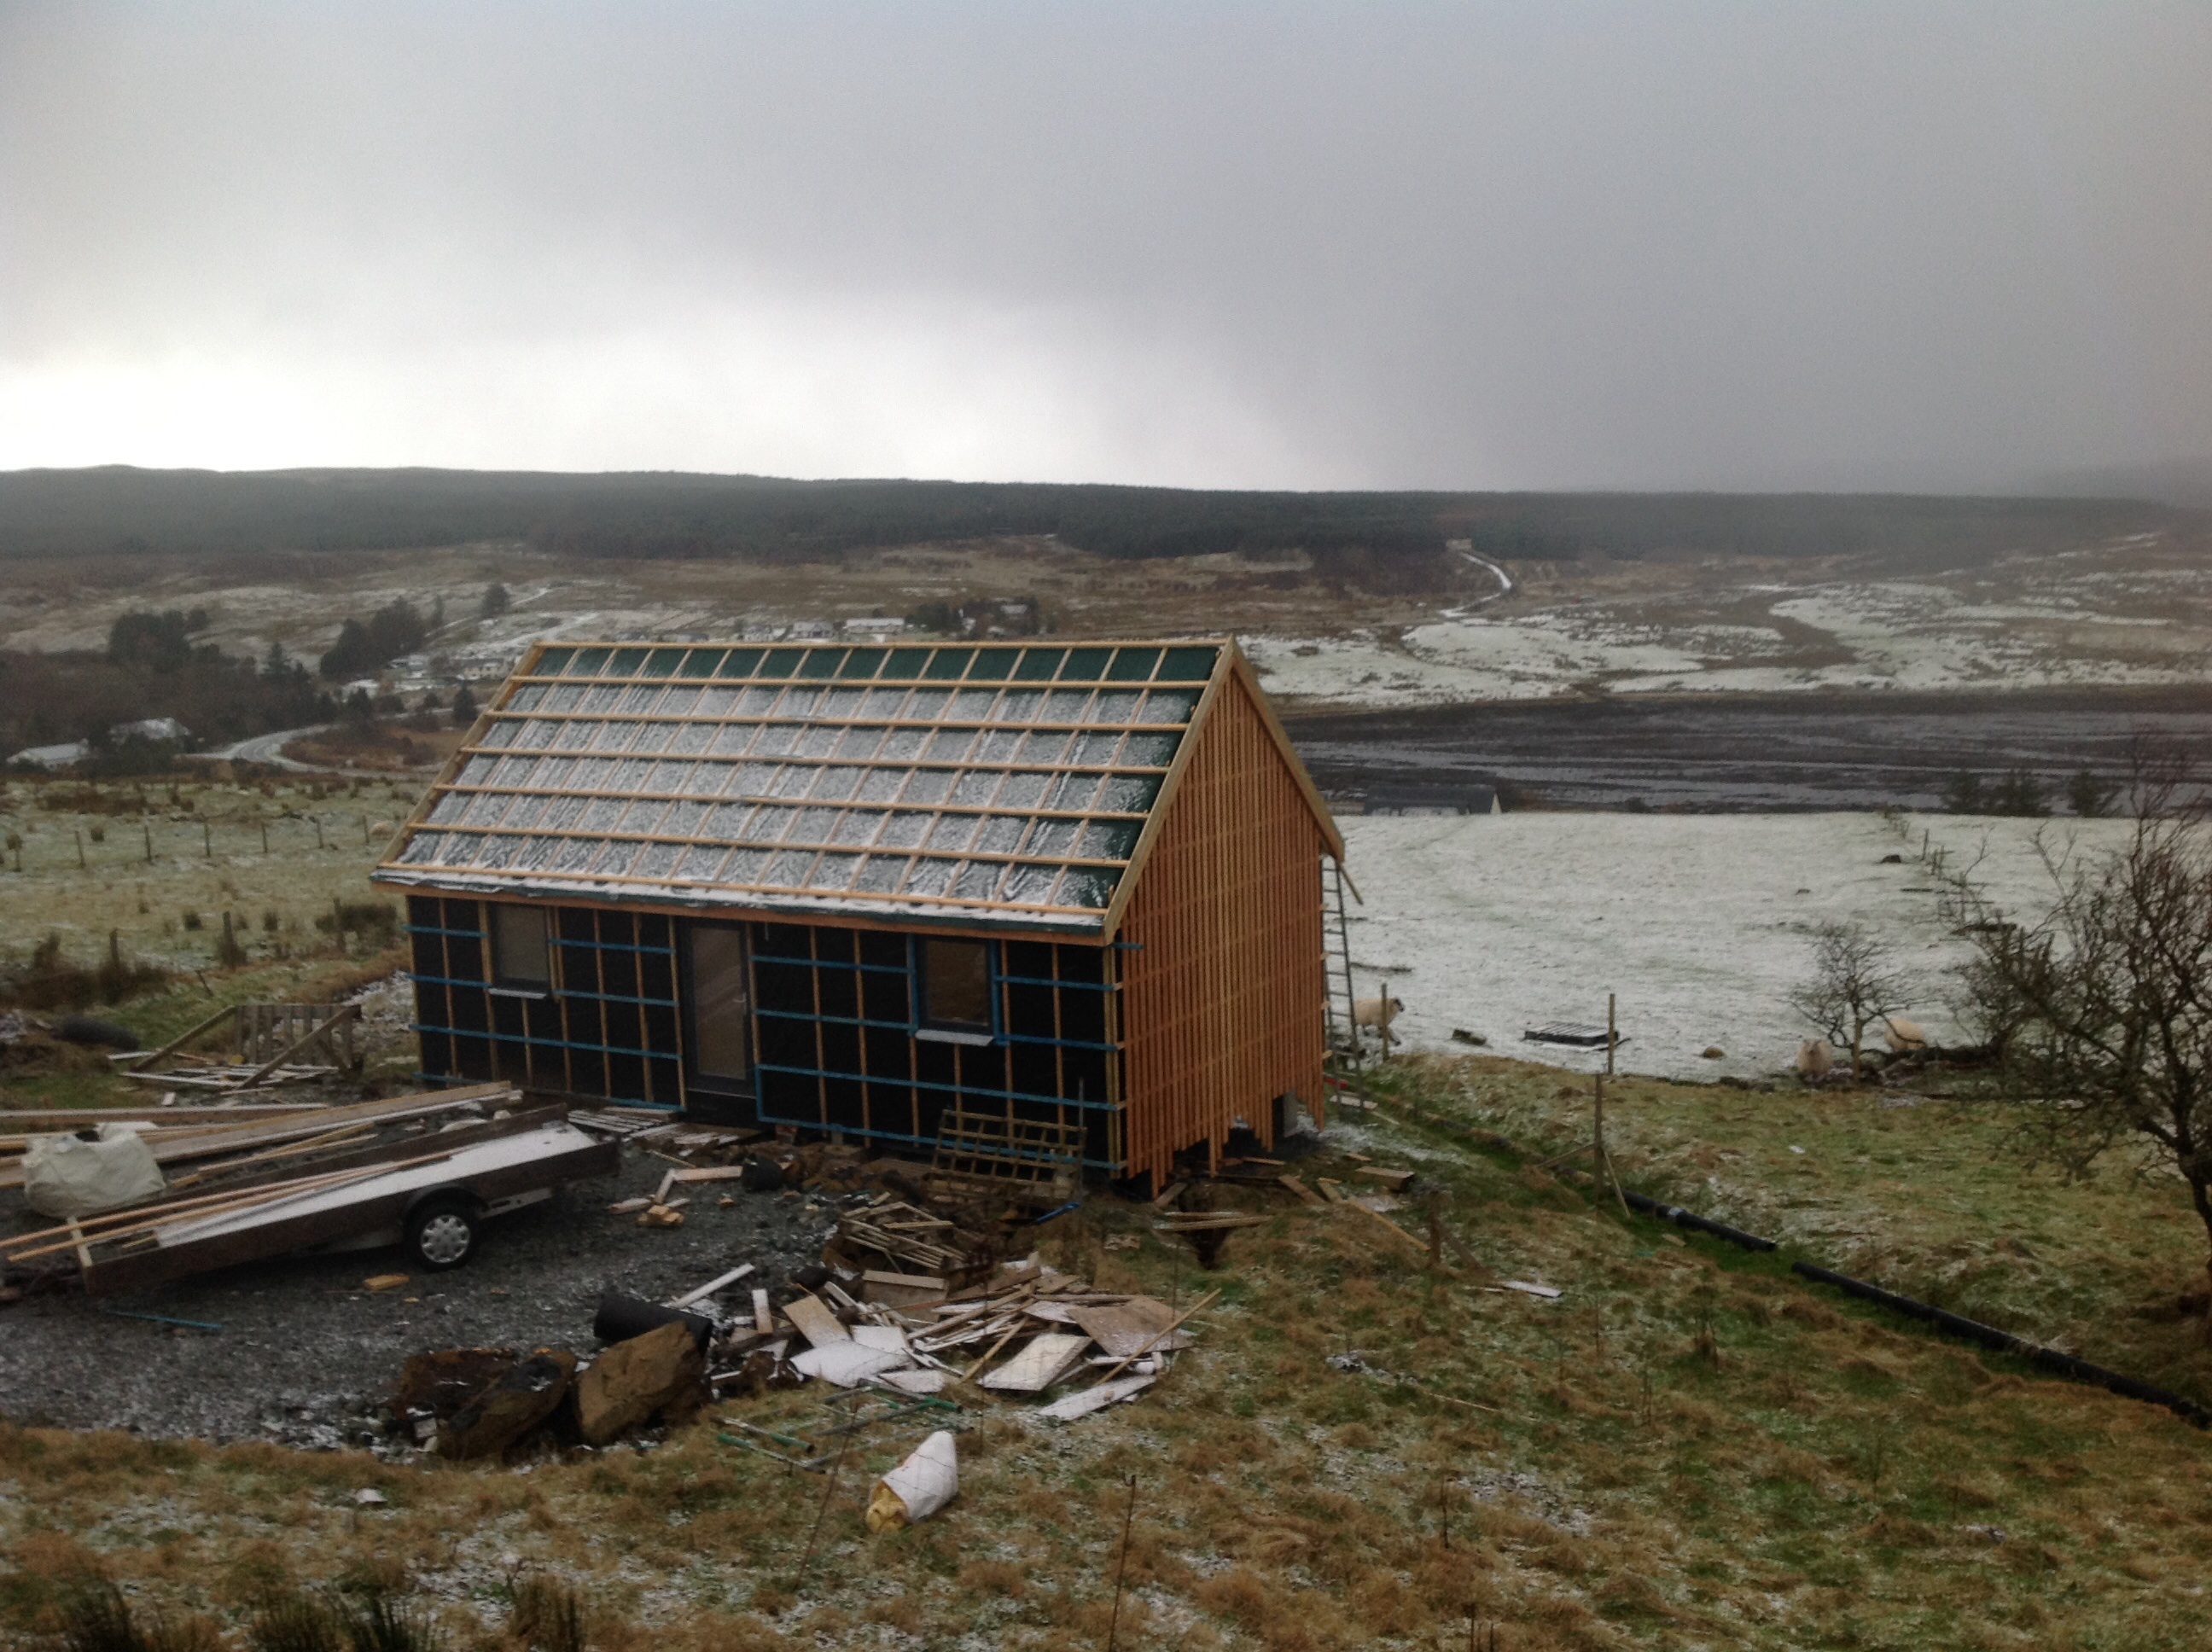
I was about to write 'time flies by with too little progress to show for it' and then realised that was exactly what I said last time! Anyway, since the last update, I have battened out the walls and fitted the first layer of larch cladding on the gables. There was a fair bit of head scratching and working out how the detailing around the windows etc was going to work out before I could get on with the battens. The larch also had to be treated with preservative oil- this will be an ongoing task but it should help keep the wood from looking faded and neglected (even though I gather that look is fashionable for some reason).
Another overly time consuming task has been the detailing around the fascia and soffit boards. These things are very easy to draw up on Sketchup but in real life it is much harder to ensure that things are square and level. What I have ended up doing is making up the four barge boards and fitting these, then running string lines between them. I have no idea if this is normal practice but it at least ensures that these highly visible parts of the roof line are symmetrical and match up with each other.
On the roof, the battens are ready for the arrival of the corrugated steel sheeting- unfortunately I wasted time chasing some tantalising prices from suppliers further south, which fell down due to delivery costs, and when I eventually ordered from my local BM I was into the Christmas shut down period.
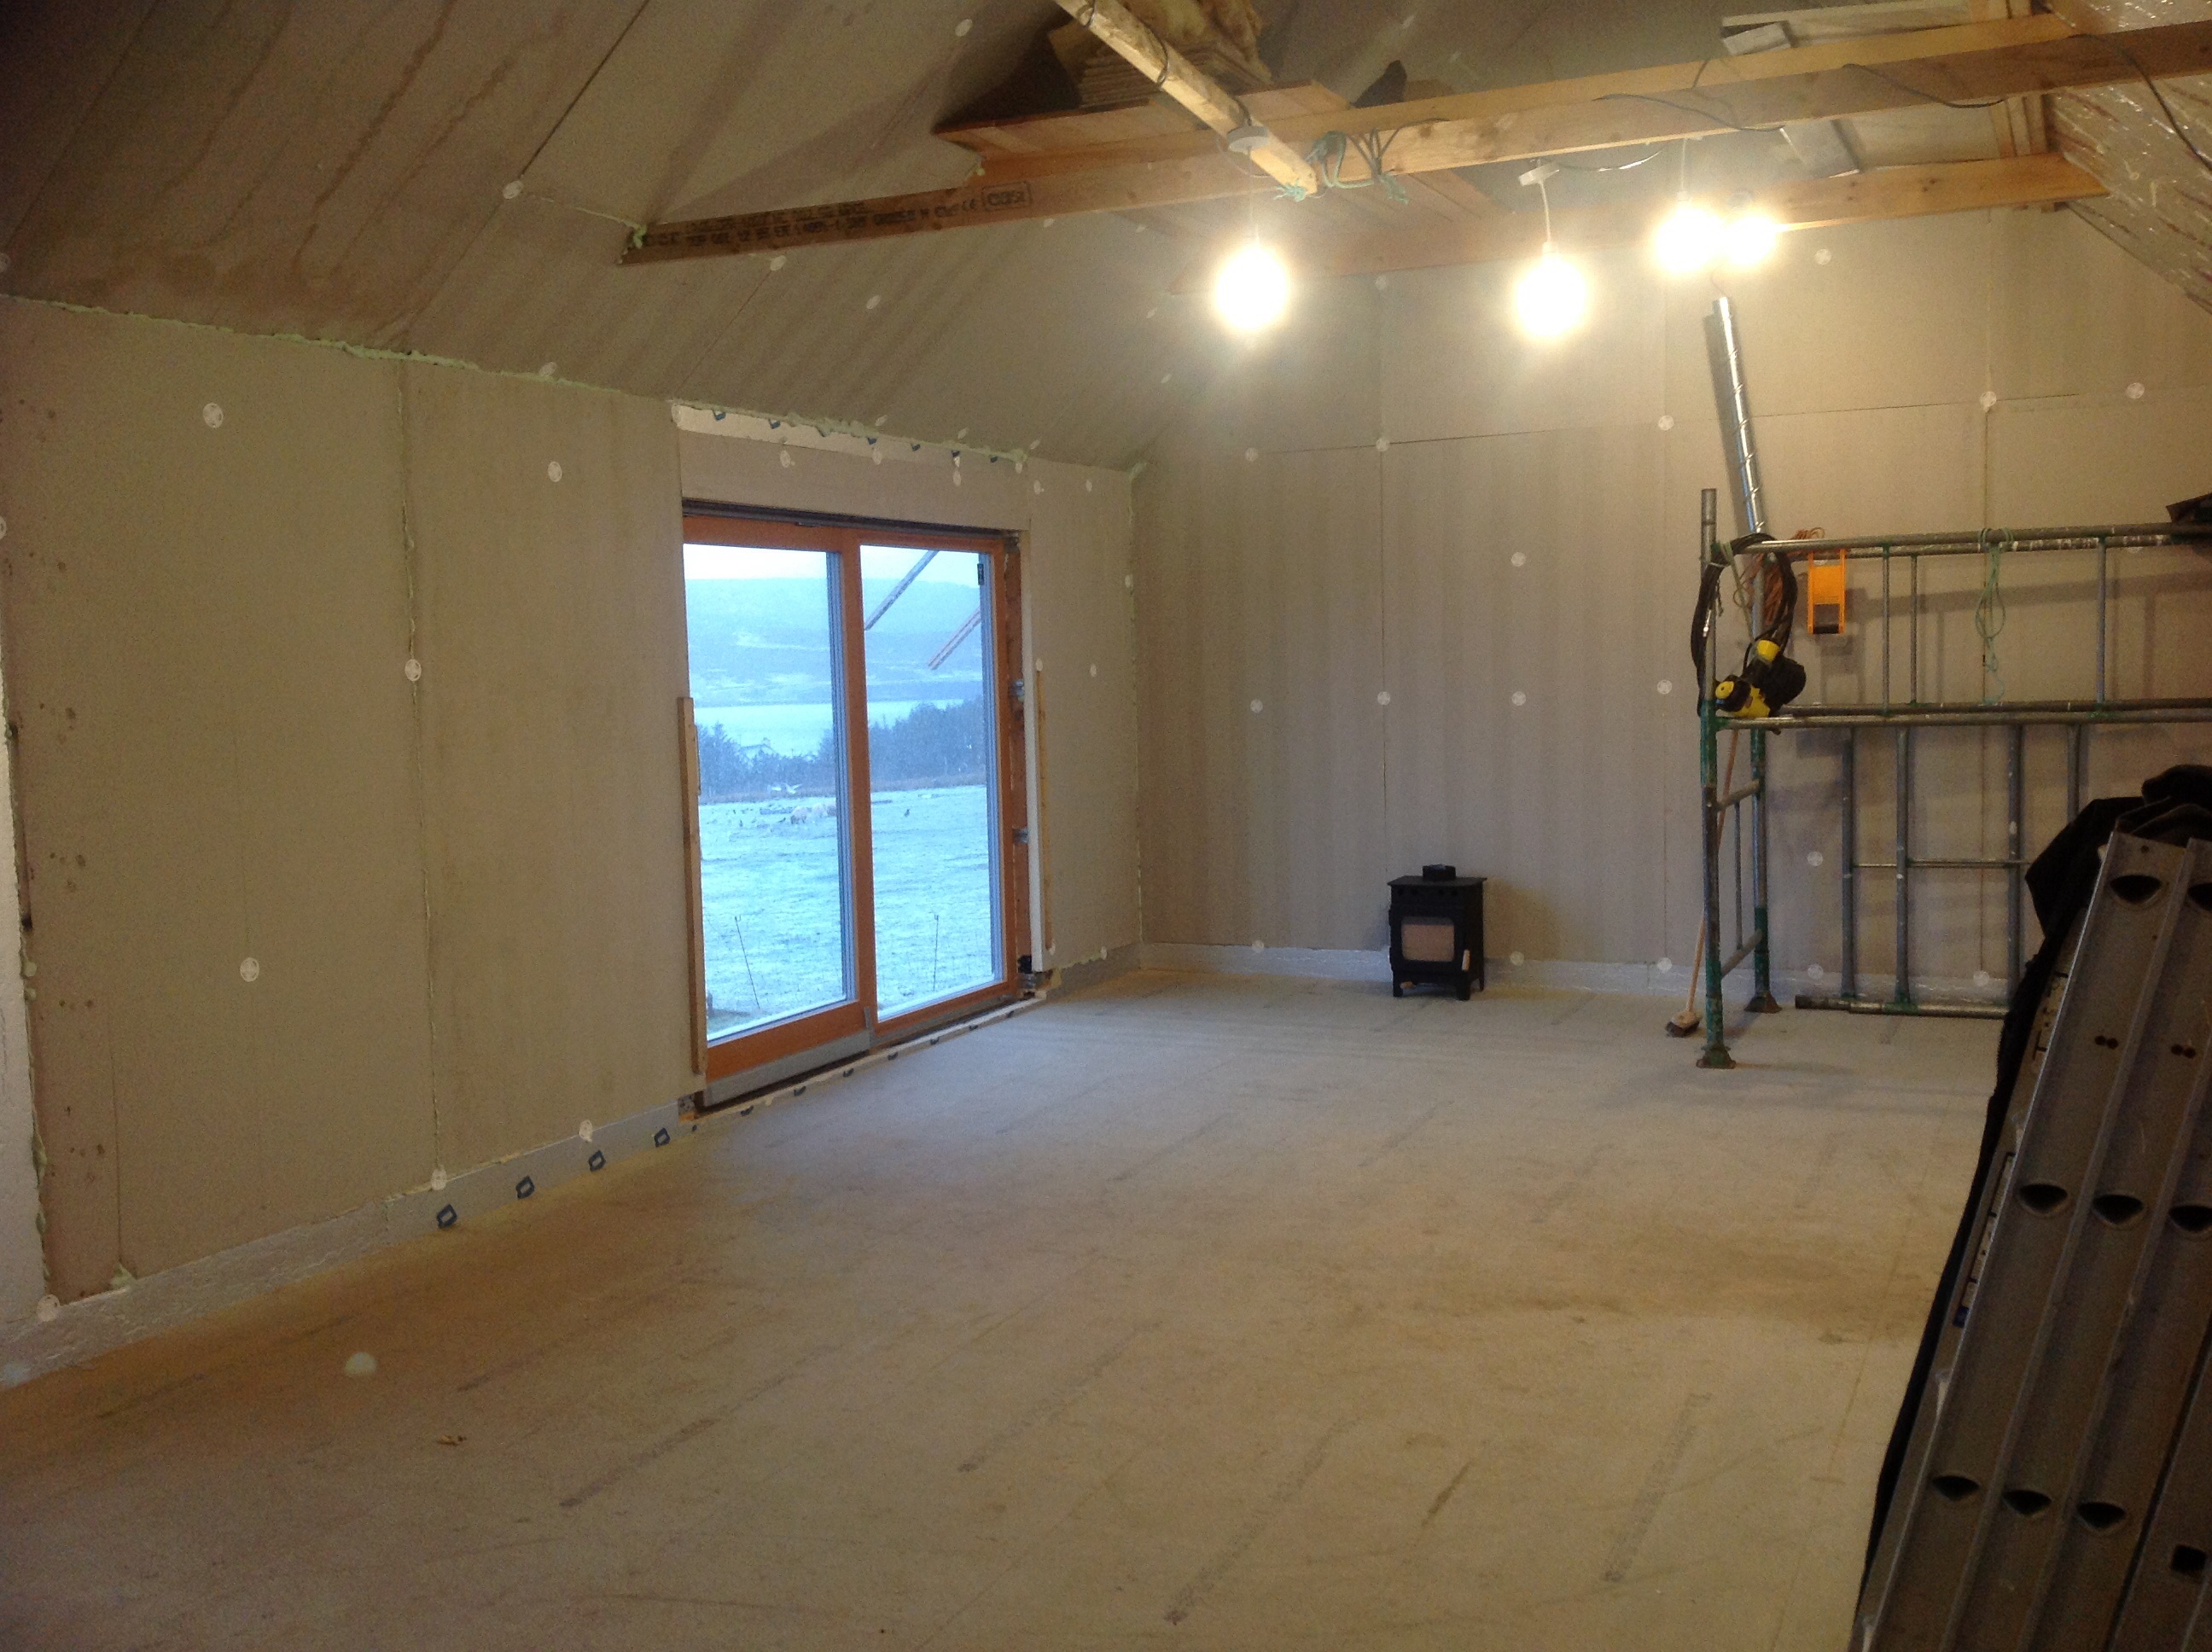
Inside the house, I am absolutely delighted to be able to say that ALL of the insulation is complete now. I have 150mm rockwool between rafters and studs, and 50mm of Kingspan over the studs, with 100mm over the rafters. Today's job is to take advantage of the howling gale outside to identify any leakage paths and finish the foaming up between the boards. A tedious task but one that should help me achieve a high airtightness level. The vapour barrier will then go on top to provide the final airtight layer.
I have also taken delivery of my stove- a Burley Springdale 3kw model. This is the third woodburner that I have bought (I installed one ine ach of my previous two houses) and it is a real step up in terms of design and built quality. The stove is 100% room sealed, with a single intake that draws from an external duct. The firebox is fully lined in vermiculite blocks, even on the top and bottom, to ensure the hottest and therefore most efficient burn possible. Finally, a stainless steel mesh at the top of the stove acts as a soot catcher to burn off any particulates. It's an impressive piece of kit and I can't wait to get it fired up.
-
 3
3
5 Comments
Recommended Comments
Create an account or sign in to comment
You need to be a member in order to leave a comment
Create an account
Sign up for a new account in our community. It's easy!
Register a new accountSign in
Already have an account? Sign in here.
Sign In Now