
Rendered, painted and some heat!

Entry posted by TheMitchells
2787 views
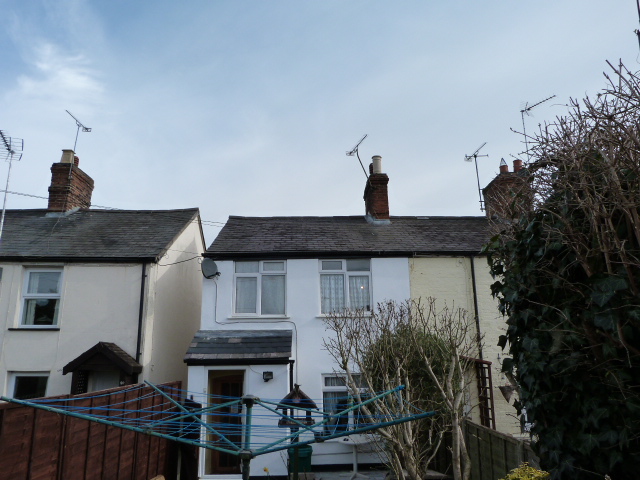
Things have been moving forward last month with the render on the gable wall finished. I think it looks great and so I was able to get it painted as we have had such good weather! Three coats on the new bits and one coat on the rest. And the idiot that I am, I have no photographs of the finished work from up the scaffolding. You will just have to take my word that it looks really good!![]()
But with autumn here and winter arriving far too quickly, it was becoming clear that we needed to get some heat into the house. We had had a quote for woodburning stoves for the front and back rooms but it was for over £6k so we said no thanks. After much researching online, it seemed that while we could do it ourselves, we would not be able to certify the work and I found no one was willing to complete a certificate if they had not done the work themselves, understandably, I suppose.
A friend recommended one chap who came to have a look. He quoted around £2,300 for a stove, liner, all the trimmings and the certificate. After looking aorund online, I found the same stove for £130 less than he quoted and he was happy to order it for me, and even had it delivered to his address which solved the access issue at ours. So we went with him. And I made sure I was there to watch how it was all done.
Before the installation, he told me I had to raise the hearth by about an inch to comply with regs. I managed to remove the tiles, only breaking a few (they had been there for years!) but as we had found a pile of spares in the cellar I was not too worried. So after buying a bag of self leveling compound, I set about edging the hearth with some wood and after mixing it up, poured a bucketful of the compound onto the old hearth. ![]()
I guess I should have realised that the wood round the edge would not work very well as it was sitting on tongue and groove. Groove being the problem!
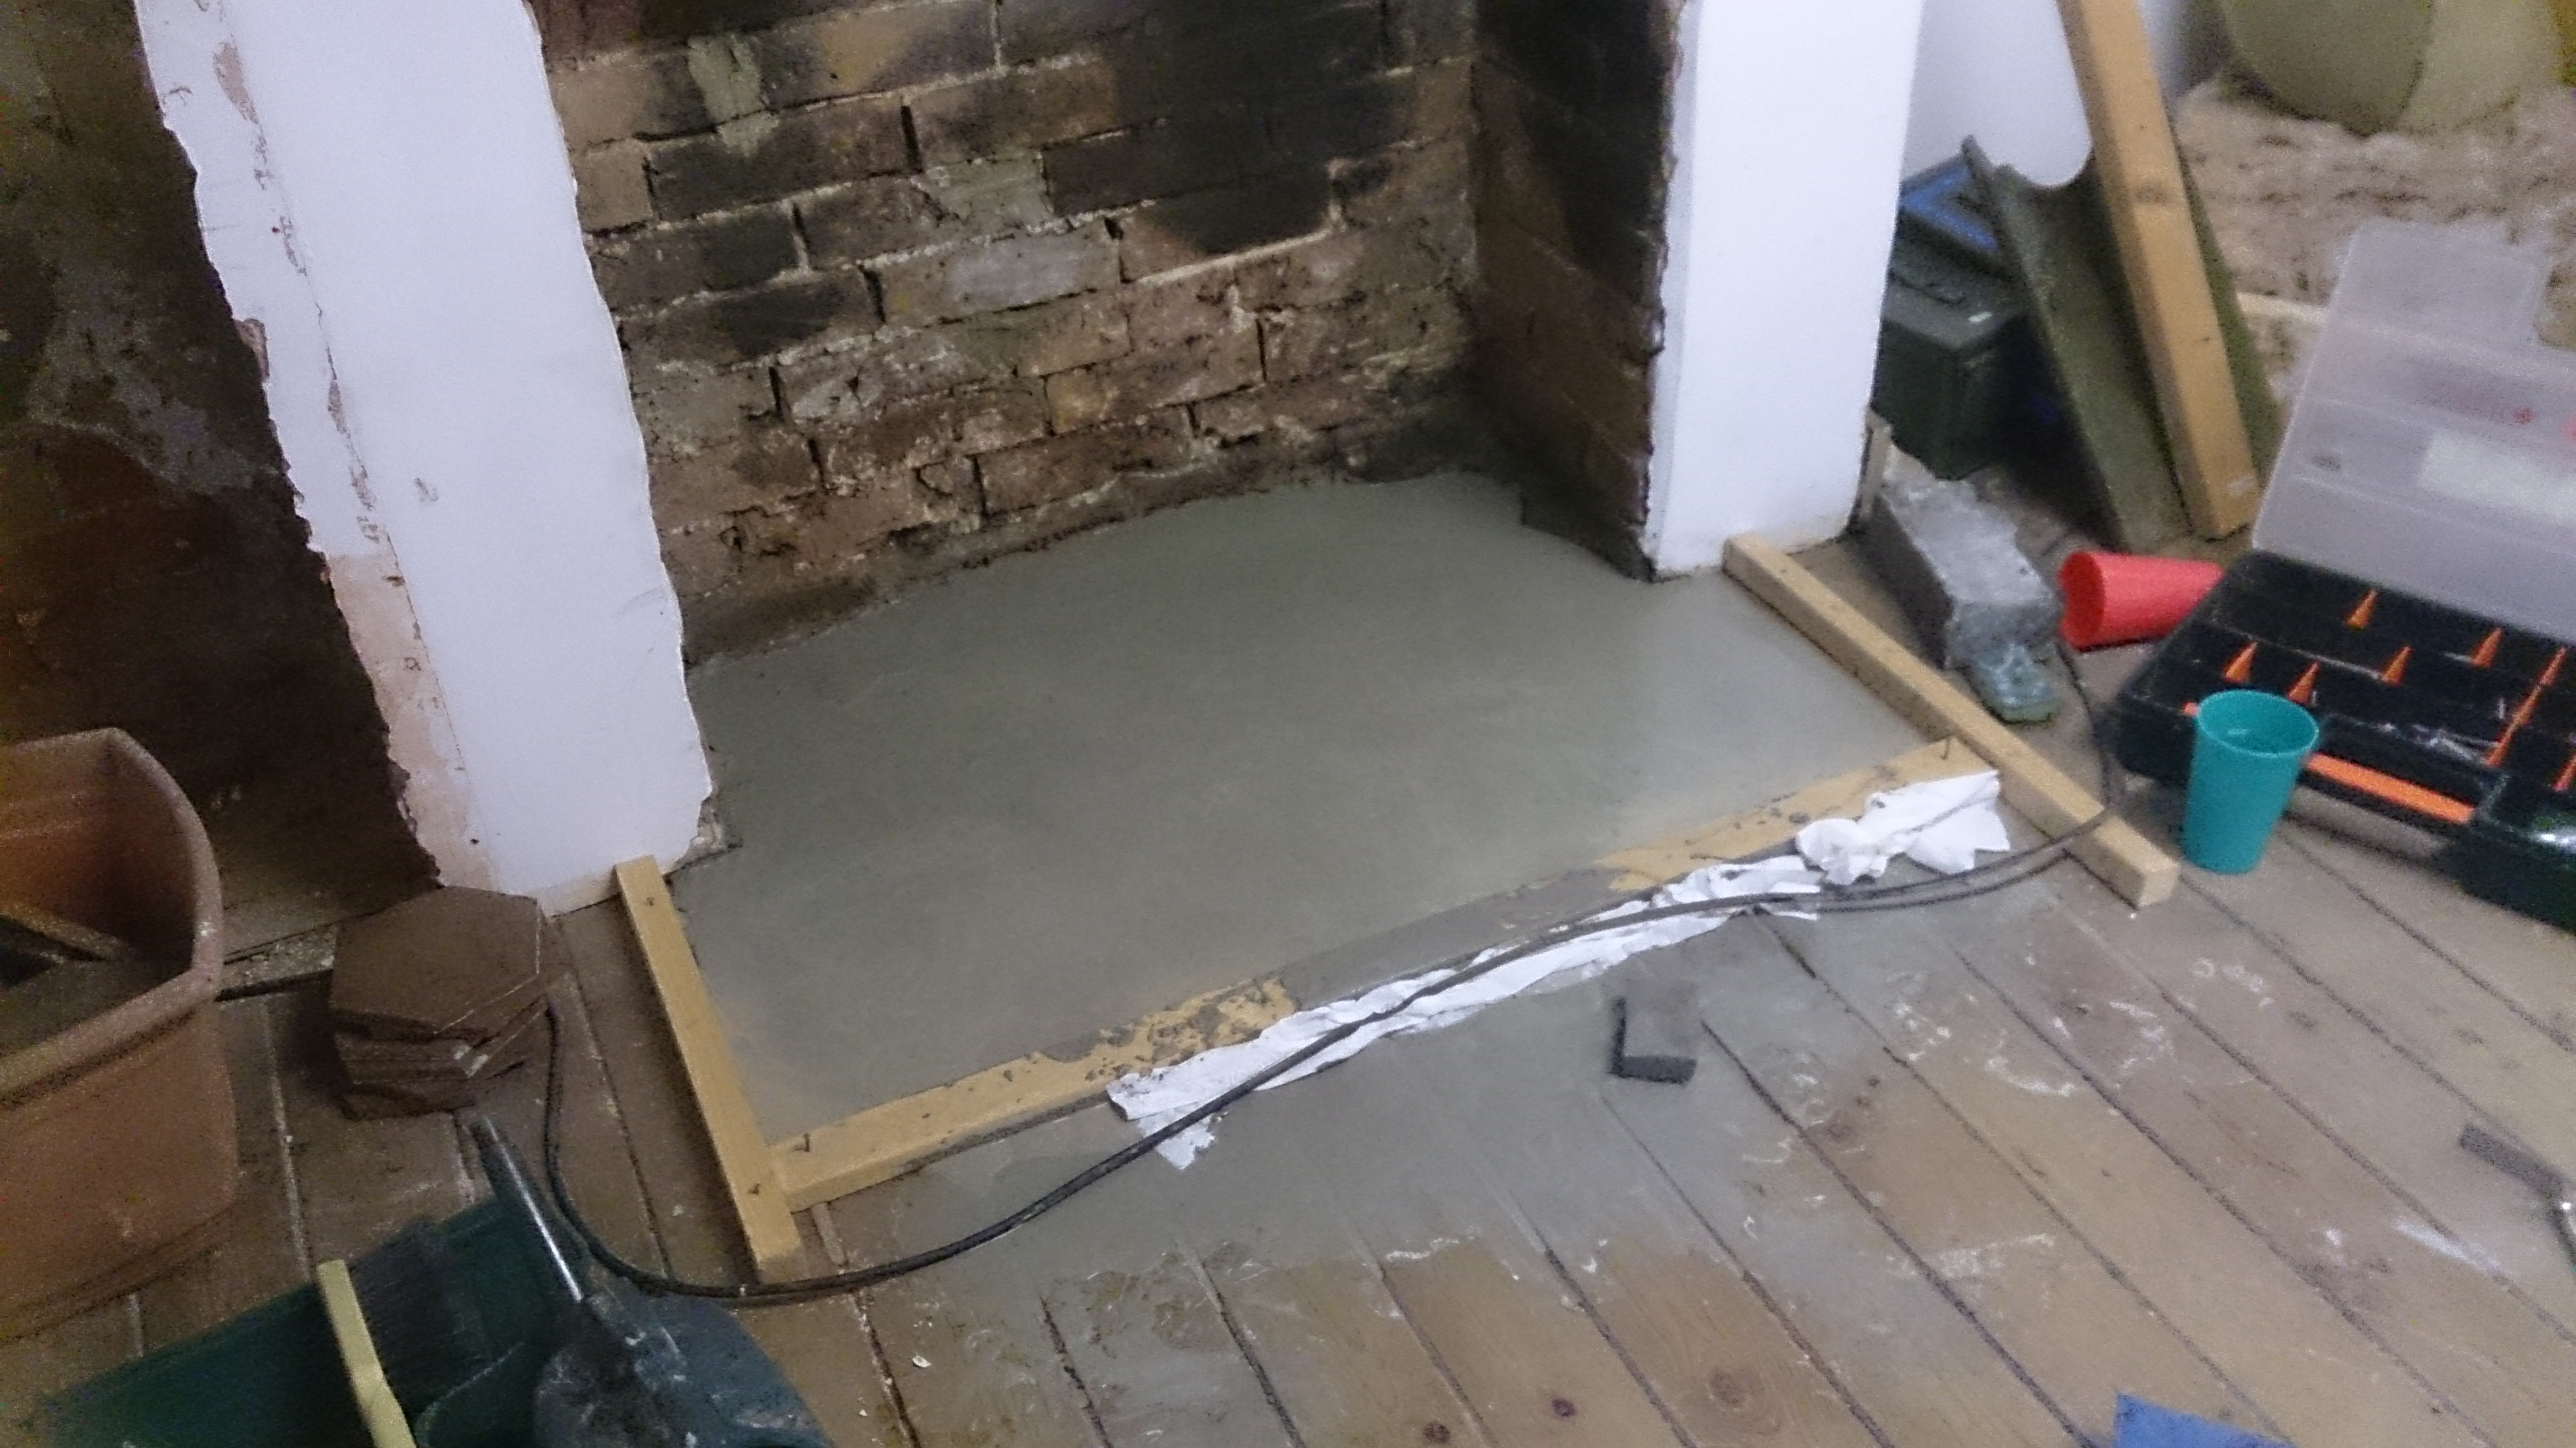
It was like that chap who tried to keep the tide back.......As fast as I sponged it into the hearth, it seeped out again. ![]() Luckily it started to set after 10 mins and after I pushed kitchen paper into the gaps, it stopped seeping out. And I guess thats part of the learning curve!
Luckily it started to set after 10 mins and after I pushed kitchen paper into the gaps, it stopped seeping out. And I guess thats part of the learning curve!
I returned the next day and mixed up another bucketful and this lot stayed within the wood surround but it was too thick and dried uneven. By the third bucketful, I think I had it right. Not too runny and not too thick. It leveled out up to the top of the wood surround and I was happy to lay the tiles ontop.
However, when laying the tiles, I ended up being two short!
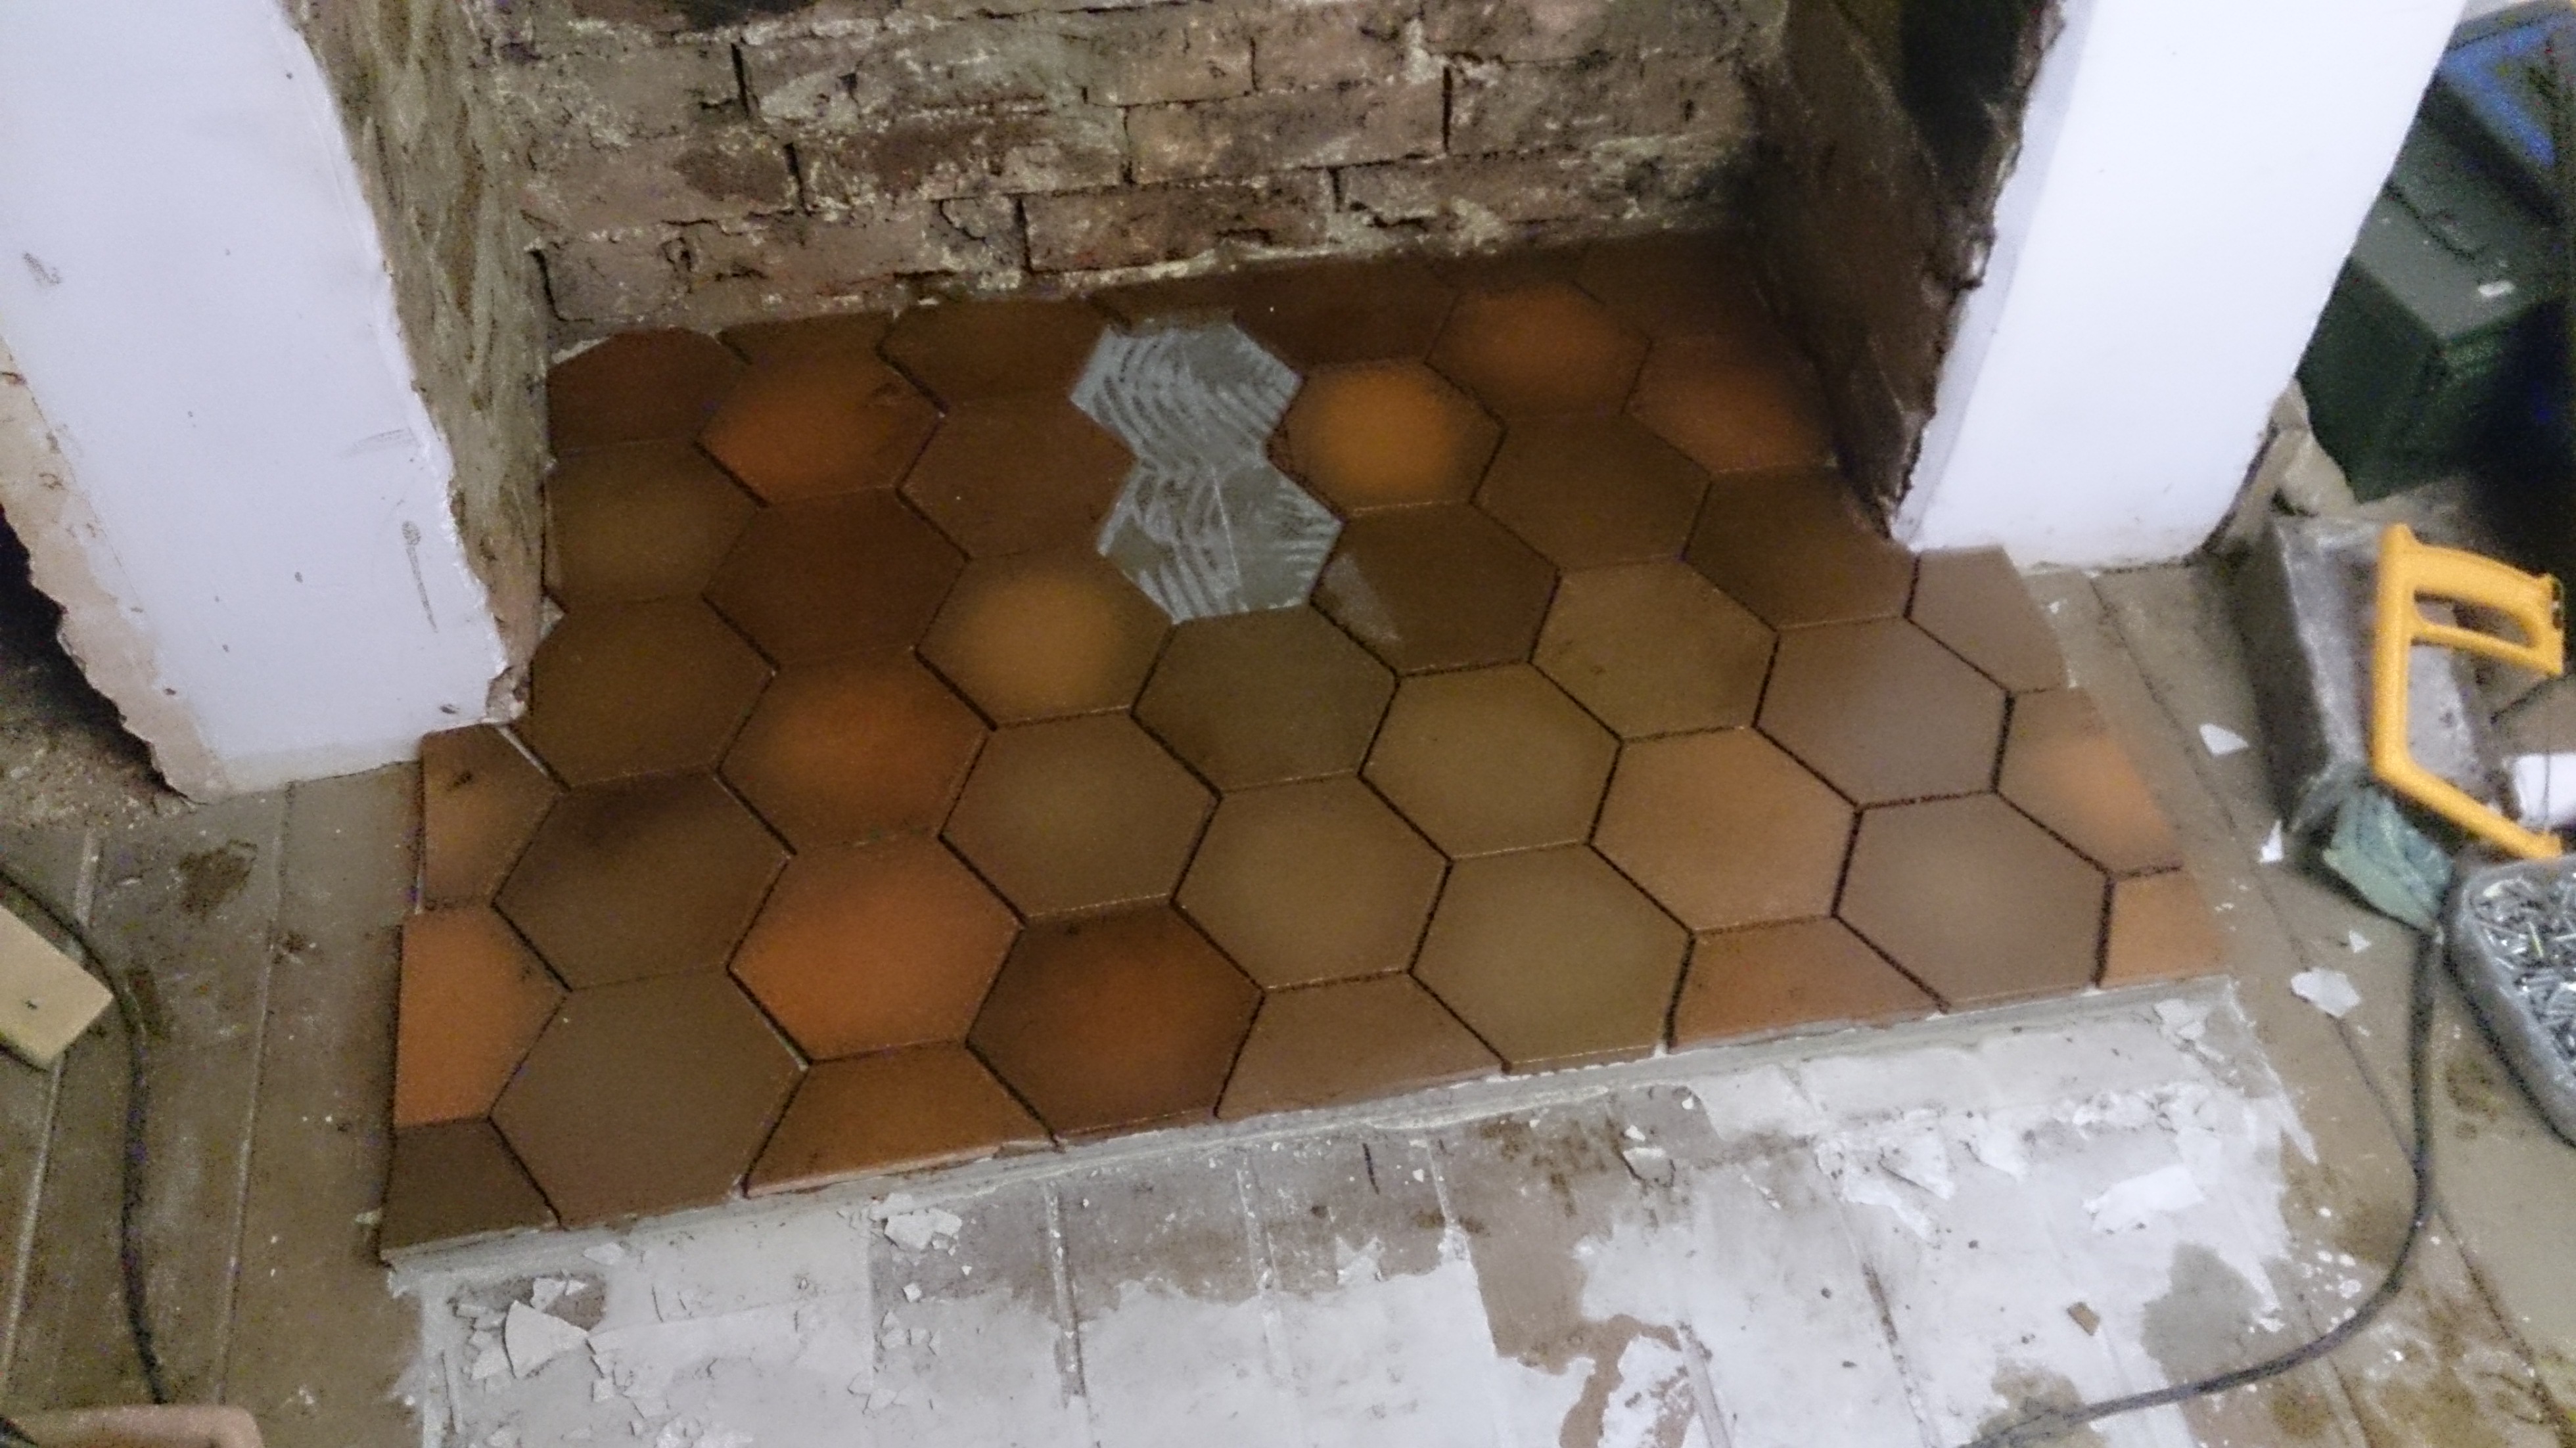
After visits to several tile shops and quite a few telephone calls I discovered its quite hard to buy hexagonal quarry tiles of that thinkness. But I was not deterred! I bought another tile of a similar colour and after making a cardboard template, I was able to cut two tiles from the one larger one and fit them in. Due to the variable colouring of the tiles, I dont think anyone will even notice. Particulaly as they will be under the stove.

We will need to edge the whole hearth evenually but thats a problem for another day. Our intention is to have bamboo flooring thoughout the ground floor and we may try to edge it with something similar.
So the chaps came on wednesday and after providing tea/coffee and biscuits (and toast for elevenses) in large amounts, they seemed happy enought answering all my questions. And to be fair, I think we made the right decision to get the professionals in. Following instructions from Online sites and YouTubes would not have been enough and we would not have been able to install it as well. so we now have a working stove!
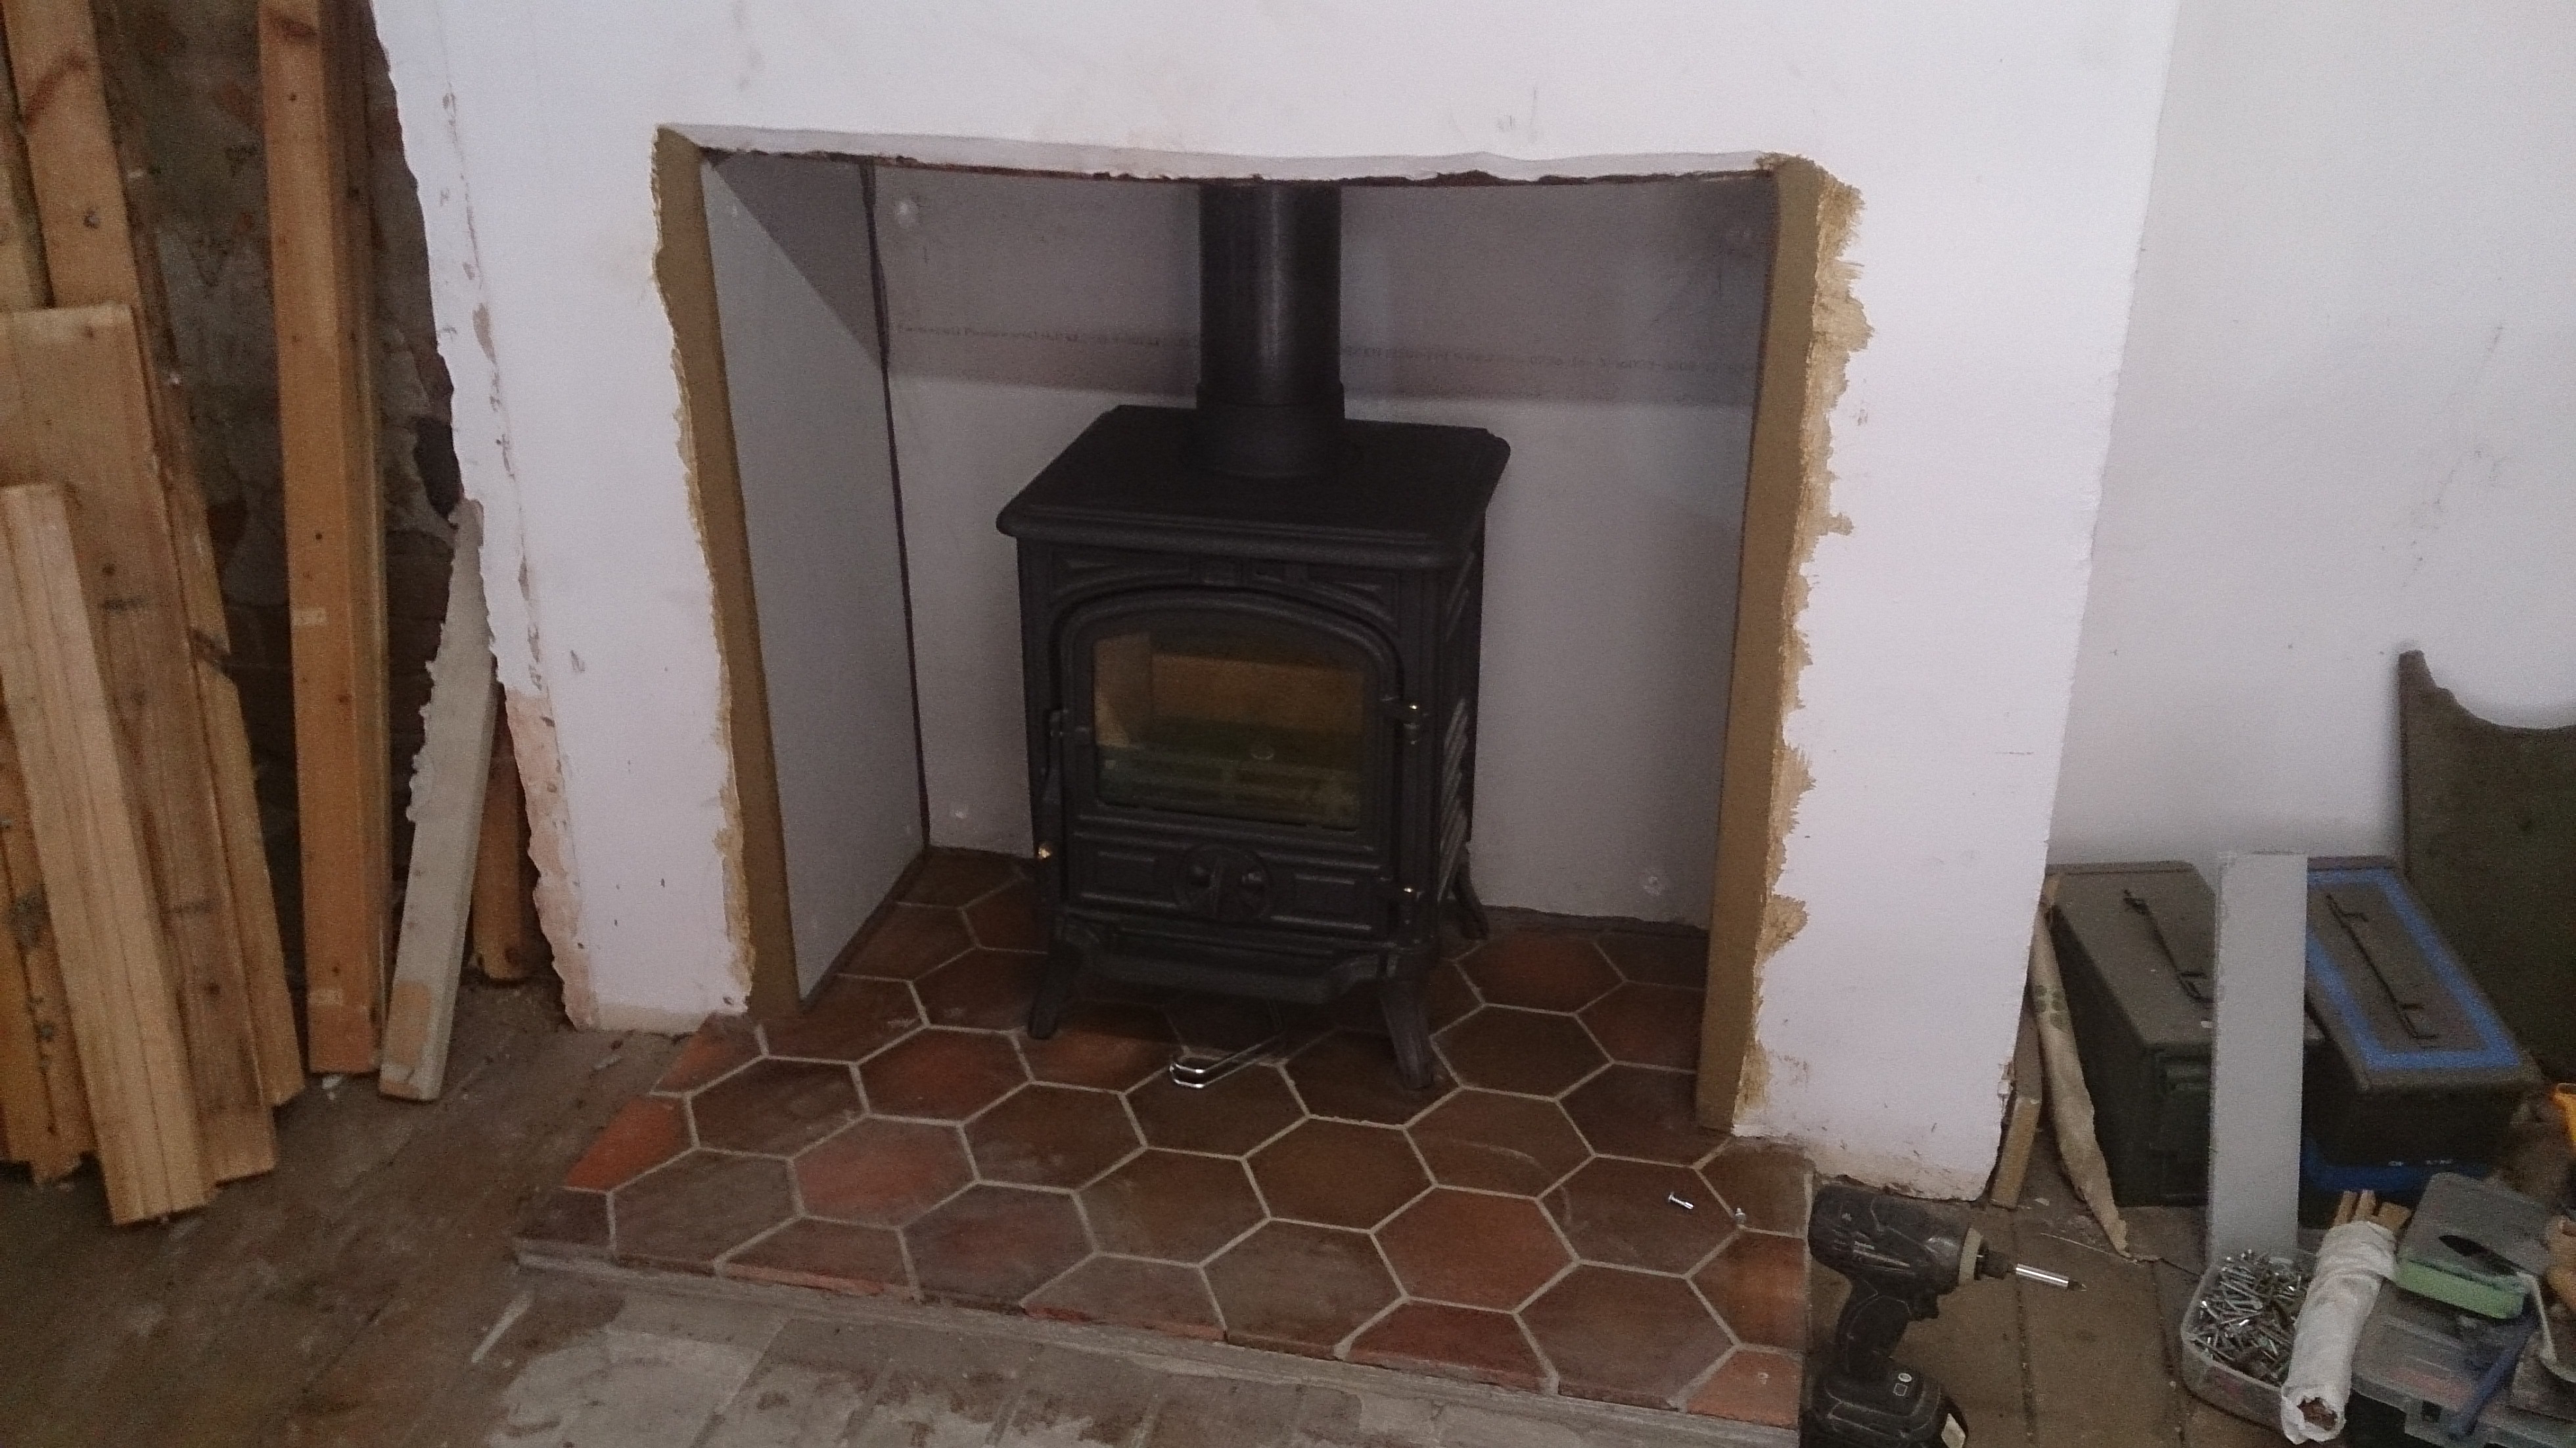
Unfortunatly due to circumstances, we were not able to light it till today so I was quite excited to finally get it going. And with the drop in temperatures outside, the house is really starting to feel cold. 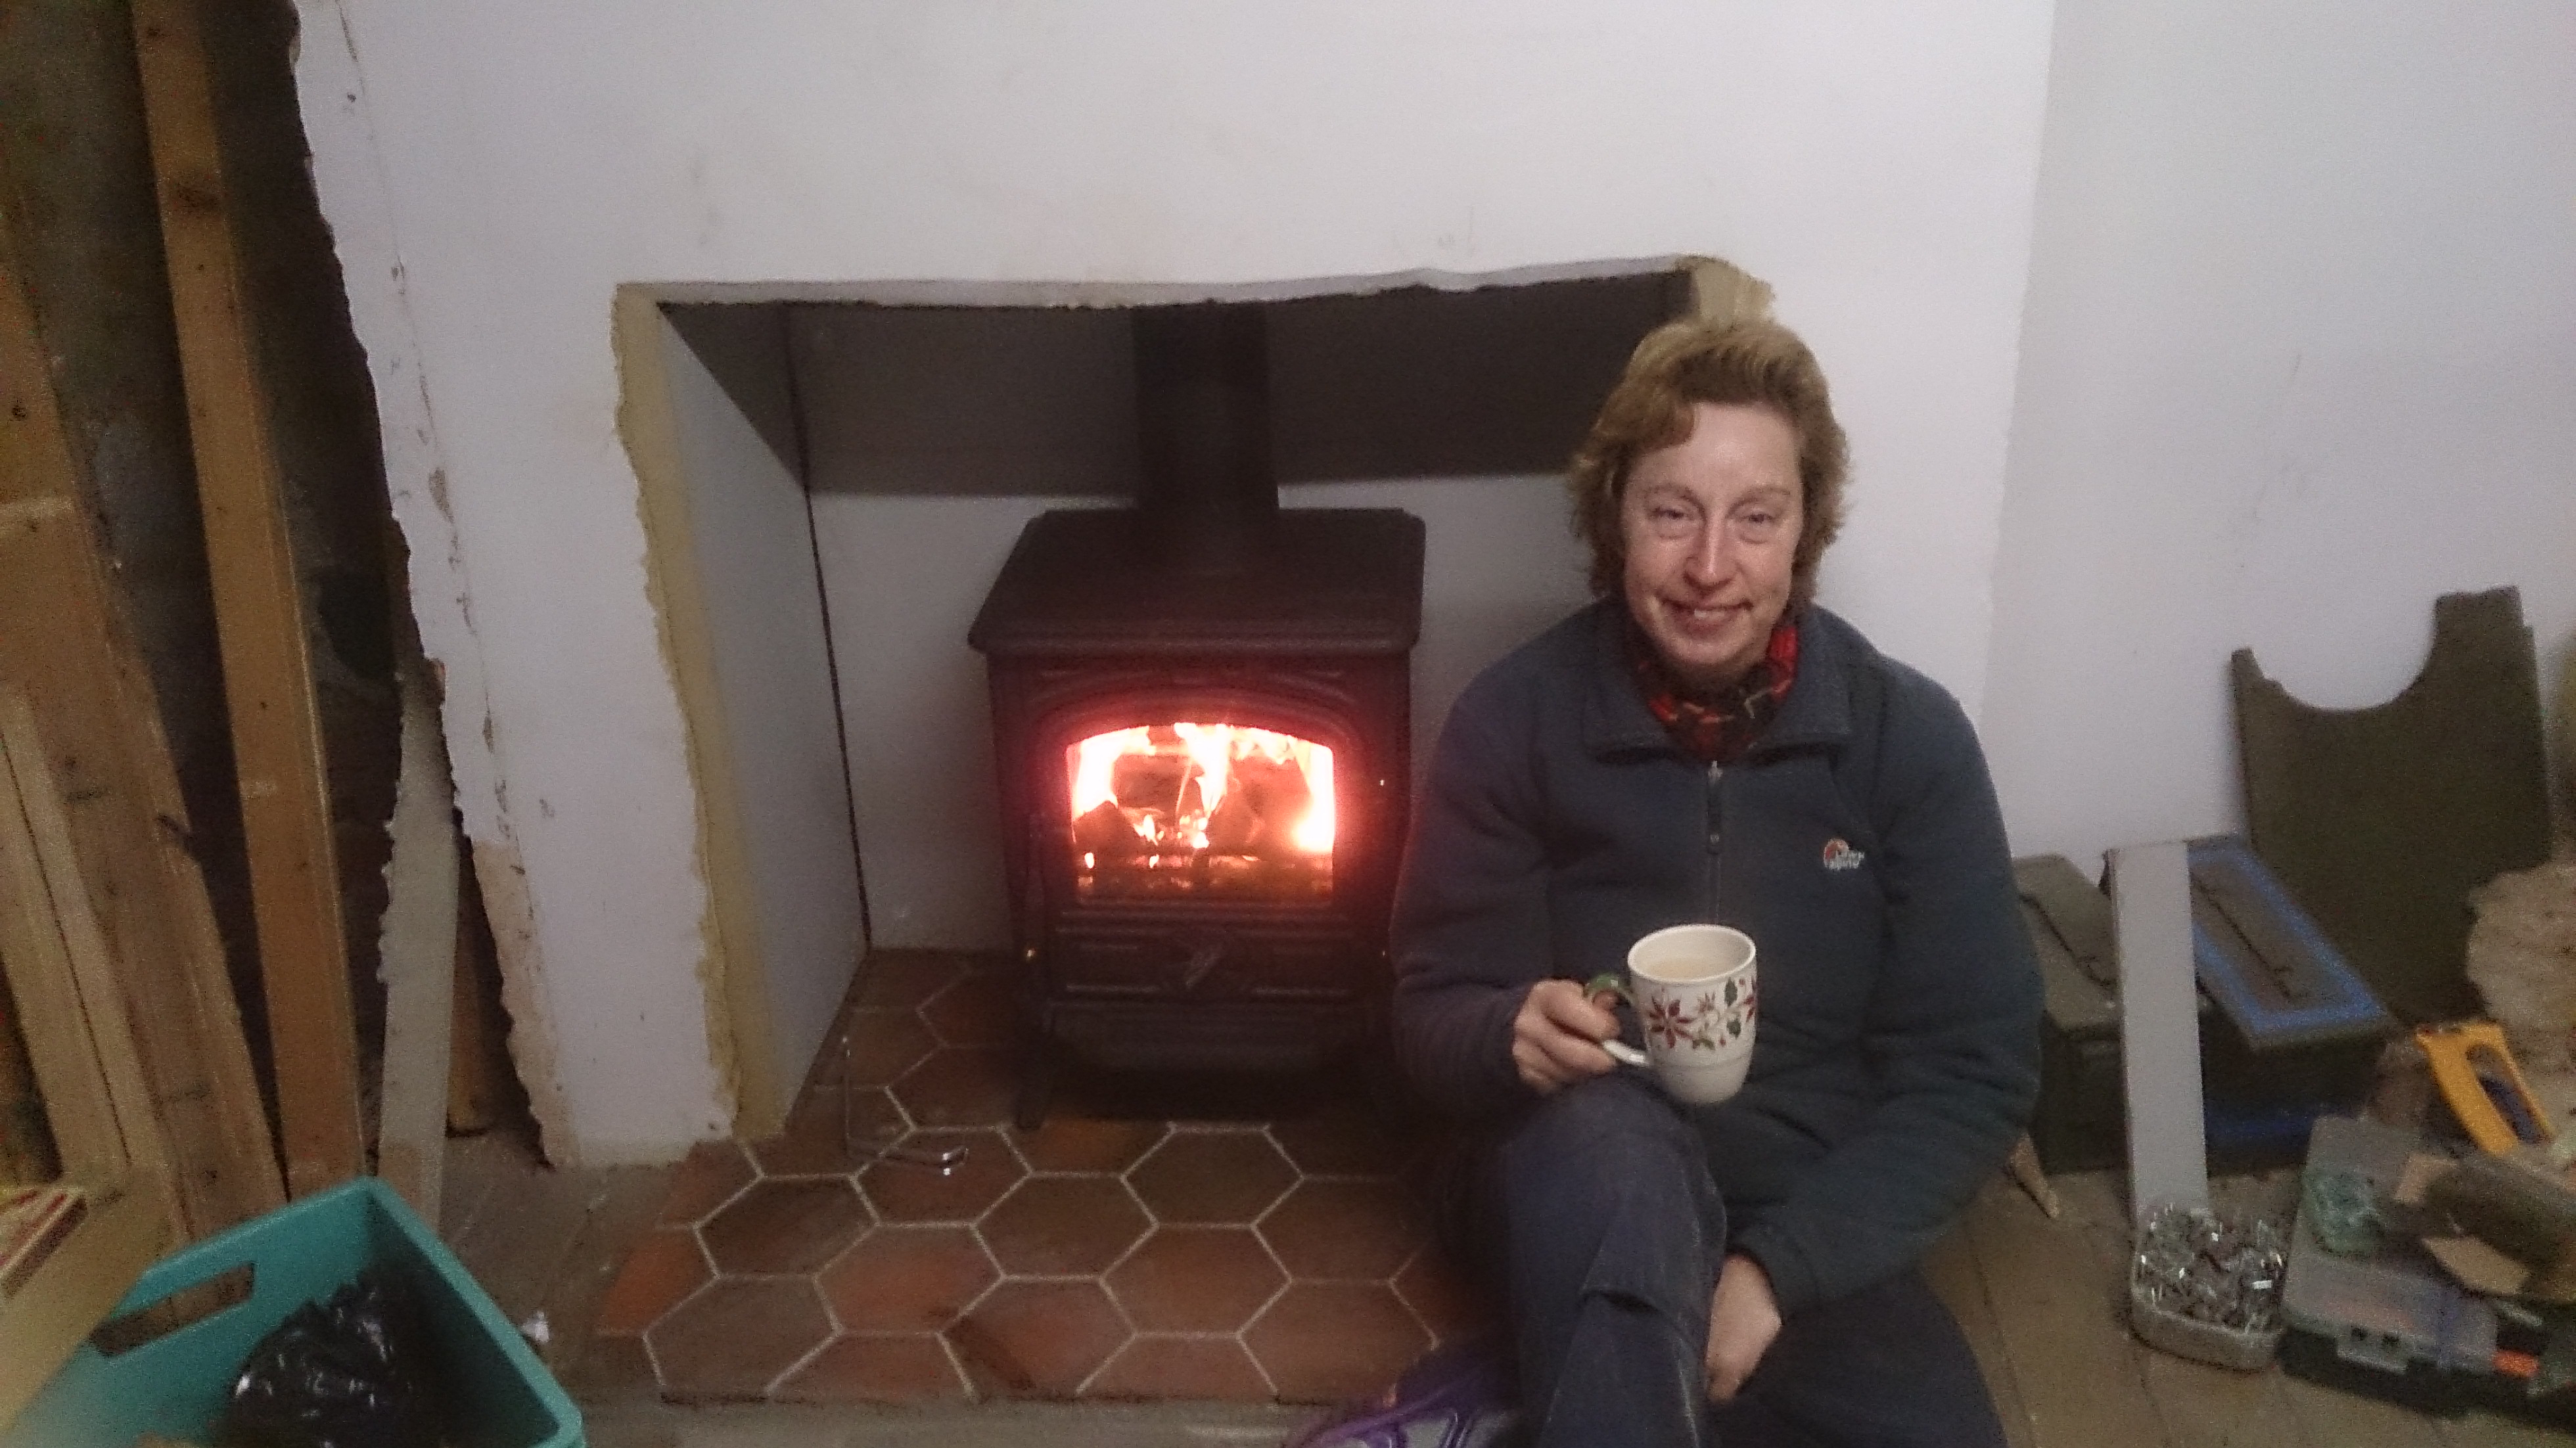
And later we enjoyed our first lunch sitting in front of the fire. 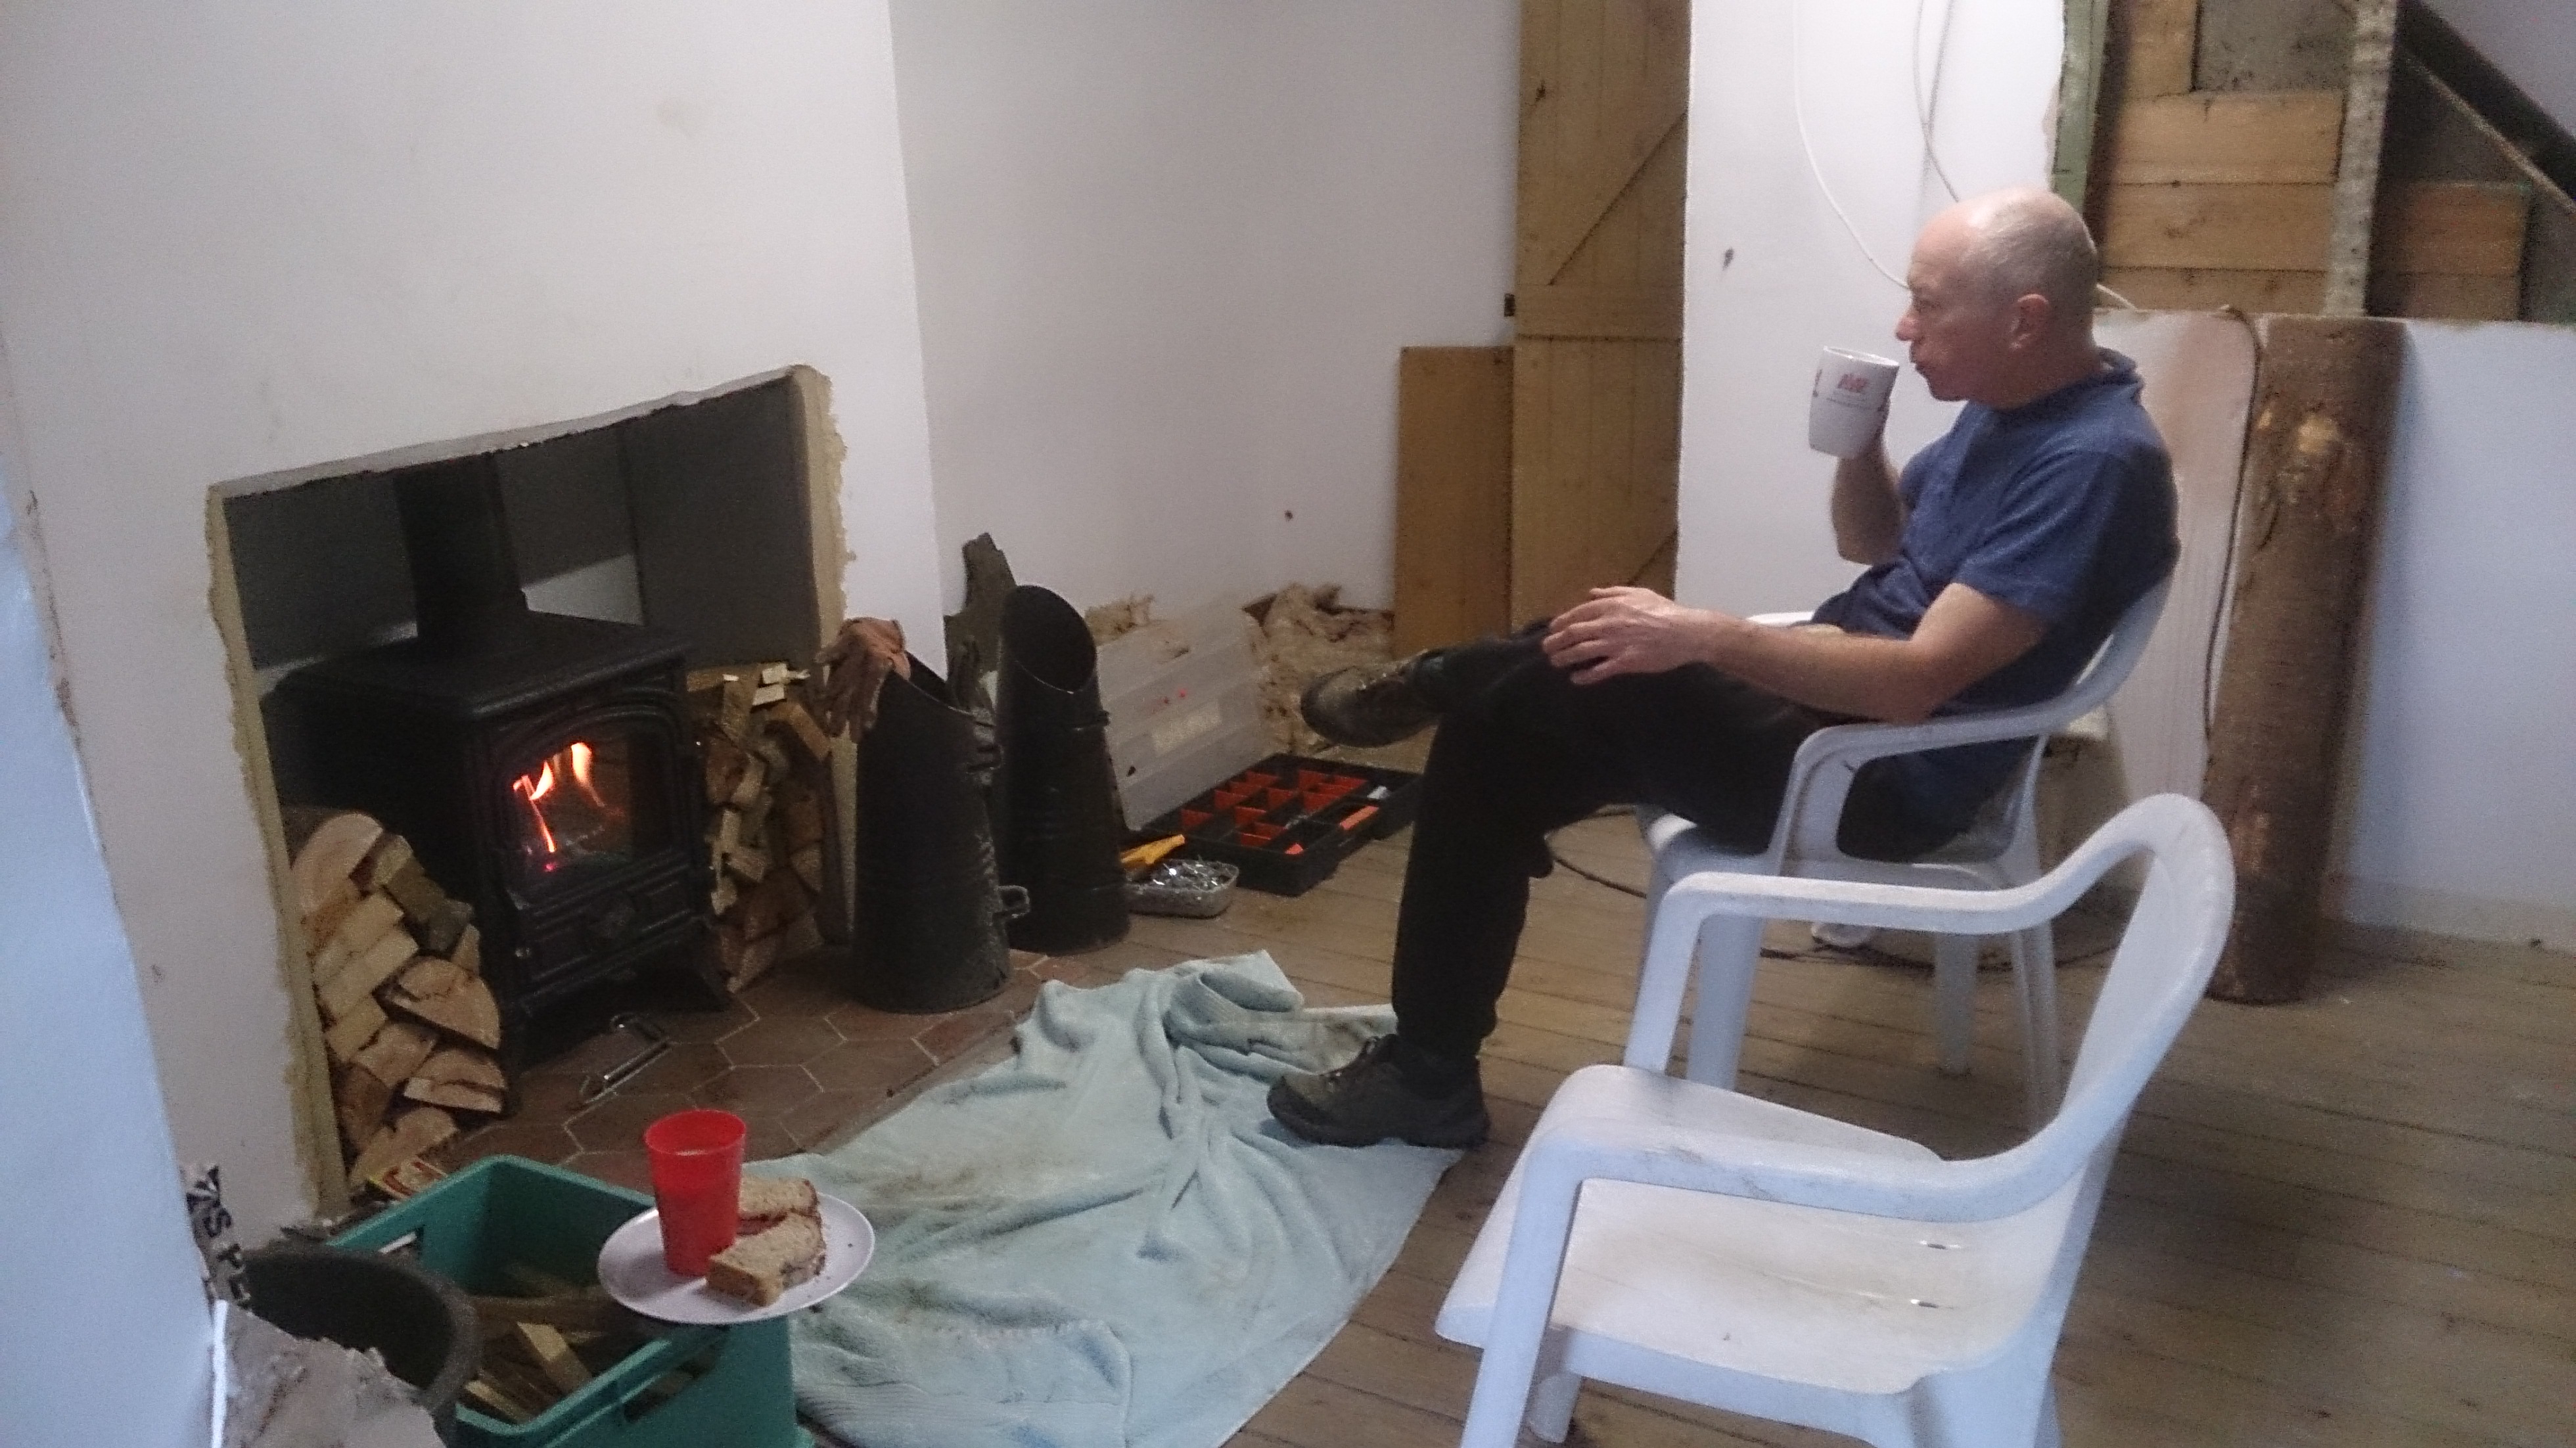
The OH had been busy making a log store using a load of featheredged boards that I had found in a skip.

Theyre around 3 ft long and they filled the car boot. so for the price of four lengths of treated timber for the frame we now have a great store outside for when we get more logs. Picture to follow of the finished article - I was too busy gazing into the fire!
Things learnt - slef leveling compound does not go very far. It took two bags for that small area. And when doing the budgeting, I did not include costs for things like the compound and the adhesive for the tiles - all of which will add up to quite a lot by the time we finish the house. They are more expensive than I thought.
-
 2
2
1 Comment
Recommended Comments
Create an account or sign in to comment
You need to be a member in order to leave a comment
Create an account
Sign up for a new account in our community. It's easy!
Register a new accountSign in
Already have an account? Sign in here.
Sign In Now