
Part 12 - Progress continues

Entry posted by Stones
5169 views
There has been progress on all fronts over the last couple of weeks, inside and out.
Taking advantage of some good weather, the joiners pushed on with the larch cladding.


We still have one wall to finish off and around the entrance door, but due to a shortage of cladding (a slight under ordering) we will not get this finished for another week or so. It looks very crisp at the moment, but we still have various cover pieces at the corners, to the underside of skews, window reveals etc to finish off before the cladding is complete. I do have a fantastic joinery team on site, who are very particular in making sure the cladding is being well fitted, produce nice straight lines of stainless steel nail fixings and ensure board end joints are flush.
On the other part of the house, the windows have all been masked off and the EWI buffed with a giant orbital sander to make sure the surface is level prior to the application of render. In the picture you can see a base coat of render has been applied for the bellcast. We have most of our beading fitted now, but encountered another unfortunate shortage - the local building merchants all being out of 6mm beading used for the render system we are applying. Fresh supplies are en-route, so only delaying things by a few days.

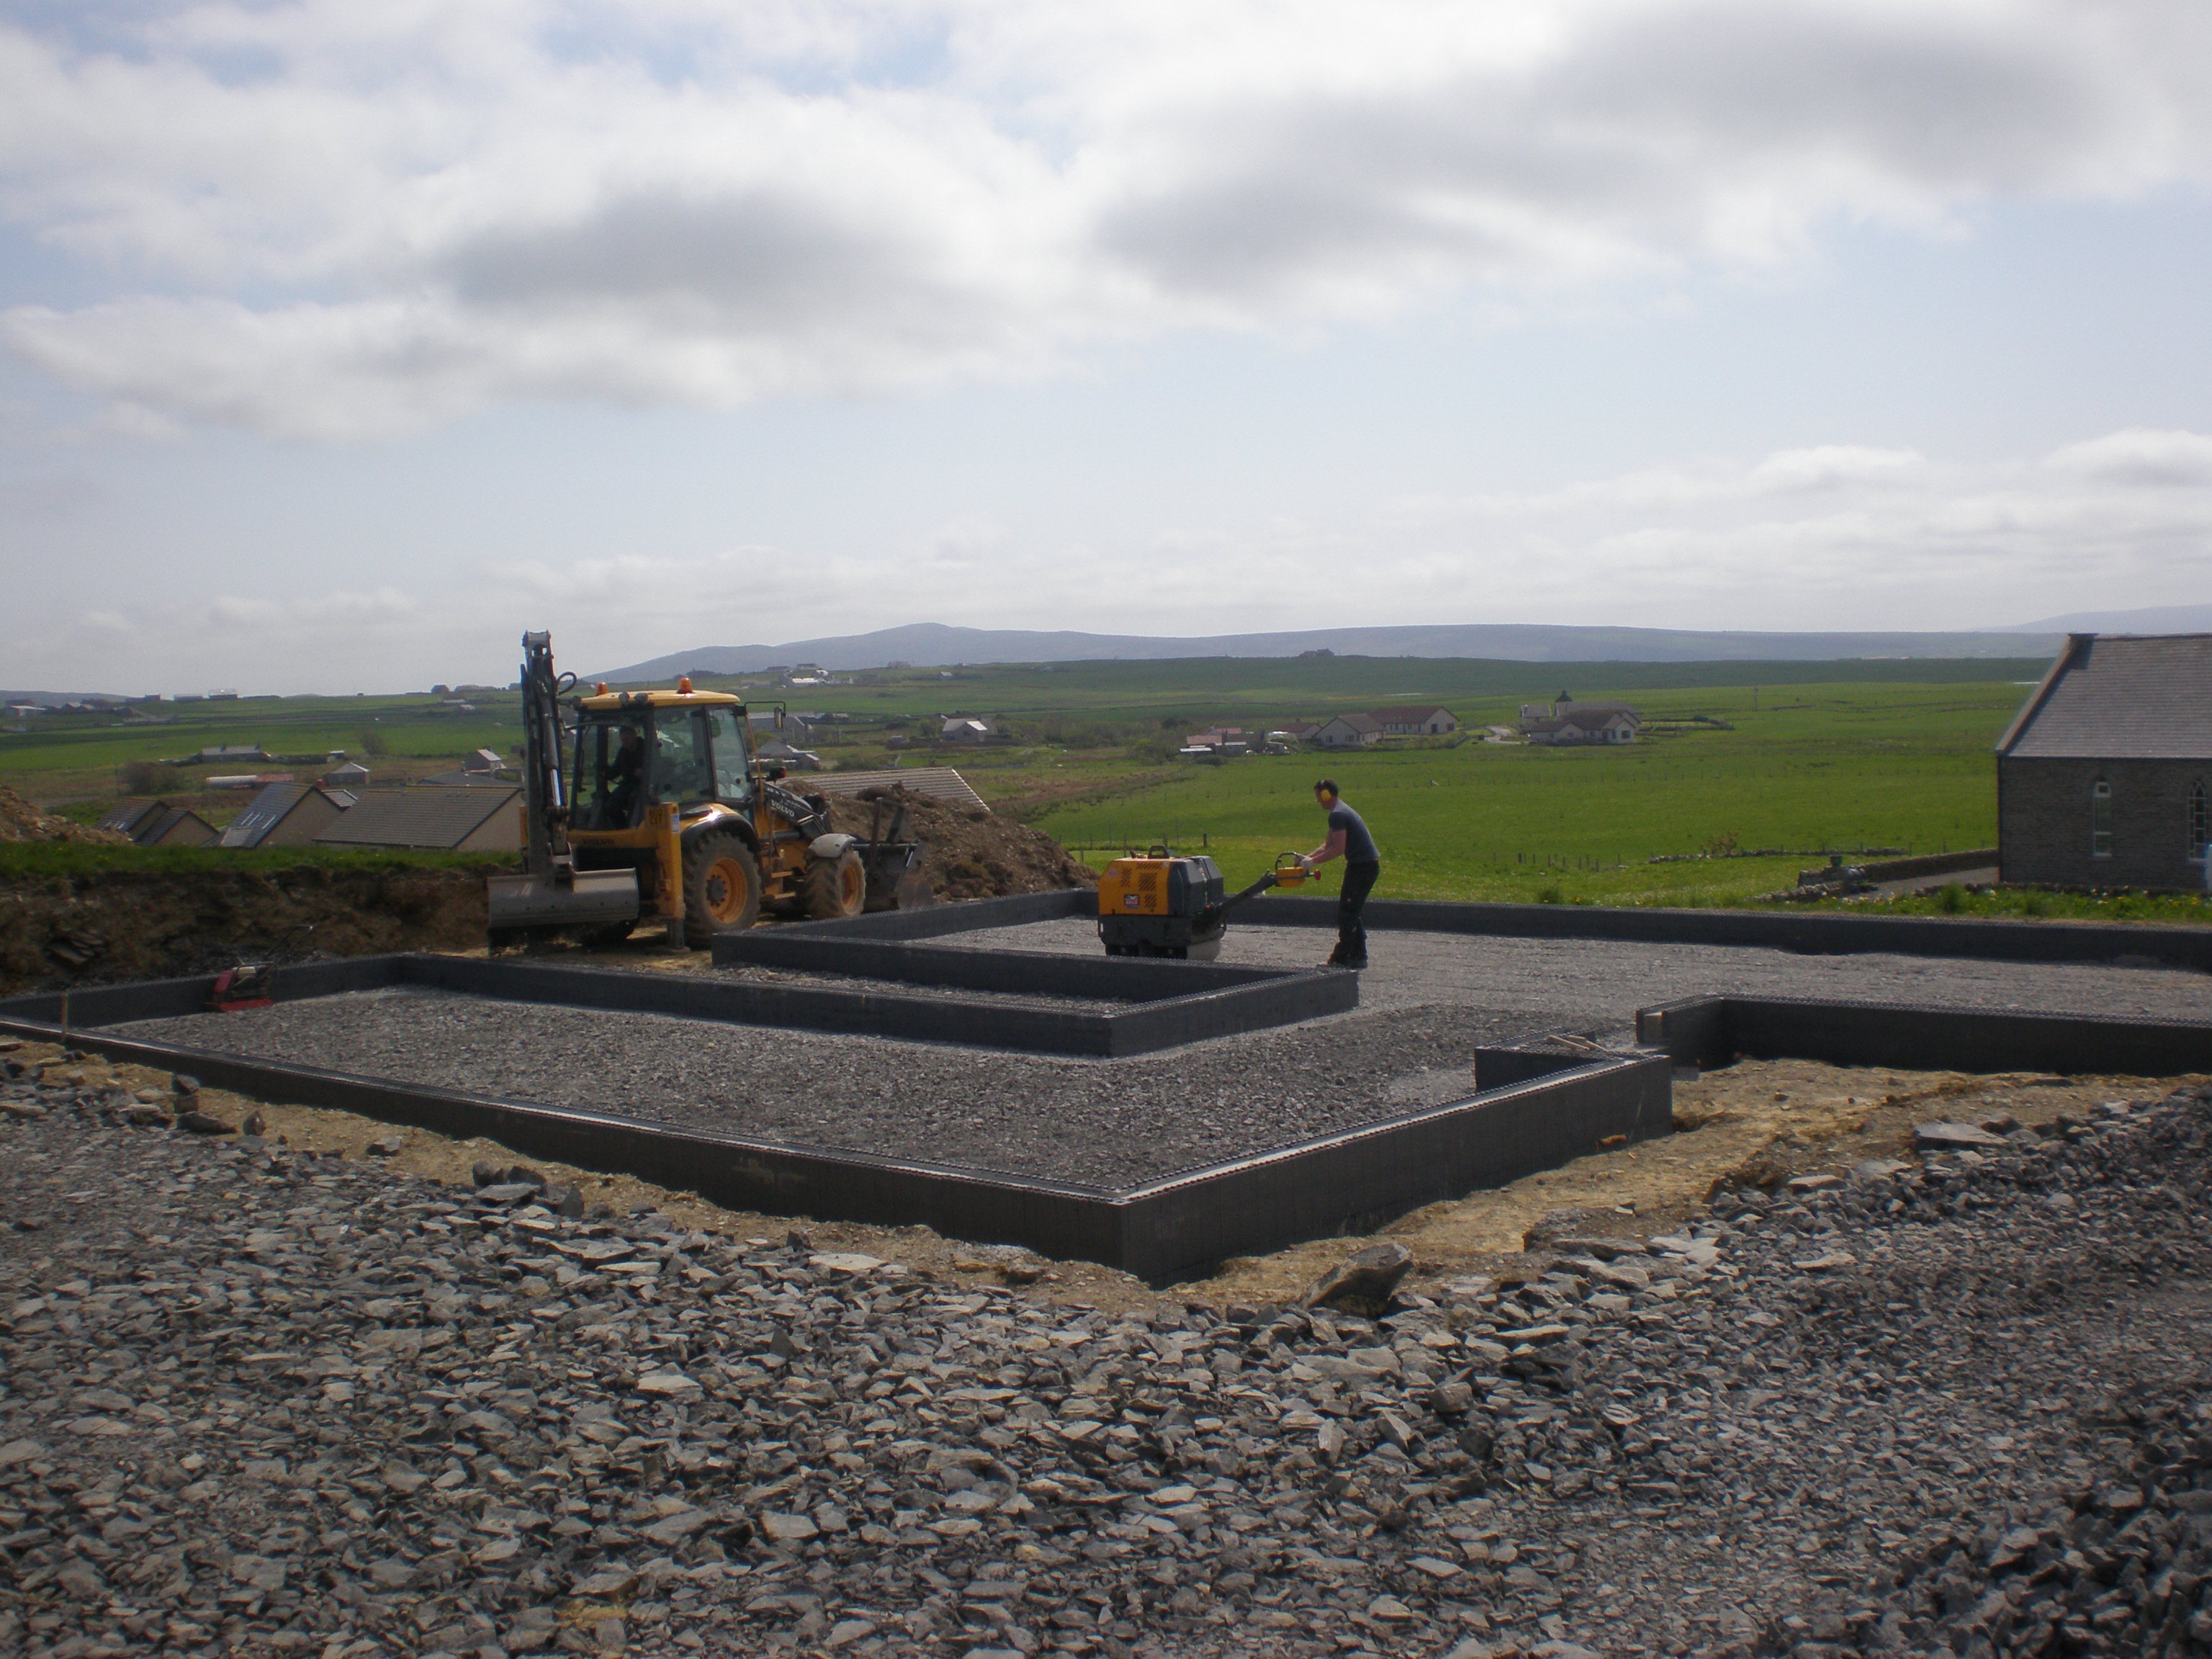
Our treatment plant also arrived, which meant a 'crash' course in loader driving for me! Fortunately it came on a large pallet which meant unloading was straightforward.

Inside, battens have been fitted to create a service void, plasterboard ceilings are up, partition work started and insulation work to the vaulted ceiling started:


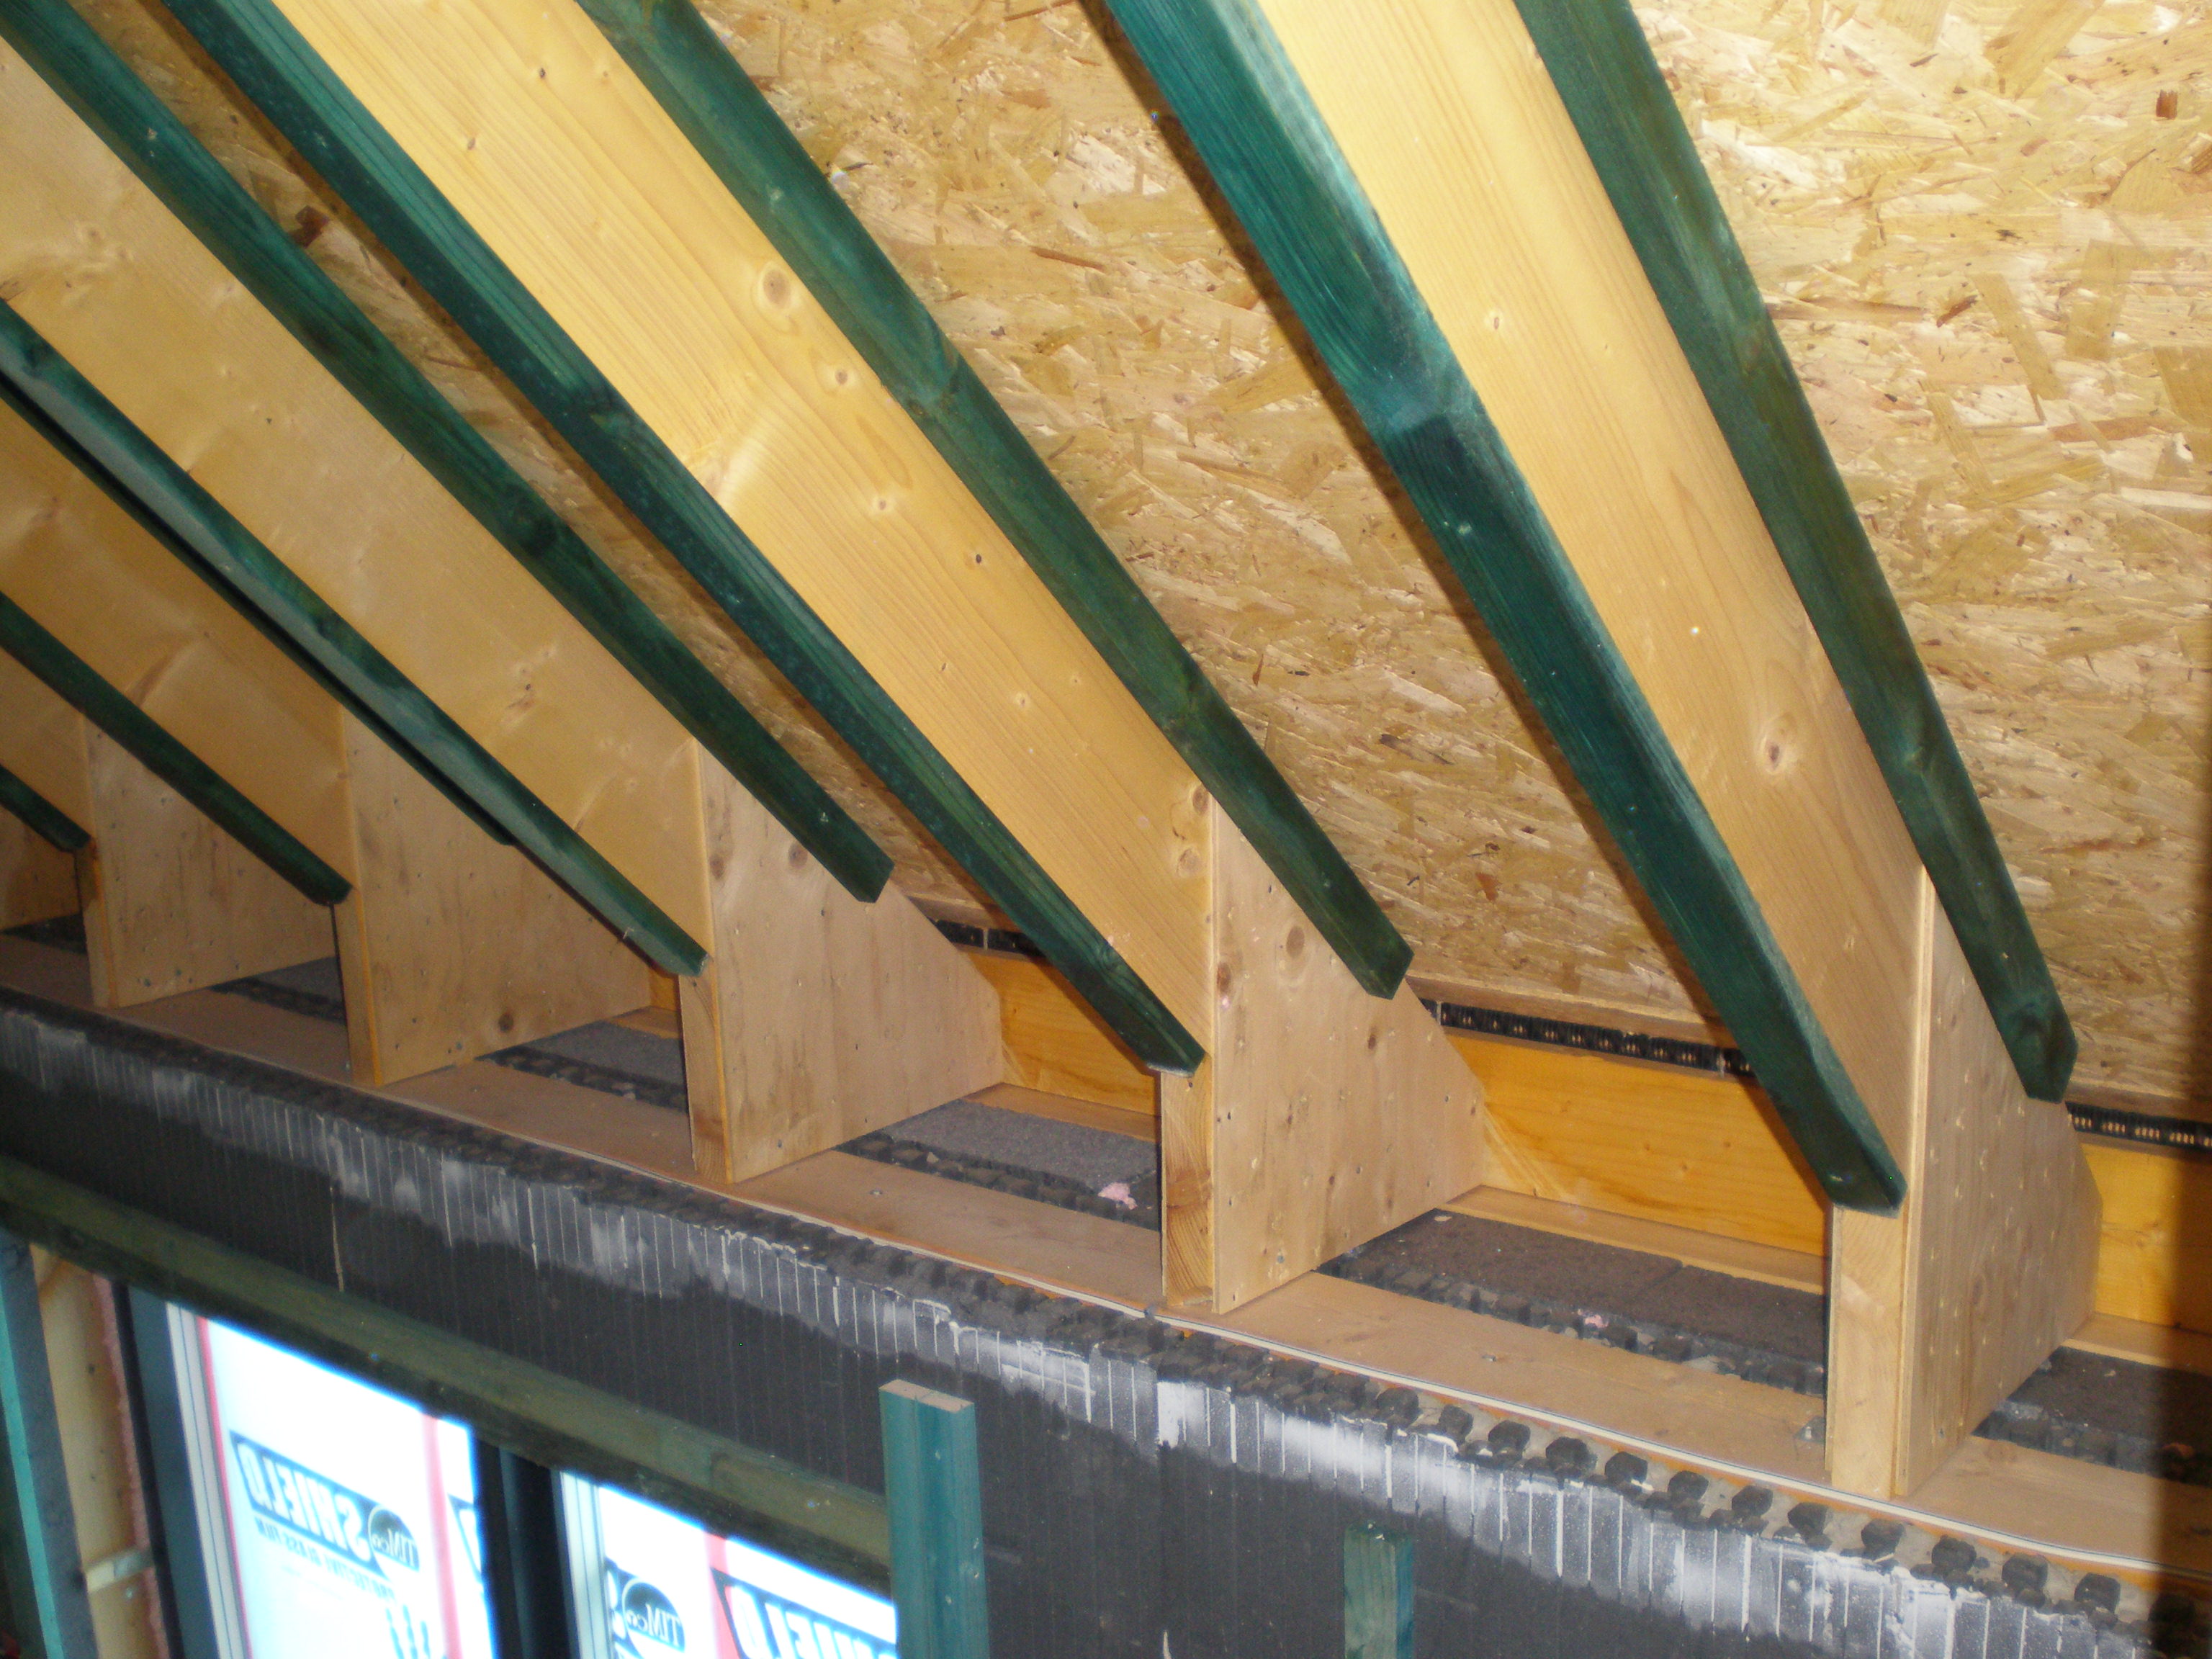
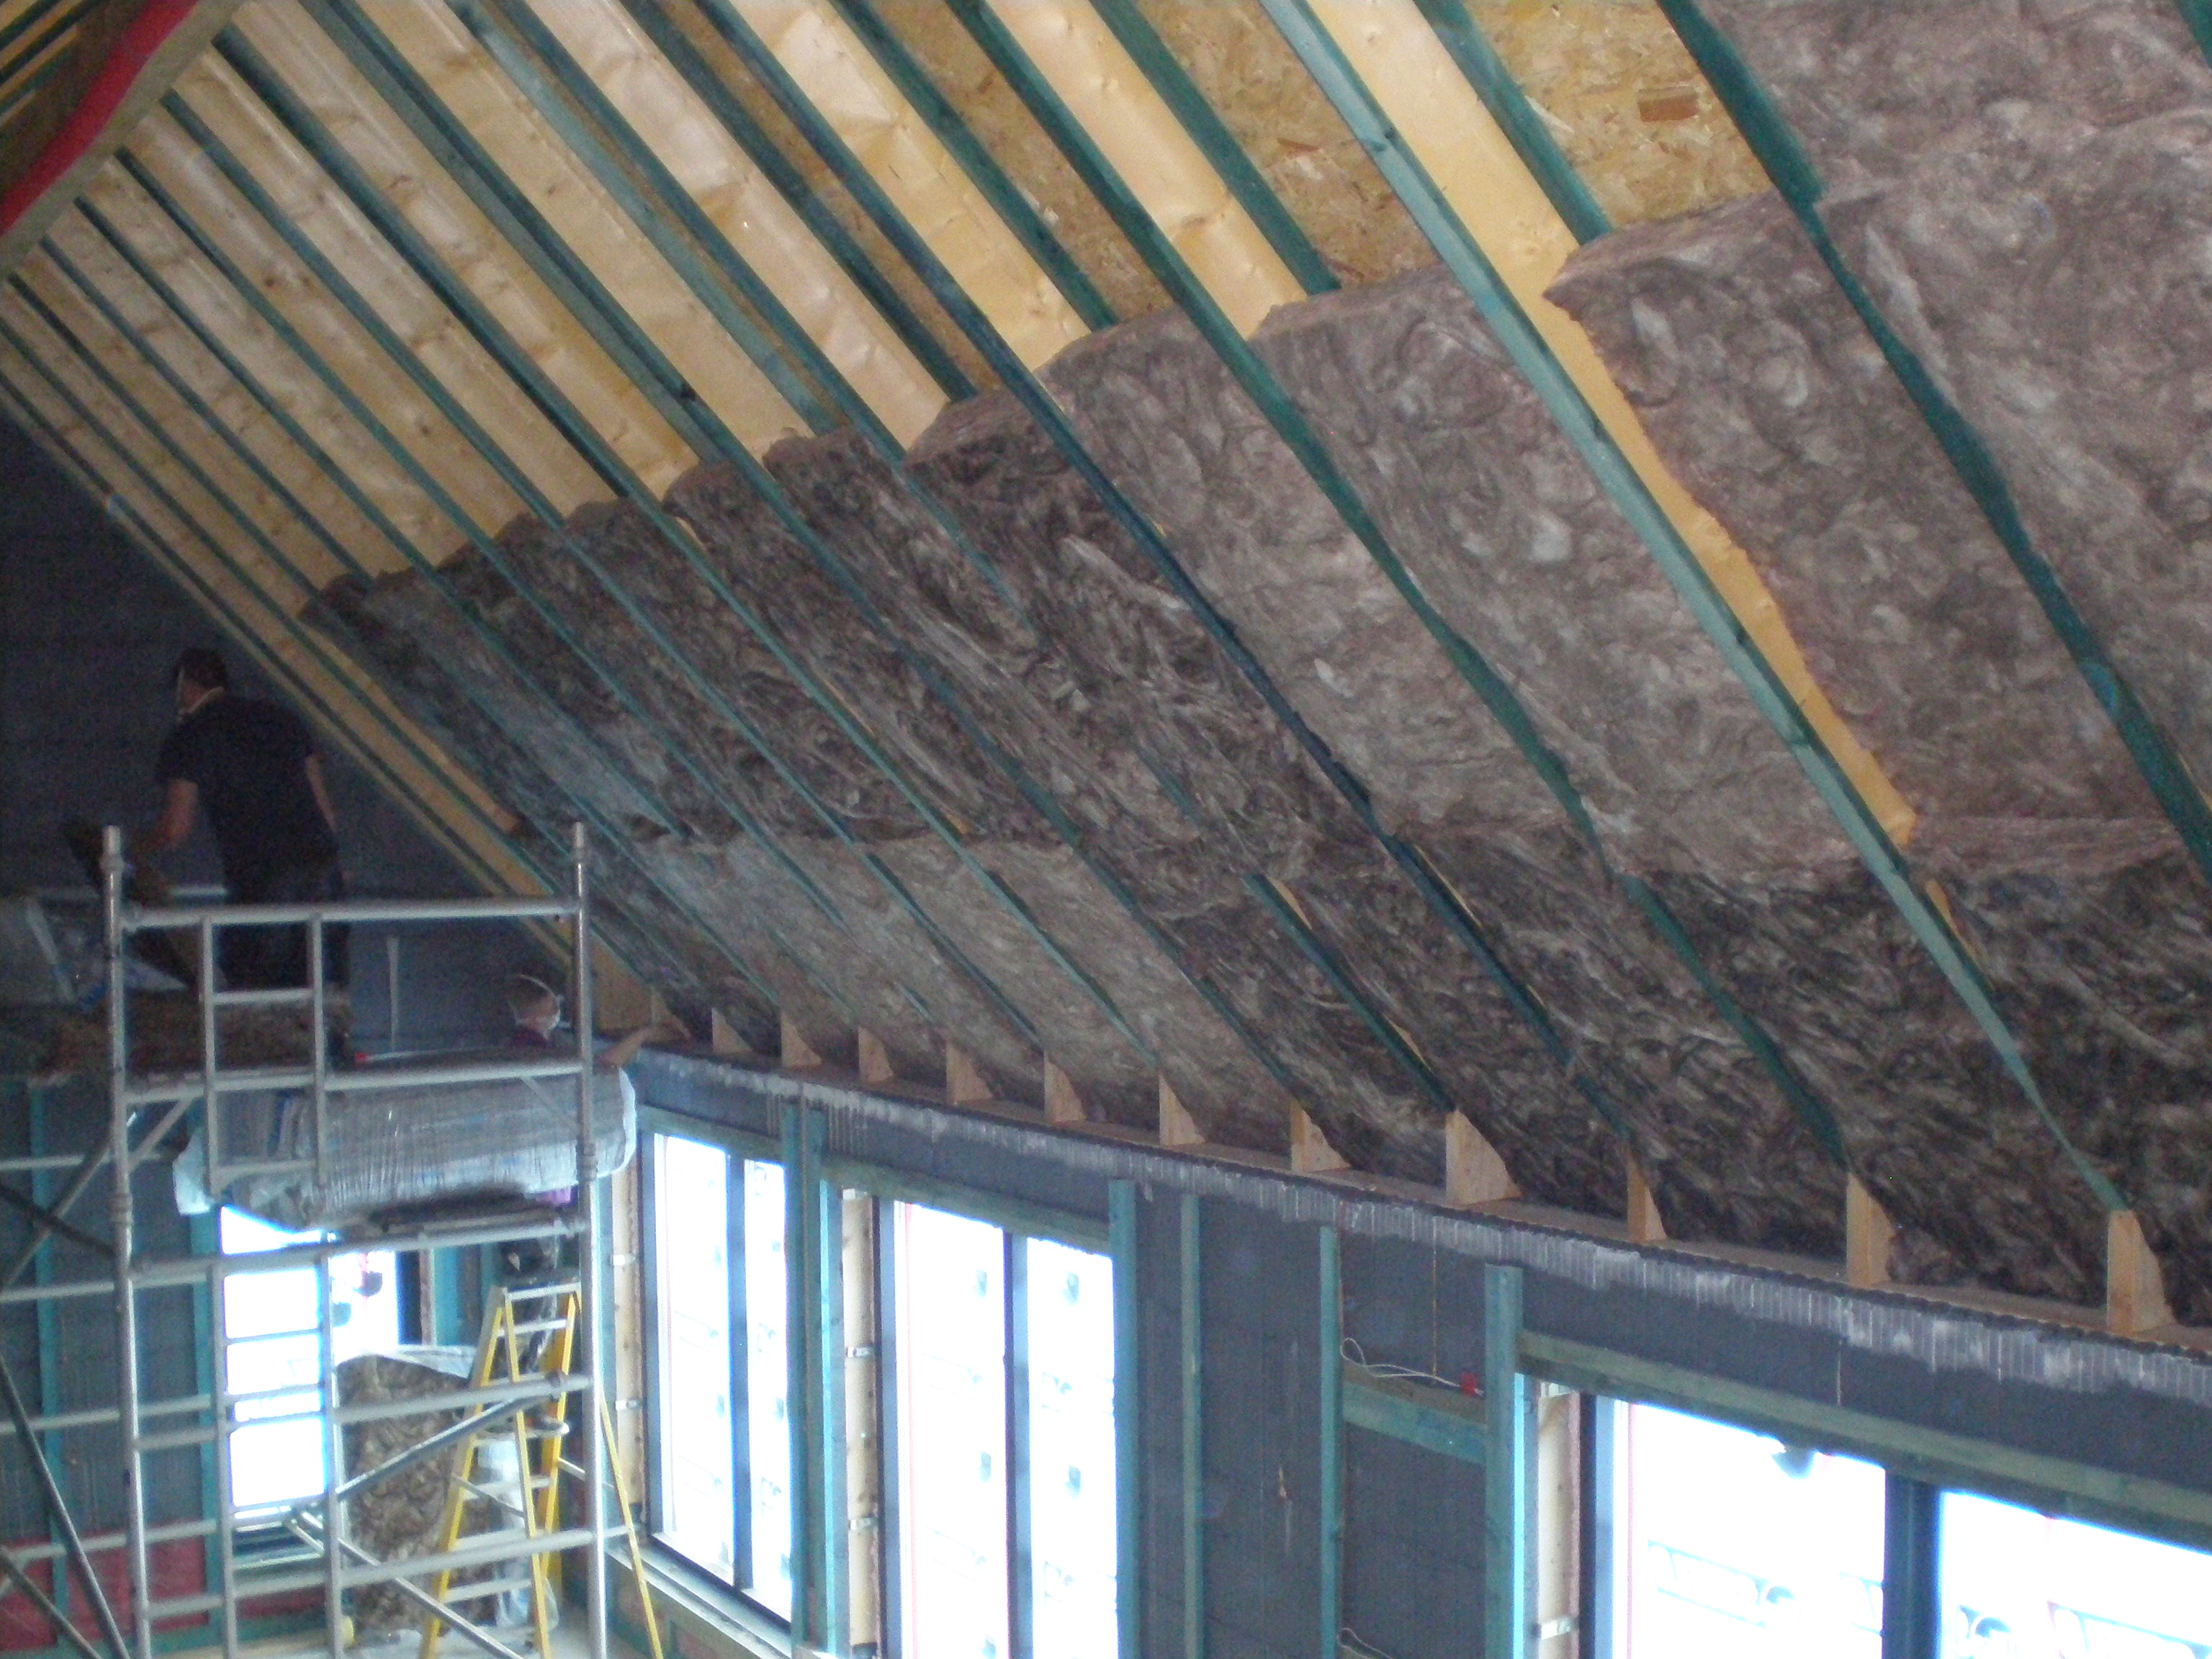
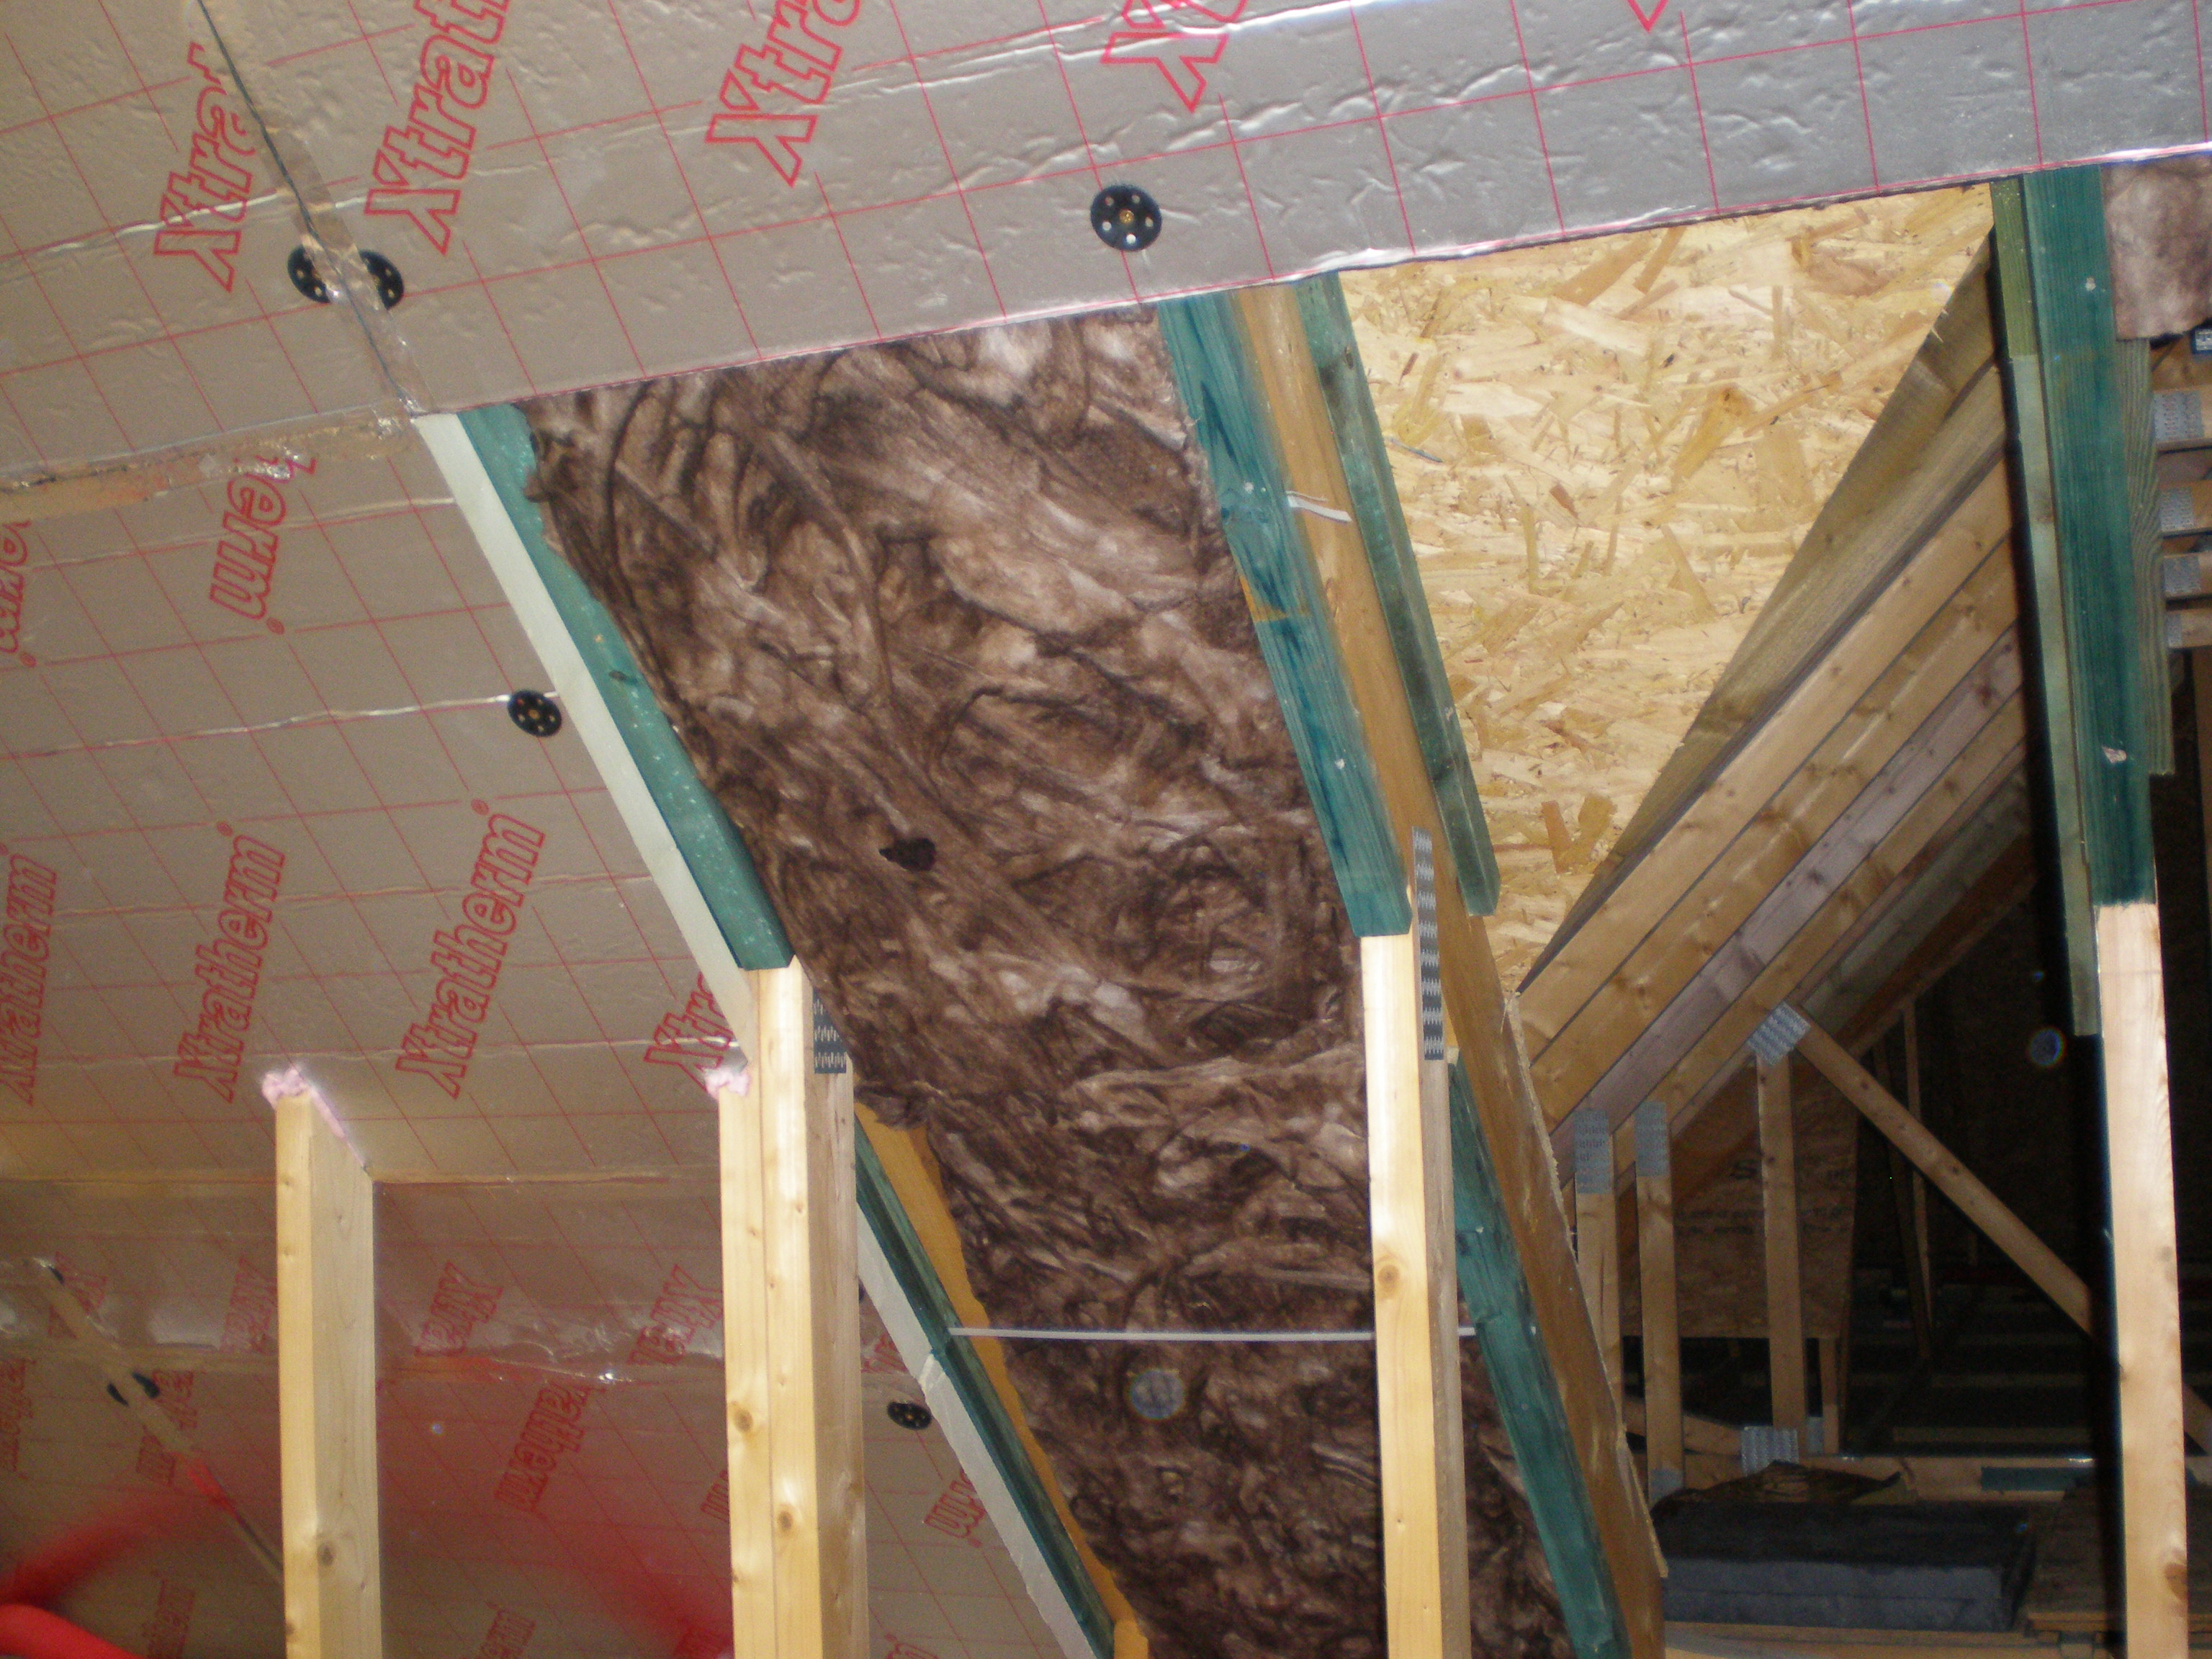
Over the flat ceilings we have 450mm of earthwool to go in, albeit this won't be laid until after first fix. On the vaulted ceiling, tile battens are fitted to the underside of the OSB sarking to create a ventilated cavity. An additional tile batten was then fixed onto the underside of the rafter to give us the required depth to fit 2 x 90 mm frametherm 35 earthwool batts. 50mm board insulation across the rafters follows, then further battens for a service void and finally plasterboard. A large part of our roof is vaulted, so no truss uprights to worry about, but where we have them they will have nothing more than plasterboard as they are within the insulated envelope. This gives us the option of having a warm storage space if we so desire. The gap through you can see in the last photo leads to section of the house with flat ceilings.
I have taken the opportunity to lay all my MVHR ductwork from a central point above our entrance hall, and to install ceiling valves. Using a radial system has been far easier than previous installations I have DIY'ed, where I had main duct runs with branches off. The crushproof radial ductwork is just far more user friendly and dare I say forgiving. My MVHR unit will eventually be positioned next to the plenums. Being a cold roof space, my intention is to insulate it with a simple box made from board insulation. Any ductwork not covered by loft insulation will be wrapped in foil backed insulation.

All being well the insulation work to the vaulted ceilings and the remaining partition work should be completed by the middle of next week, ready for the plumber and electrician - first fix.
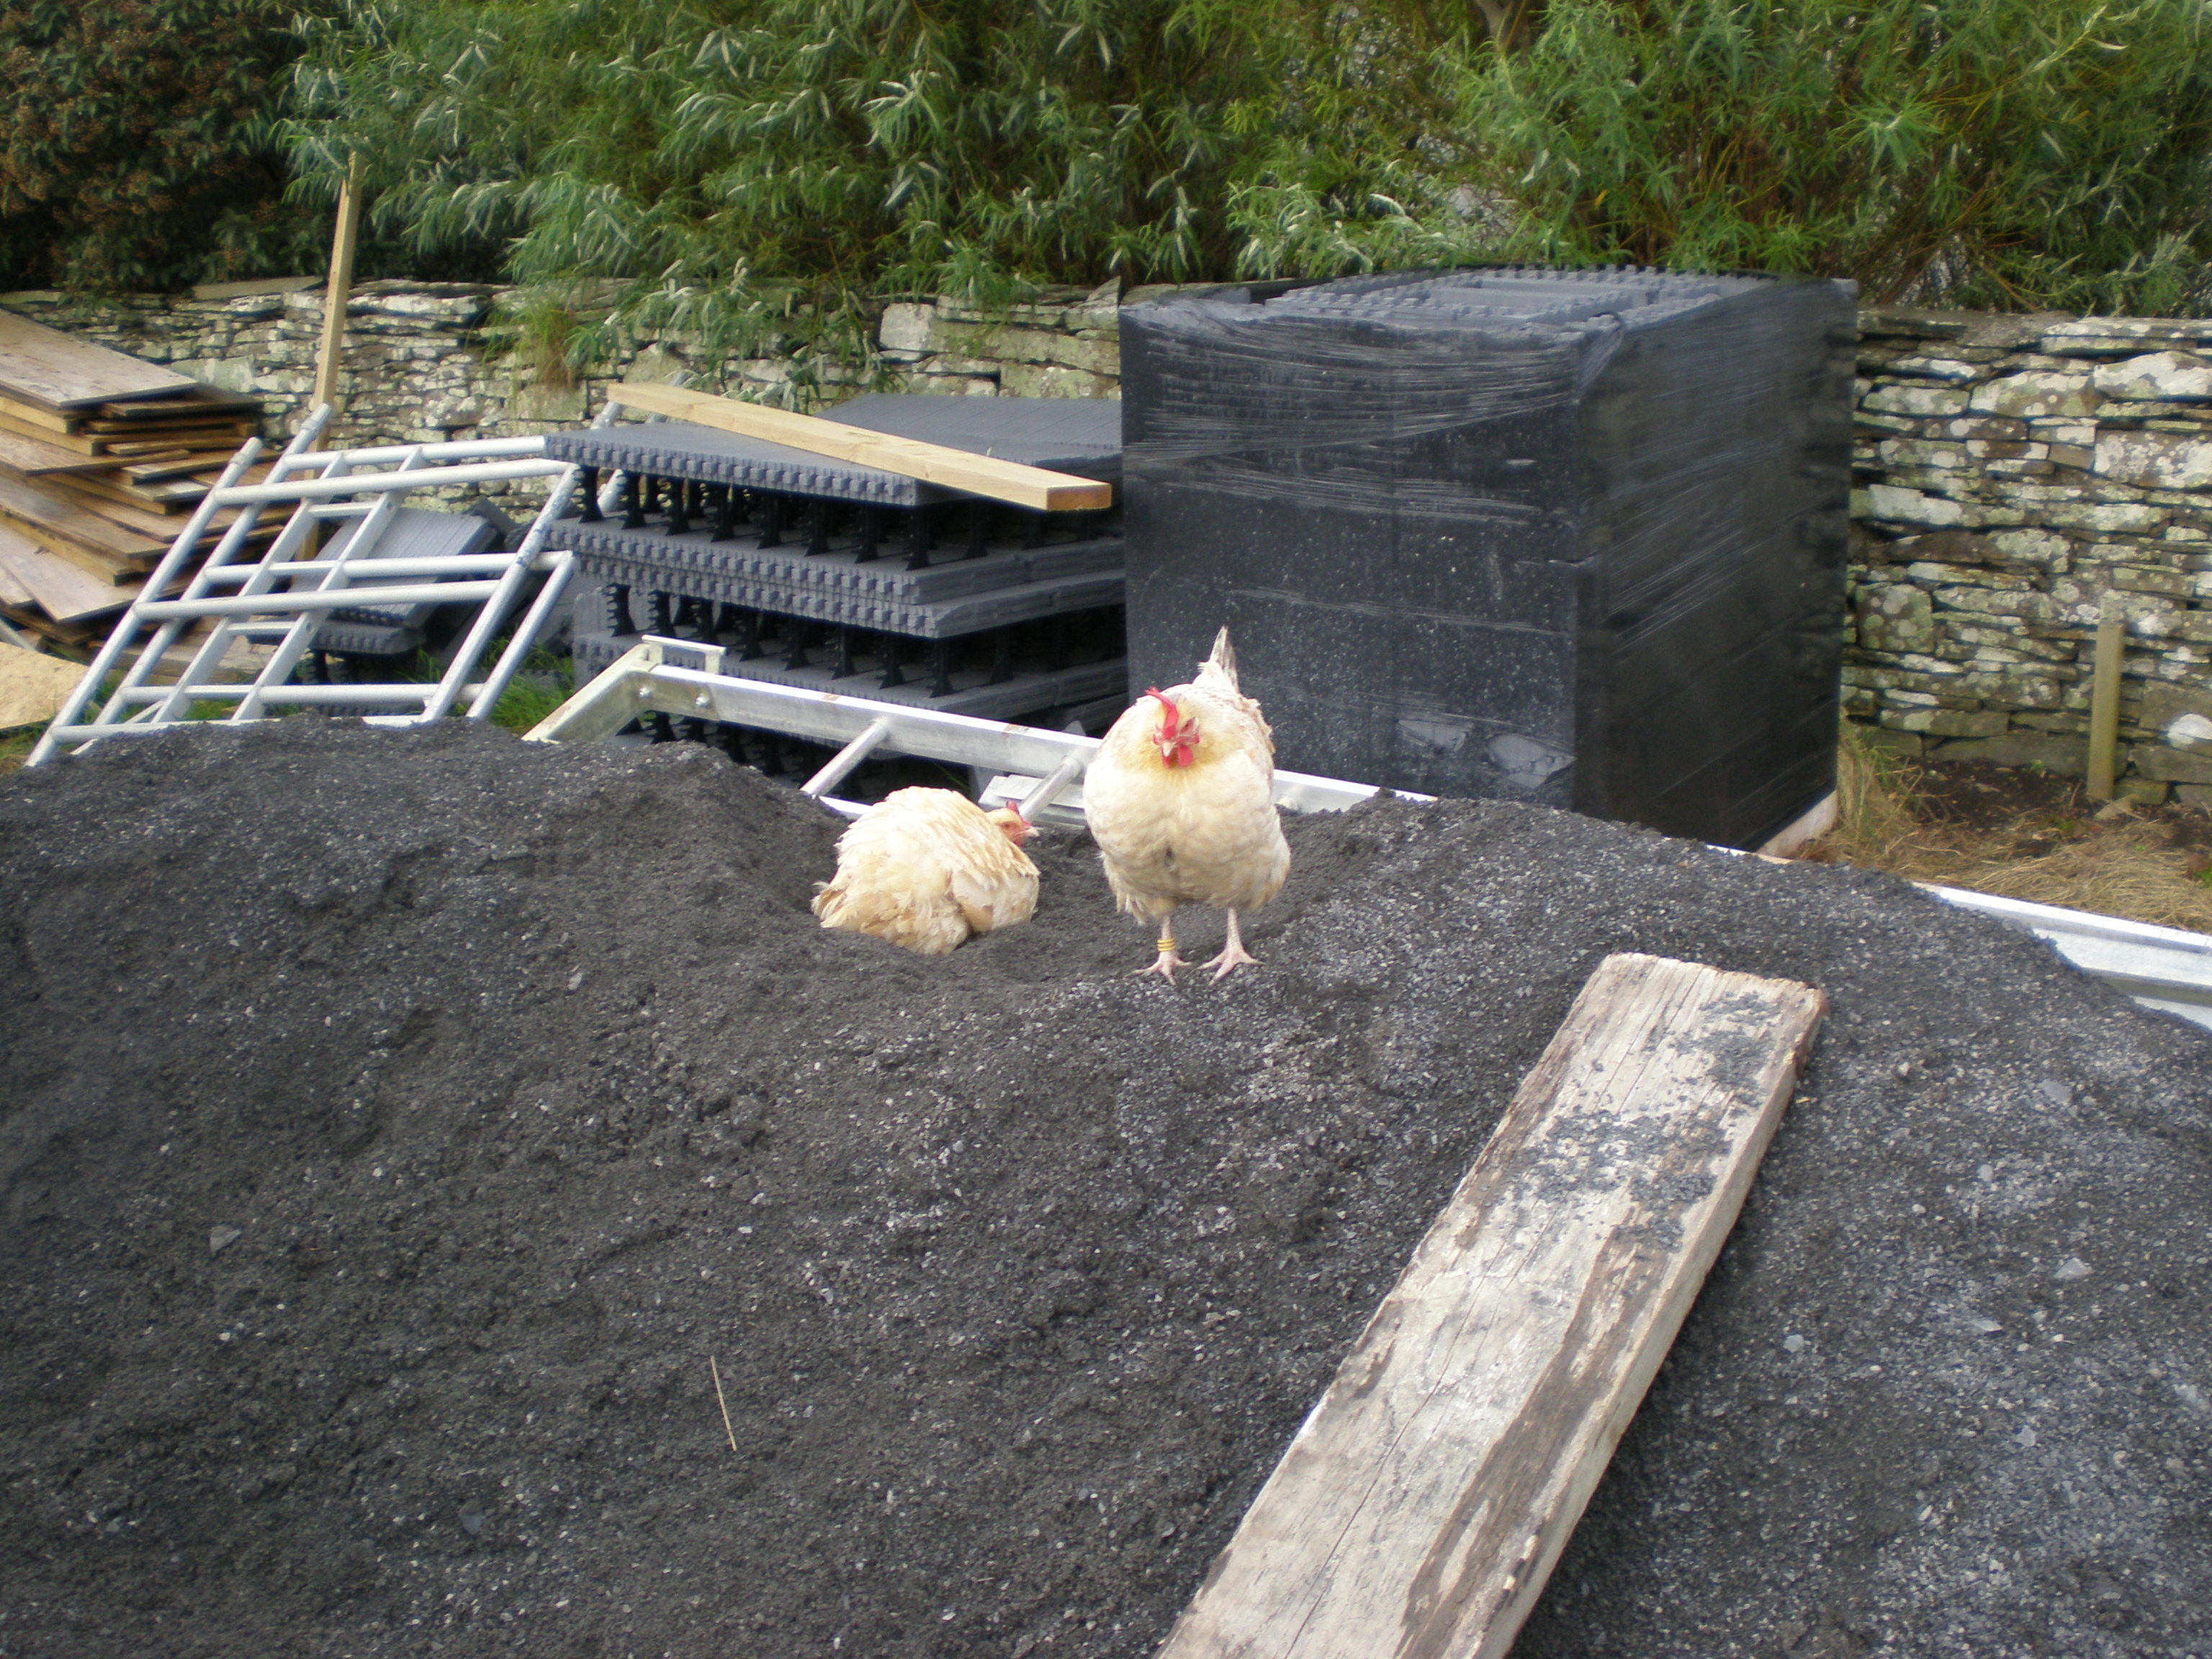
Last but not least, a couple of visitors have taken up residence on the pile of quarry dust we have on site...
5 Comments
Recommended Comments
Create an account or sign in to comment
You need to be a member in order to leave a comment
Create an account
Sign up for a new account in our community. It's easy!
Register a new accountSign in
Already have an account? Sign in here.
Sign In Now