Jump to content

SWMBO returns!!


BotusBuild

600 views

Apart from the “picture from the mound” timelapse blog entry, there’s not been much of an update since mid September 2022. So, get your preferred hot drink (maybe a SteamyTea), and settle back for the next instalment.


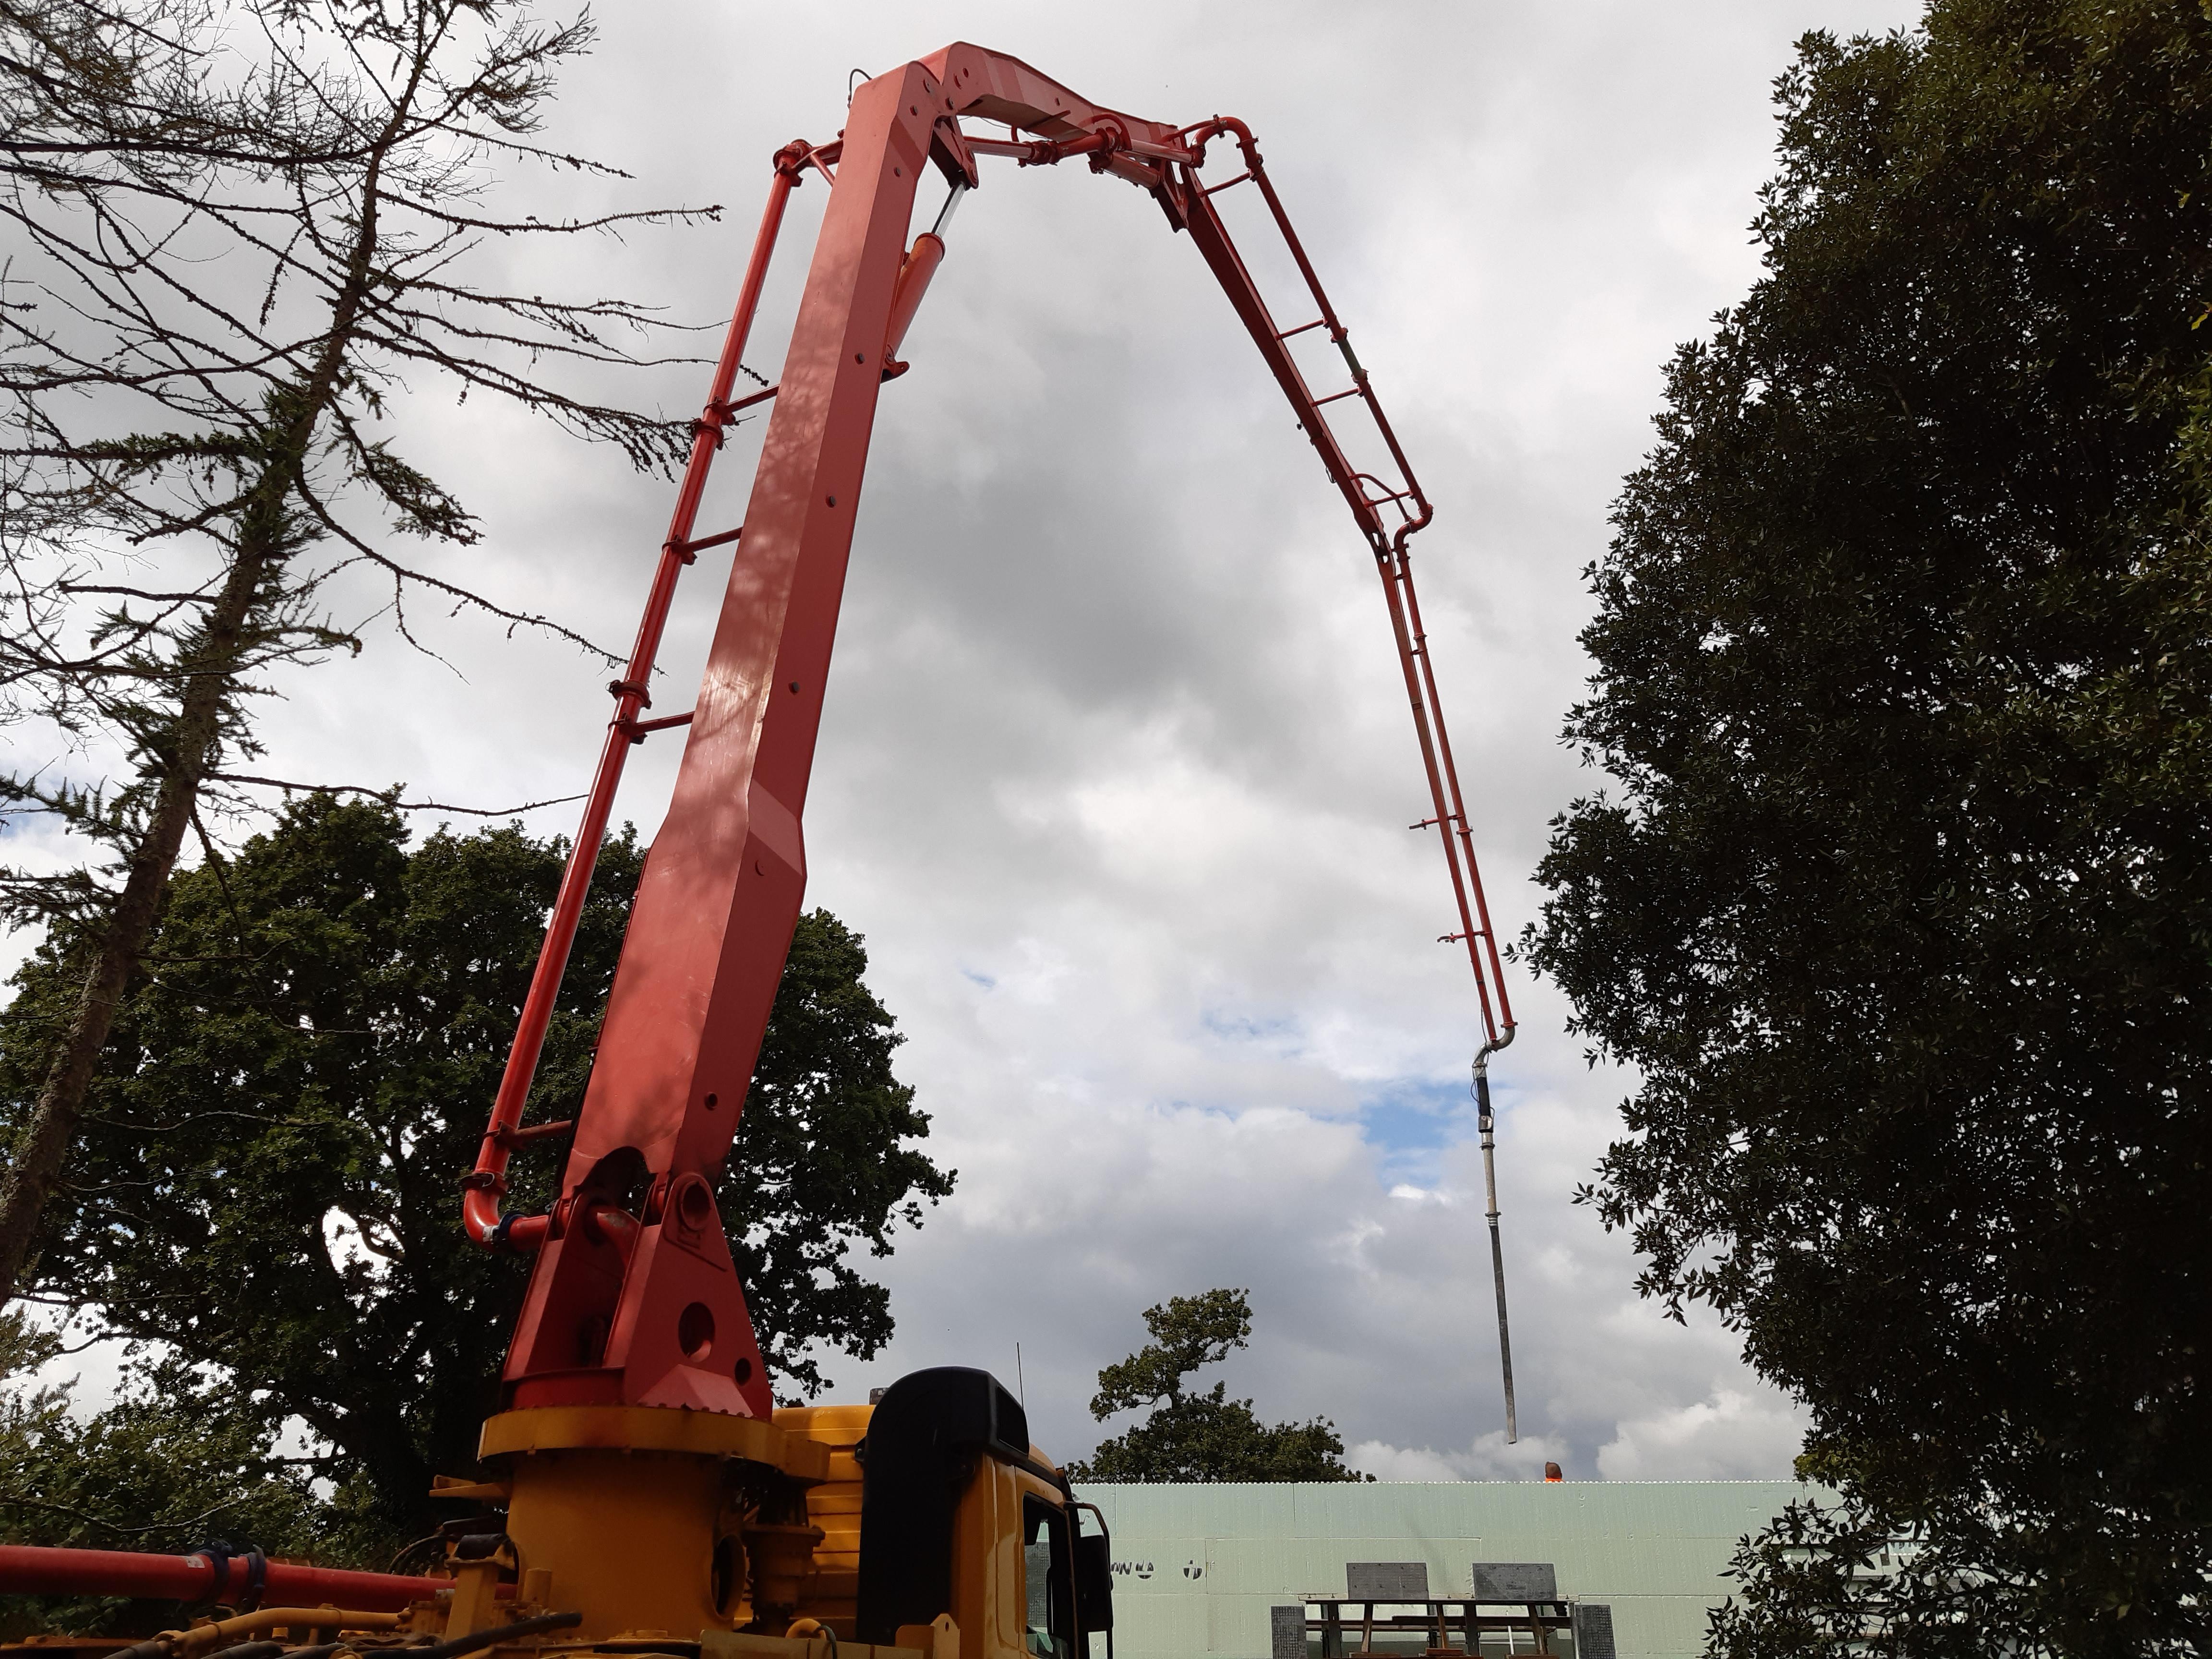
Where were we? SWMBO was still in recovery from her foot infection - you remember? The one that might have killed her? The second floor ICF had been installed, and the concrete poured. I’m still going to spare you any pictures of the foot, but here is a concrete pump truck instead.

                      20220909_130210.thumb.jpg.1db3cce66edc19237c2b6ea9165b2c04.jpg


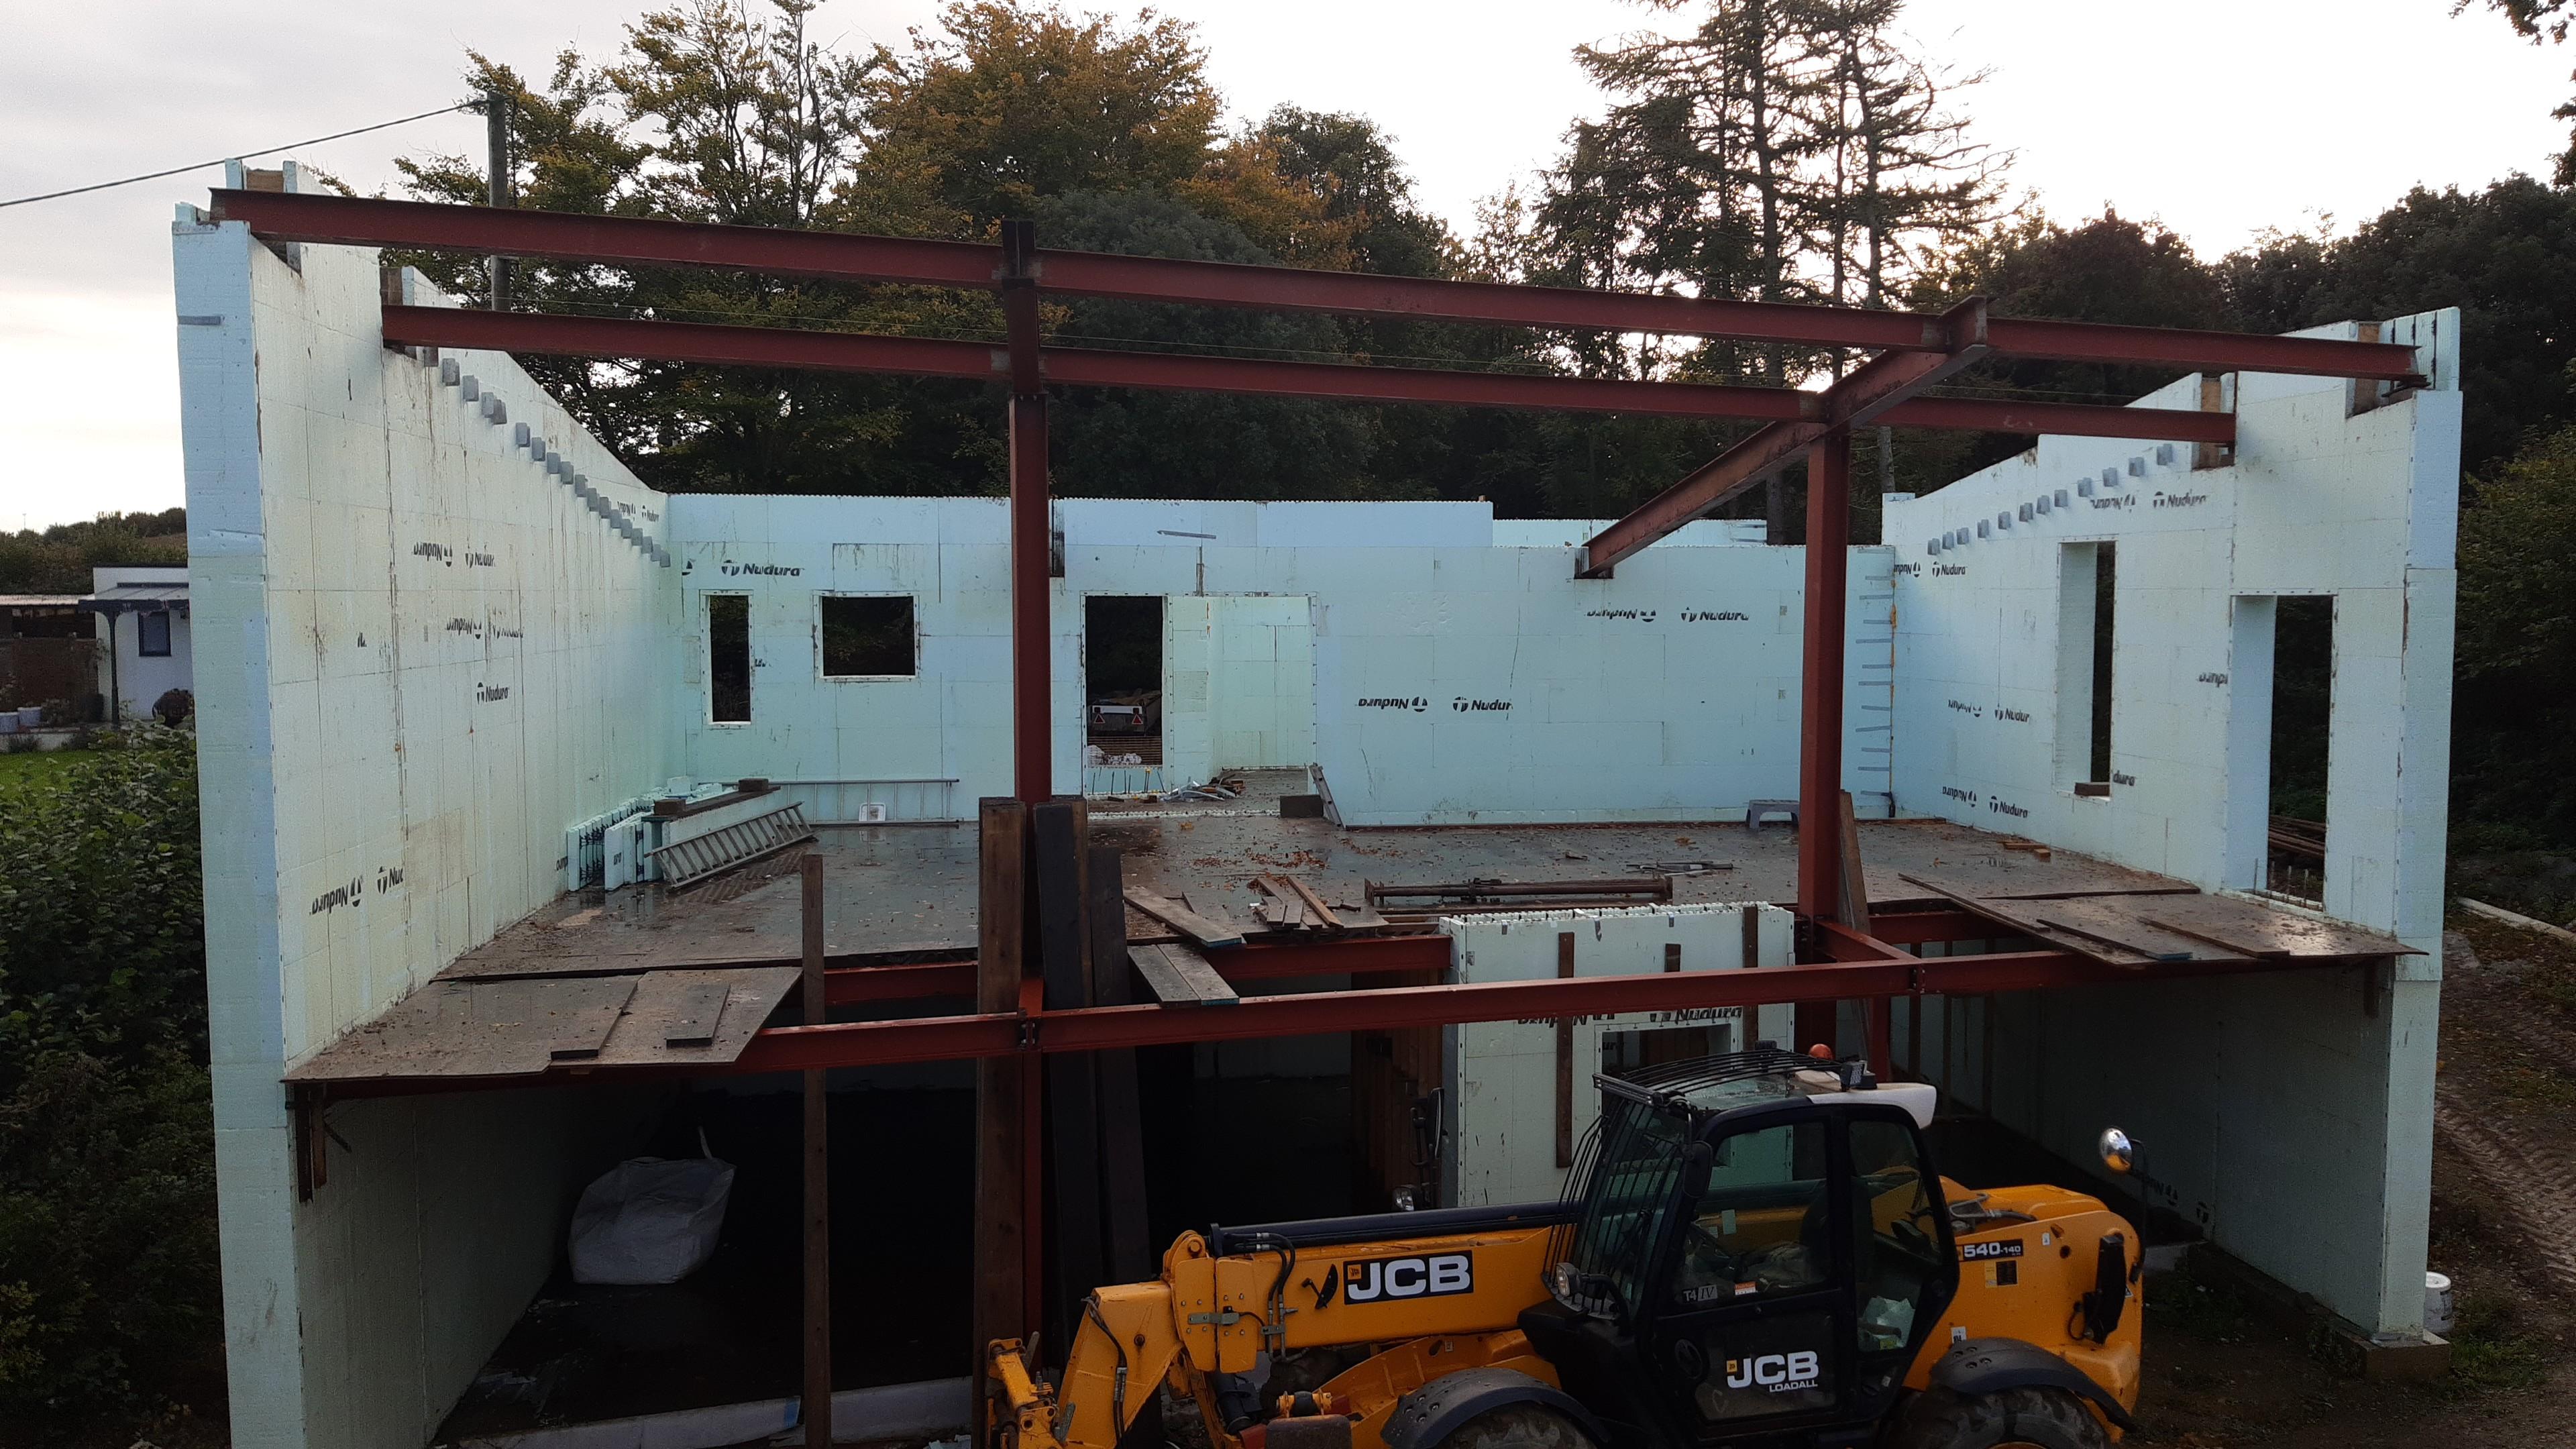
So, next on the list - a roof please. But before that, the final steel beams had to be installed [FX - thumbs twiddling in the foreground and whistling can be heard as we wait for the steelworker once again], but it wasn’t too long a wait, and by mid October 2022 we had the beams installed.

                             IMG-20221015-WA0003.thumb.jpeg.3f916290354aea36df9f723ea7b892a7.jpeg


In late October and early November I set to work with the ground worker to do some backfilling, and of course on the days I chose to have the digger onsite, Cornwall delivered some of its traditional autumnal weather so any attempt to properly compact anything was nigh on futile.

                                   20221124_110437.thumb.jpg.ffd74ec57b5b65663bac9a8410beae76.jpg


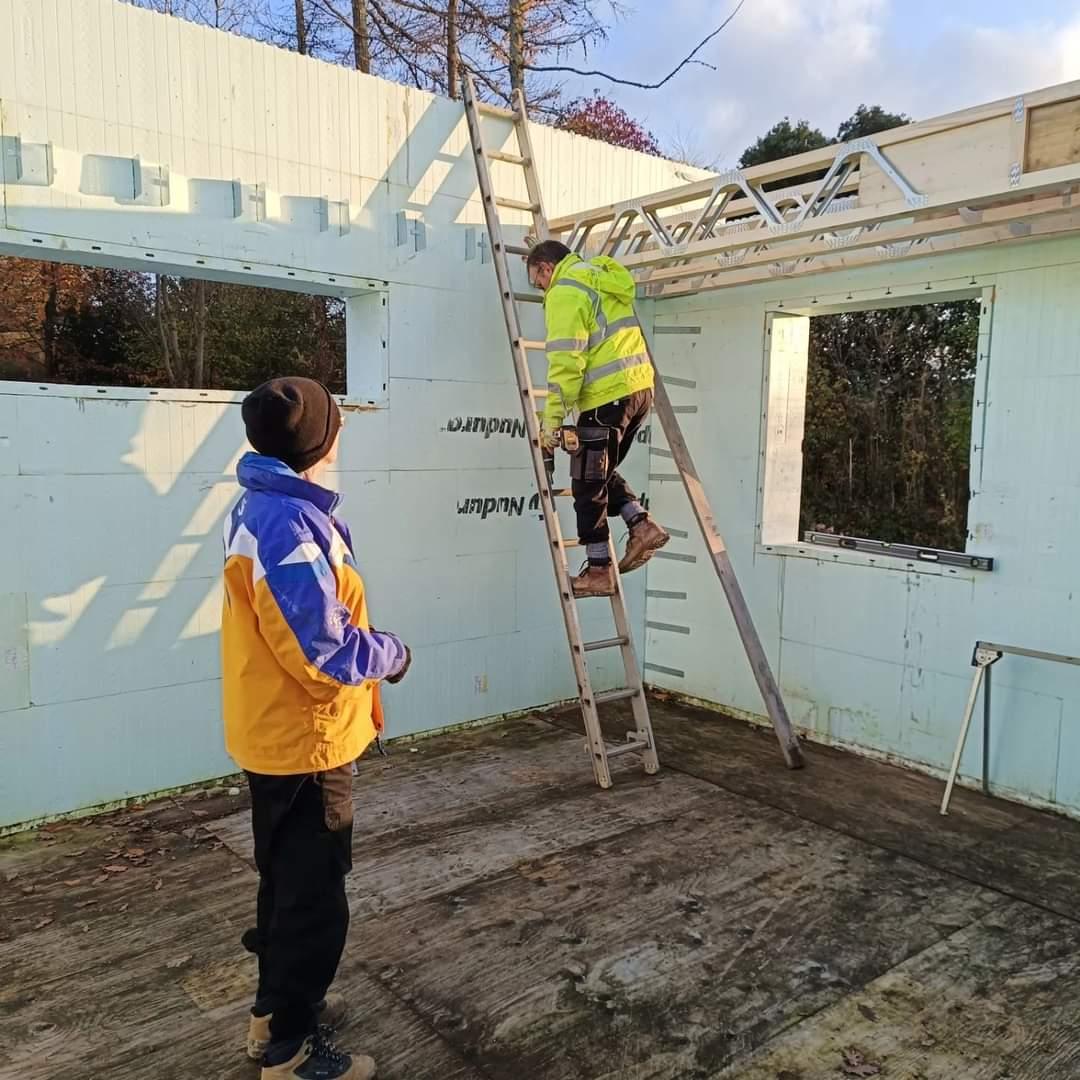
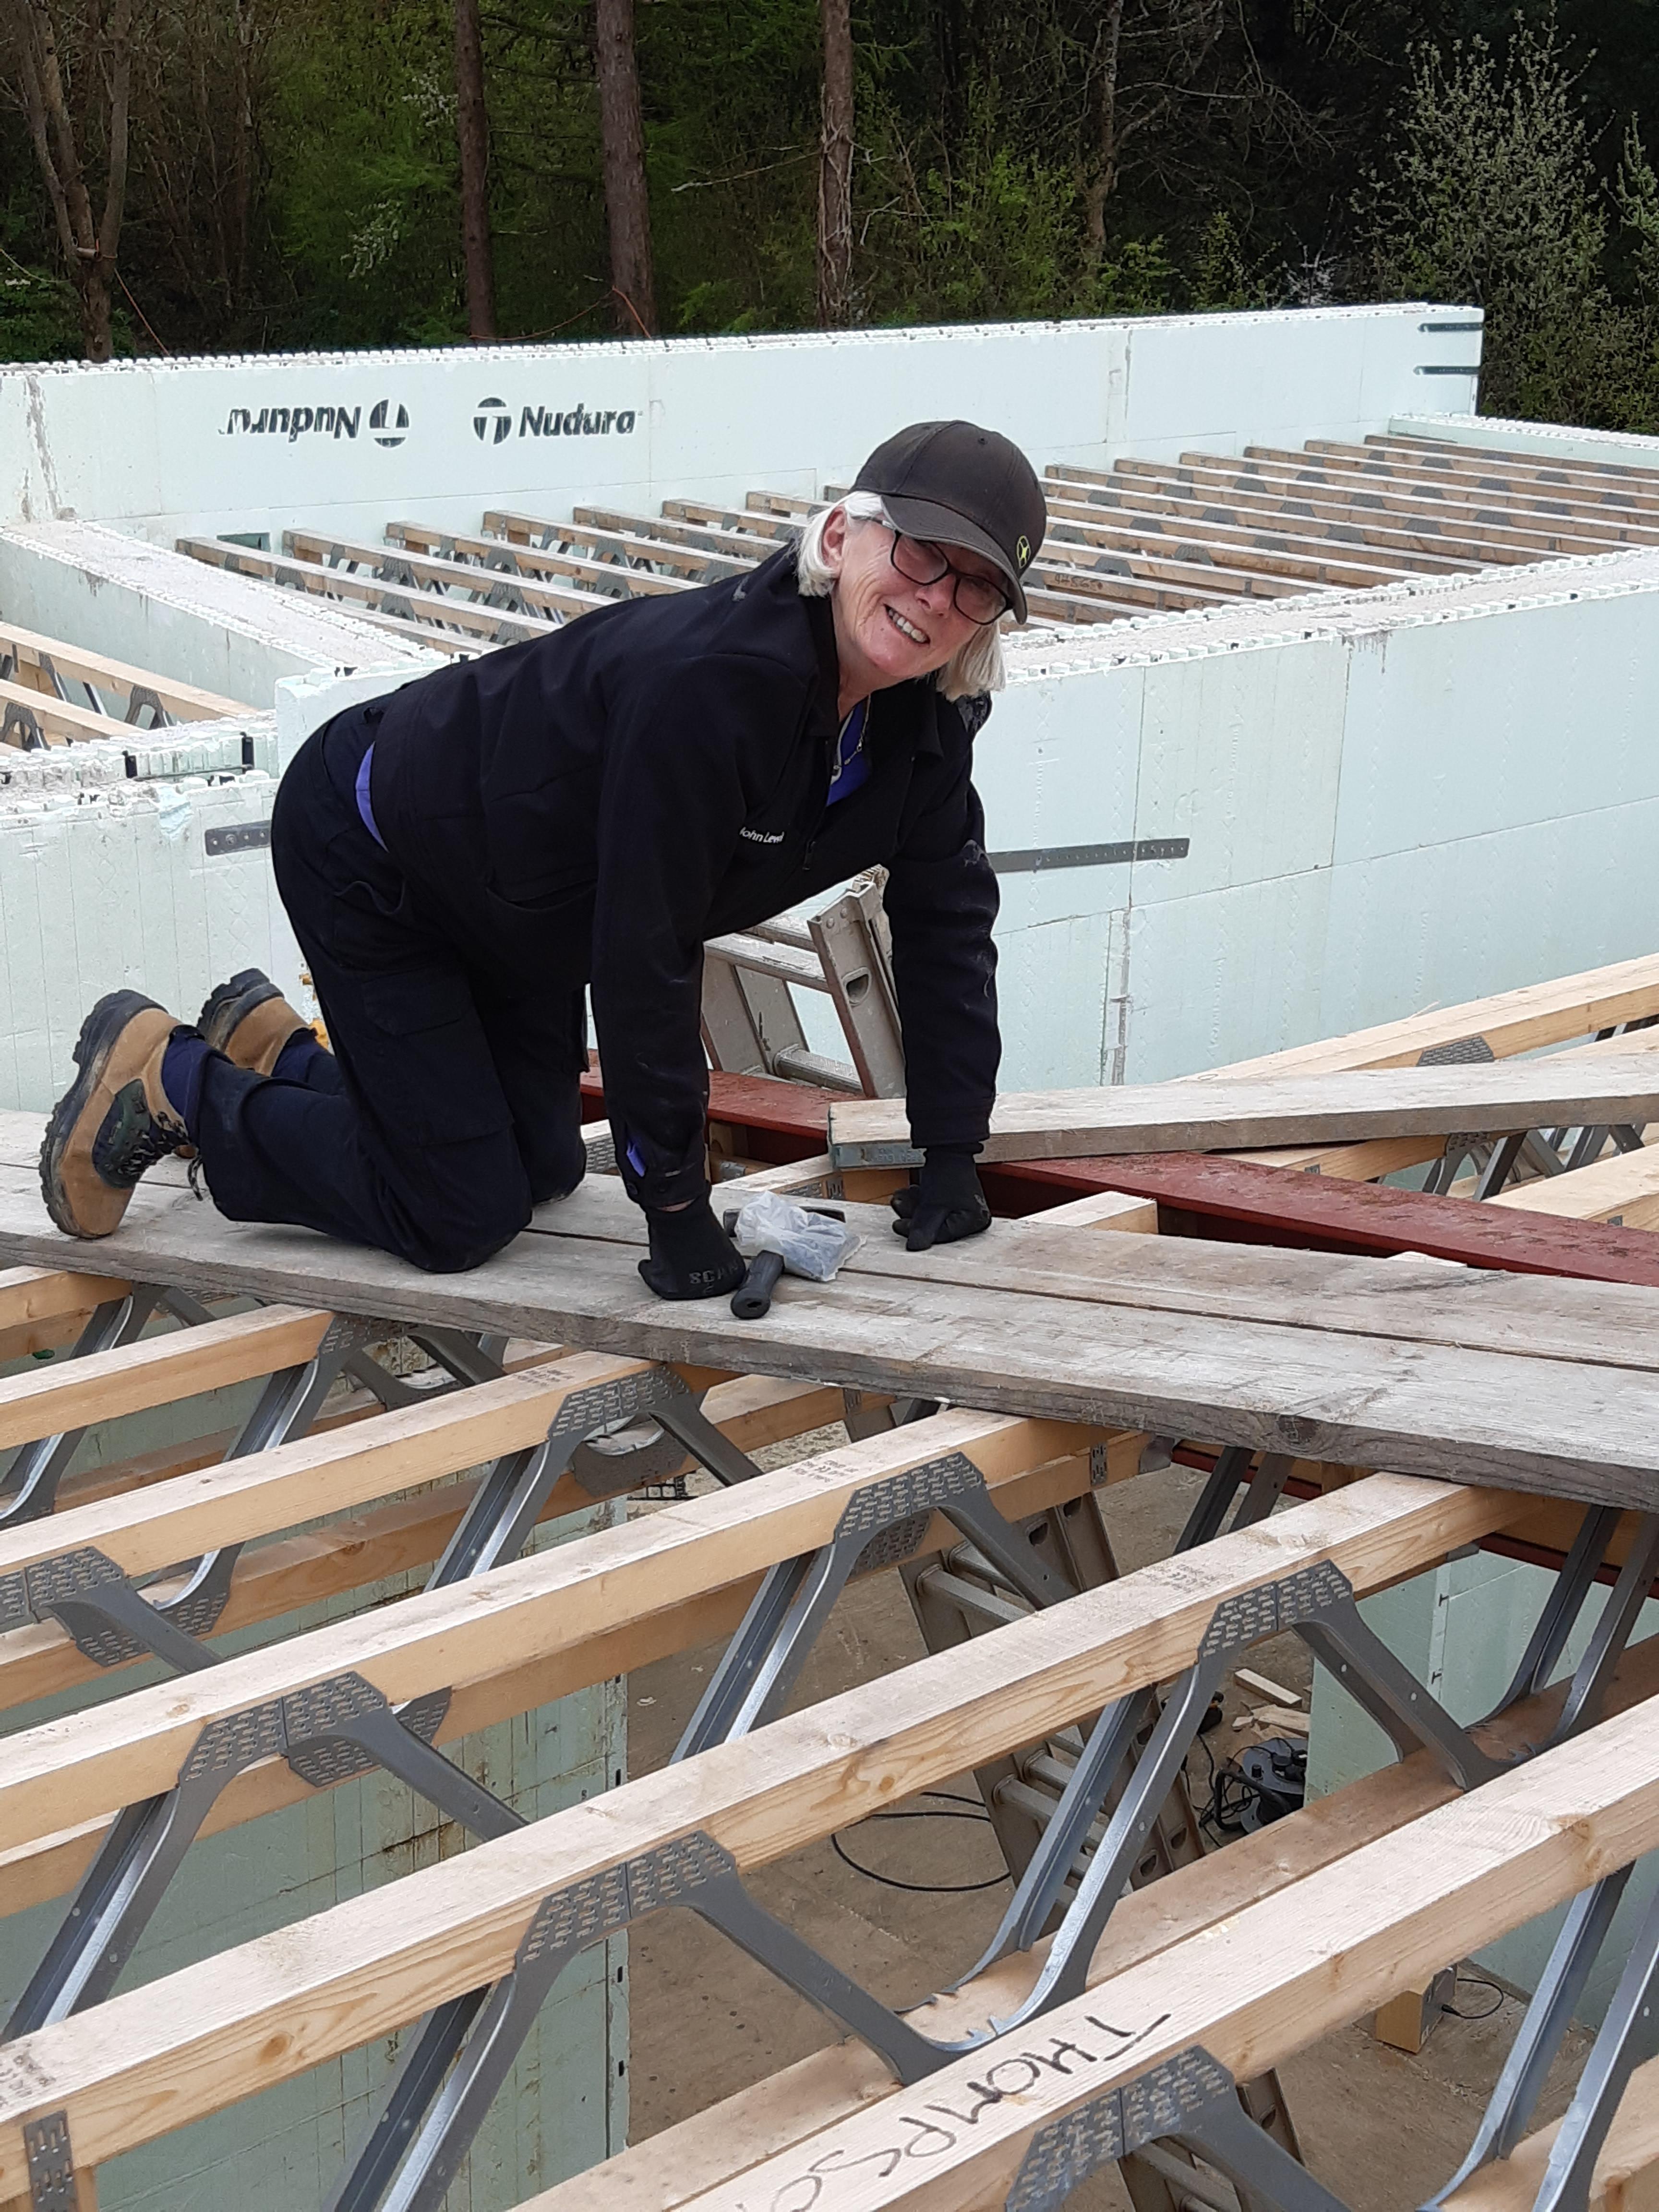
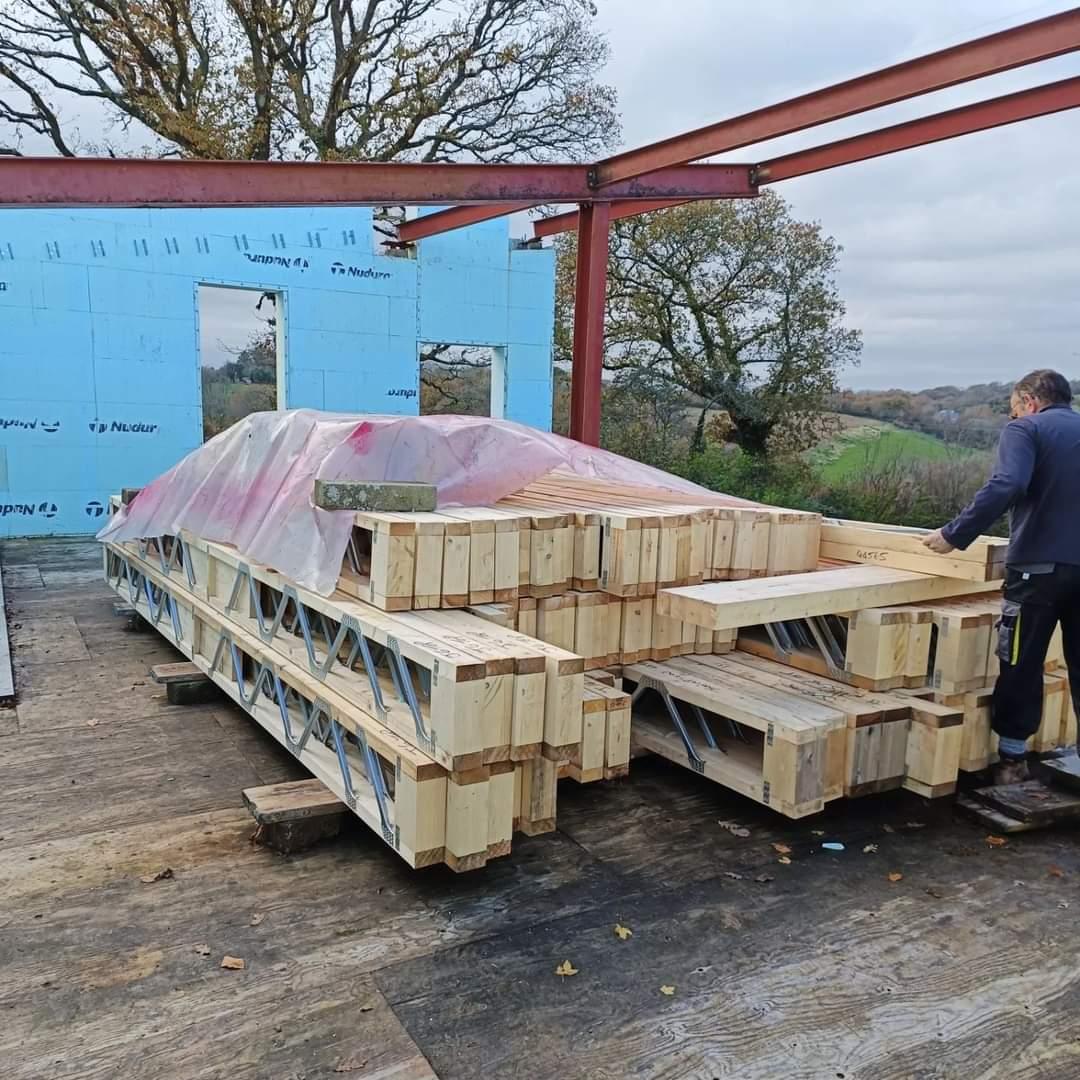
In the meantime, more joists, endless sheets of T&G OSB, vapour barrier, 160mm deep sheets of PIR insulation, and some of the biggest screws are readied for ordering. The joists arrived in and in early December I had my supervisor and client (SWMBO) back on site 🙂, and she has graduated to being a mountain goat.

She now refers to the site as her "happy place", even though we have a strong suspicion that the infection was started by a visit to a local beach.

FB_IMG_1670093810565.thumb.jpg.01cf8e13f5ae8d17fcd3df89b993e143.jpg           20230409_164425.thumb.jpg.62eac73e2399de4fc35f13daae546eb0.jpg


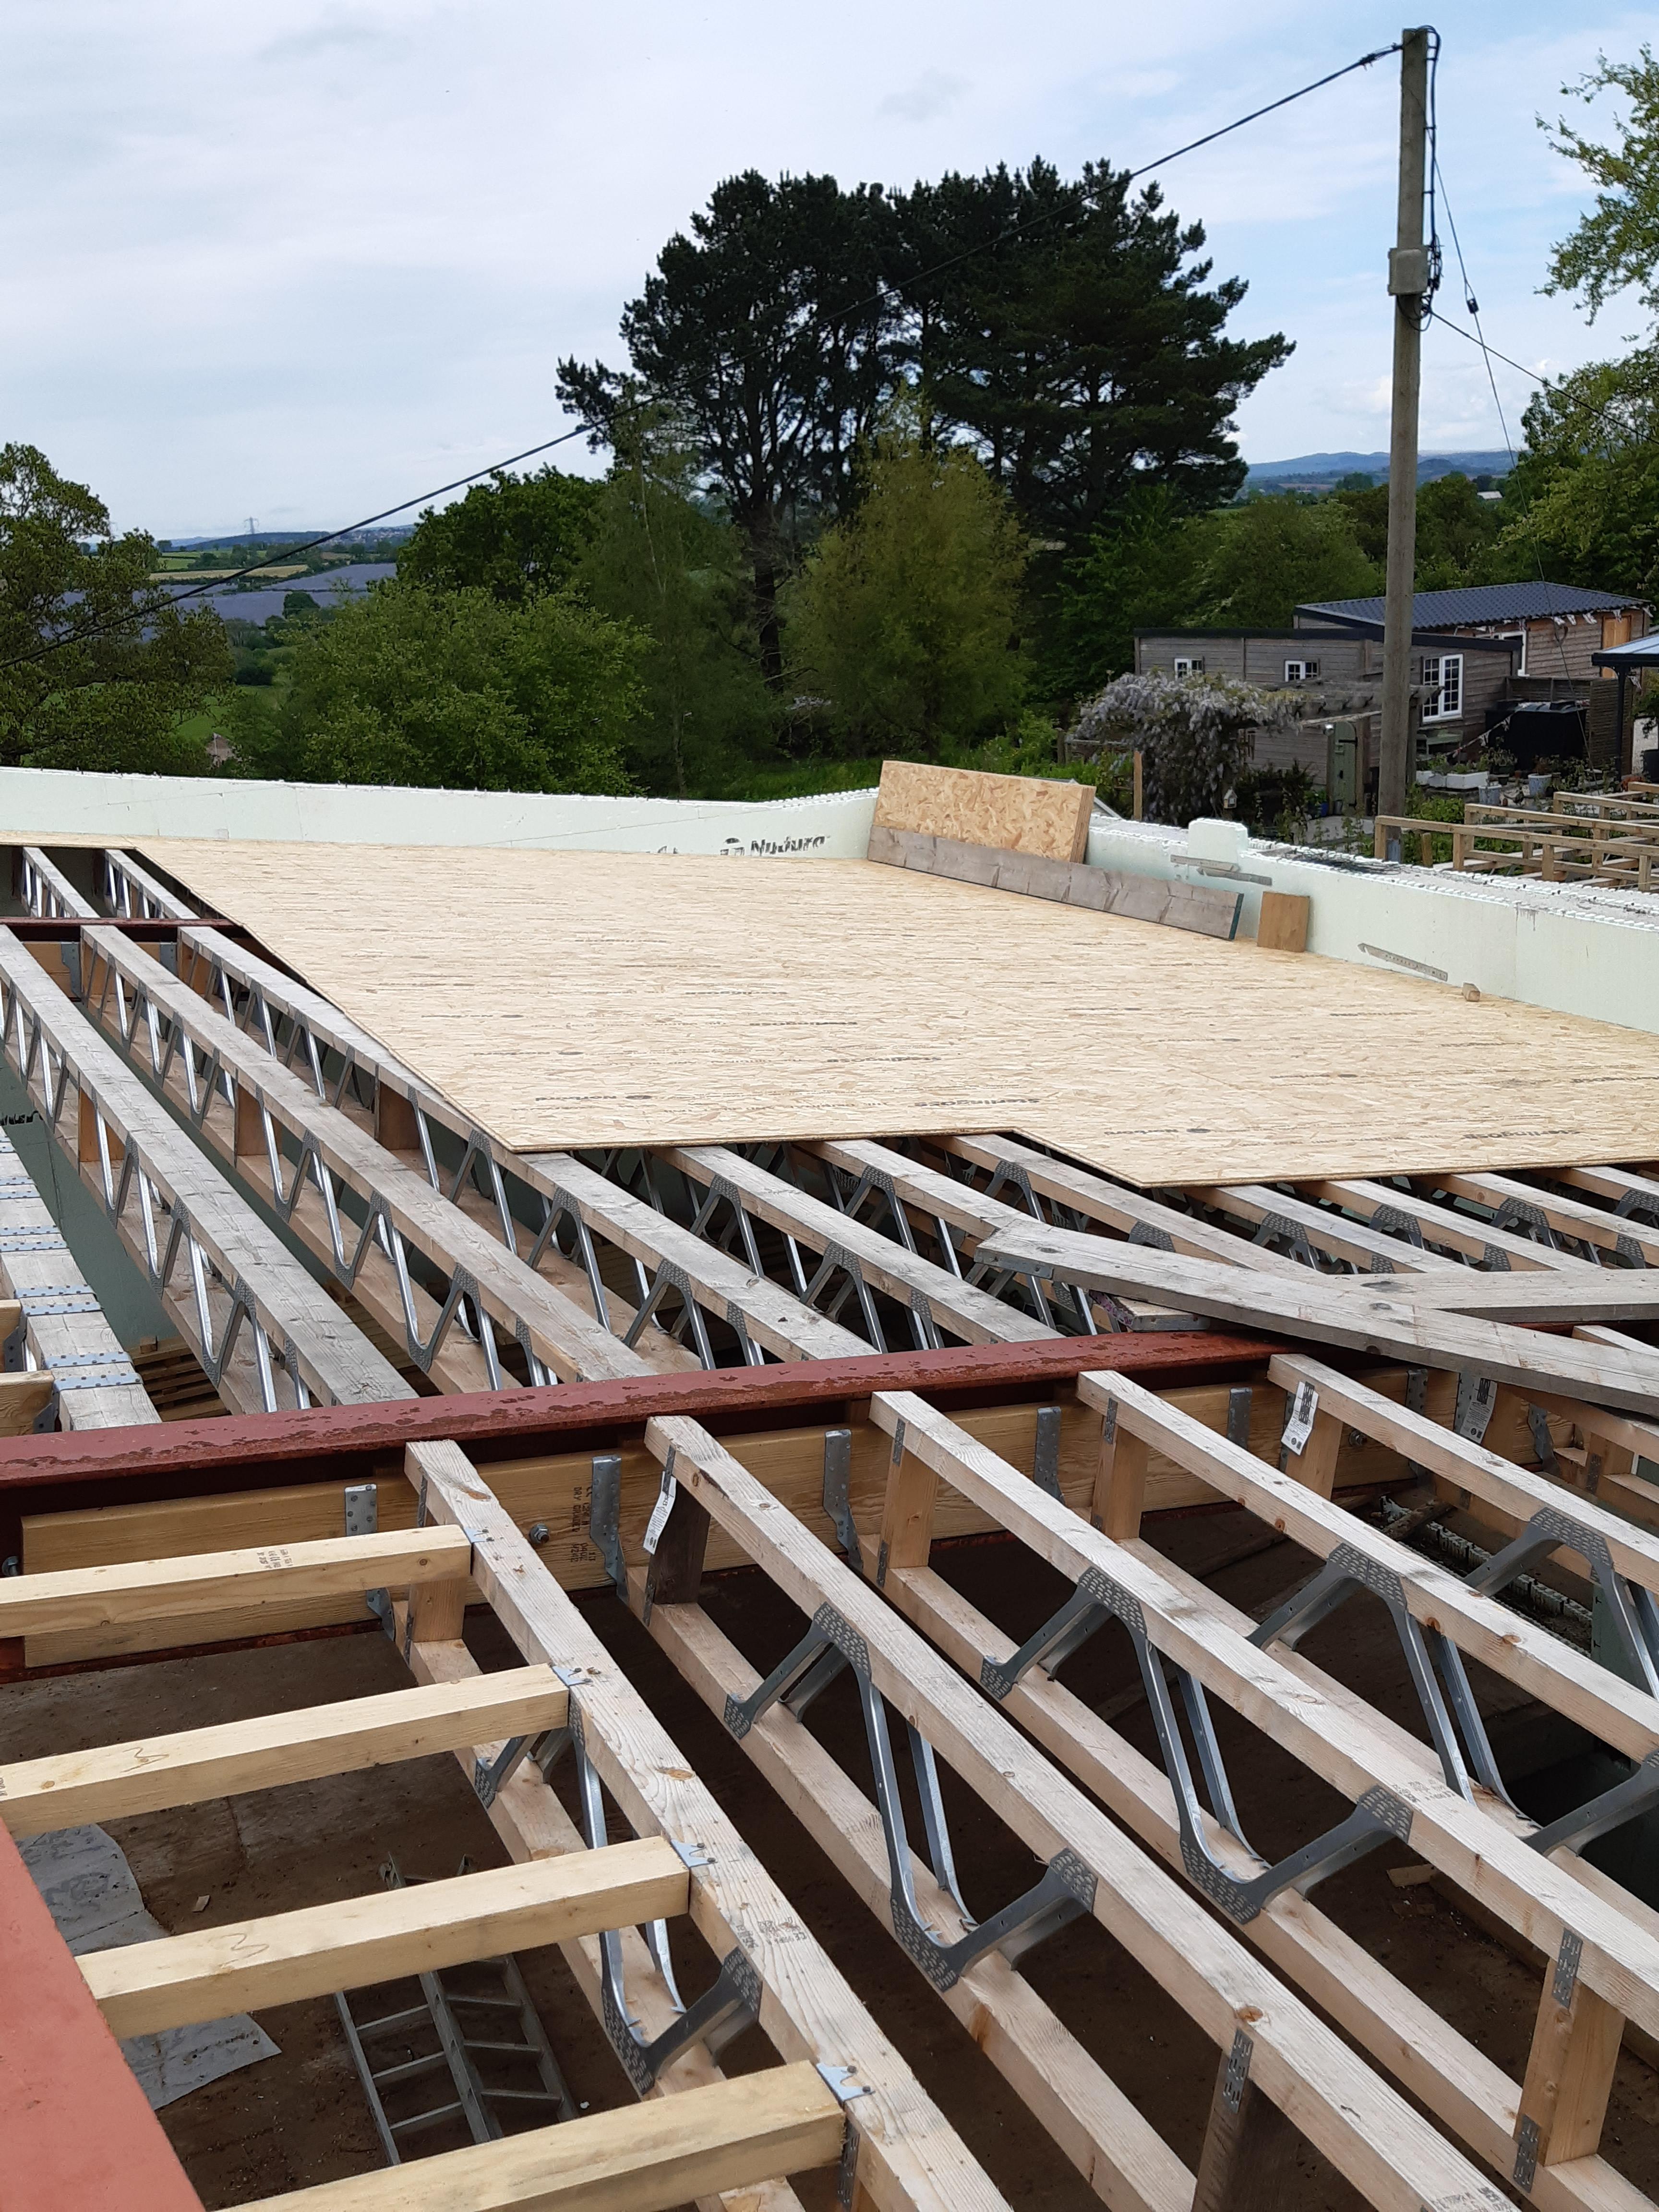
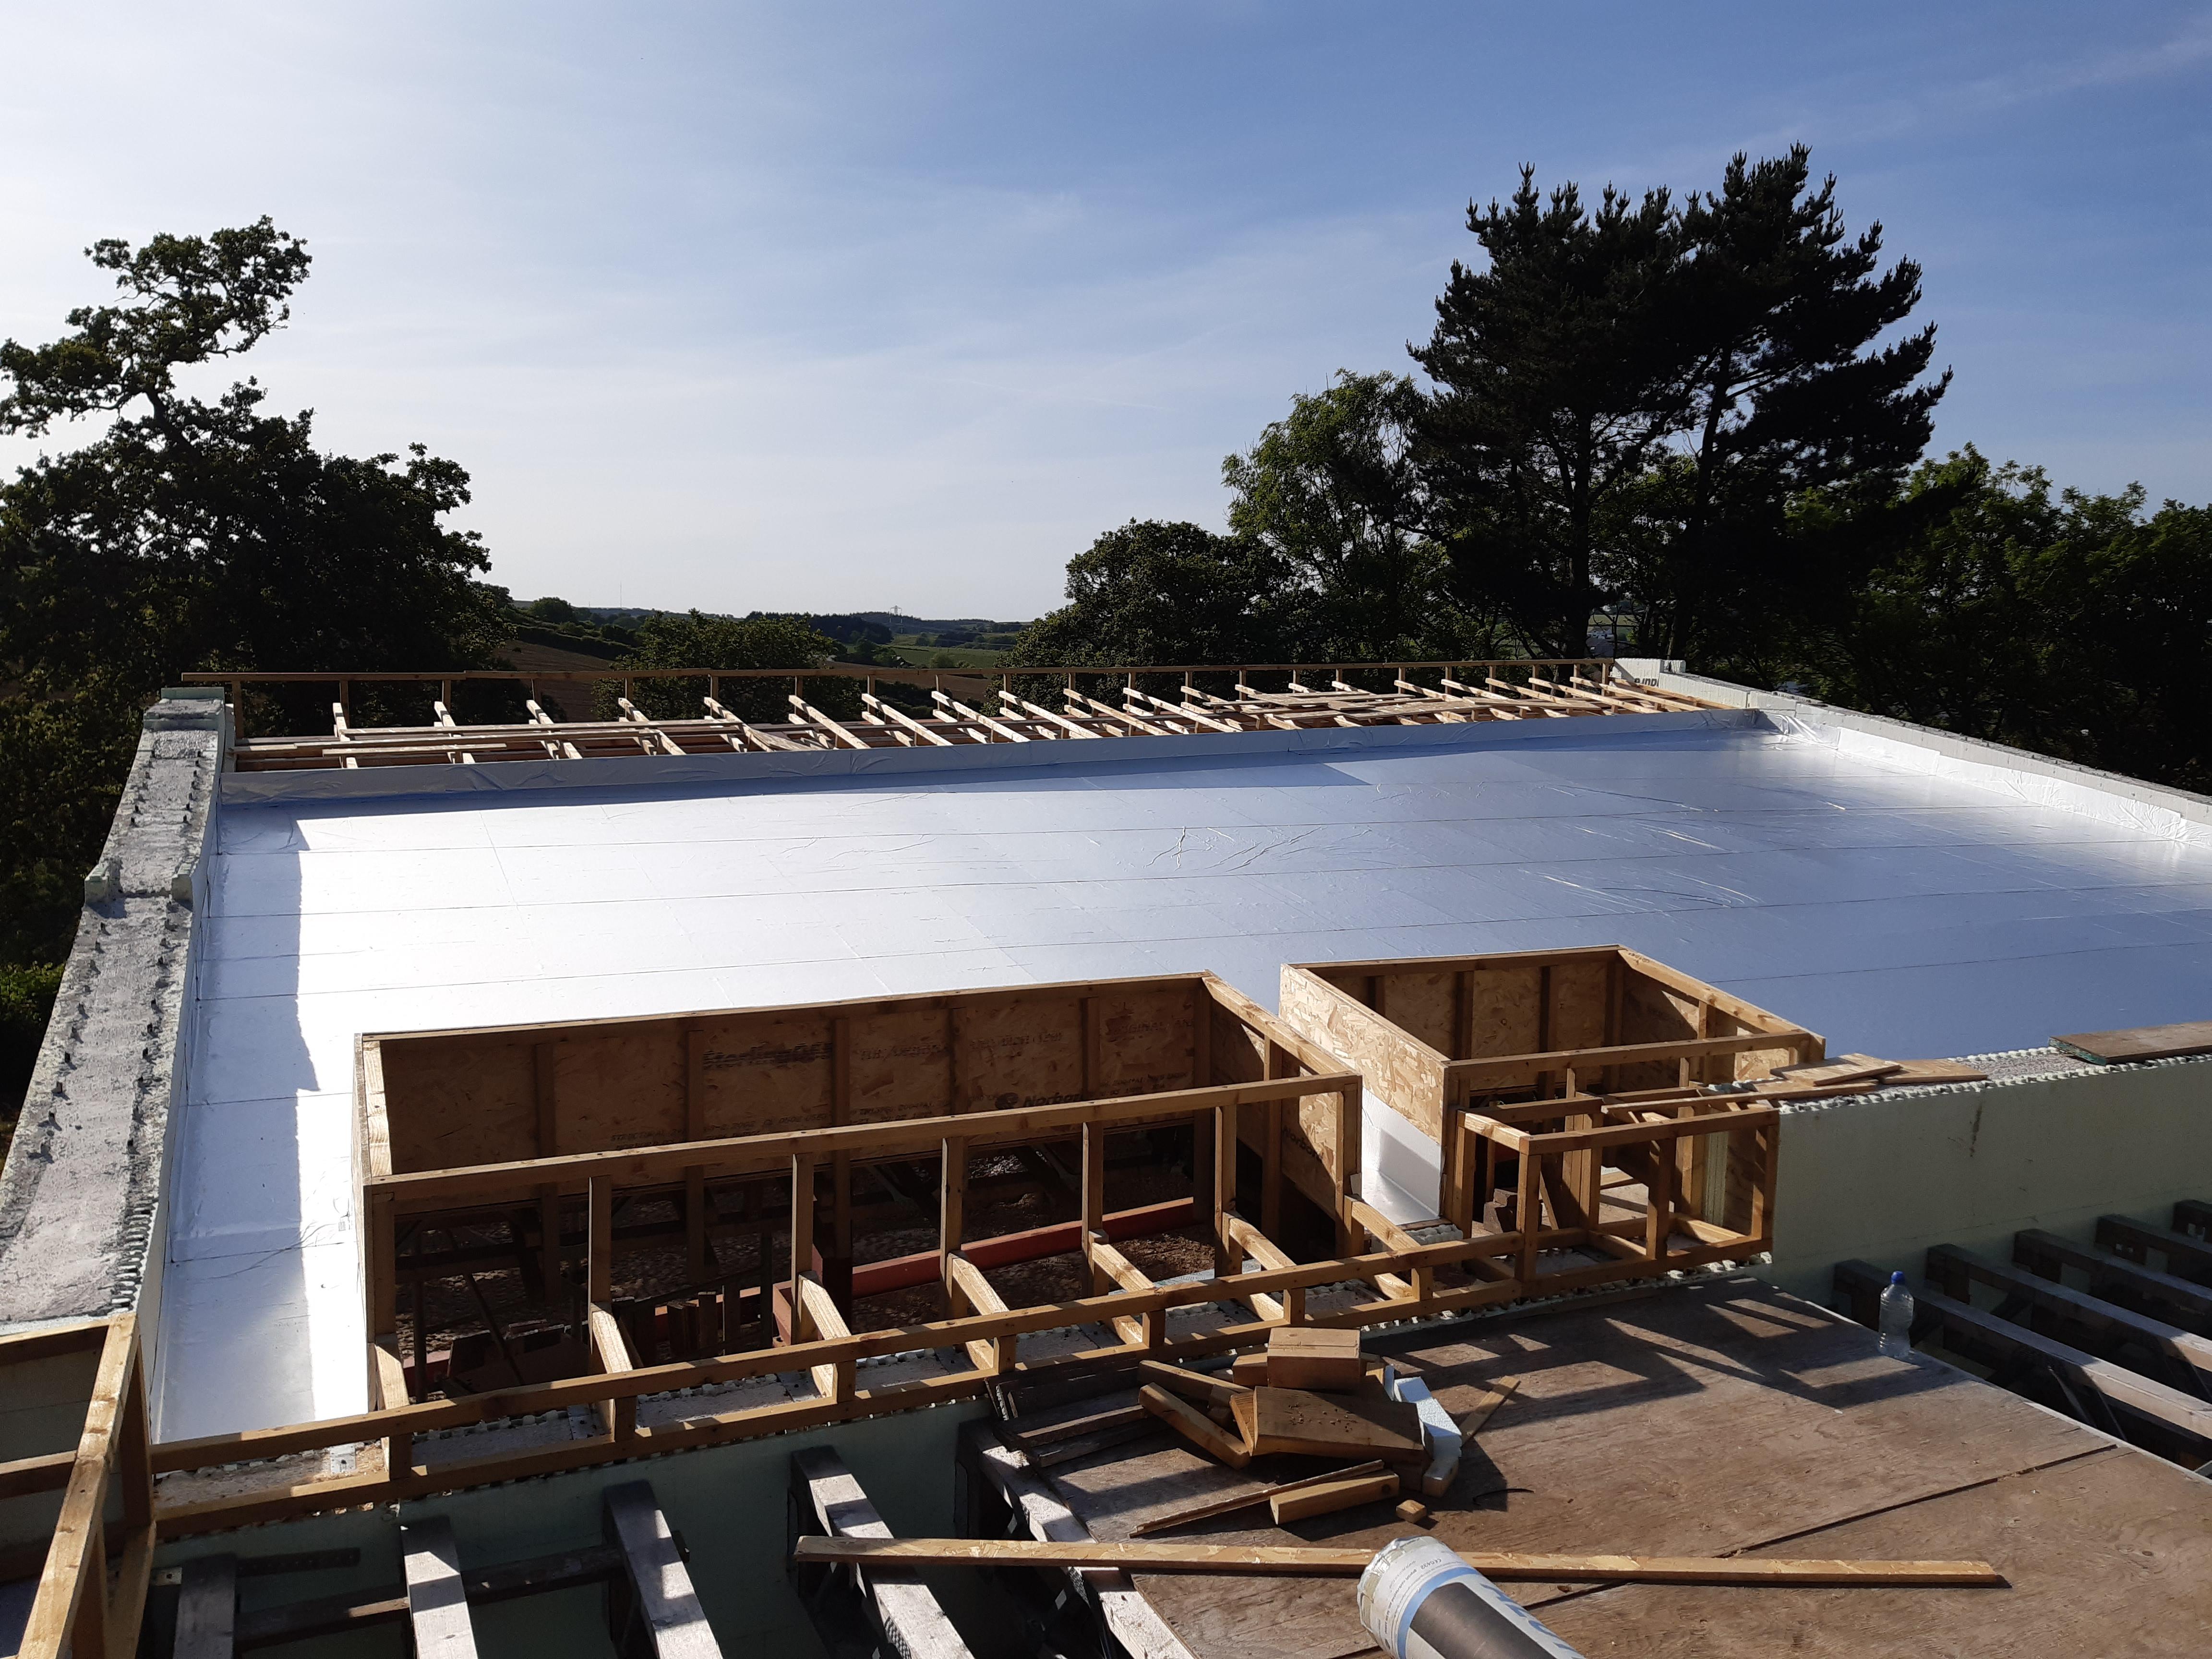
By mid April, with help from some now local family members, we’d installed the roof joists, and in mid May we were ready to start boardin’, vapour barrierin’, and insulatin’. The GRP was installed in mid July 2022 (by others).

FB_IMG_1670093783262.thumb.jpg.9193b338055c49e4068885b58074c74f.jpg  20230514_142916.thumb.jpg.a18c1b709b43743d8bd30c405f8d70a7.jpg  20230529_175118.thumb.jpg.c10d098d1cd04114721830cb1c8561bf.jpg  20230611_195525.thumb.jpg.306f45a32d665fd3d795b89691c45c18.jpg


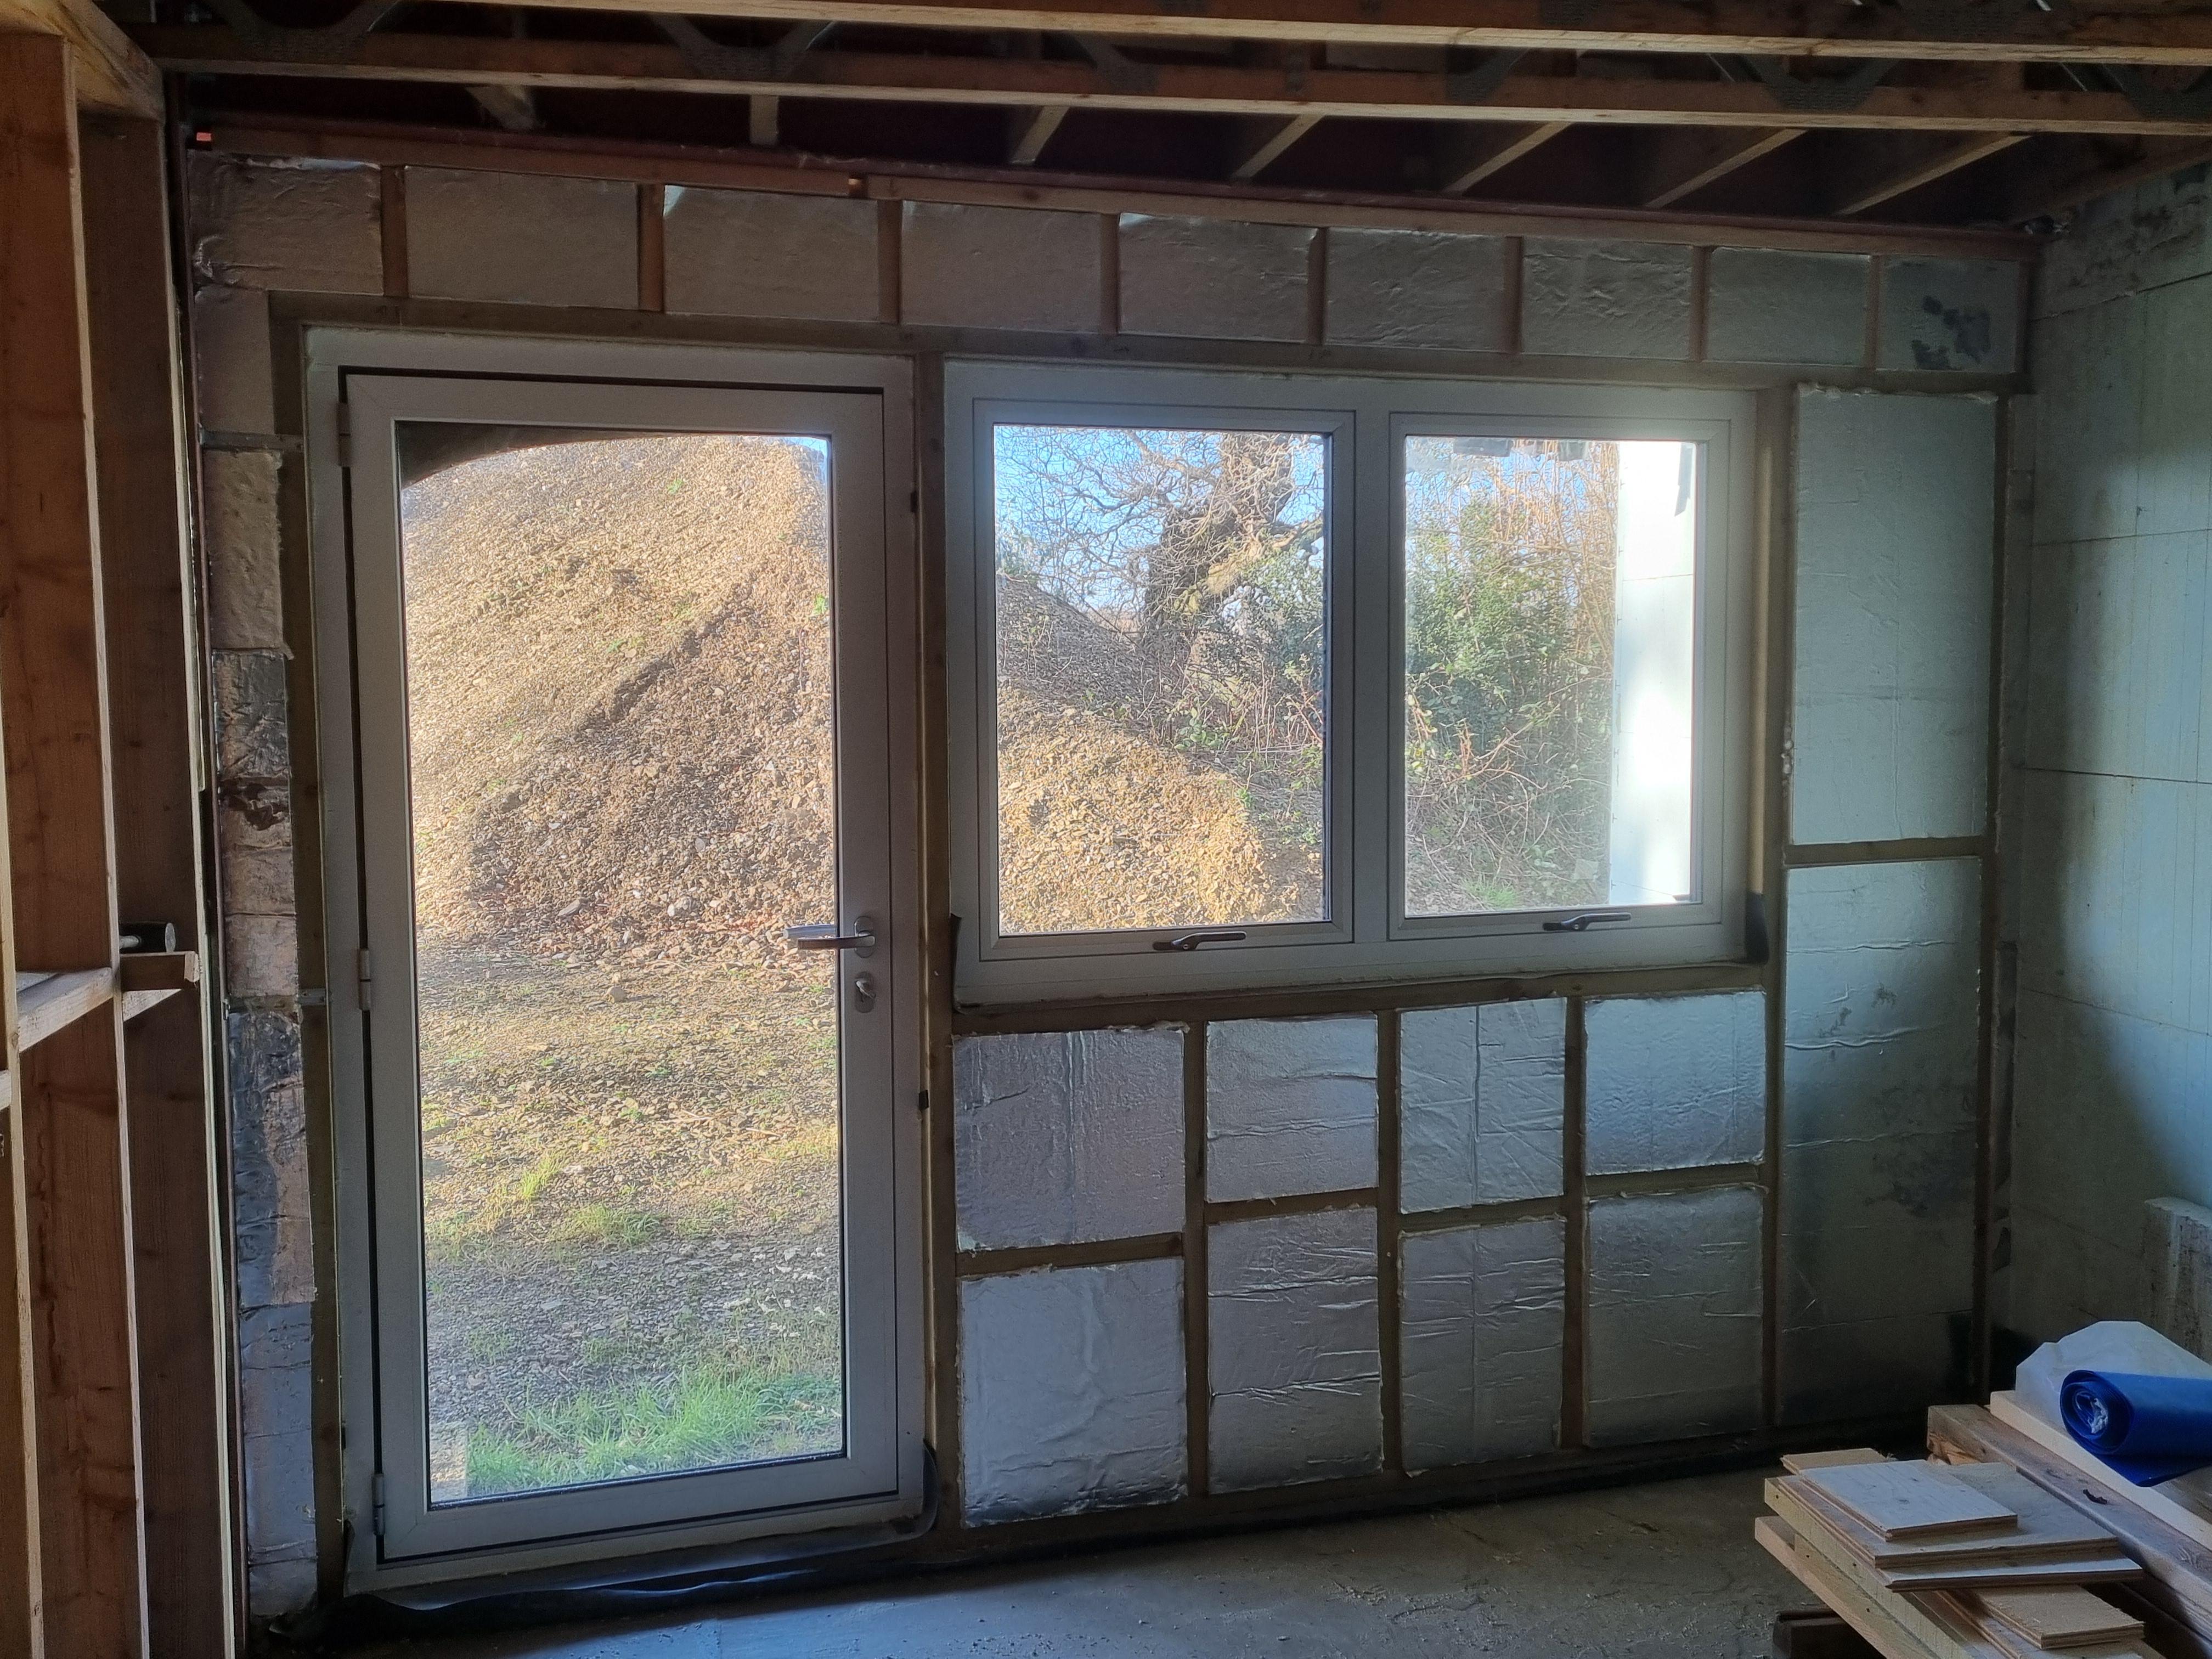
I’d also been readying the Great West Wall (GWW) to have the triple glazed sliding doors and windows installed (by others), and this took place in mid August, just in time for my significant birthday. There were some fitting errors, but I have to take my hat off to the installation company, they have been back to rectify their work, and have supported me with making the suppliers change some of the sliding door fittings as they were just not correct despite their protestations.

20230901_112929(1).thumb.jpg.778a0752c177d82ec6802c73e0608426.jpg20230901_170338(1).thumb.jpg.95f278fa83777848d7f7bfabe88c93a3.jpg


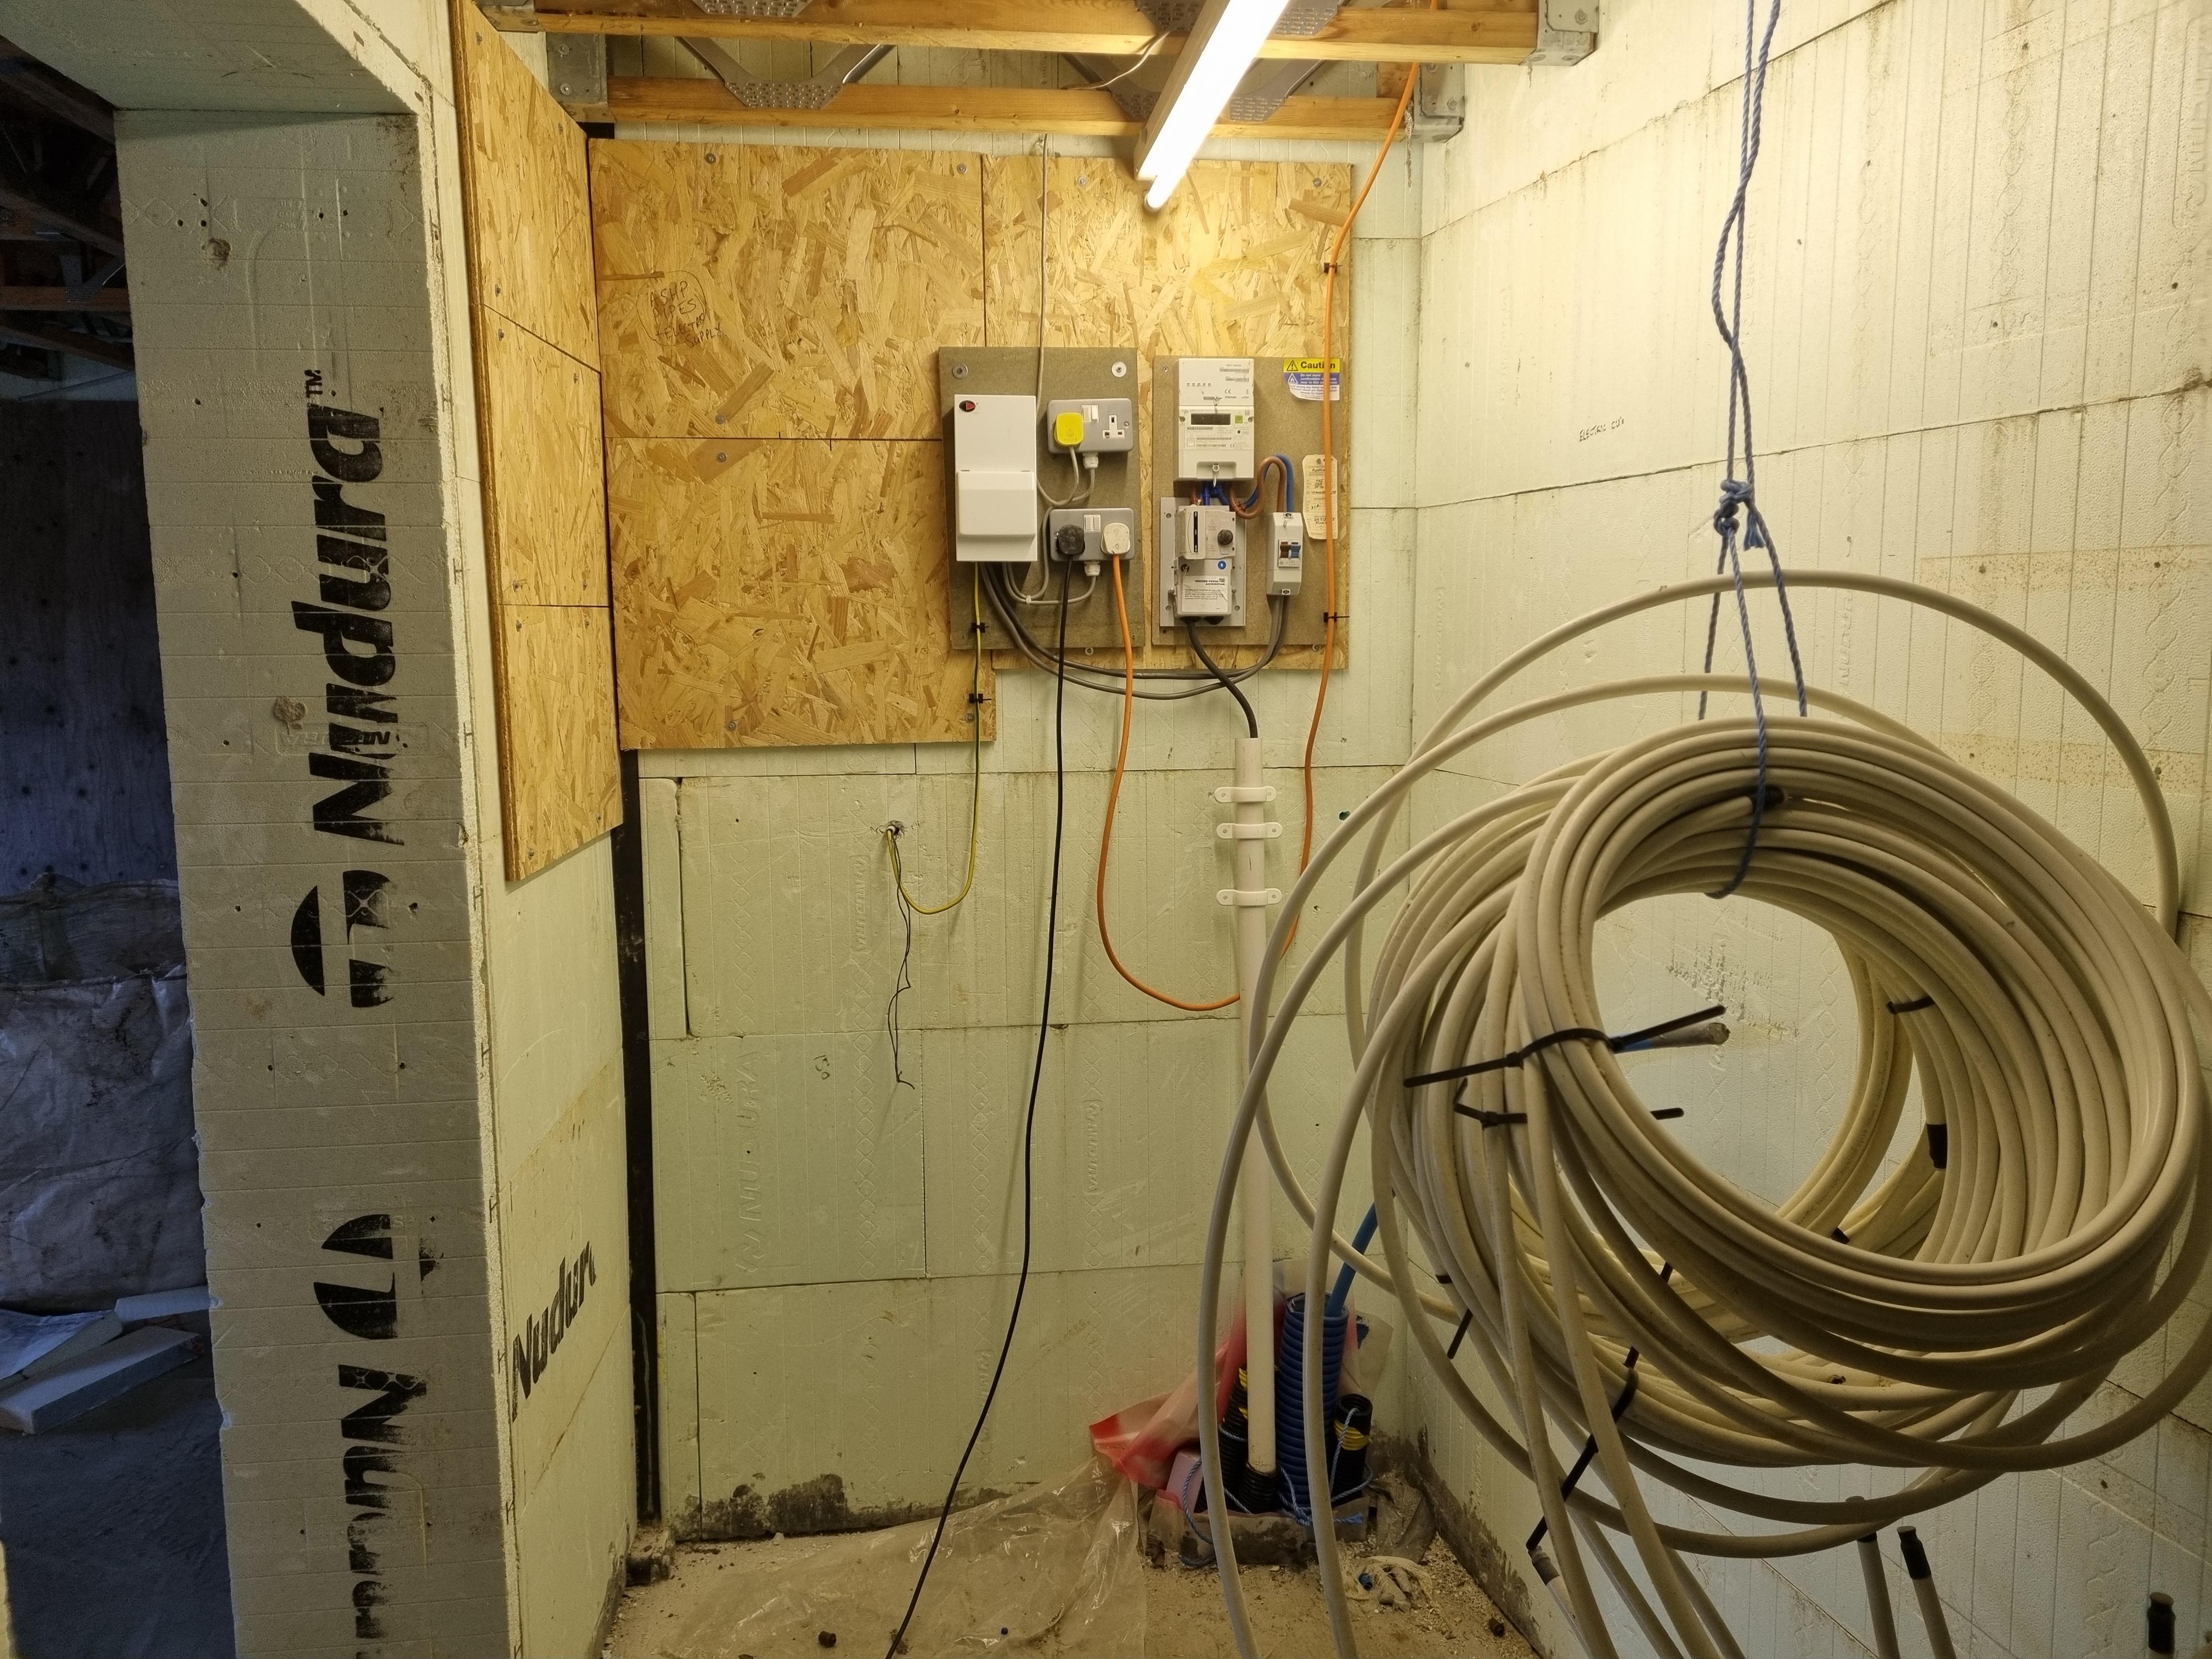
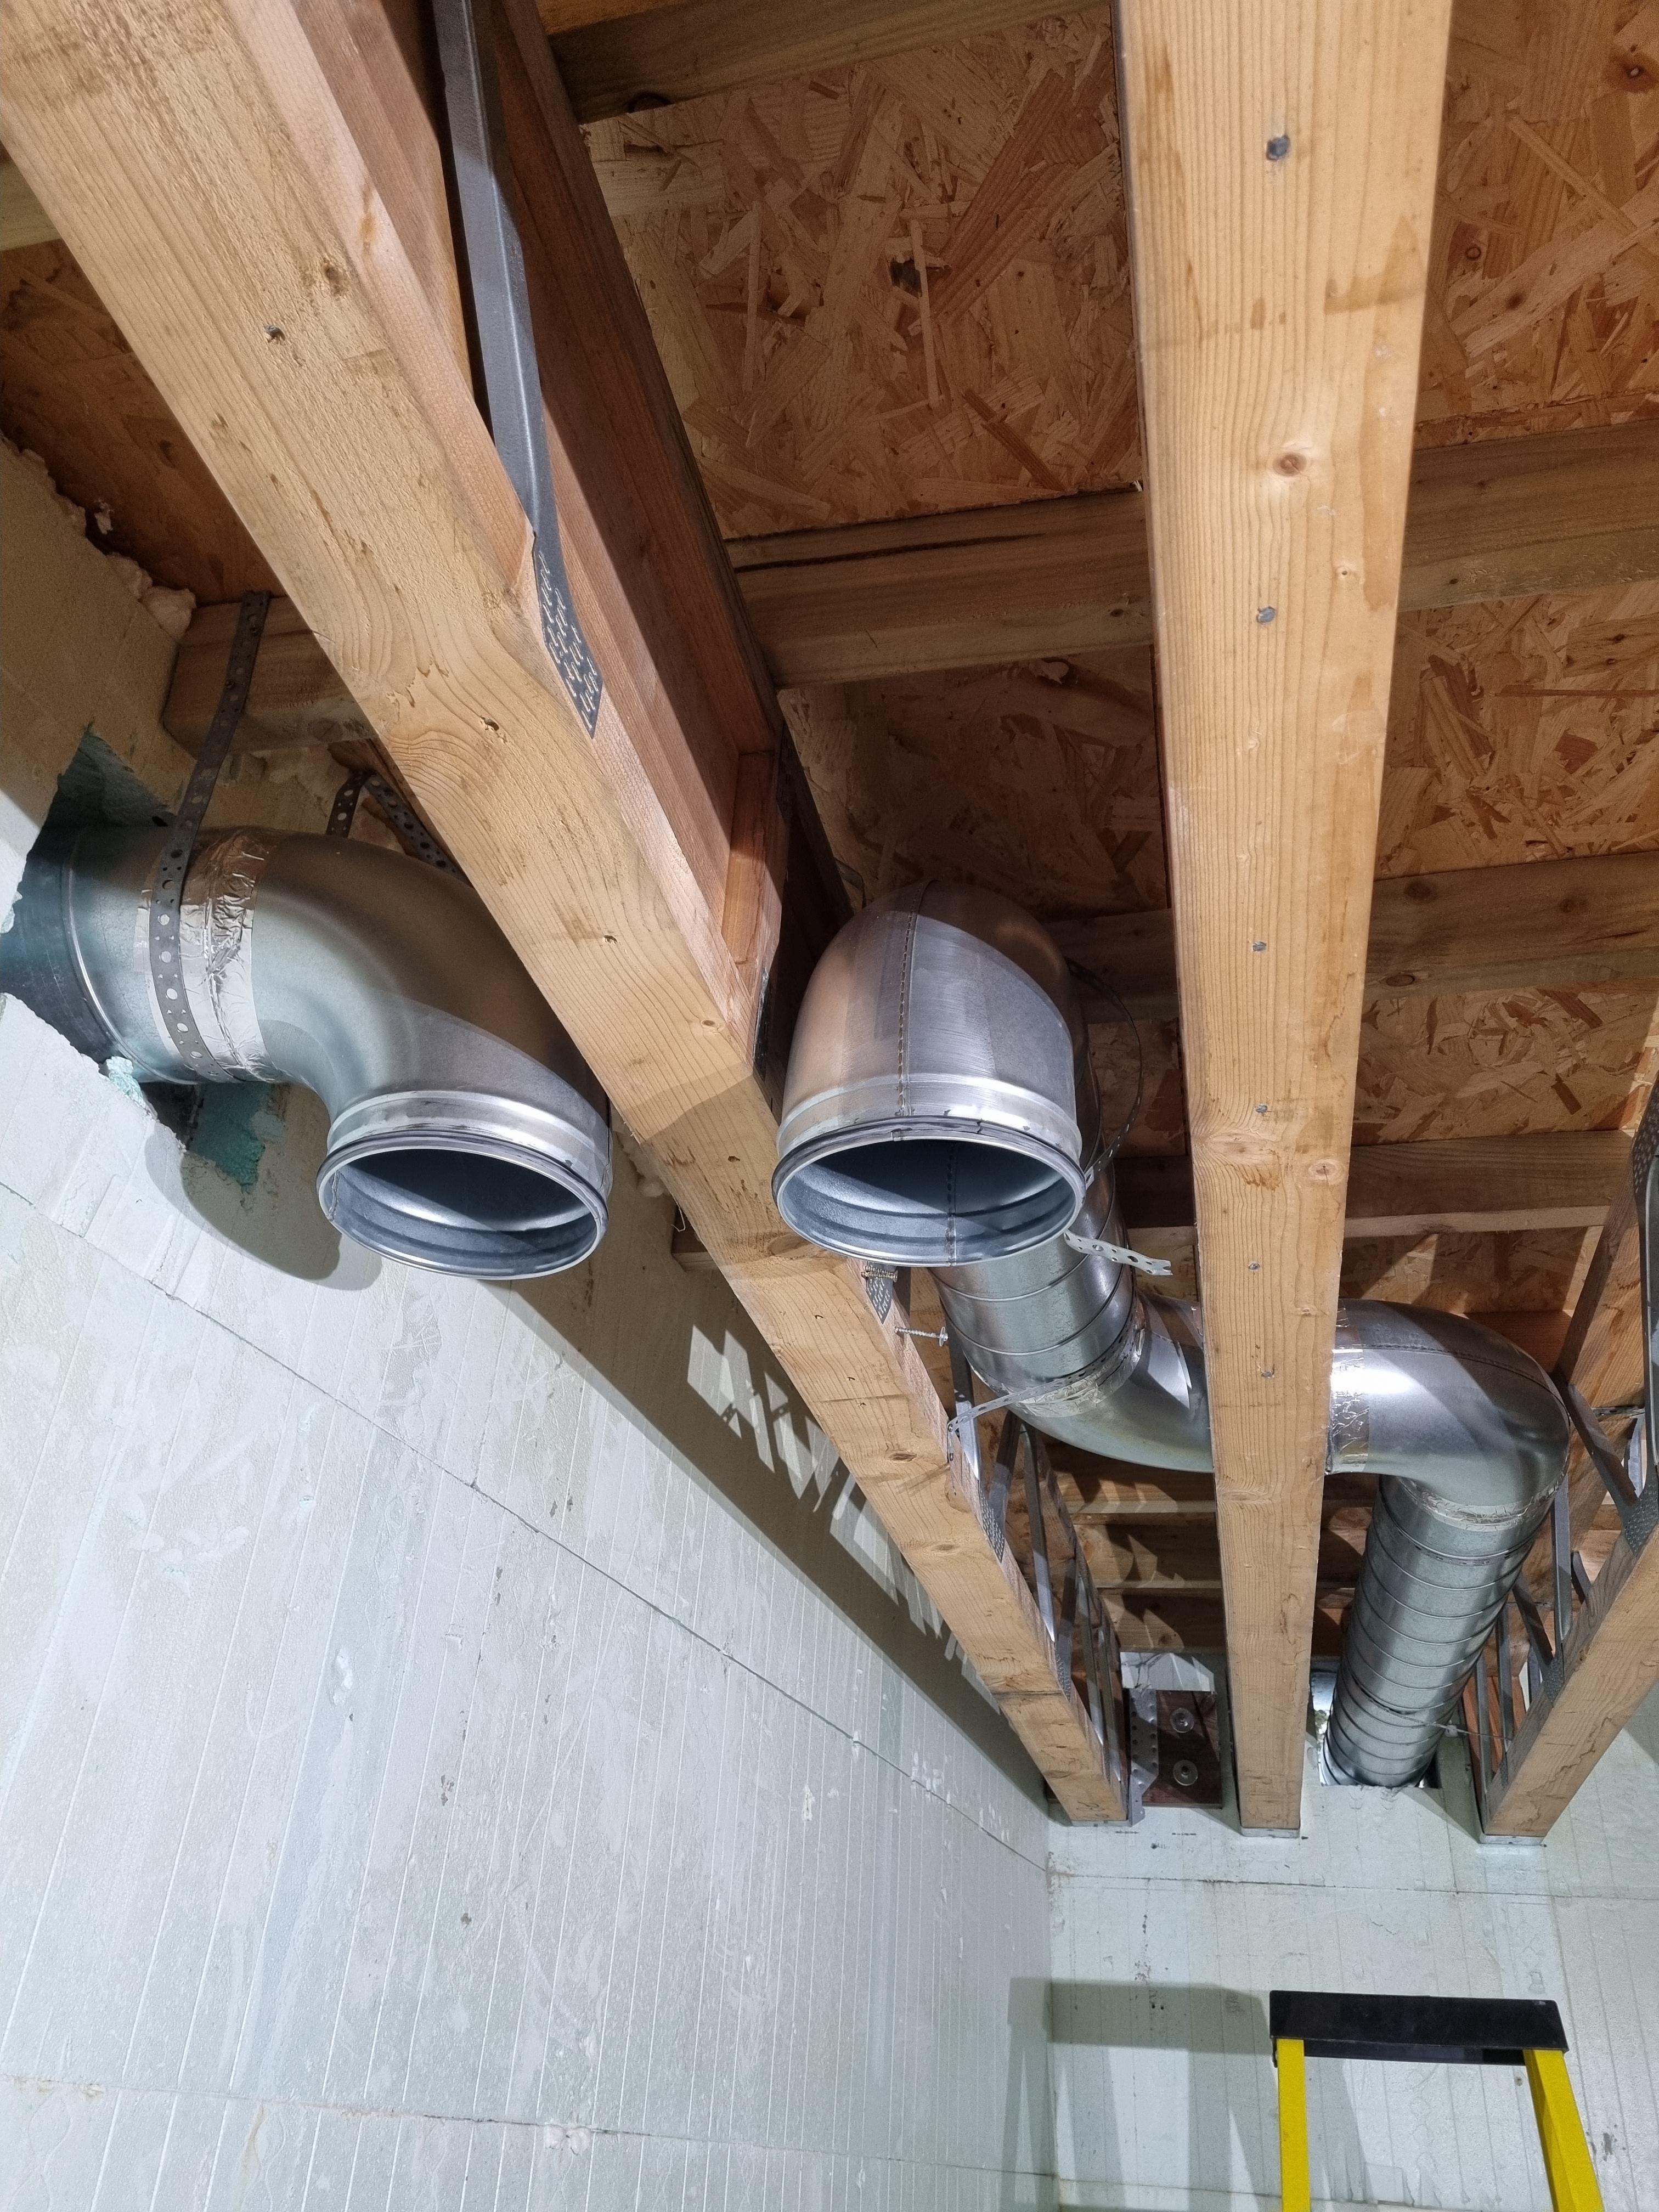
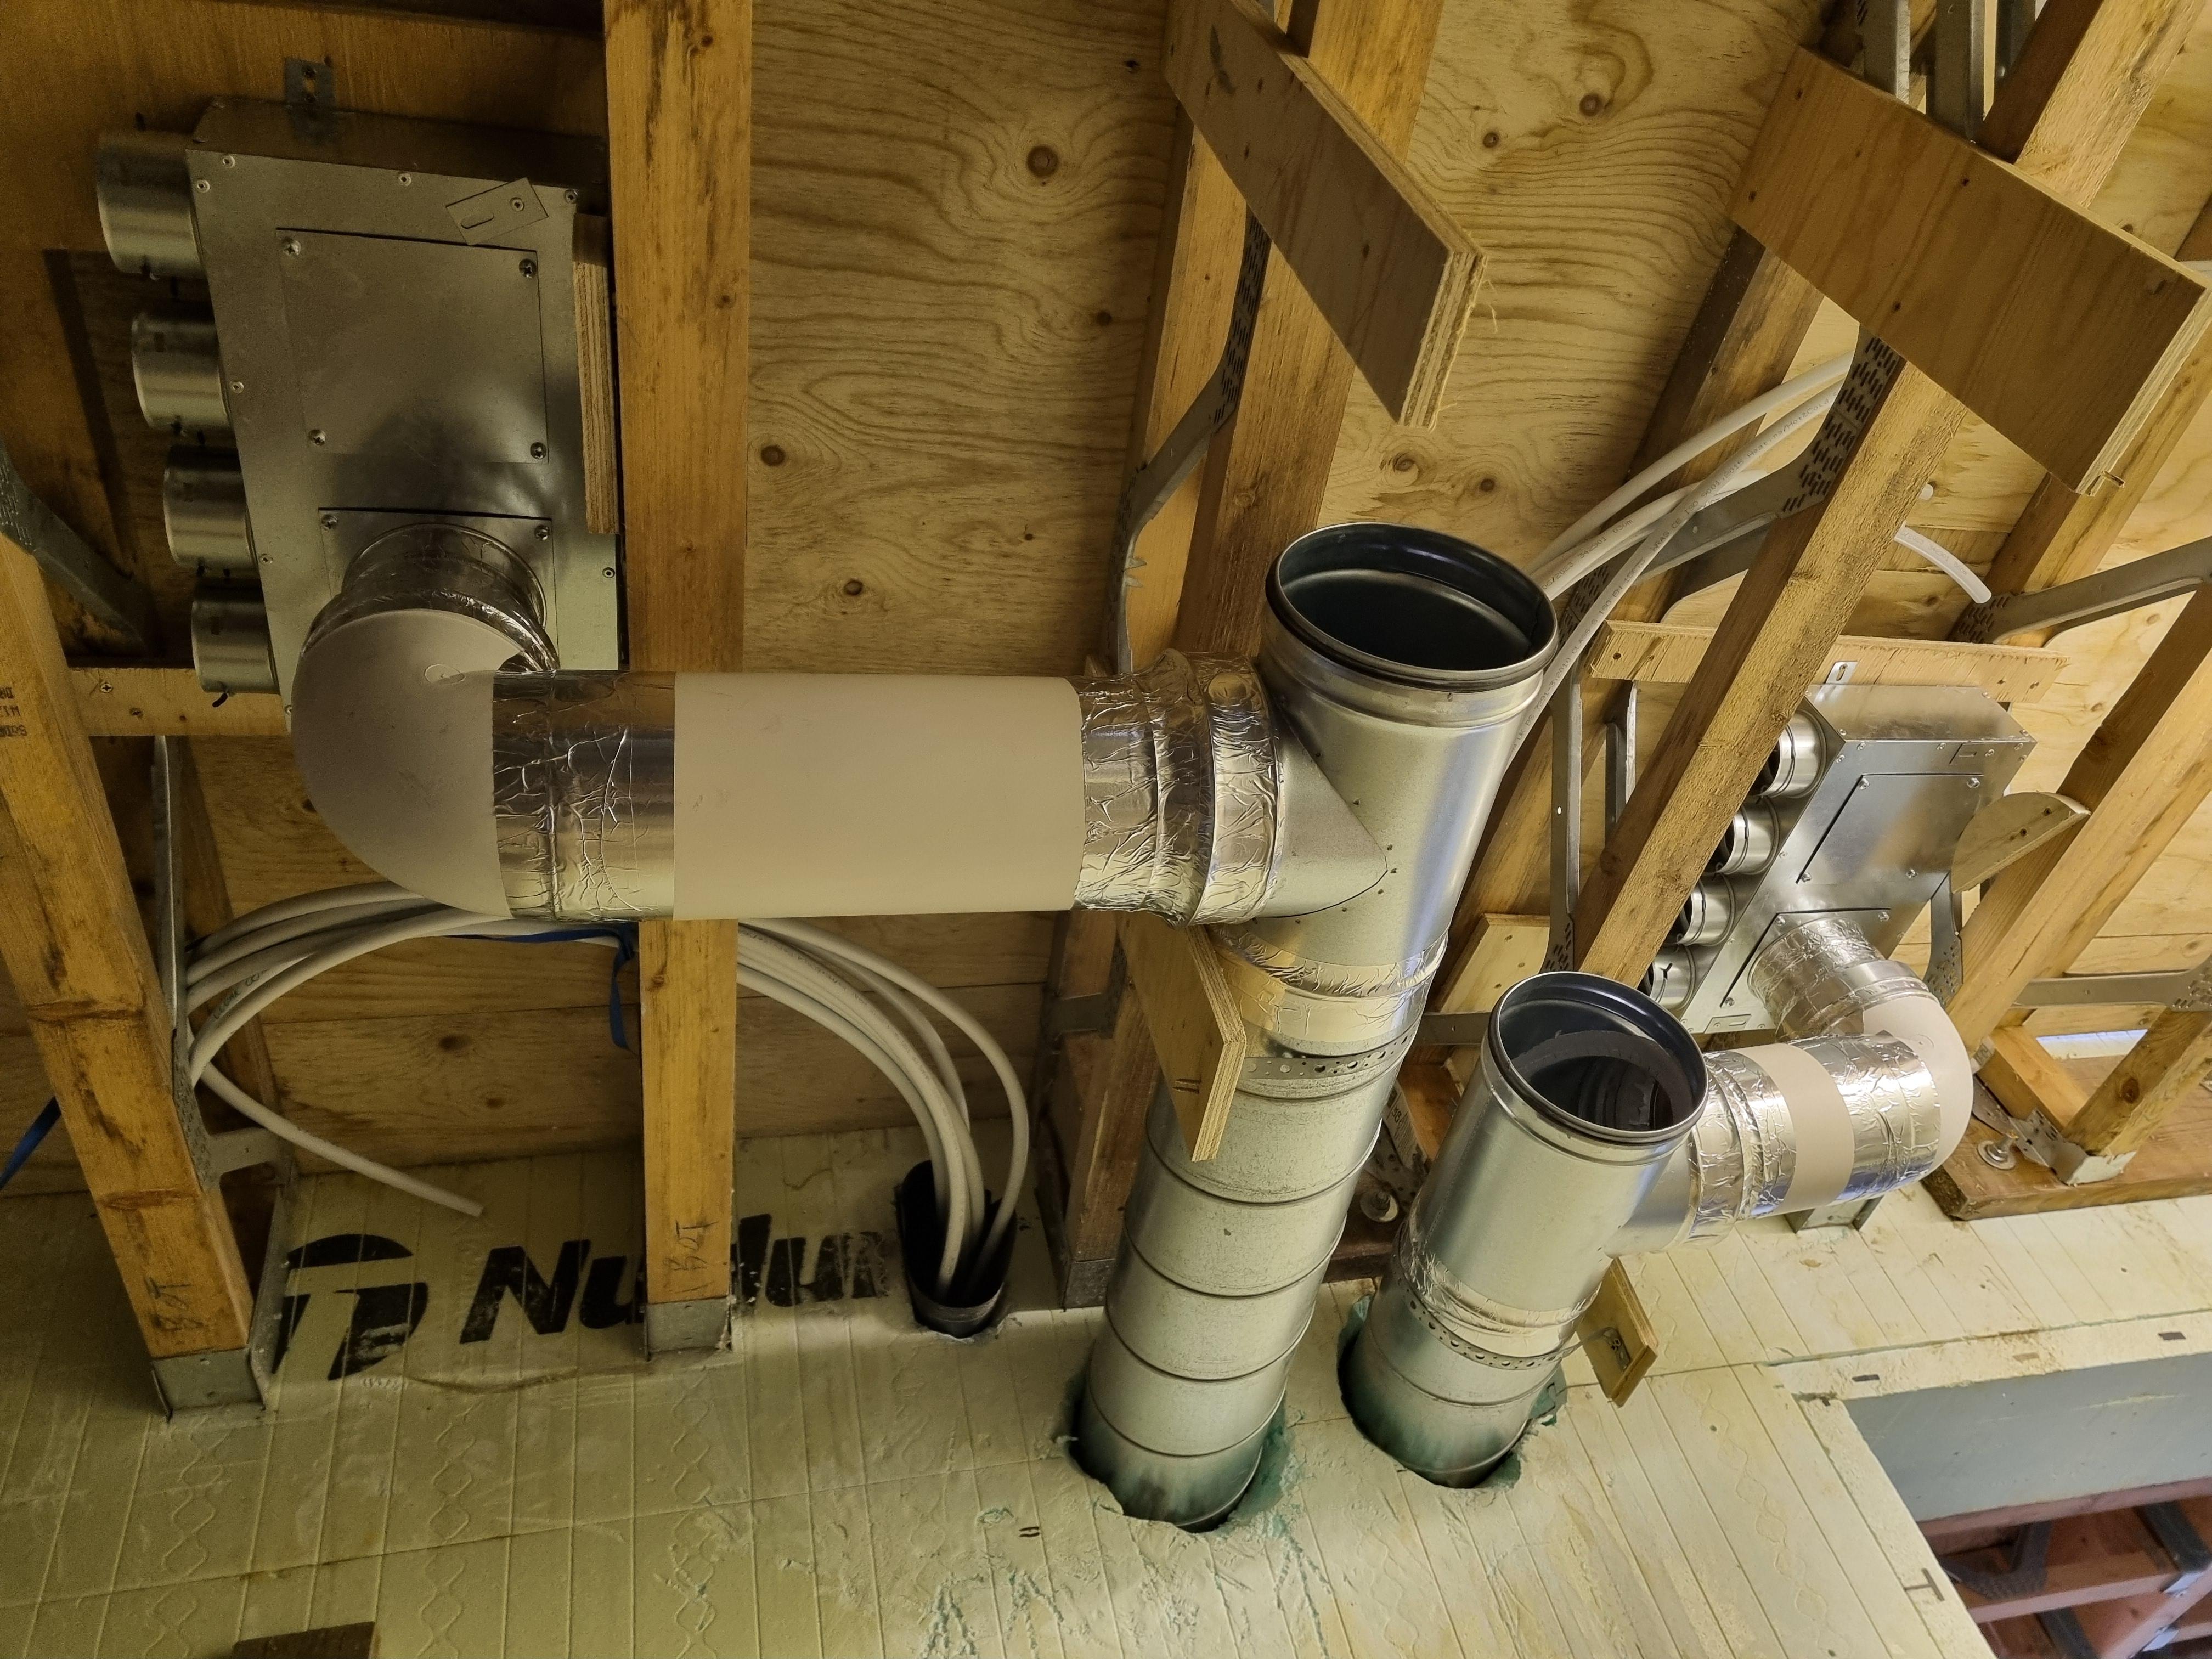
In October, we had the mains electric and meter moved from their temporary location to inside the house. Over the ensuing autumn and winter months, we’ve been installing some of the final internal partition walls, running water pipes, installing more insulation around the GWW windows, and recently started on the ventilation ducting following some core drilling being undertaken (Tip: always ask for a hole to be drilled that is about 10mm bigger than you need - expanding foam is your friend. I donate my scar tissue to you all 😂)


20240107_110617.thumb.jpg.e65c613a6db891f22780c0b76d7b3ae4.jpg  20240108_134730.thumb.jpg.614475668d00bfe4a7e91148212619a0.jpg  20240209_154315.thumb.jpg.40d69e33537c6080f0b2ba4c98f2ddf3.jpg  20240223_115734.thumb.jpg.fde2d7d52bda057790e563049a72a909.jpg


In December, I got made redundant. No worries, this may actually be a blessing in disguise.


Next up on the list:

  • Finish ventilation system

  • Finish insulating the GWW

  • Finish backfilling

  • Electrics

  • Floors

  • Walls

  • ASHP and HWC

  • Kitchen

  • Bathrooms

  • The remaining plumbing

  • Outer wall coverings


But, in the meantime, we have the small matter of our daughter’s wedding. DOES SHE NOT KNOW WE’RE TRYING TO BUILD A HOUSE!?


(Time to end: 2 years 🙂 )

  • Like 13

11 Comments


Recommended Comments

looking good, just a point on your back filling, is you just backfilling earth against the external waterproofing?


Hopefully you can get some drier weather!

Link to comment
27 minutes ago, Moonshine said:

backfilling earth against the external waterproofing?

You should be able to see there is some old shuttering board between the waterproofing and the Nudura. In that picture the wall closest to you (where the compactor is buried in the mud 🙂) is purely supporting the roof above it and so has no extra waterproofing.

Link to comment
17 hours ago, BotusBuild said:

You should be able to see there is some old shuttering board between the waterproofing and the Nudura. In that picture the wall closest to you (where the compactor is buried in the mud 🙂) is purely supporting the roof above it and so has no extra waterproofing.

Ah i see it, i was concerned that you would backfill the mud right up to the waterproofing without any geotextile layer and clean stone. 

Link to comment
1 minute ago, Moonshine said:

waterproofing without any geotextile layer

The build up before backfilling is Nudura, sticky bitumous layer, what I refer to as an egg tray with geotextile layer, then the pre-used shuttering to protect the geotextile as we backfill. That last bit will no doubt rot away eventually 😉

Link to comment

>>> sticky bitumous layer, what I refer to as an egg tray with geotextile layer


Possible to give us the product names for the ones you chose?

Link to comment
1 hour ago, BotusBuild said:

The build up before backfilling is Nudura, sticky bitumous layer, what I refer to as an egg tray with geotextile layer, then the pre-used shuttering to protect the geotextile as we backfill. That last bit will no doubt rot away eventually 😉


We put a load of clean stone down behind the retaining wall before back filling earth (blue below) with a geotextile layer between,  to reduce hydrostatic pressure on the wall. Didn't want to rely on just that geodrain.


image.png.7bbd8d64683f8970bf2f9989841e609e.png

  • Like 1
Link to comment
26 minutes ago, Alan Ambrose said:

>>> sticky bitumous layer, what I refer to as an egg tray with geotextile layer


Possible to give us the product names for the ones you chose?


No OP, but my water proofers used the Newton systems, this is the retaining wall in construction with two layers of membrane painted on, prior to the geodrain being fitted and back filled with clean stone.


image.thumb.png.bbbcee9979d0f106c8004fdf9b322652.png

Link to comment

What are you going to do with the 'Mound'? from looking out of that window it looks huge!

Link to comment

Wykamol Sureproof waterproofing membrane, followed by Wykamol CM20 geotextile membrane for us

Link to comment

Create an account or sign in to comment

You need to be a member in order to leave a comment

Create an account

Sign up for a new account in our community. It's easy!

Register a new account

Sign in

Already have an account? Sign in here.

Sign In Now
×
×
  • Create New...