
The energy meter experiment

39

Here is what I cobbled together the other day. I am not sure how well it works yet, but it works in trivial cases i.e. a 40 W lightbulb and my fridge (once I had stopped stray morning light). I am going to ask my neighbours if I can pop the Photo Diode on their meter as I don't want to stop the one that is already logging mine.
What would be good is if others, who have a lot more knowledge and skills than me (I am really just a chancer than fiddles about till it seems to work) could improve and add to it.
Things that would be nice are a remote sensor to save having to run a small bit of wire into the meter box. A nicely made sensor cover that holds the magnet in place, and does not let stray light in. A display, and an enclosure for the complete kit (thinking of you @Onoff and your plastic printing skills).
Remote, but not cloud based access may be interesting, but as will all new toys, after a few days, does not get used often.
Other 'things' could easily be added i.e. temperature, humidity, air pressure, but they are really stand alone items, though inside and outside temperature is useful.
So here it is, my feeble attempt.
What I have used to make my energy meter.
A shop bought energy meter
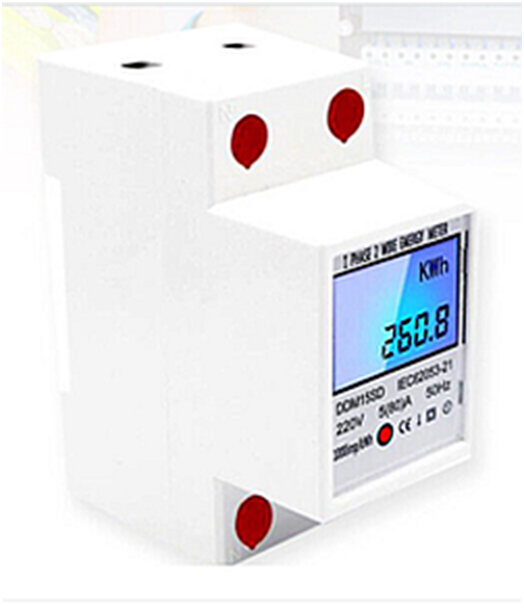
https://www.ebay.co.uk/itm/354118466147
I used this purely to test the power, 1 pulse per Wh, same as my main meter. I will, as I bought 3 of them, use them on my 3 ‘night circuits’ once I have finished playing.
Some magnets with holes in the middle

https://www.ebay.co.uk/itm/184928442876
These are to hold the light dependant LED onto the meter. A suitably sized metal washer was super glued in place.
Some photodiodes to sense the red flashing light on the meter.
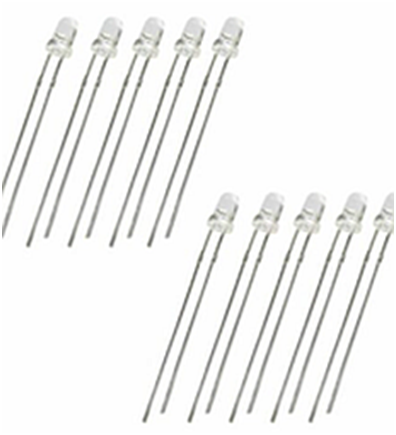
https://www.ebay.co.uk/itm/232690475106
This is the real magic, just wired in between a GPIO pin, 22 in my case and ground. The important thing is to wire it in the ‘wrong way around’. So the anode, the longer leg on the diode, is wired to ground, and the cathode, the short leg, is wired to pin 22.
A Raspberry Pi ZeroW
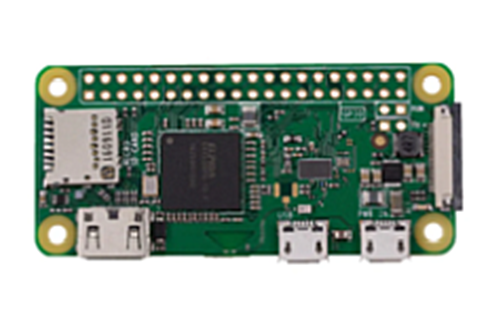
https://thepihut.com/products/raspberry-pi-zero-w
Just a bog standard RPi ZeroW
A header
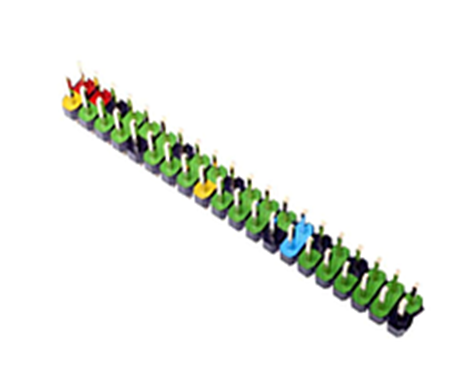
https://thepihut.com/products/colour-coded-gpio-headers
Are useful, and I think you can buy the RPi ZeroW with them already soldered in place. You need it to easily fit the RTC on.
A Real Time Clock
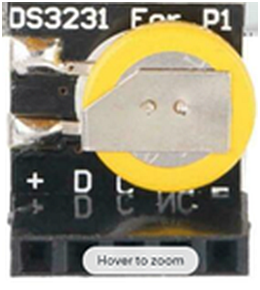
https://www.ebay.co.uk/itm/234603677979
While not necessary, I always fit an RTC (real time clock) as I cannot guarantee an internet connection all the time. You have to muck about with the /boot/config.txt file to include the line
dtoverlay=i2c-rtc,ds3231
and edit the /lib/udev/hwclock-set file to disable the settings with the # symbol
# if [ -e /run/system/system ] ; then
# exit 0
#fi
A USB to TTL Serial adaptor
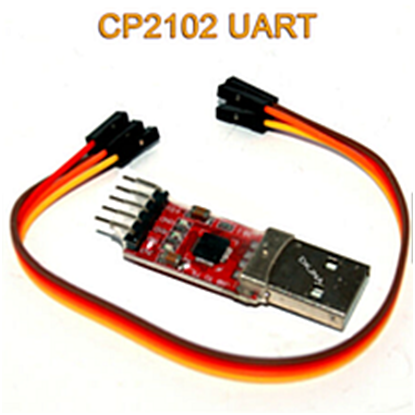
https://www.ebay.co.uk/itm/203604196200
Useful when setting up a ‘headless’ RPi. Just make sure to change the /boot/config.txt to inclide the line
enable_uart=1
The Code
The code I have used uses Python3 and standard libraries.
After much searching and thinking, I found that GPIOZero library was quite useful (https://gpiozero.readthedocs.io/en/stable/api_input.html) as it has some useful code for a ‘button’, or switch to the rest of us.
I also, included a block of code to create a daily *.csv file that automatically changes the filename every midnight.
All the code does is sense when the light dependant LED senses light, and when that light stops, it timestamps the daily *.csv file, then wait until more light appears again.
Simple, 3 lines of main code.
#!/usr/bin/python3
from gpiozero import Button
import time, datetime
button = Button(22)
def sort_time():
dt = datetime.datetime.utcnow()
runday = dt.day
dt.day == runday
ts = time.time()
UTC = datetime.datetime.utcfromtimestamp(ts)
logfile = '/home/pi/monitoring/data/meter-%s-%s-%s.csv' % (dt.day, dt.month, dt.year)
tfile = open(logfile, "a")
tfile.write("%s"%UTC + '\n')
tfile.close
while True:
button.when_pressed
button.when_released = sort_time
What could be simpler.
The output is presented like this.
2022-07-09 13:05:38.577239
2022-07-09 13:05:40.028295
2022-07-09 13:05:40.374854
2022-07-09 13:05:50.753515
2022-07-09 13:05:52.390287
Each timestamp is equal to 1 Wh.
I do all the analysis in a spreadsheet.