Kitchen ceiling.

4

We started. In fact it was mid February so I have some catching up. Planning took a few years....
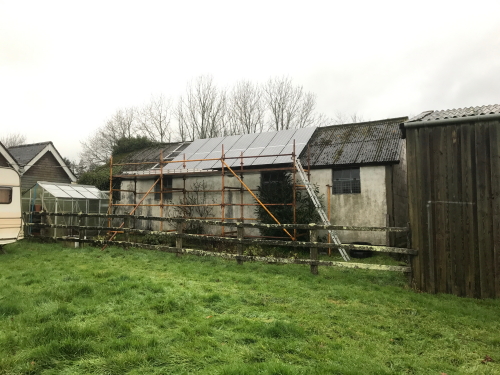
First job was to move the PV from the big shed to the little shed then remove large shed. The large shed took a week because I had help with the right kit. It has a new home to go to. We will miss it as it was the party shed but we get a replacement dwelling, the Bungalow has to go.